
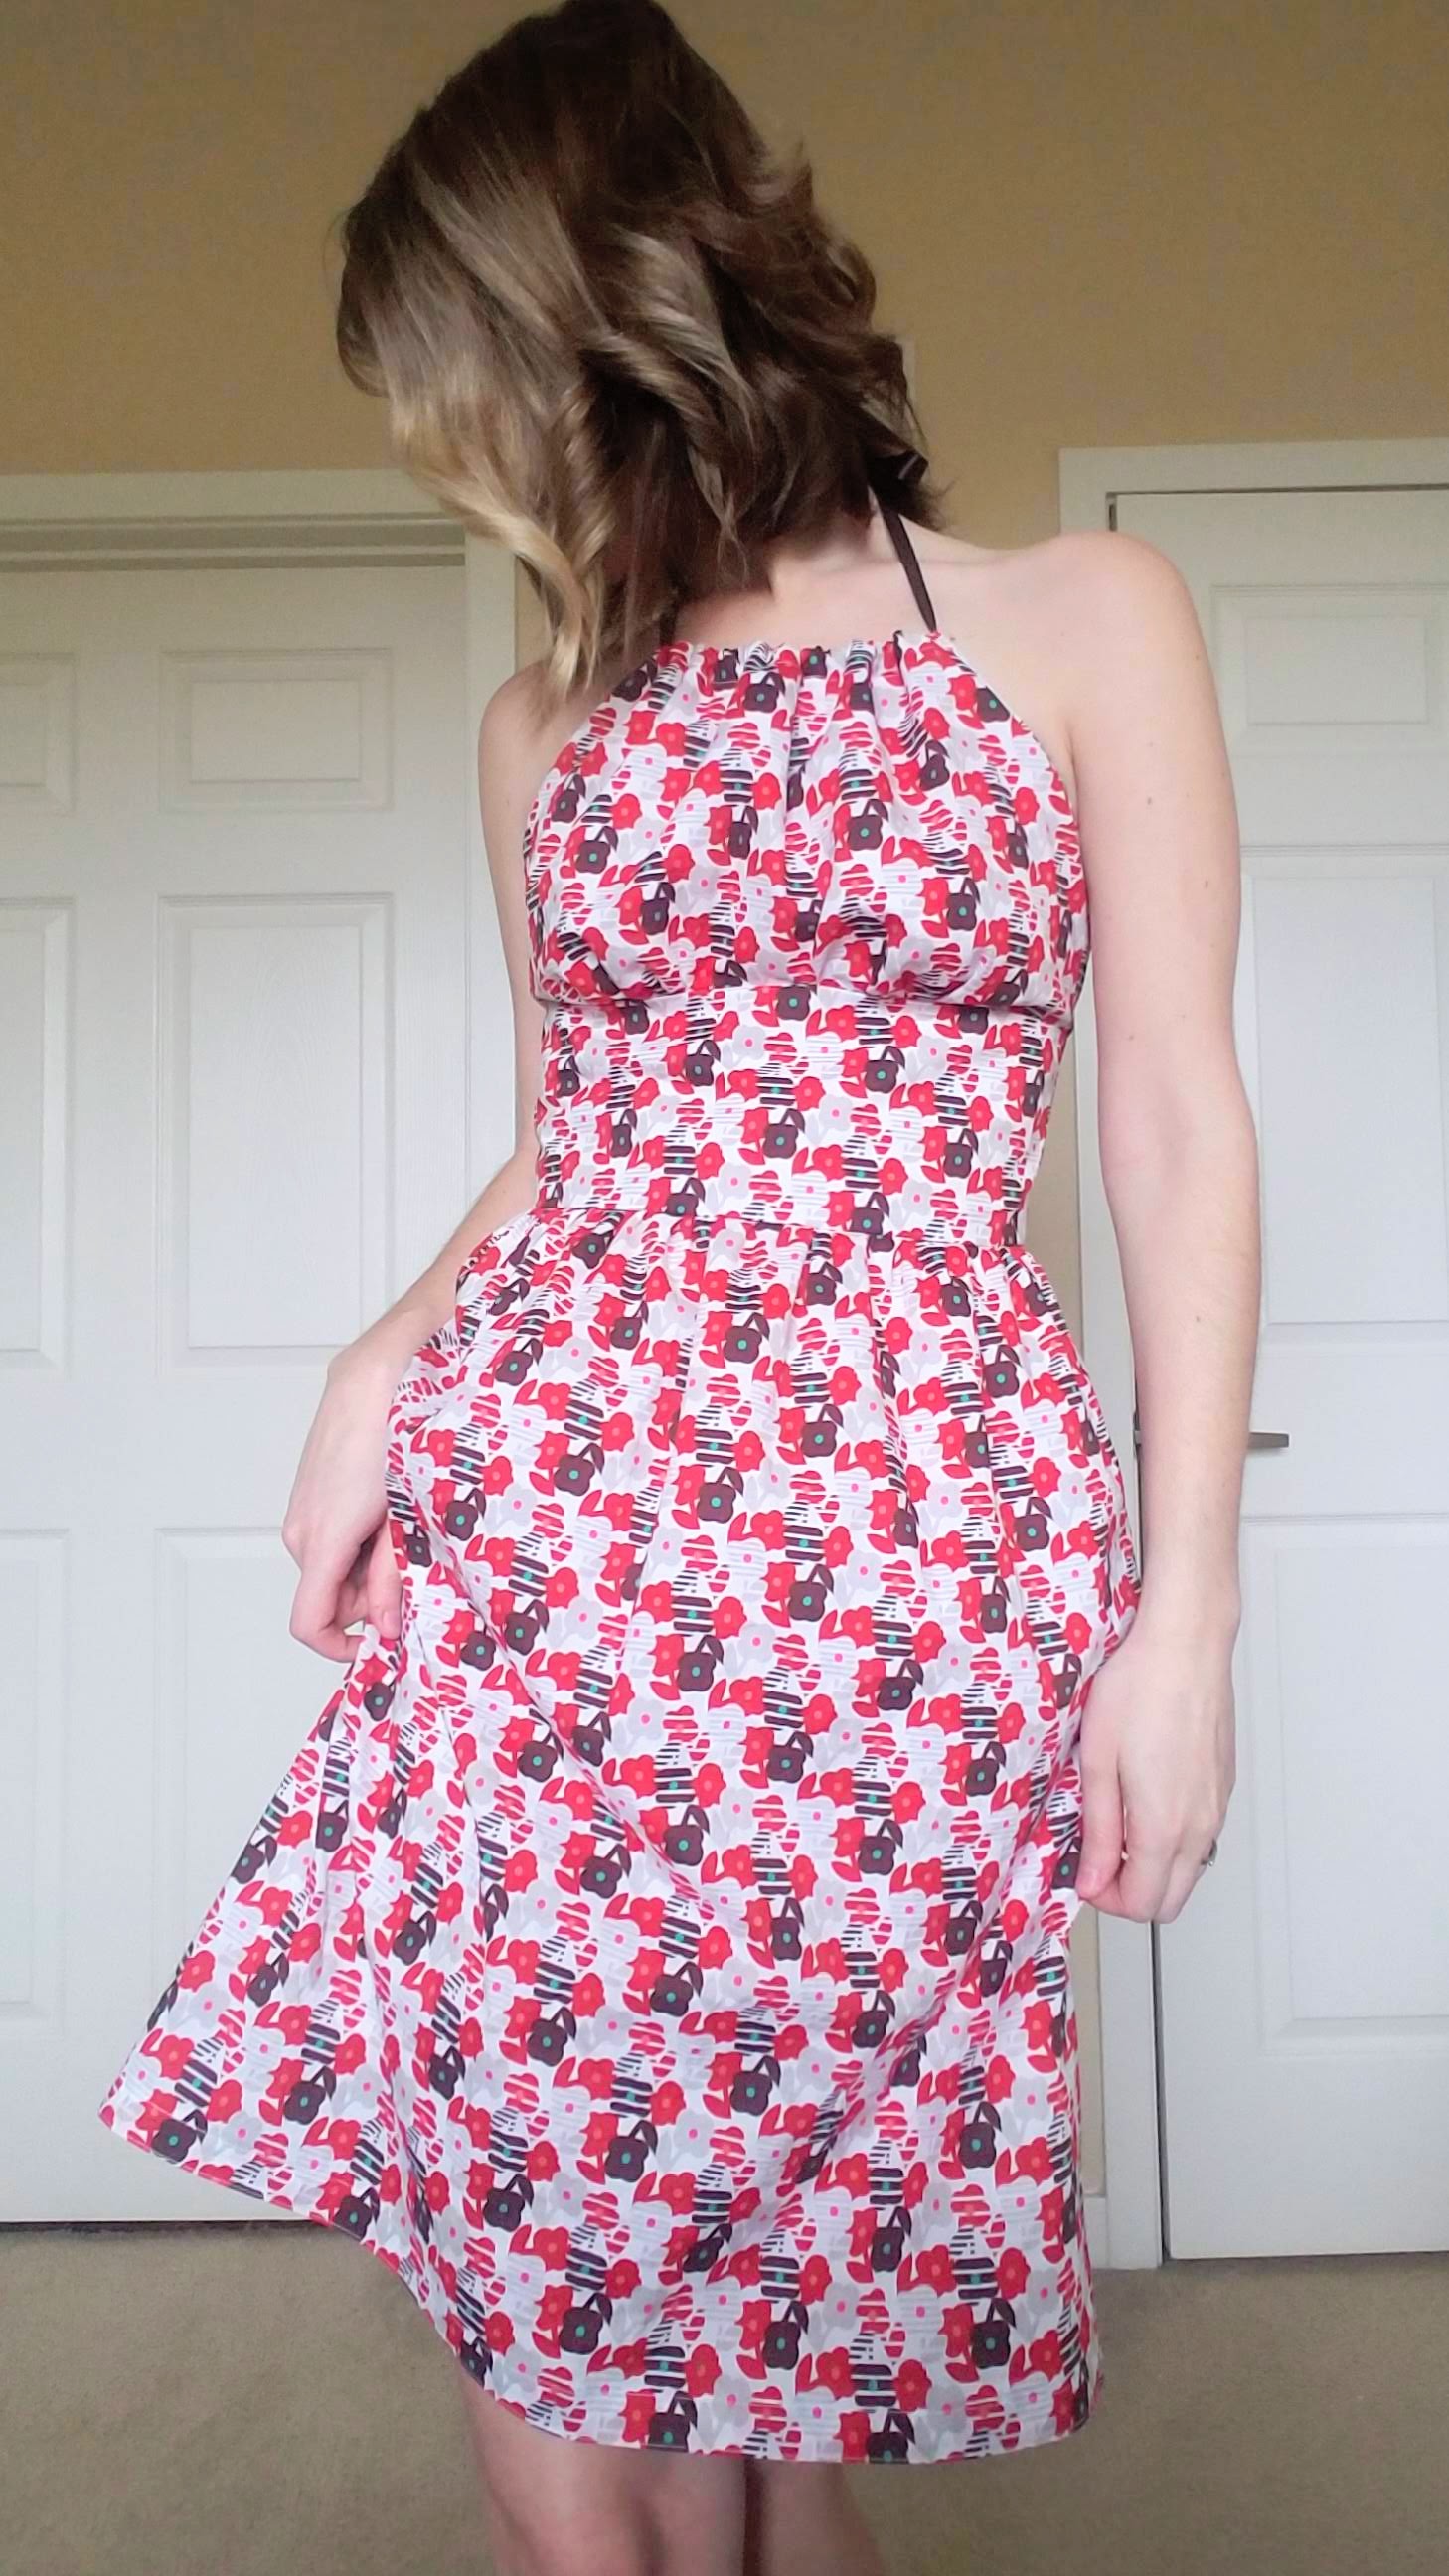
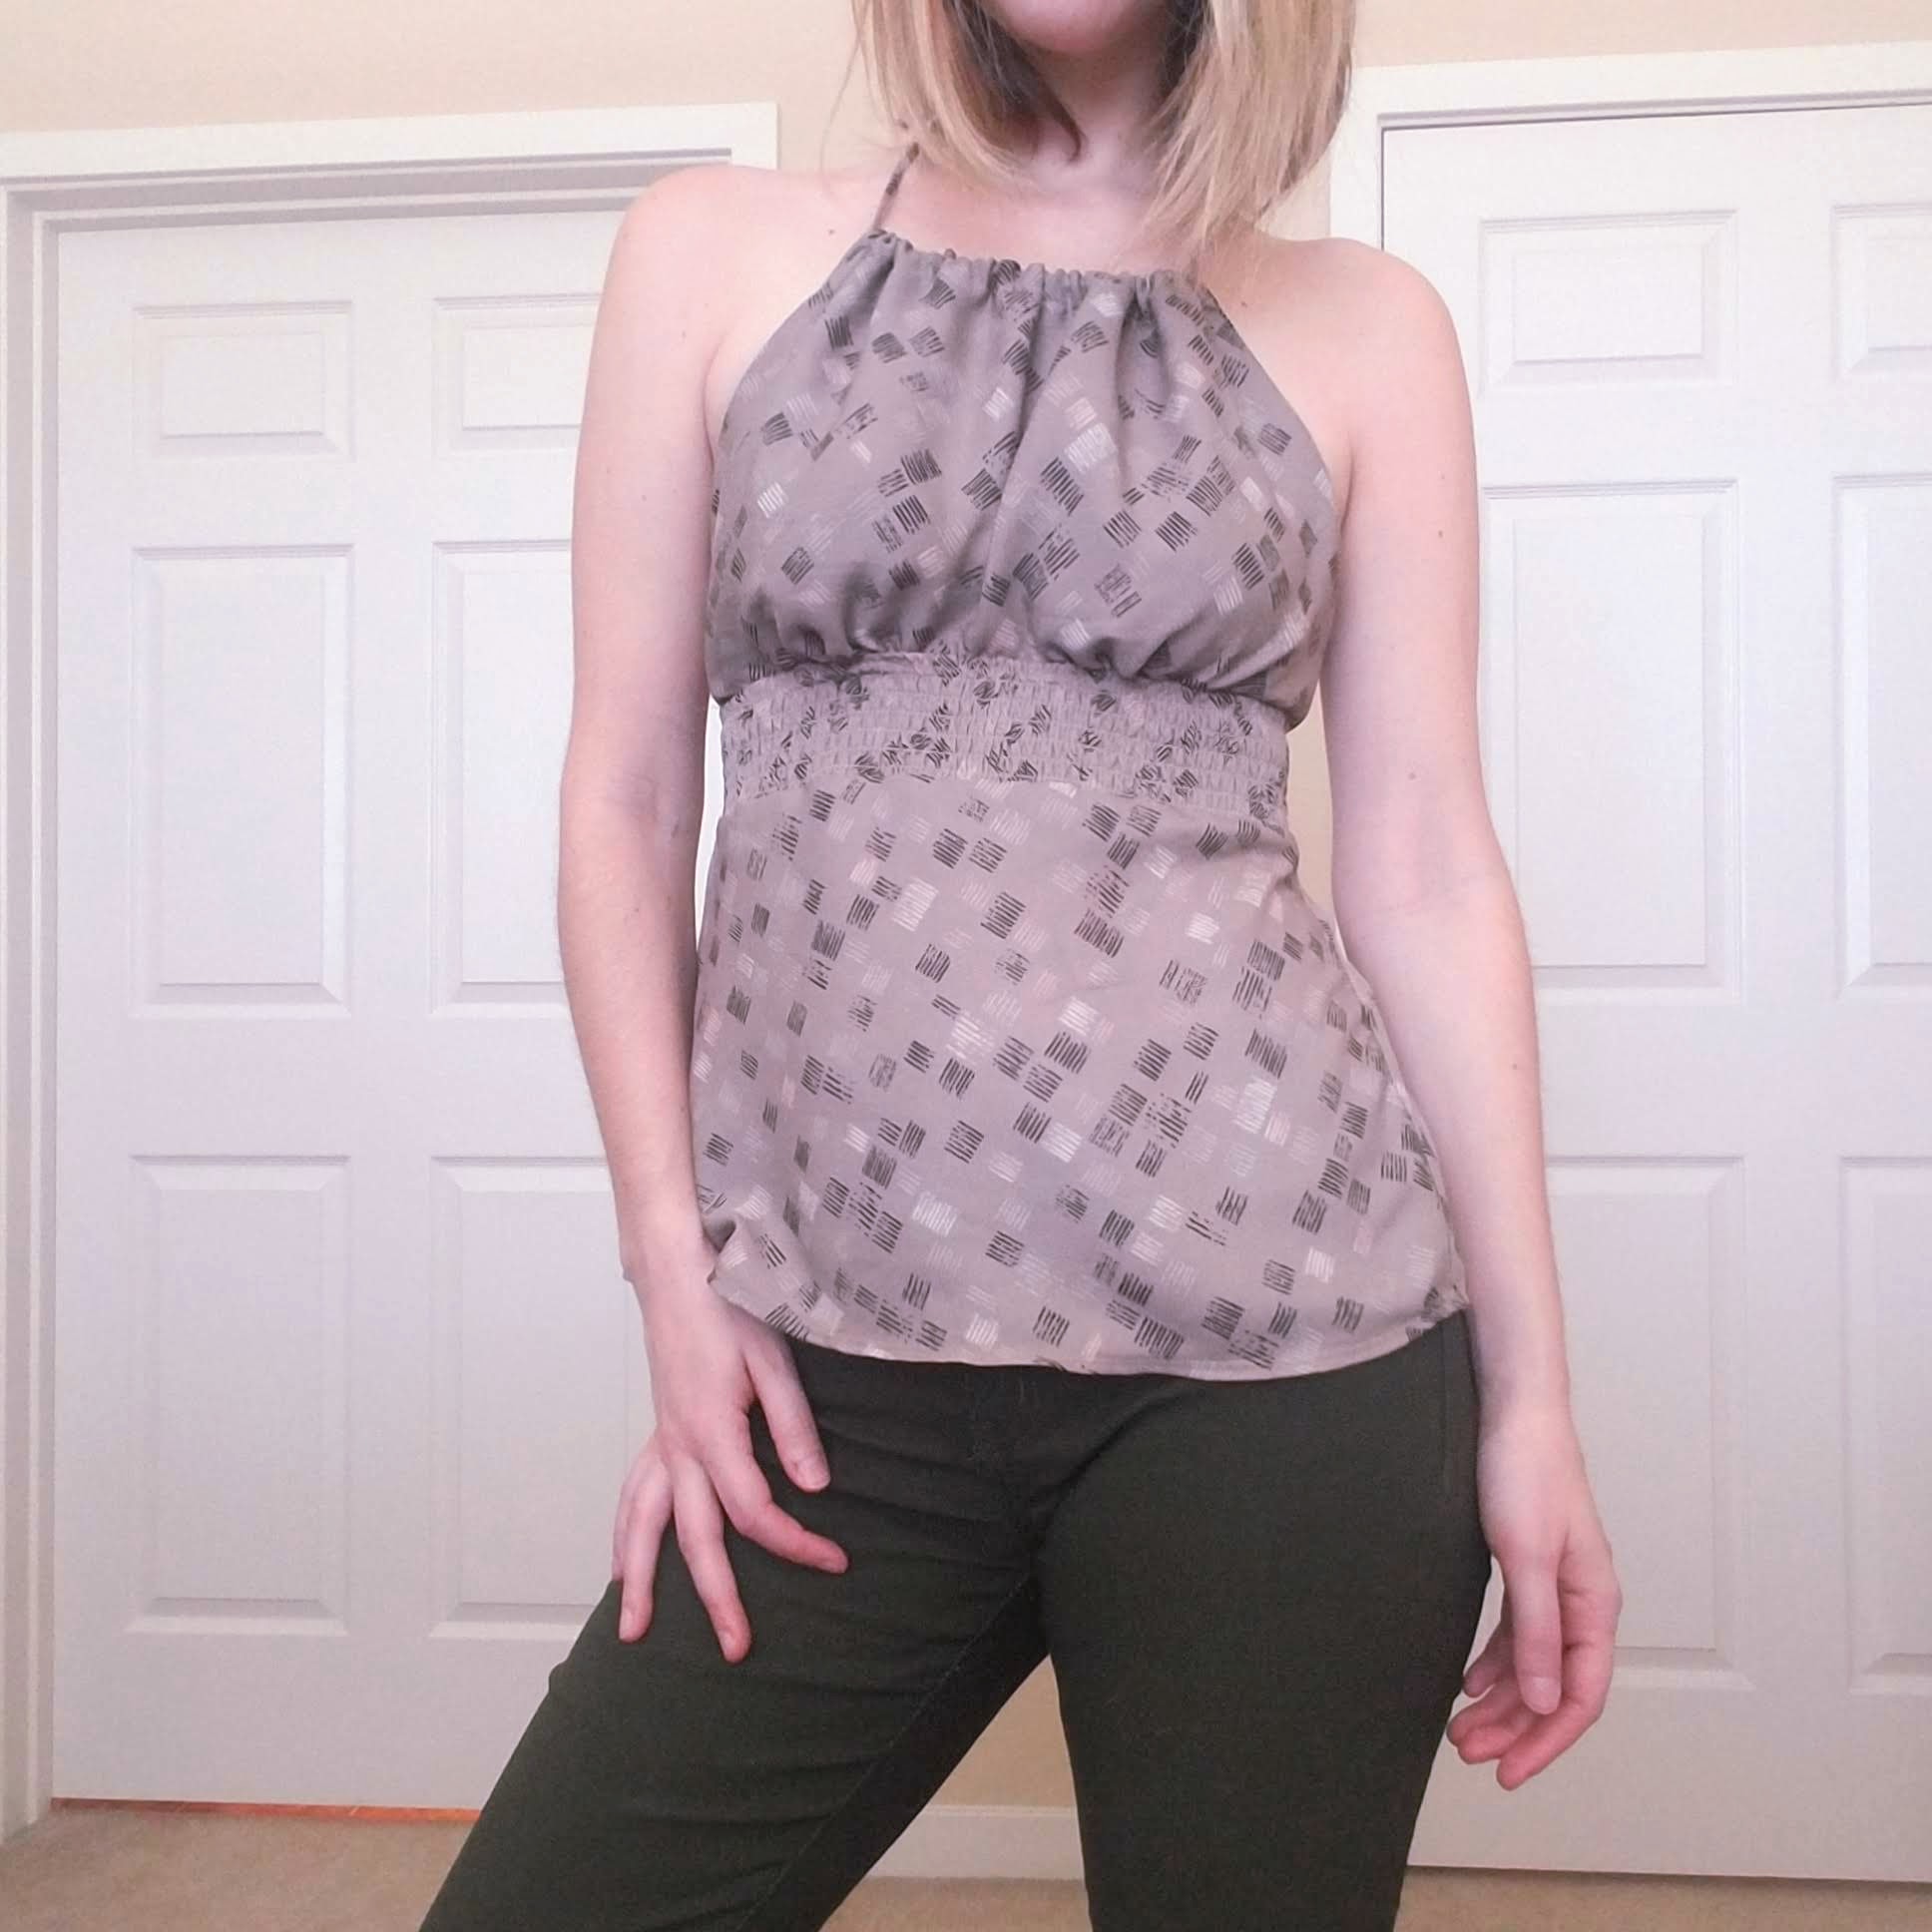
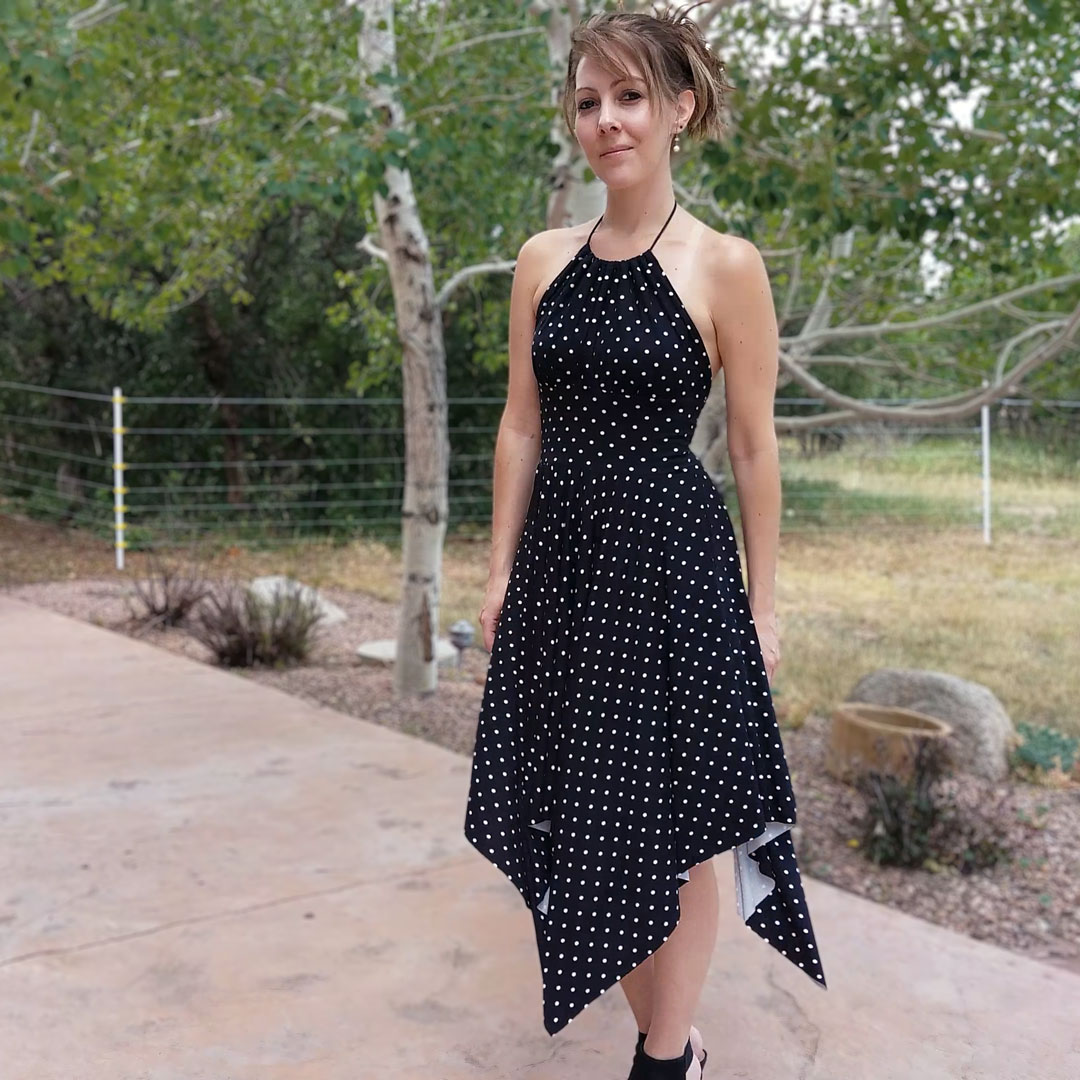
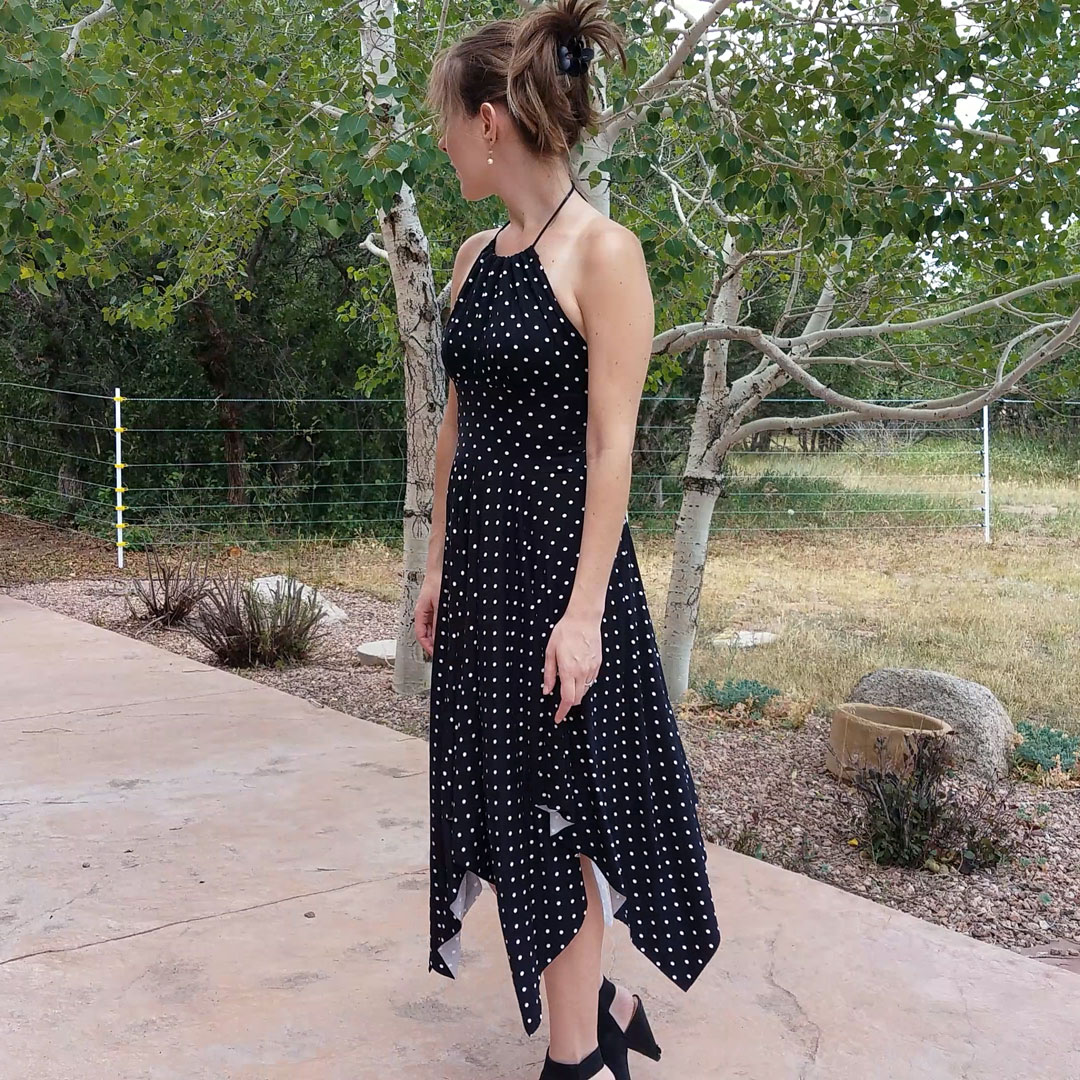
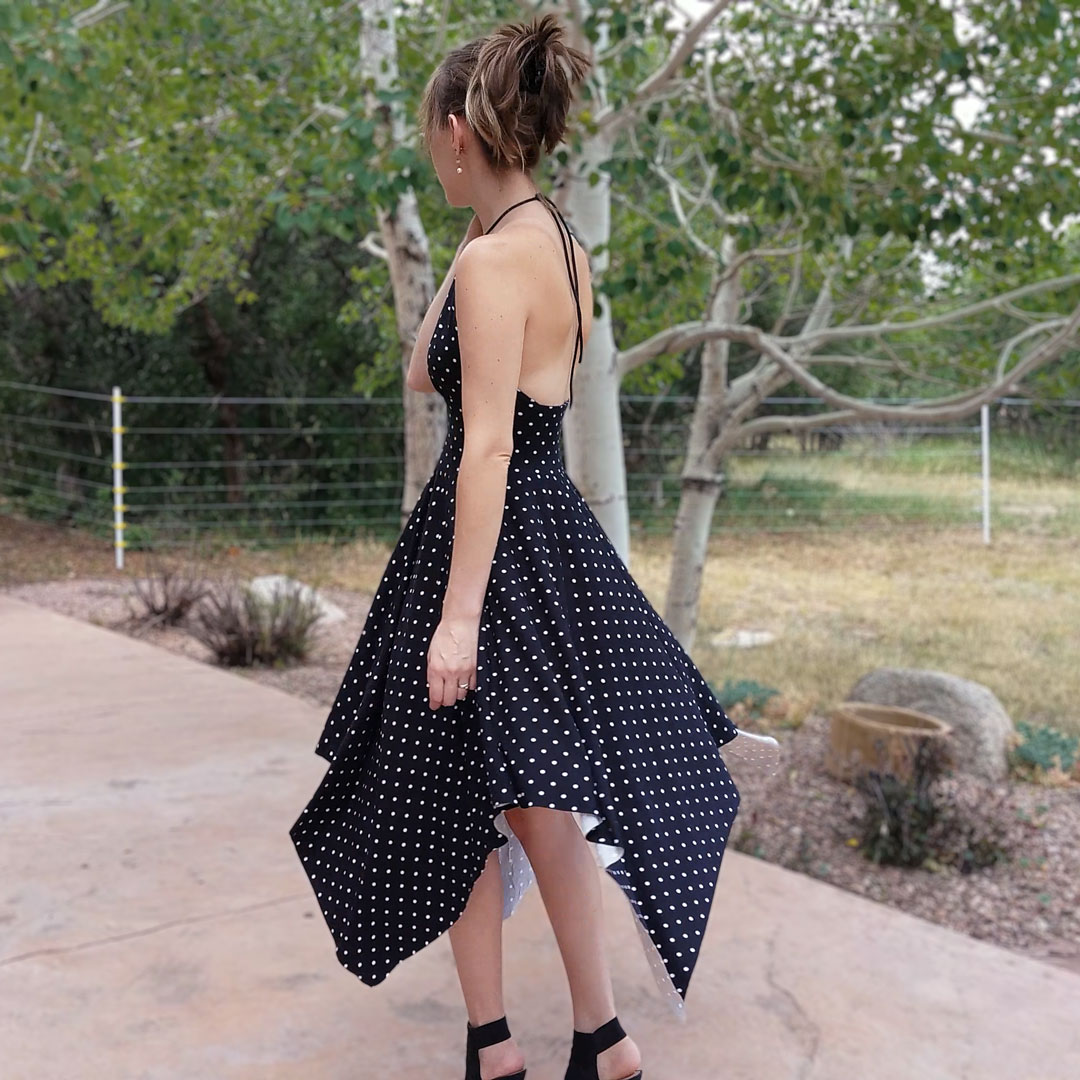
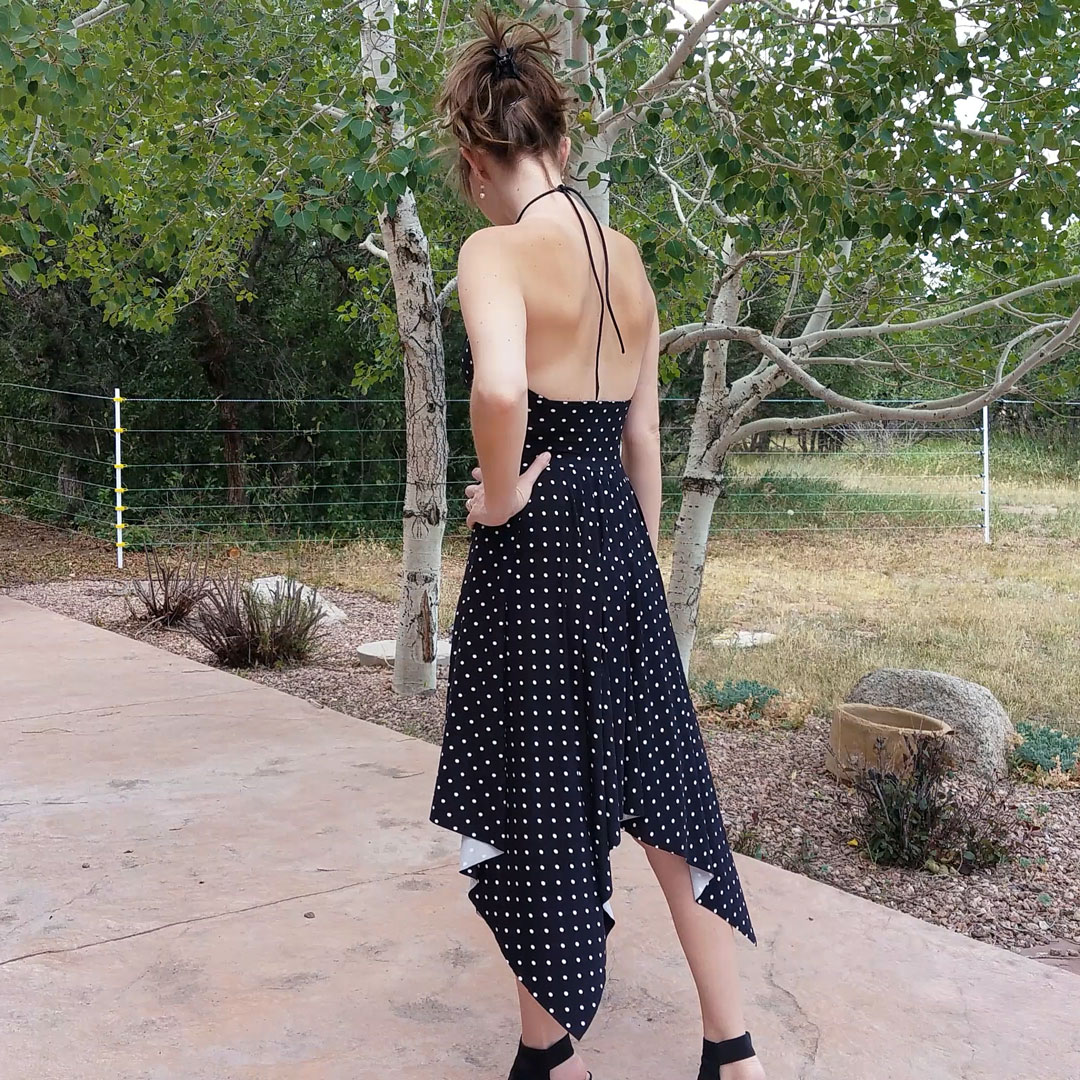
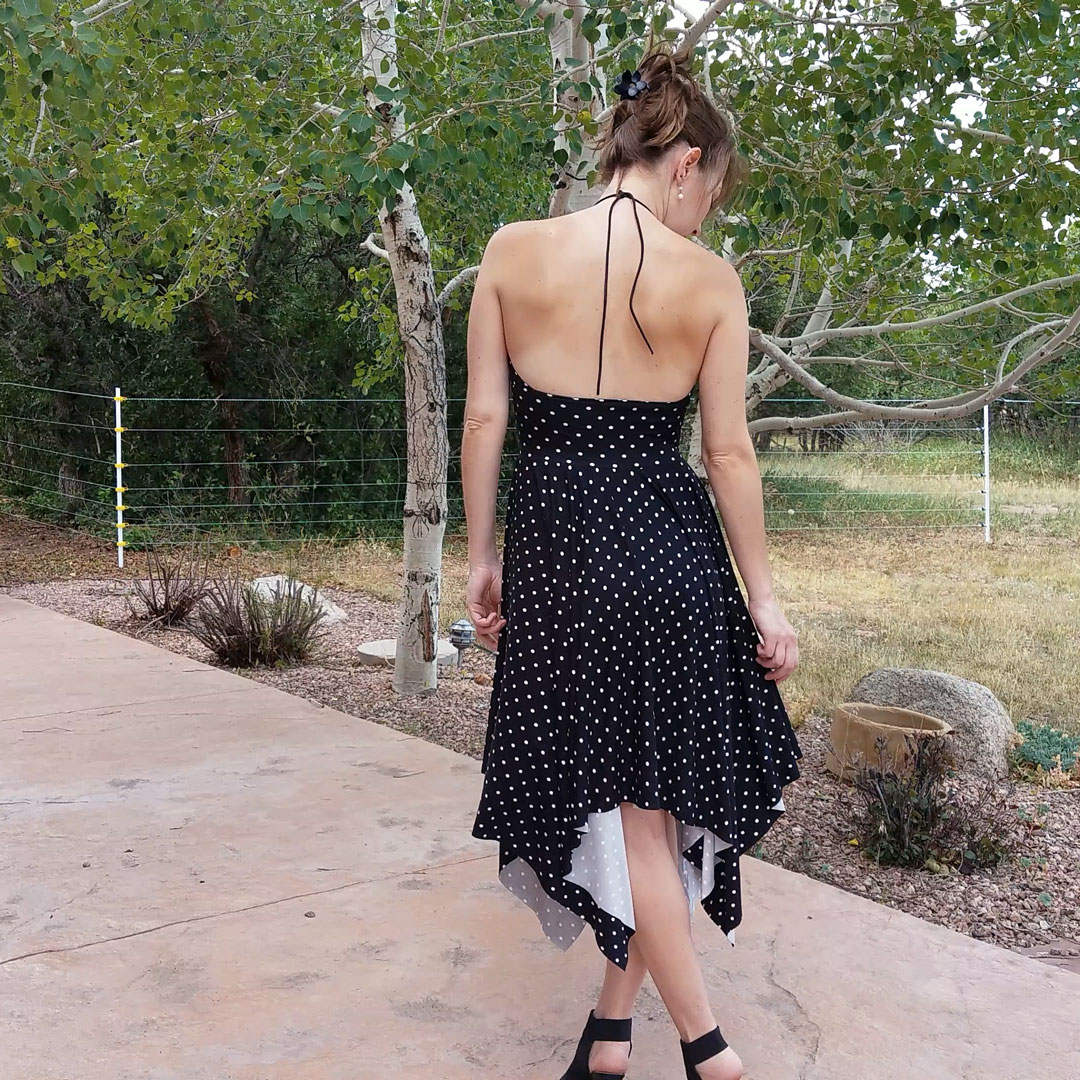
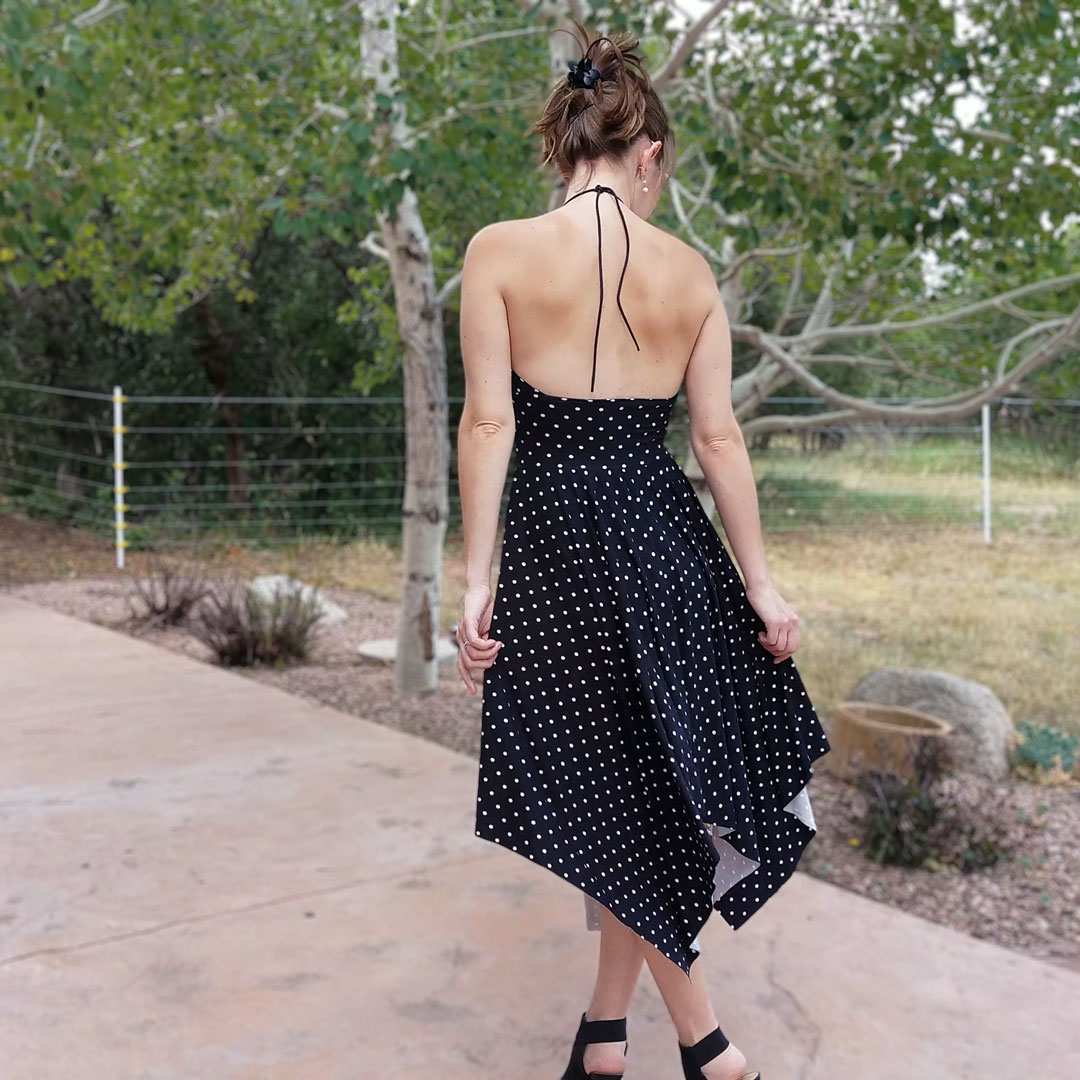
You can’t beat a free pattern that turns out like this. I’ve done my share of Ava Sundresses to date, including my first straight version, a hi-lo circle skirt for a Christmas party dress, and an upcycle hack for a summer top. Since the first version, I’ve always had a vision to do it in knit with a nice flowy skirt. I finally sat myself down yesterday and waded through the measuring, mathing, thinking, and sketching.
So, how does one even begin?
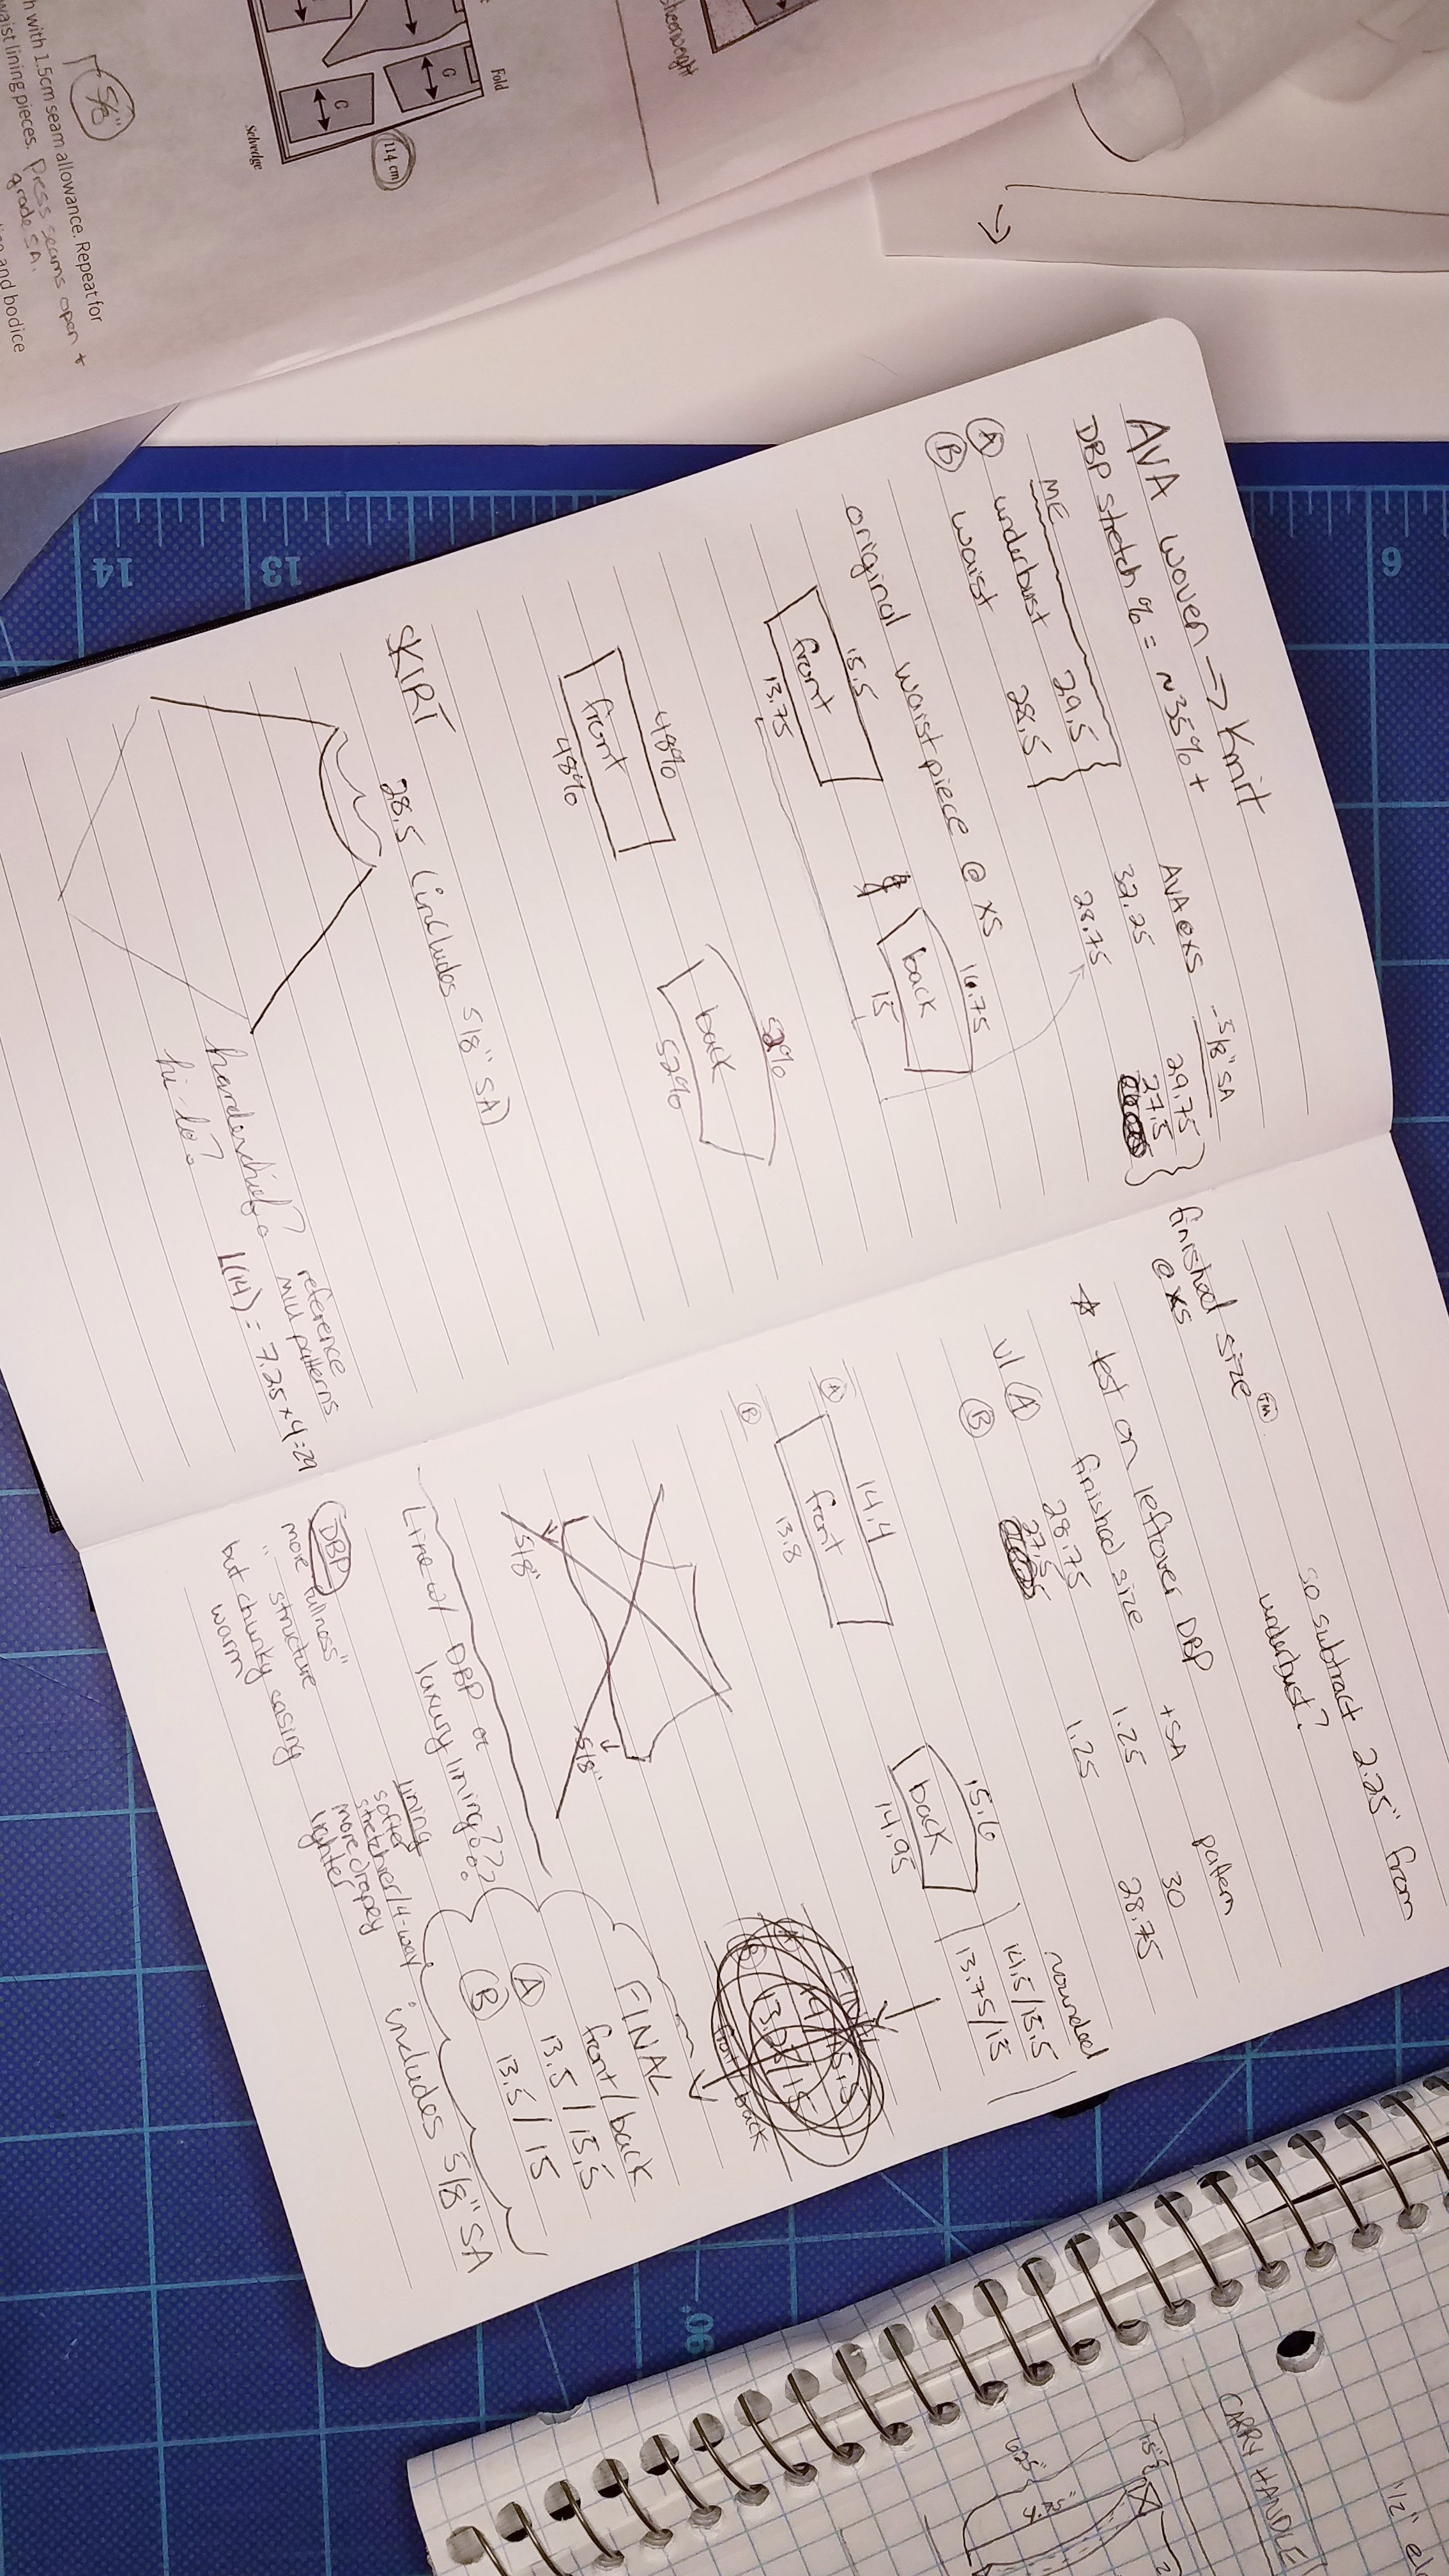
Click here for the scratch pad full of math and things
One began with measuring: measuring me and measuring the finished size of dearest Ava at the underbust and waist. I subtracted the seam allowance and compared those measurements and found that Ava @ size XS was close to what I needed, but the underbust was a tad too large and would need some work.
So I rough sketched the original waistband pieces and worked out what percentage of the total circumference the front waistband took up, and what percentage of the total circumference the back waistband took up. I would need those numbers later in order to determine the new measurements for knit.
The difference between my body measurement and the finished size of the XS waist was 1″. Meaning my fabric would have to stretch 1″ around my body. That sounded like a safe negative ease to me to begin with: not too little so I wouldn’t run the risk of it being baggy, and not too much so I wouldn’t run the risk of over-stretching the fabric and ending up with distorted polka dots with white fibers peeking through.
So, I would need the same 1″ negative ease at the underbust. So I took my body measurement at the underbust, subtracted 1, and jotted down that and the waist measurements as the finished size I was aiming for on the front and back waist pieces.
Using the percentages I’d figured out earlier, I mathed out what the pattern piece measurements would look like, added the seam allowance back in, and then rounded to the nearest quarter inch on everything.
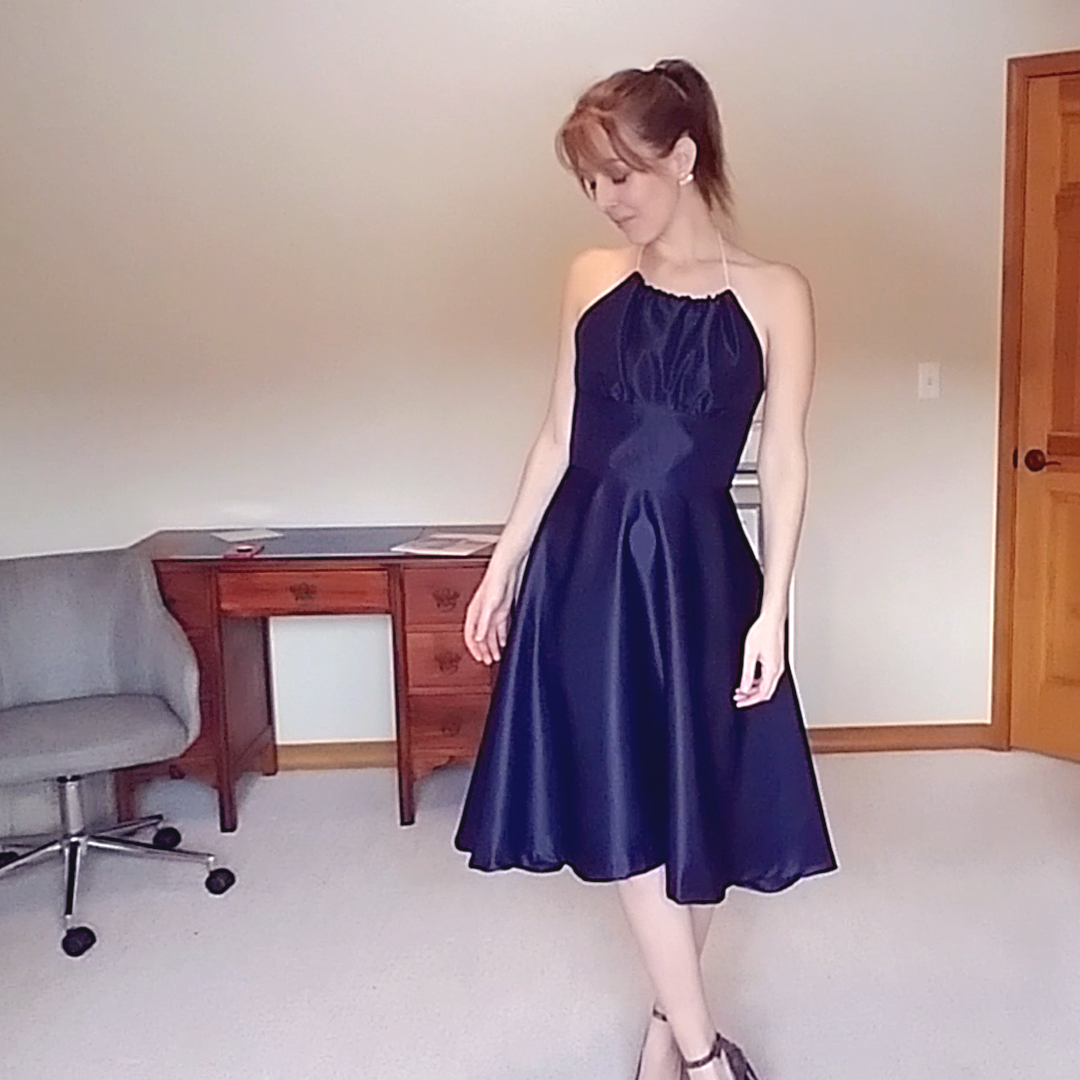
Armed with these numbers, I dug out some leftover DBP to make a quick muslin of the bodice. I highly recommend this step! I only cut and sewed one layer to check the fit. (The final garment calls for main fabric and lining, but that’s not necessary for a muslin.)
The fit was good! I just had a little bit of extra space on the waist piece due to lining up the gathers where the pattern had them marked. That left too much fabric along the center. For the final make, I trimmed a total of 0.5″ off the front waist piece, and I also ignored the innermost gather marks and just lined up the center points on the waist/bodice, and the outer gather points.
Also, the original woven pattern calls for a zipper. Knits don’t need that, so I cut the back pattern piece on the fold rather than separately as the instructions call for.
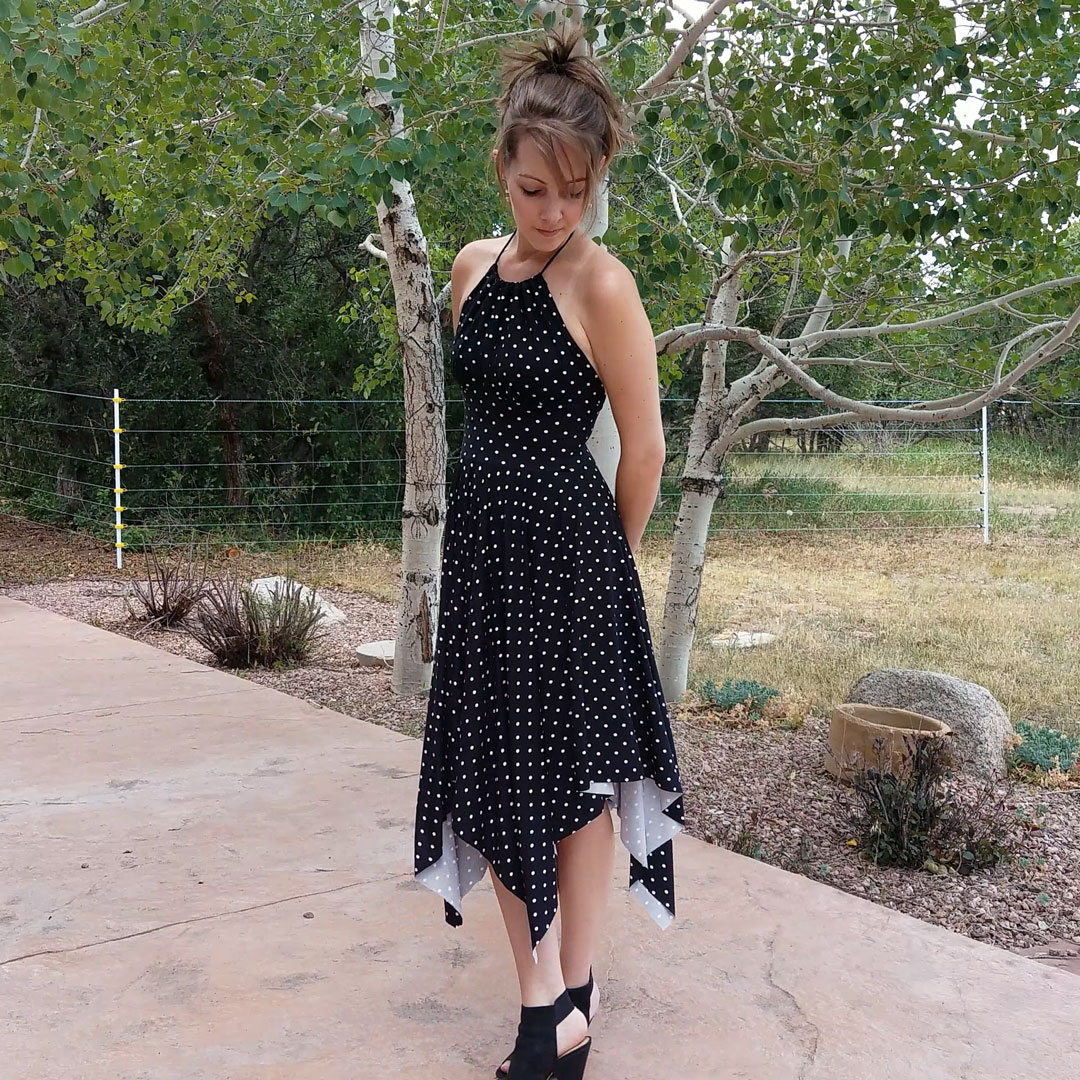
Deciding on the skirt
I already had the measurement for the circumference of the waist (including seam allowance), so I dove into my George and Ginger Mix It Up Dress pattern and measured the different sizes of the waistline on the handkerchief circle skirt until I found one close to what I needed. Turns out, I could have chosen a smaller size as I had to stretch the waistband to distribute the skirt fabric evenly. I didn’t want to do that, but it turned out fine.
And that’s it.
Turns out, it was a lot easier than I expected it to be.
Notes for Next Time
- Can probably increase the negative ease. Maybe try 1.5″?
- Can definitely use a smaller handkerchief skirt size. I used L(14) this time. Maybe try 12 next time (or even smaller if I’m increasing the negative ease.)
- It’d be cool to layer 2 handkerchief skirts in this for a really ragged and funky hemline.
- Be sure to ignore the innermost gather points and instead just line up the center points.
- Using DBP for the lining turned out pretty well. I was worried it would be too chunky around the neckline, but it scrunches up rather nicely.

Project Settings
Presser Foot |
Stitch# |
Width |
Length |
Needle |
Top Thread Tension |
Application |
|---|---|---|---|---|---|---|
standard zig-zag (A) |
5 |
1.0 |
4 |
blue tip |
4 |
seams |
1/4″ foot |
1 |
3.5 |
3.5 |
blue tip |
4 |
casing |
adjustable edge foot |
5 |
1.0 |
4 |
blue tip |
4 |
top stitching |
standard zig-zag (A) |
0 |
3.5 |
5 |
blue tip |
4 |
gathering |
Leave a Reply