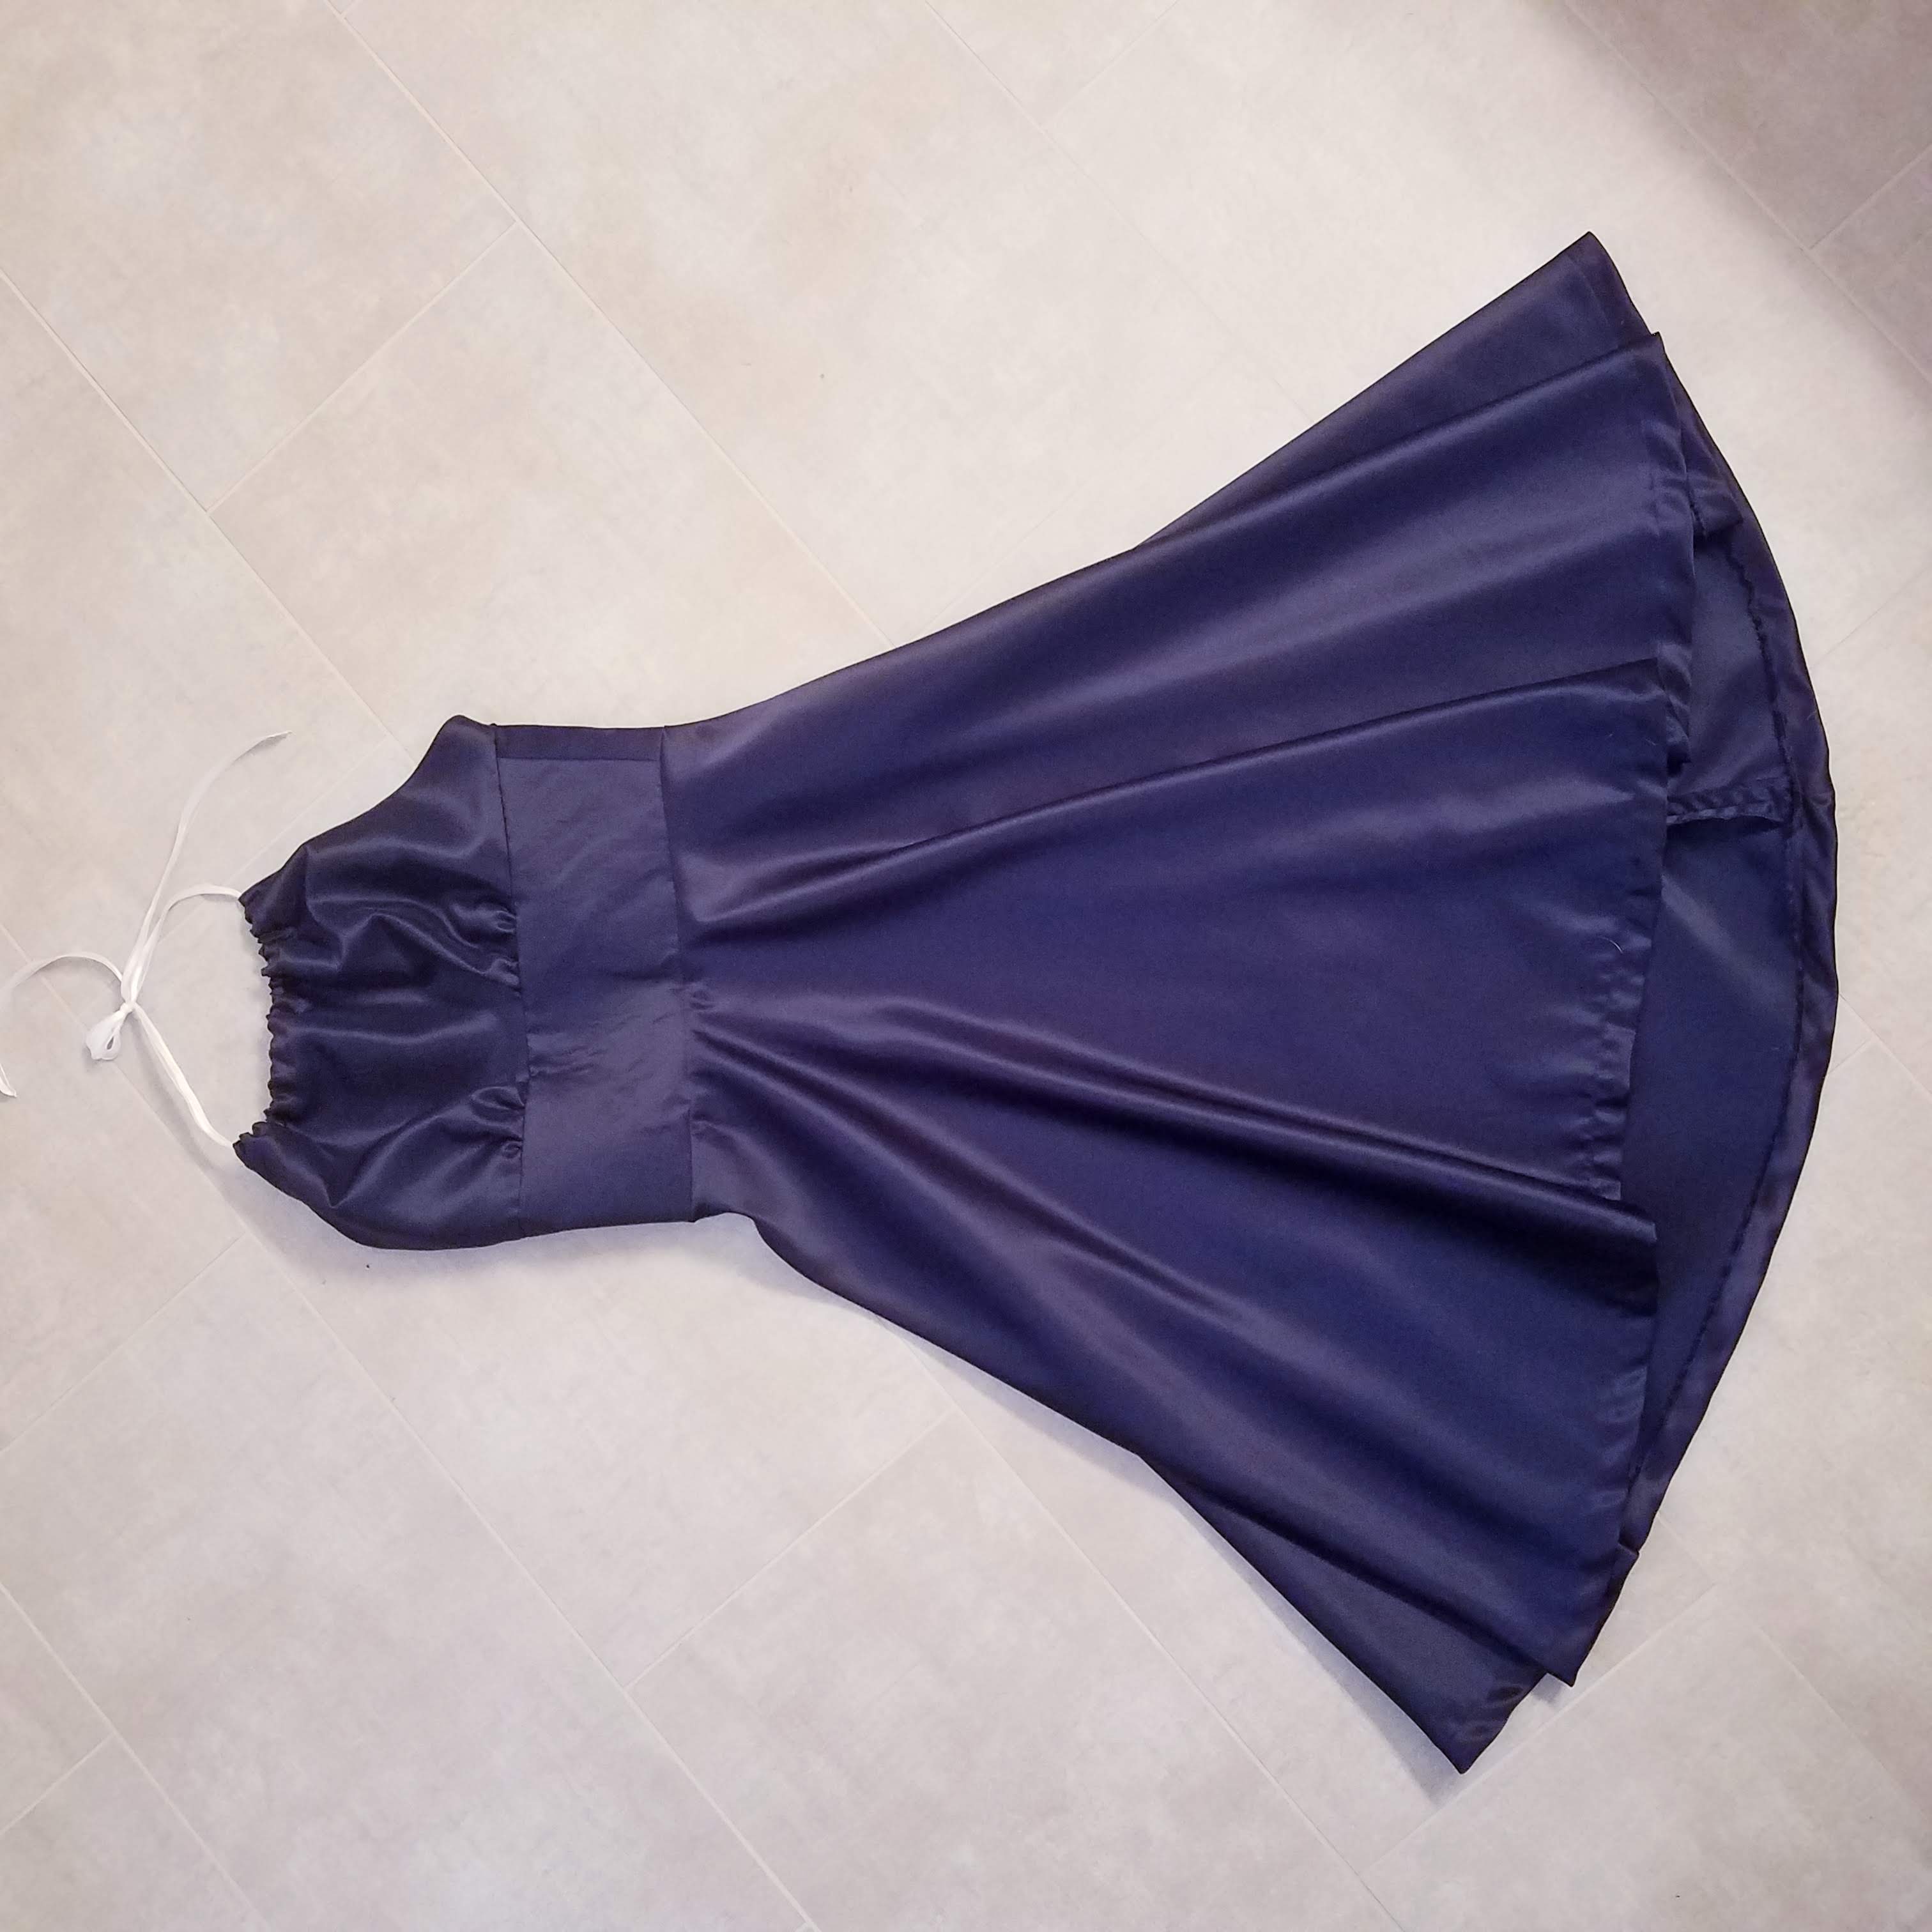
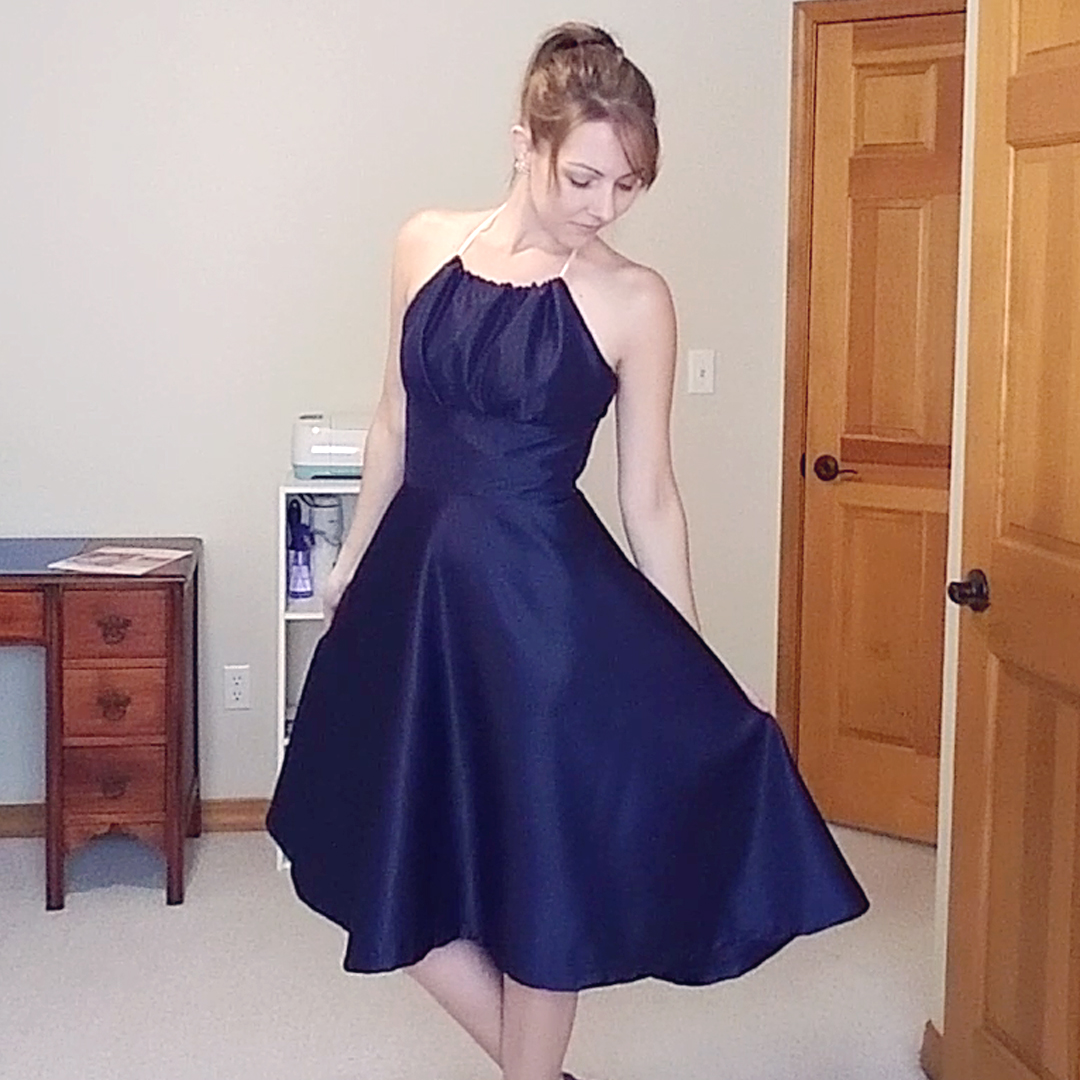
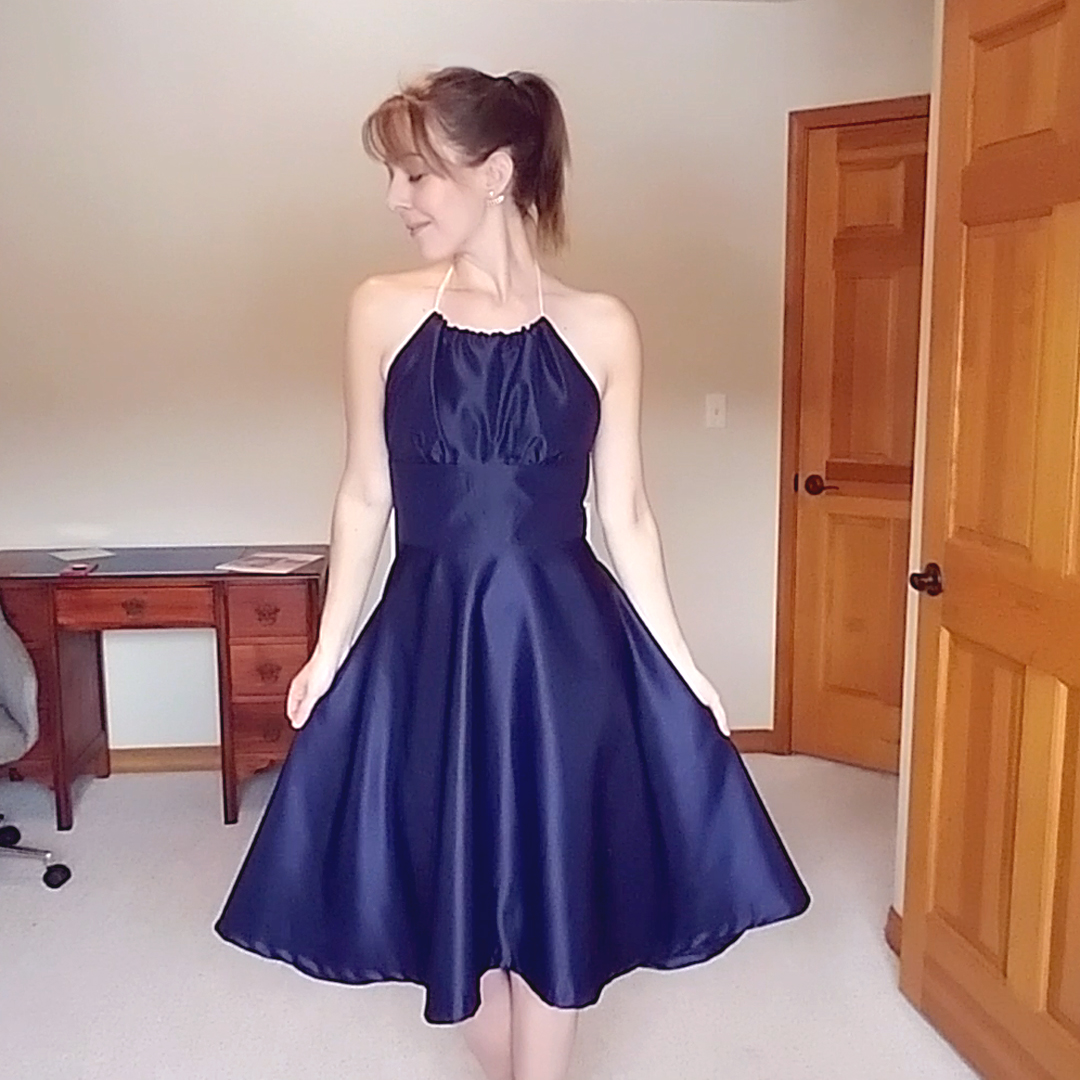
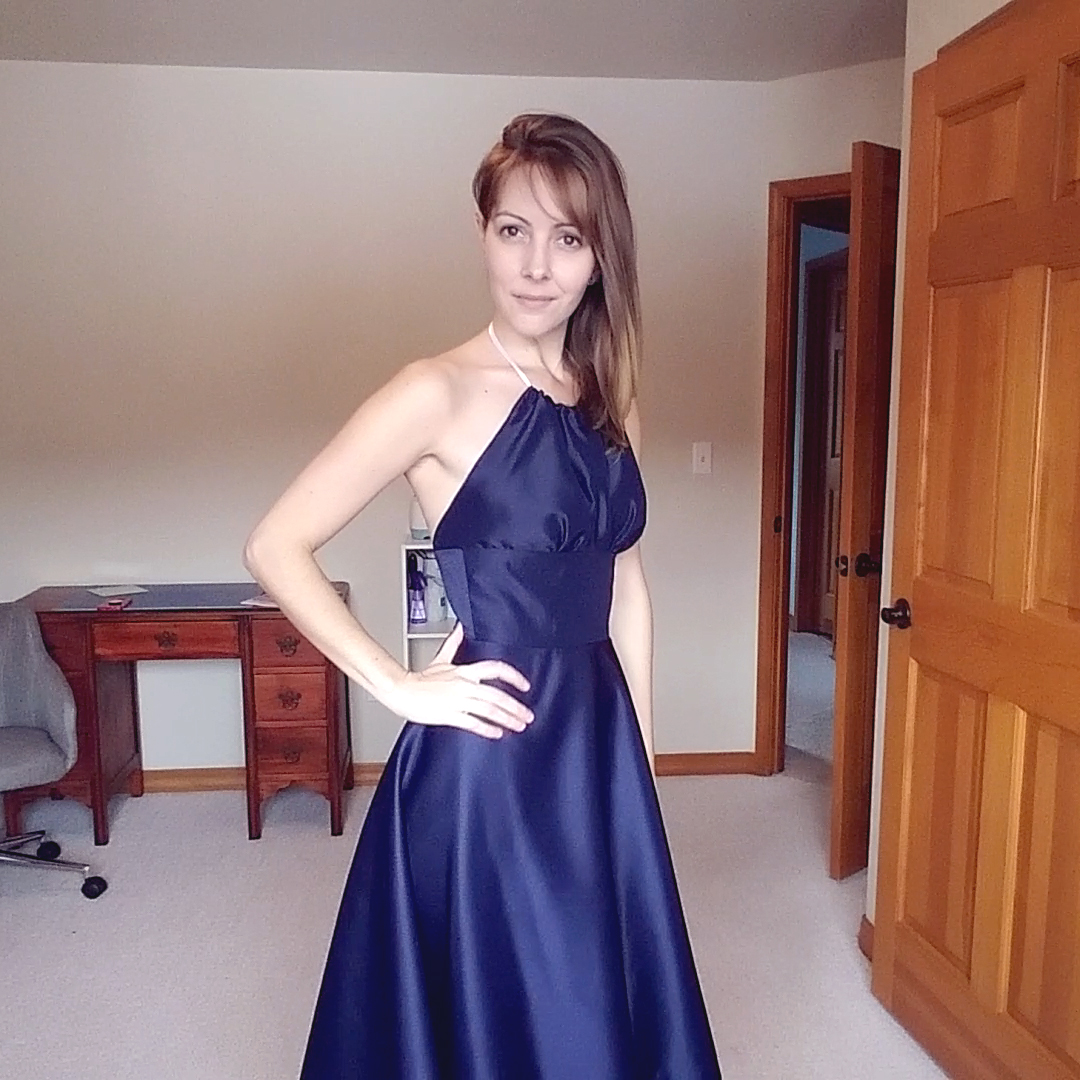
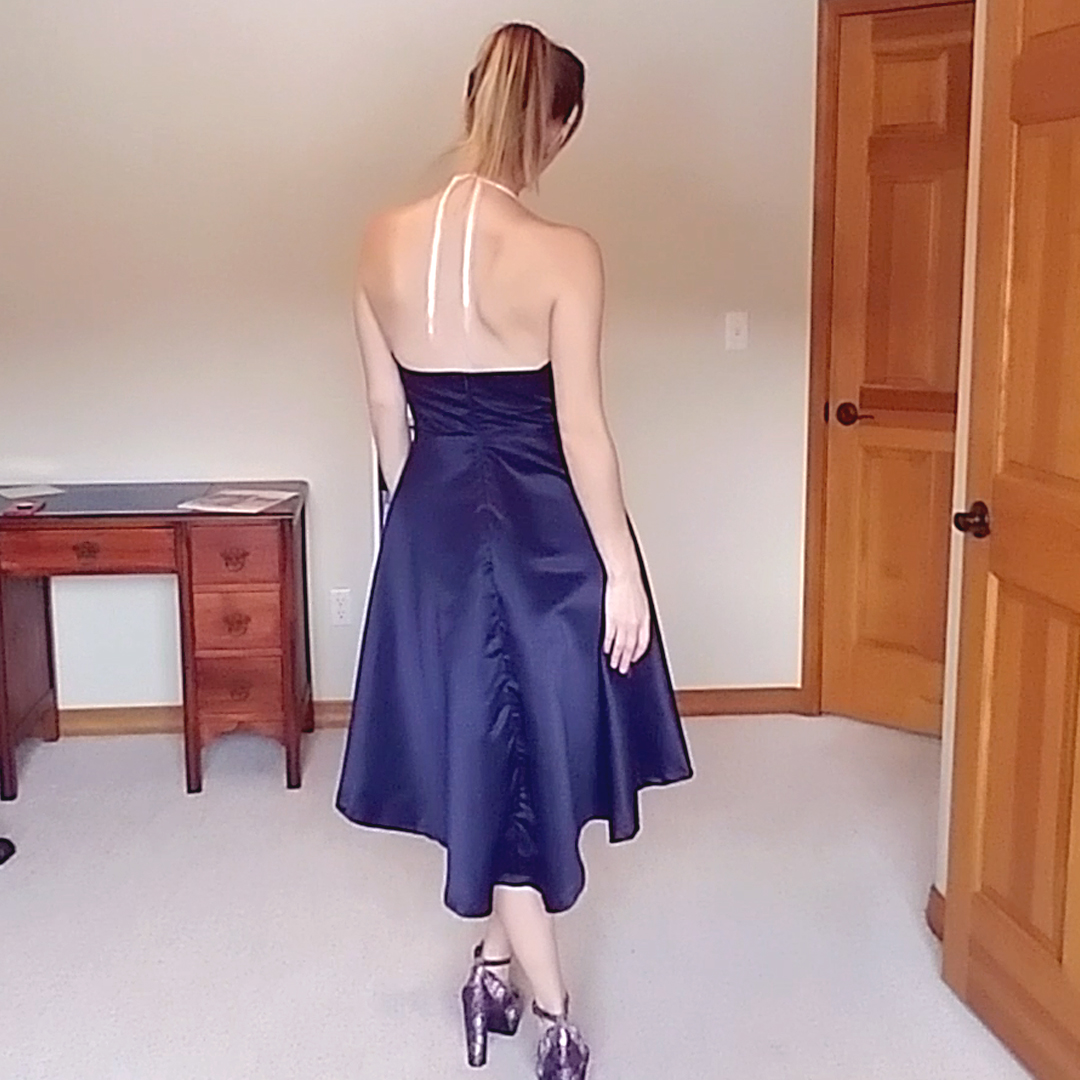
The one thing about the free Ava Sundress pattern I don’t love is the straight skirt gathered at the waist. I’ve never loved the silhouette it creates from the side. To remedy that, I decided to hack it together with a high-low circle skirt tut I found from Style Sew Me.
It sounds easier than it was, but it wasn’t so difficult as to be undoable. Spoiler alert: I did end up with a wearable dress, but it took some mathing and sketching at the beginning that looks like a giant mess.

A mess of math and sketches. Believe me, doing this helps immensely!
Questions to answer before starting:
- How long do you want the front to be versus the back?
I decided I wanted the front to fall 24″ from the bottom of the Ava waist (after seam allowances and hems and such), and the back to fall 30″ from the bottom of the Ava waist. - Do you want to do gathers along the waist like the original pattern calls for?
I considered gathers and pleats. I had to sketch them out to see what appealed to me visually, and I’m glad I did. In my head, pleats looked amazing, but when I roughed it out on paper, I didn’t like the look of it, so I chose to do neither. - What does the circumference of the circle skirt waist have to be to match the Ava waist?
This was a little more involved for me because I had to trim some fabric along the back seam halfway through my first Ava dress to achieve the fit I wanted. So before starting this one, I redrew the waist pattern piece in between the XS and S sizes. I made a muslin of just that section to check the fit. I was happy with it, so I took the measurement of the bottom of the muslin waist and used that as my circle skirt waist measurement. - What do you want your hemline to look like?
I considered doing a narrow hem (~1/4″) and a wider hem (~3/4.) I decided on the wider hem to minimize bulk around the bottom, which could interfere with the drape. With a narrower hem, I would be folding the fabric over twice instead of once, and more layers of fabric naturally leads to more bulk. - What do the dimensions of your pattern have to be?
Using the waist measurement I got above, I plugged it into the equation from the high-low circle skirt tutorial [waist measurement ÷ 3 -0.5] and more or less followed the tutorial video for drawing out cut lines. Very scientific. Don’t forget to include seam allowances and hem measurements! - Are you going to line the skirt?
The Ava pattern requires lining for the bodice pieces, but lining the skirt is optional. I lined the skirt on my first Ava dress because of semi-sheer nature of the voile and overall comfort on warmer days. For this one, I used a matte satin fabric, so there was no sheerness to it. I decided lining the skirt was unnecessary.
A Bit About Matte Satin
Matte satin is made of polyester and is less expensive than its counterparts made from silk. Because of the polyester fiber content, it has a stiffer hand than satin made of silk. It washes well with minimal shrinkage. I washed on delicate warm, rinsed cold, and tumbled dry on low heat.
As a woven fabric, it has no stretch. It shows seams very well, so take extra care in testing stitch settings to make sure you don’t get rippling seams. Be generous with stabilizer to prevent that. (I should have used it but I was anxious to have the finished dress in my hands. This is my greatest downfall, ya’ll. Don’t be like me.)
I used a lighter needle (75/11 sharp). I didn’t like the size of the holes left behind by a 90/14.
You can use an iron set to a silk setting with steam. You can also fuse interfacing to it. I used a sheerweight and pressing for 10 seconds was plenty. Be careful ironing around any fused sections later, especially with steam. You could end up with wrinkles where the interfacing fused to the fabric.
What to know for next time
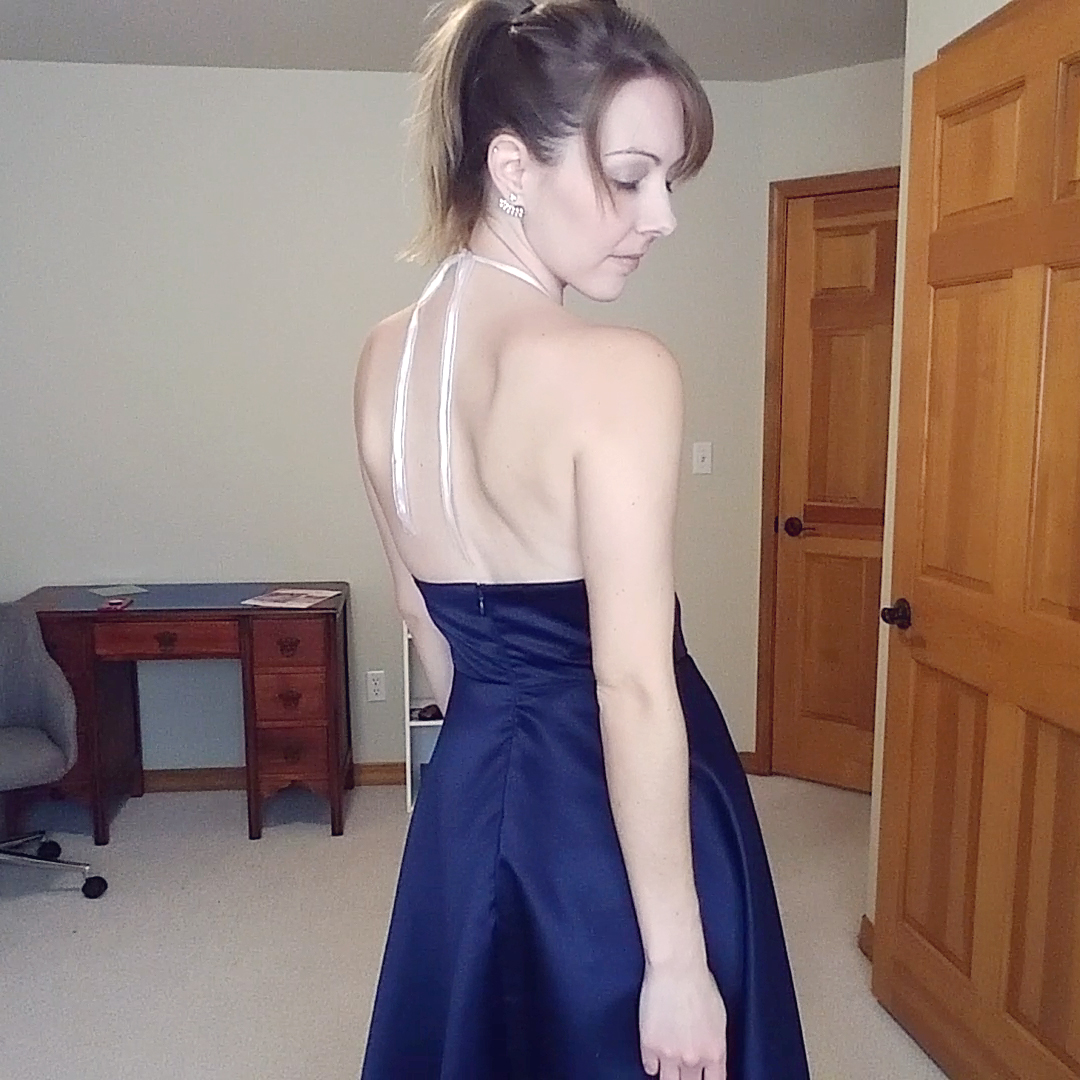
Stabilizer. This fabric likes to pucker at the seams. You’ll notice it along my hemline and back center seam below the zipper. I am leaning towards unpicking all those seams and redoing them with stabilizer to smooth them out. I’ll try pressing first, but I’m not holding my breath on that. If I do this again with a fabric like this, I will use stabilizer on everything, except maybe edge finishing.

Project Settings
Presser Foot |
Stitch# |
Width |
Length |
Needle |
Top Thread Tension |
Application |
|---|---|---|---|---|---|---|
overedge (C) |
9 |
5 |
2.5 |
75/11 sharp |
5 |
edge finish |
standard zig-zag (A) |
1 |
3.5 |
2.4 |
75/11 sharp |
5 |
seams |
Leave a Reply