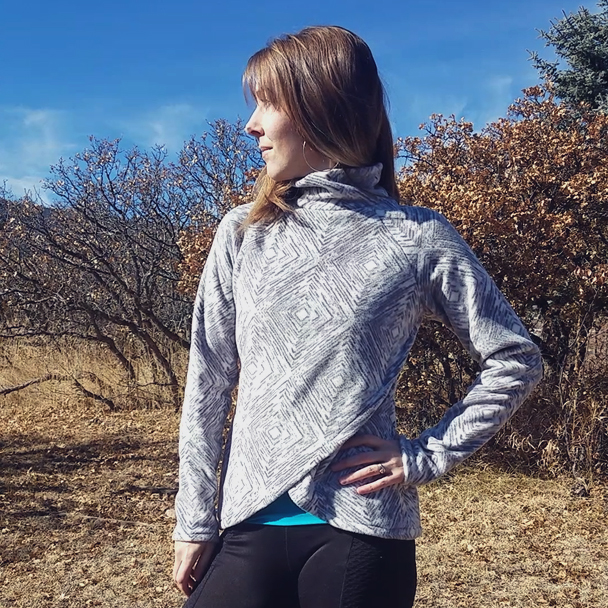
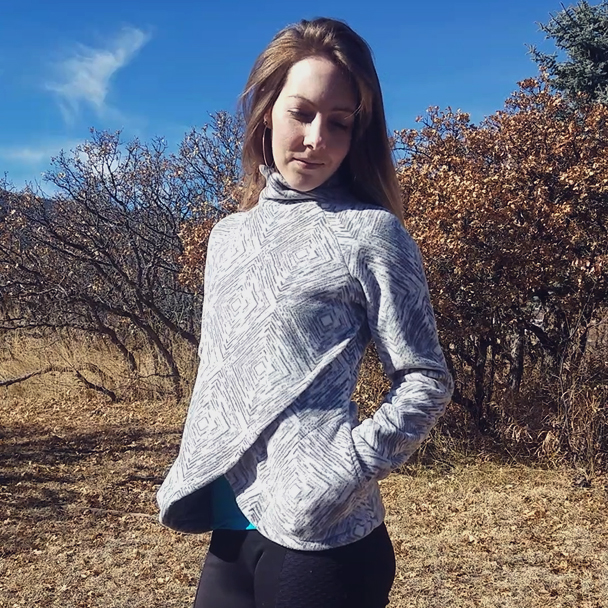
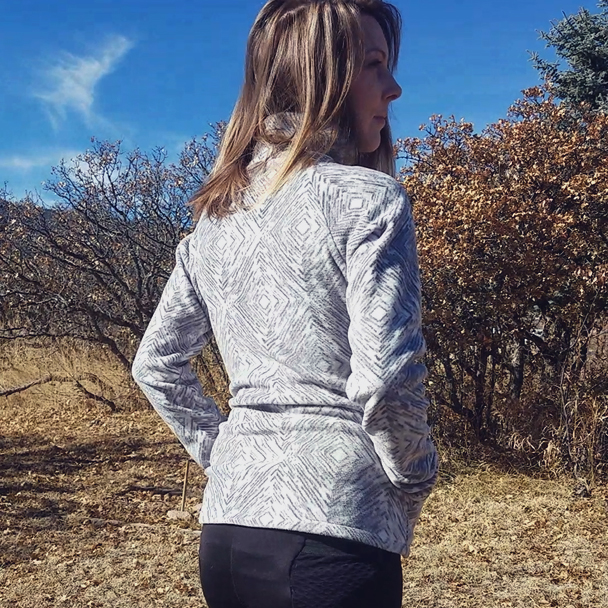
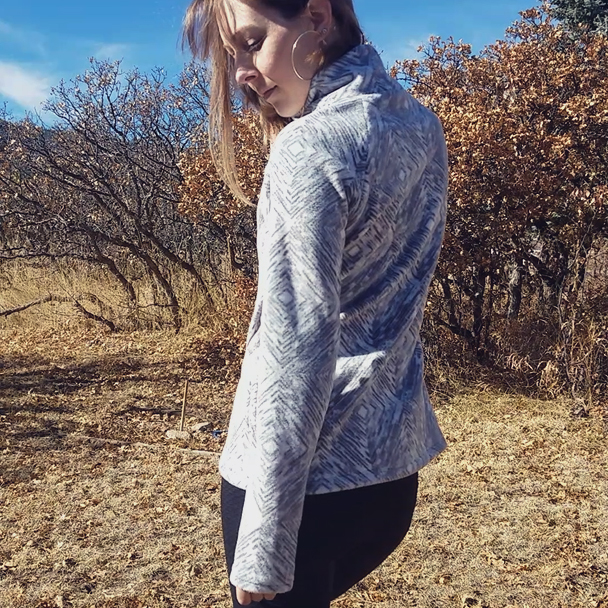
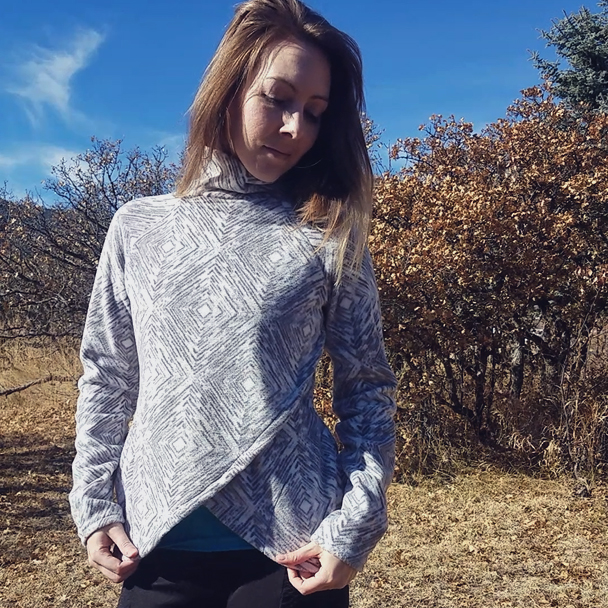
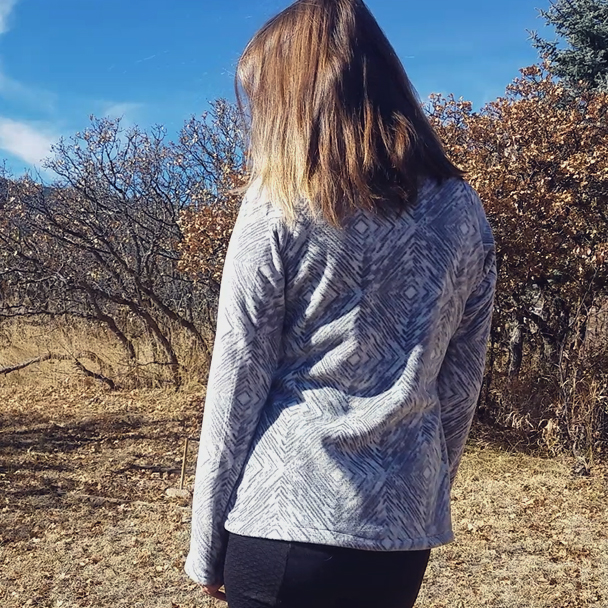
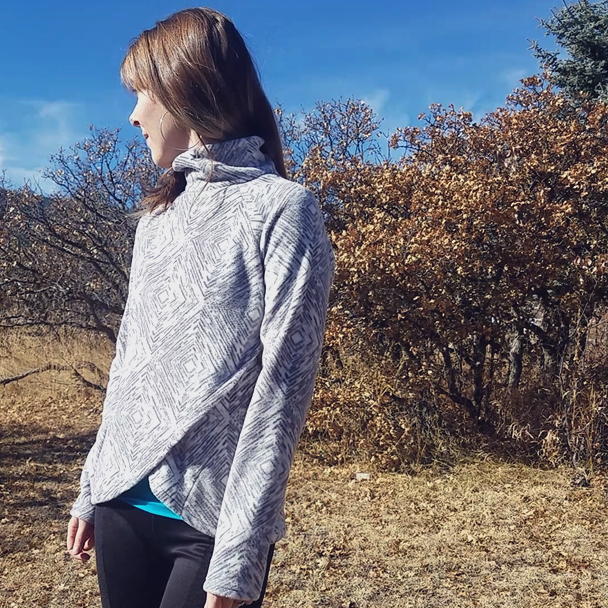
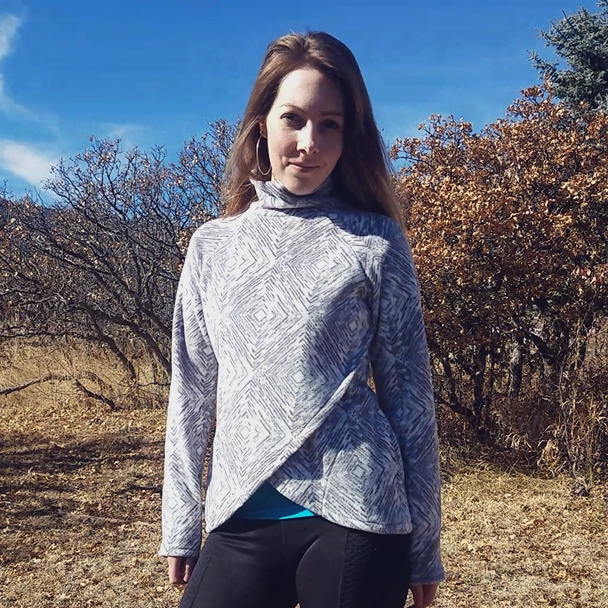
The Orono Top by Itch to Stitch
Can you make clothes out of fleece? You know, that fleece that infests the chain fabric stores you walk into?
I wondered the same thing. So I just went for it. I bought this anti-pill plush fleece from Joann’s and gave it a go with the Orono Top from Itch to Stitch. The pattern calls for French Terry, ponte, or sweatshirt knit – medium-weight fabrics. (This post gives some recommended fabrics with helpful links.) This fleece has a bit of bulk to it, so when you start sewing your pieces together and you end up with 3 or 4 or more layers of fabric together, that’s not exactly a great thing.
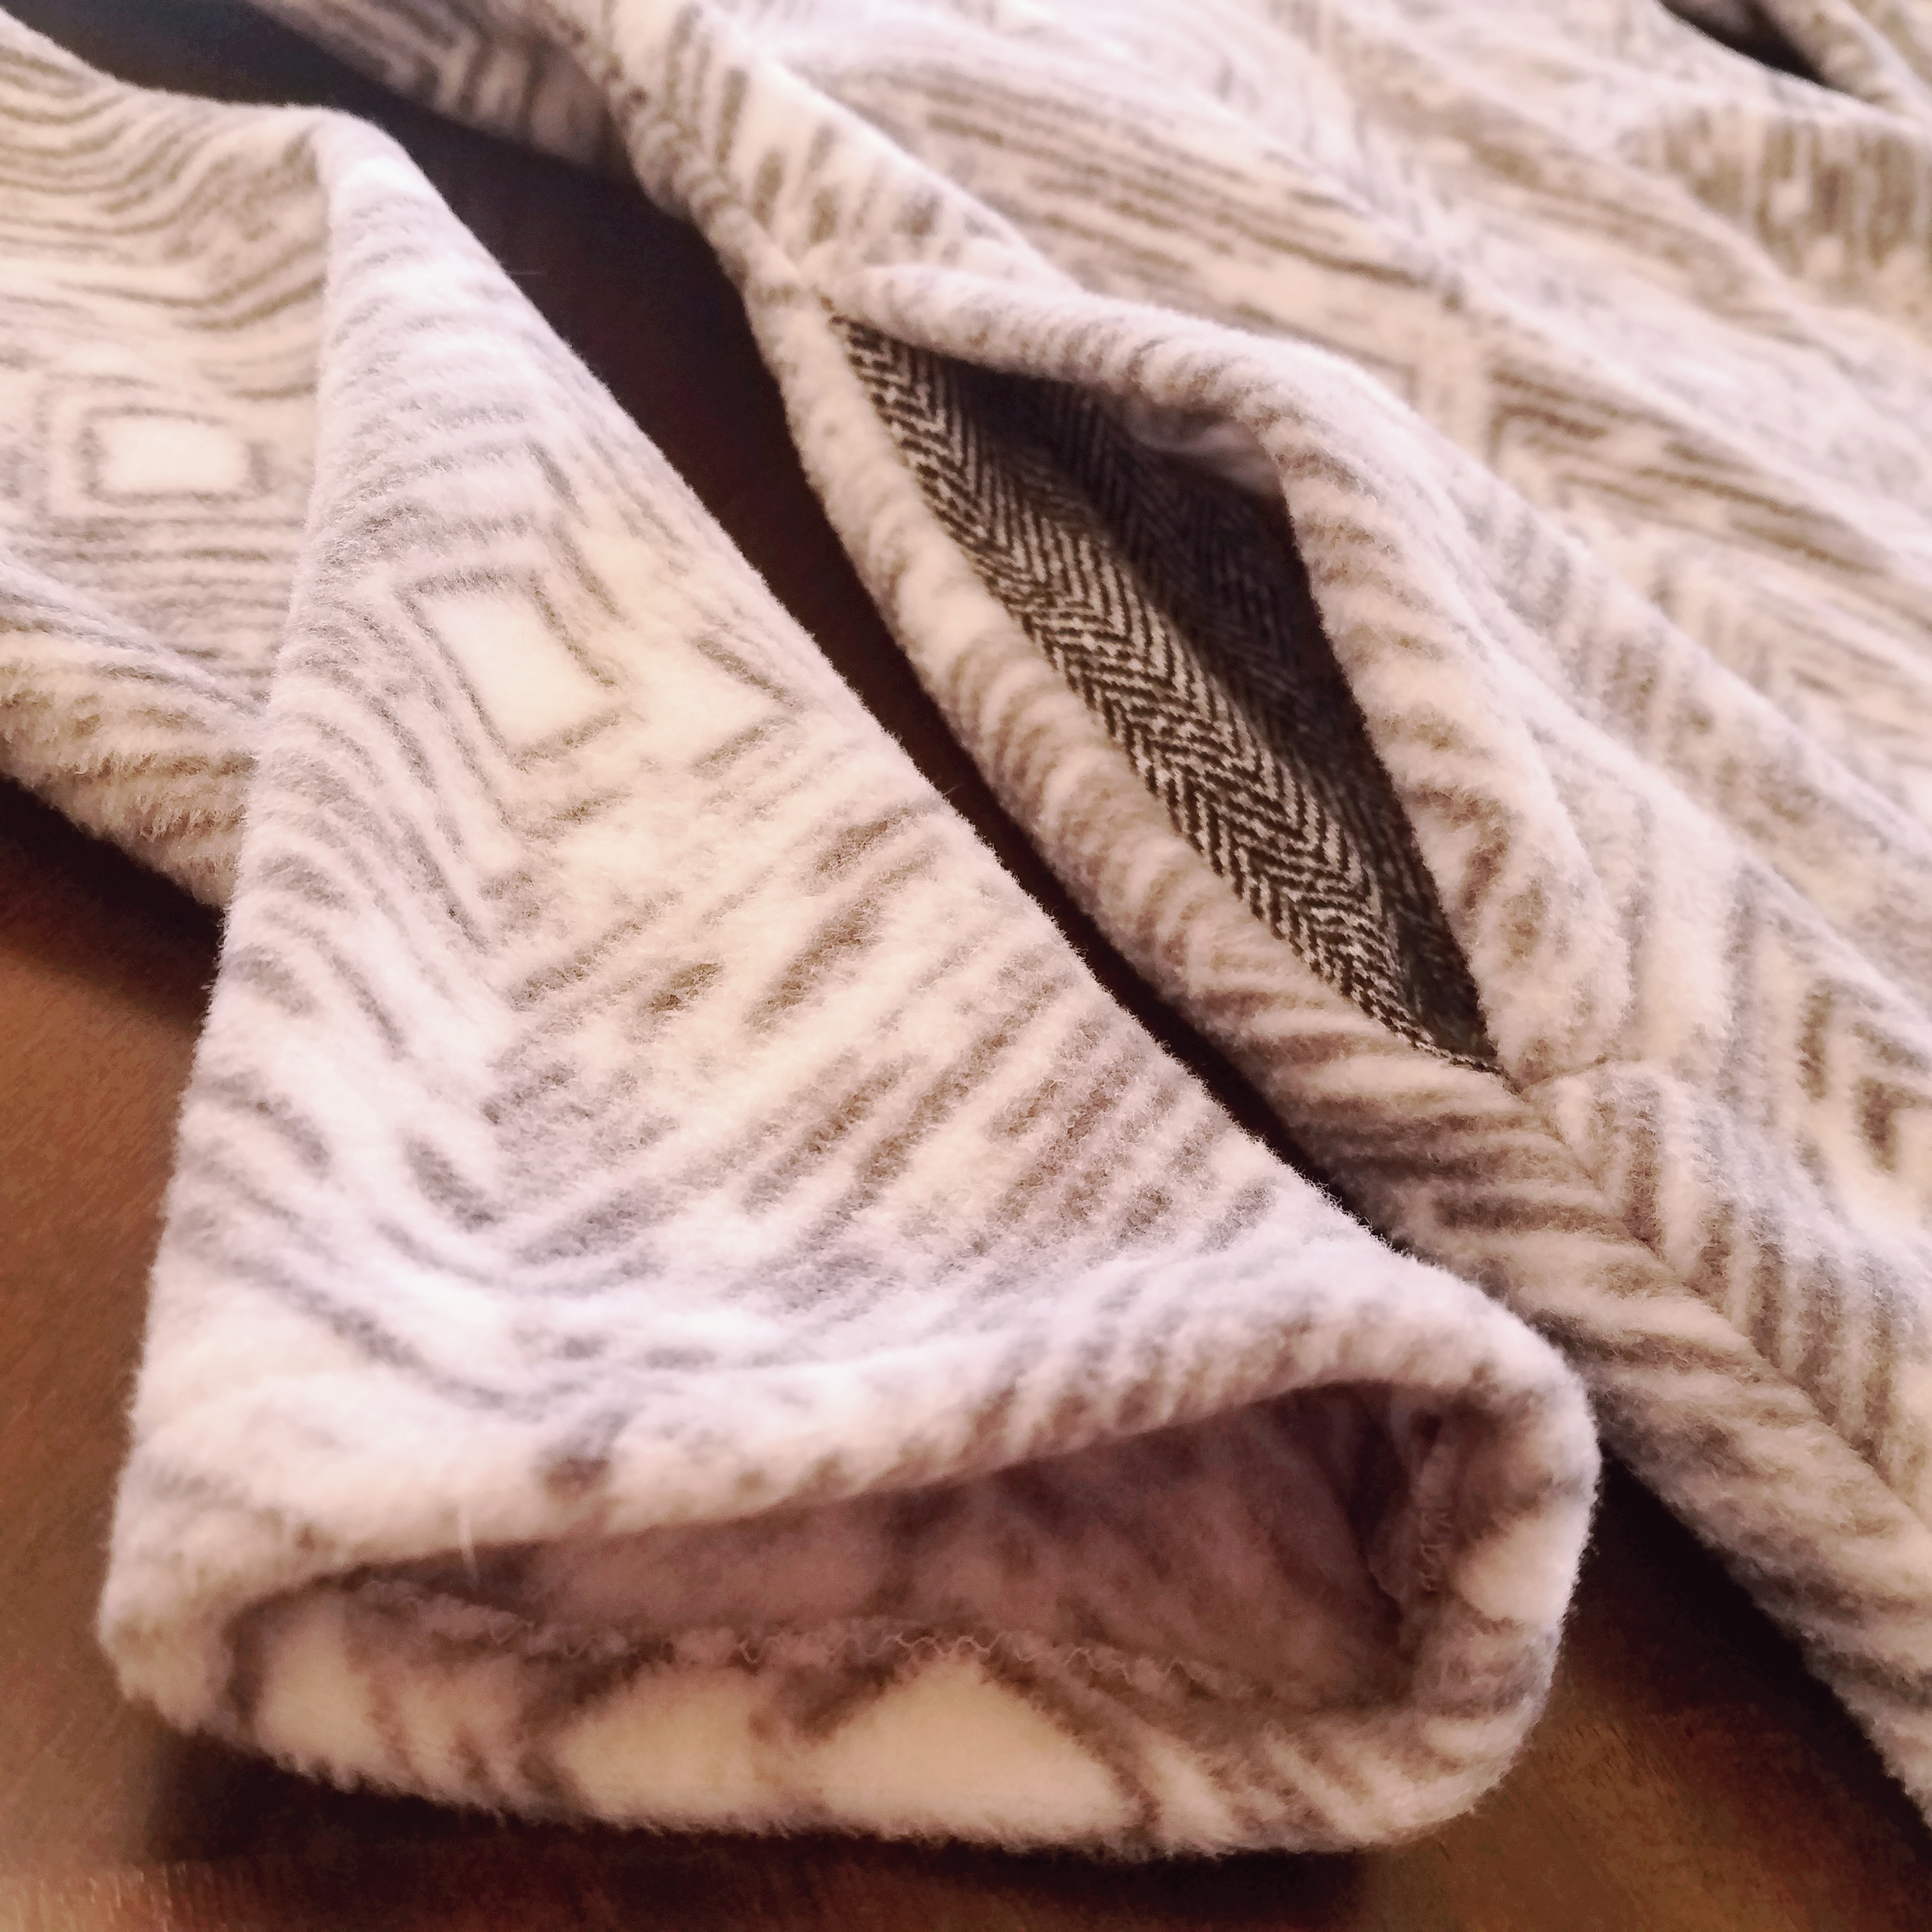
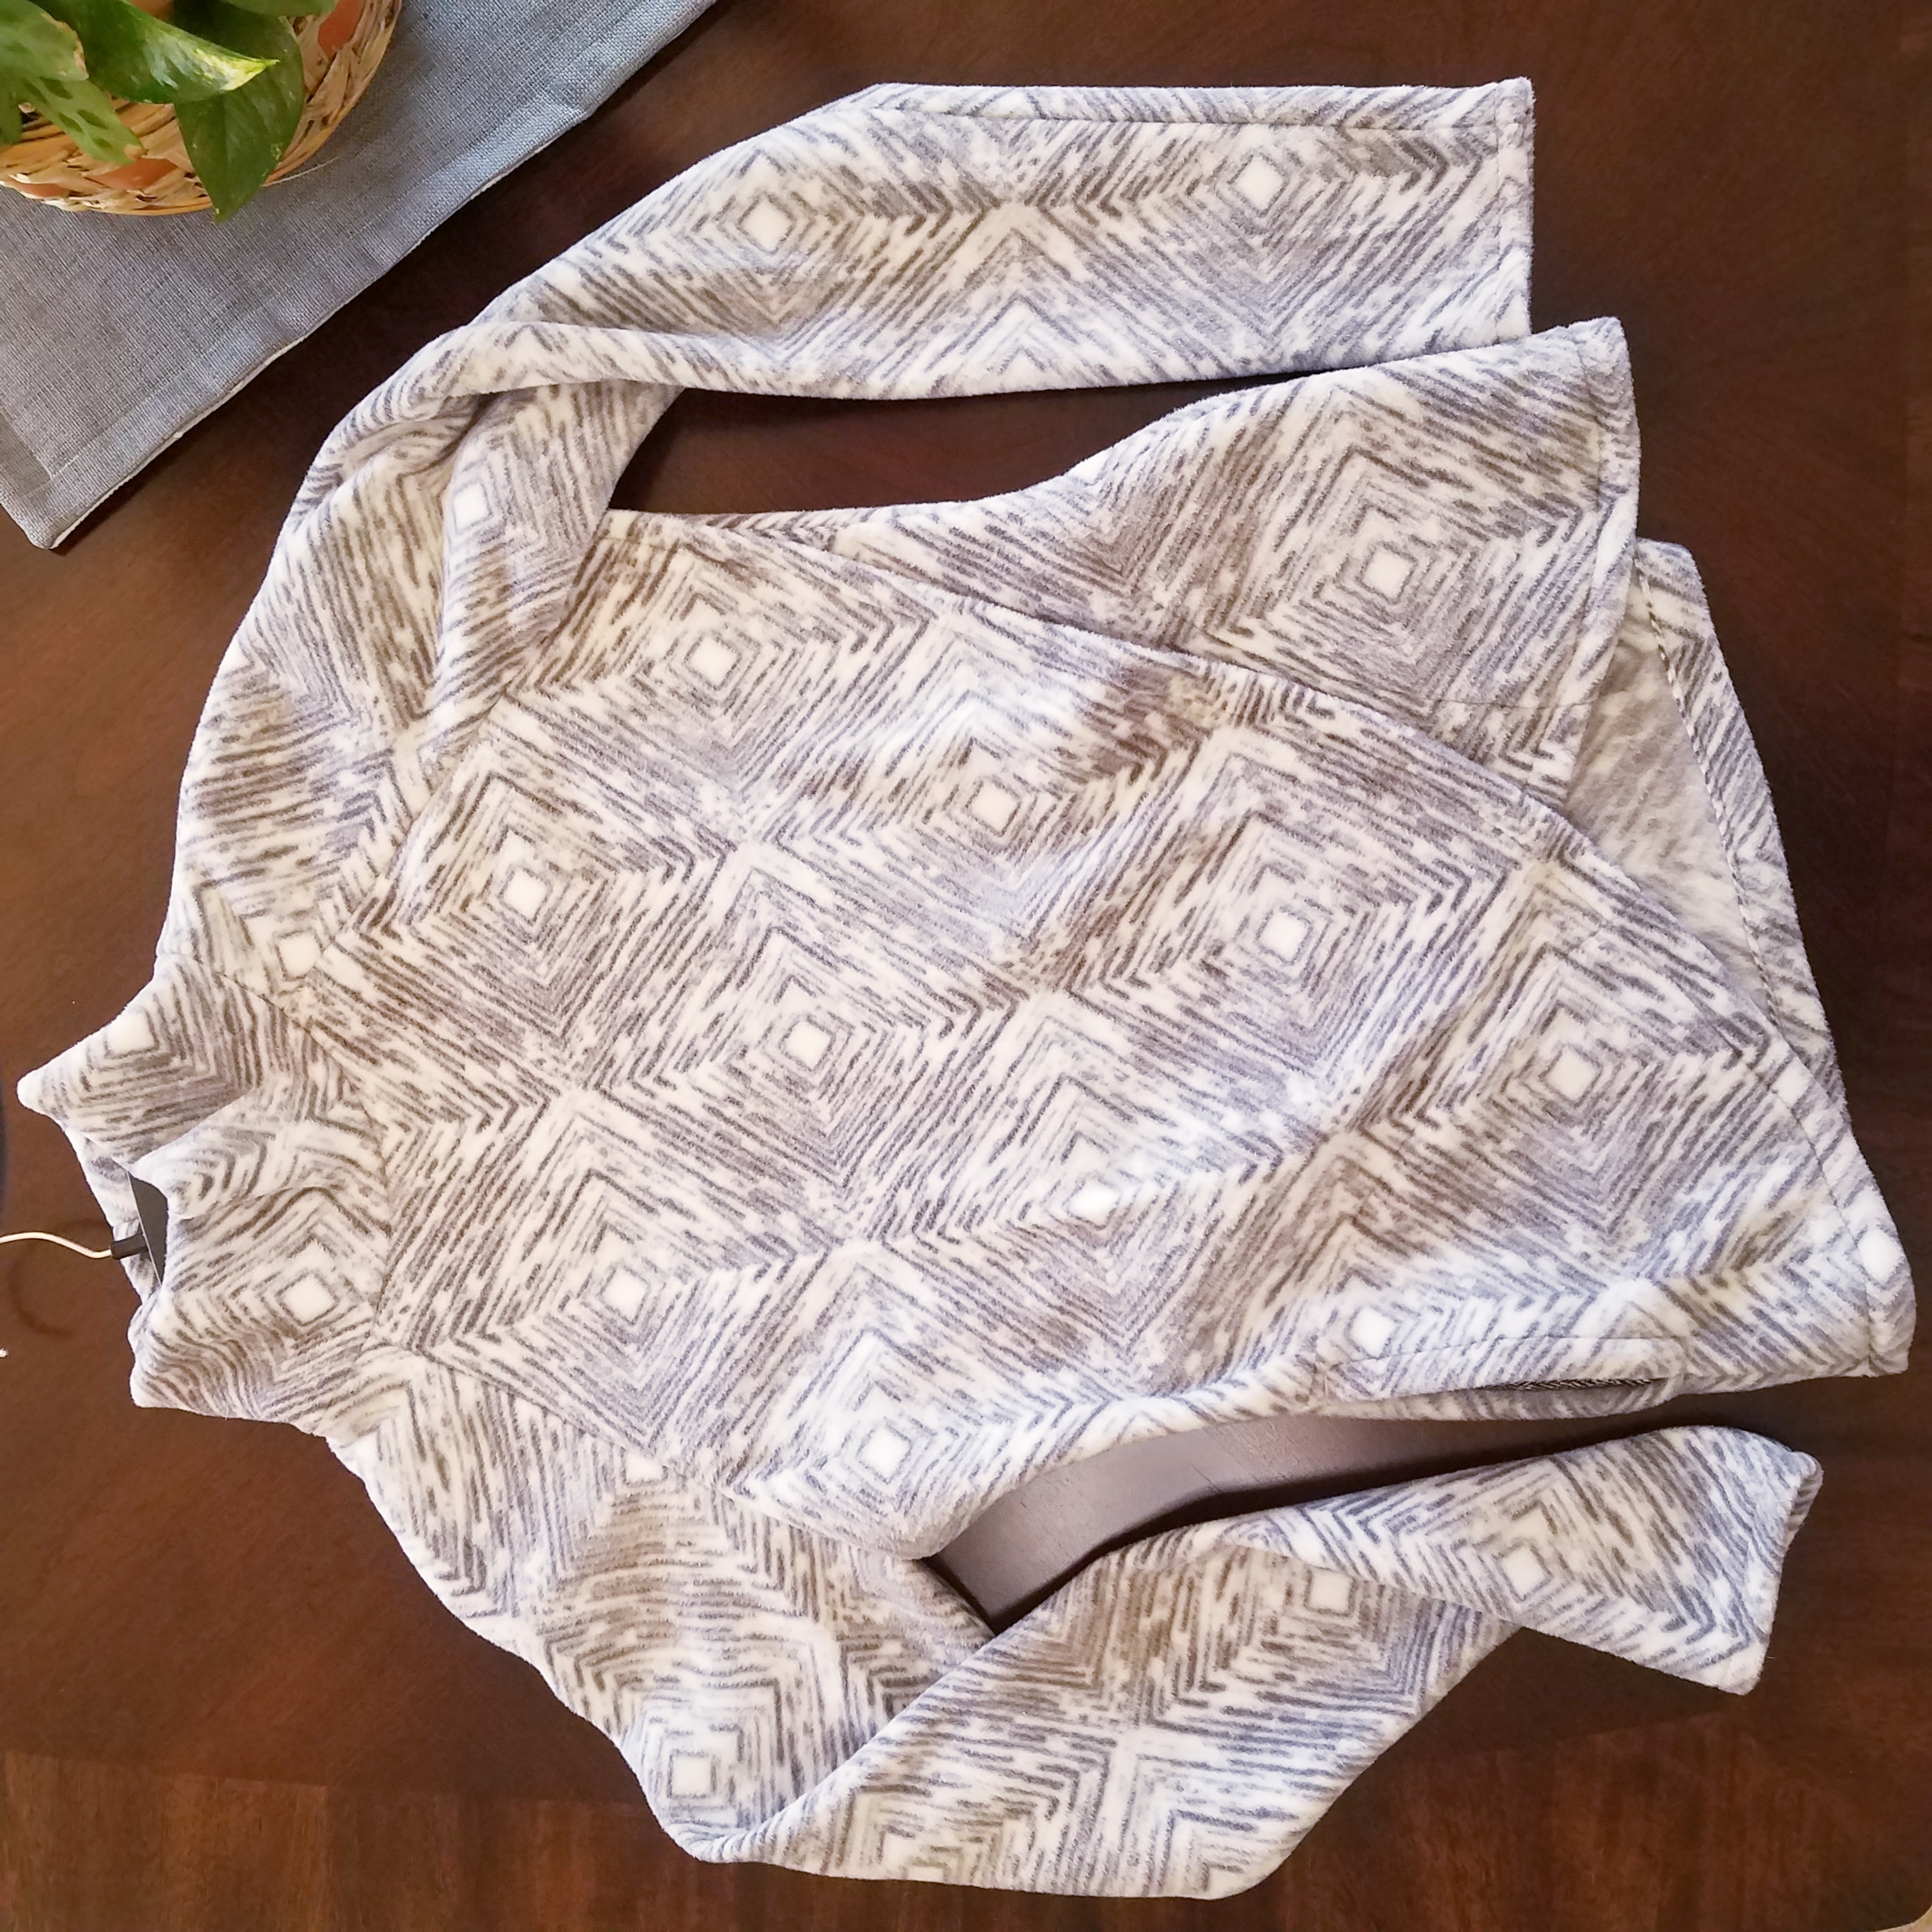
But I think I got away with it. I wanted something extra cozy for the cold winter days that are coming up, and I didn’t mind the idea of bulk. The only pieces I did not cut from fleece were the pockets. I used some leftover scraps of a lighter 2-way stretch knit. One side was brushed so the inside of the pockets still have that warm, fleecy texture, which is what I wanted. I had just enough of it and, lucky me, it coordinates well with the fleece.
Everything else was sewn with the fleece, and I really had no issues to speak of. Even the bulky parts fed well through my machine, so that made me happy.
Project Notes
- I blended sizes 0 and 2 on the back piece and front pieces. As per usual, I added 2 inches to the sleeves.
- Even though the pattern says to consider lengthening or shortening if you’re not 5’6″, I chose not to. I’m 5’7″ and I find the length of the bodice to be comfortable as is.
- The instructions call for fusible stay tape to be used around the shoulder and pocket seams. Fleece is not fusible-friendly. (You risk melting it with considerable ironing due to the fiber content.) So I used this non-fusible lightweight stay tape and sewed it to the seam areas called for. In the future, I might search for an alternative. This stay tape is scratchy against the skin and I had to go through the finished garment and trim away the excess to make it more comfortable. But it served its purpose and kept my seams from stretching.
- Marking fleece fabric isn’t always the easiest thing to do. The brushed surfaces make it difficult to make accurate marks, if any. My personal preference for marking is chalk, which is next to useless on fleece. What I ended up doing was taking a hole puncher to some blank address labels and punching out some dot “stickers” to stick to the areas I needed to mark. It worked perfectly. They stuck well, and came off clean.
- I sewed the bar tacks on the pocket openings by hand. The width I wanted them to be wasn’t achievable on my machine.
- I absolutely love Itch to Stitch patterns. They are easy to follow and I never have any complaints with the instructions.

Project Settings
Presser Foot |
Stitch# |
Width |
Length |
Needle |
Top Thread Tension |
Application |
|---|---|---|---|---|---|---|
standard zig-zag (A) |
6 |
1.0 |
2.5 |
blue tip |
3-4 |
seams |
standard zig-zag (A) |
0 |
3.5 |
3.5 |
blue tip |
3-4 |
stay tape |
overedge (C) |
6 |
5.5 |
2.5 |
blue tip |
6 |
edge finishing |
1/4″ foot |
6 |
1.0 |
2.5 |
blue tip |
3-4 |
attaching pocket seam allowance |
#24 (stitch guide foot) |
6 |
1.0 |
2.5 |
blue tip |
3-4 |
topstitch pocket curve |
Leave a Reply