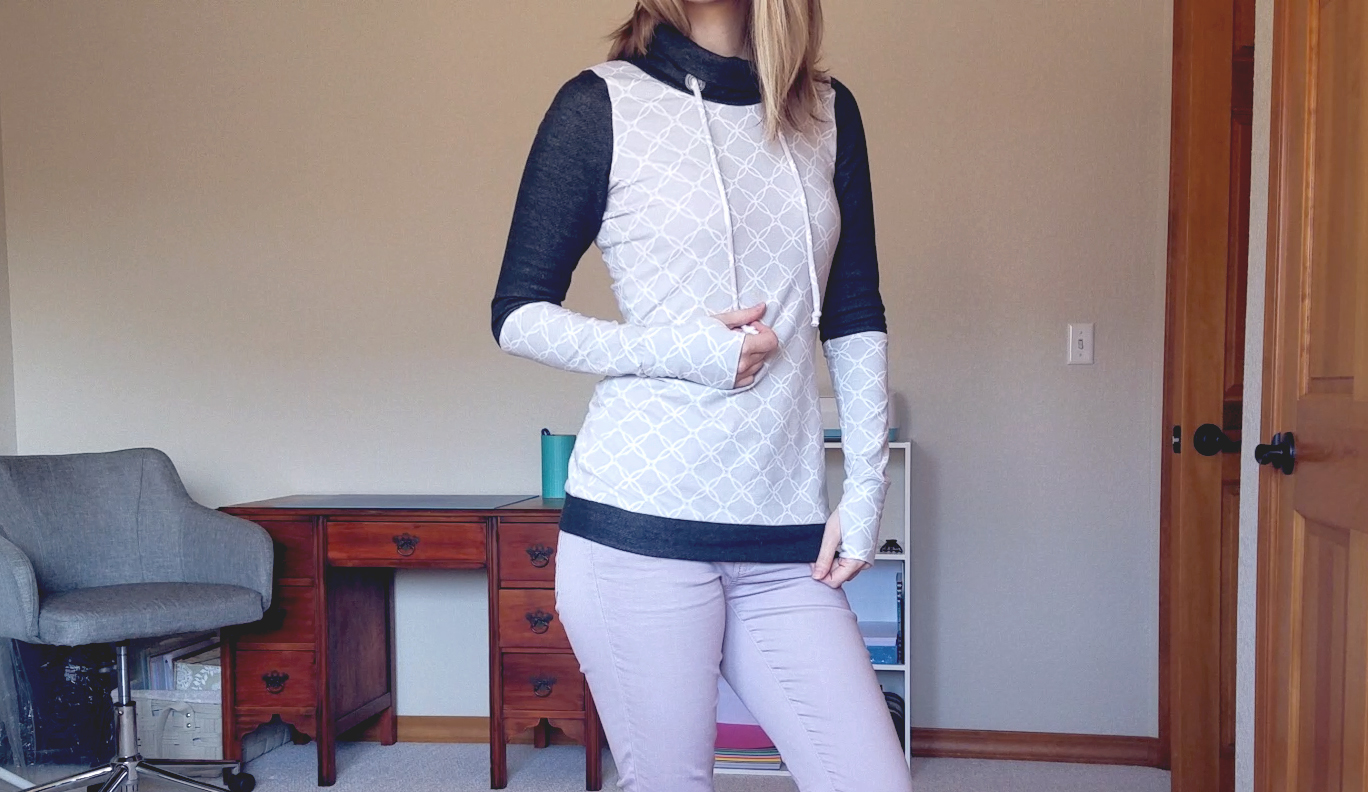
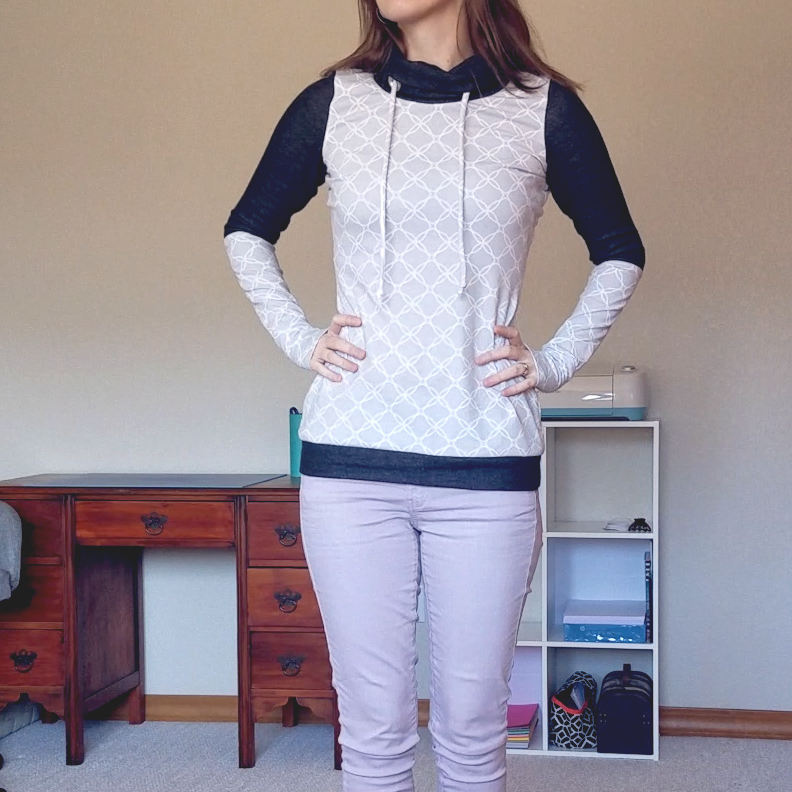
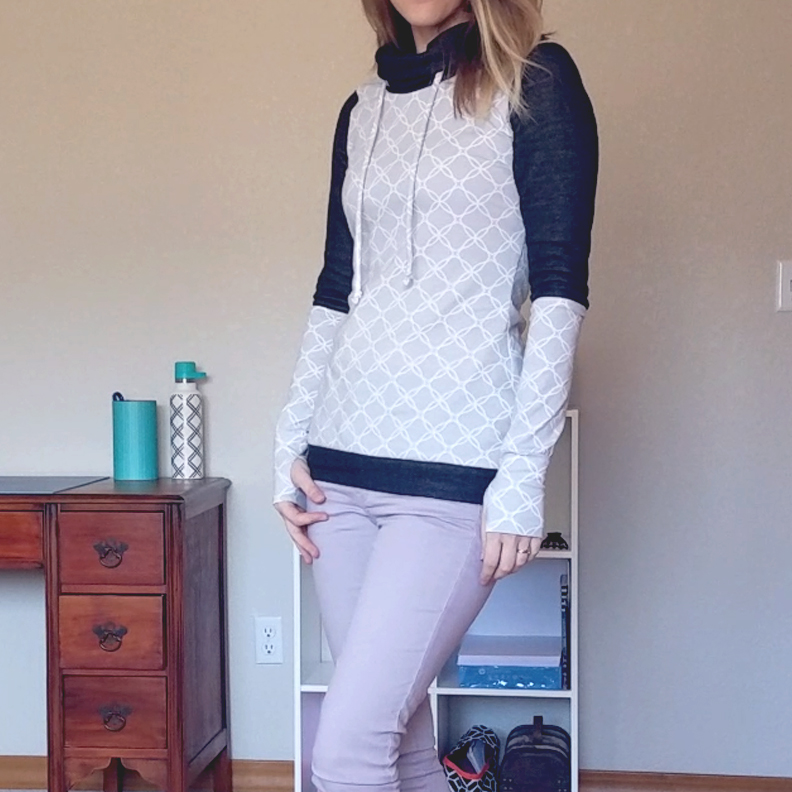
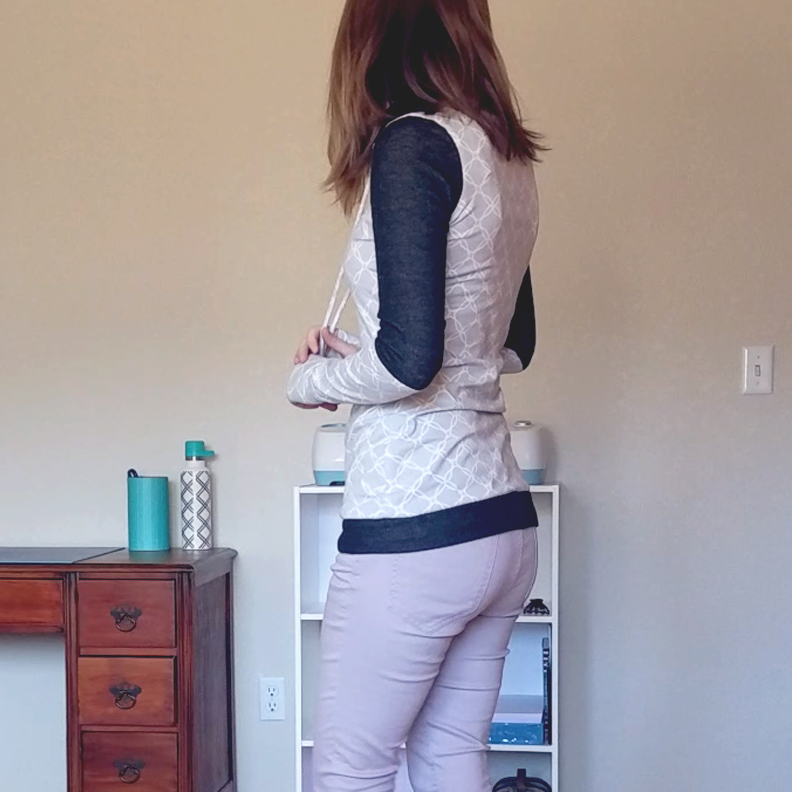
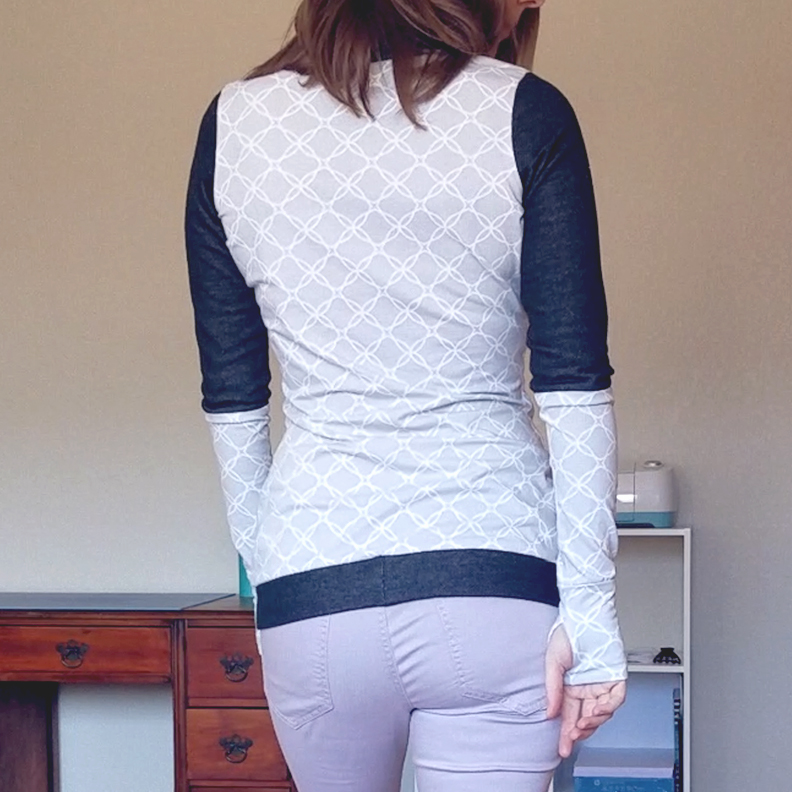
Dandelion Tee by Millicent Joy Patterns
I love this shirt every bit as much as I thought I would since first seeing the pattern.
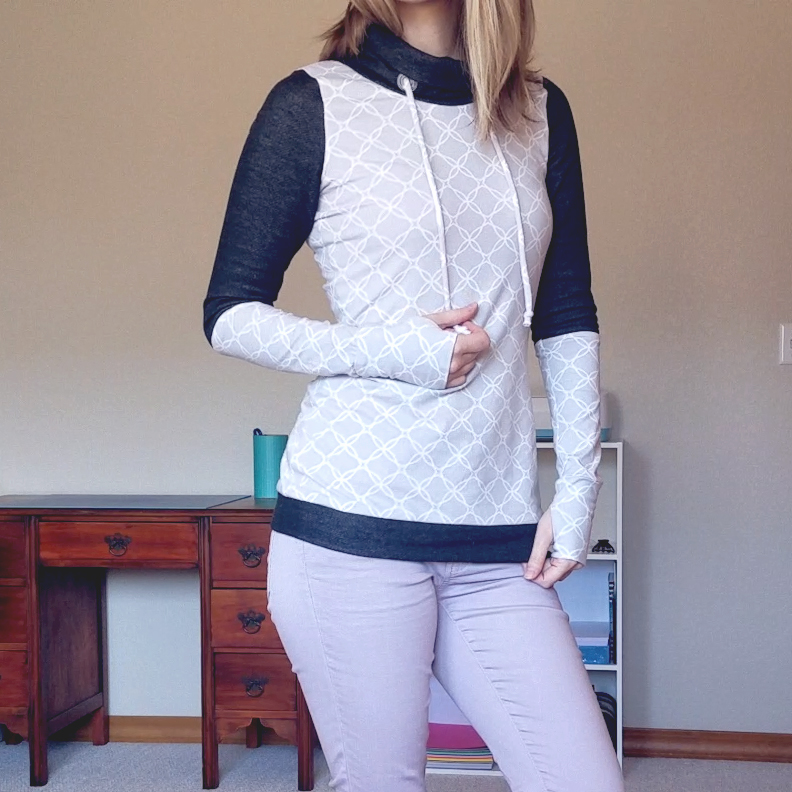
What I Love
- The pattern options. There are just a TON of ways to customize this. 5 necklines (high neck, crew neck, regular neck, scoop neck, V neck,) 3 lengths (shirt, tunic, dress), and 3 sleeves (short, half, long, hemmed or with cuffs). Throw in the expansion pack, and it’s just nuts (and totally worth it.) 8 more necklines (single turtleneck, fold-over turtleneck, funnel collar, regular cowl, scoop cowl), thumbhole cuffs, and 2 pockets (in-seam, or kangaroo.) AND a slim or relaxed fit for everything. Between all those options, styling this tee is pretty limitless. It goes so far beyond just a tee.
- The length of the shirt is long. The pattern says it’s sized for someone 5’7″, which is exactly what I am, so I didn’t have to mess with lengthening the shirt at all. I did, however, add 2 inches to the sleeves. I usually do this with all long sleeves because apparently I was born with monkey arms, and I like my sleeves on the longer side.
- The instructions are easy to follow. To be fair, I may just be getting better and better at this, so when a pattern doesn’t mention doing things I would do regardless (such as finishing edges or pressing things towards the back), it doesn’t bother me so much. A beginner might have some questions with the instructions on this pattern, and with so many options there is a lot of jumping around.
- It sewed up quickly. Even wrestling with these fabrics that rolled a lot at the edges, each step came together painlessly and I was surprised how quickly I finished each thing.
What I Chose & Changed
- Shirt length, funnel collar with functional drawstring and grommets, thumbhole cuffs, and shirt band hem.
- I had a bit of the black brushed ponte left over from my second Frankie Tee, and I wanted to use it up for a few reasons.
- The brushed back makes it warm and ideal for some winter sewing.
- I loved how it paired with the Light Gray and Vanilla Ice Trellis Printed Stretch Cotton Jersey from Mood that I’ve had sitting around since May. (1 yard for $4.99; can’t go wrong!)
- I wanted to be rid of it. Though it’s quite nice to wear, it’s quite a pain to sew. Between the rolling, fraying, and pilliness, I wanted to be done with it.
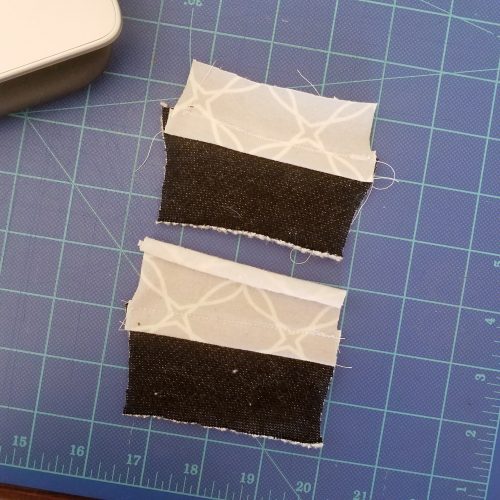
- I didn’t have quite enough to make full length sleeves out of the black, so I cut out half sleeves with about an extra half inch at the bottom for seam allowance to attach to the jersey. Doing that gave me just enough left for the funnel collar and waist band. I also loved the idea of the color contrast halfway down the sleeves.
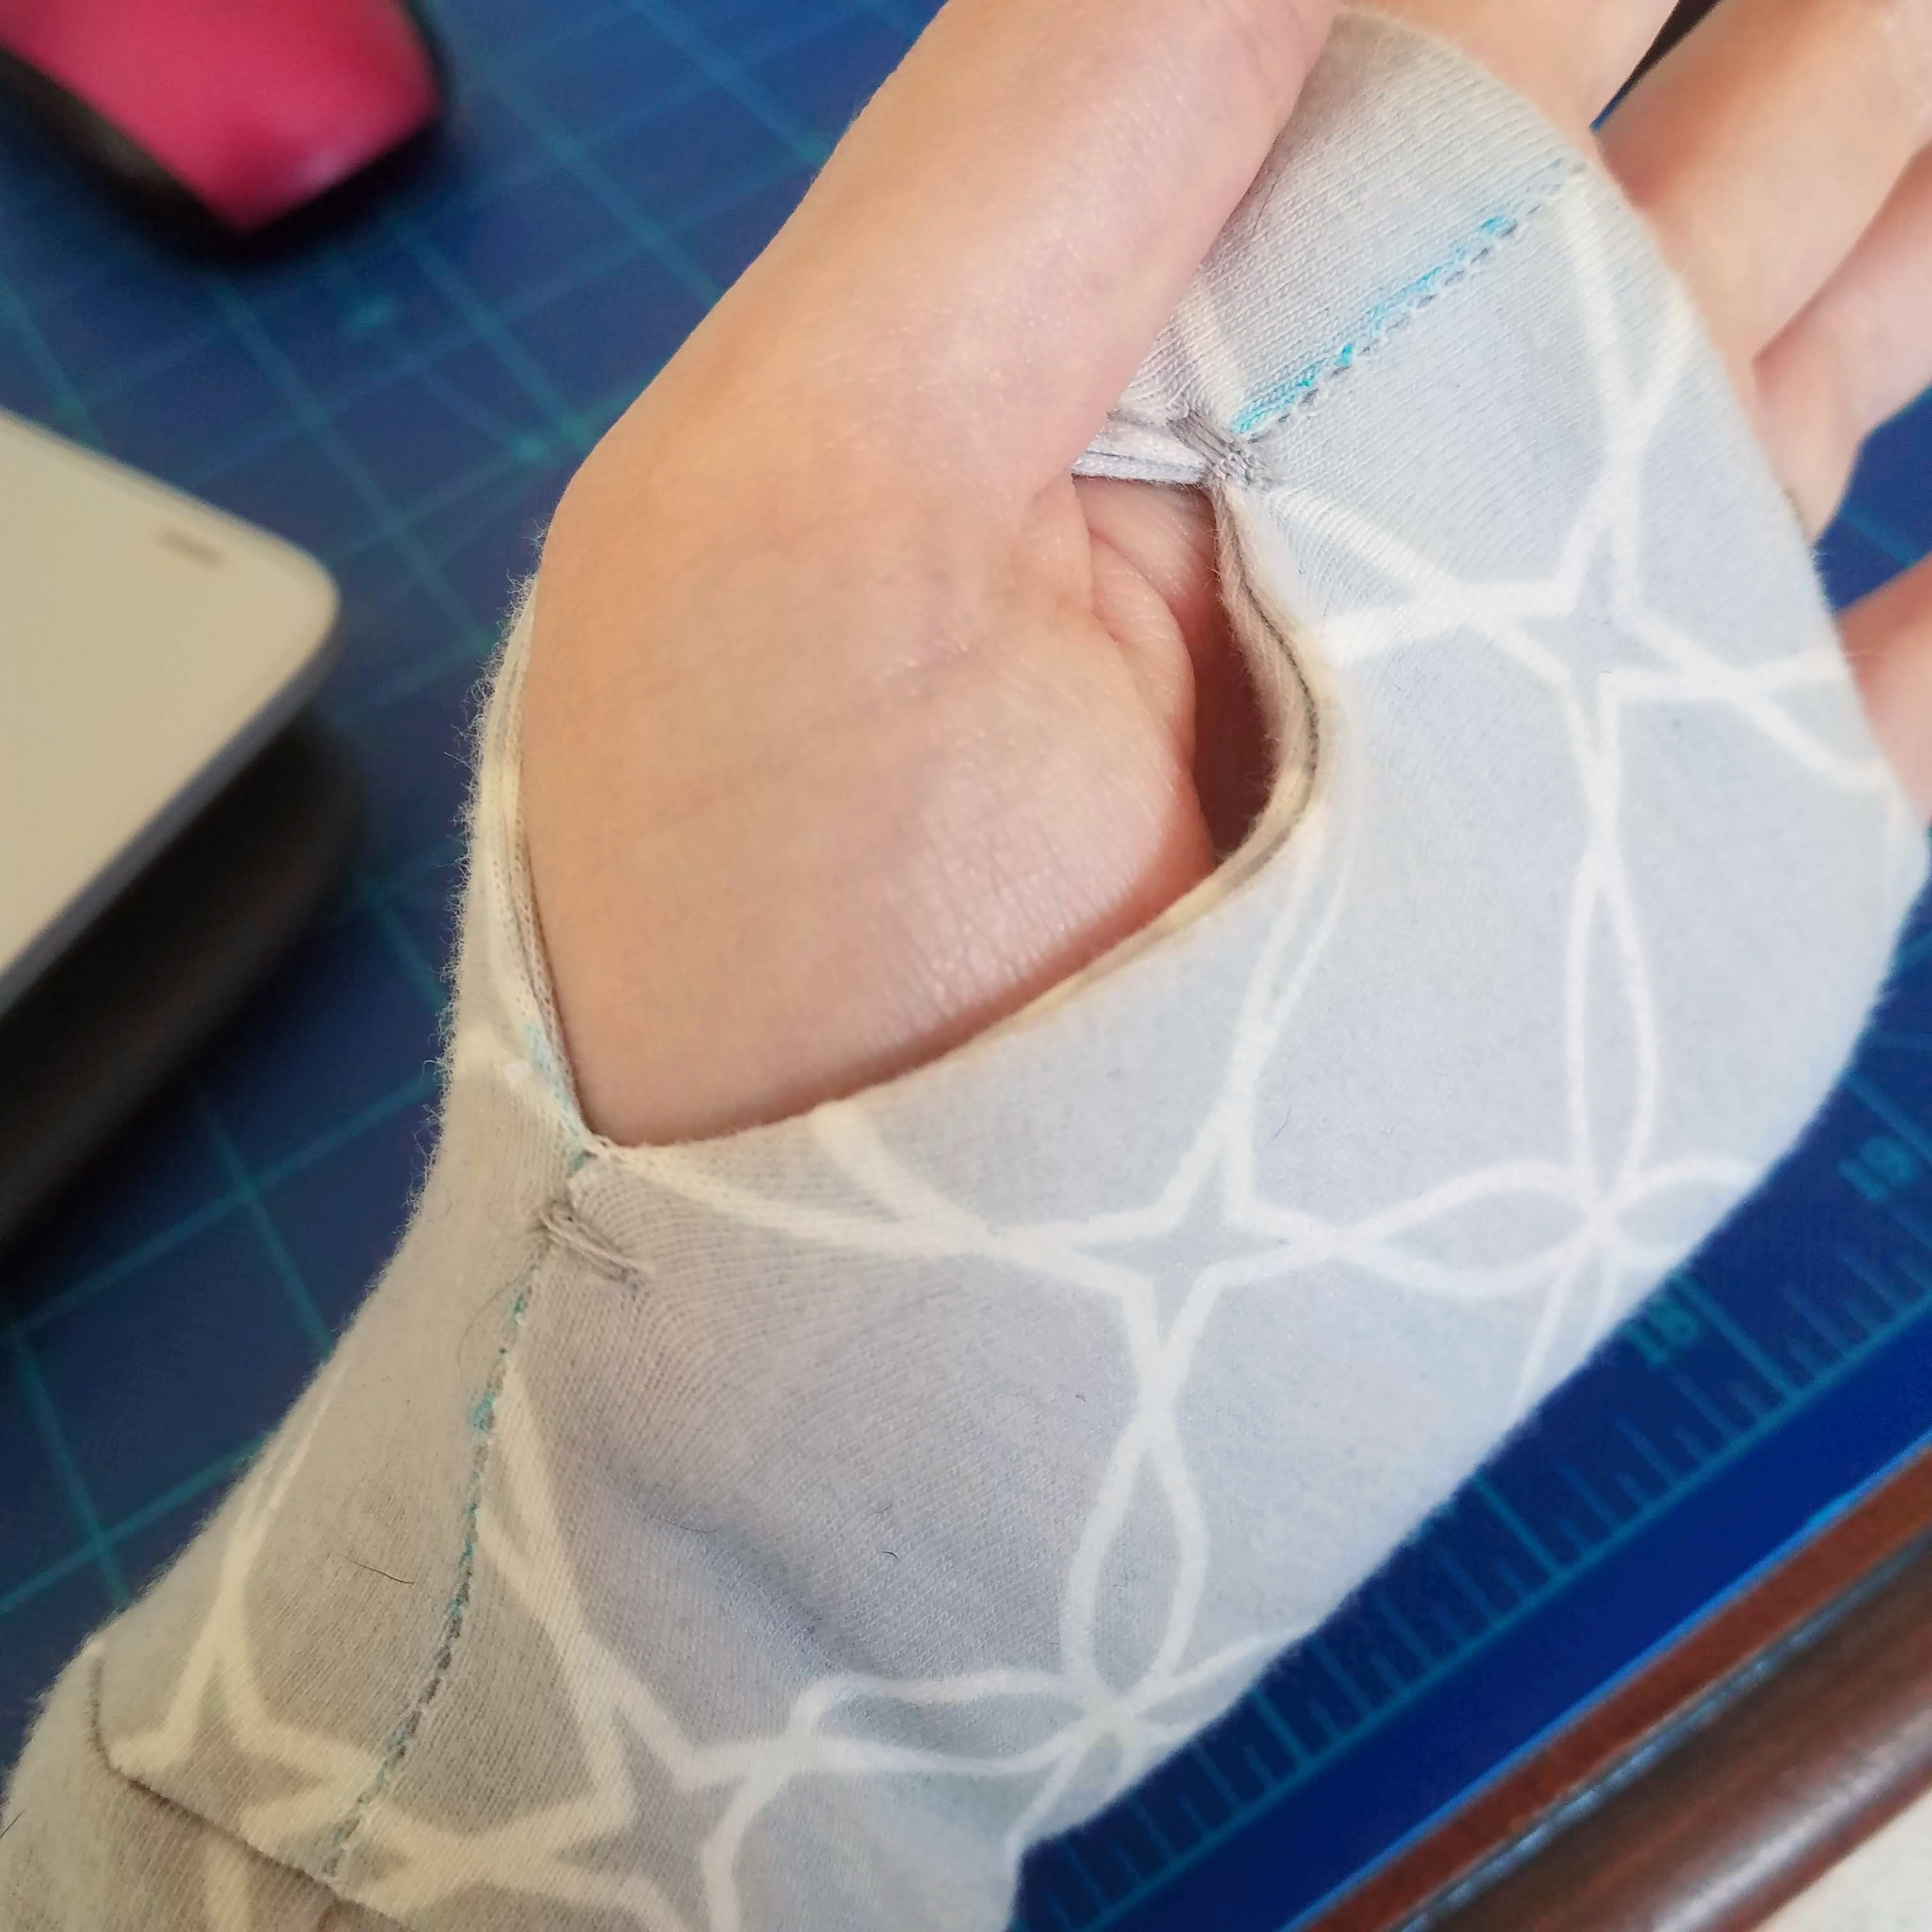
 For the thumbhole cuffs, when it came time to topstitch along the openings, I had NO IDEA how to accomplish it. The tube was already sewn closed at that point; even if I could have fit it over my free arm, the seam had to run parallel to the tube so that wouldn’t have worked anyway; and there was no way I was going to even attempt bird nesting it. What I did was sew a tack mark at the top and bottom of the opening just to reinforce those areas of stress and secure the two layers of fabric in place. I should go back and slipstitch the two layers together by hand around the thumbhole, which sounds more tedious, but honestly, wrestling to make the sewing machine work in this tight area just isn’t worth the headache and mess it would create.
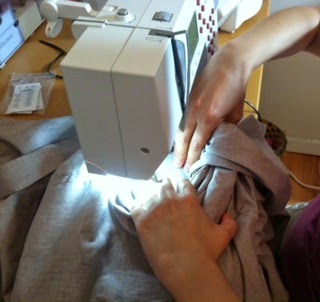
A Note About the Walking Foot
- I ditched the walking foot. I’ve read so much about the walking foot and how wonderful it is for sewing knits, but after testing stitches on my scraps before starting the tee, I discovered that my standard foot was kinder to my fabric than my walking foot. Actually, the more I sew, the less I like the walking foot, and here’s why:
- With smaller seam allowances (1/4″ or less), it skews the fabric because there is nothing feeding along the right side.
- Any kind of bulk that goes under the foot – even minimal bulk – bunches up at the back of the foot because there isn’t enough clearance under the plastic piece that sticks out. At best, this makes progressively smaller stitches until you realize it’s getting hung up. At worst, it causes fabric to get pushed down into your throat plate. If you’re lucky, you can wrestle it out with the needle down and carry on. You’re just as likely to have to stop completely, cut your thread, remove your presser foot and needle and throat plate and clear a jam.
- I find the walking foot doesn’t really solve the issue I expect it to solve, and that is to feed layers of fabric evenly so when you reach the end of your seam, your fabric edges line up evenly. When testing for this project, it actually made that WORSE. Examples below.
TOP: sewn with walking foot. Notice the distortion and unevenness at the edges where the two fabrics are sewn together. BOTTOM: sewn with standard zigazag foot. Much less distortion.

Project Settings
Presser Foot |
Stitch# |
Width |
Length |
Needle |
Top Thread Tension |
Application |
|---|---|---|---|---|---|---|
standard zig-zag (A) |
5 |
1.0 |
3.5 |
blue tip |
3 |
seams |
overedge (C) |
6 |
4.5 |
2.0 |
blue tip |
6 |
edge finishing |
standard zig-zag (A) |
6 |
5 |
0.5 |
blue tip |
3 |
thumbhole tacks |
Leave a Reply