It’s been 5 years this month since my dad passed away. That’s a day you’re never ready for, especially when it comes chasing so quickly on the heels of a liver cancer diagnosis. Three weeks later, he was gone.
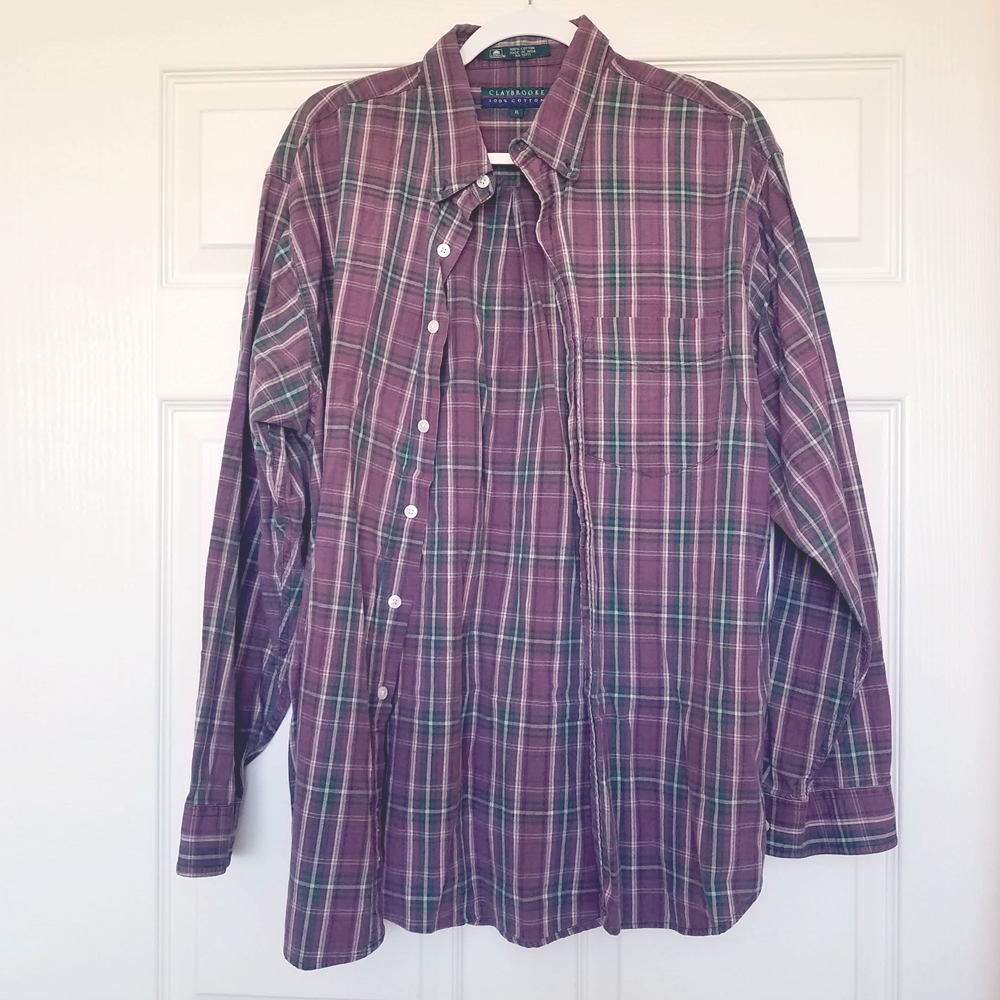
This shirt… He wore this shirt a lot. Next time I’m at my mom’s, I need to dig through the old photos to see if I can find one of him wearing it. I’m sure there must be some.
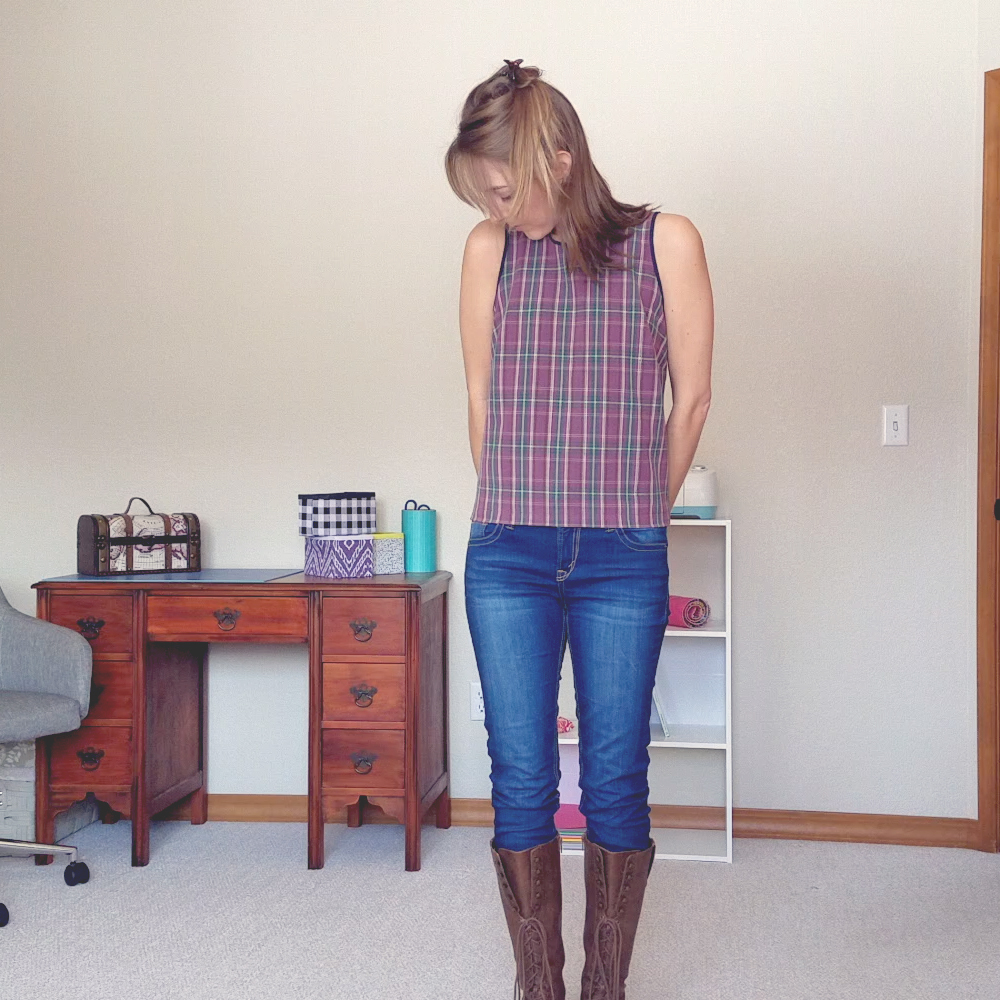
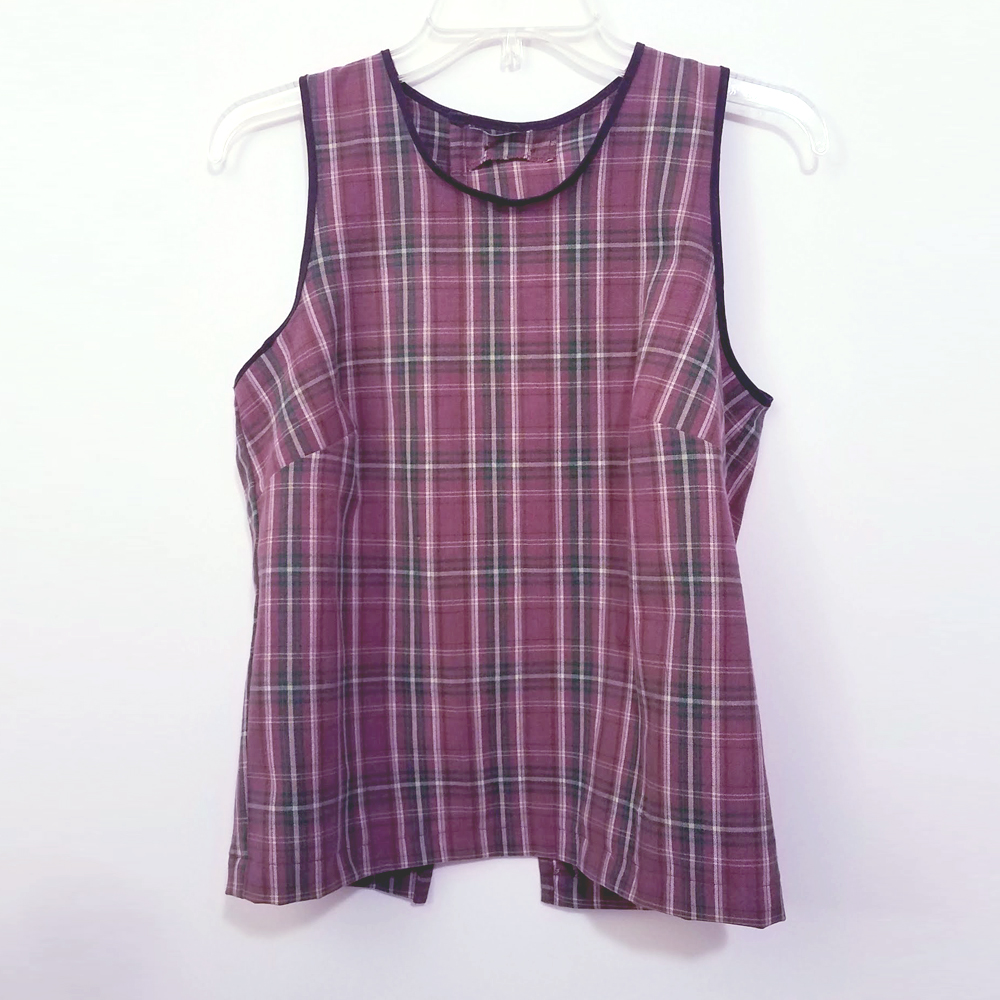
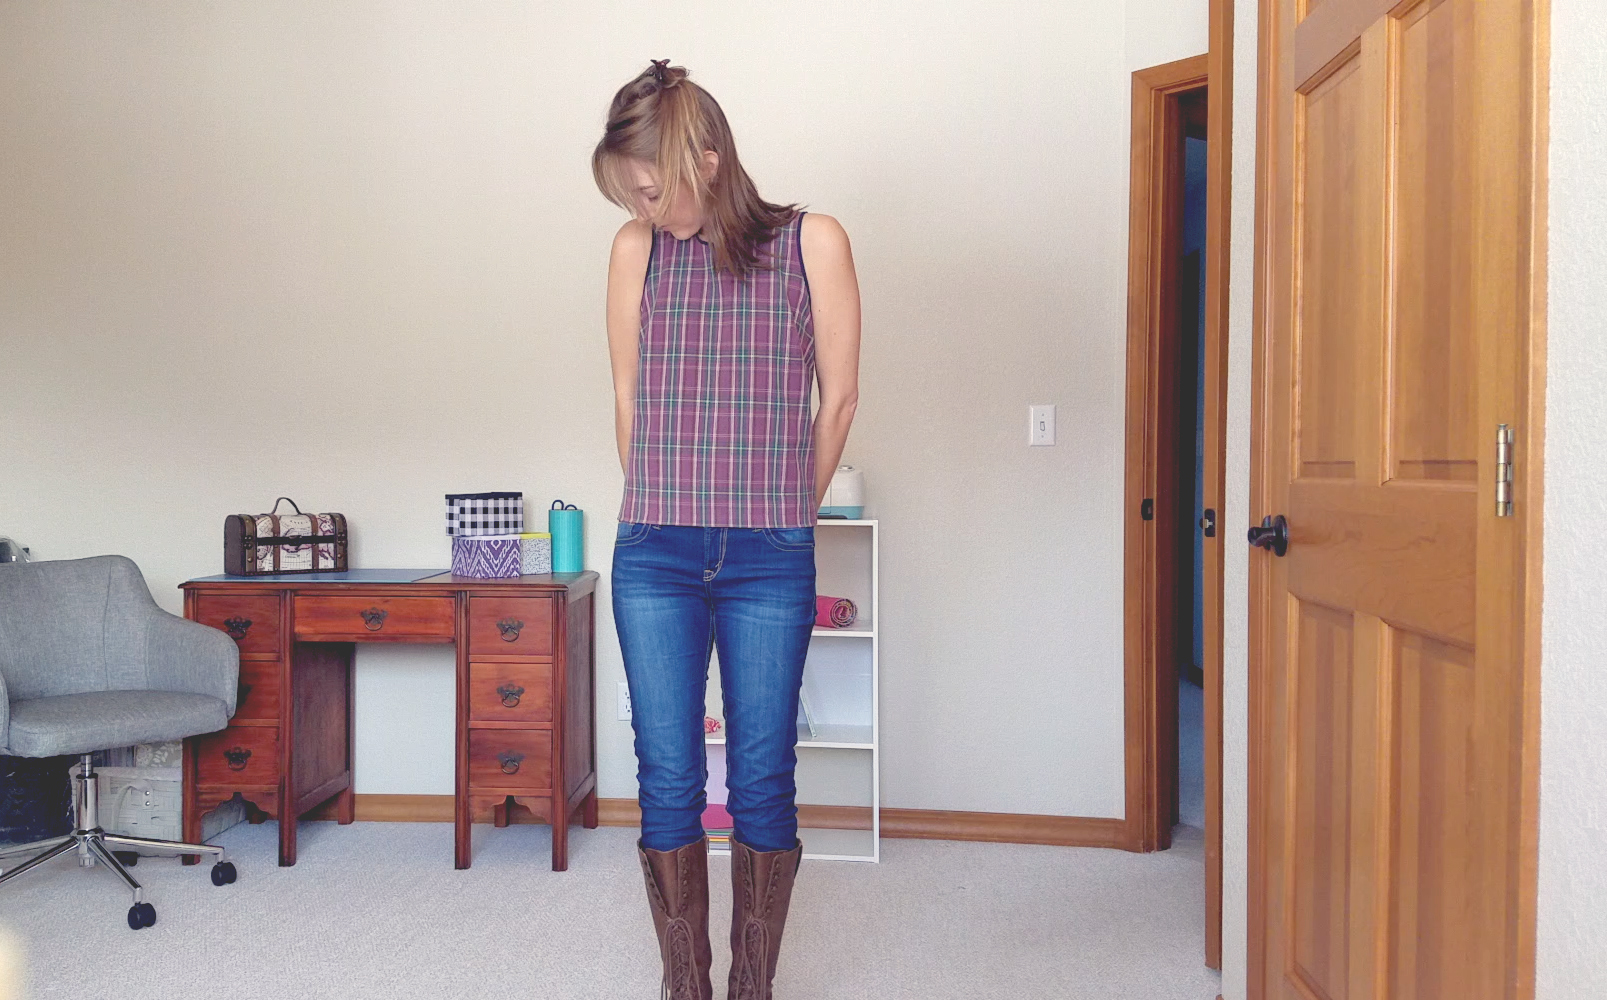
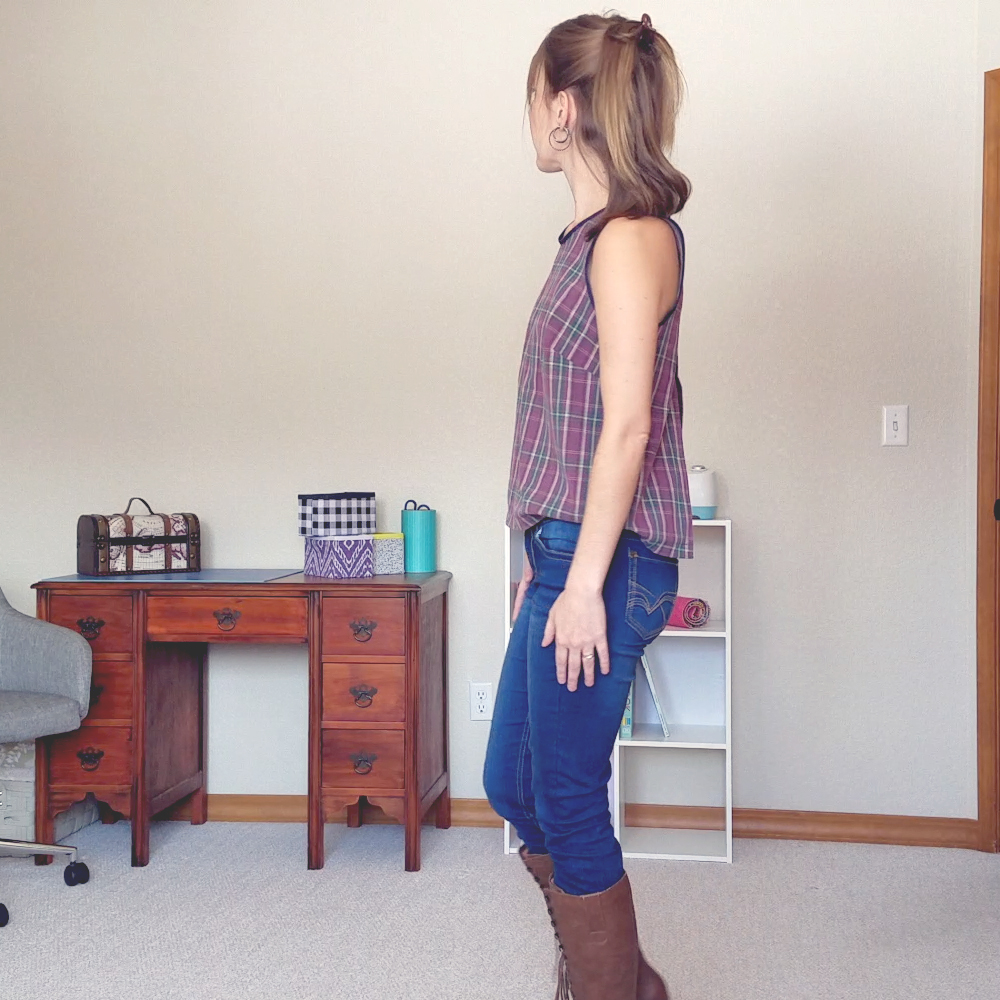
As I was clearing out my room this past June to make way for my brother and sister-in-law to move in, I found several of his shirts in my closet. I asked Mom if I could have some. When she said yes, I took this one and one other. Days later, I saw a post on Instagram from pattern.peace and her make of the Krissa Crop and thought “Perfect.” Not too elaborate, ideal for woven fabric, not a whole heck of a lot of fabric. This could work.
I spent the next several months painstakingly undoing the seams of my dad’s shirt, thinking about him and missing him terribly, until finally I had the pieces laid out on my cutting mat, ready. I spent a lot of time just looking at them like this, hesitant to cut. Like letting go of the past.
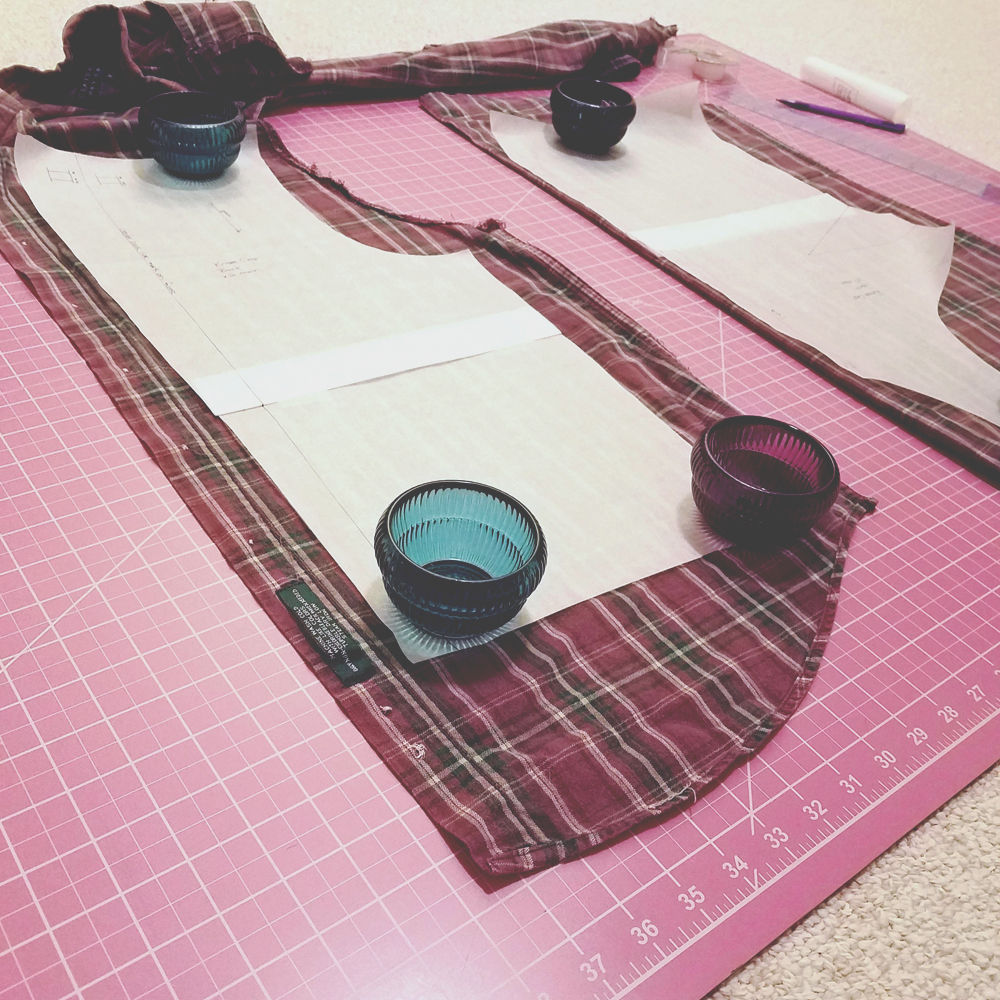
But there comes a time to imagine something new; to take the pieces of what was and create something different. It won’t be his shirt anymore, but the fabric will always be his. In this new form I sculpt, he will be a part of it; all the memories and times he wore this shirt, the laughter and smiles and hugs are woven into these threads.
So I cut. And it became something new.
Project Review
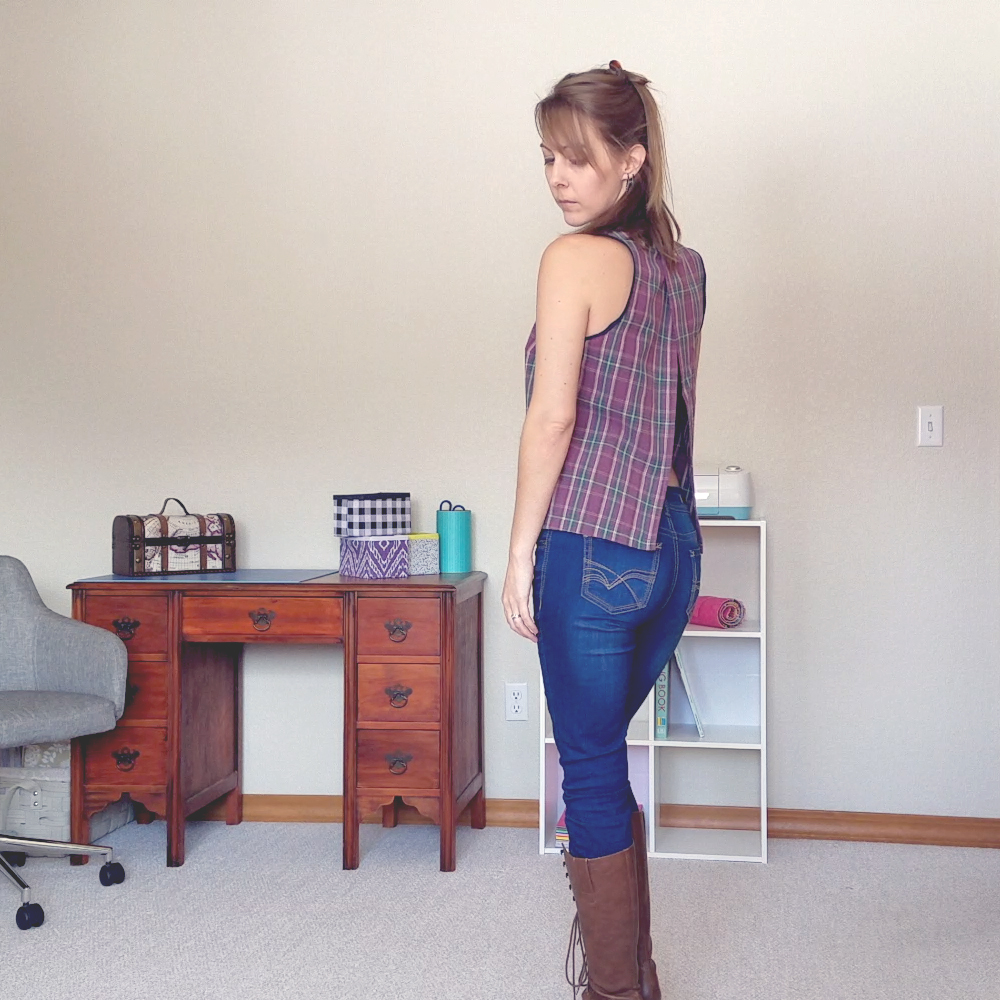
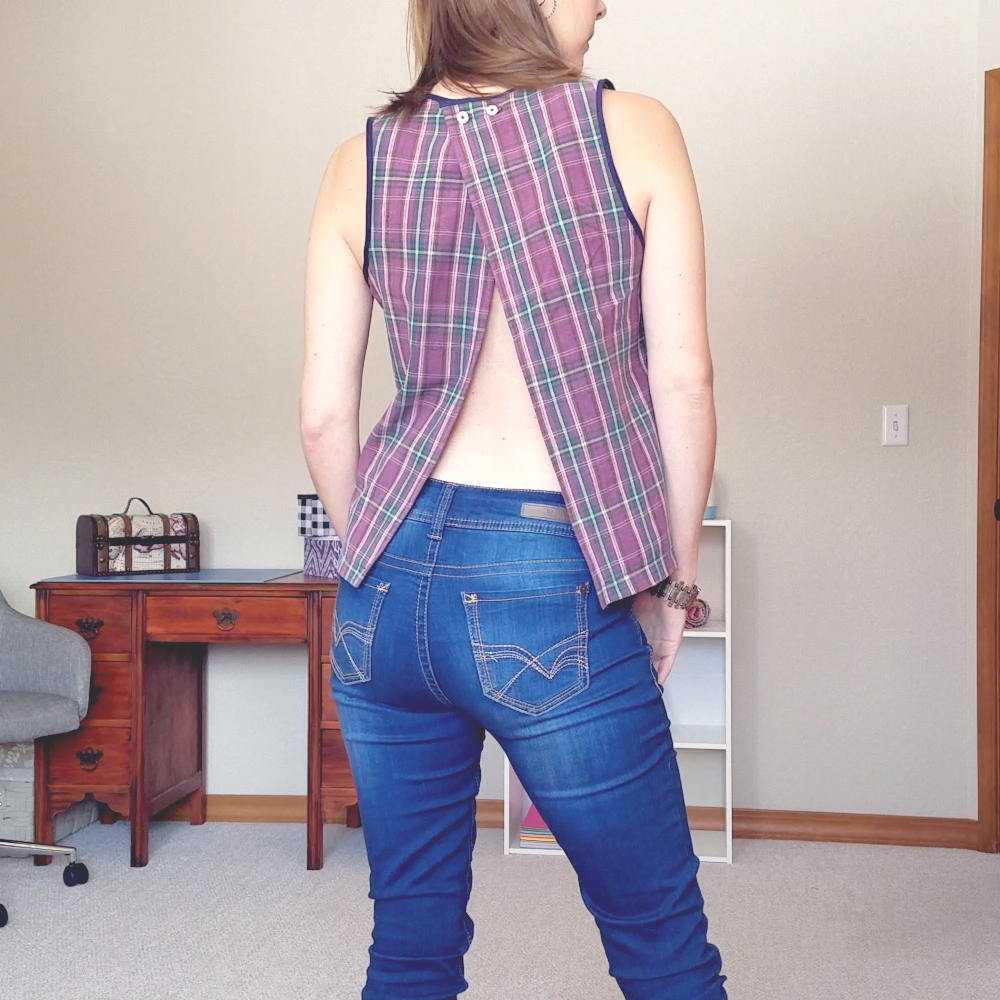
This wasn’t my favorite project to follow along. I didn’t love a lot of her techniques (ditch the pins??! Cuz I need to set myself up for failure? Mmno.) Once I read through the instructions and got the basic road map, I did a lot of it my own way, especially the binding.
I think I’ll be adding a few minimal hacks to this, including some sort of extra closure mid-way down the back (playing with the idea of ties, or possibly one or a few more buttons), and some additional darts for a bit more shaping around the waist.
Project Settings
Presser Foot |
Stitch# |
Width |
Length |
Needle |
Top Thread Tension |
Application |
|---|---|---|---|---|---|---|
standard zig-zag (A) |
1 |
3.5 |
2.4 |
90/14 sharp |
5 |
seams |
overedge (C) |
9 |
5.5 |
2.5 |
90/14 sharp |
7 |
edge finishing |
1/4″ foot |
0 |
3.5 |
5 |
90/14 sharp |
5 |
basting* |
Adustable Edge (SE) |
1 |
0.5 |
2.4 |
90/14 sharp |
5 |
back edge stitch |
Applique (F) |
0 |
3.5 |
2.4 |
90/14 sharp |
5 |
joining bindings |
Bias Binding Foot |
0 |
2 |
2.4 |
90/14 sharp |
5 |
binding |
*She calls it a “stay stitch” in her instructions, which is actually something different than basting.
- Stay Stitch – a straight machine stitch worked just inside a seam allowance to strengthen it and prevent it from stretching or breaking. Sewn through 1 layer of fabric, ~1/8″ from seam line, ~1.5mm stitch length (smaller stitches are stronger.)
- Basting Stitch – a temporary running stitch used to hold pieces of fabric together or for transferring pattern markings to fabric1
1Smith, A. (2018). The Sewing Book: Over 300 Step-By-Step Techniques (pp. 388, 391). DK Publishing (Dorling Kindersley).
Leave a Reply