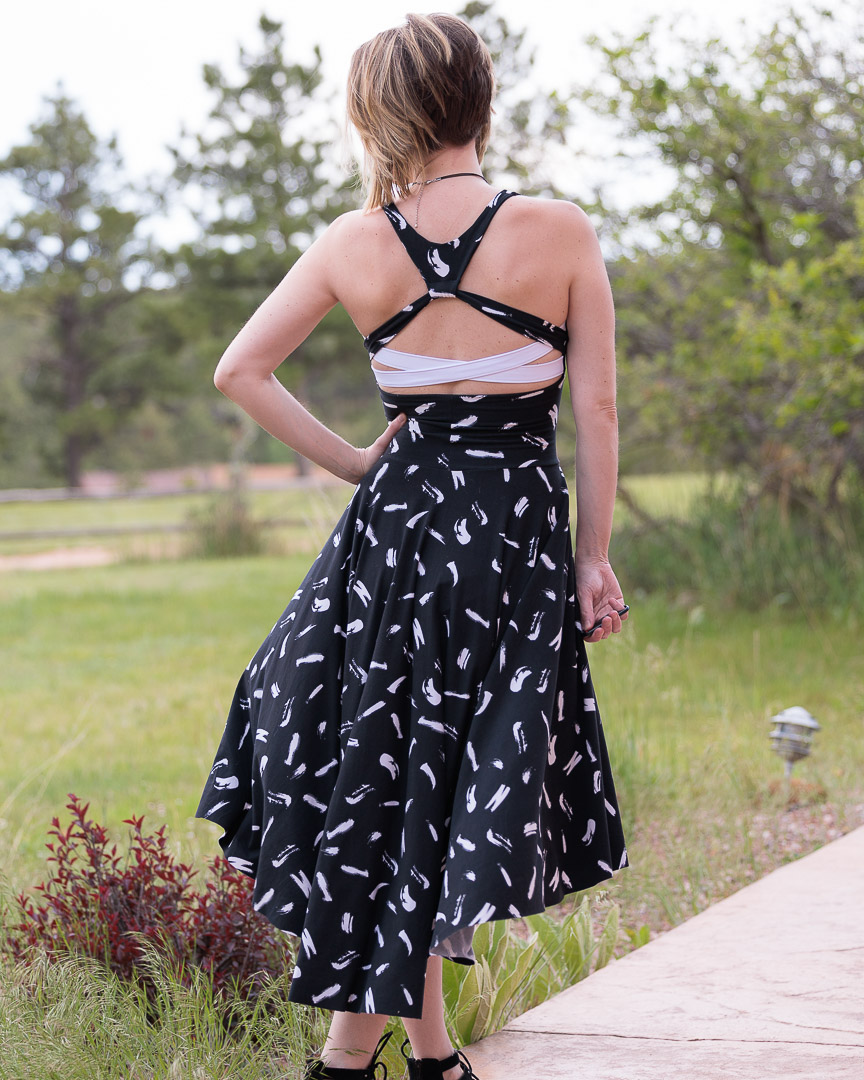
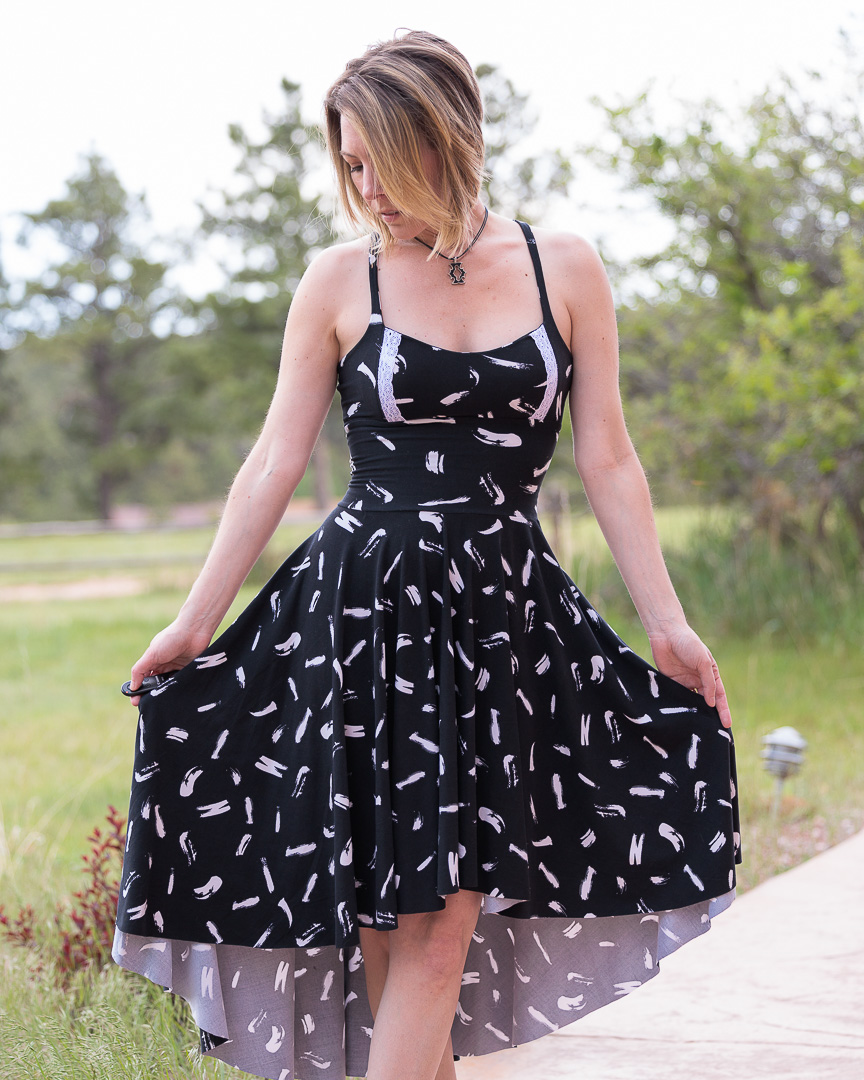
Nothing jumpstarts the sewing like a wedding, and what better excuse than a wedding to whip up a fun, summery dress?
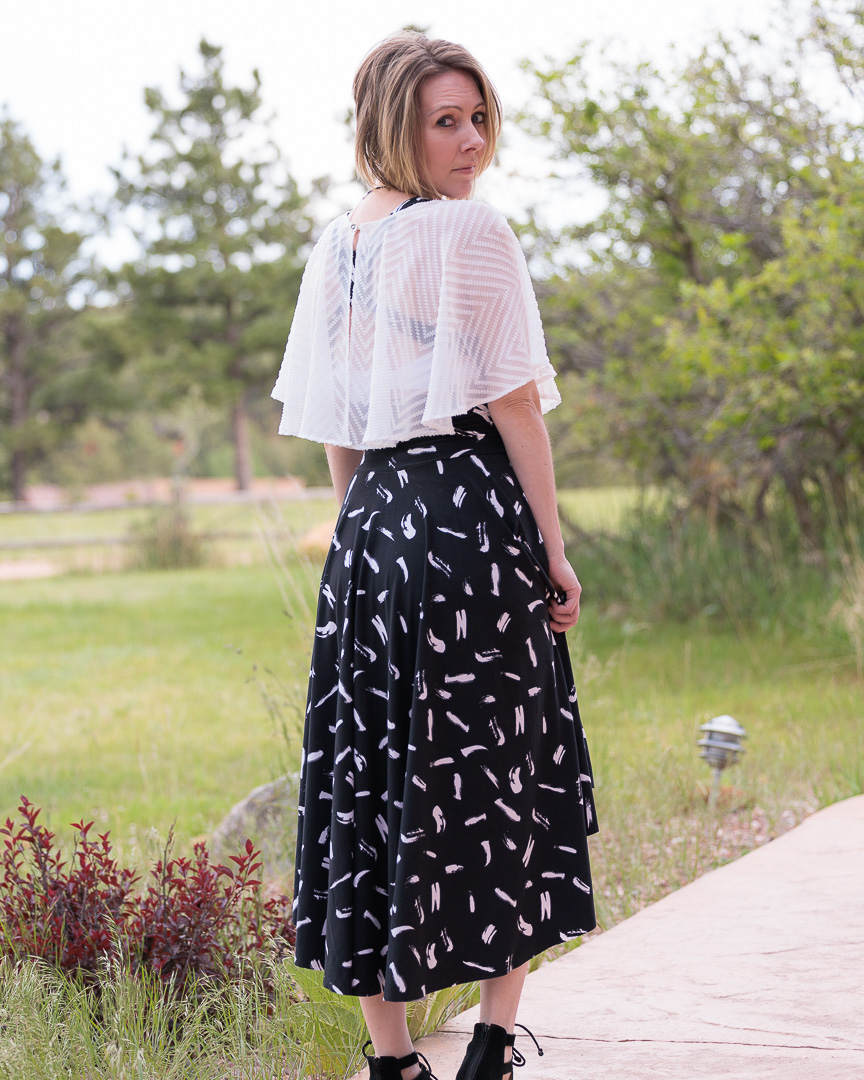
What was a little extra fun about this was the pre-sewing sketch. There’s something about seeing a drawing come to life that makes me smile.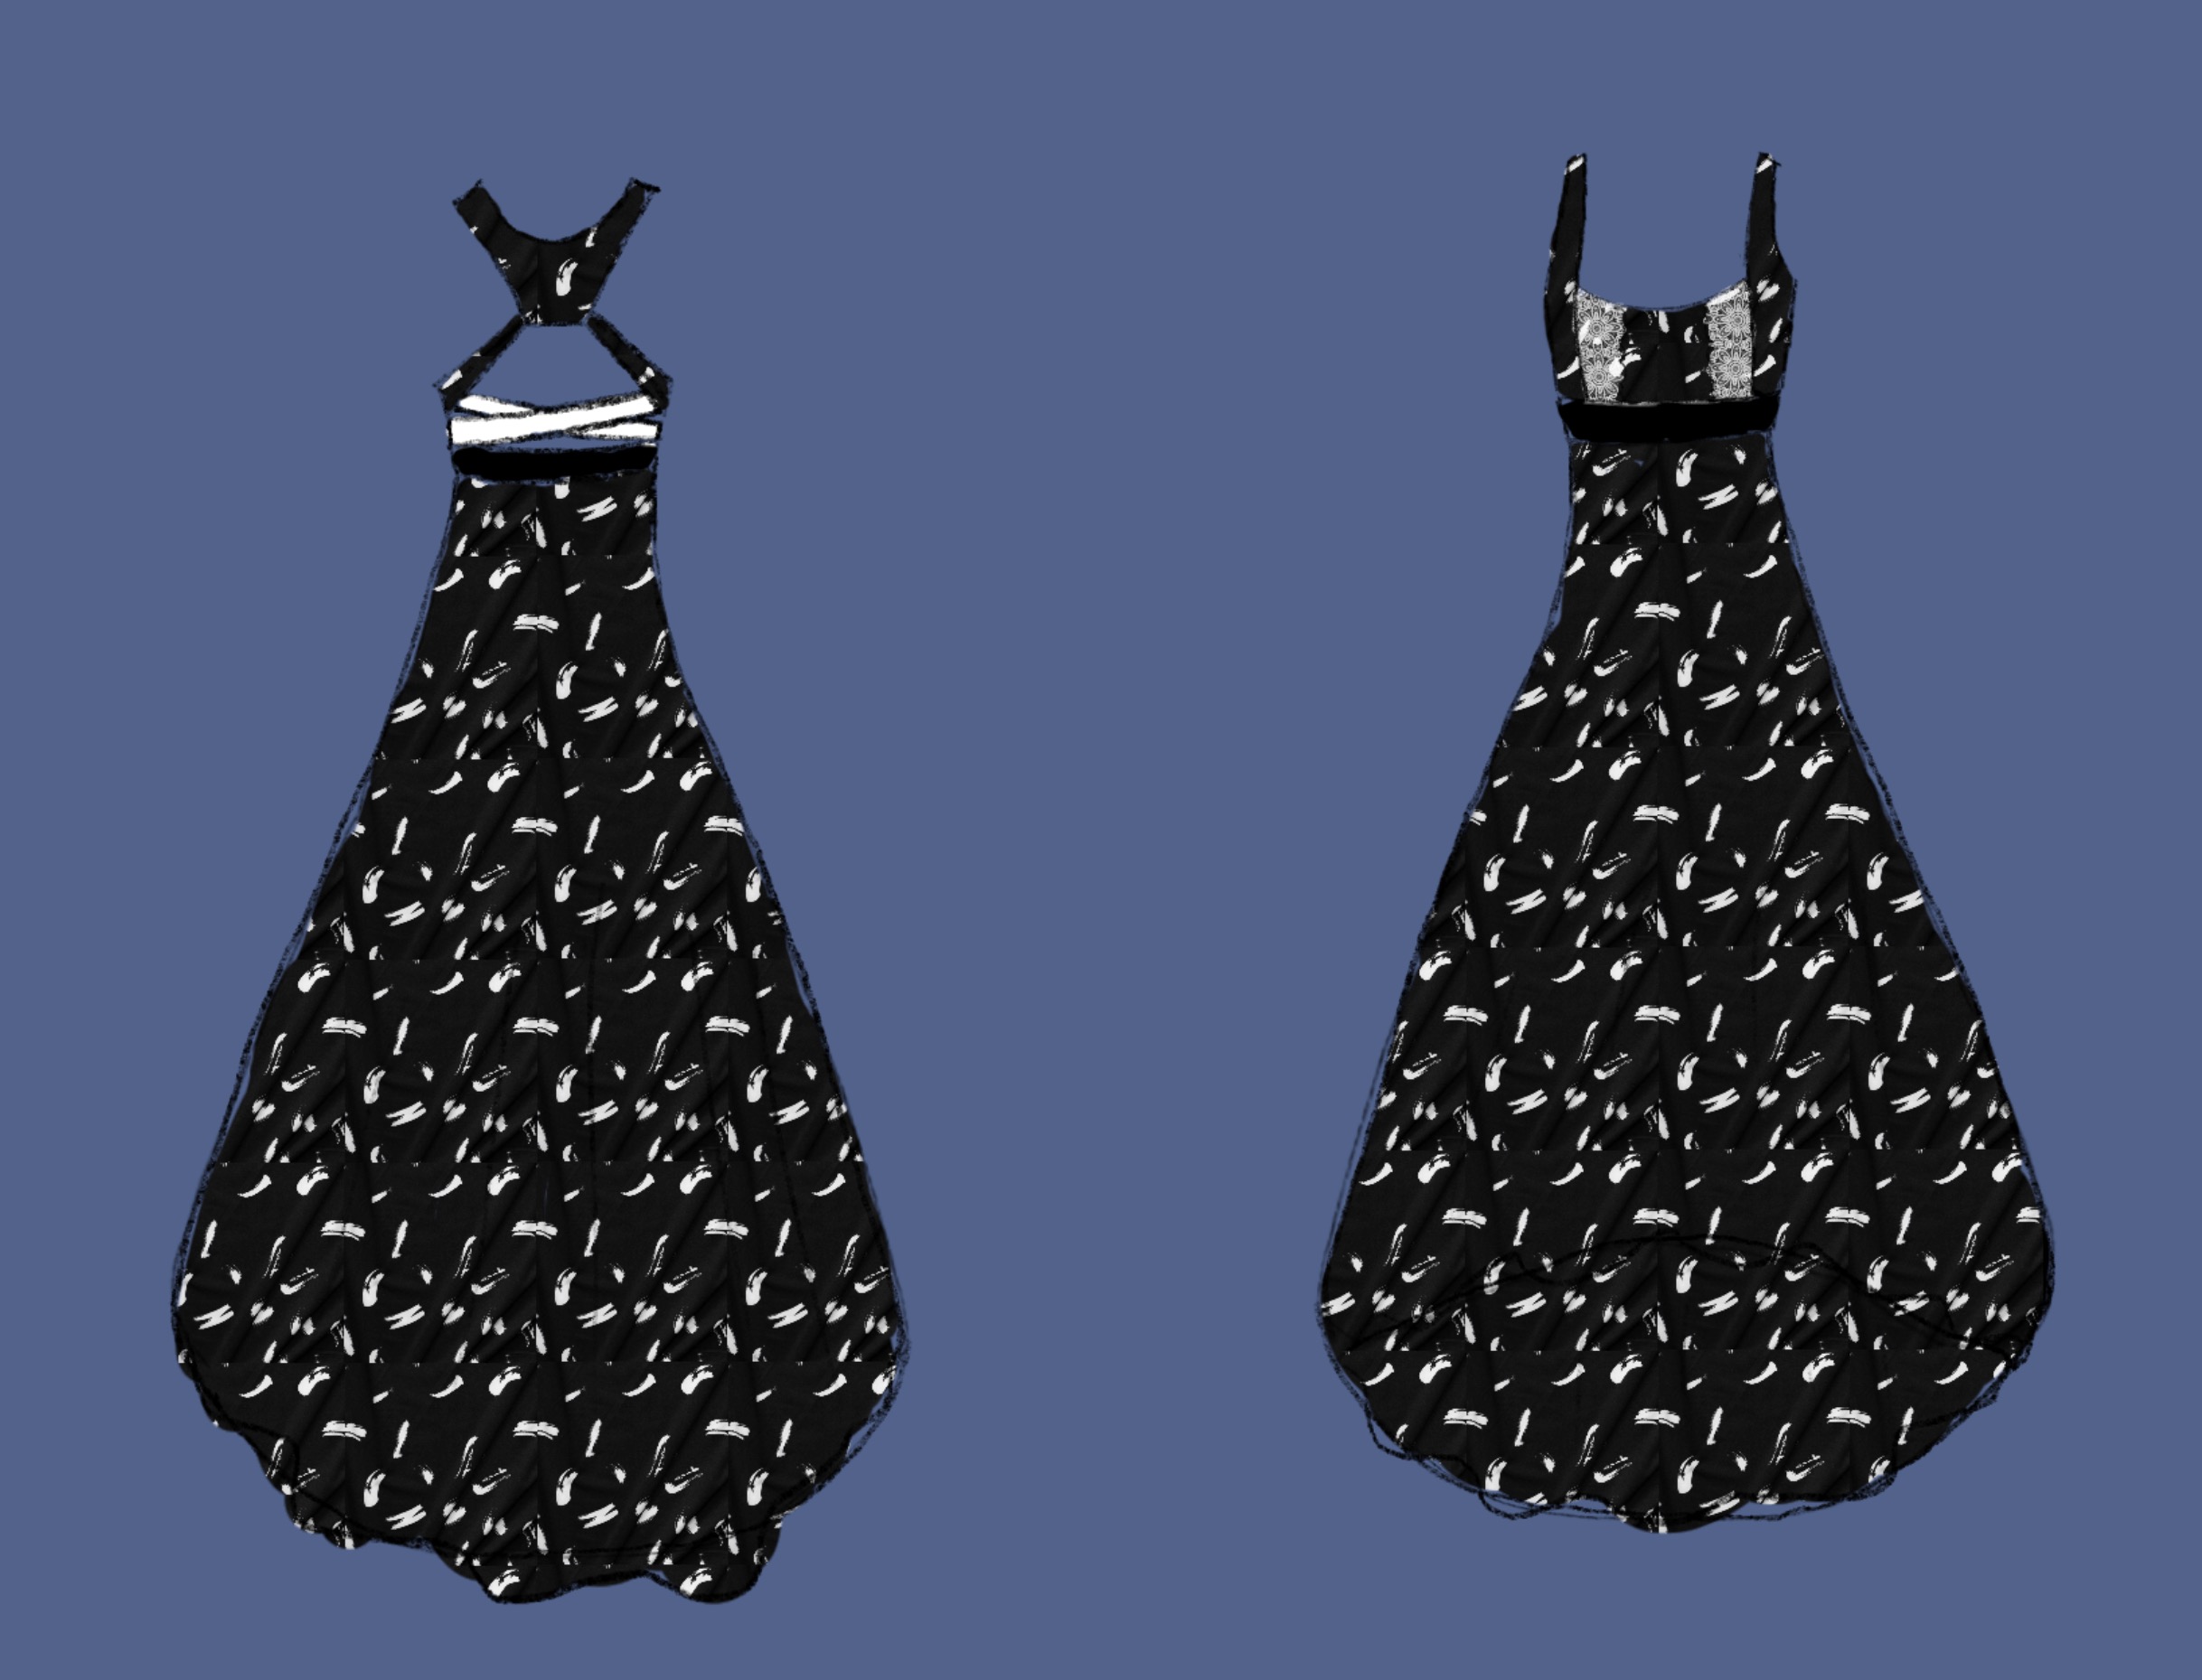

About the Fabric
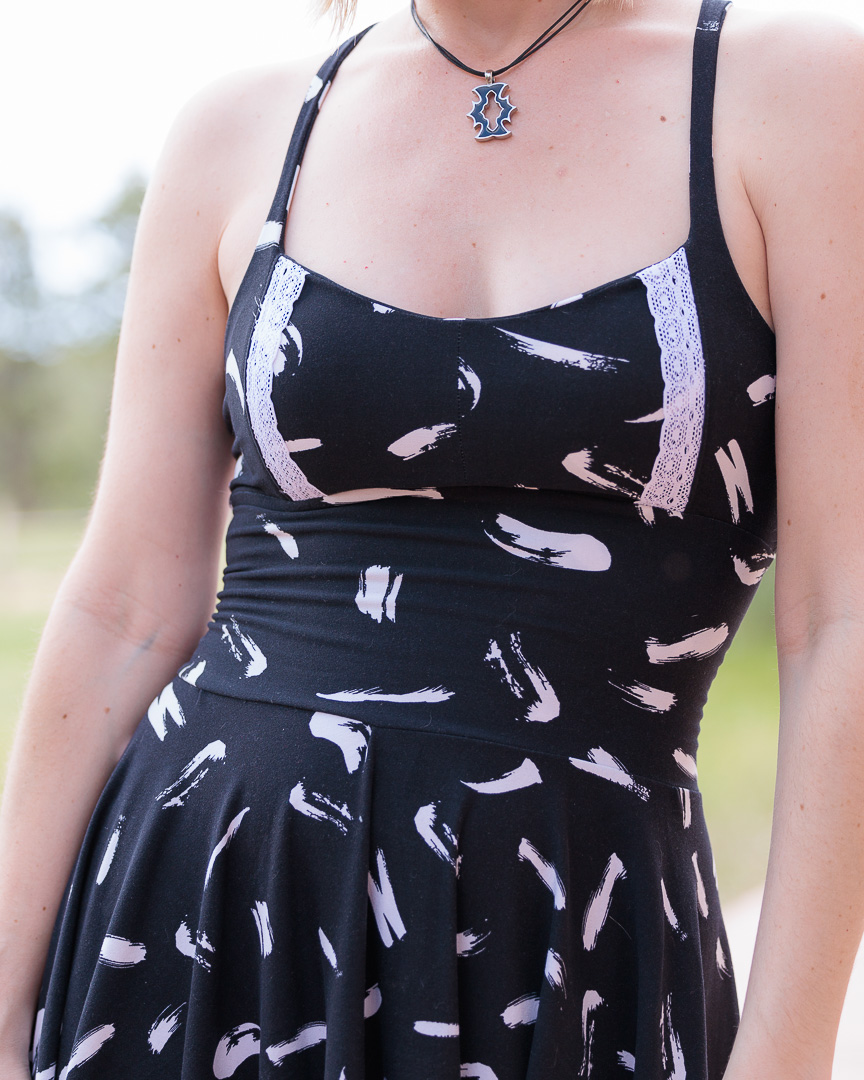
MAIN: White Paint Strokes on Black Double Brushed Poly/Spandex Knit from Cali Fabrics
- FABRIC CONTENT: 95% Polyester/5% Spandex
- FABRIC WIDTH: 60″
- WEIGHT: Light Midweight (Around 5.4oz)
- STRETCH: 4-way 125% Horizontal, 25% Vertical
I bought 4 yards of this a while ago and had a ton left over after making a Pamela Top. I actually got it for the purpose of making some Roxie Stockings and a one-shoulder top, but that still lives in the over-populated Land of Ideas. And in looking at the fabric, I decided A) plenty for a muslin, and B) totally wearable if it turns out…wearable. Also, I love the print.
Double brushed poly is as double brushed poly always is: stupid easy to sew and buttery soft to wear with that phenomenal drape that shines in a high low circle skirt.
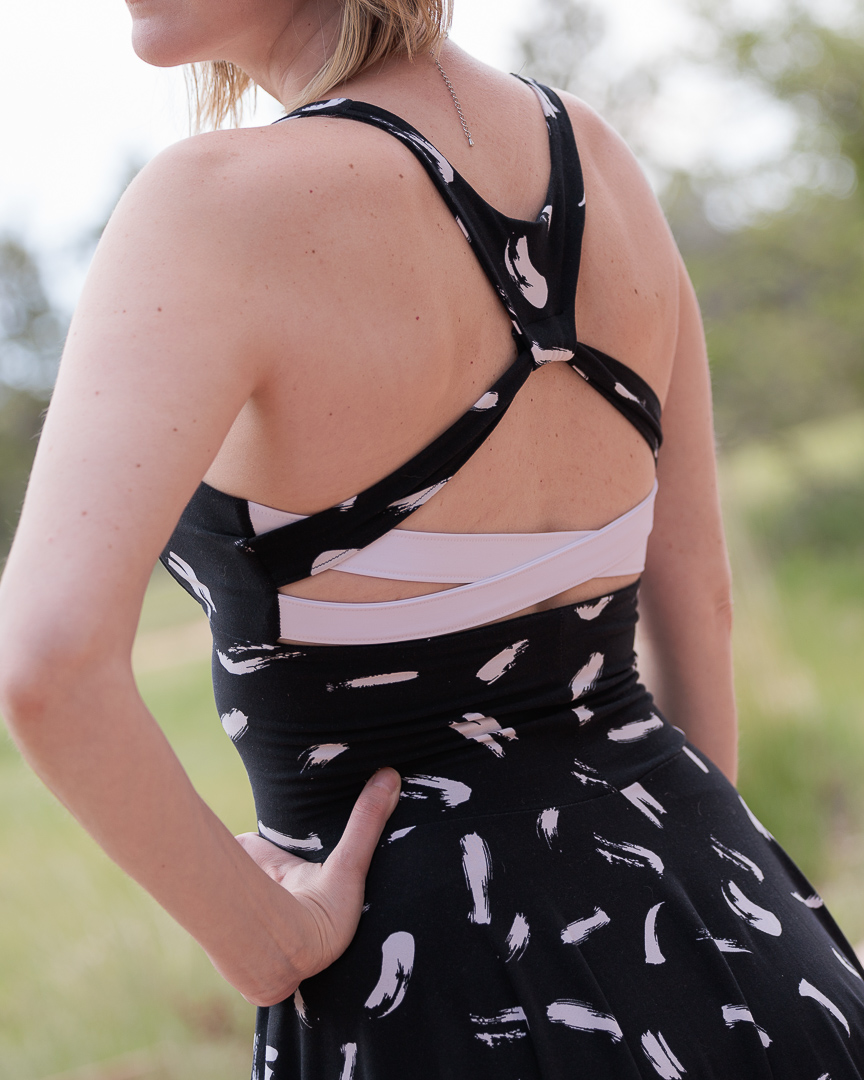
LACE: white stretch lace from Sew Sassy
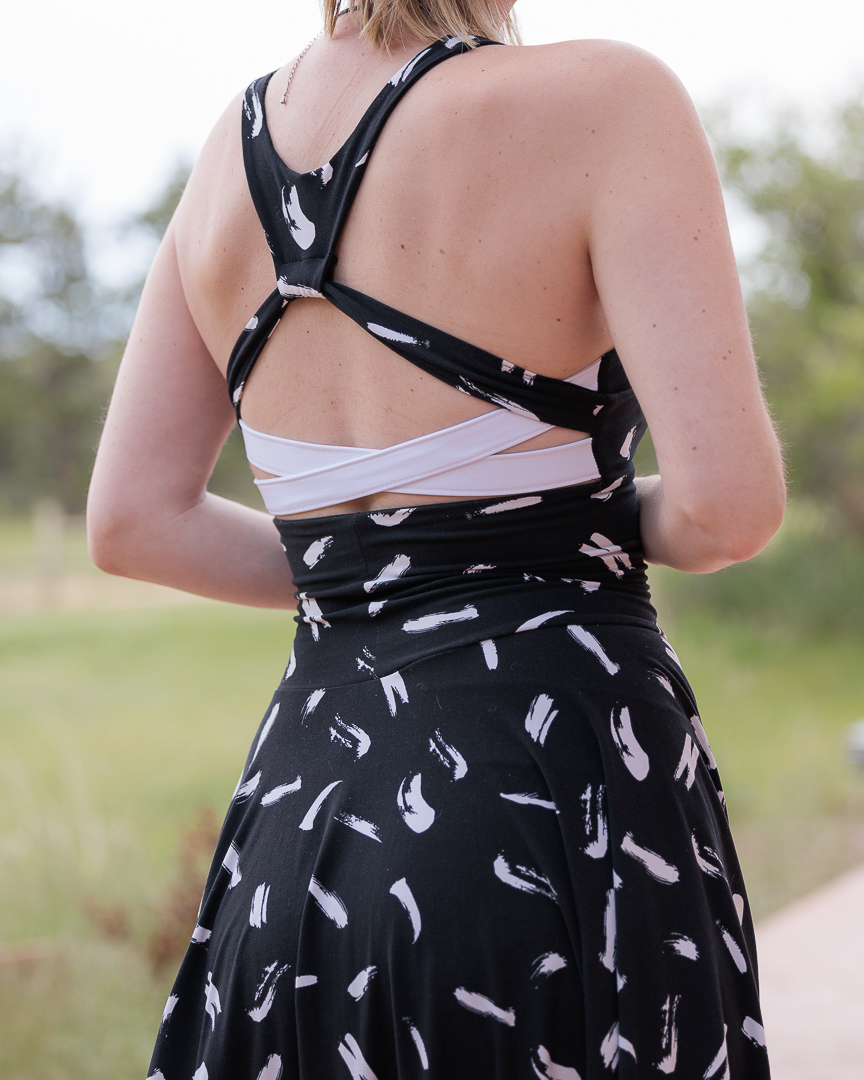
ACCENT: White Midweight Nylon Spandex from Cali Fabrics
- FABRIC CONTENT: 91% Nylon/9% Spandex
- WEIGHT:Midweight
- STRETCH: 4-way 100%
Another leftover, this one from my chiffon attempt at a Catalina Tank. Nylon spandex, or swim fabric, is wonderfully smooth and cool and snappy and was ideal for the back cross-straps. It’s also stupid easy to sew.
About the Patterns
There is no better pattern designer to go with than George and Ginger for ending a sewing drought; I always know I’m going to love the results and it will require minimal changes for fitting. So for this dress, I used the Mix It Up high low skirt, and the Switch It Up Bra: views I and T. (Hence > “IT” Dress)
Smashing some G+G bras (of which there are SO MANY options) onto a skirt is the cheat code for super eye-catching summer dresses. Plus, bra is built in. Can’t lose.
About This Make
Top Front: Switch It Up, view I
- size 8
- B cup
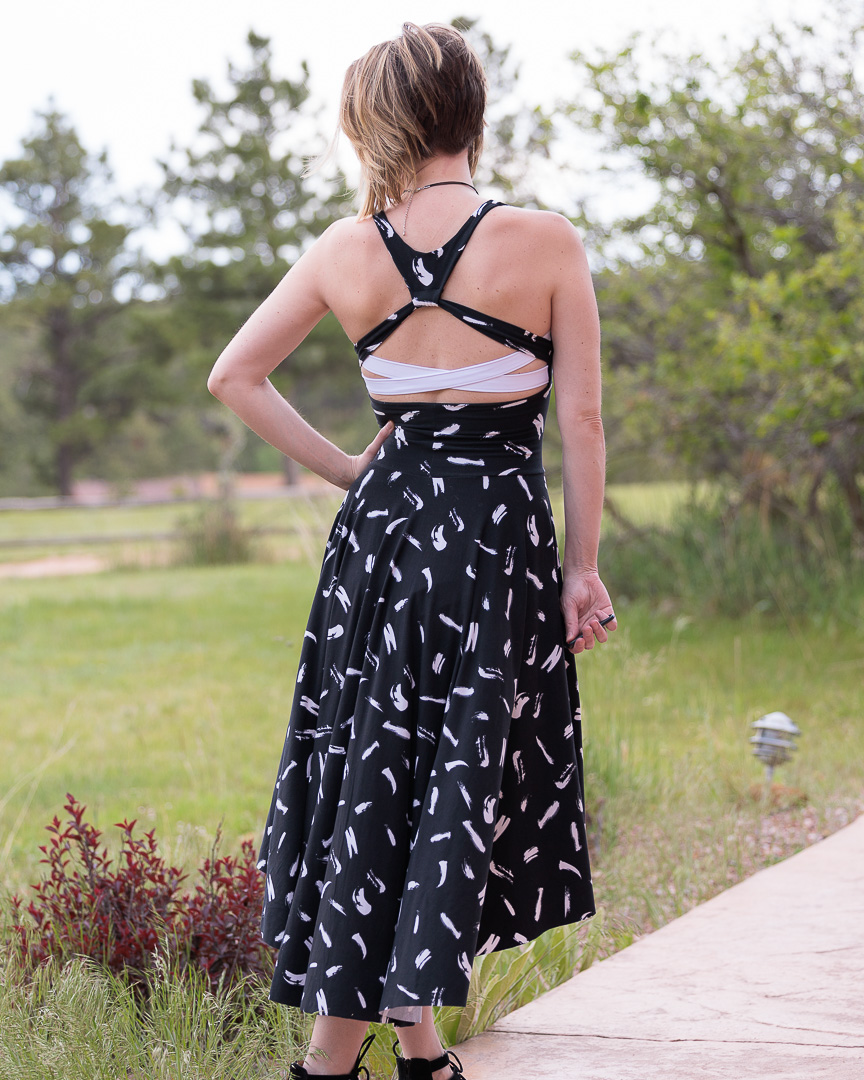
Top Back: Switch it Up, view T
- size 8
- B cup
Waistband: Switch it Up
- size 4
- lengthened 2″
Skirt: Mix It Up
- size 4
- high-low
- dress (tunic) length + 11″
What I Did Differently
Nothing, really. Just followed the instructions—which admittedly gets a little tricky when attaching the back and front.
- Make the bra front first.
- Make the bra back and ONLY SEW THE NECKLINE. Then follow the instructions to sandwich the back inside the front.
Issues I Ran Into
- The straps on the bra front were so narrow, I could barely manage to sandwich the back straps in.
- I knew DBP wouldn’t offer much in the way of support, and I wondered if I should have included elastic on the shoulder straps and the black back strap. But I didn’t, and I can tell: the top creeps down while wearing.
- Didn’t have a lot of clearance on the bra front for bra pad inserts.
- The armscye is a smidge too low for my taste.
- Waistband is a bit snug.
Notes for Next Time
- Widen the front bra straps by 1/2″.
- Lengthen the front bodice by 1/2″.
- Size up the waistband.
- Shorten the front straps by 1″, or add elastic somehow.
- Shorten waistband by 1″.
- Raise the bra side seam by 1/4″.
Project Settings
Sewing Machine vs. Serger
| Sewing Machine | Serger |
|---|---|
|
— |
Sewing Machine Settings
| Presser Foot | Stitch# | Stitch Width | Stitch Length | Needle | Top Thread Tension | Application |
|---|---|---|---|---|---|---|
| standard zig-zag (A) | 5 | 1.0 | 4 | blue tip | 4 | seams / topstitch |
| overedge (C) | 6 | 7 | 3 | blue tip | 4 | back bottom edge finish |
| standard zig-zag (A) | 0 | 3.5 | 5 | blue tip | 4 | baste |
| standard zig-zag (A) | 6 | 1 | 5 | blue tip | 4 | bra bottom baste |
| overedge (C) | 6 | 6 | 3 | blue tip | 4 | edge finish |
Leave a Reply