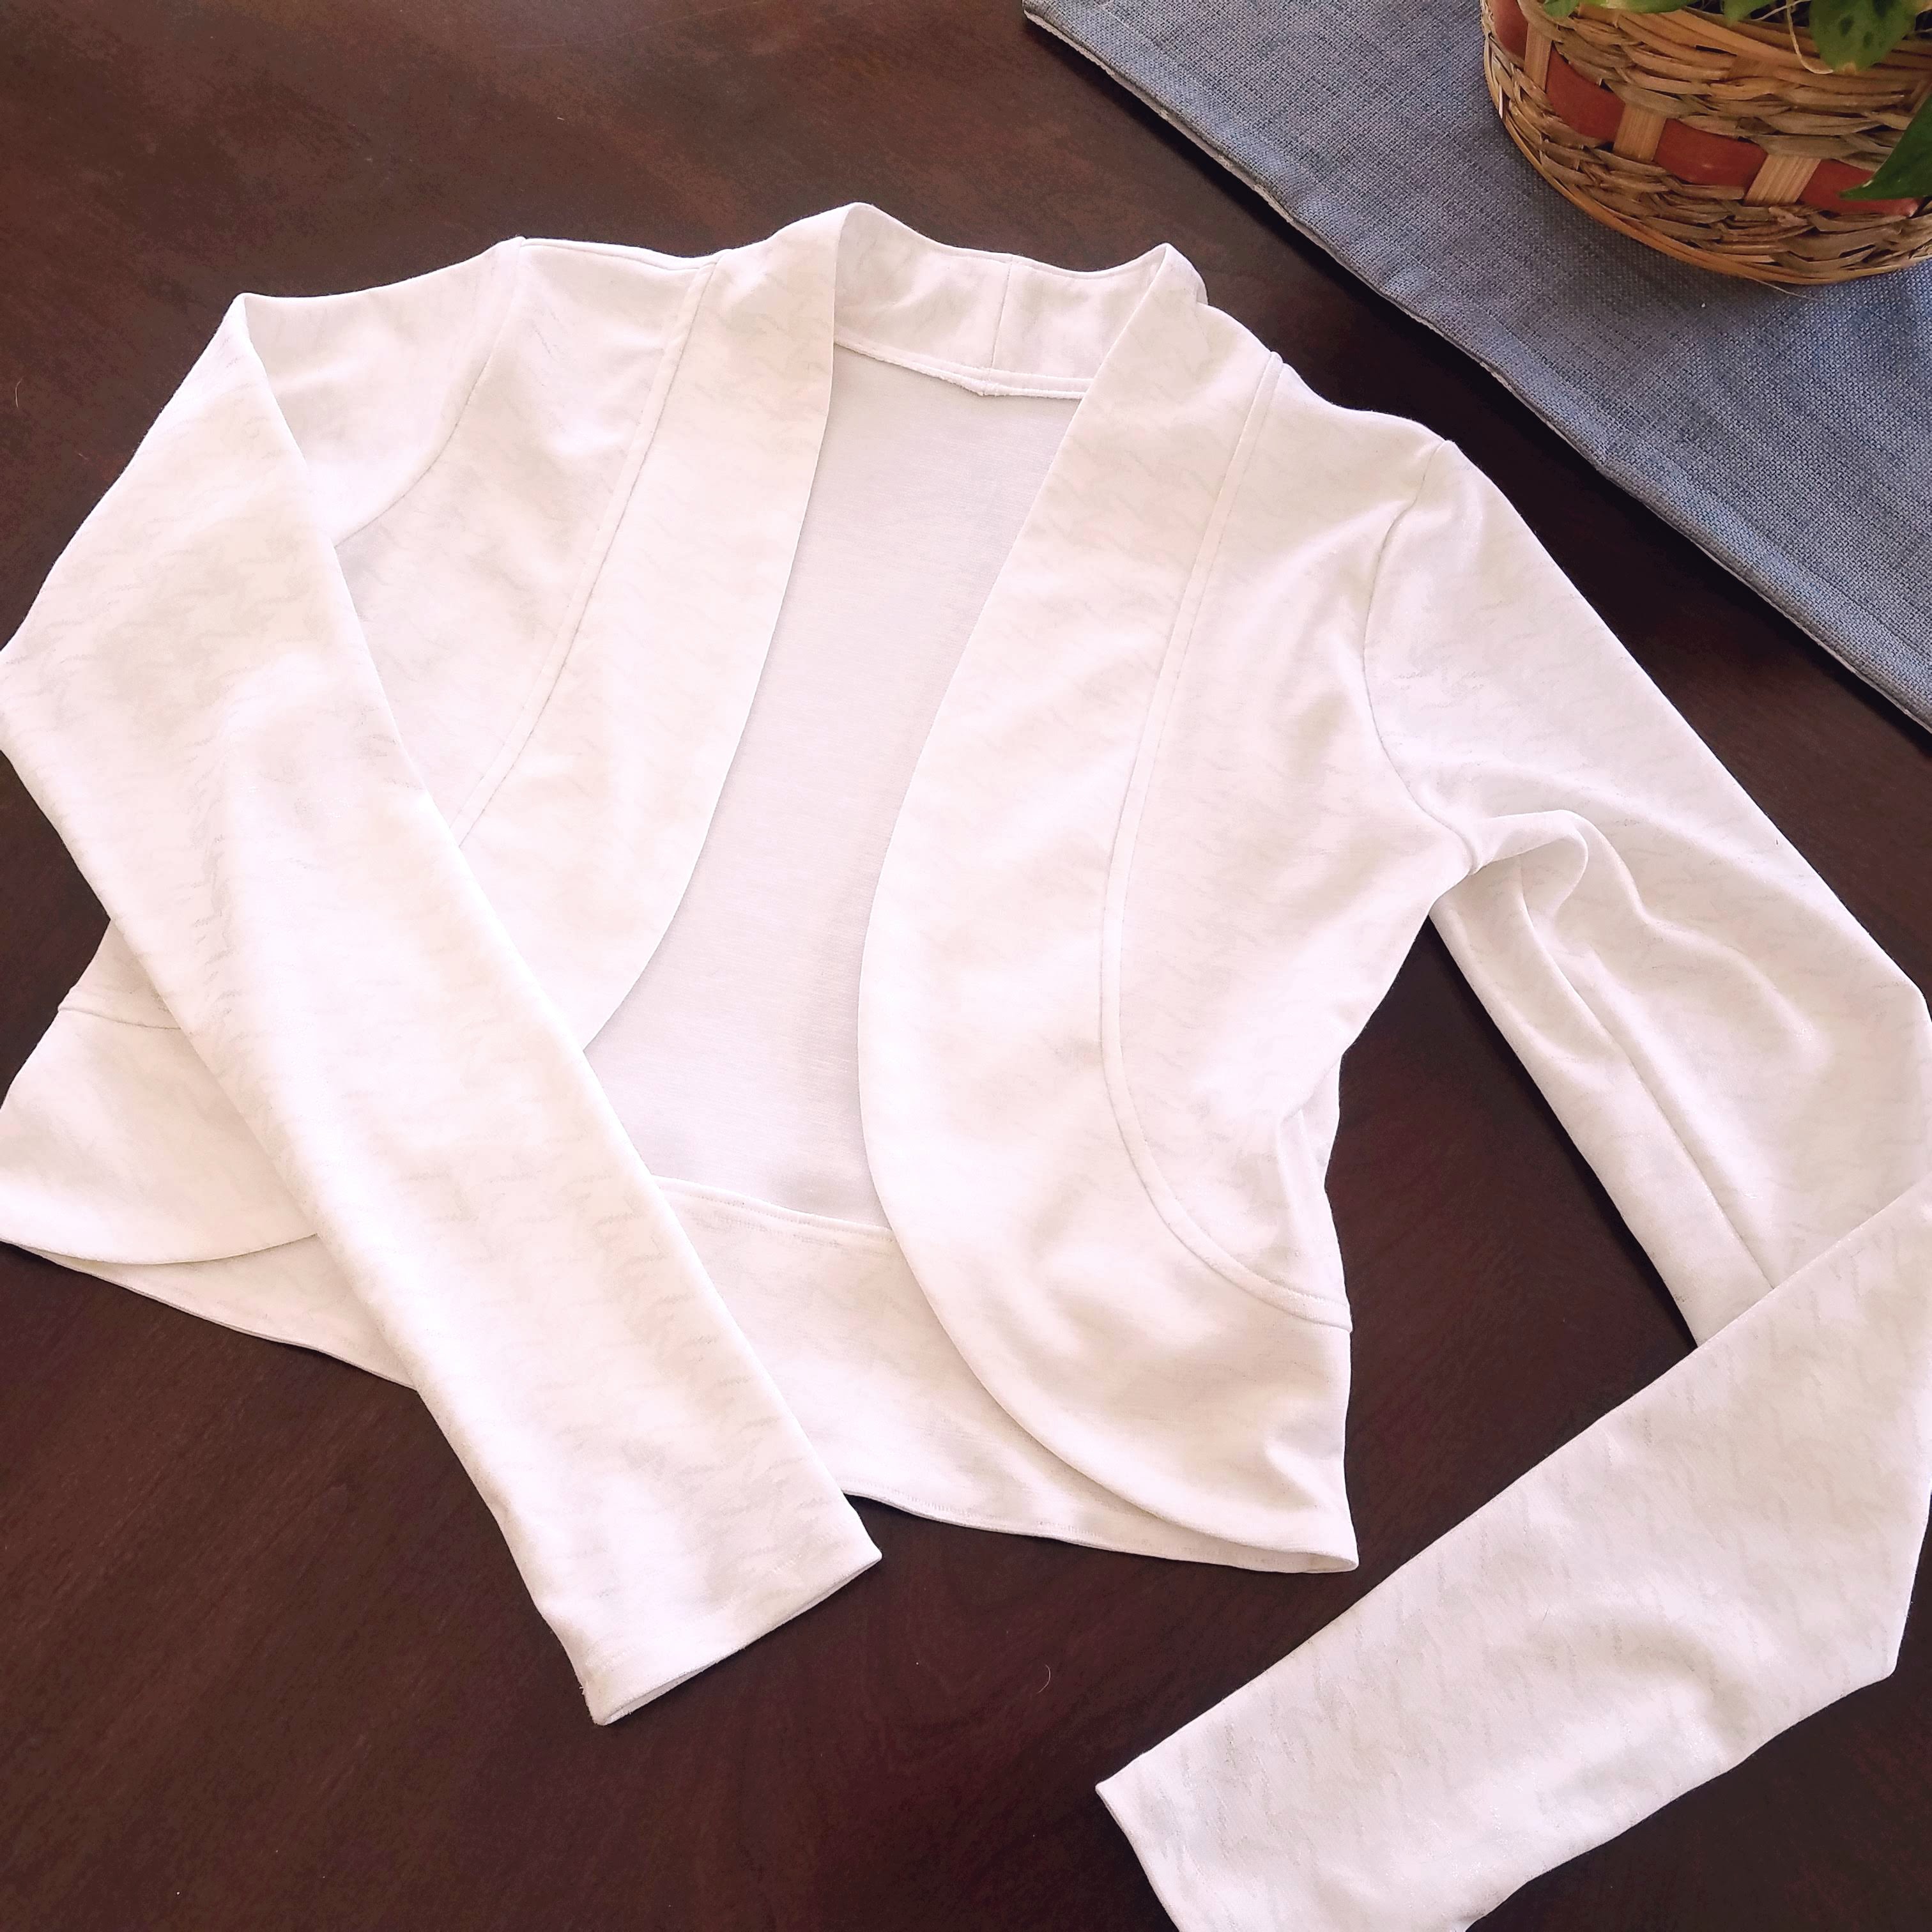
This is probably my most flawless project to date, and I am floored. I made it to pair with a little black dress that I’ve had for years and am dusting off this weekend for a Navy ball. I’ve had this off-white ponte knit with gold printed houndstooth from Stylish Fabric for months – 3 glorious yards of it that I wasn’t quite sure what to dedicate it to. I thought maybe a circle skirt of some sort, but that idea didn’t motivate me enough to cut into it.
The Bianca Bolero did, along with the fact it pairs perfectly with an off-white ribbon under the bustline of my dress.

What I Loved About This Project
- Sleeve options. Any pattern that gives me sleeve options (and includes a long sleeve) gets instant bonus points in my book.
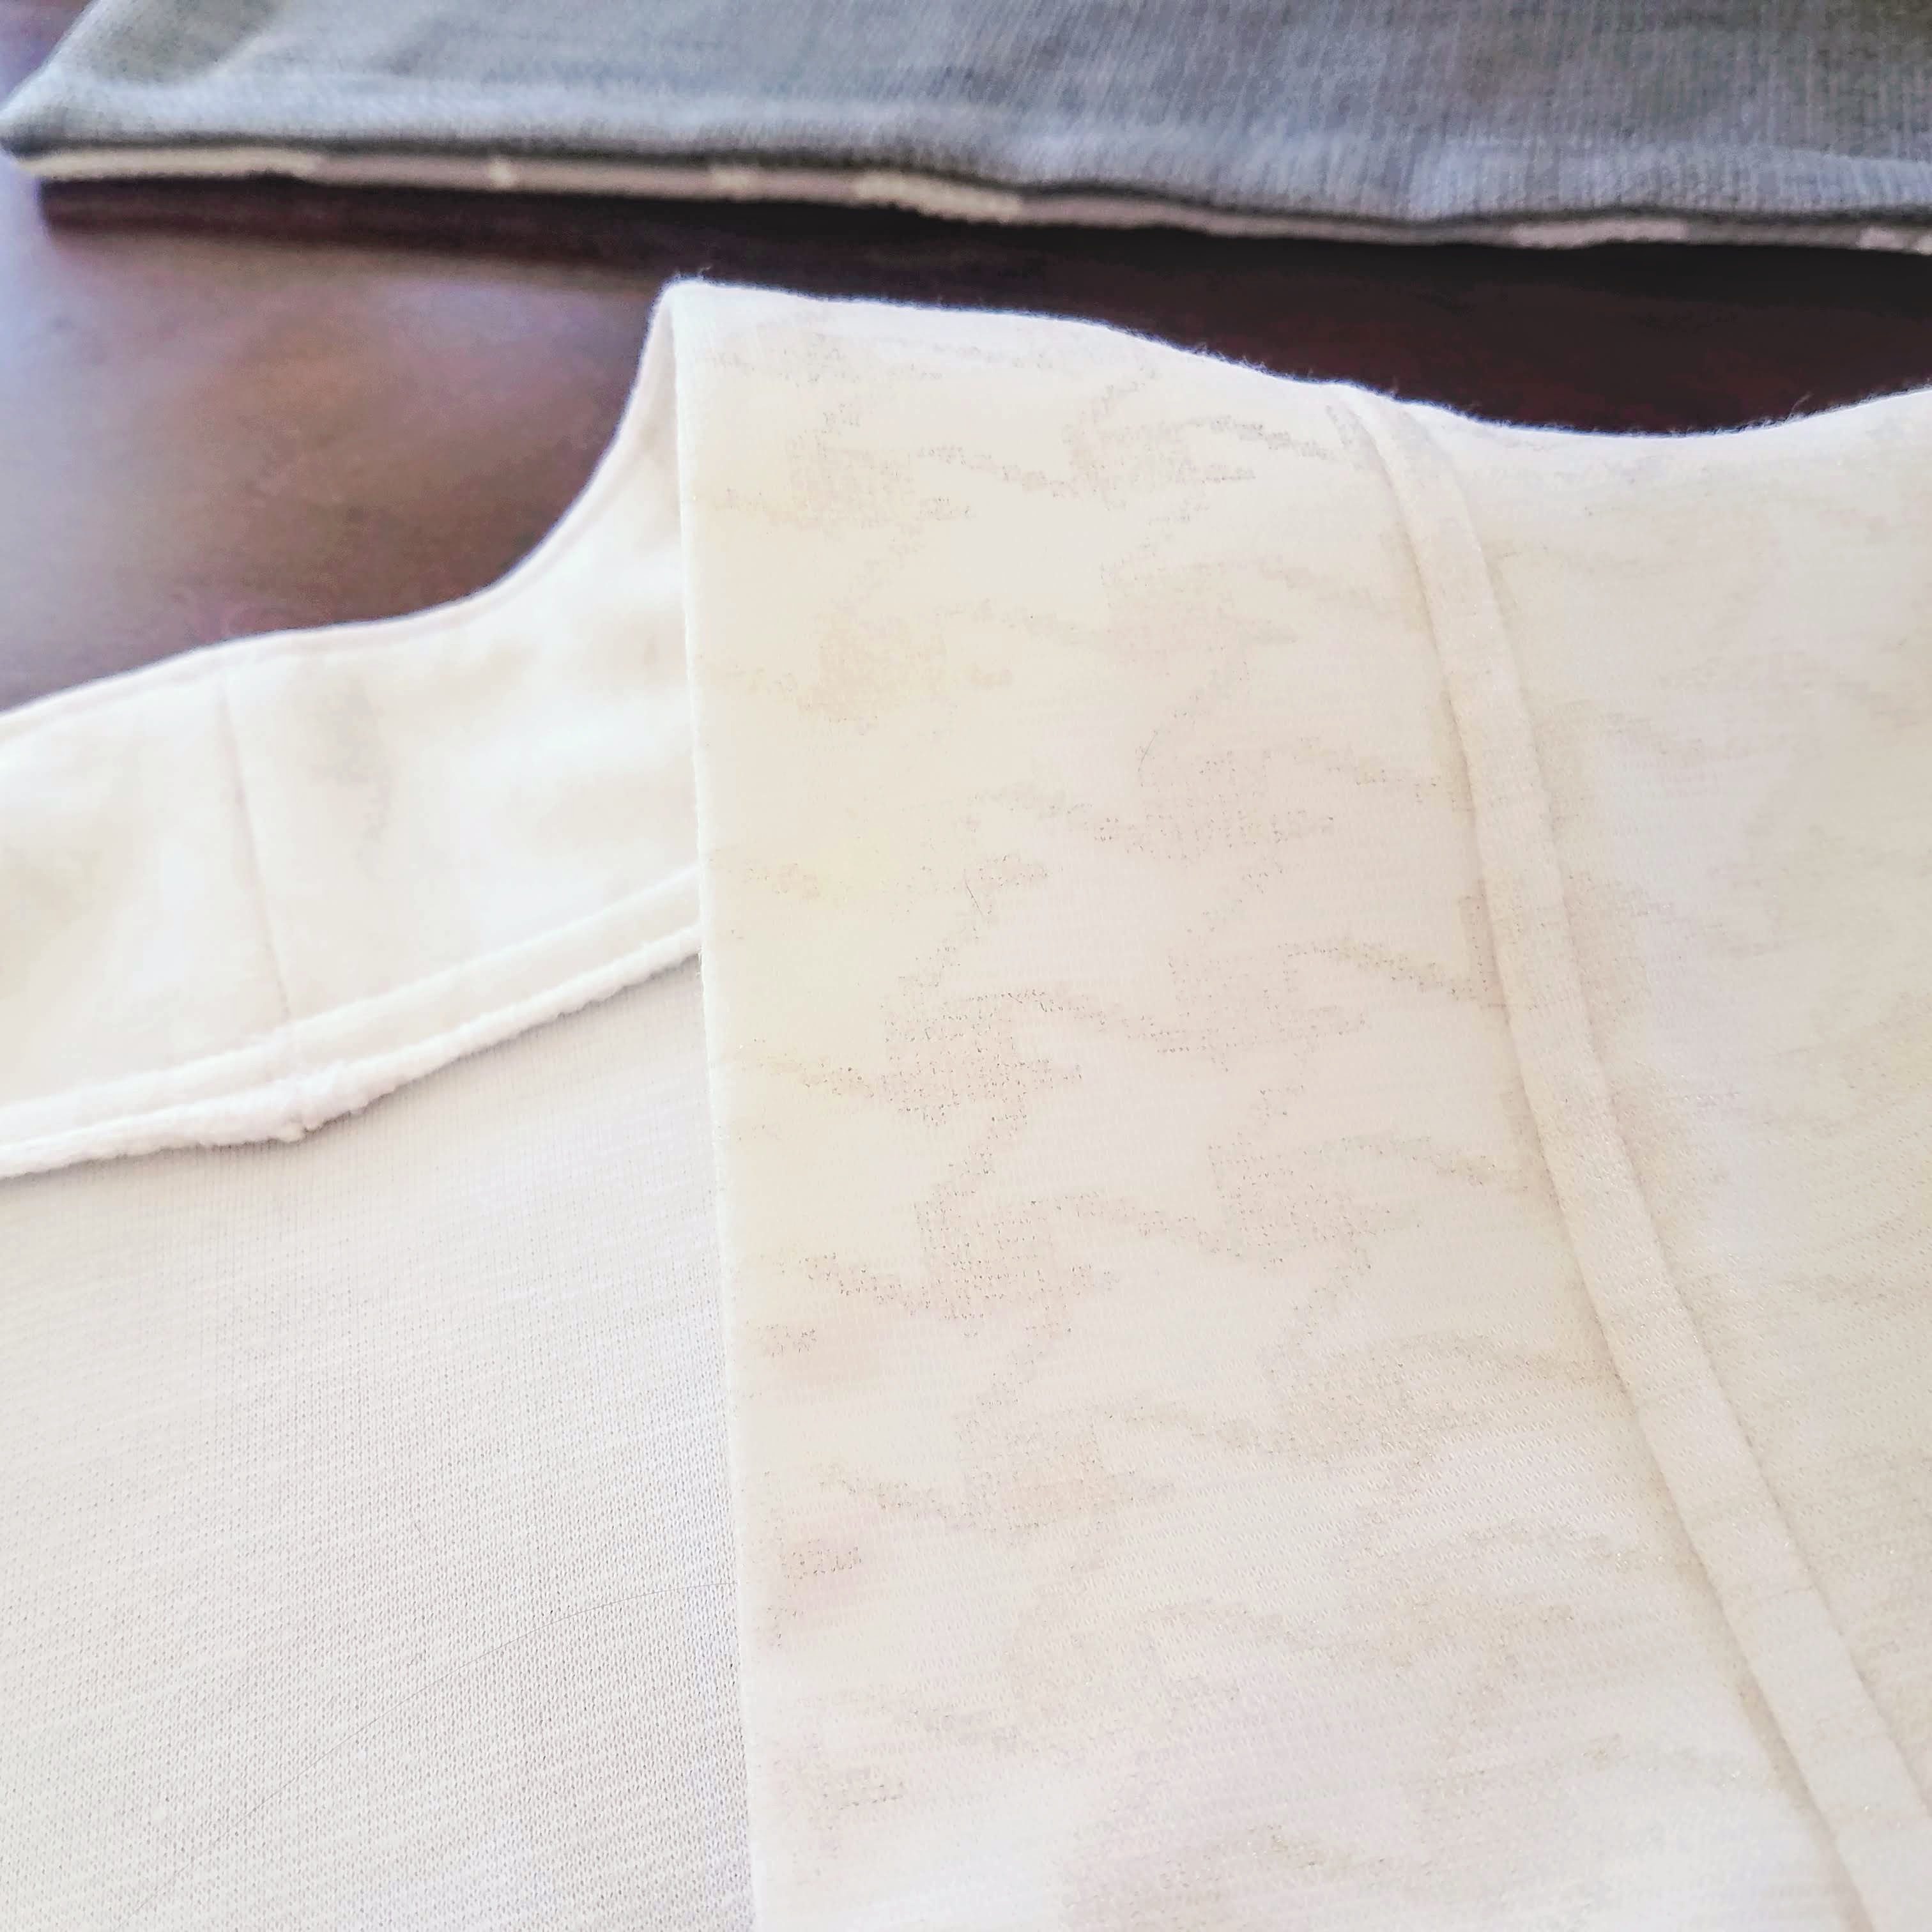
- This ponte knit sewed like a dream. The only other sleeves I’ve done to date have been raglan sleeves, which are inherently more forgiving. So having a fabric that behaved so well made these shoulder seams extra cooperative. Granted, I did take my time and stopped/adjusted my fabric/presser foot often, and smoothed puckers and wrinkles non-stop as I went along. It paid off.
- This fabric also launders really well. I am loathe to have to dry clean/hand wash anything, so if it can survive the washing machine, even more bonus points. I tossed it into a normal warm/cold cycle and tumbled dry to max out potential shrinkage. Shrink it did, but I had no other issues.
- Jackets are one of my favorite wardrobe pieces, and I find it difficult to find things to my taste. Having this pattern in my arsenal now is just awesome. I was going to sew another using the black brushed ponte leftovers from one of my Frankie tees, but turns out I didn’t have as much as I thought.
- Now that I took my time and made one, I can see making more of these much faster. It really is a pretty easy and quick project in the grand scheme of things.
What I Didn’t Love
- Instructions could use a good edit, both grammatically and logically.
- It had no lengthen/shorten lines marked on any pieces. I had to wing it. Figured I’d pick the straightest part of the sleeve to lengthen. Turns out that’s around the wrist.
- The cut line and seam line markings on the pattern look the same when printed. Viewing on screen, the cut lines are dotted, which seems backwards to me to begin with. What I usually see are solid cut lines and dashed seam lines.
- When the instructions talk about seam allowance, it has Seam: 5/8″ printed nice and big and bold, then tells you to pay attention to the armhole, neckline, and lining seam allowance as they’re “usually smaller.” It also says the seam allowance is printed on each pattern piece. Literally every single piece has a 1/4″ seam allowance. Confusing much? (The actual seam allowance is 1/4″. Ignore the mention of 5/8″. It’s useless.)
- The photos would’ve been more helpful if you could see the thread better. It was all too matchy.
What I Did Differently
- used regular sizing even though my height places me in tall sizing. I wanted the bottom of the jacket to hit higher on the waist.
- added 2″ to the sleeves just above the sleeve hem
- did NOT use clear elastic or cotton tape for stabilizing the shoulder seam. All I did was stitch the first seam, pressed the seam allowance toward the back, and made a second stitch line to hold it down. I took this idea from a video by Lifting Pins and Needles.
- used a straight stitch to topstitch around the collar/band after it was attached
- eyeballed the sleeve hems. I didn’t measure. I just used a zig-zag stitch over the raw edge to finish it, and then folded it over once between 1/2″ and 1″, then used a lightning stitch close to the finished edge for the hem. I need my sleeve length. Nothing drives me batty like sleeves that are too short.


Project Settings
Presser Foot |
Stitch# |
Width |
Length |
Needle |
Top Thread Tension |
Application |
|---|---|---|---|---|---|---|
standard zig-zag (A) |
5 |
1 |
2.5 |
blue tip |
5 |
top stitching & hem |
adjustable edge foot |
5 |
1 |
2.5 |
blue tip |
5 |
all other seams |
overedge (C) |
6 |
4.5 |
2.5 |
blue tip |
5 |
edge finishing |
Leave a Reply