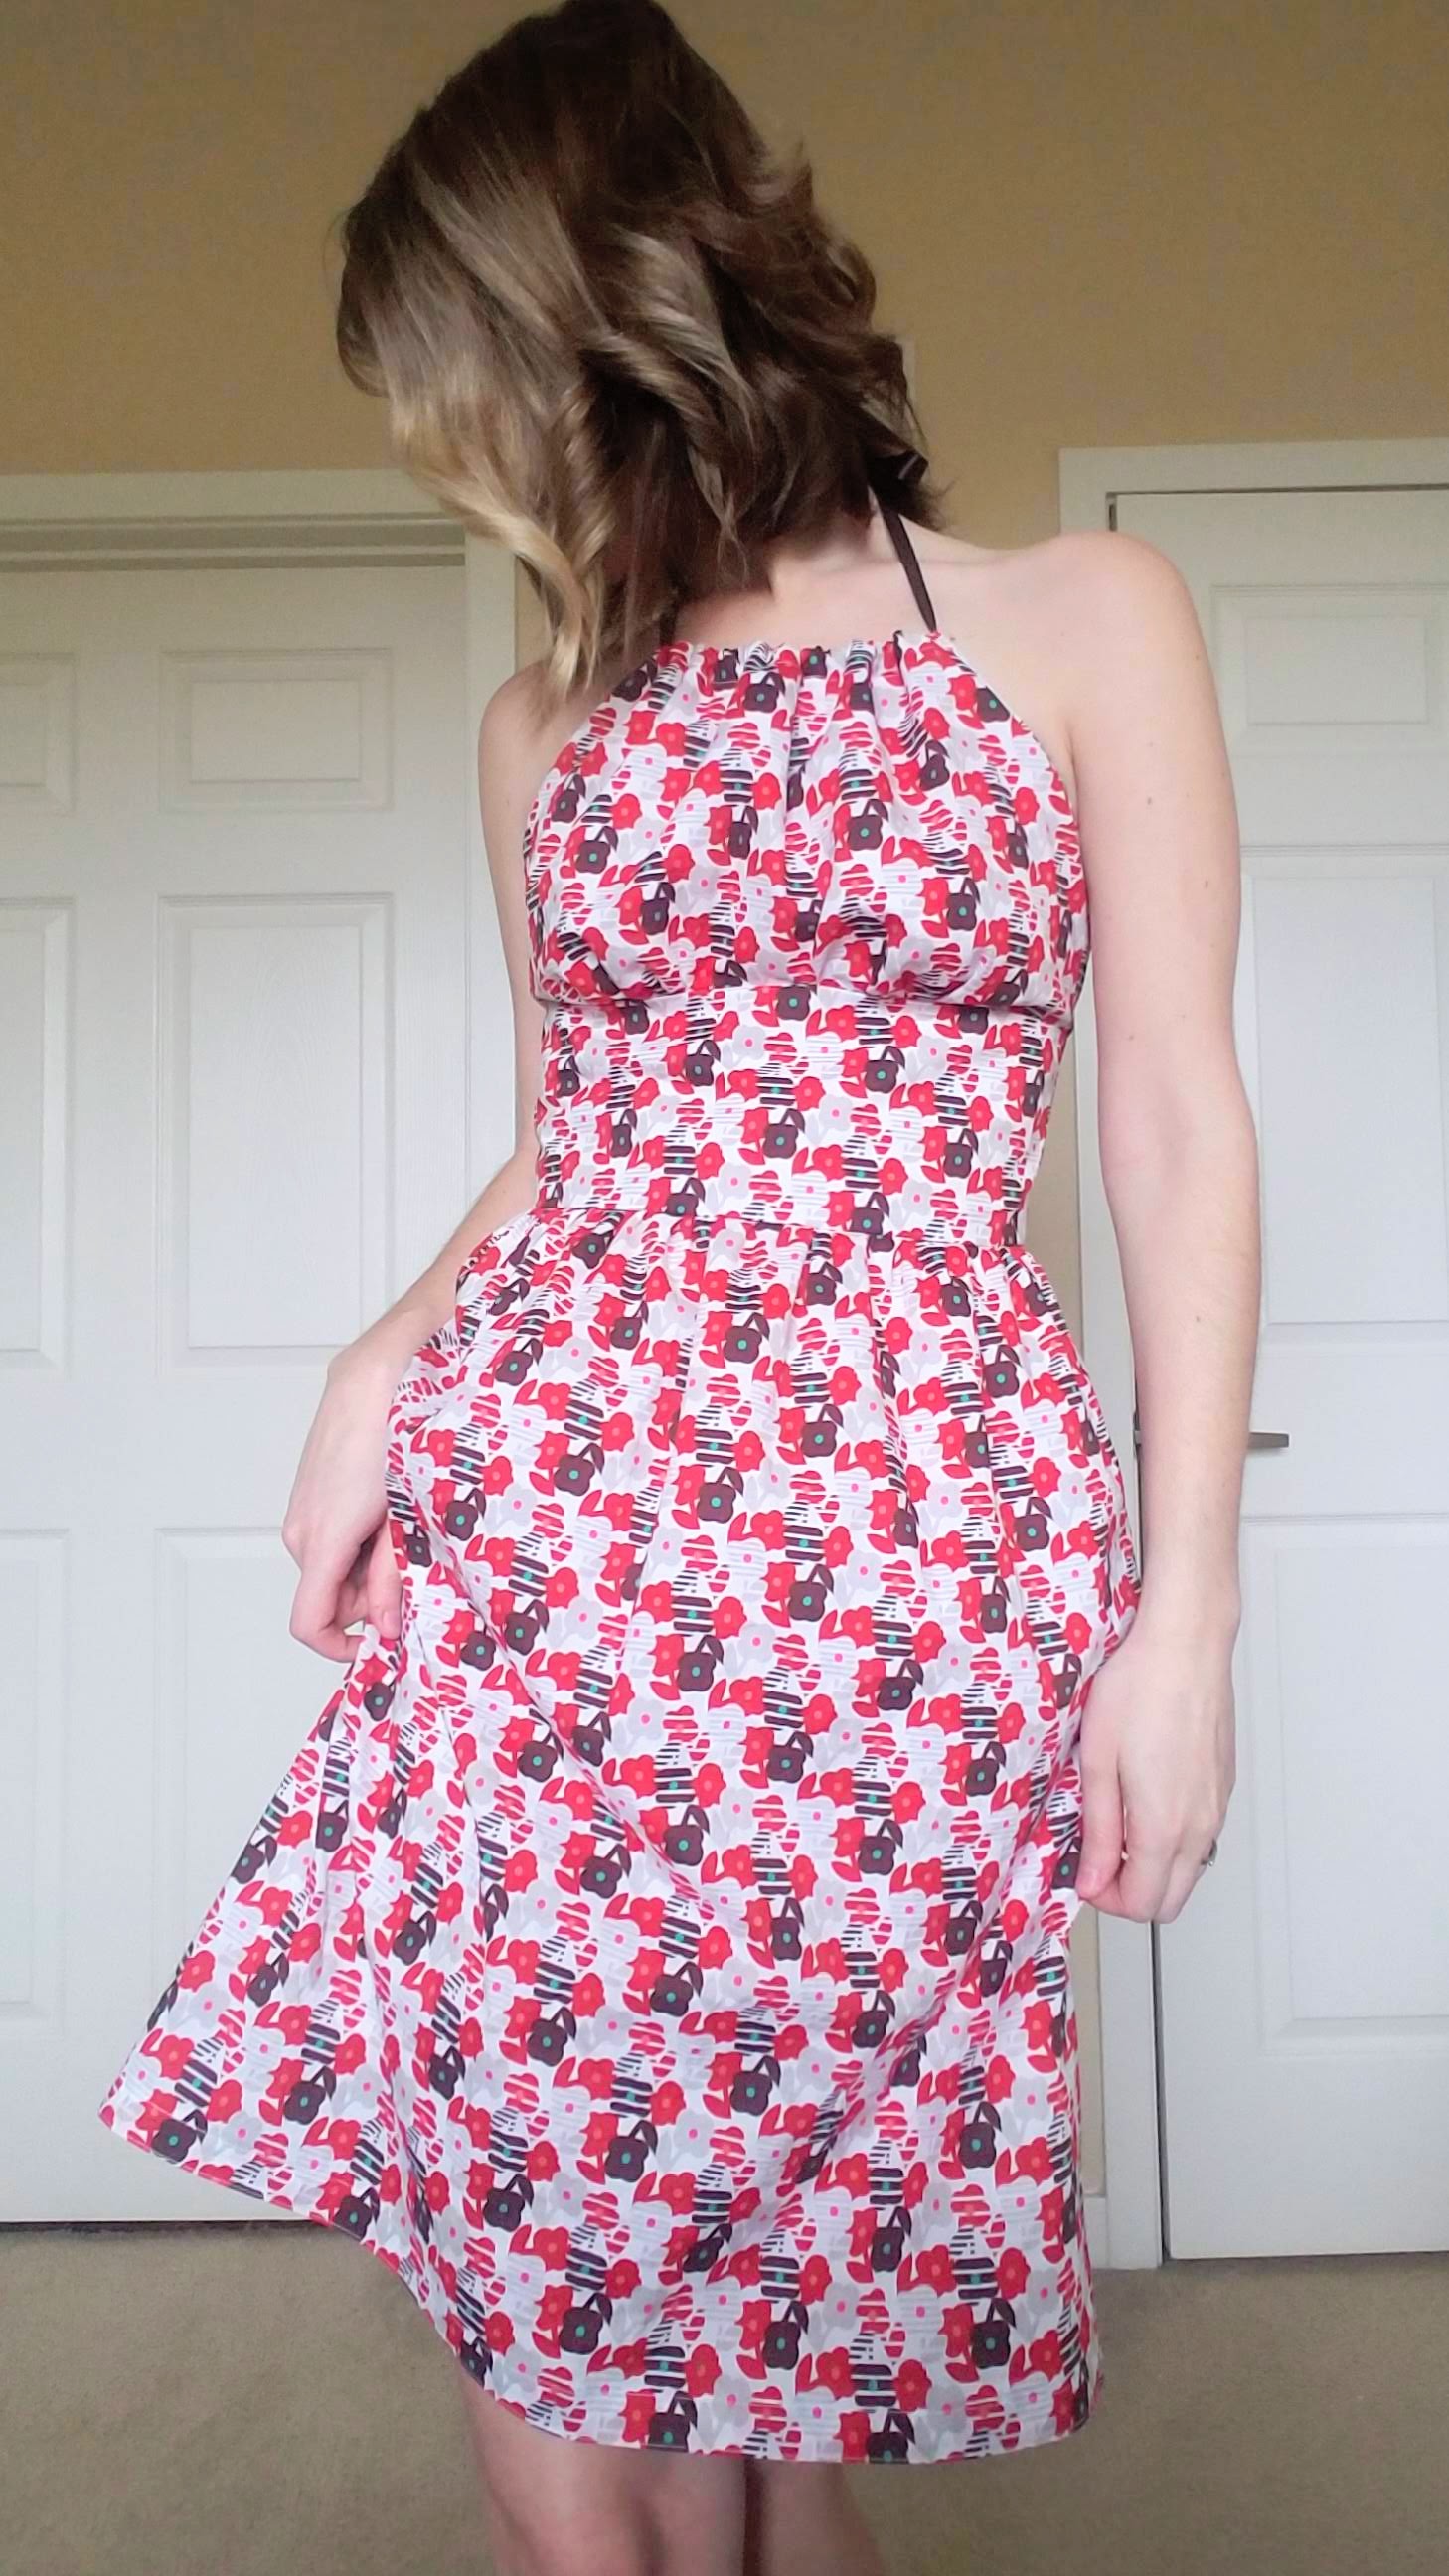
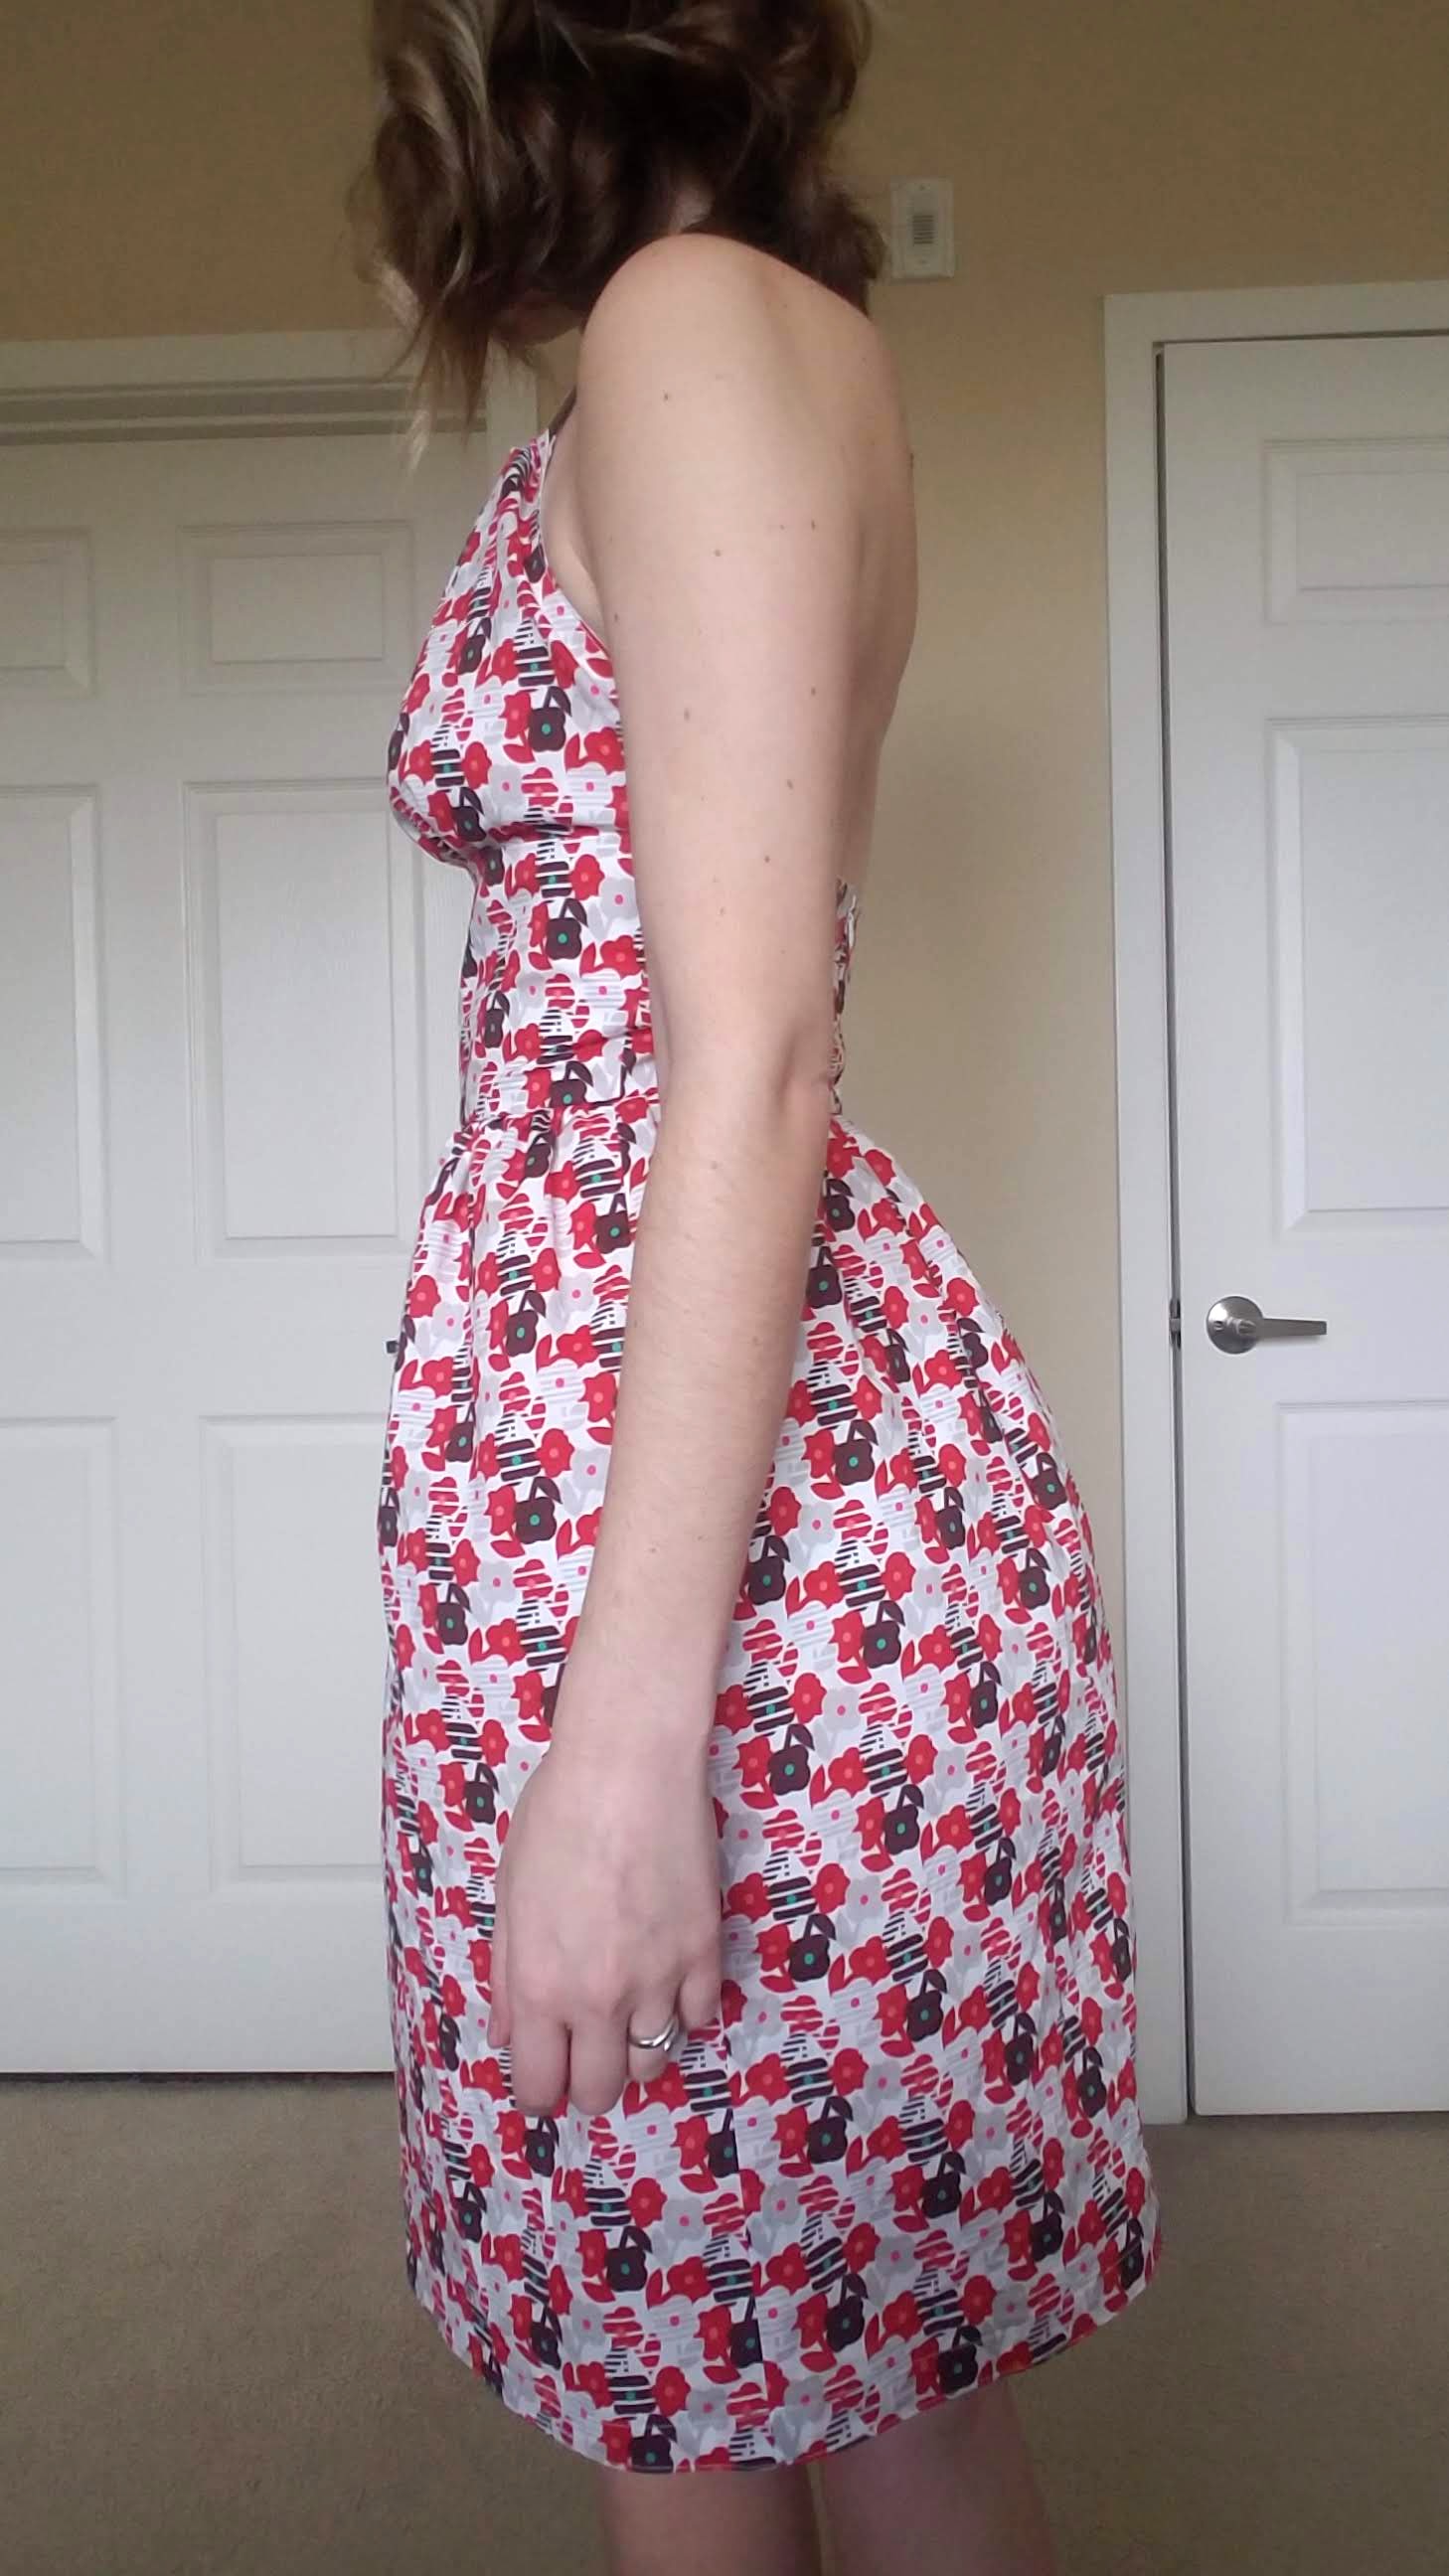
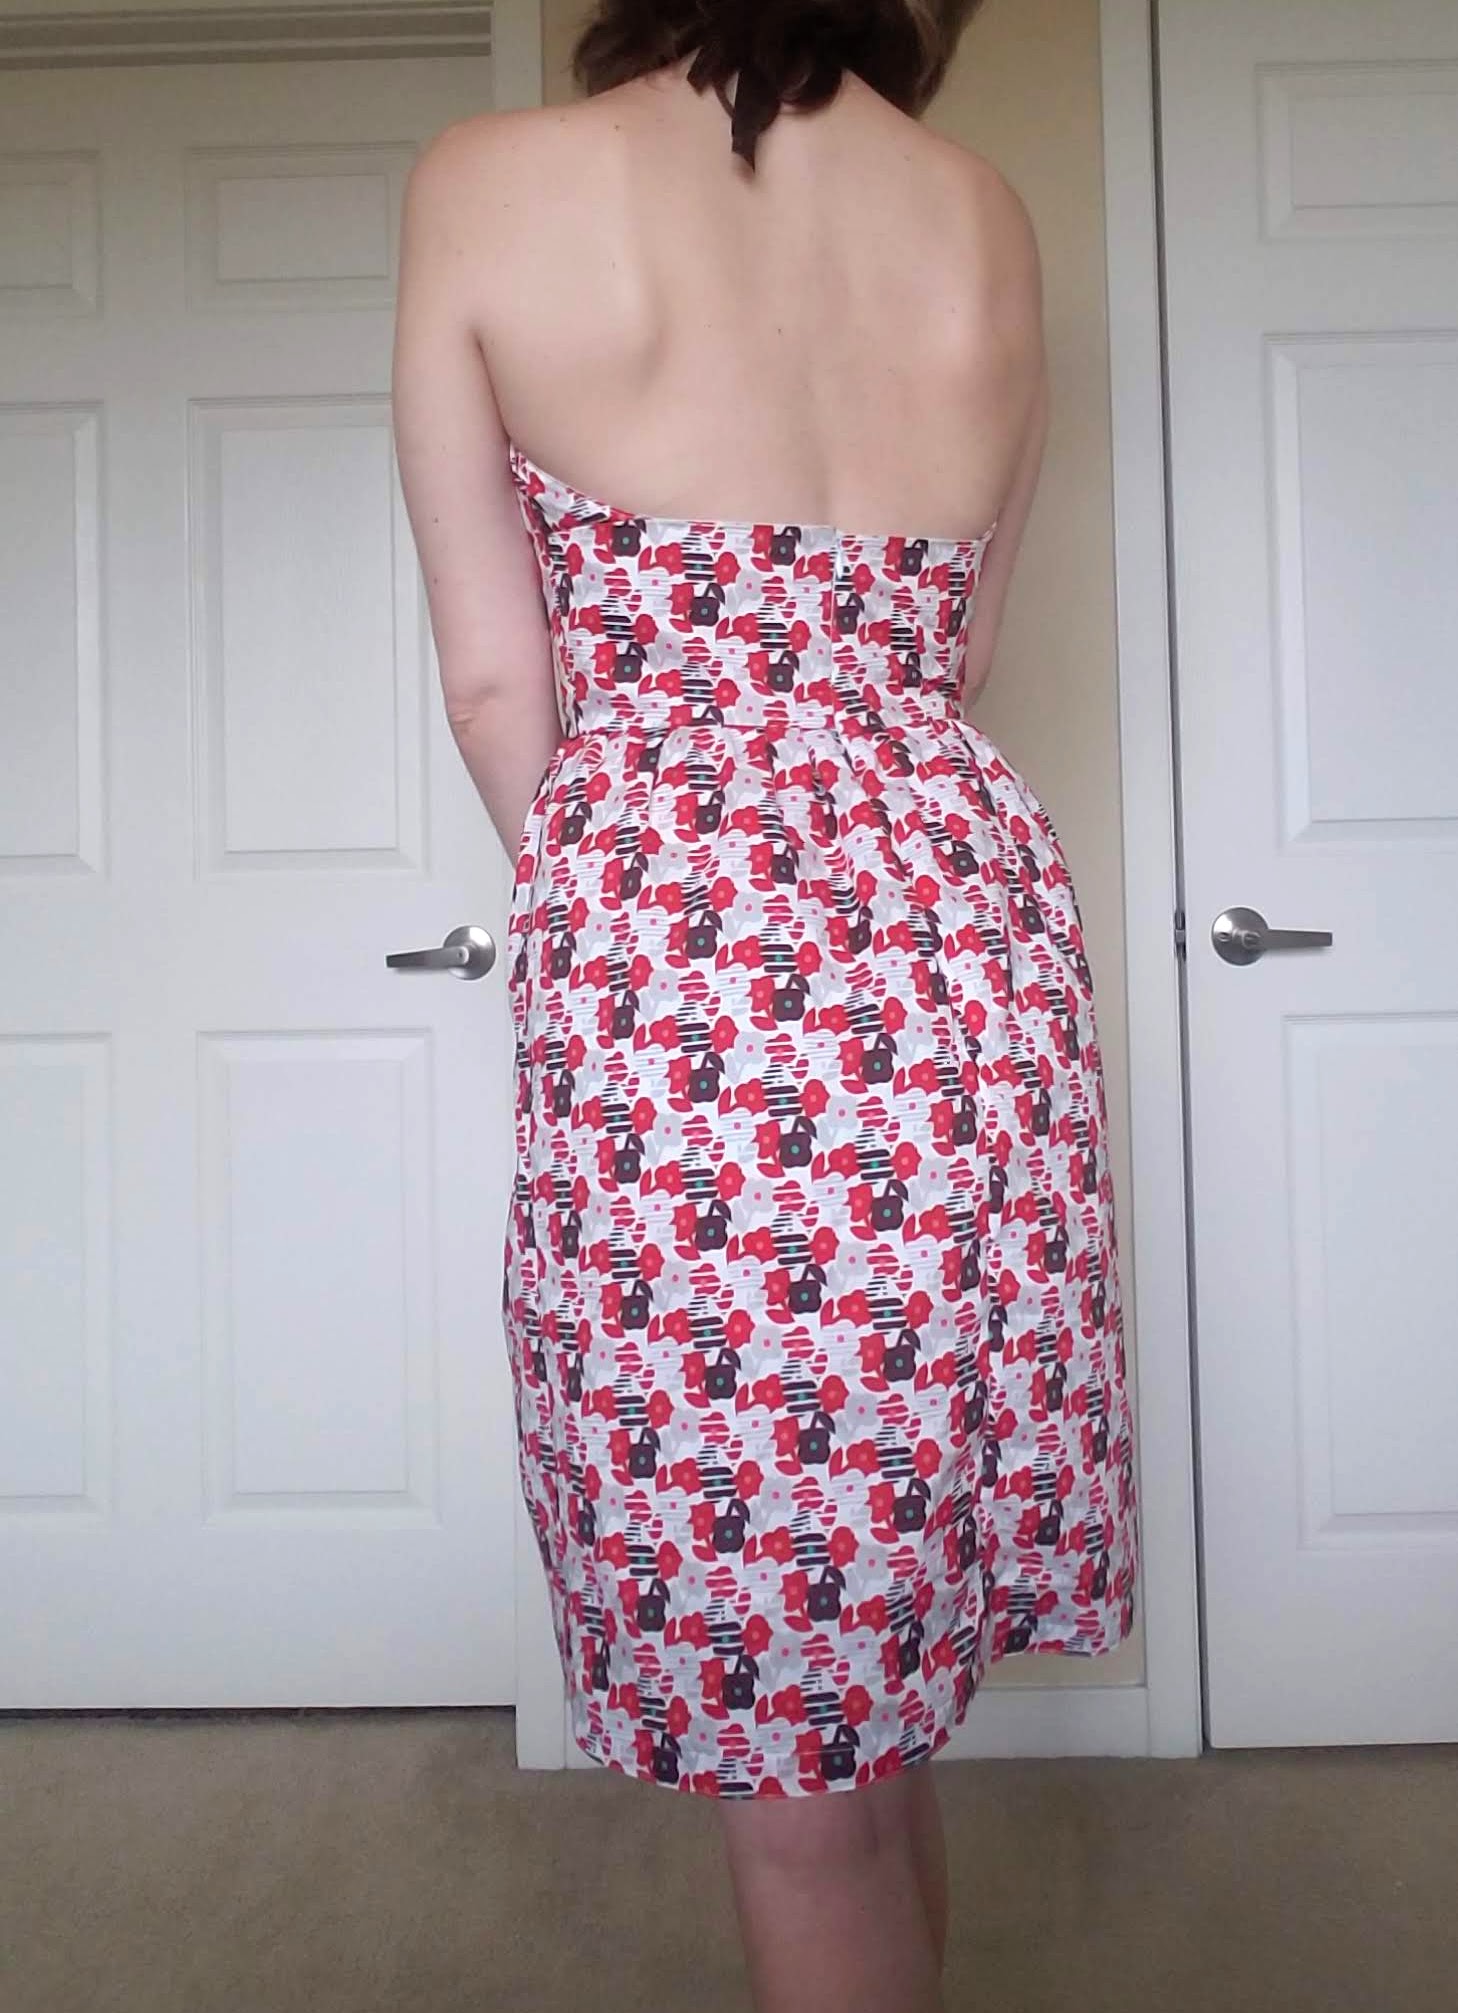
I finished my Ava Sundress on the 18th. This was my major #MeMadeMay goal. I’ve been staring at the photo on the front of the free pattern for weeks and weeks, intimidated by how amazing it looked and by the instructions, but wanting so much to have it. So a few days ago, I dove in. I ran into several bumps in the road with the instructions, and there’s a distinct lack of pictures. So I decided to document my construction of the Ava Sundress in pictures and more detailed instructions.
What you’re seeing here is the 2nd attempt. The first one was eaten alive by some bad math while fitting.


Behold: more detailed instructions and pics.
My edits will be in pink.
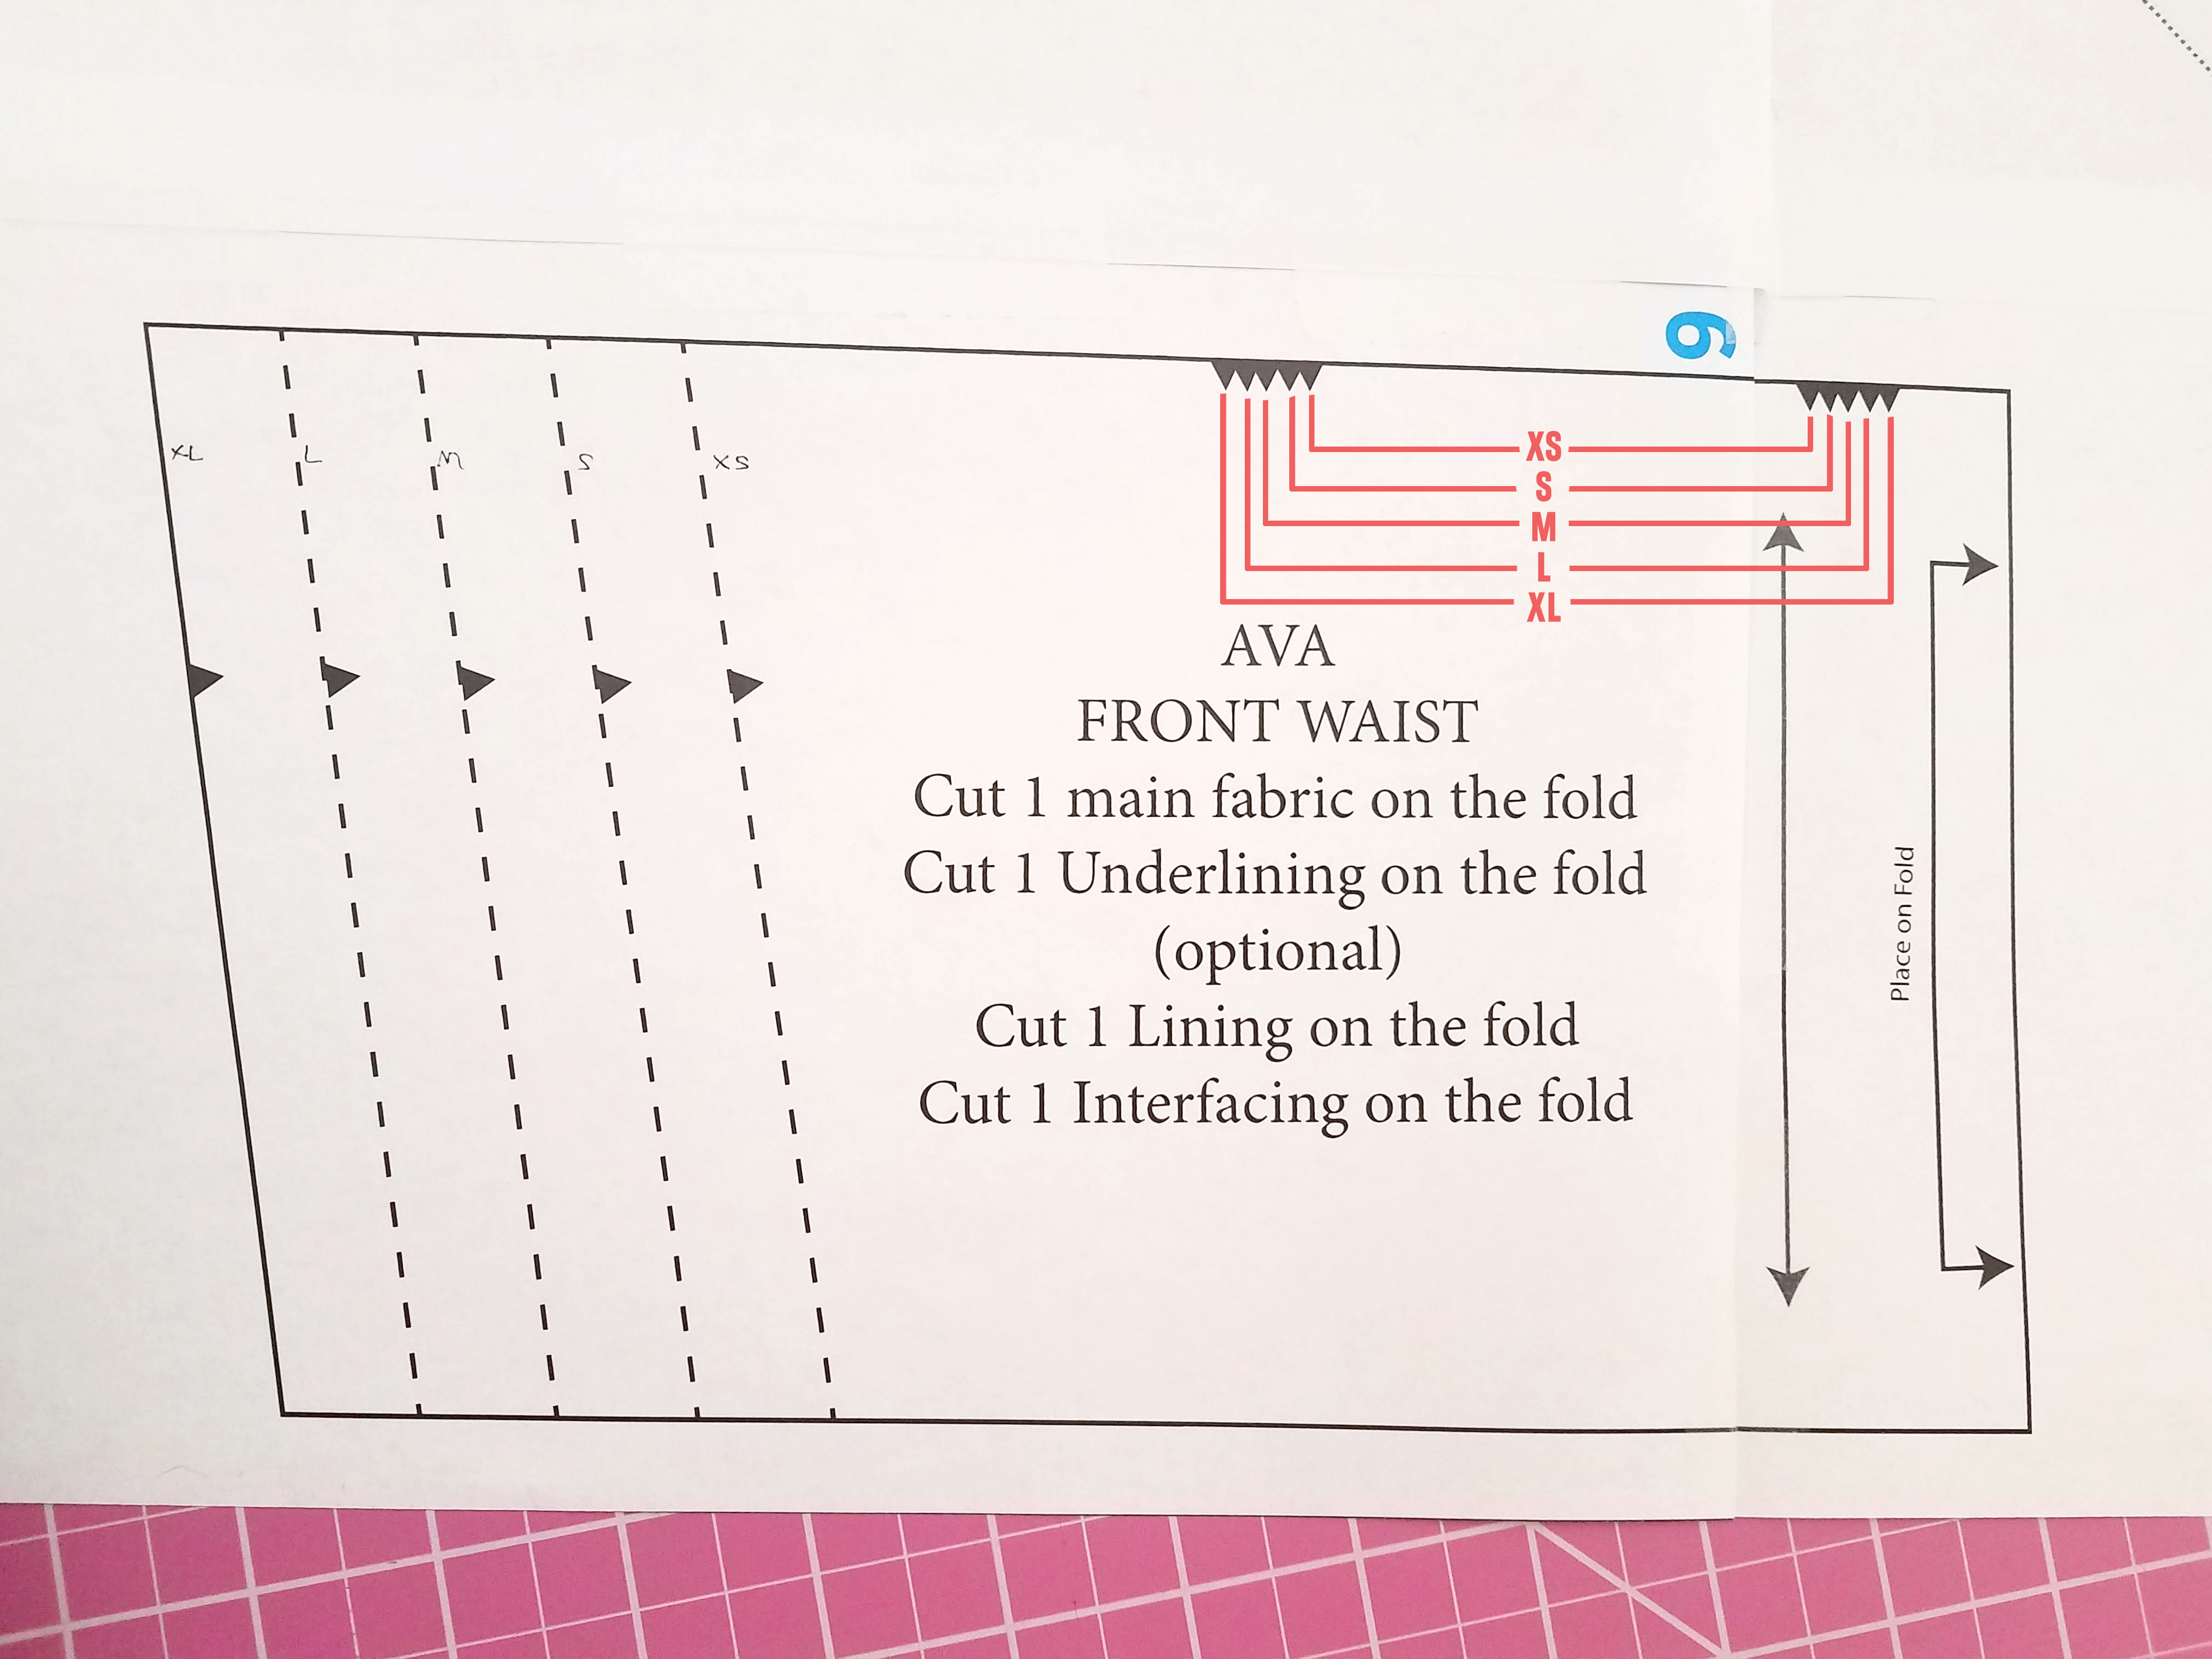
* The cutting instructions show the fabric folded. A few pattern pieces are cut on the fold, but piece C (the back waist piece) is not, and it’s shown twice. Cutting it out twice as shown on the fabric while it’s folded in half would give you 4 of those pattern pieces. You actually only need to cut once as shown to get 2 mirror pieces, so that’s a little mistake. Save your fabric!The instructions also have you cut the skirt pretty long. On my first attempt, I cut it at the instructed size. While fitting, the bottom of the skirt fell at this awkward spot between calf and ankle. I wanted it to end above the knee, which meant cutting a significant amount of fabric off. On the 2nd dress, I cut it 8.5″ shorter, which conserved a lot of fabric. I might make another one of these as a maxi dress so at that point I will have to add some length to the cut size.
The materials call for a 14″ zipper. It doesn’t specify exactly what type; I chose to use an invisible zipper.
Also, the instructions only used lining fabric on the bodice and waist pieces. On my second attempt, I decided to cut lining for the skirt as well. I cut it a good 2+ inches shorter to minimize any accidental showing. The lining along the skirt helps the voile hang better and not bunch up as you’re walking, and also adds another layer to mitigate whatever sheerness there might be to the voile. (Let’s not advertise our underwear to the world, shall we?) The lining I used (Ambiance Bemberg rayon) is also static-free, so if I ever decide to pair this dress with a pair of leggings and boots in cooler weather, I won’t have to worry about cling. It also feels great against your skin, and adds a more finished feel to the dress overall.
1 Transfer all pattern markings to the fabric pieces after cutting.
There weren’t a whole lot so I just cut the notches while the pattern was still on my fabric. I’m still a bit new at working with patterns, so when I saw the groups of 5 notches on the waist, I wasn’t sure what that meant. I eventually figured out each notch represents a size.
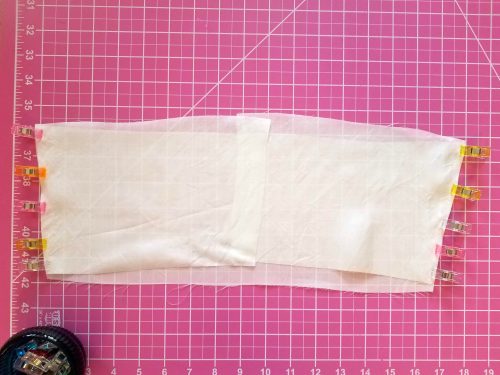
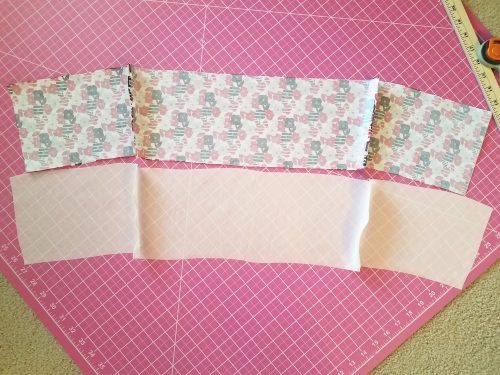
2 Take one of the skirt pieces, fold in half by aligning the short ends together, and cut each piece in half along the fold. These will now be referred to as the back skirt pieces.
Simple enough. I also duplicated this step with the lining fabric I decided to include on the skirt.
3 Stay-stitch the armhole edges of the bodice lining piece
A stay-stitch is a straight machine stitch worked just inside the seam allowance to strengthen it and prevent it from stretching or breaking. It’s sewn on one layer of fabric, about 1/8″ from the seam line, using a small (1.5) stitch length. (Smaller stitches are stronger.)
I noticed after this step that my bodice lining no longer matched up with the main fabric lining when laid on top of it. The stay stitching seems to distort the shape. I gently stretched along the stitching to bring it back into shape with the main fabric.
4 Fuse the interfacing to the wrong side of the main fabric front waist and
Notch the center top and bottom edge of the front waist lining fabric, and the front waist main fabric. (Only lining is shown here.)
The last sentence was confusing to me on this step. They don’t tell you why you’re doing this, and there’s really no further reference to it in the instructions. Also, it’s unclear if you’re supposed to notch the top edge or the bottom edge. “Front fold” is not helpful. I did both top and bottom. The reason for it is to help you line things up later on.
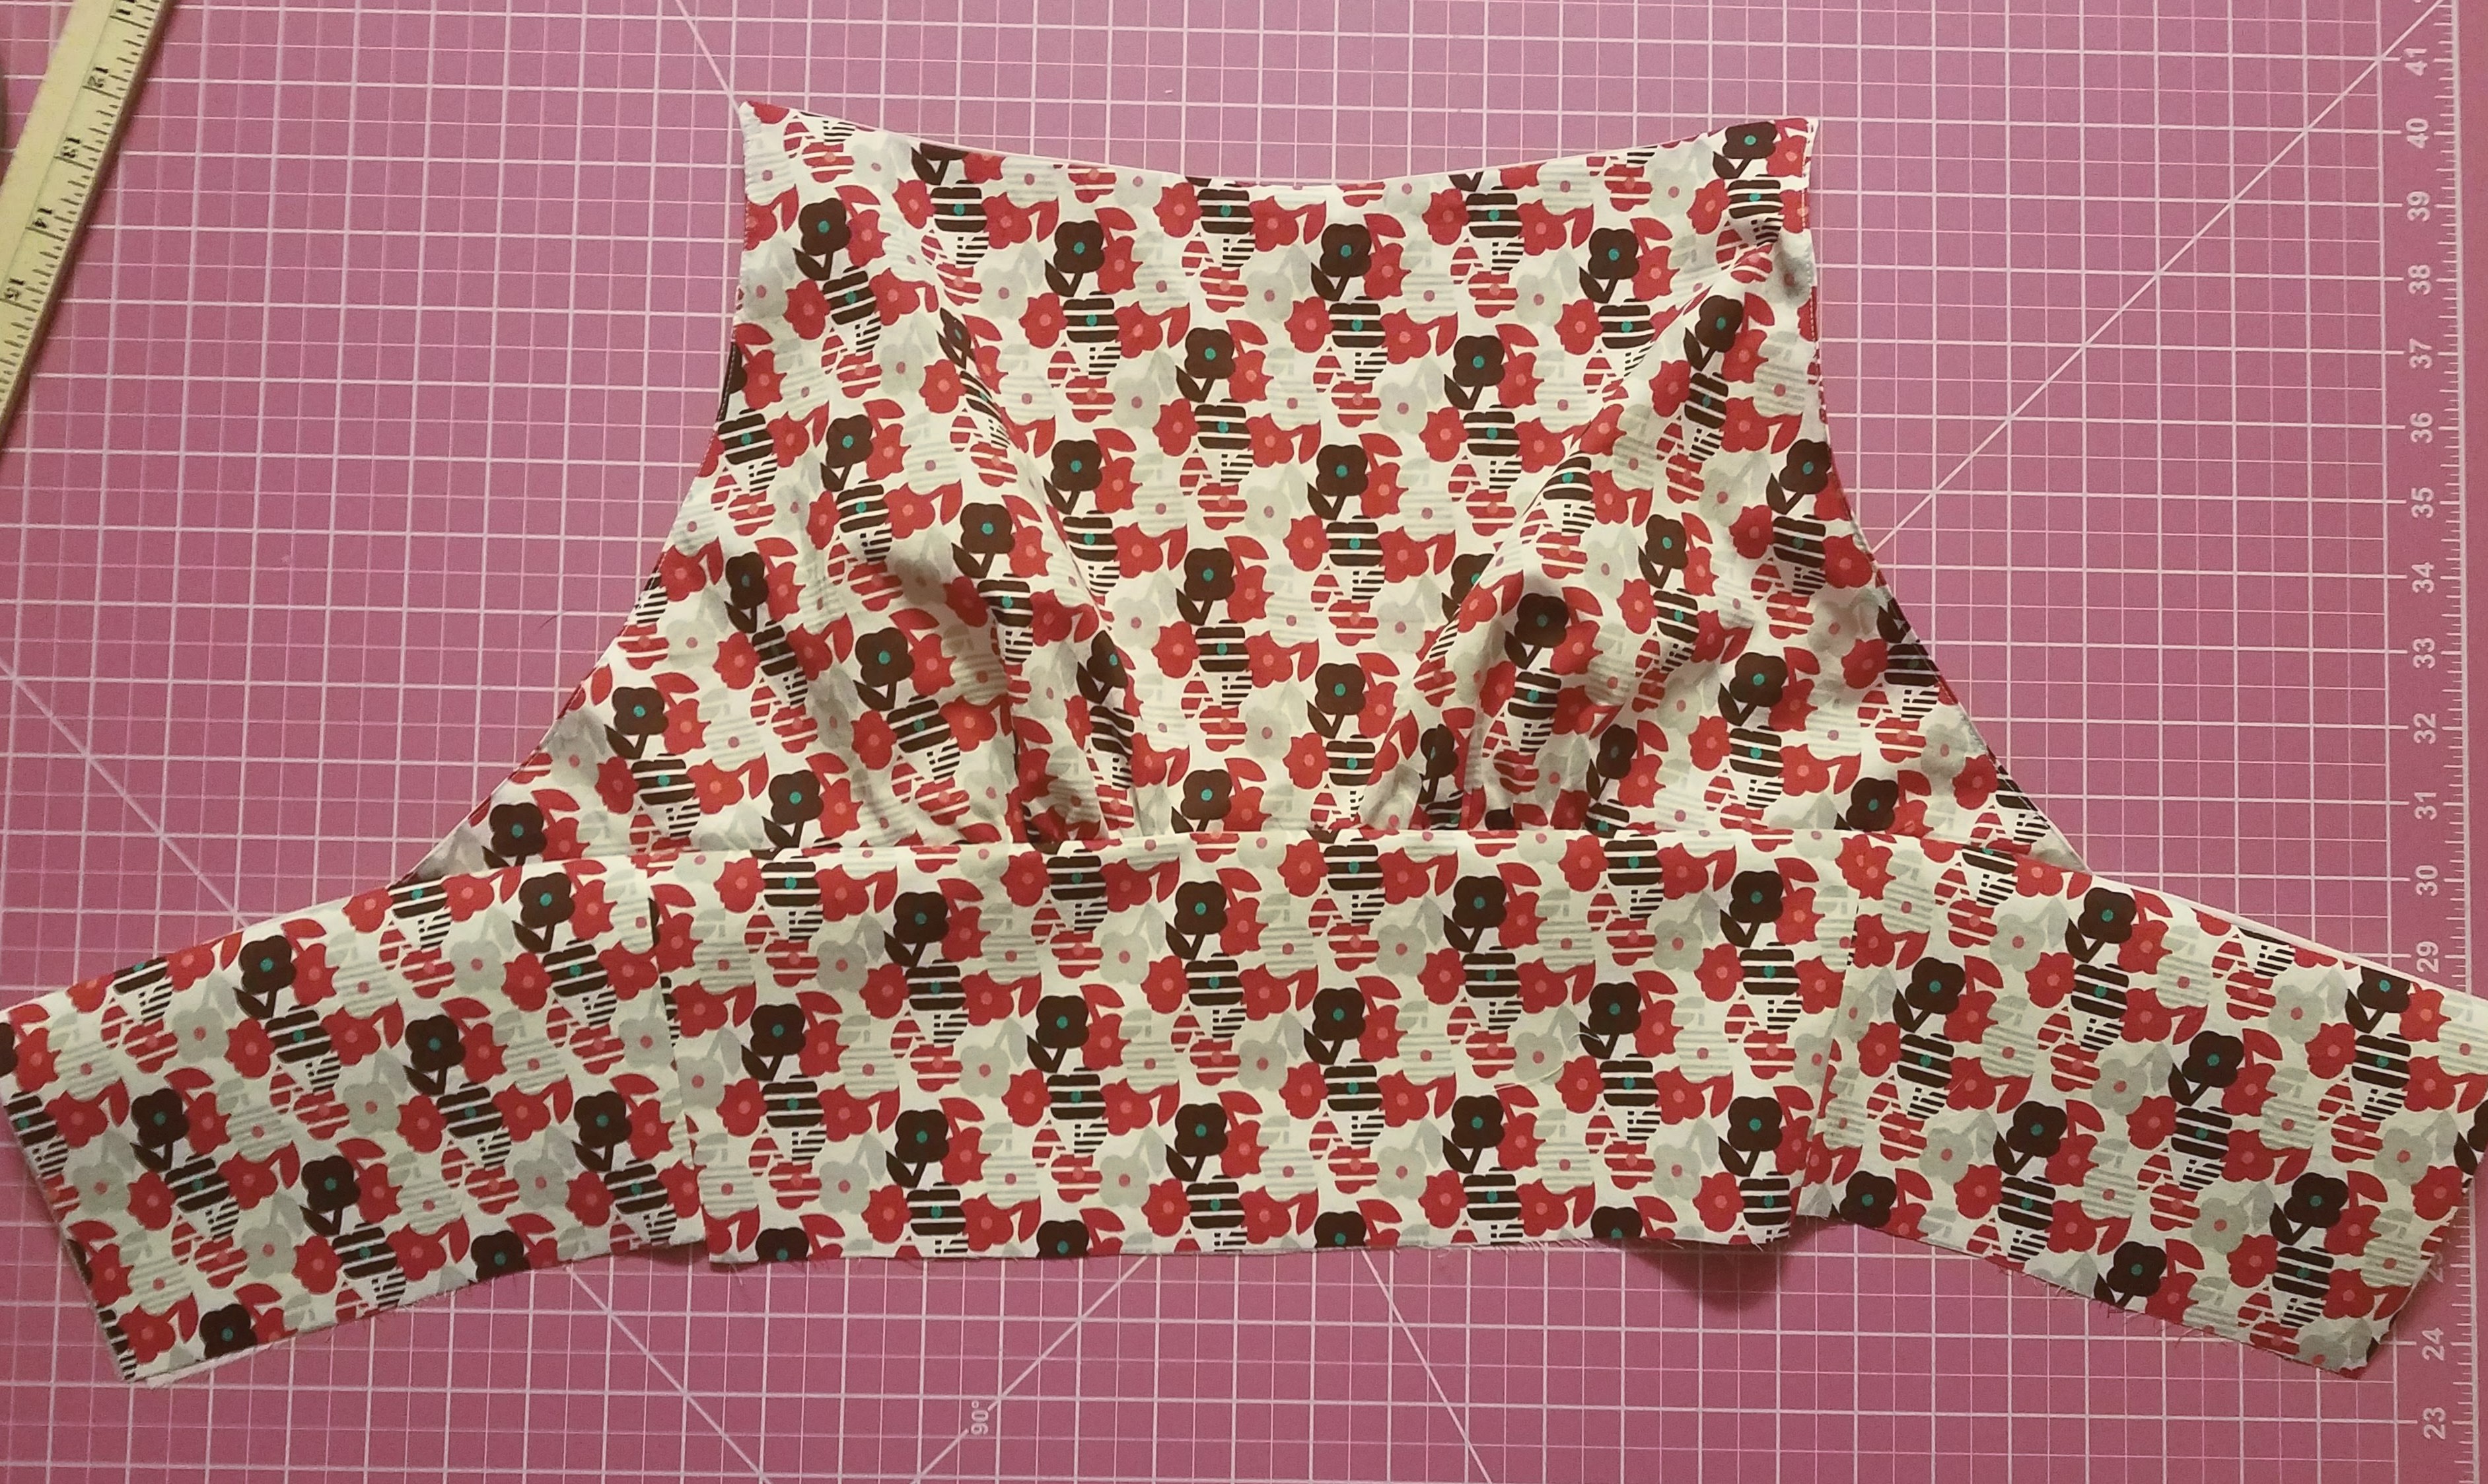
5 Align the waist pieces RST matching notches (along the side seams. The top and bottom edges will not line up.). Stitch with 1.5cm (5/8″) seam allowance. Repeat for the waist lining pieces. Press the seams open and grade the seam allowances. Here’s how to grade seam allowances.
6 Align the edges of the bodice and bodice lining RST, and pin along the sides, armholes and top edges. Sew together, press and grade the seam allowances and clip along the curves. Trim off excess seam allowance at the top corners. Turn the bodice RS out and press flat along the seams. Edge-stitch along both armhole edges.
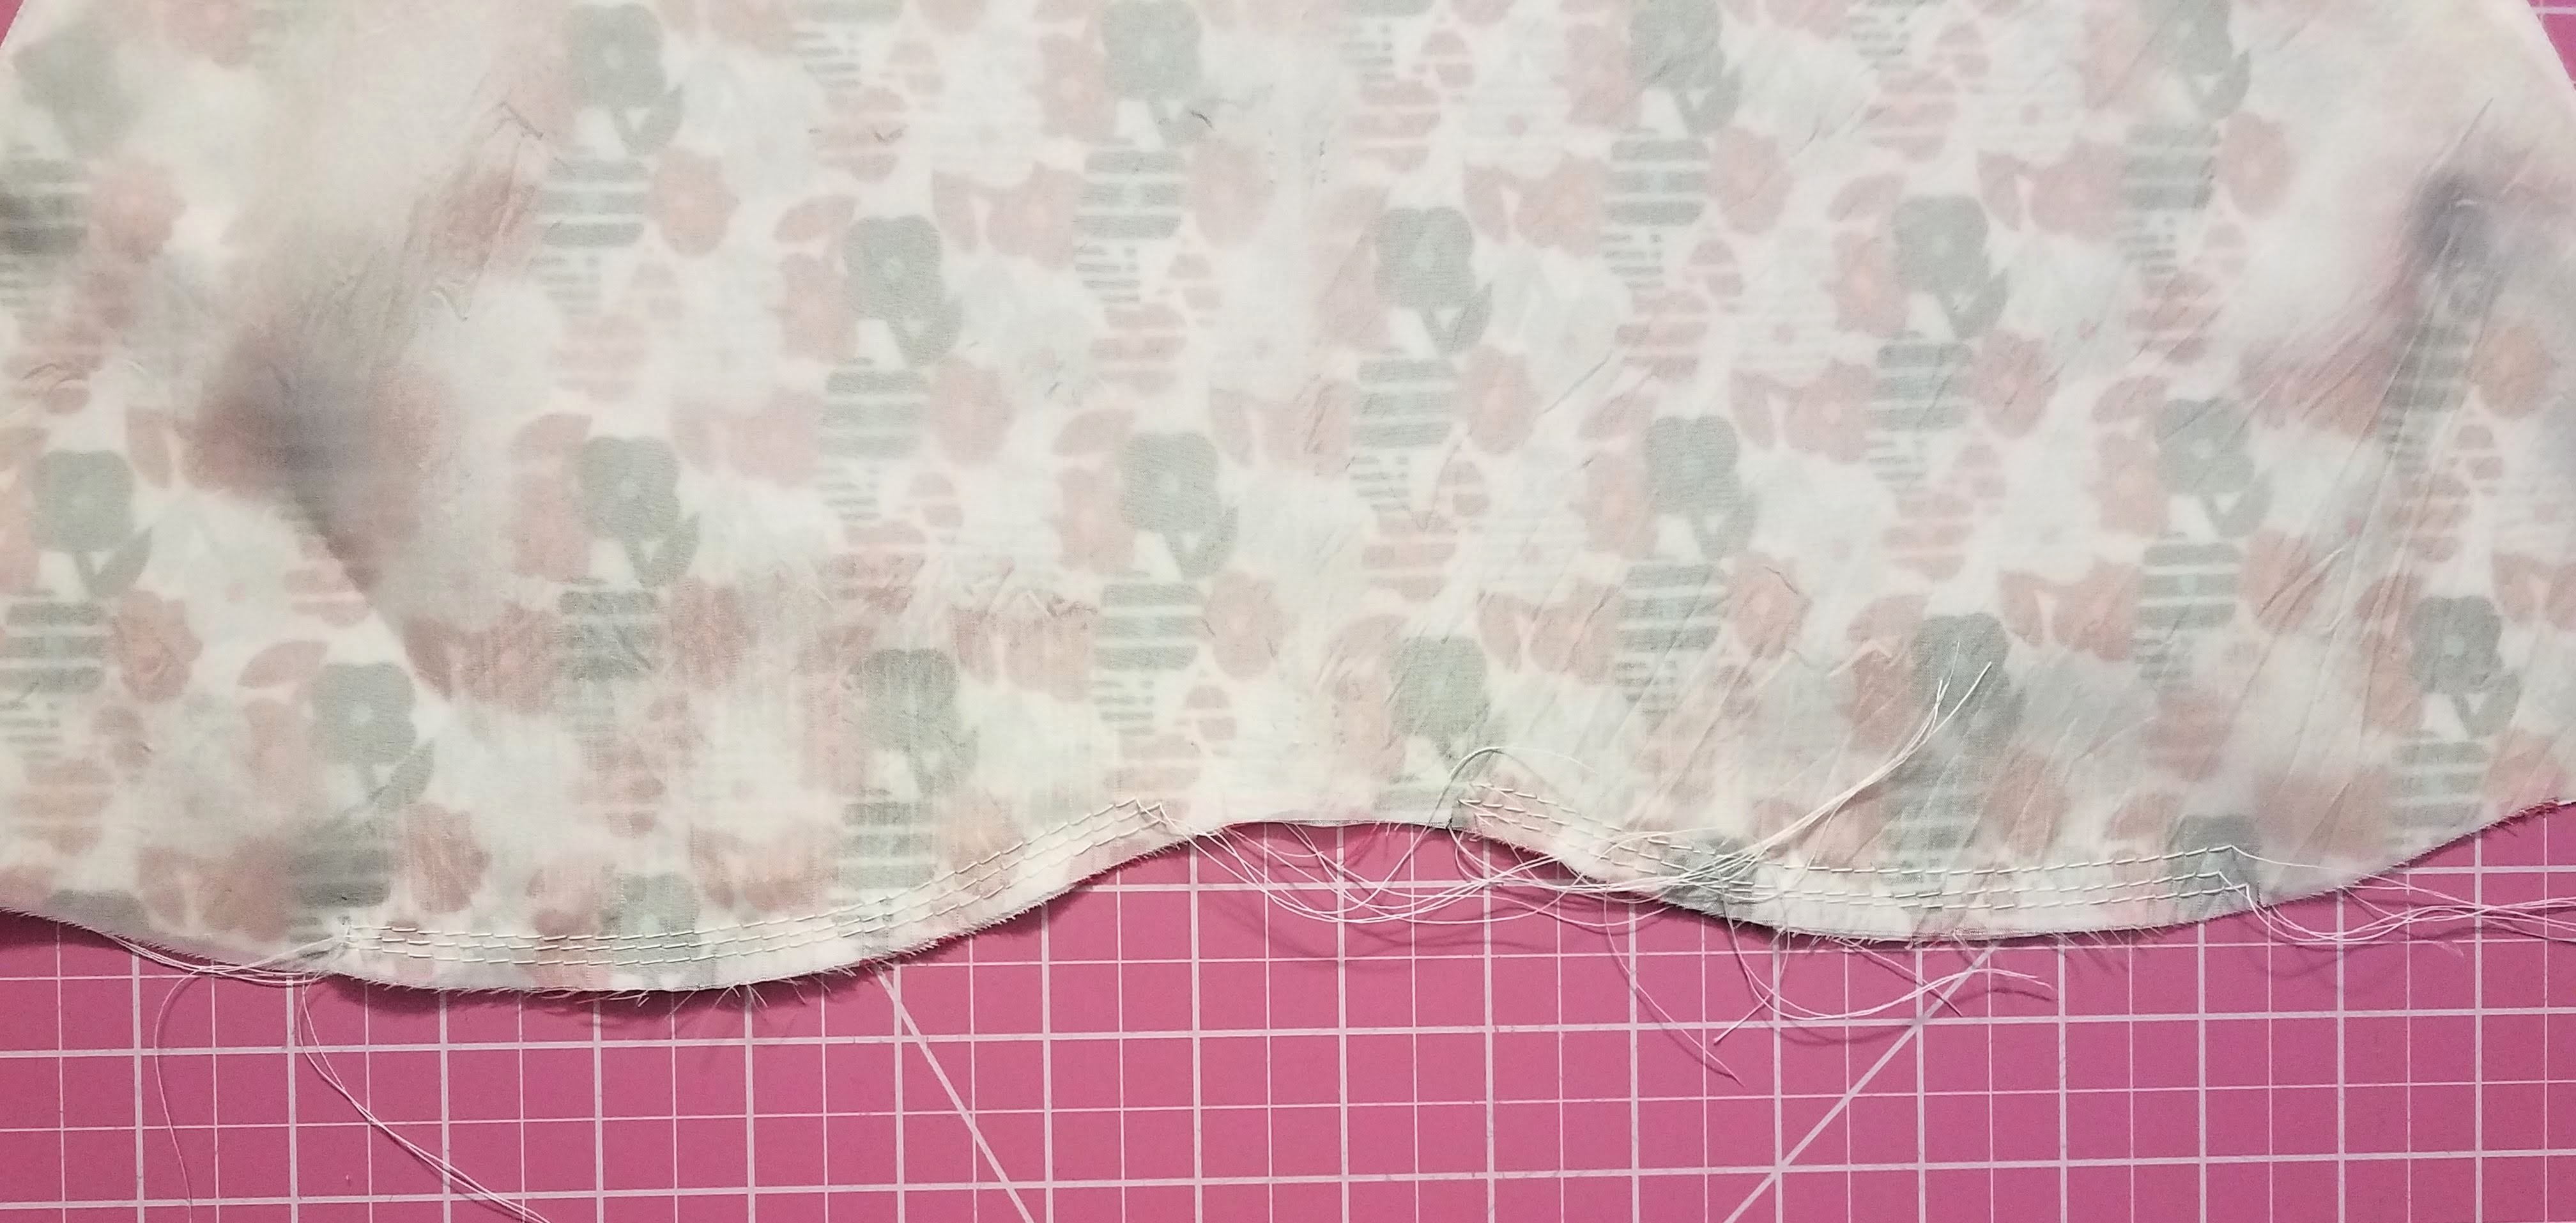
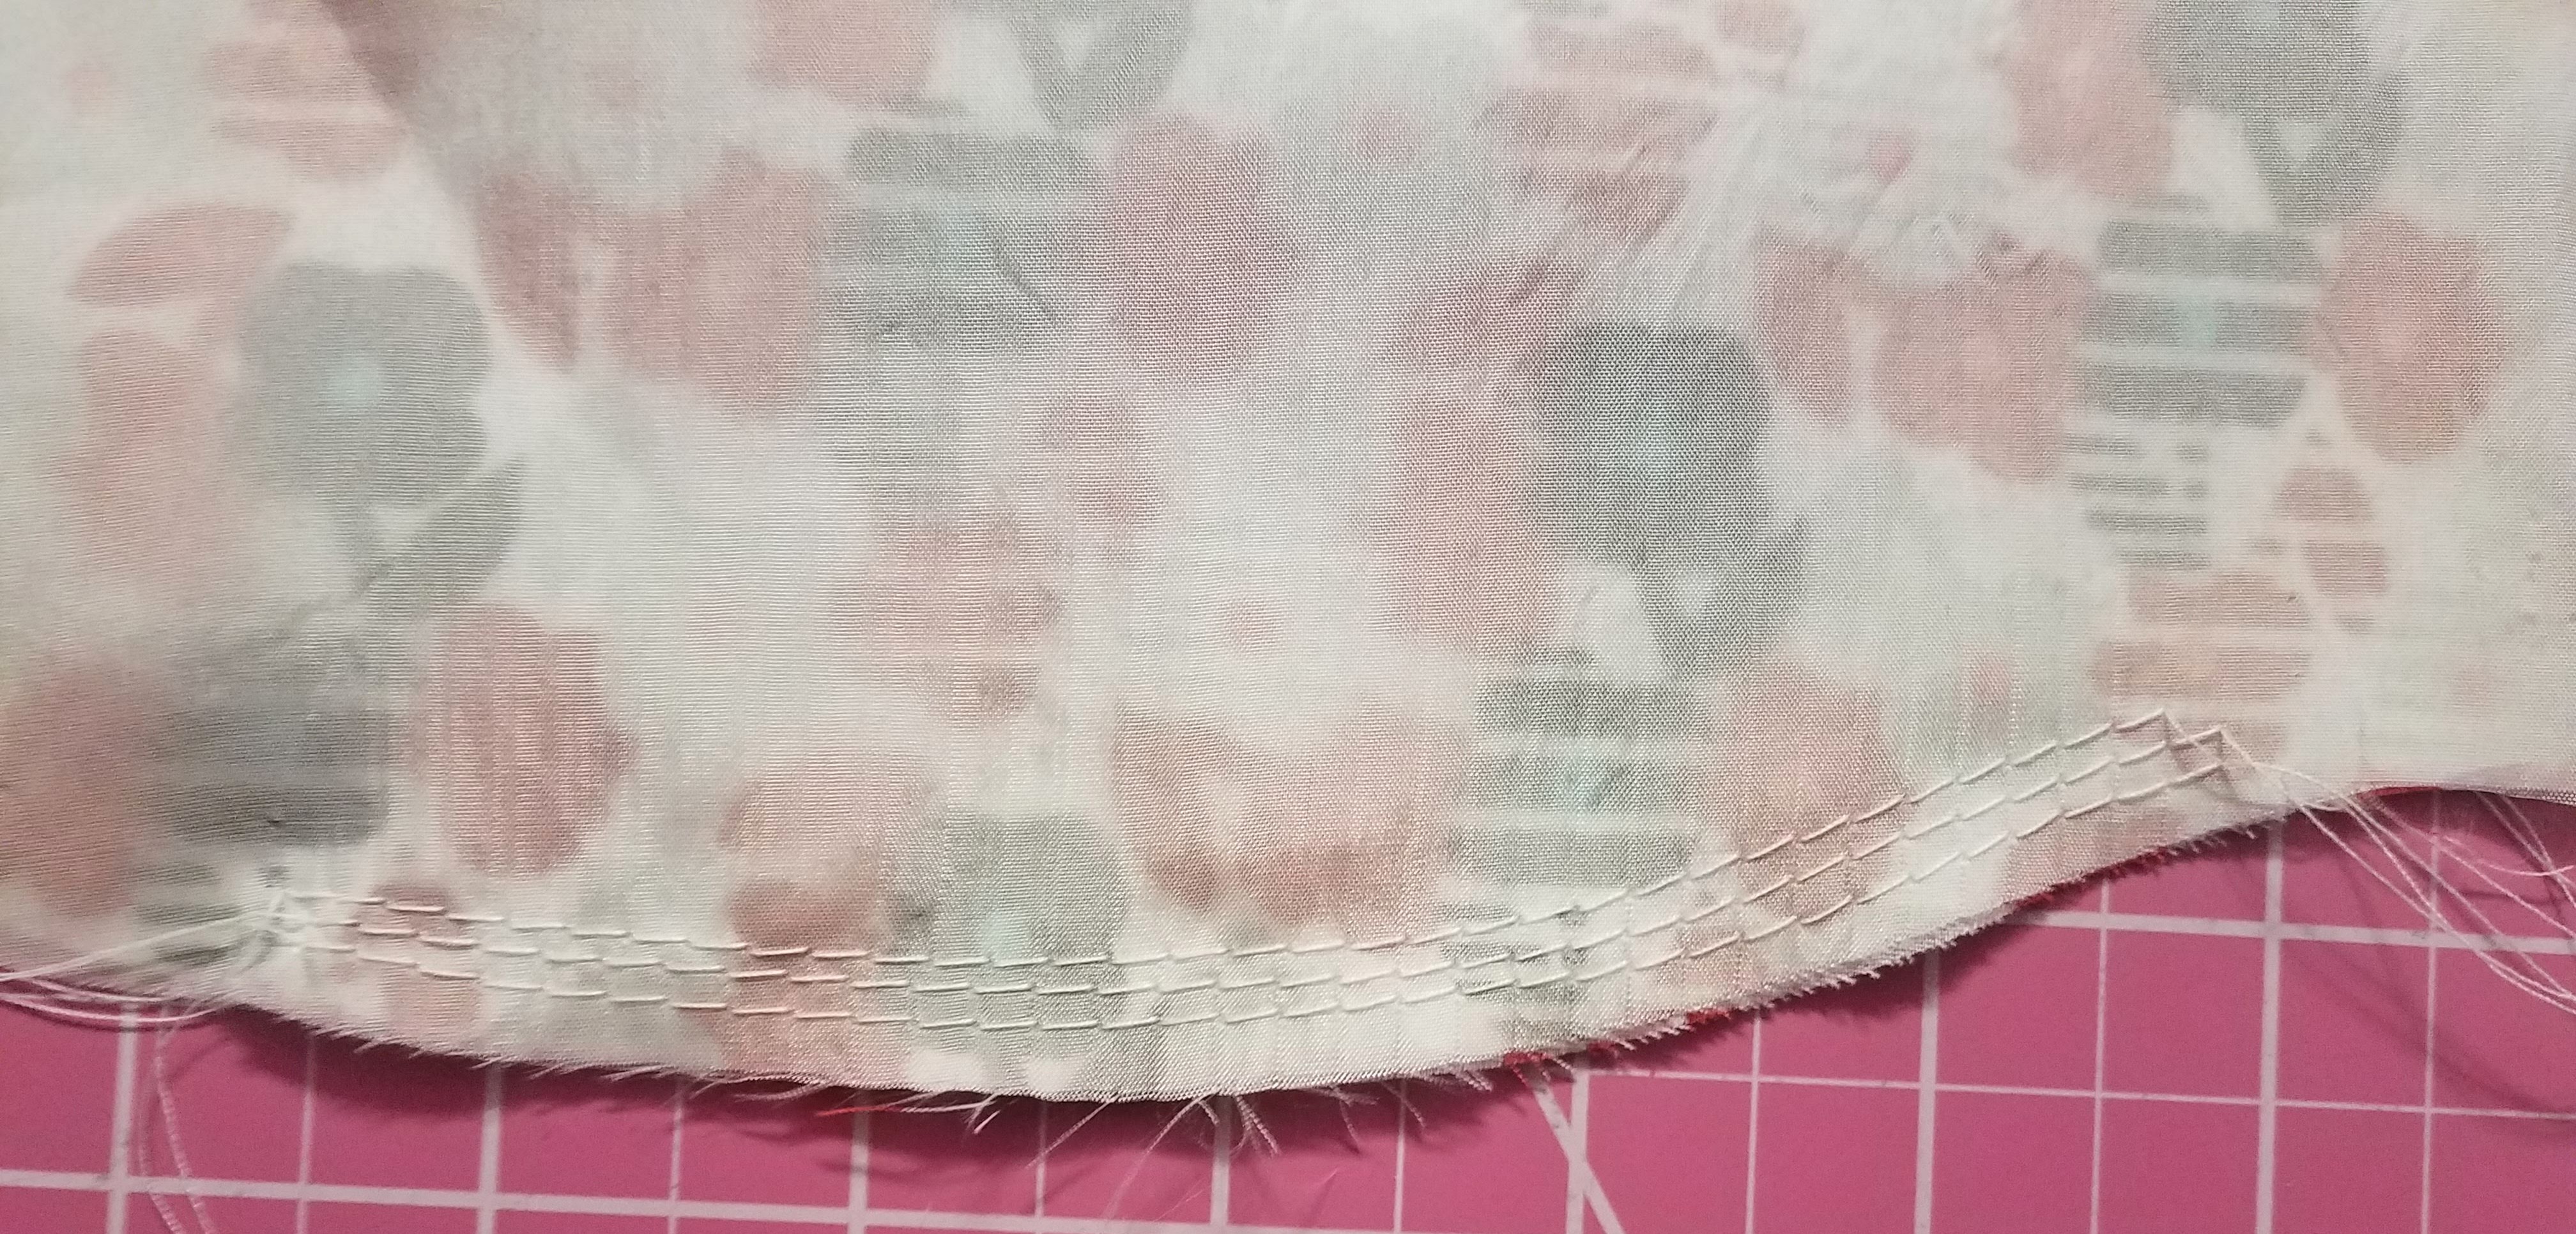
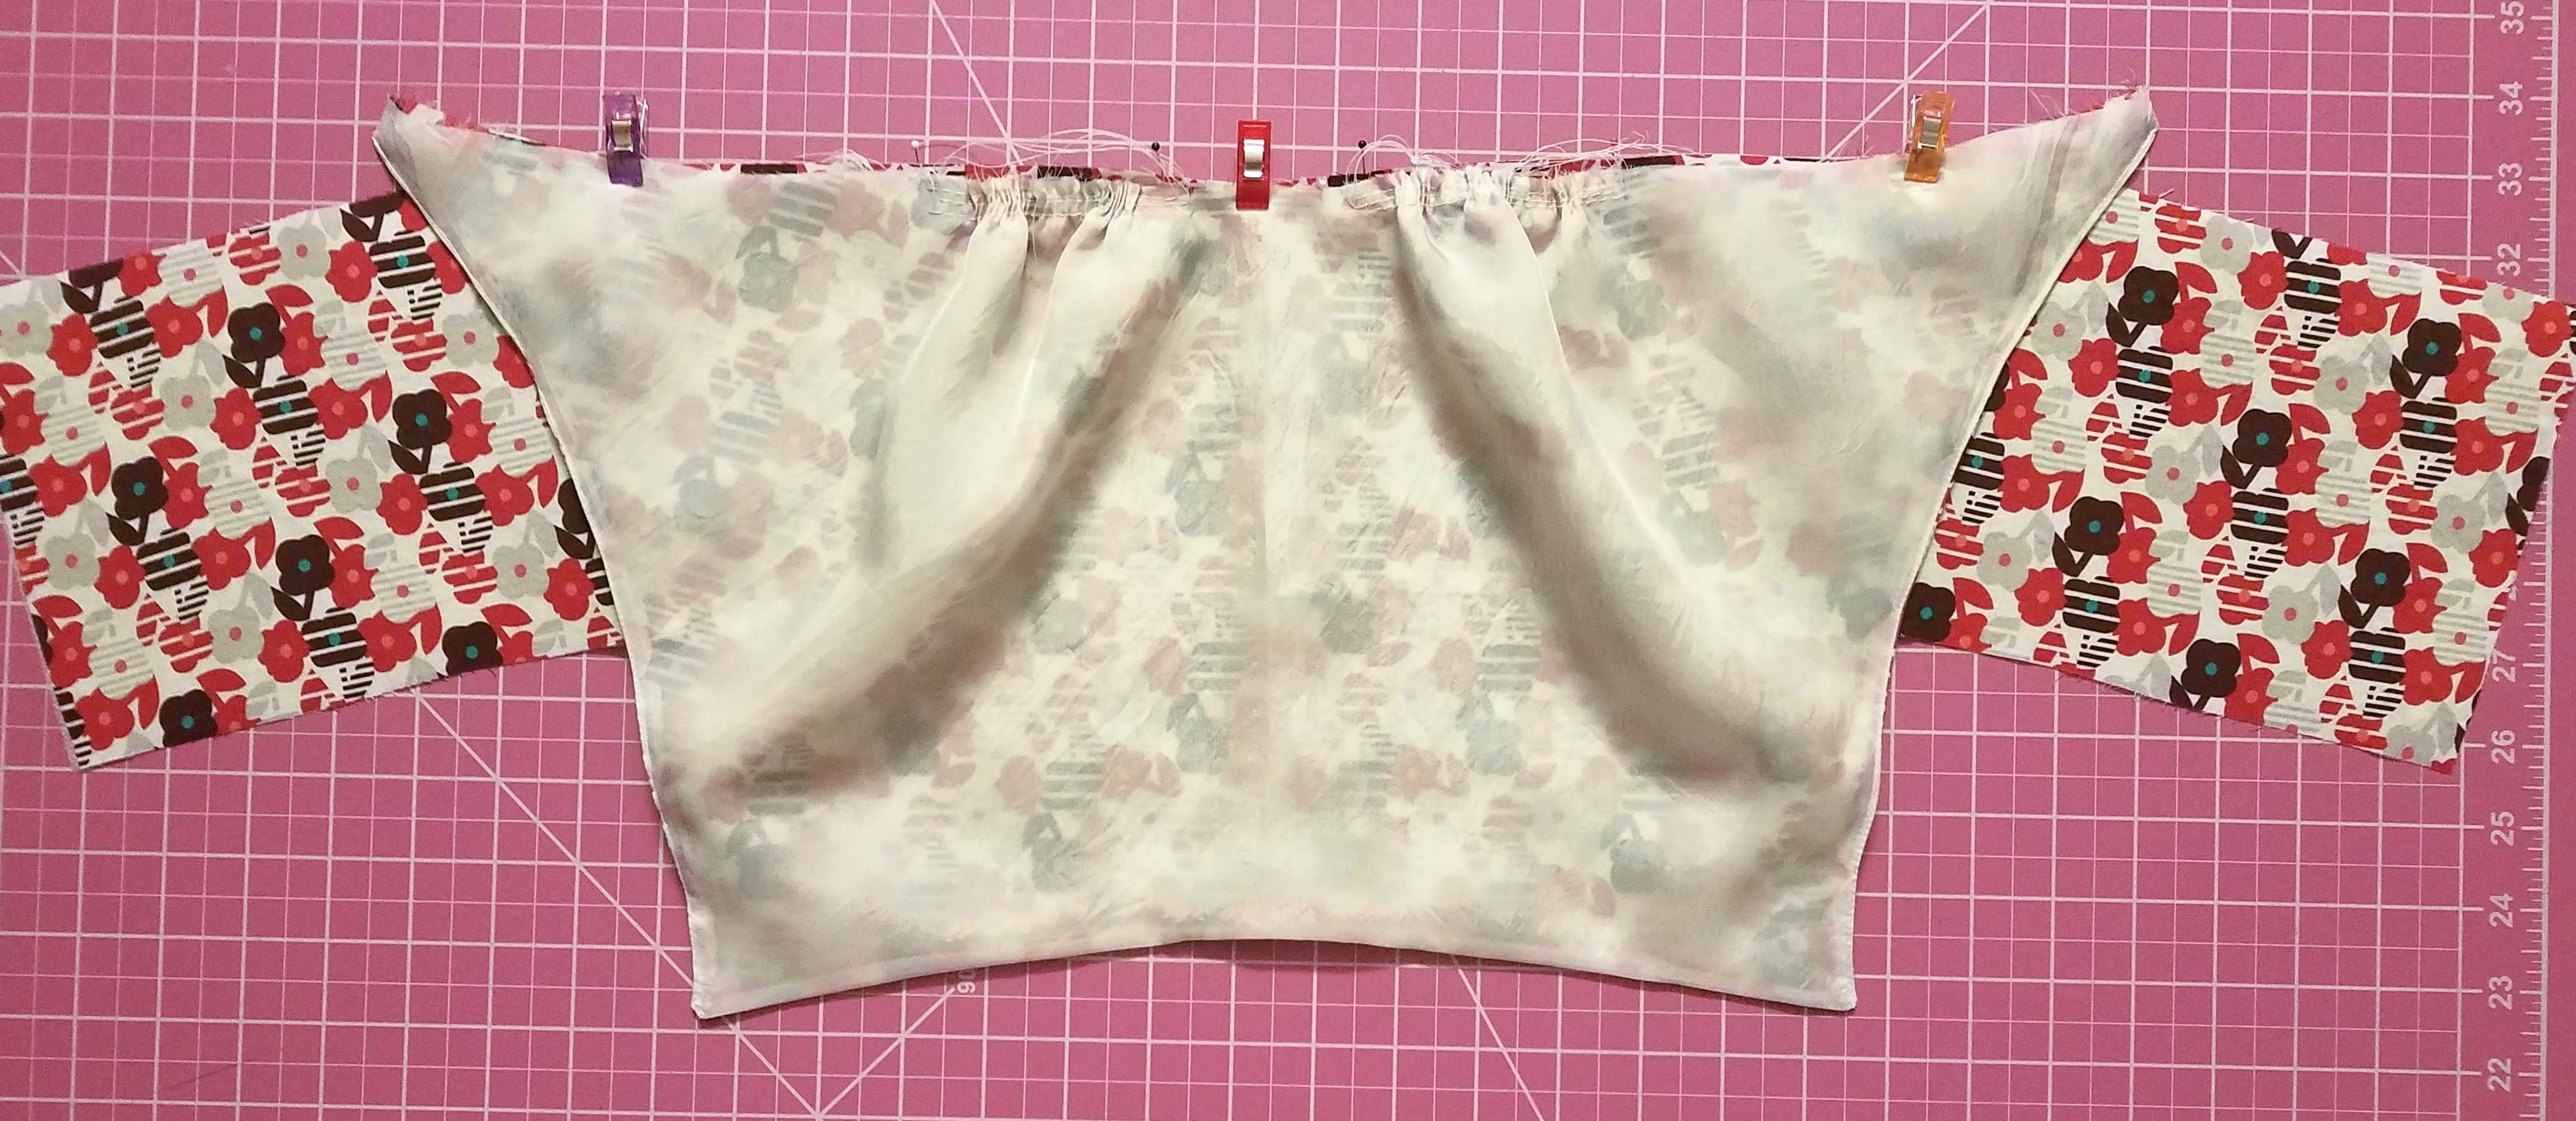
7 Treating the bodice pieces as one, machine baste three rows of stitching between each set of bust notches.
Make sure to leave plenty of extra thread at one end of each row, and backtack to anchor the other end so you can do the gathers easily in the next step. I did three rows within a 3/8″ seam allowance. So each row was about 1/8″ apart. If you find that’s not enough room to play with, just make sure all three rows stay outside the 5/8″ seam line. You don’t want them visible after you stitch the bodice to the waist. Also, the bust notches aren’t labeled. They’re the notches along the curvy bottom edge of the bodice.
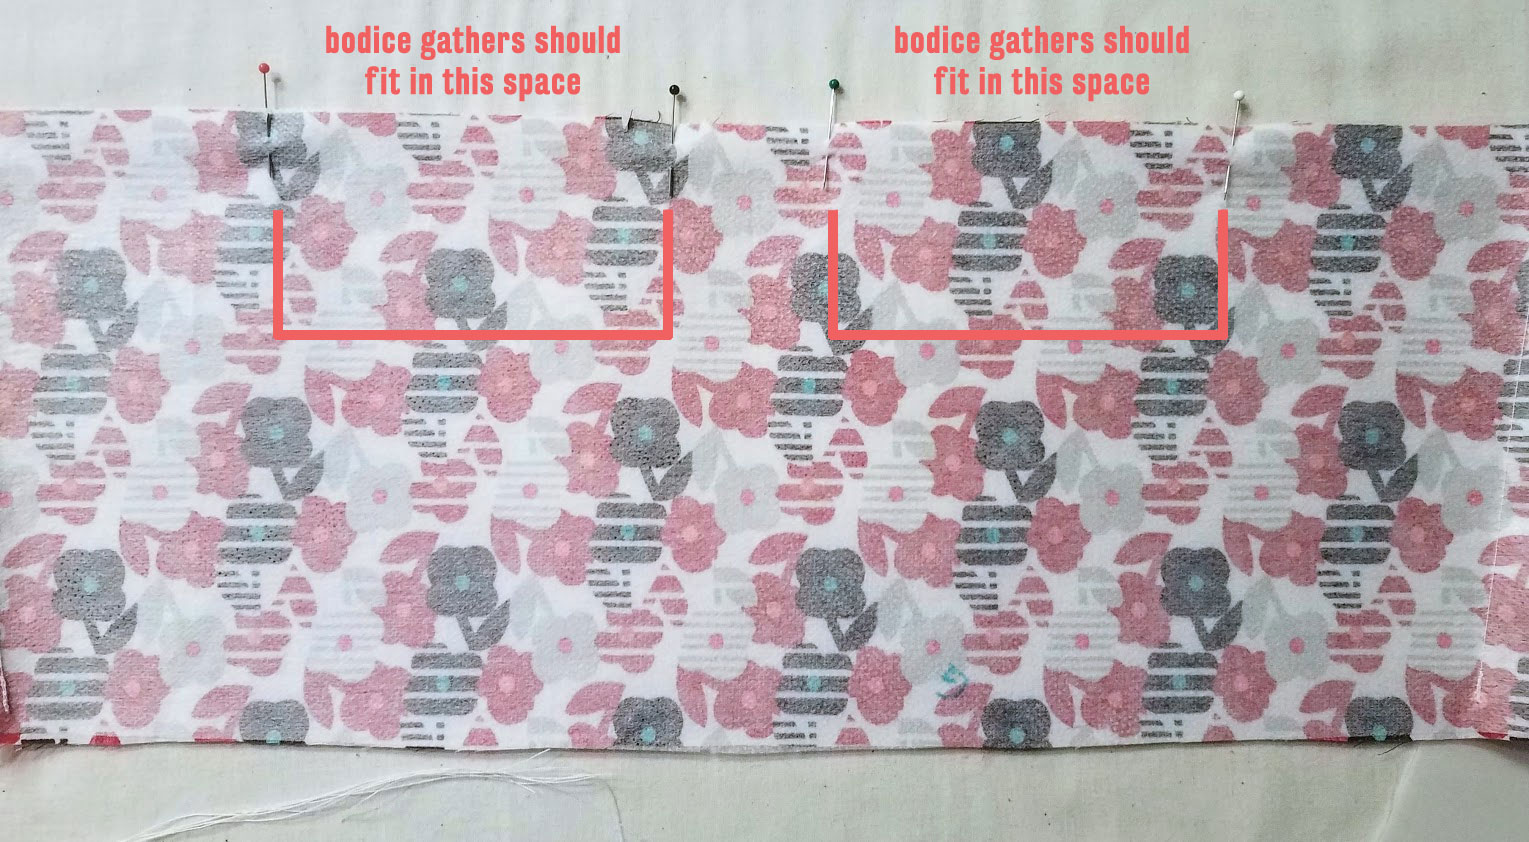
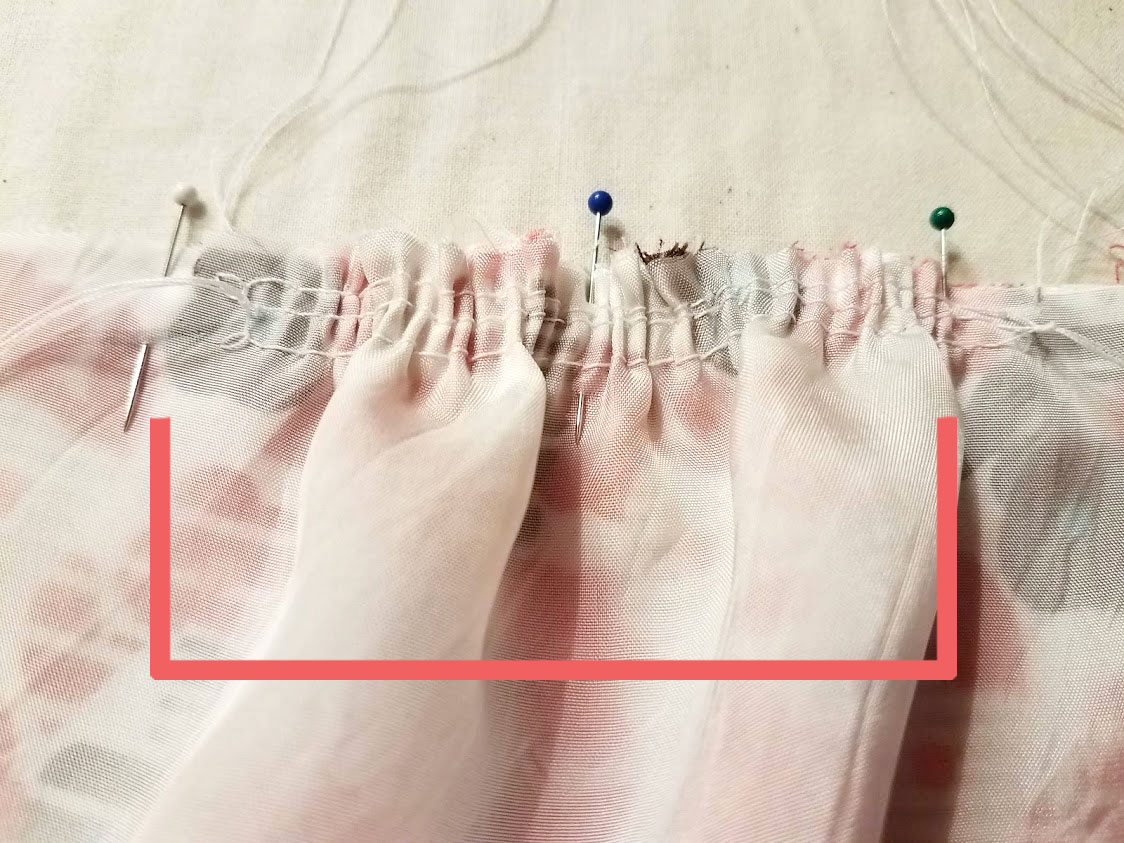
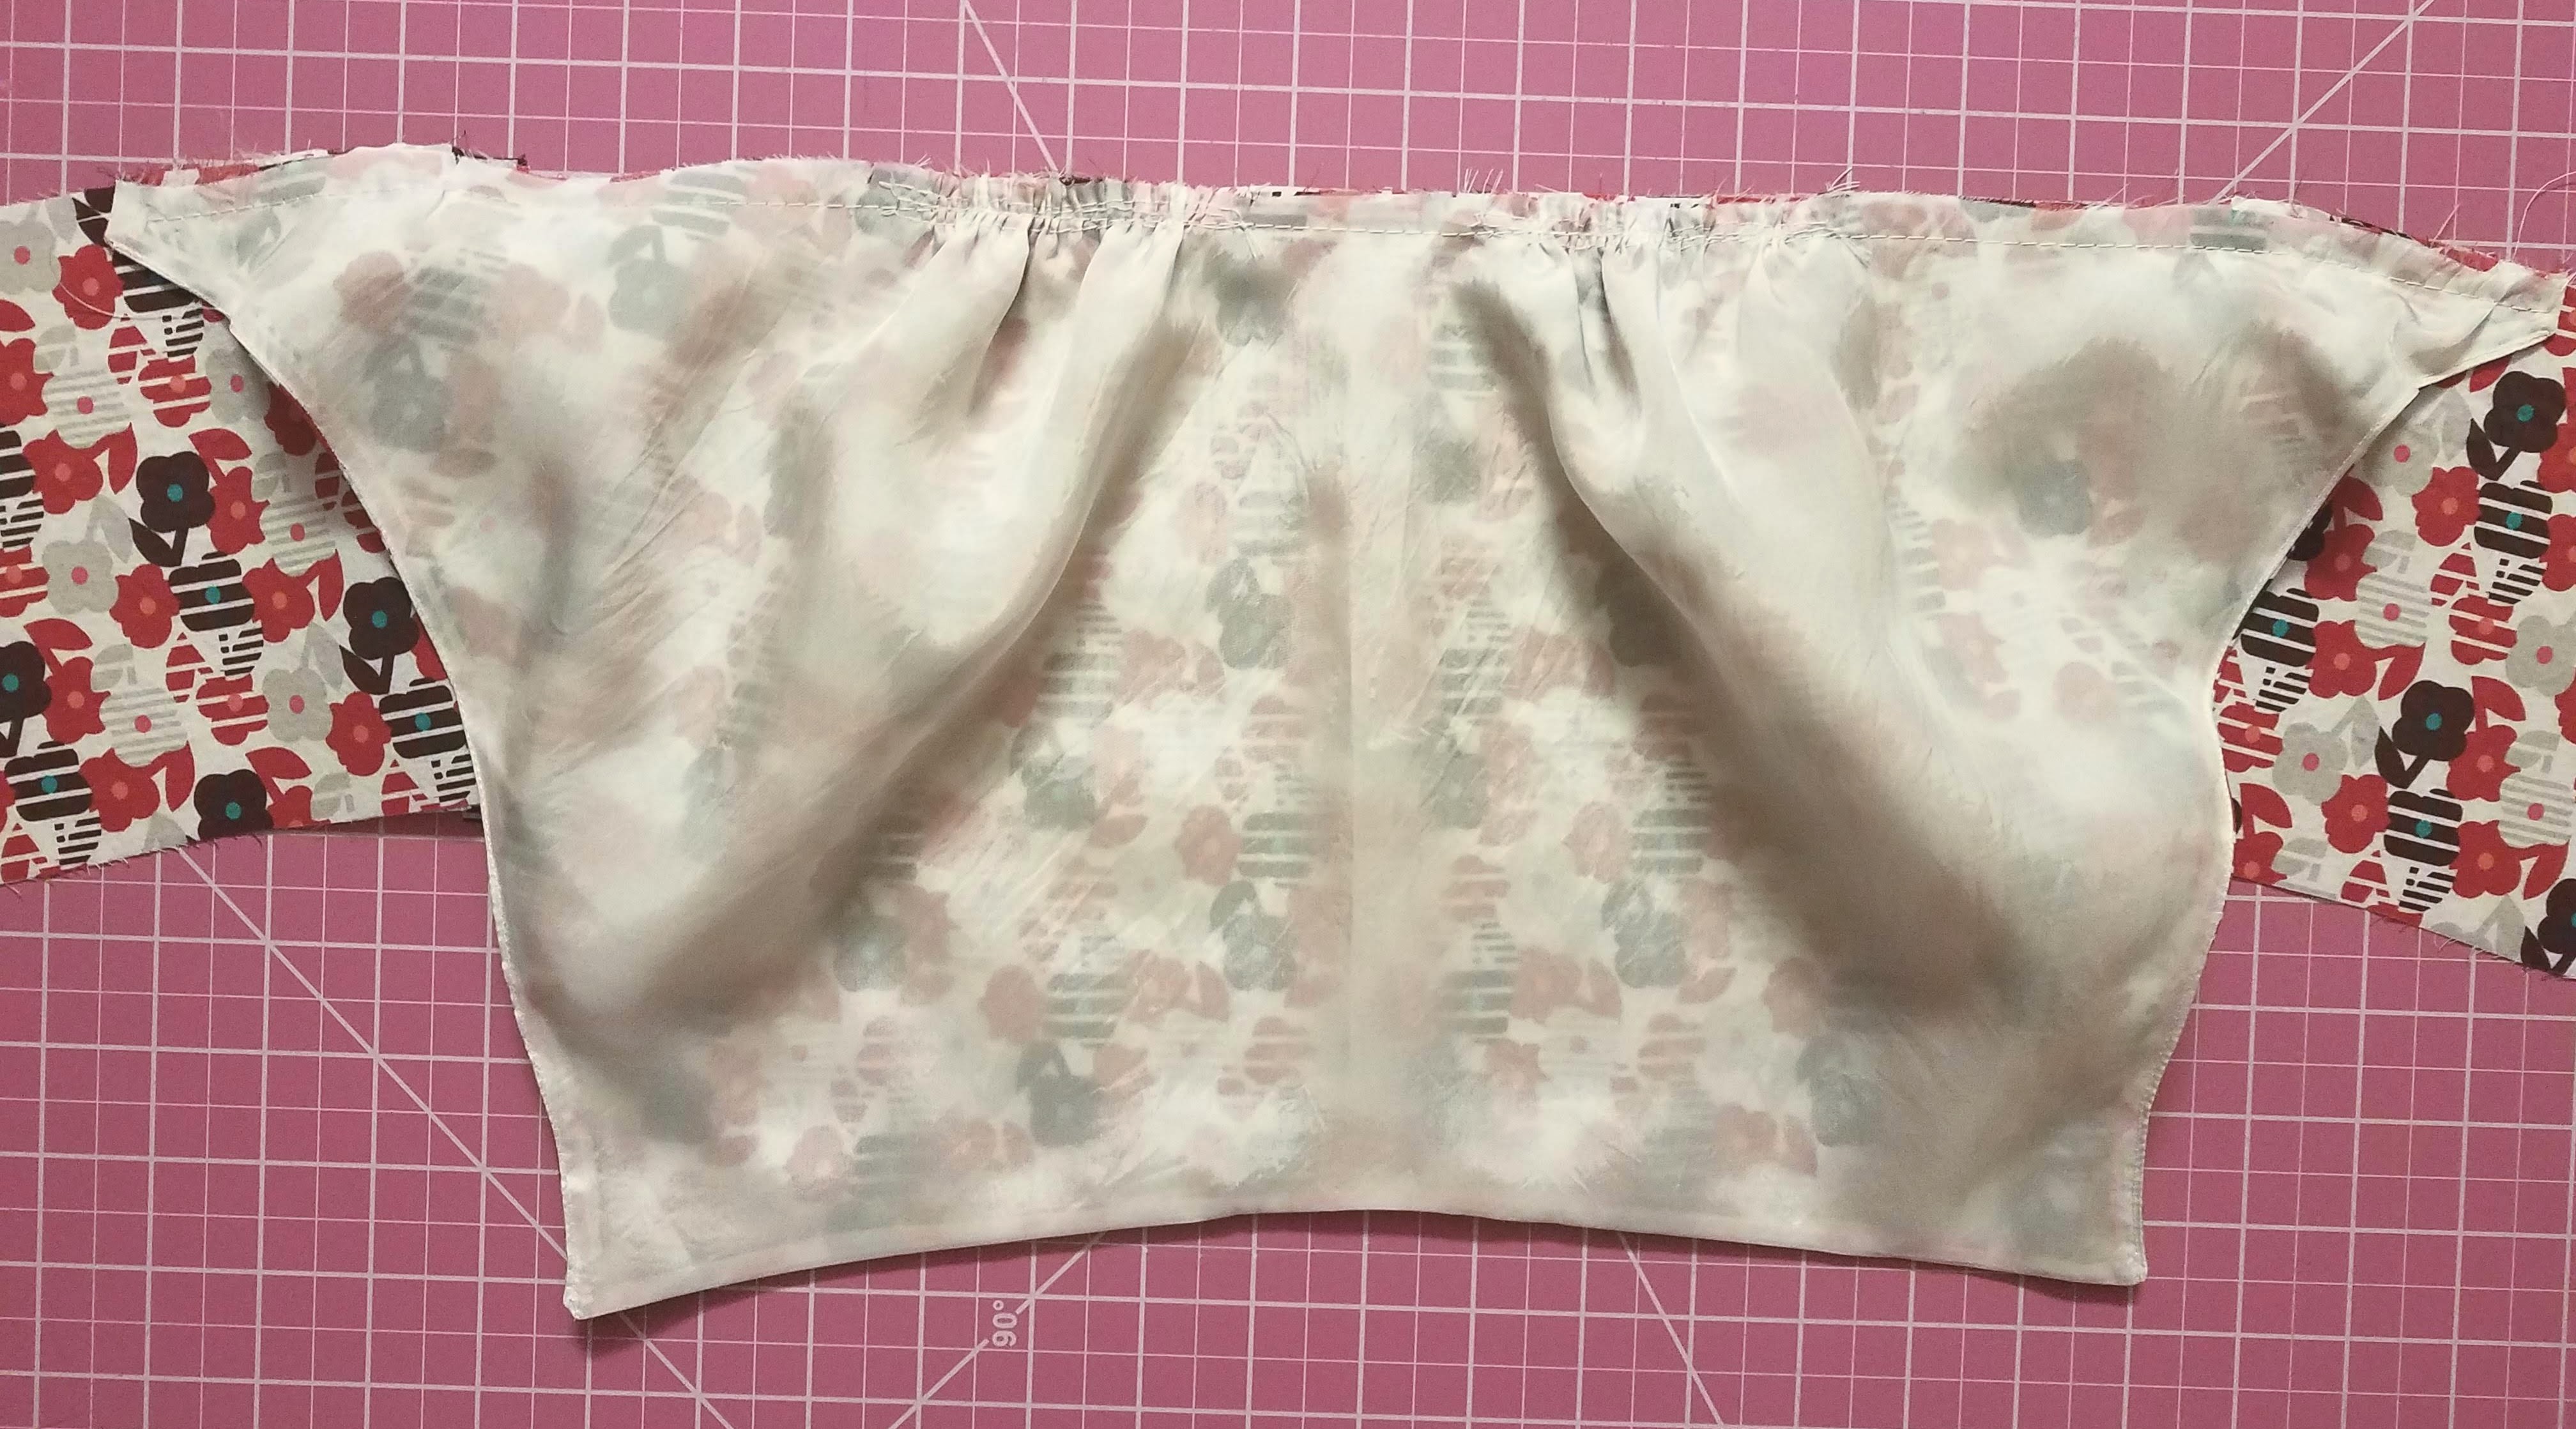
8 Gather the bodice pieces between each set of bust notches to approximately the width of the corresponding notches on the front waist piece. Align the bottom of the bodice to the top of the joined waist pieces along the raw edges RST and pin. Make sure to distribute the bust gathers evenly, matching the bust notches, and the notches on the bodice to the side seams of the waist pieces. Baste the bodice to the waist pieces using a 3/8″ seam allowance.
I marked the notches on the waist piece with pins so I could easily see the widths I would need to gather the bottom sections of the bodice.
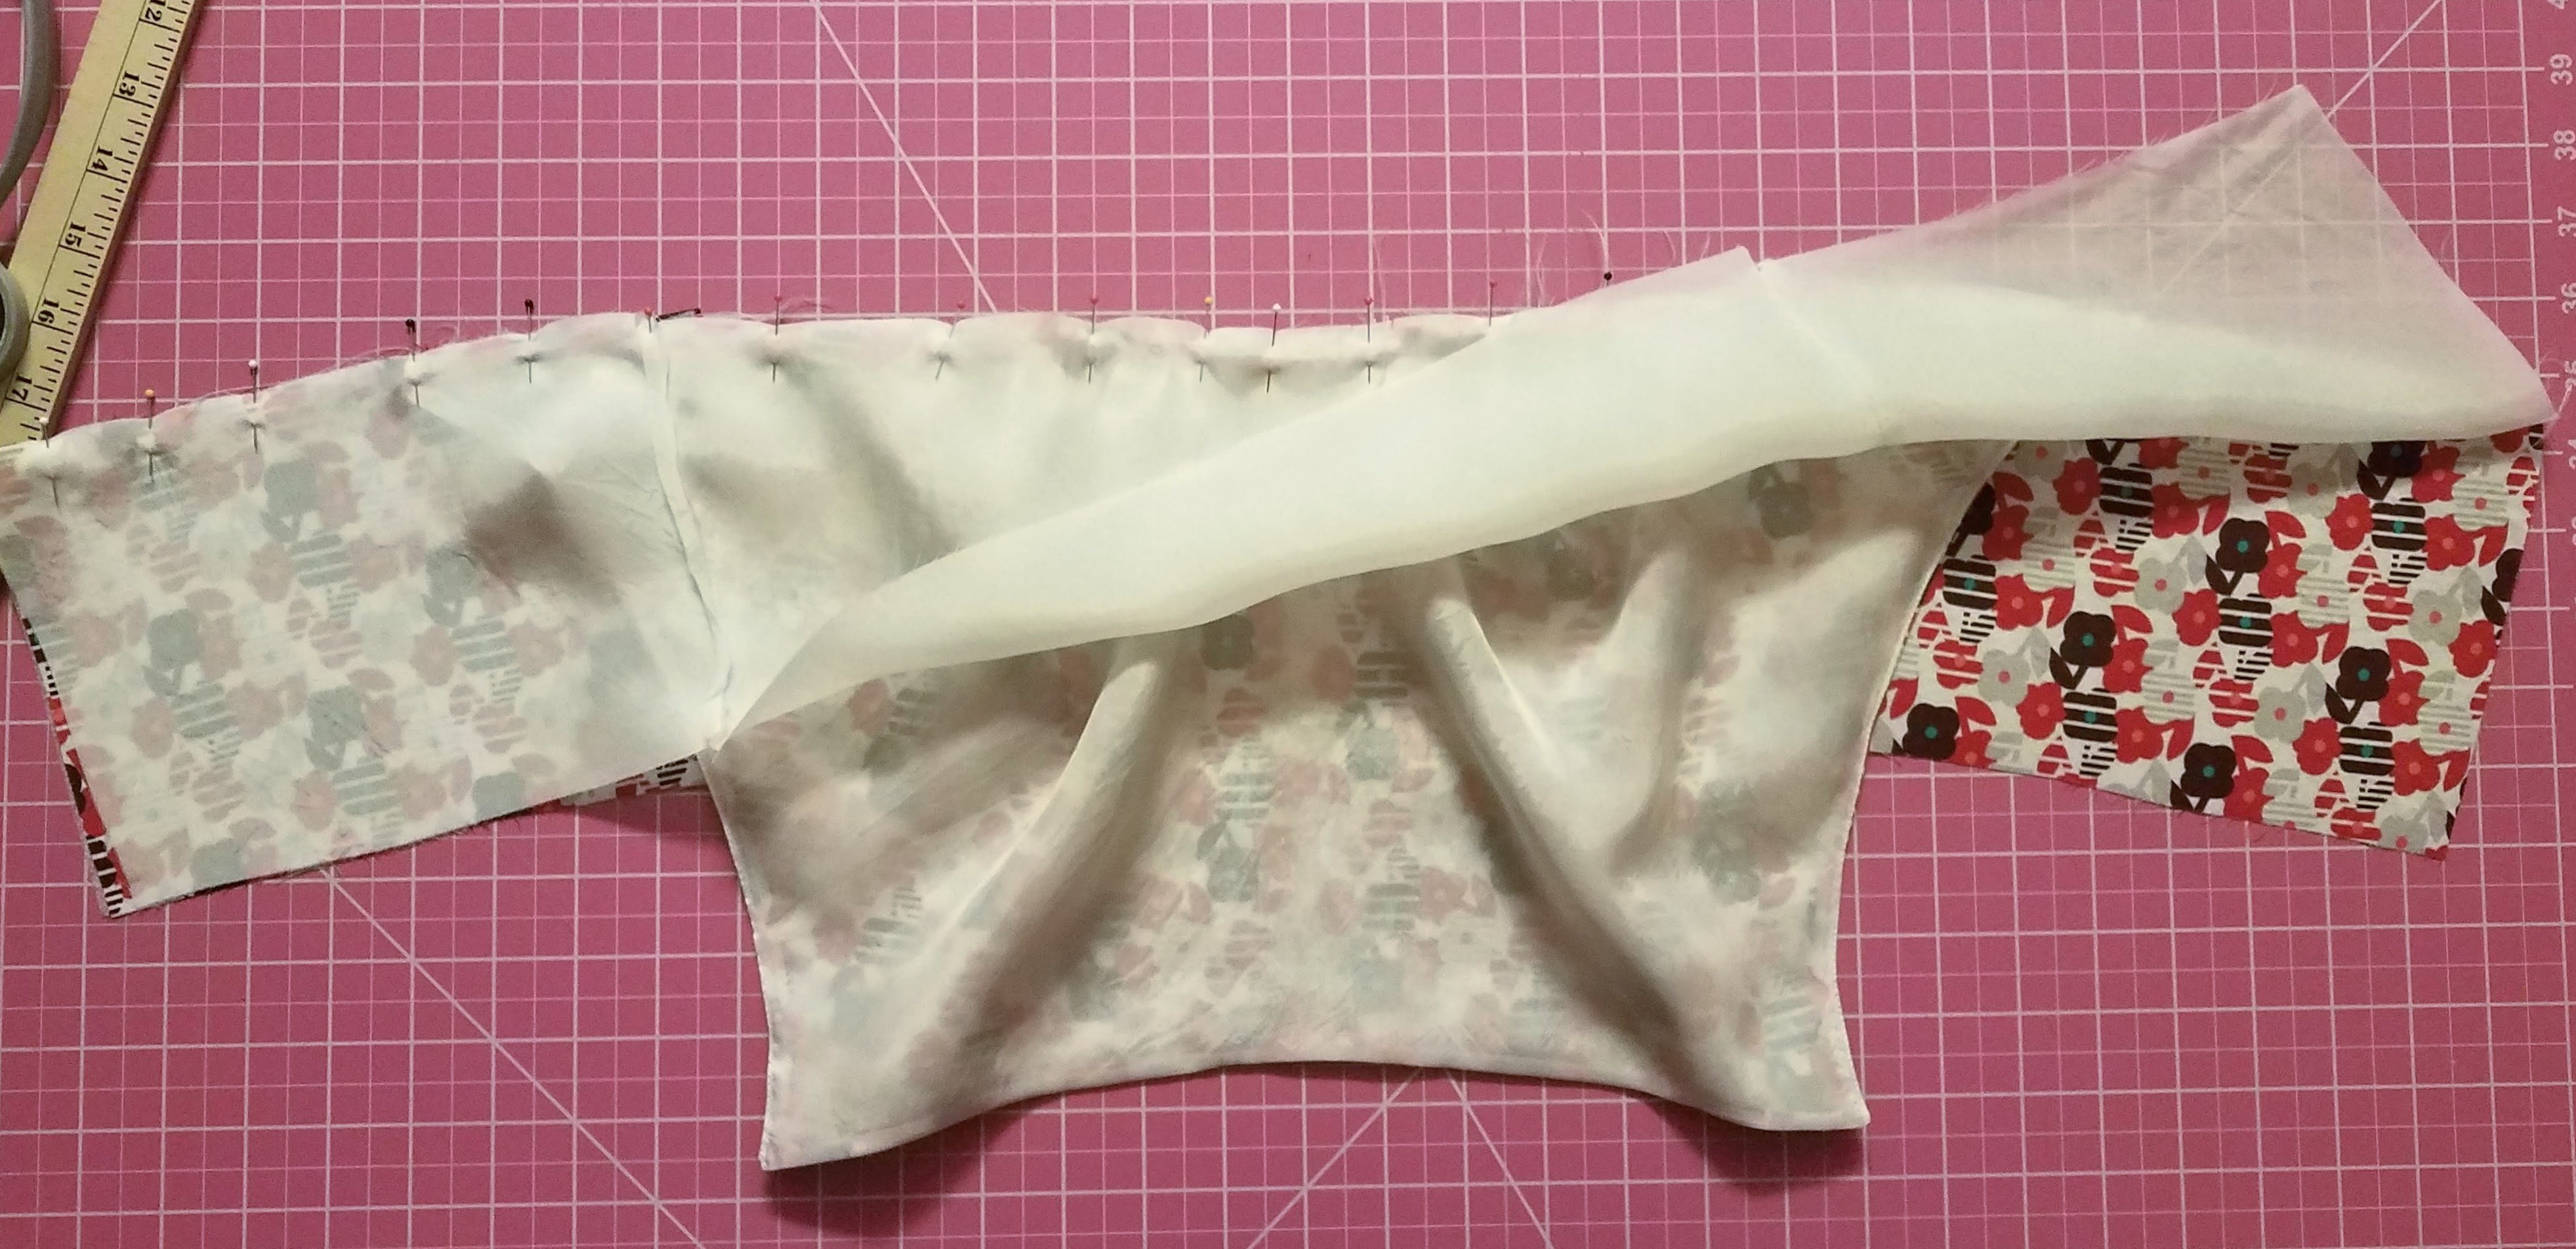
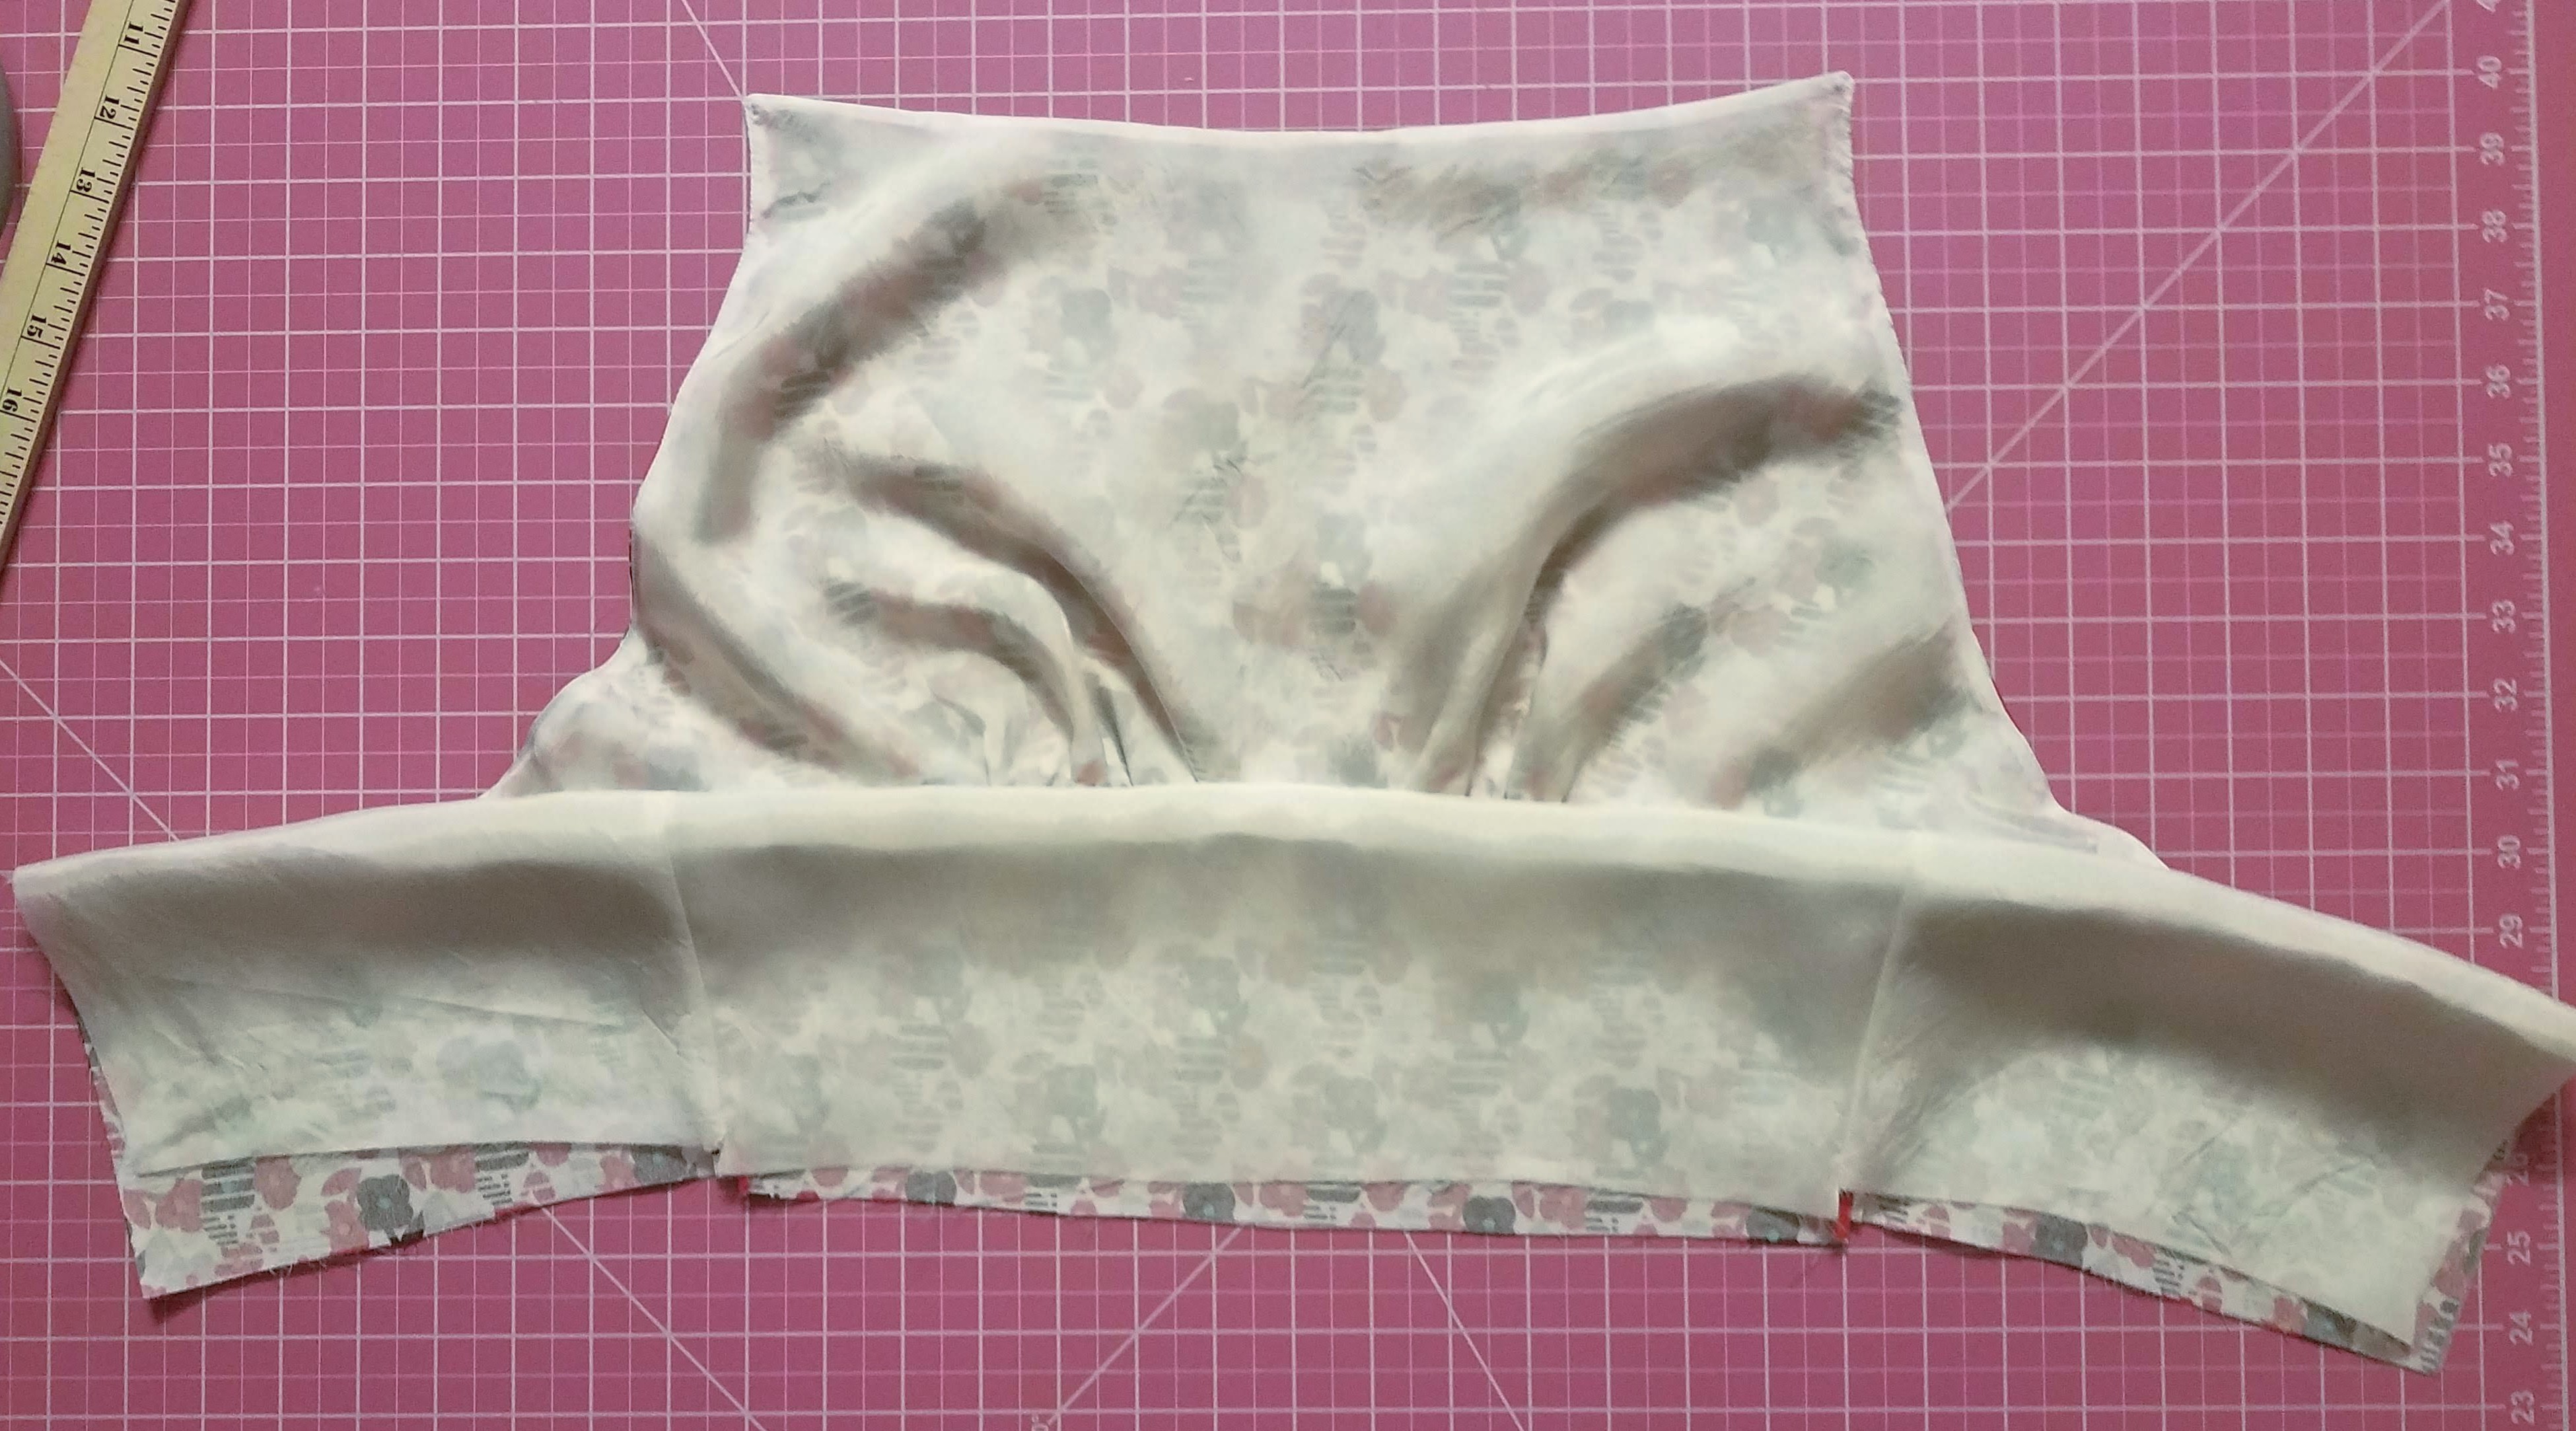
9 Place the RS of the waist lining on top of the wrong side of the bodice pieces and waist pieces, aligning the raw upper edges. With the bodice sandwiched between the waist and waist lining pieces, pin. Stitch in one continuous 5/8″seam. Remove any visible basting stitches. Press seams open and grade the seam allowances. I do this to really define the seam and also cut down on bulk.

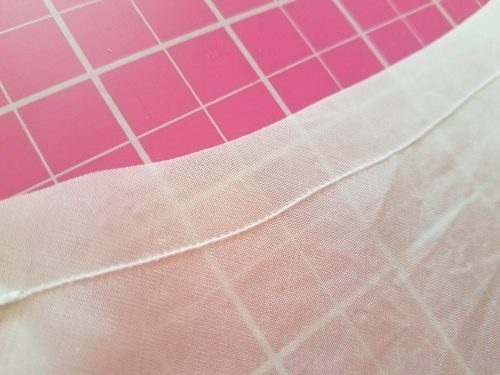
10 Make a casing for the ribbon to be laced through along the top edge of the bodice. Fold over the top edge 2cm (3/4″) to the wrong side, press, then edge-stitch along the inner edge to form the casing.
Finished casing along the top. Also notice the seam between the waist and bodice is trimmed, pressed, and graded here.
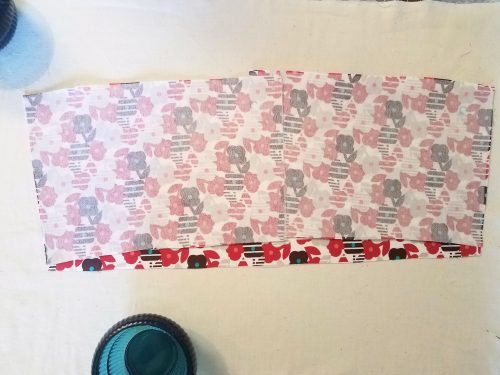
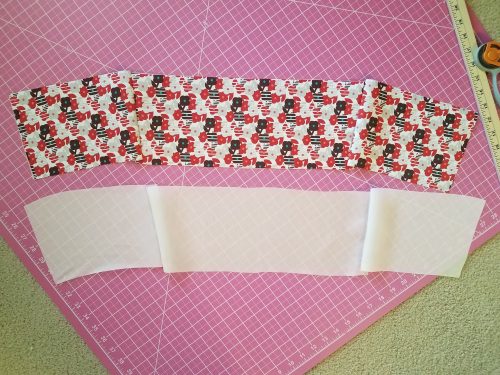
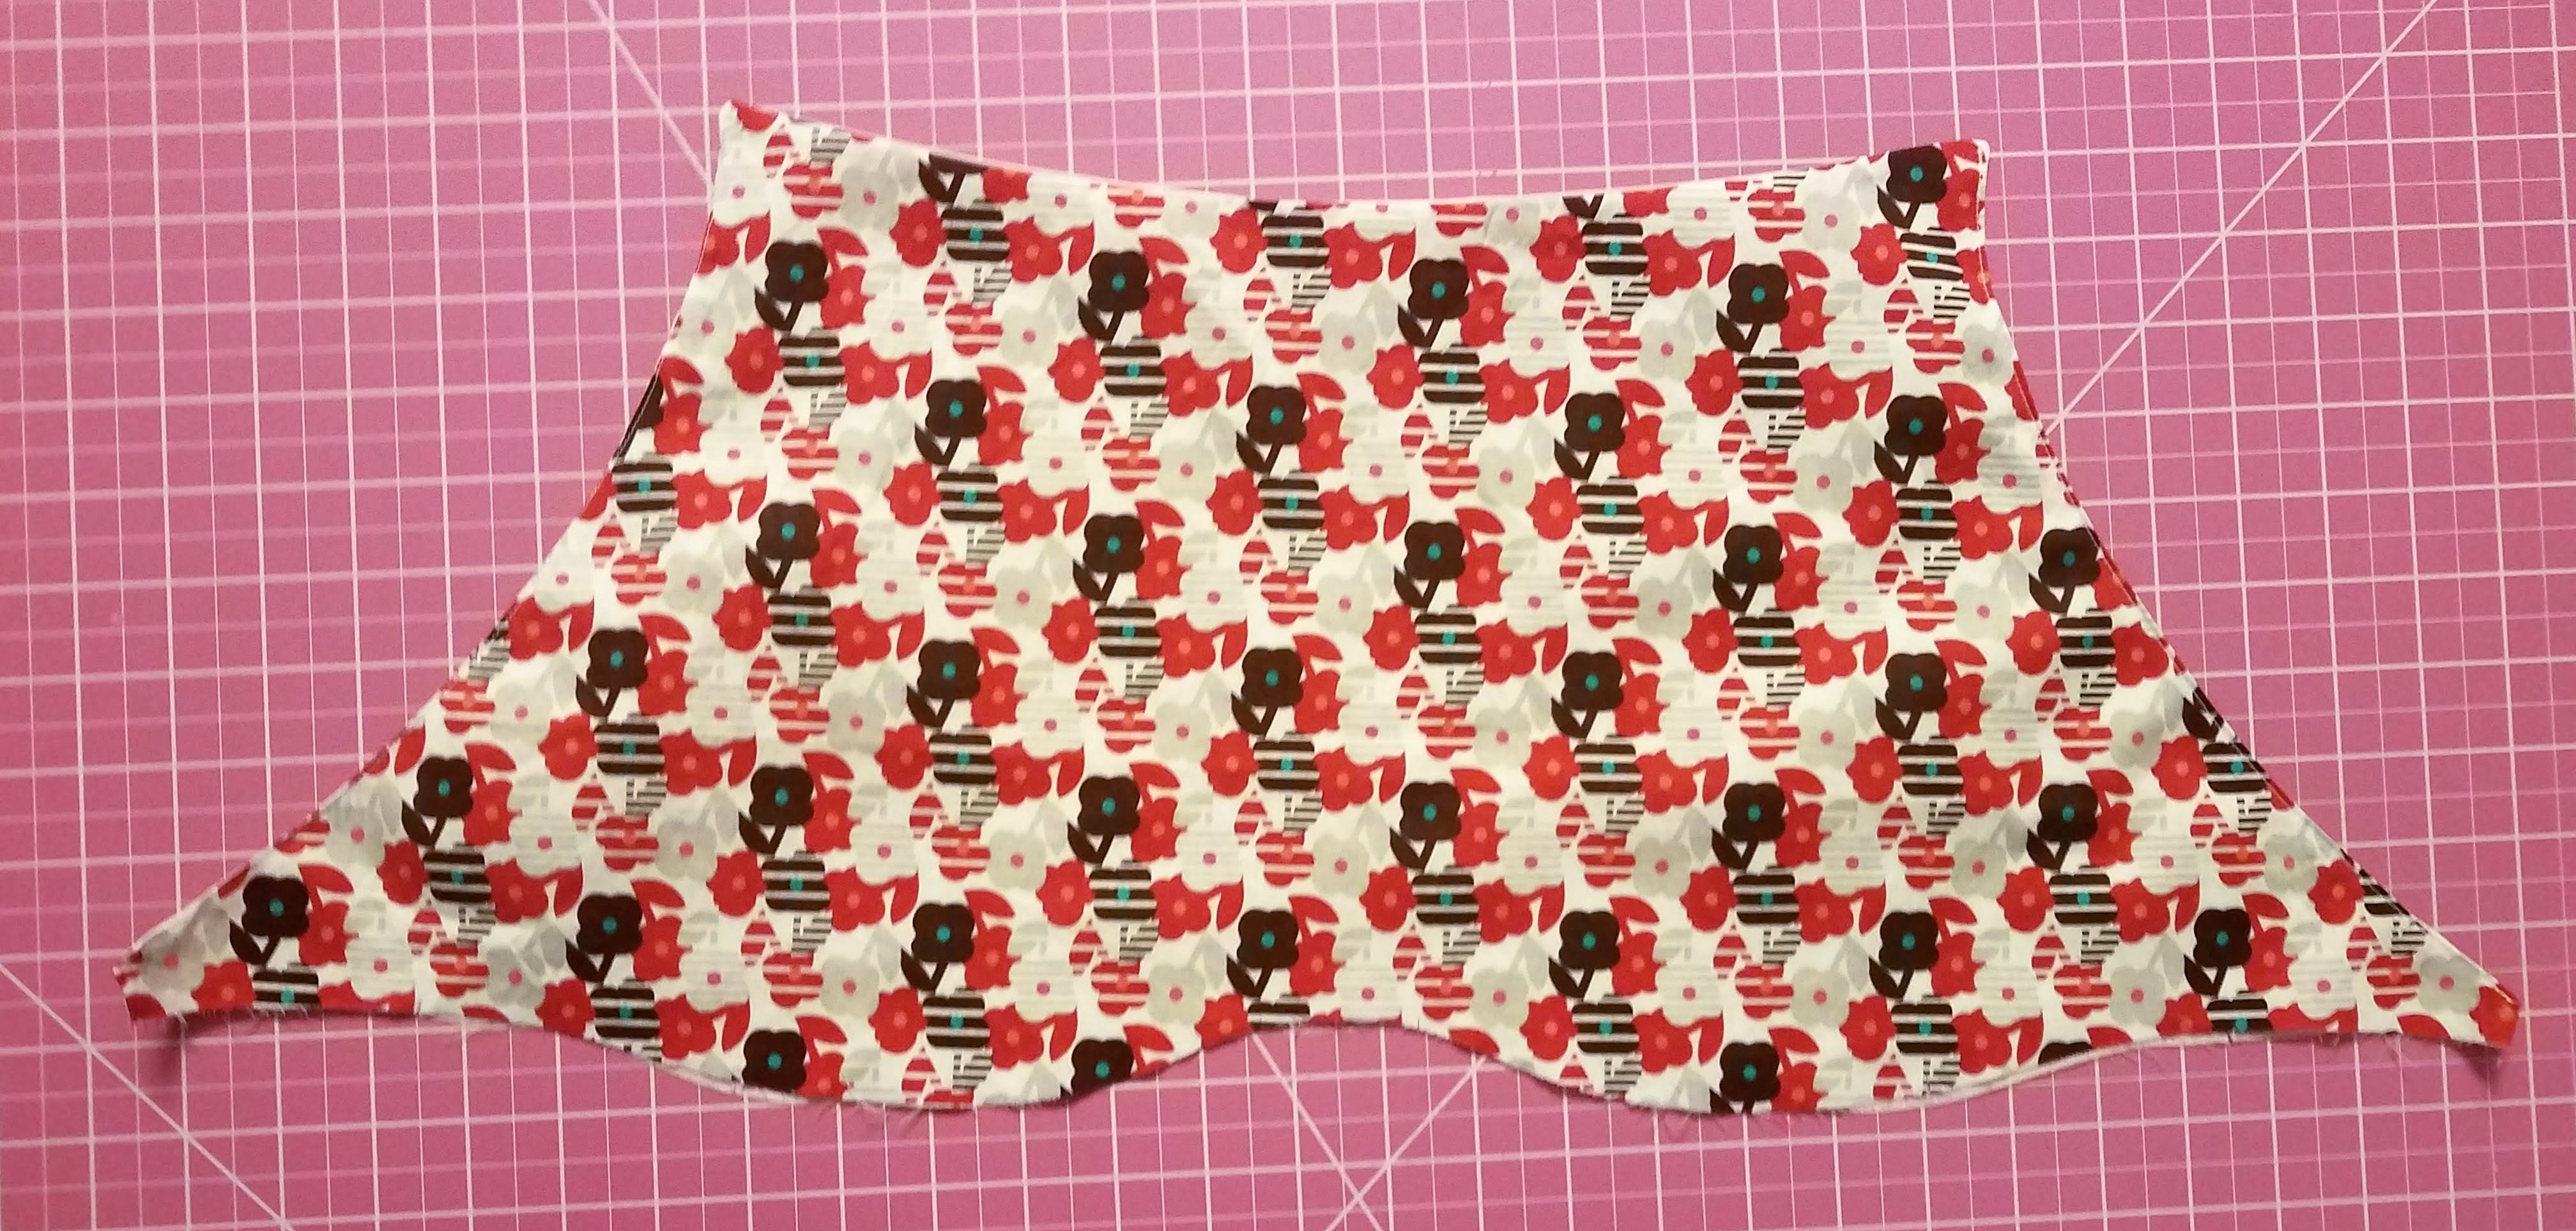
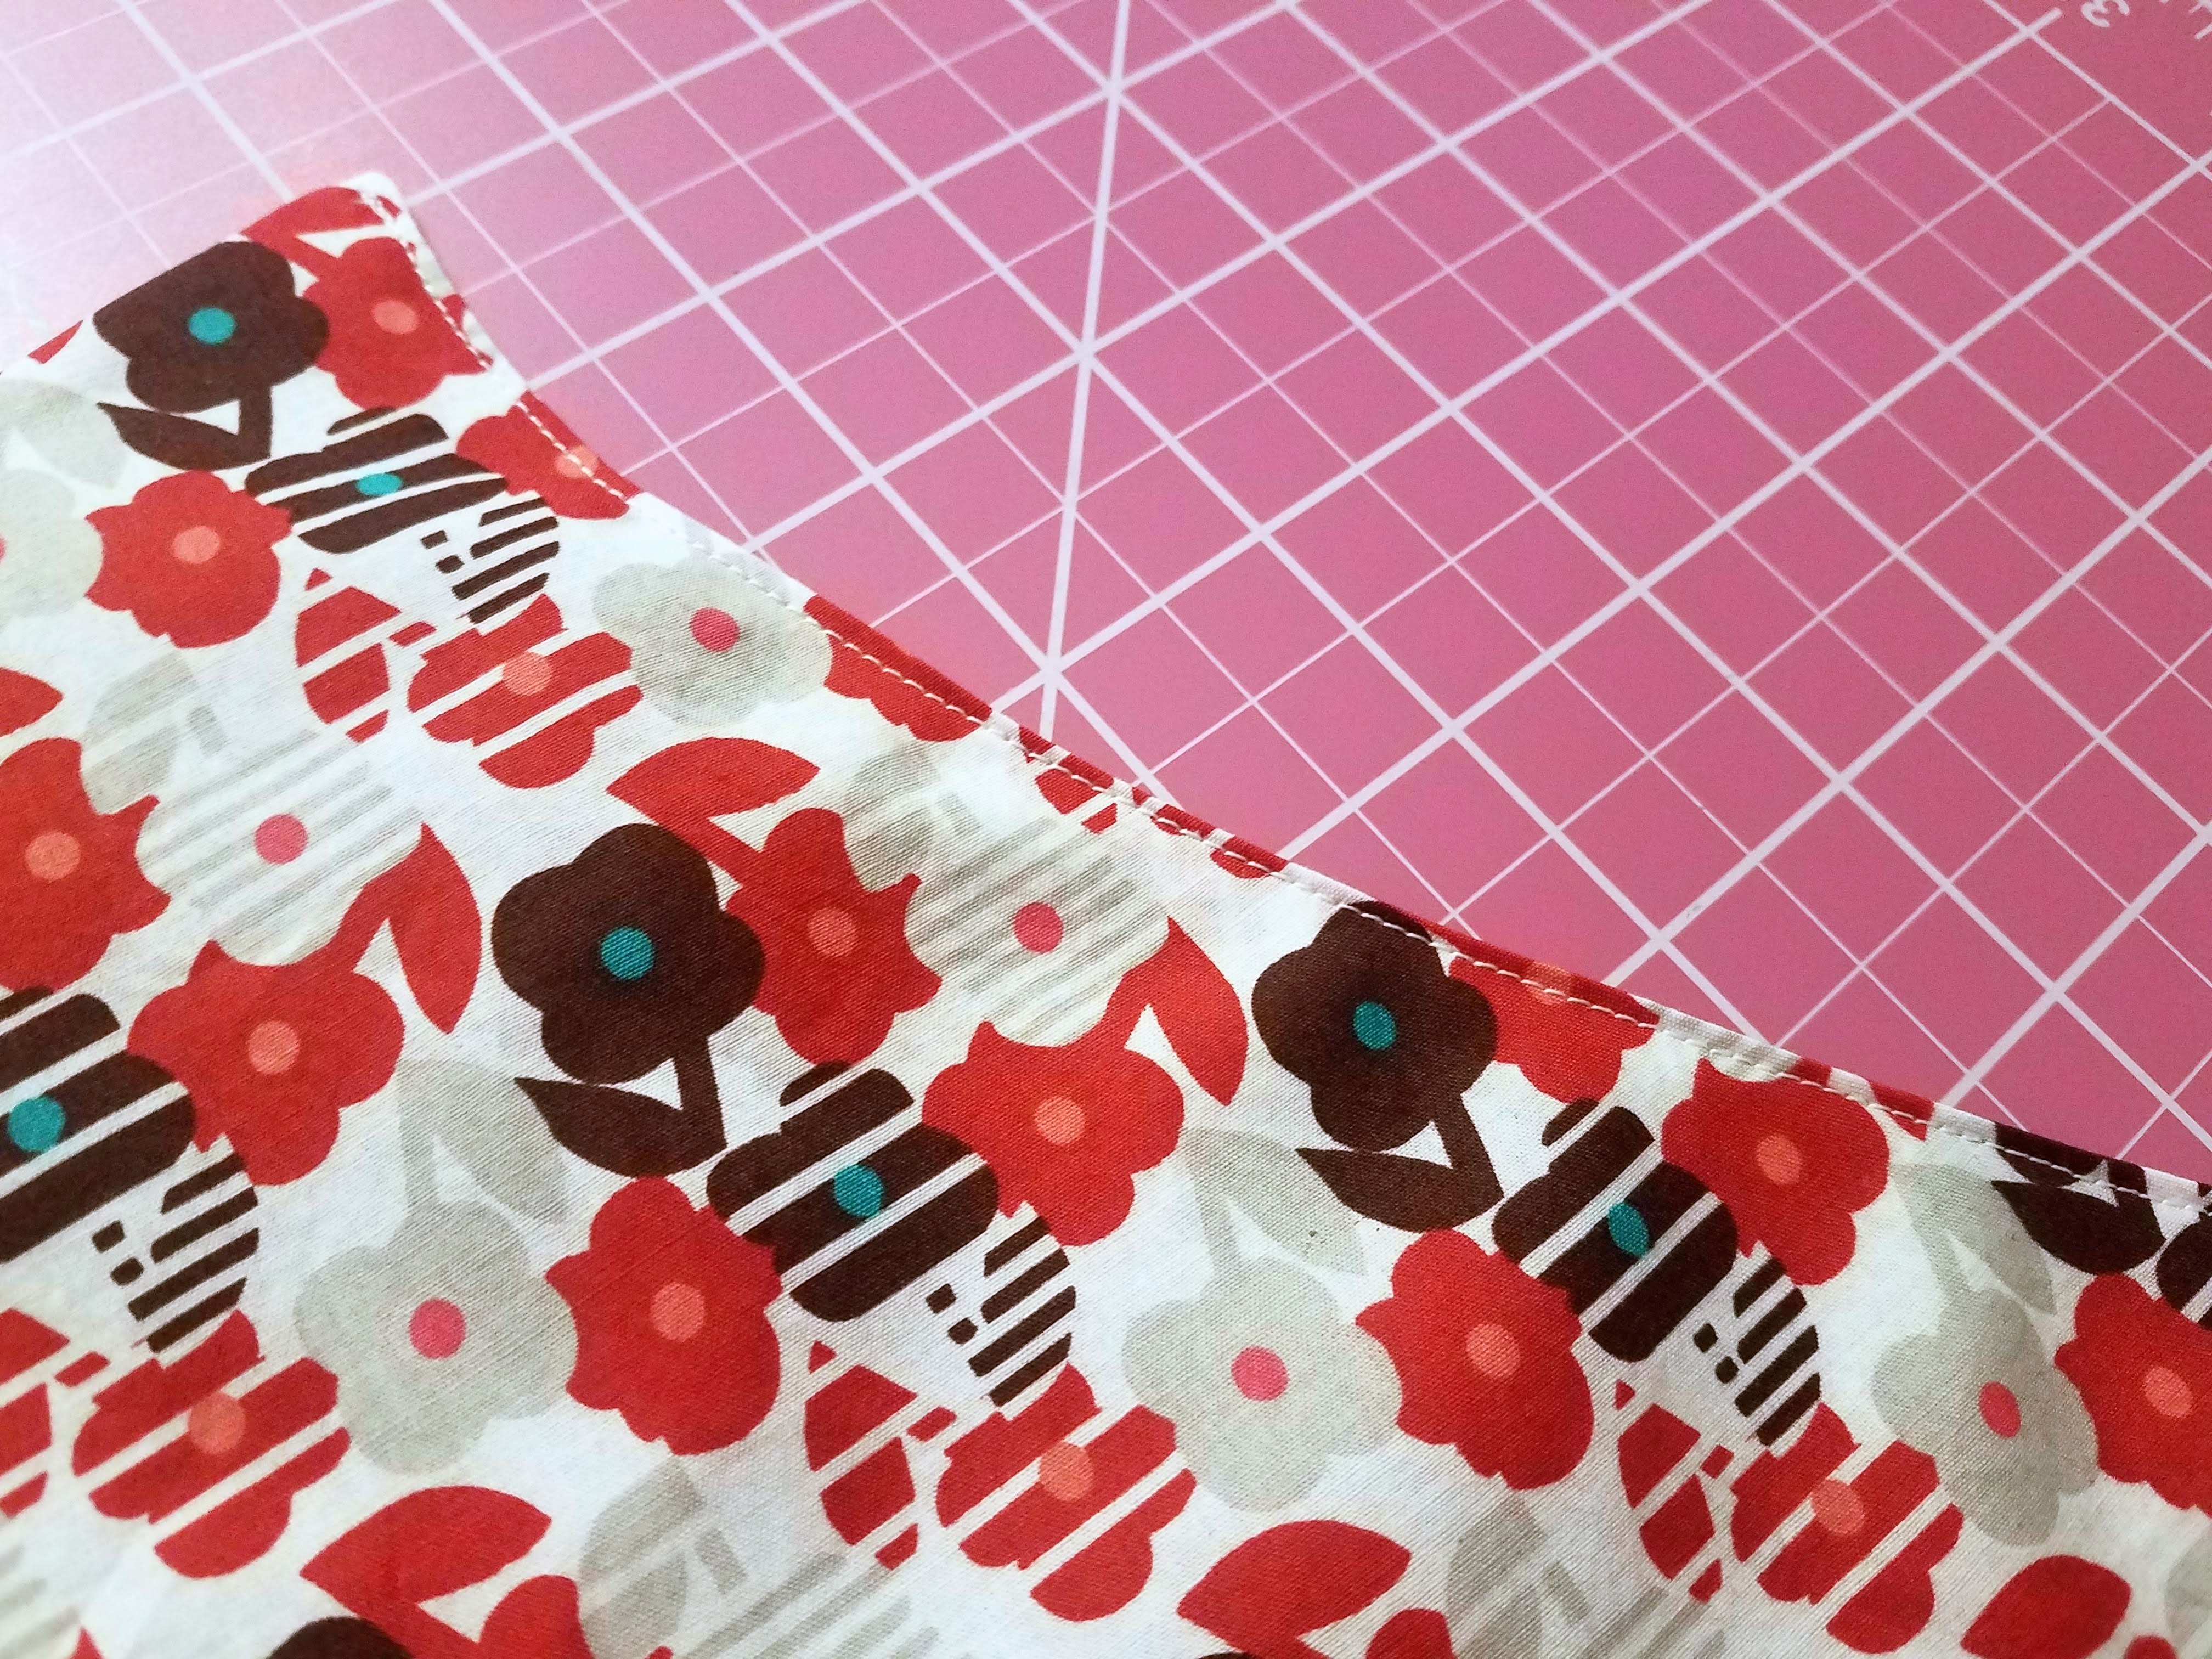
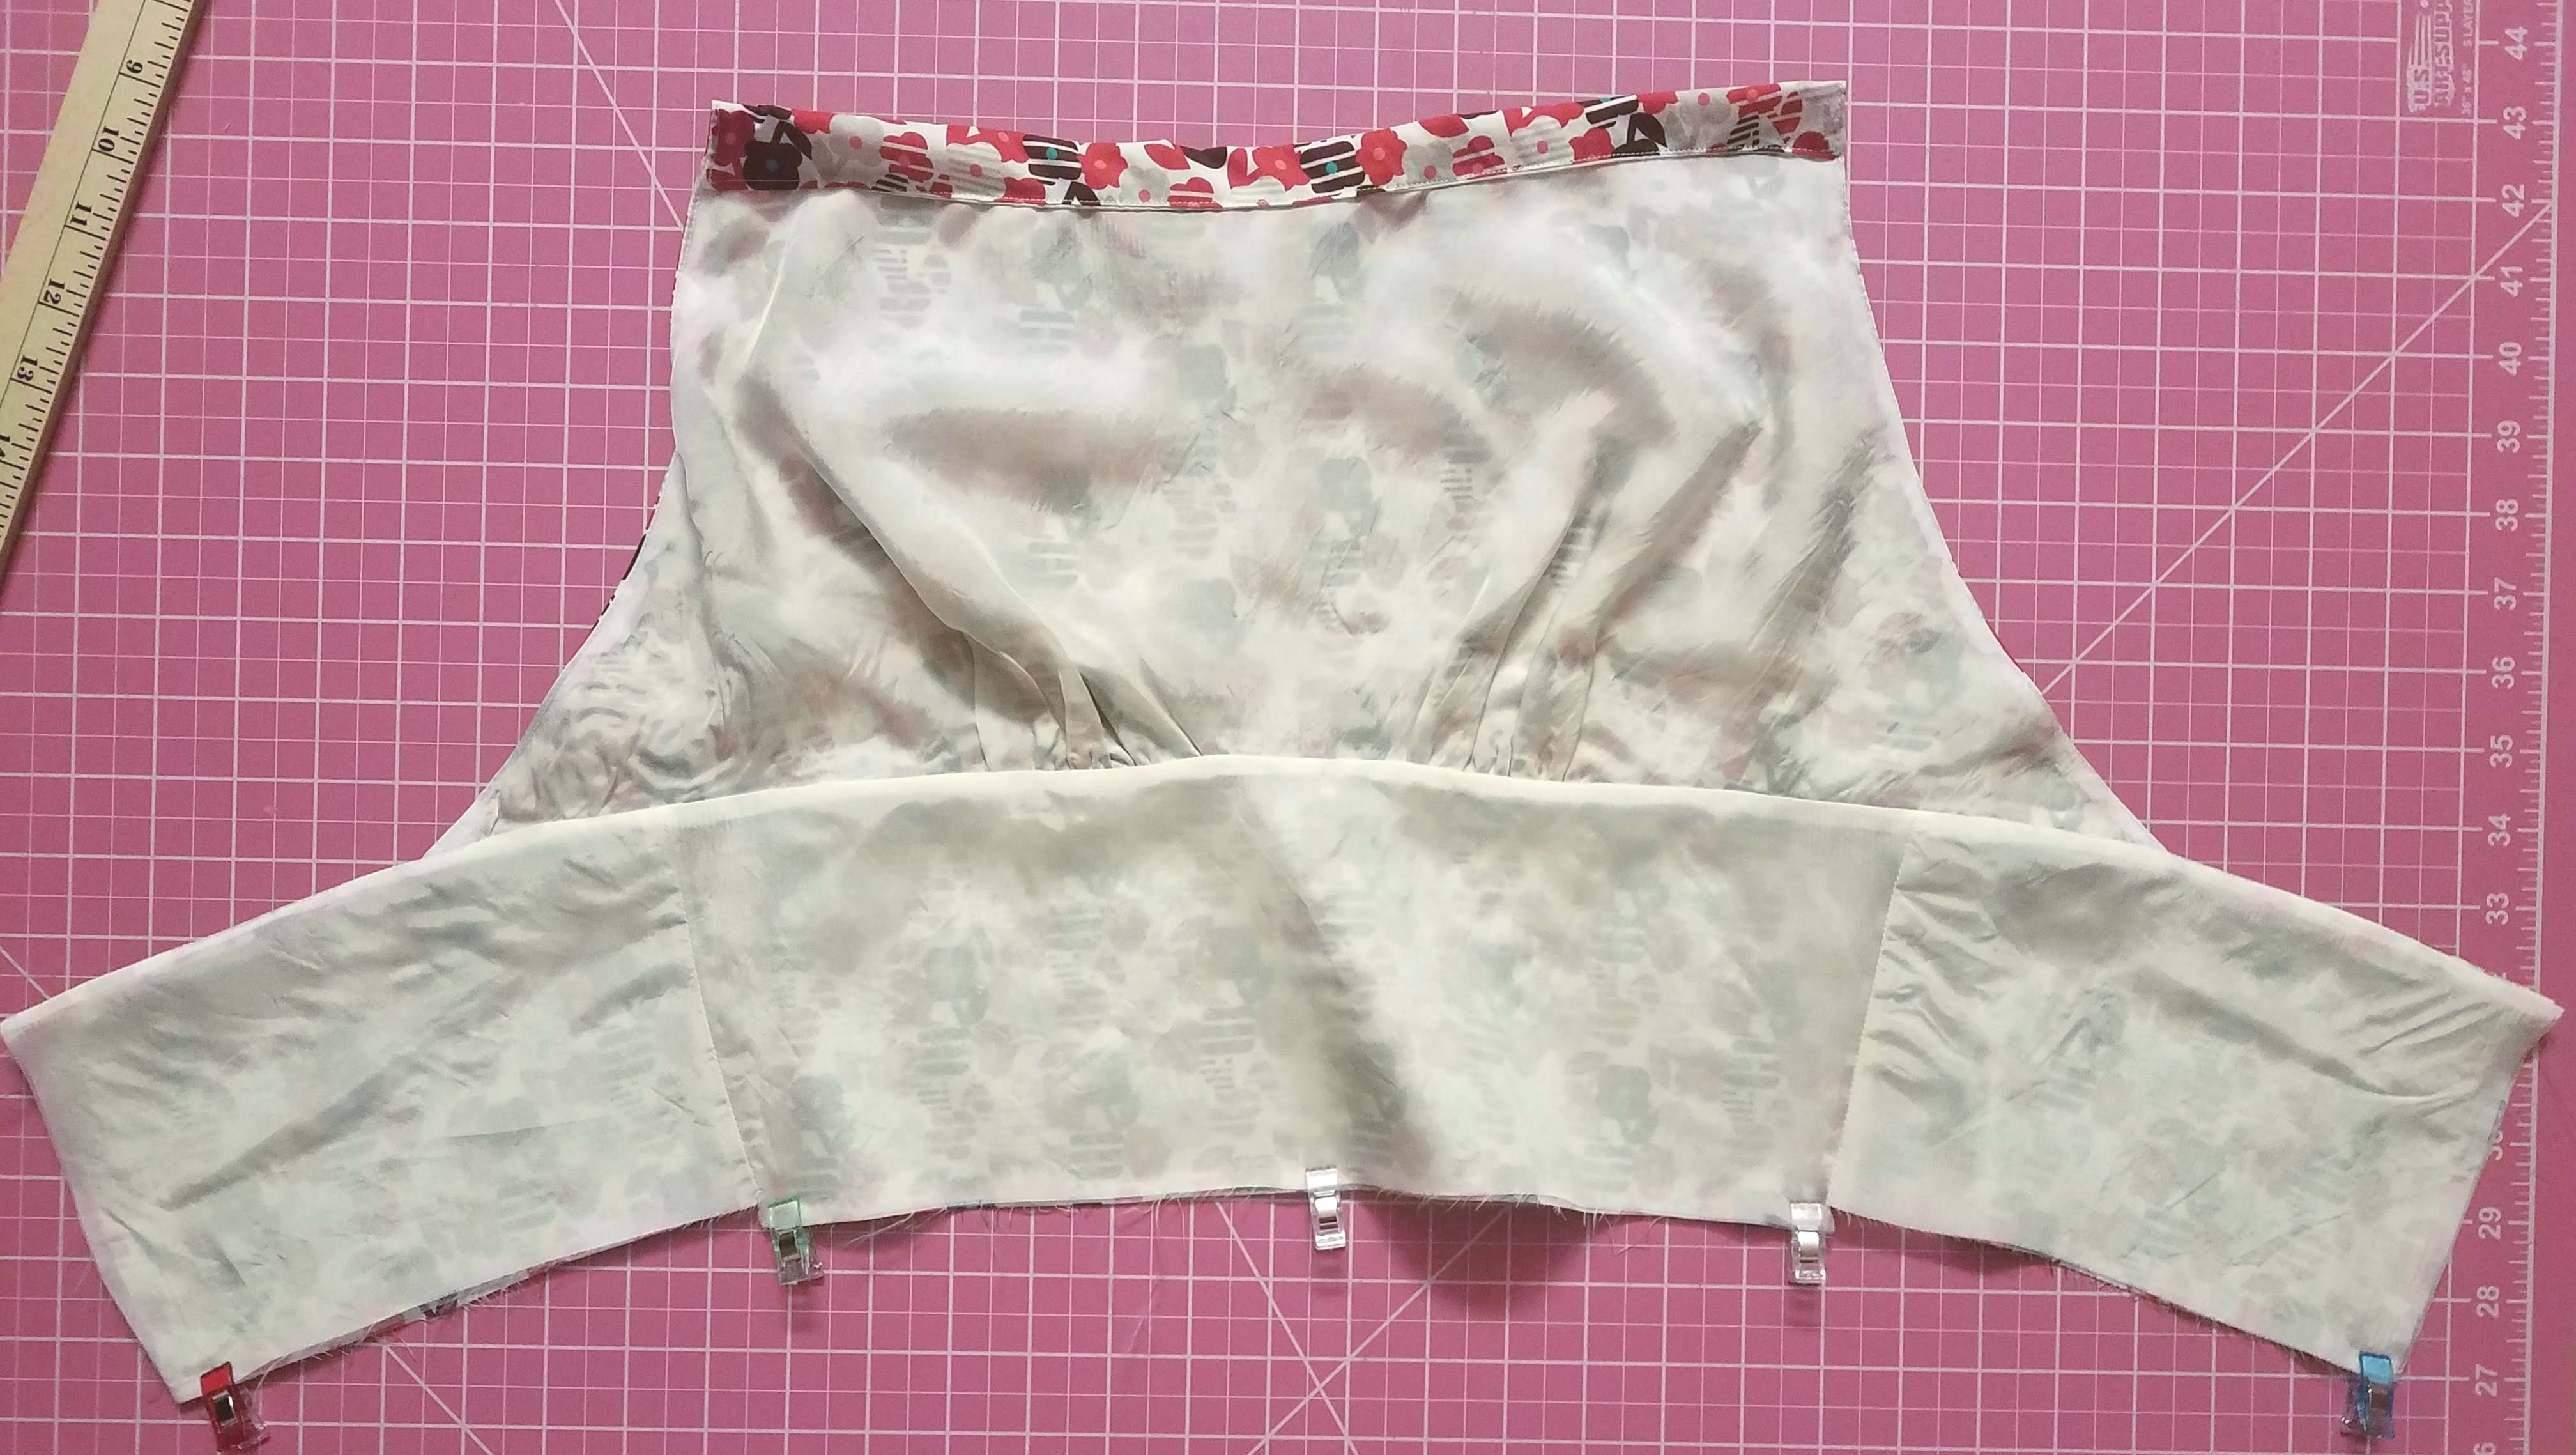
11 Align the front skirt and one back skirt piece along the side seam raw edge, RST, and pin. Sew together, press the seam open, and finish the raw edges in your preferred method. Repeat with the second back skirt piece on the opposite side seam of the front skirt. Repeat this entire step with the skirt lining if you’ve chosen to include one.
I chose to finish the edges (on both the main fabric and the lining) by trimming the seam allowance and using my overedge stitch.
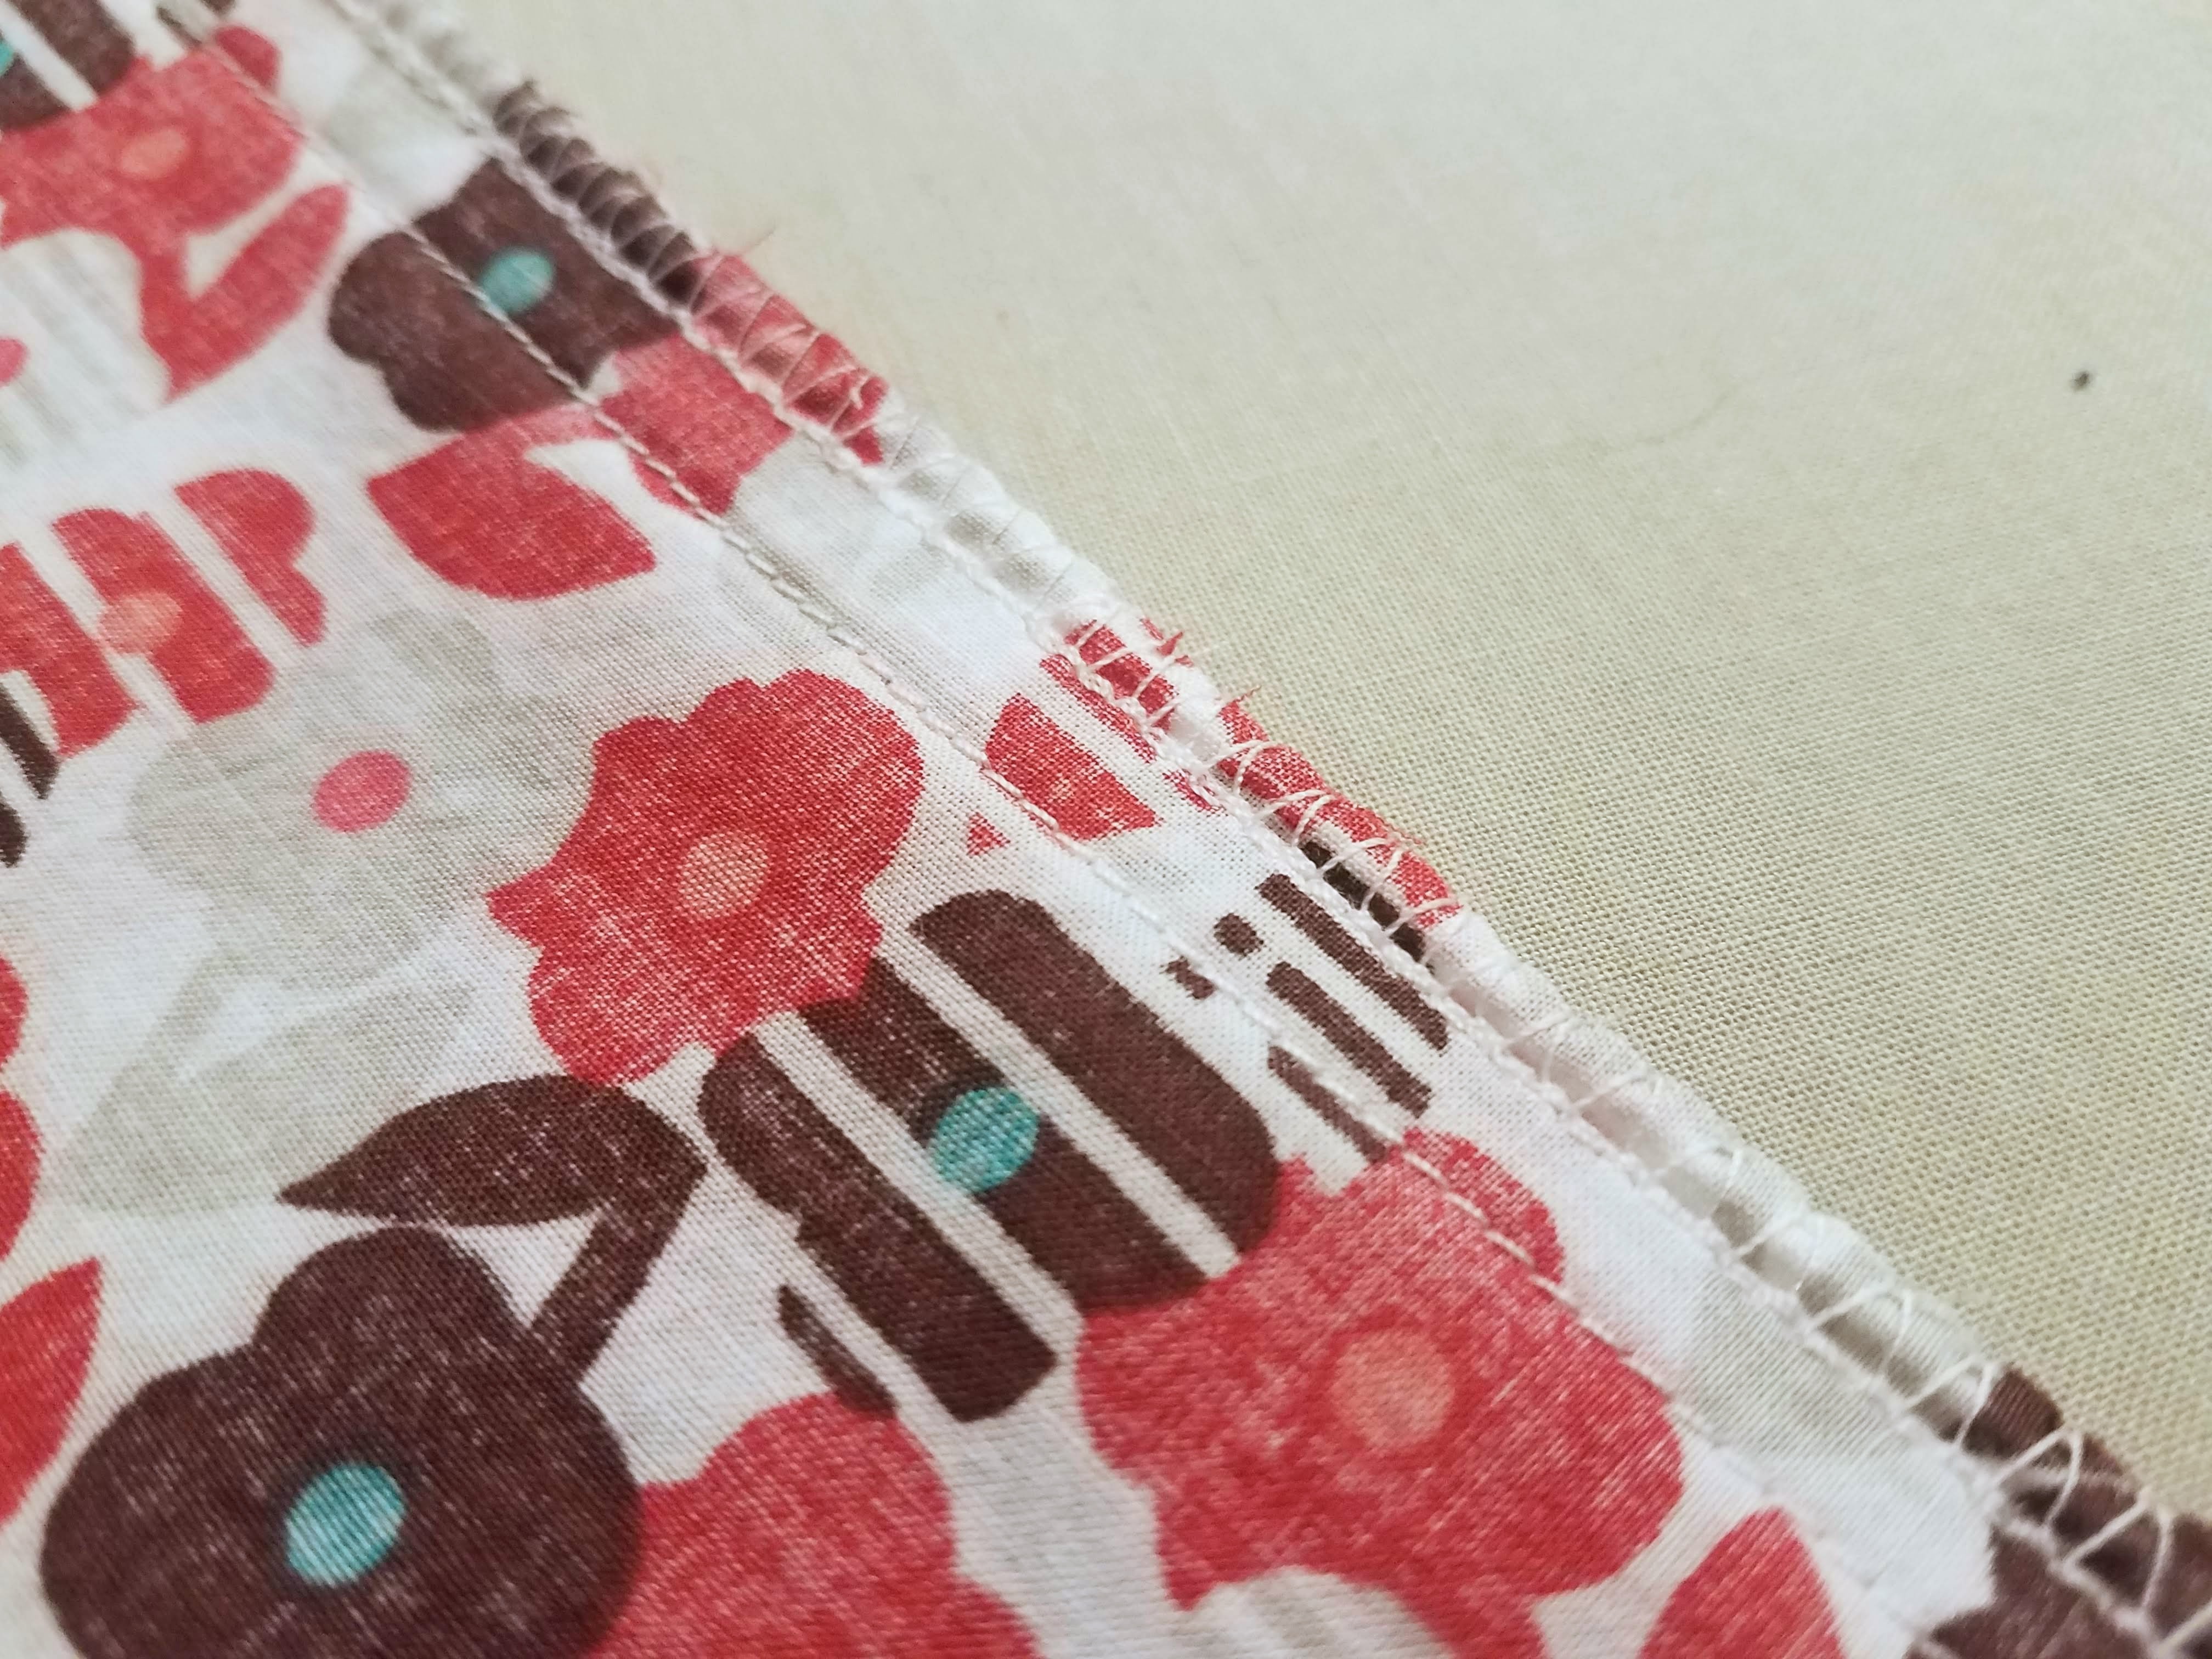
Stitch settings for Janome JW8100: stitch #9, width 5.5, length 2.5, foot C, tension 7
11B If lining skirt, stitch the lining and skirt together along the top raw edge, wrong sides together, using around a 3/8″ seam allowance. From this point on, treat the main skirt and lining as one piece.
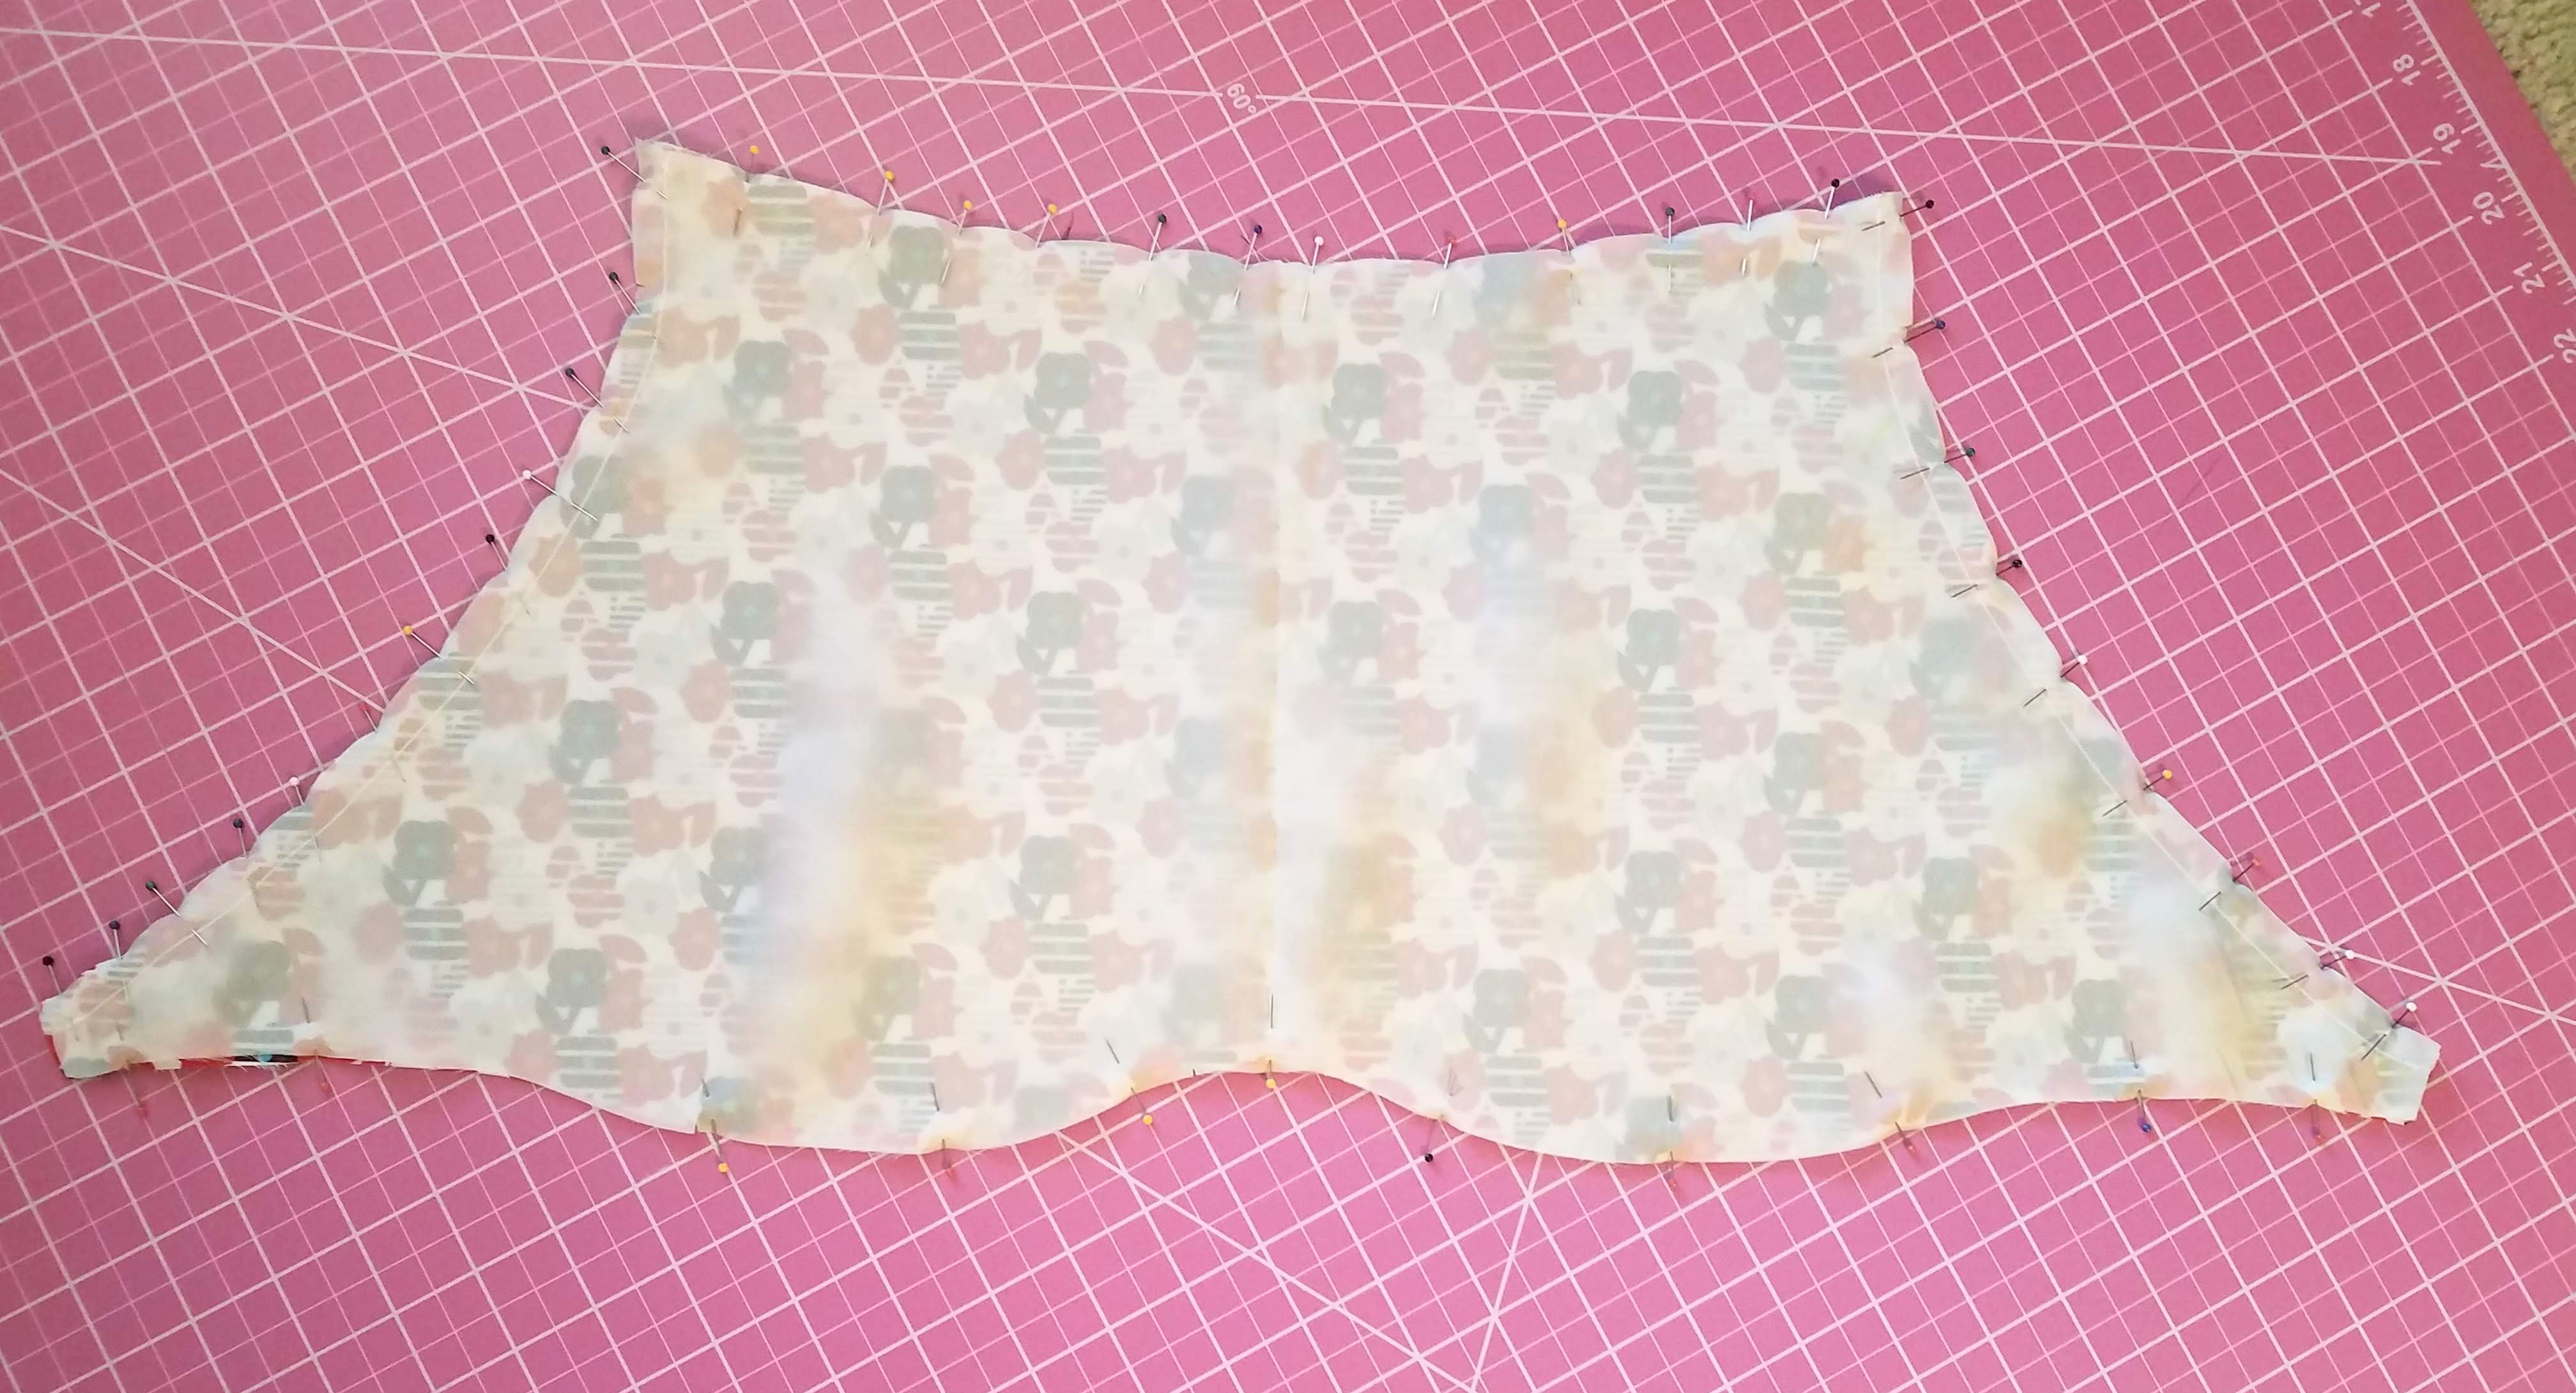
12 Machine- or hand-baste three rows of stitching along the top raw edge of the skirt within a 3/8″ seam allowance (just like in #7). Gather the top edge of the skirt to approximately the width of the waist piece.
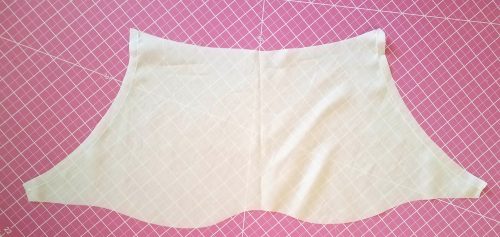
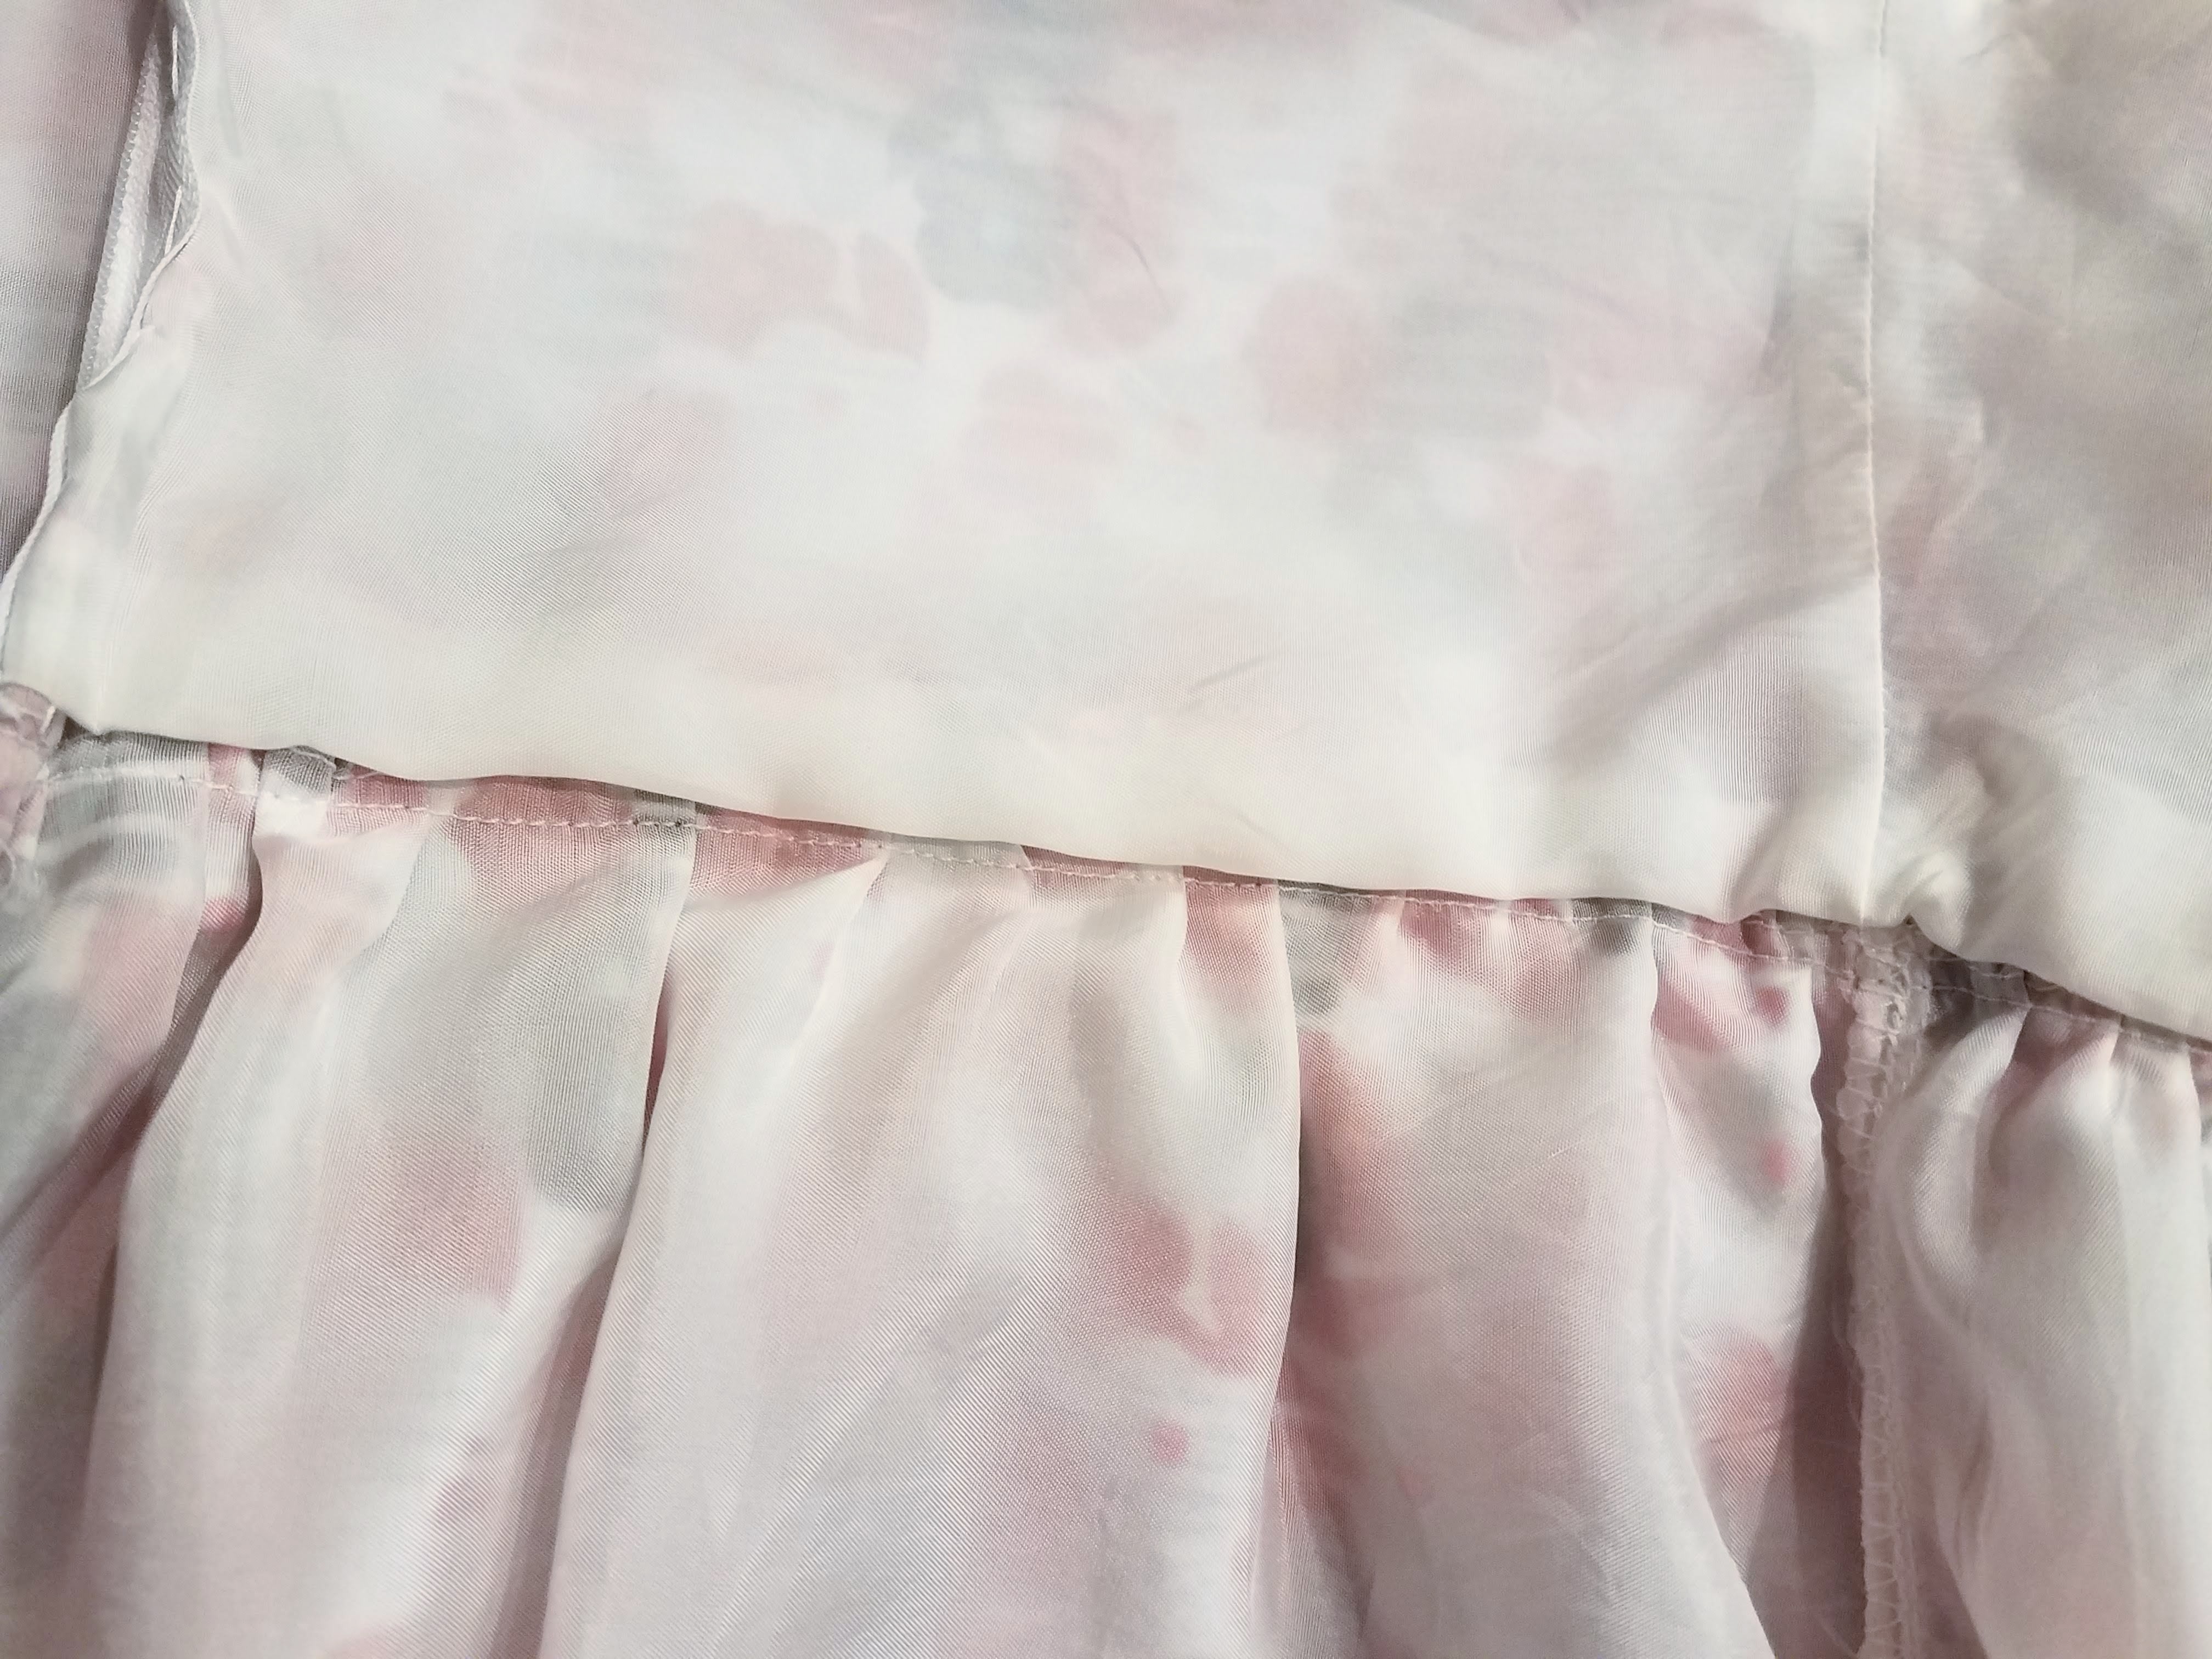
13 Align the top edge of the skirt with the waist piece RST, and pin. Make sure to match the side seams and distribute the gathers evenly. Sew together in one continuous seam. Press the SA upwards. The bottom edge of the waist lining should remain loose on the inside of the garment at this time.
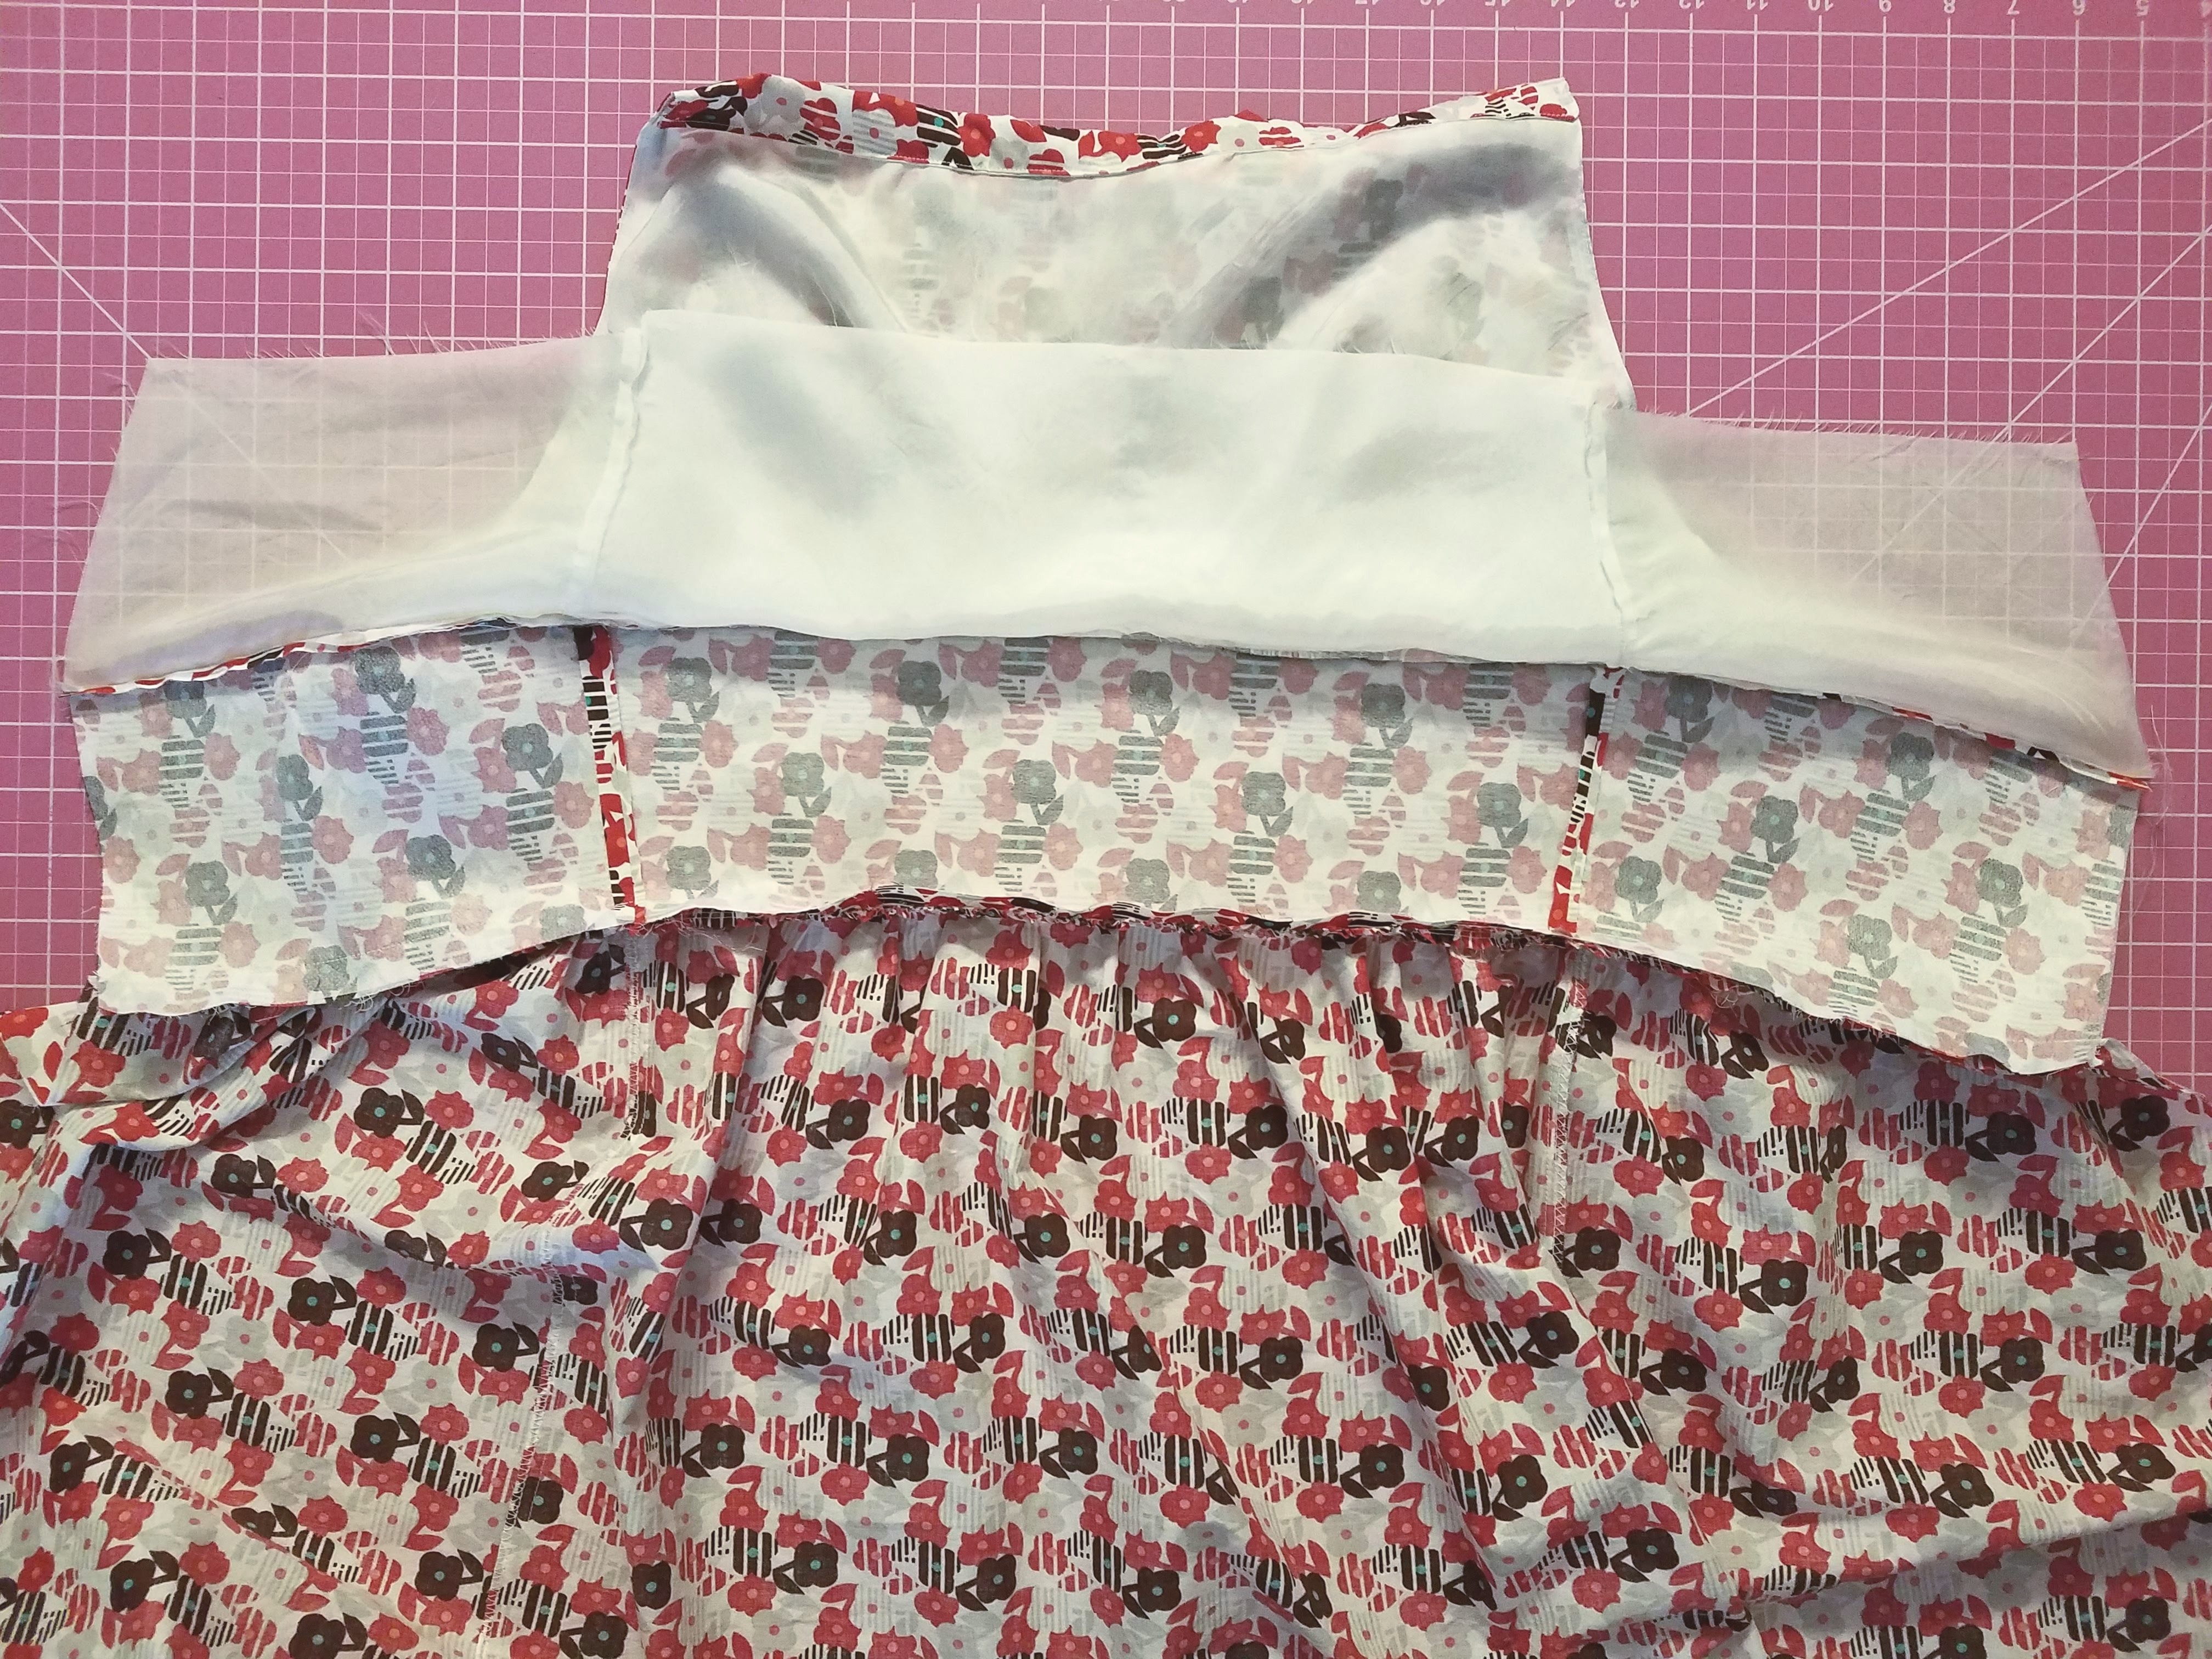
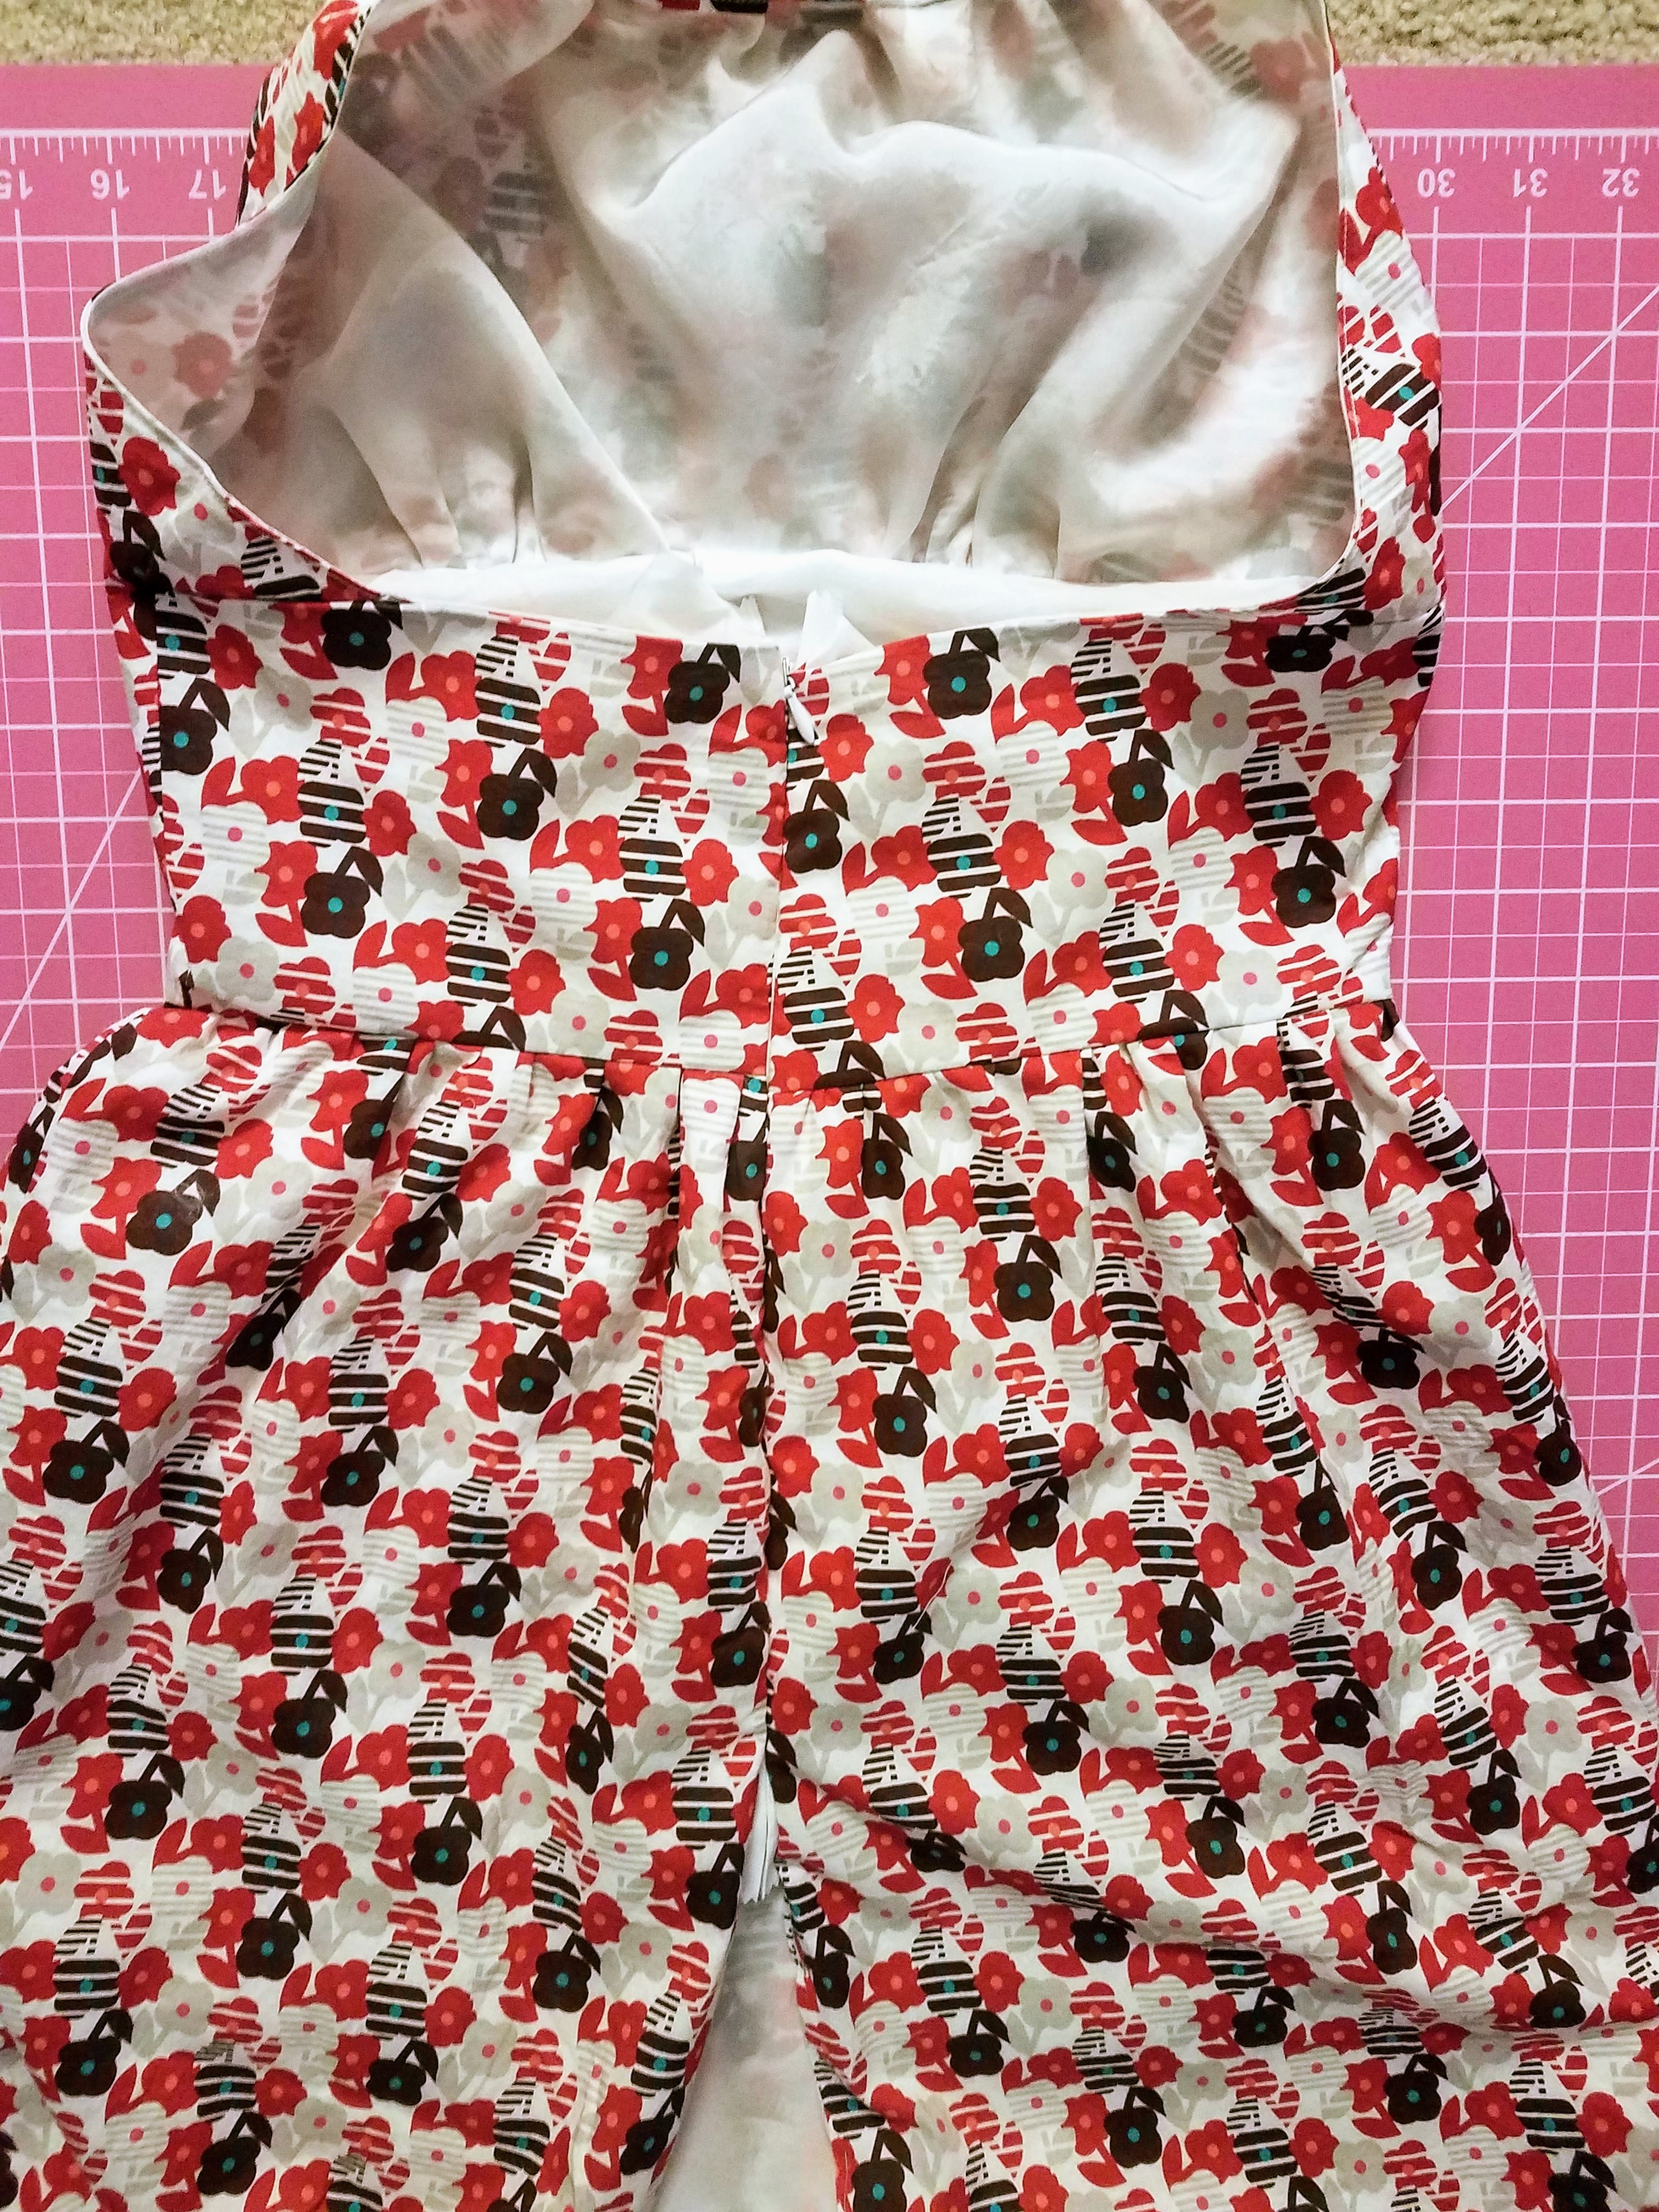
Showing the skirt and bodice attached. The waist lining is still loose, and the top of the skirt is gathered to match the width of the waist. Note: this was dress attempt #1 so the skirt lining is missing.
Now is a good time for fitting.
I wanted the waist to be nice and fitted, so I recruited my hubby to stick some pins where the open back seam overlapped when I held it closed around me. This is where my math ate my first dress. To spare you that tragedy, I present the following formula:
where a is the length that your fabric overlaps
This formula gives you the number of how much fabric to trim off of each edge along the open back seam. You do it this way in order to keep your back seam centered and retain enough fabric to have a seam allowance. A few things to be aware of:
- the overlap along the top edge of the waist may be more than the bottom edge of the waist, as it was in my case. Or, depending on your unique shape, it could be the other way around.
- it would probably bode well for you to fold over and pin the fabric you plan to cut and then double check the fit on your body again before cutting. Then fit again after cutting one side to make sure you’re on track before cutting the other side. On my second attempt, I did this and discovered I didn’t have much extra along the bottom of the waist. So for that second edge, I cut a diagonal line down the waist to bring the top in and left the bottom and skirt as it was. I was a little worried it would end up looking crooked, but it turned out just fine. So, fit, fit, and fit again! Don’t be me; don’t feed your dress to the Math.
- trimming a straight line all the way down over the gathers can be tricky. It helped me to cut straight down the waist and stop just after the gathers, and then flatten out the skirt to cut the rest of the way down.
14 Mark a notch into the centre back skirt seam allowance, 21.5cm (8.5″) down from the waist seam to indicate the end of the zip. Flip the waist lining out of the way, so it isn’t caught in the centre back seam. Align the centre back raw edges, RST, and pin. Make sure the waist seams match then baste the seam and press open. Place the zip with teeth face down along the seam, baste and stitch. Complete the back skirt seam.
Okay, this is where I digressed quite a bit to incorporate the skirt lining.
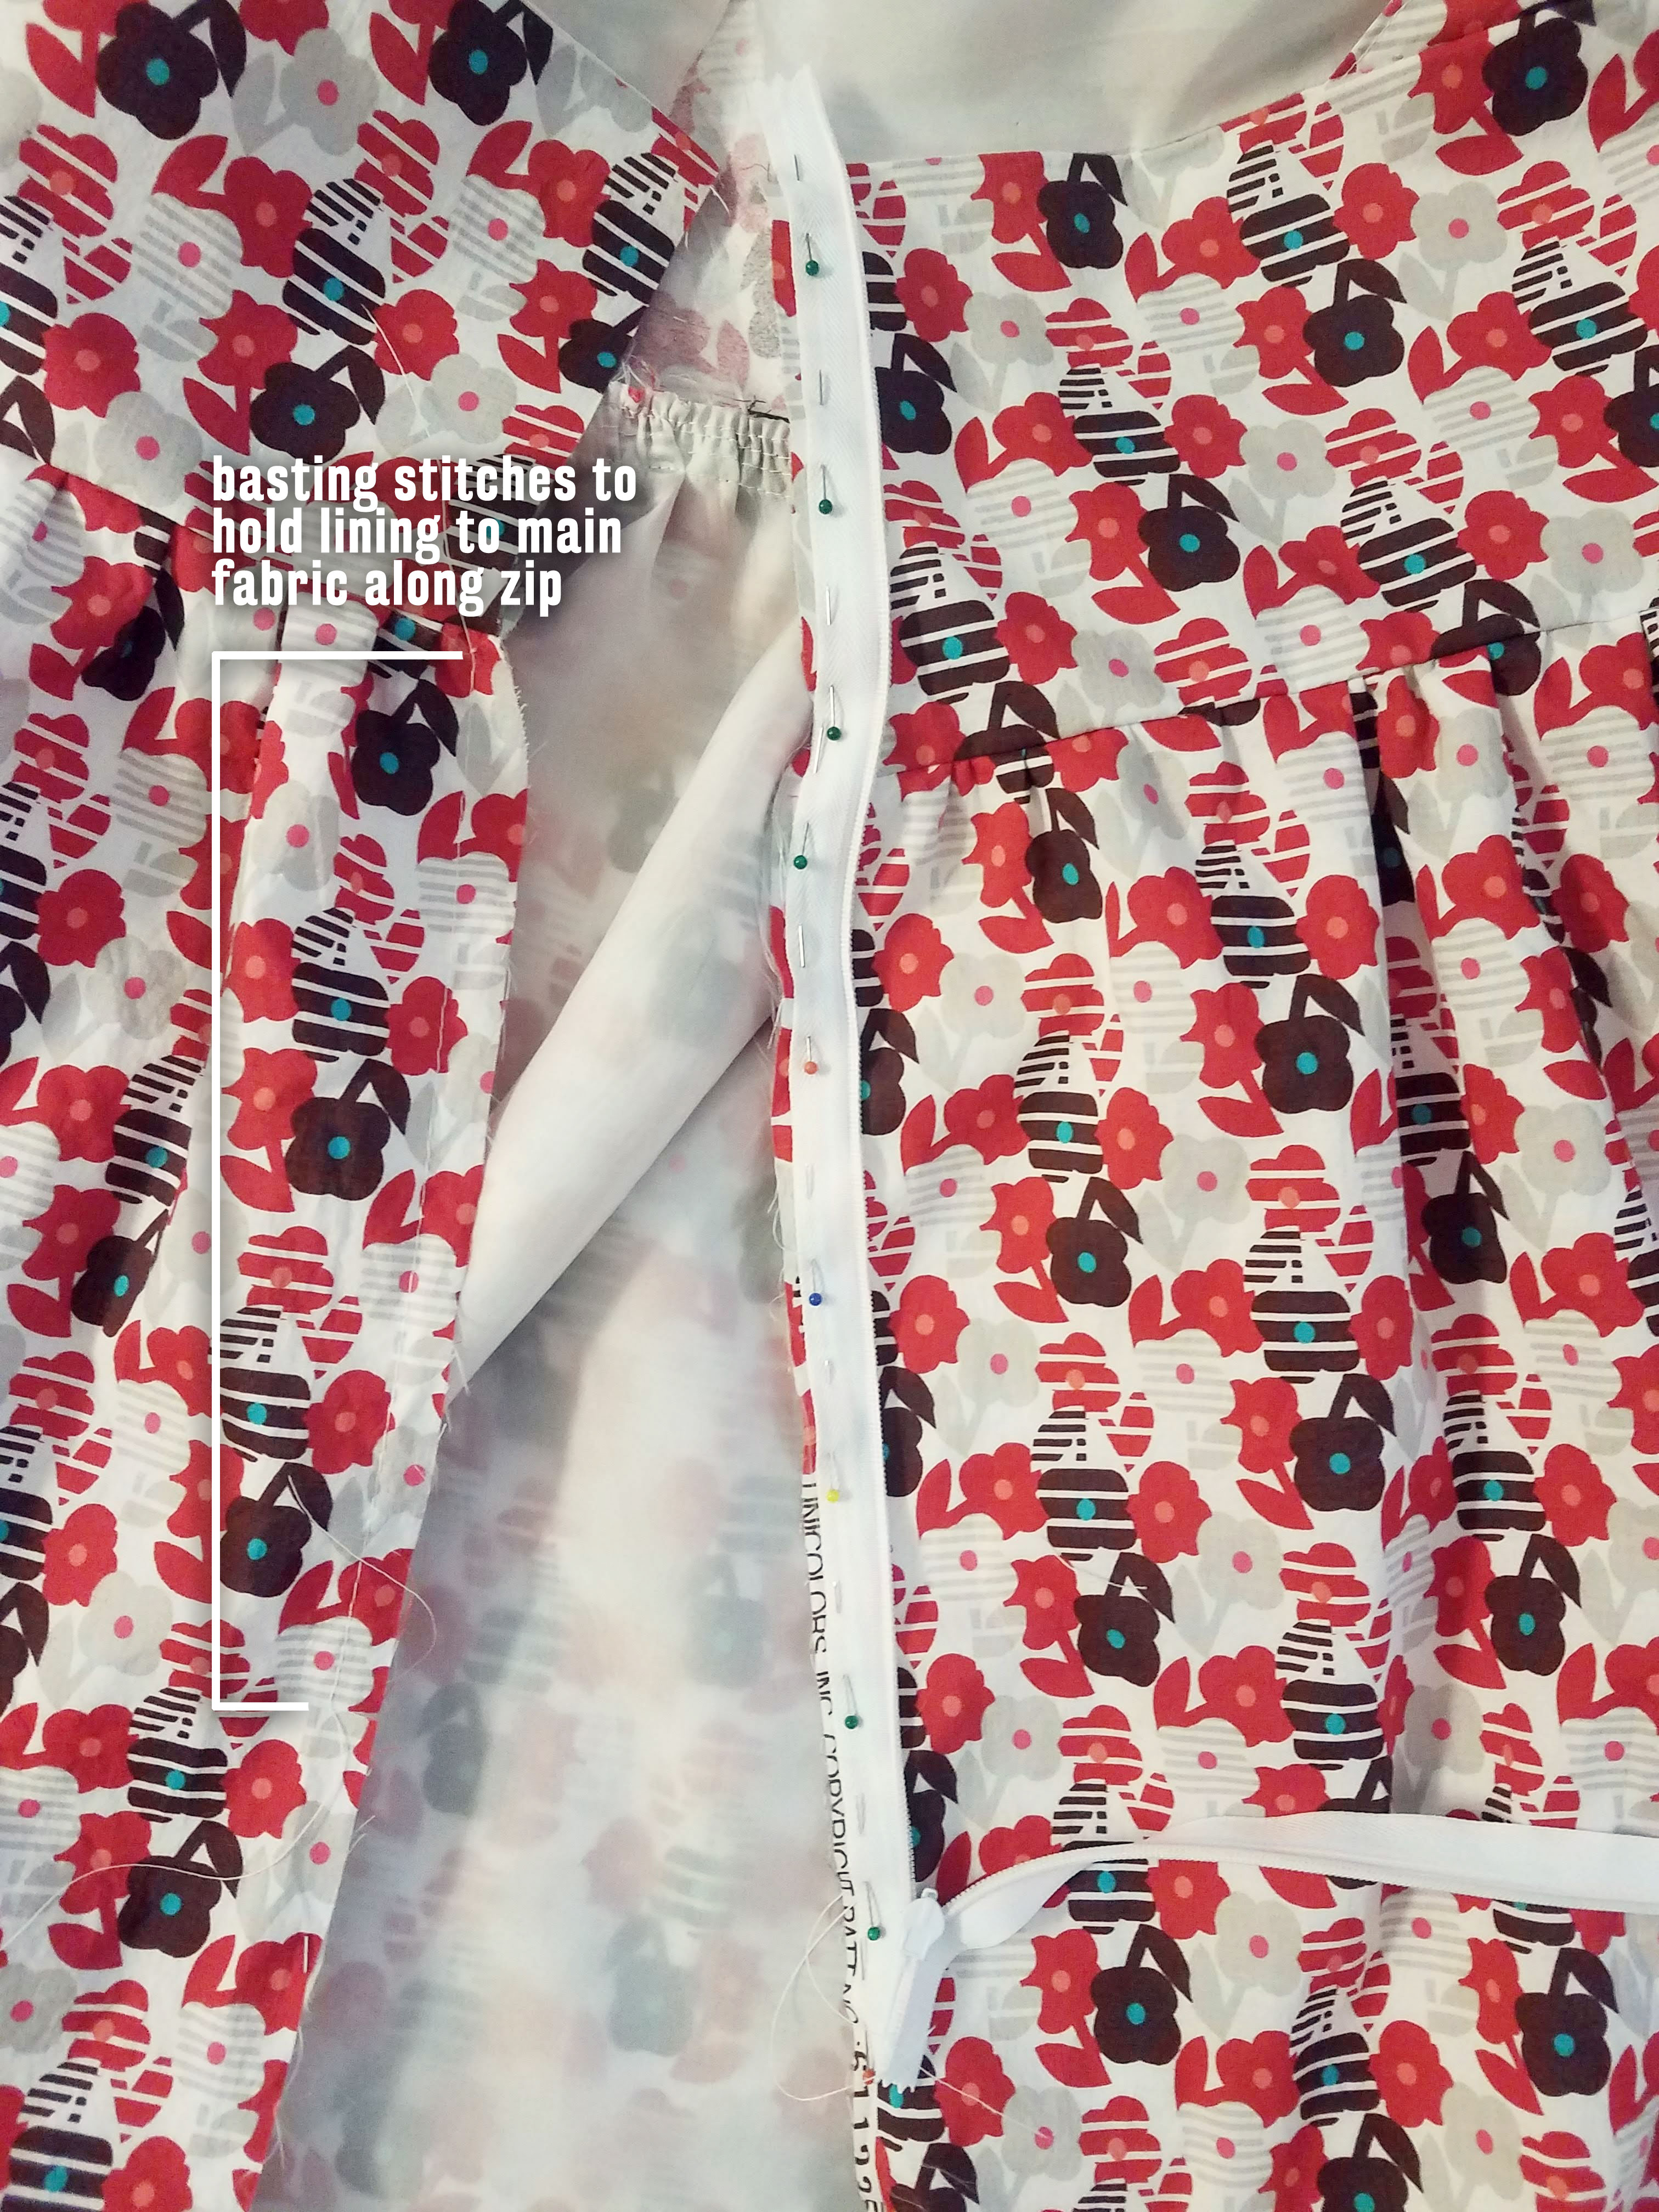
I marked the notch 8.5″ down along both of the center back skirt seam edges. Then I basted the lining to the skirt along those edges, but only along the 8.5″ I just marked. This will keep the lining detatched from the rest of the back skirt seam beneath the zipper once it’s finished.
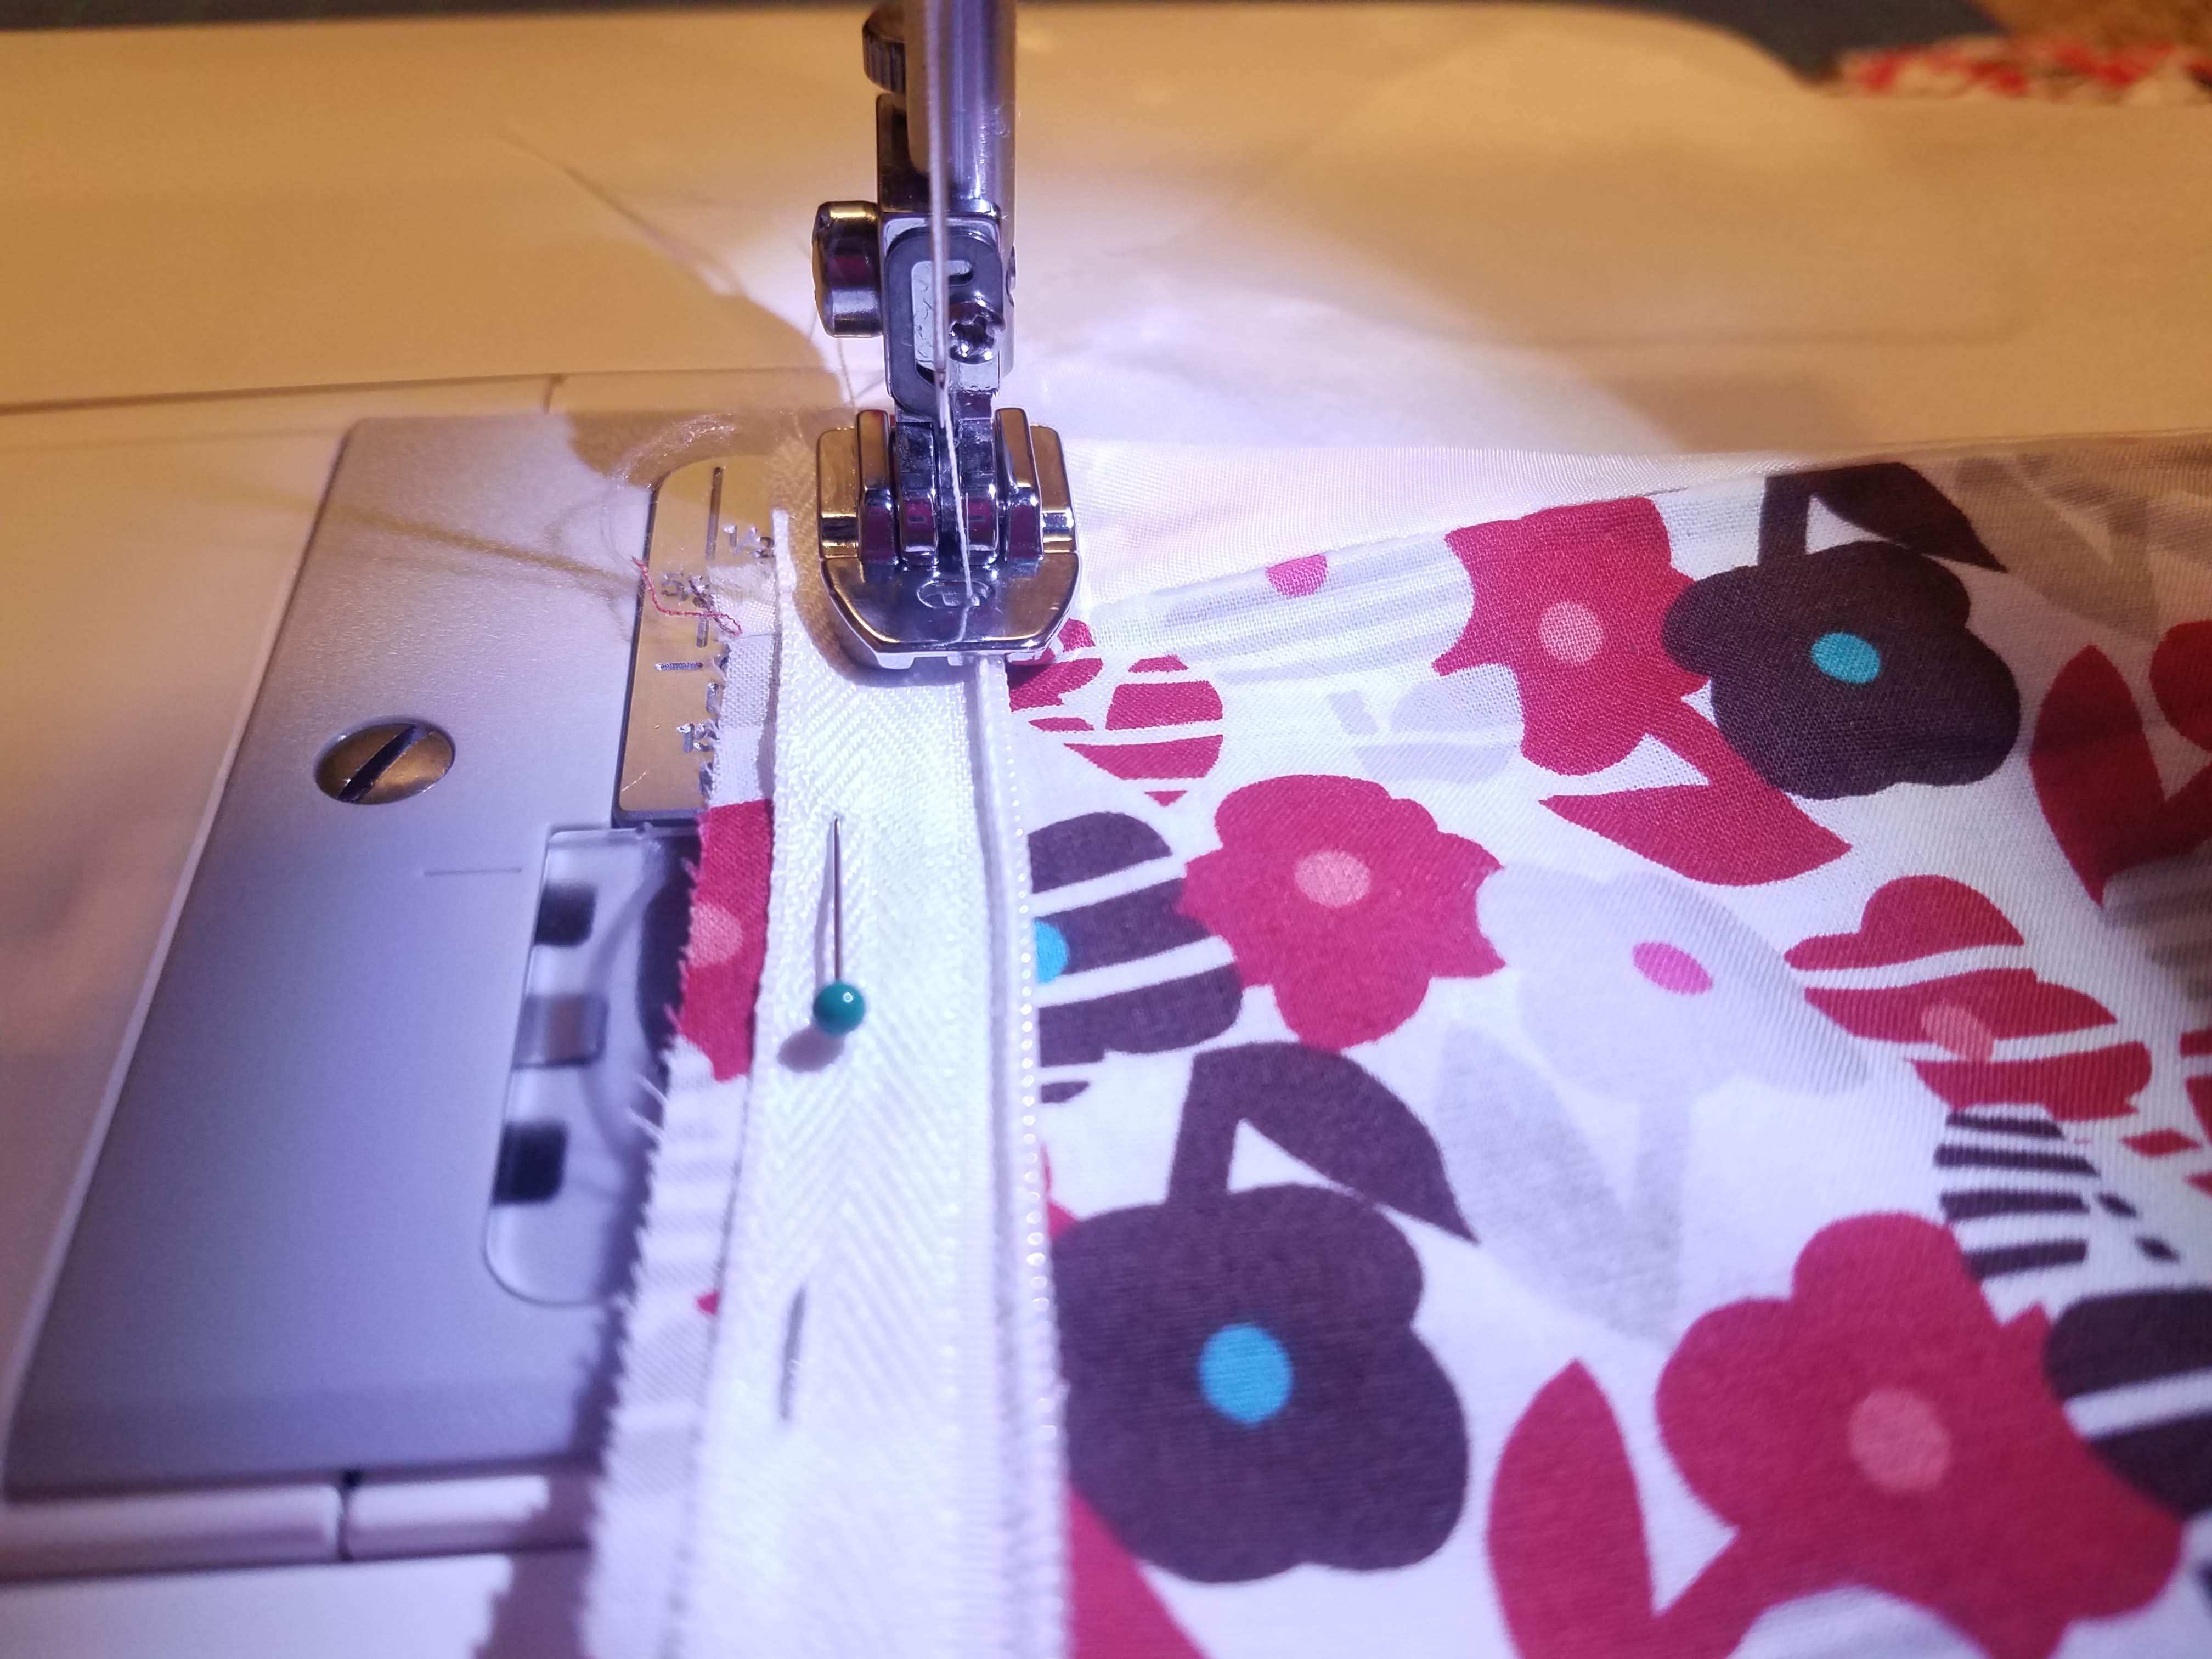
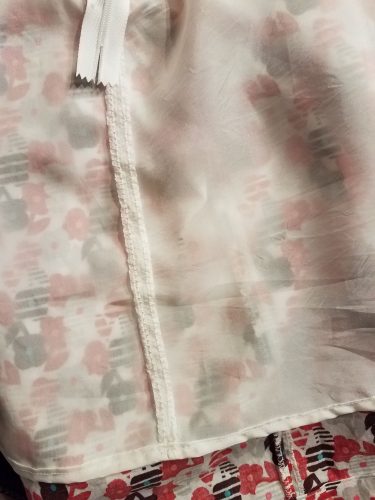
Then I attached the invisible zipper. I completely skipped basting the center seam closed. I attached one side of the invisible zip, and then the other side. I made sure the stop anchors at the top lined up with the top edge of the waist, meaning there was some extra zipper tape sticking up. Also, the end of the zip extended past the 8.5″ stop mark at the bottom.
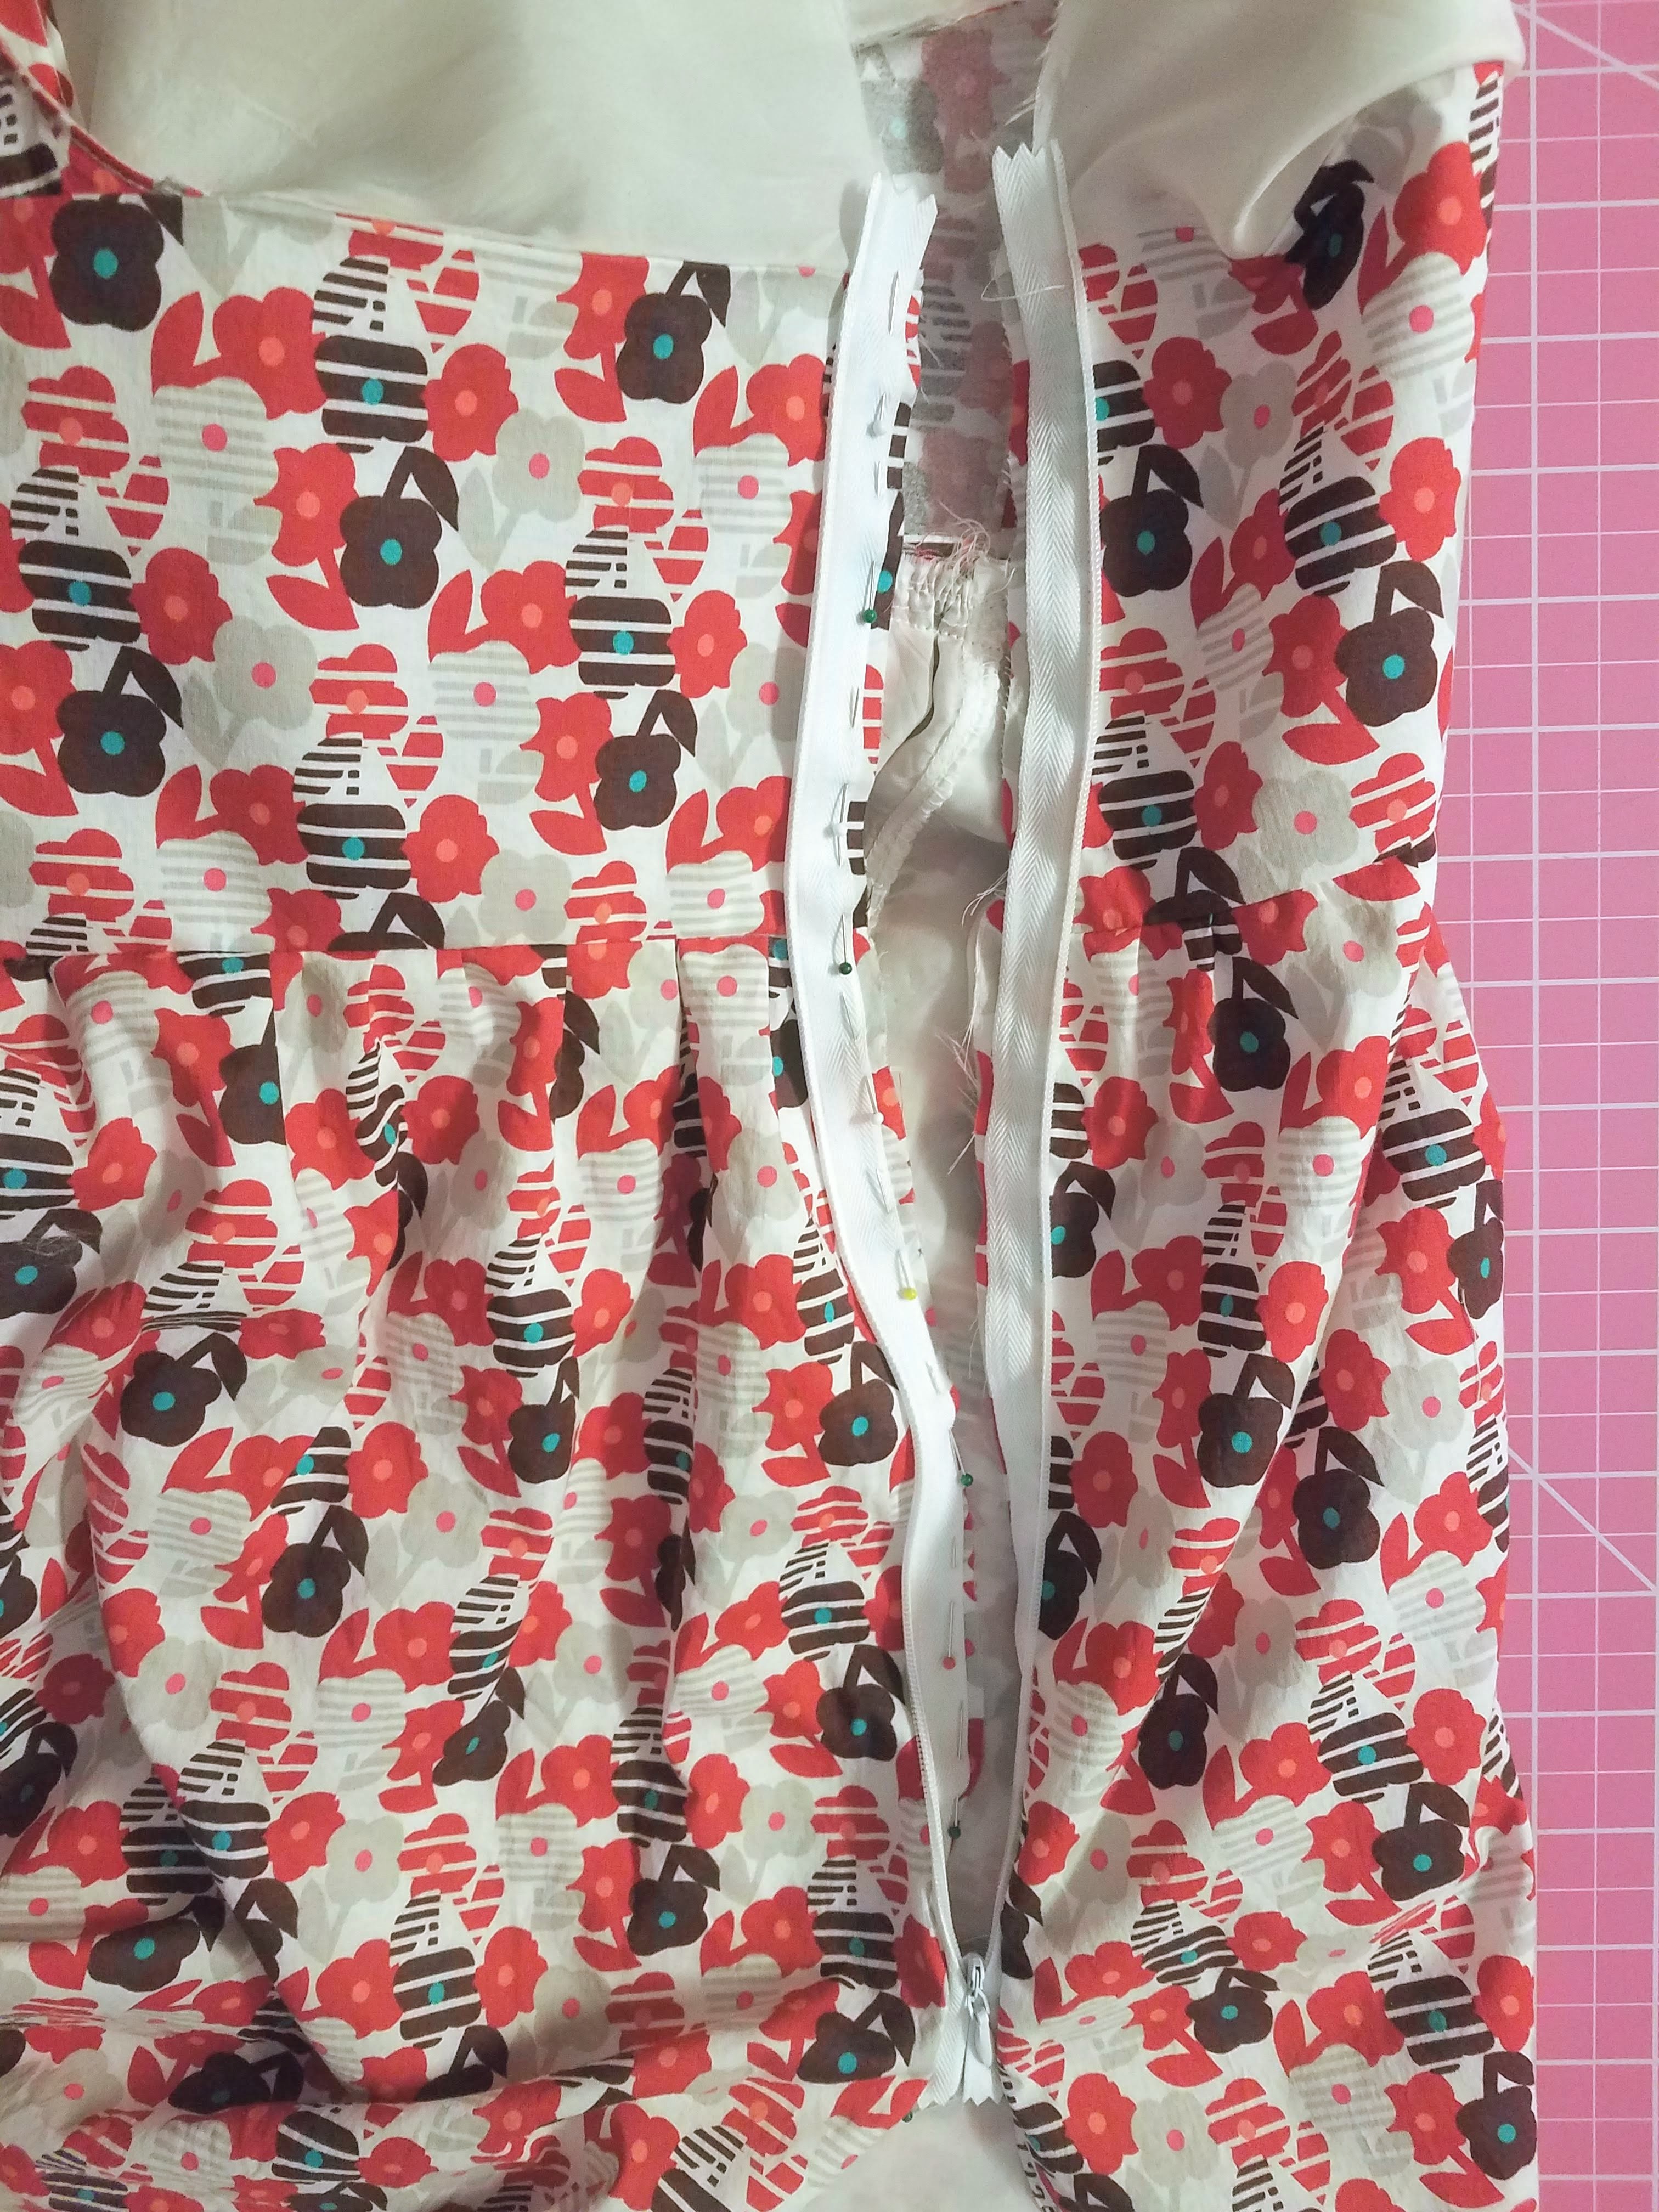

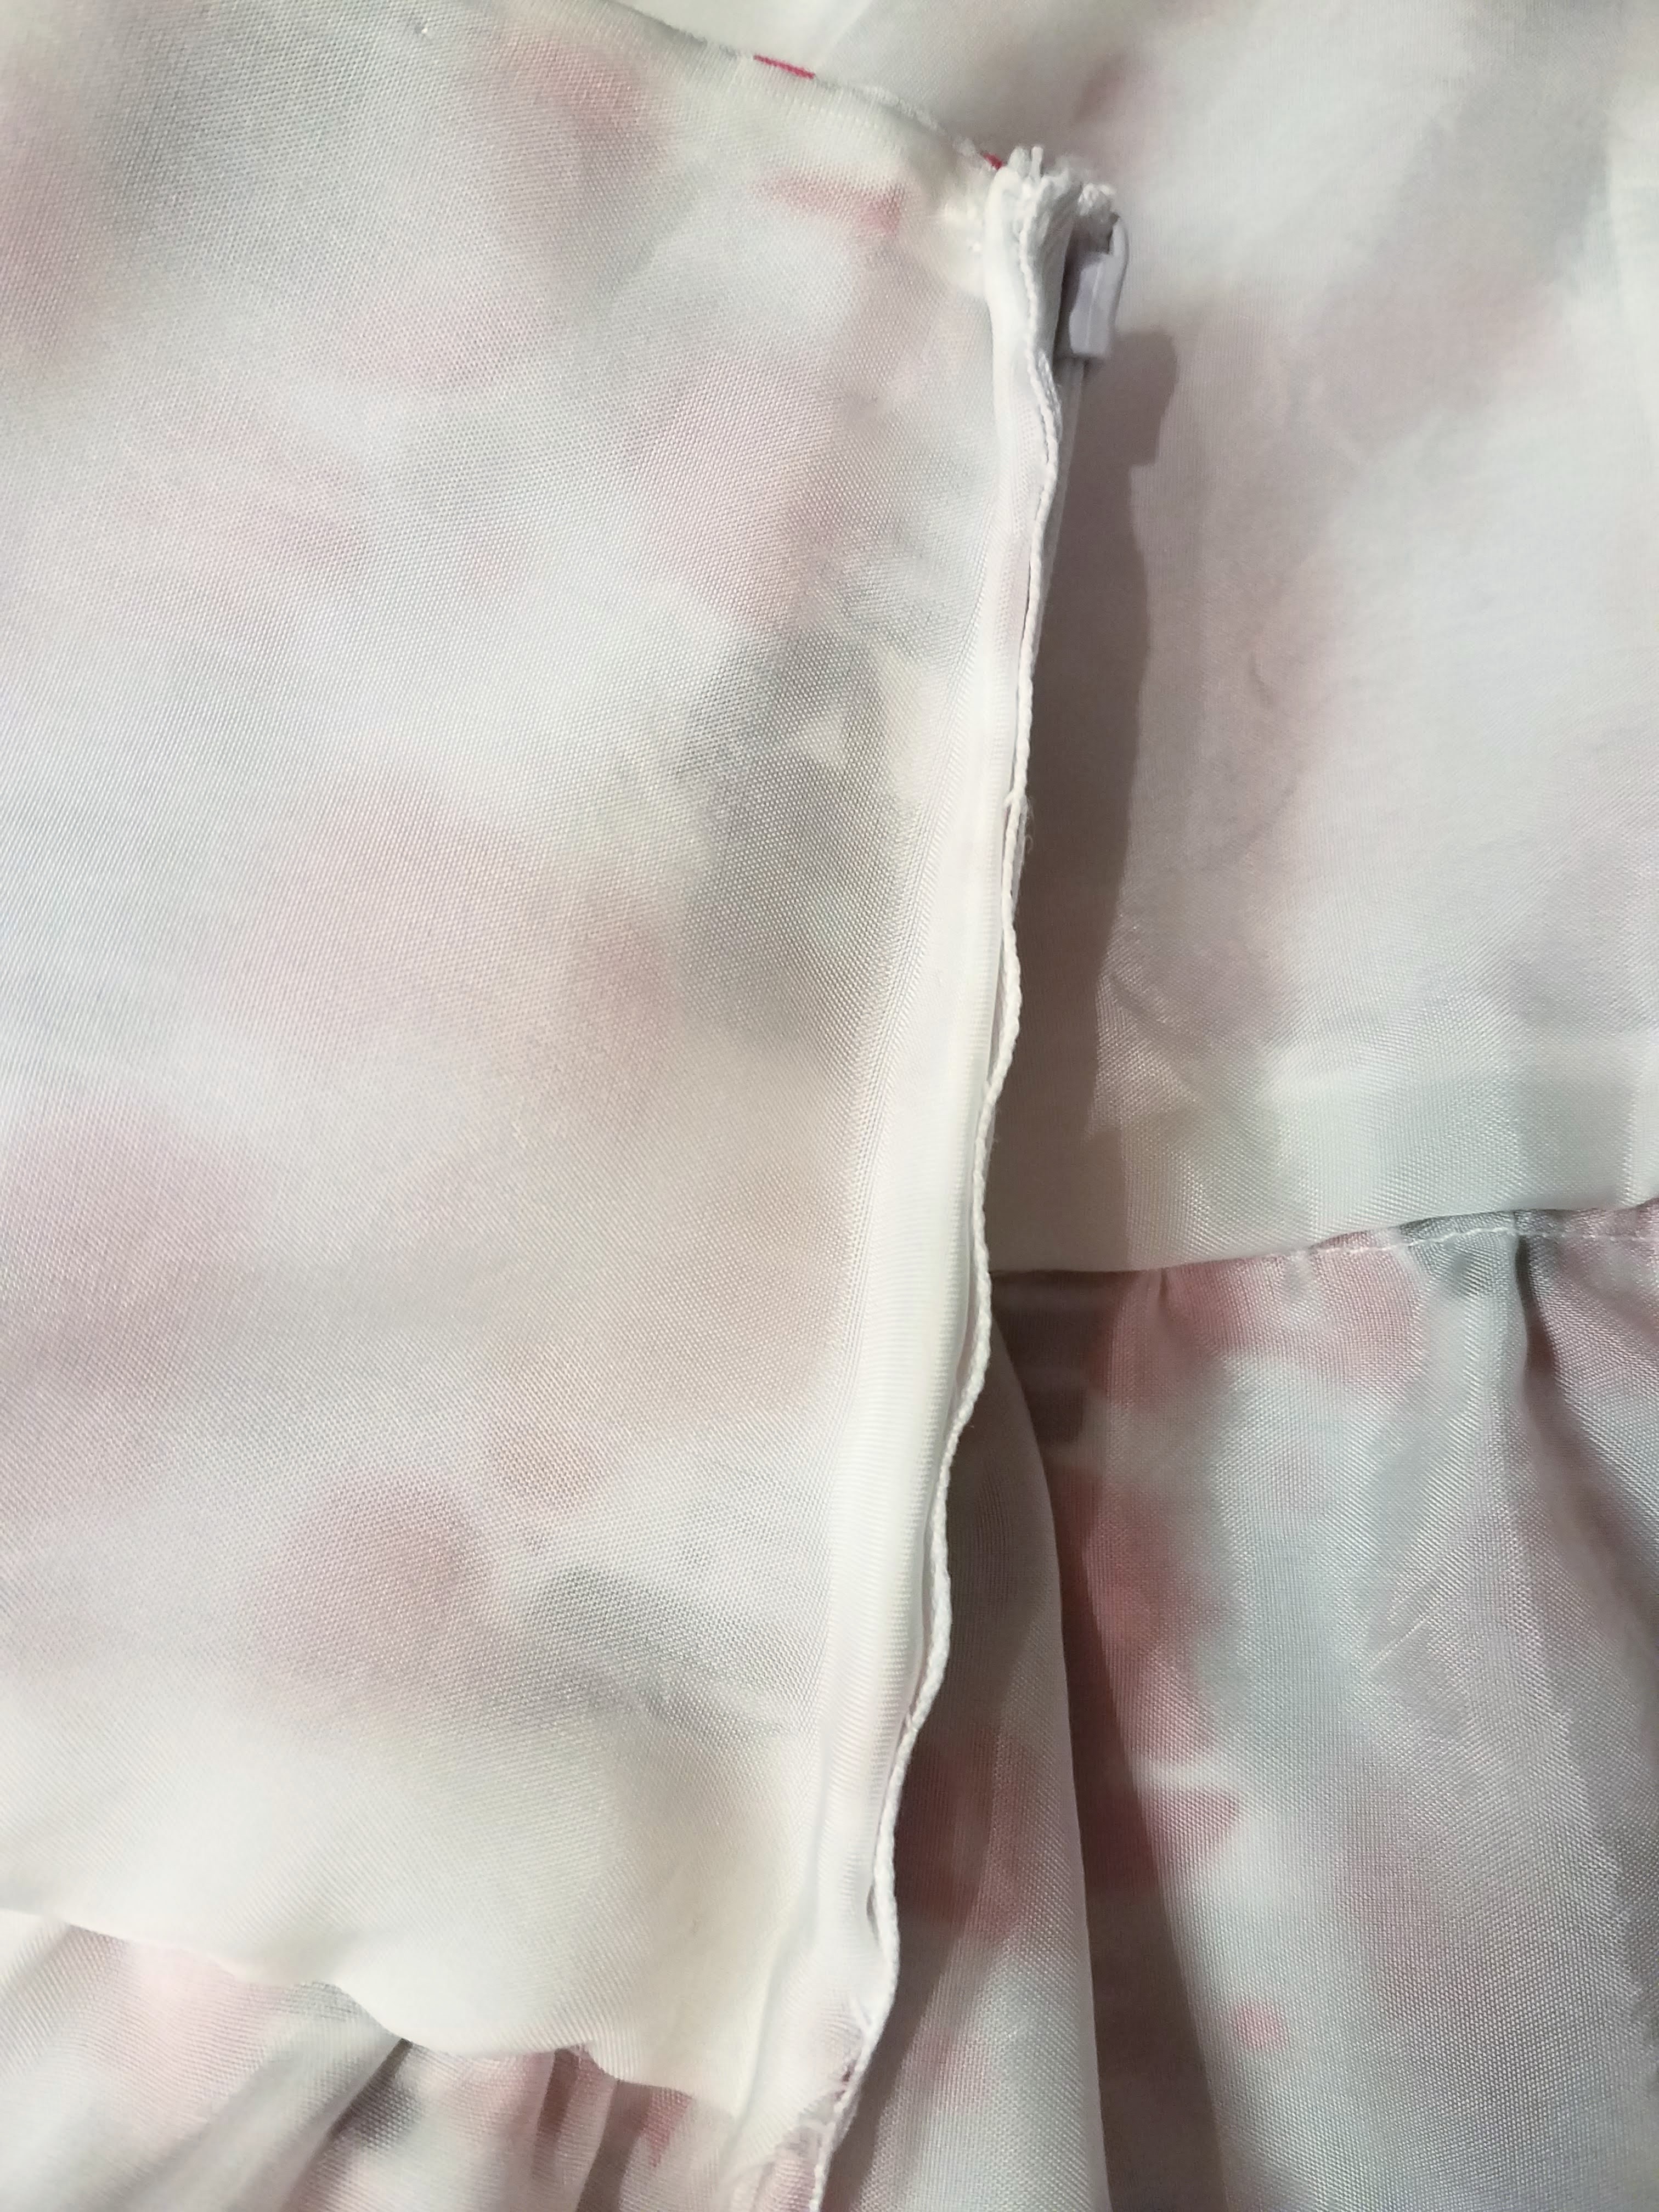
14B At this point I was left with half of an open back seam with 2 separate layers: the main fabric and the lining. Sure, you could stitch one seam to close both layers together, but I didn’t want that. I felt it would make the movement of the dress more awkward. So I approached each layer separately.
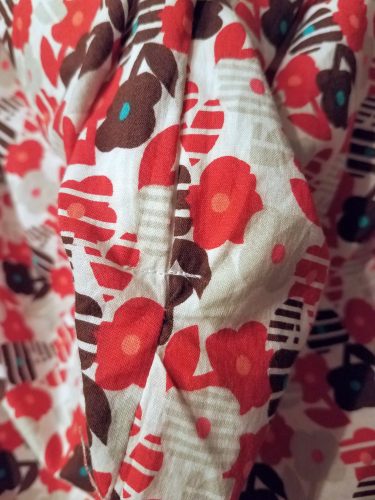
Since the dress is still inside out at this point, I did the main fabric first. I secured the lining out of the way. I pinned the raw edges of the main fabric together. Beginning where the zipper seam left off, I stitched a 5/8″ seam through the main fabric only – NOT the zipper tape. If you catch the zipper in this seam, it will not lay flat on your body.
I did the same thing with the lining, making sure to stitch through the lining only.
Then I overedge stitched the raw edges on both. Rather then stitching them together, I stitched each layer separately so the seams would continue to lay open like they do around the zipper.
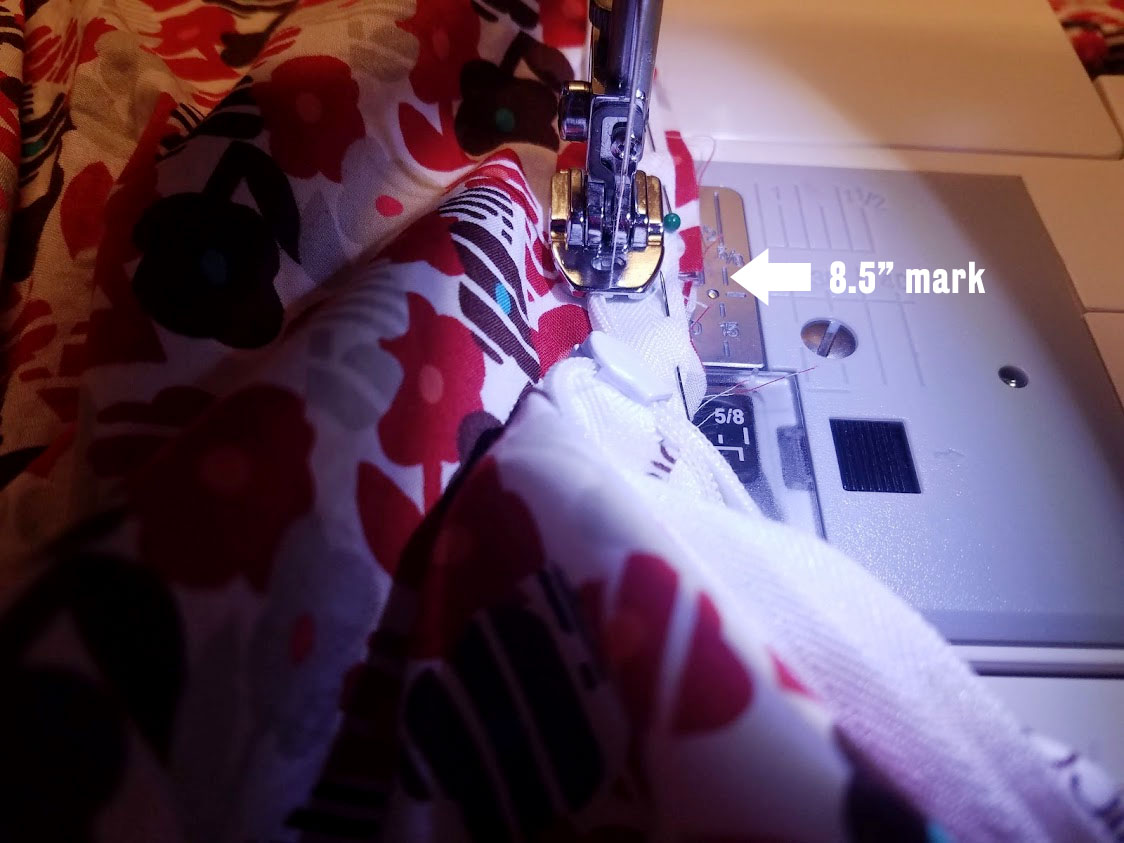
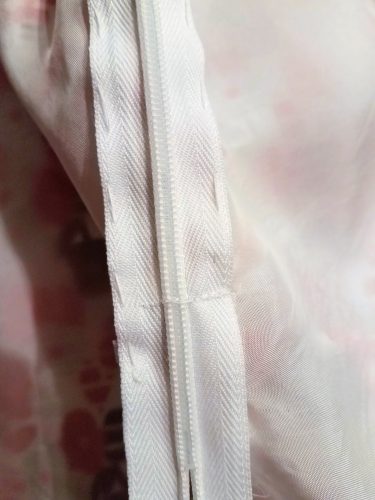
Once all those seams were taken care of, I sewed a final seam across the zipper near the bottom around the 8.5″ mark.
15 I’m switching the order of 15 & 16. It made more sense to me to do step 16 in the instructions first. So it will be step 15 here. Fold the waist lining bottom raw edge under by 1.5cm, and slip-stitch the waist lining to the waist seam allowance.
I didn’t really measure this. I just folded it under however it fit best.
The waist lining after slip-stitching to the waist seam.
16 Fold the centre back waist lining edges under by 1.5cm, and slip-stitch the centre back waist lining folded edges to the zipper tape on each side. Trim the excess zipper tape along the top edge of the waist.
Again, I didn’t measure this. I just folded the lining under as it fit best.
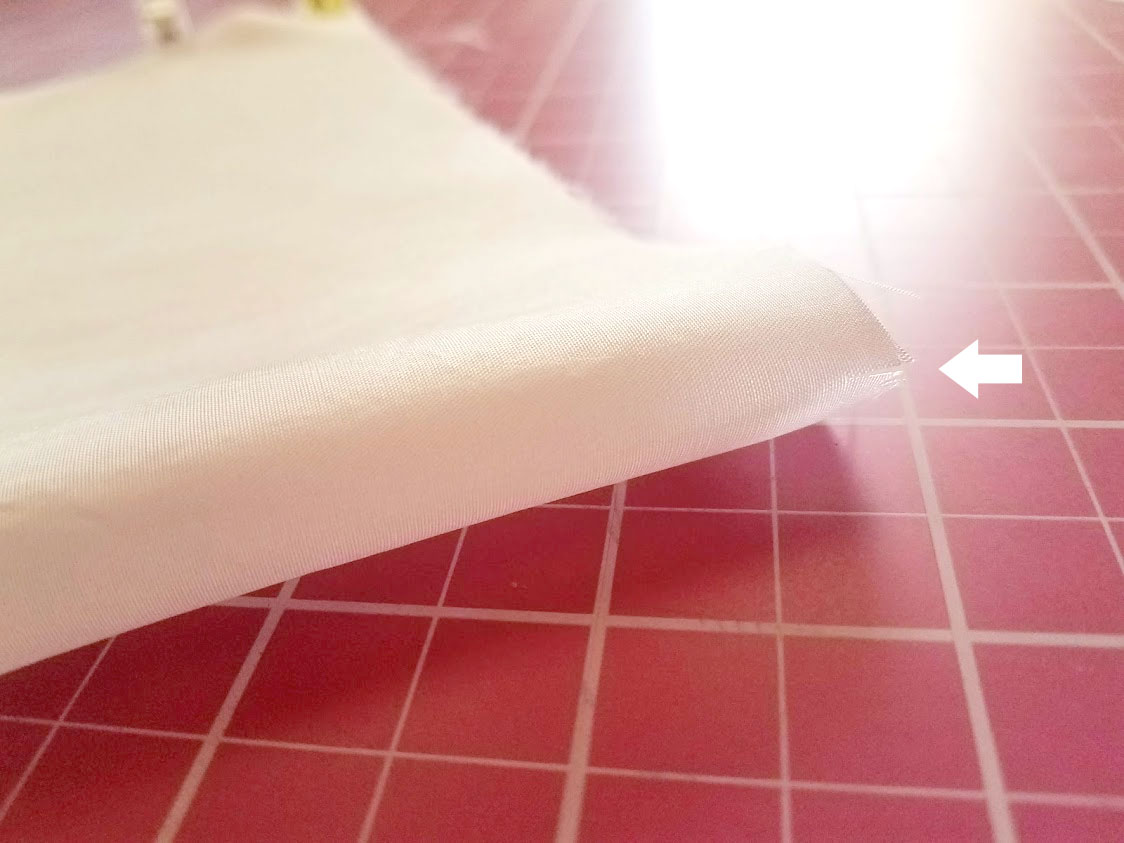
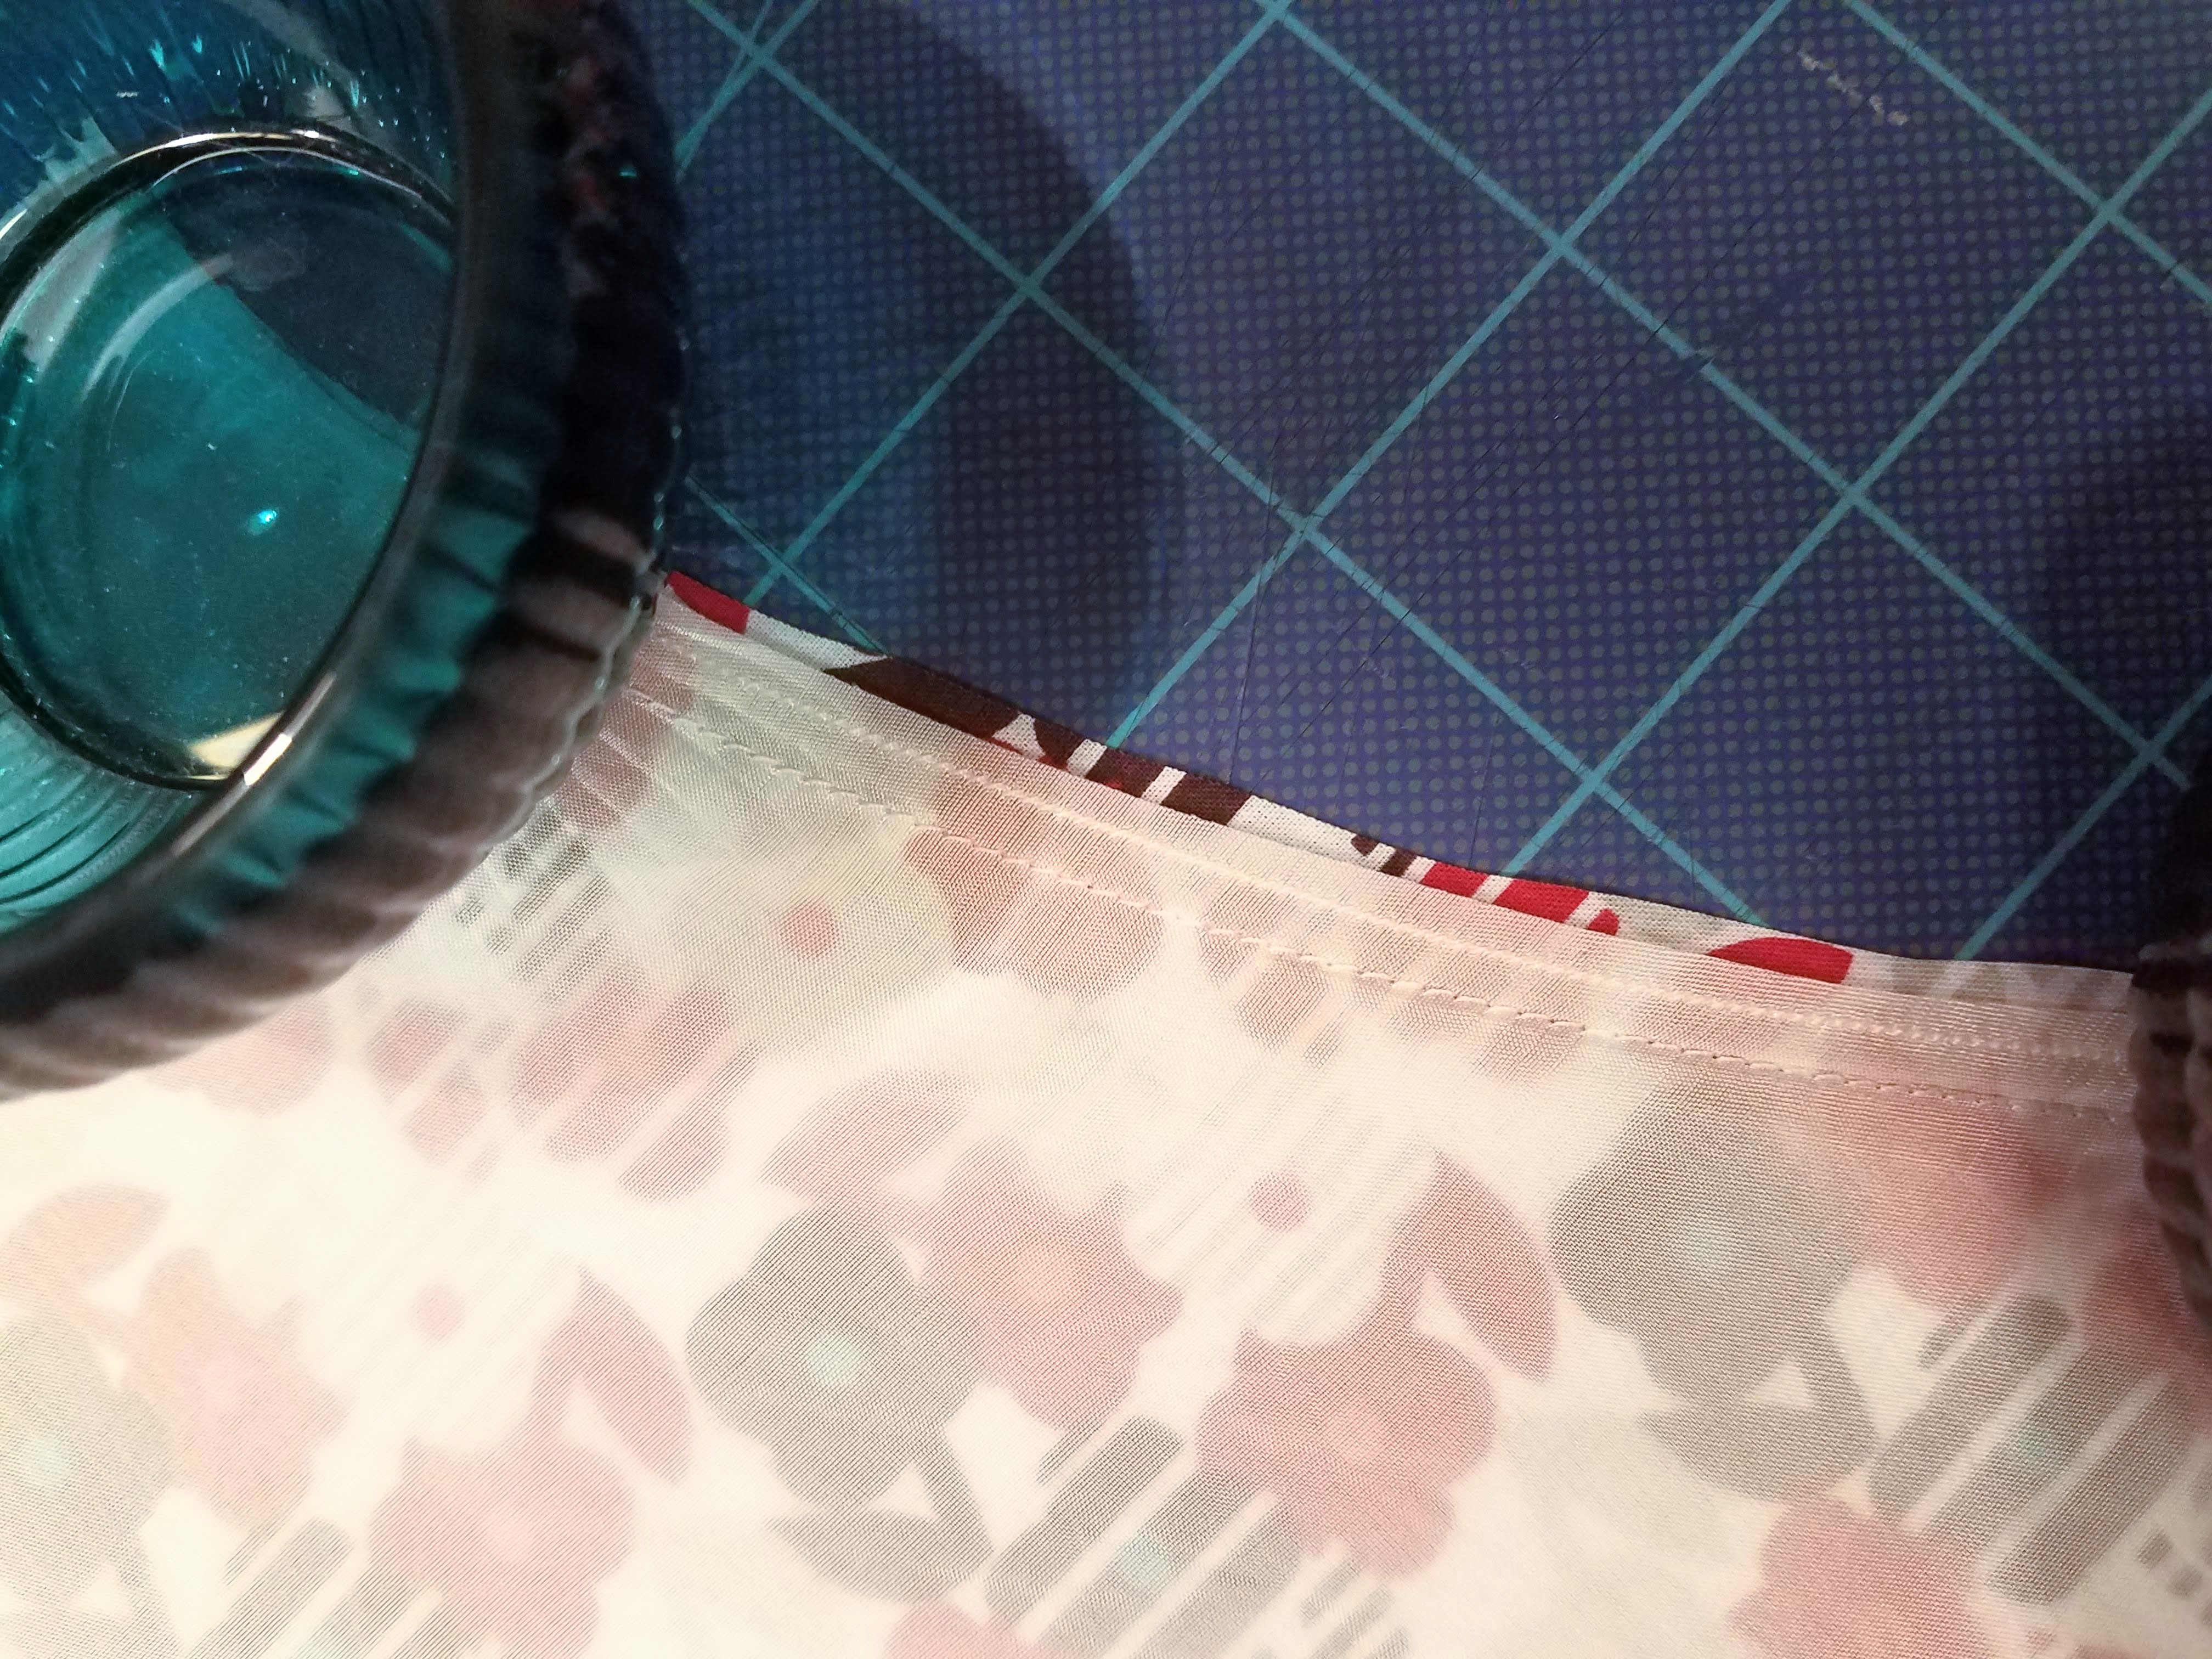
17 Hem. The instructions say to use a narrow 1cm hem, but I made mine a bit wider. This is personal preference. However, I kept the hem on the lining narrow, using the same technique I used on my Pink Republic tank (see #7 at this link).
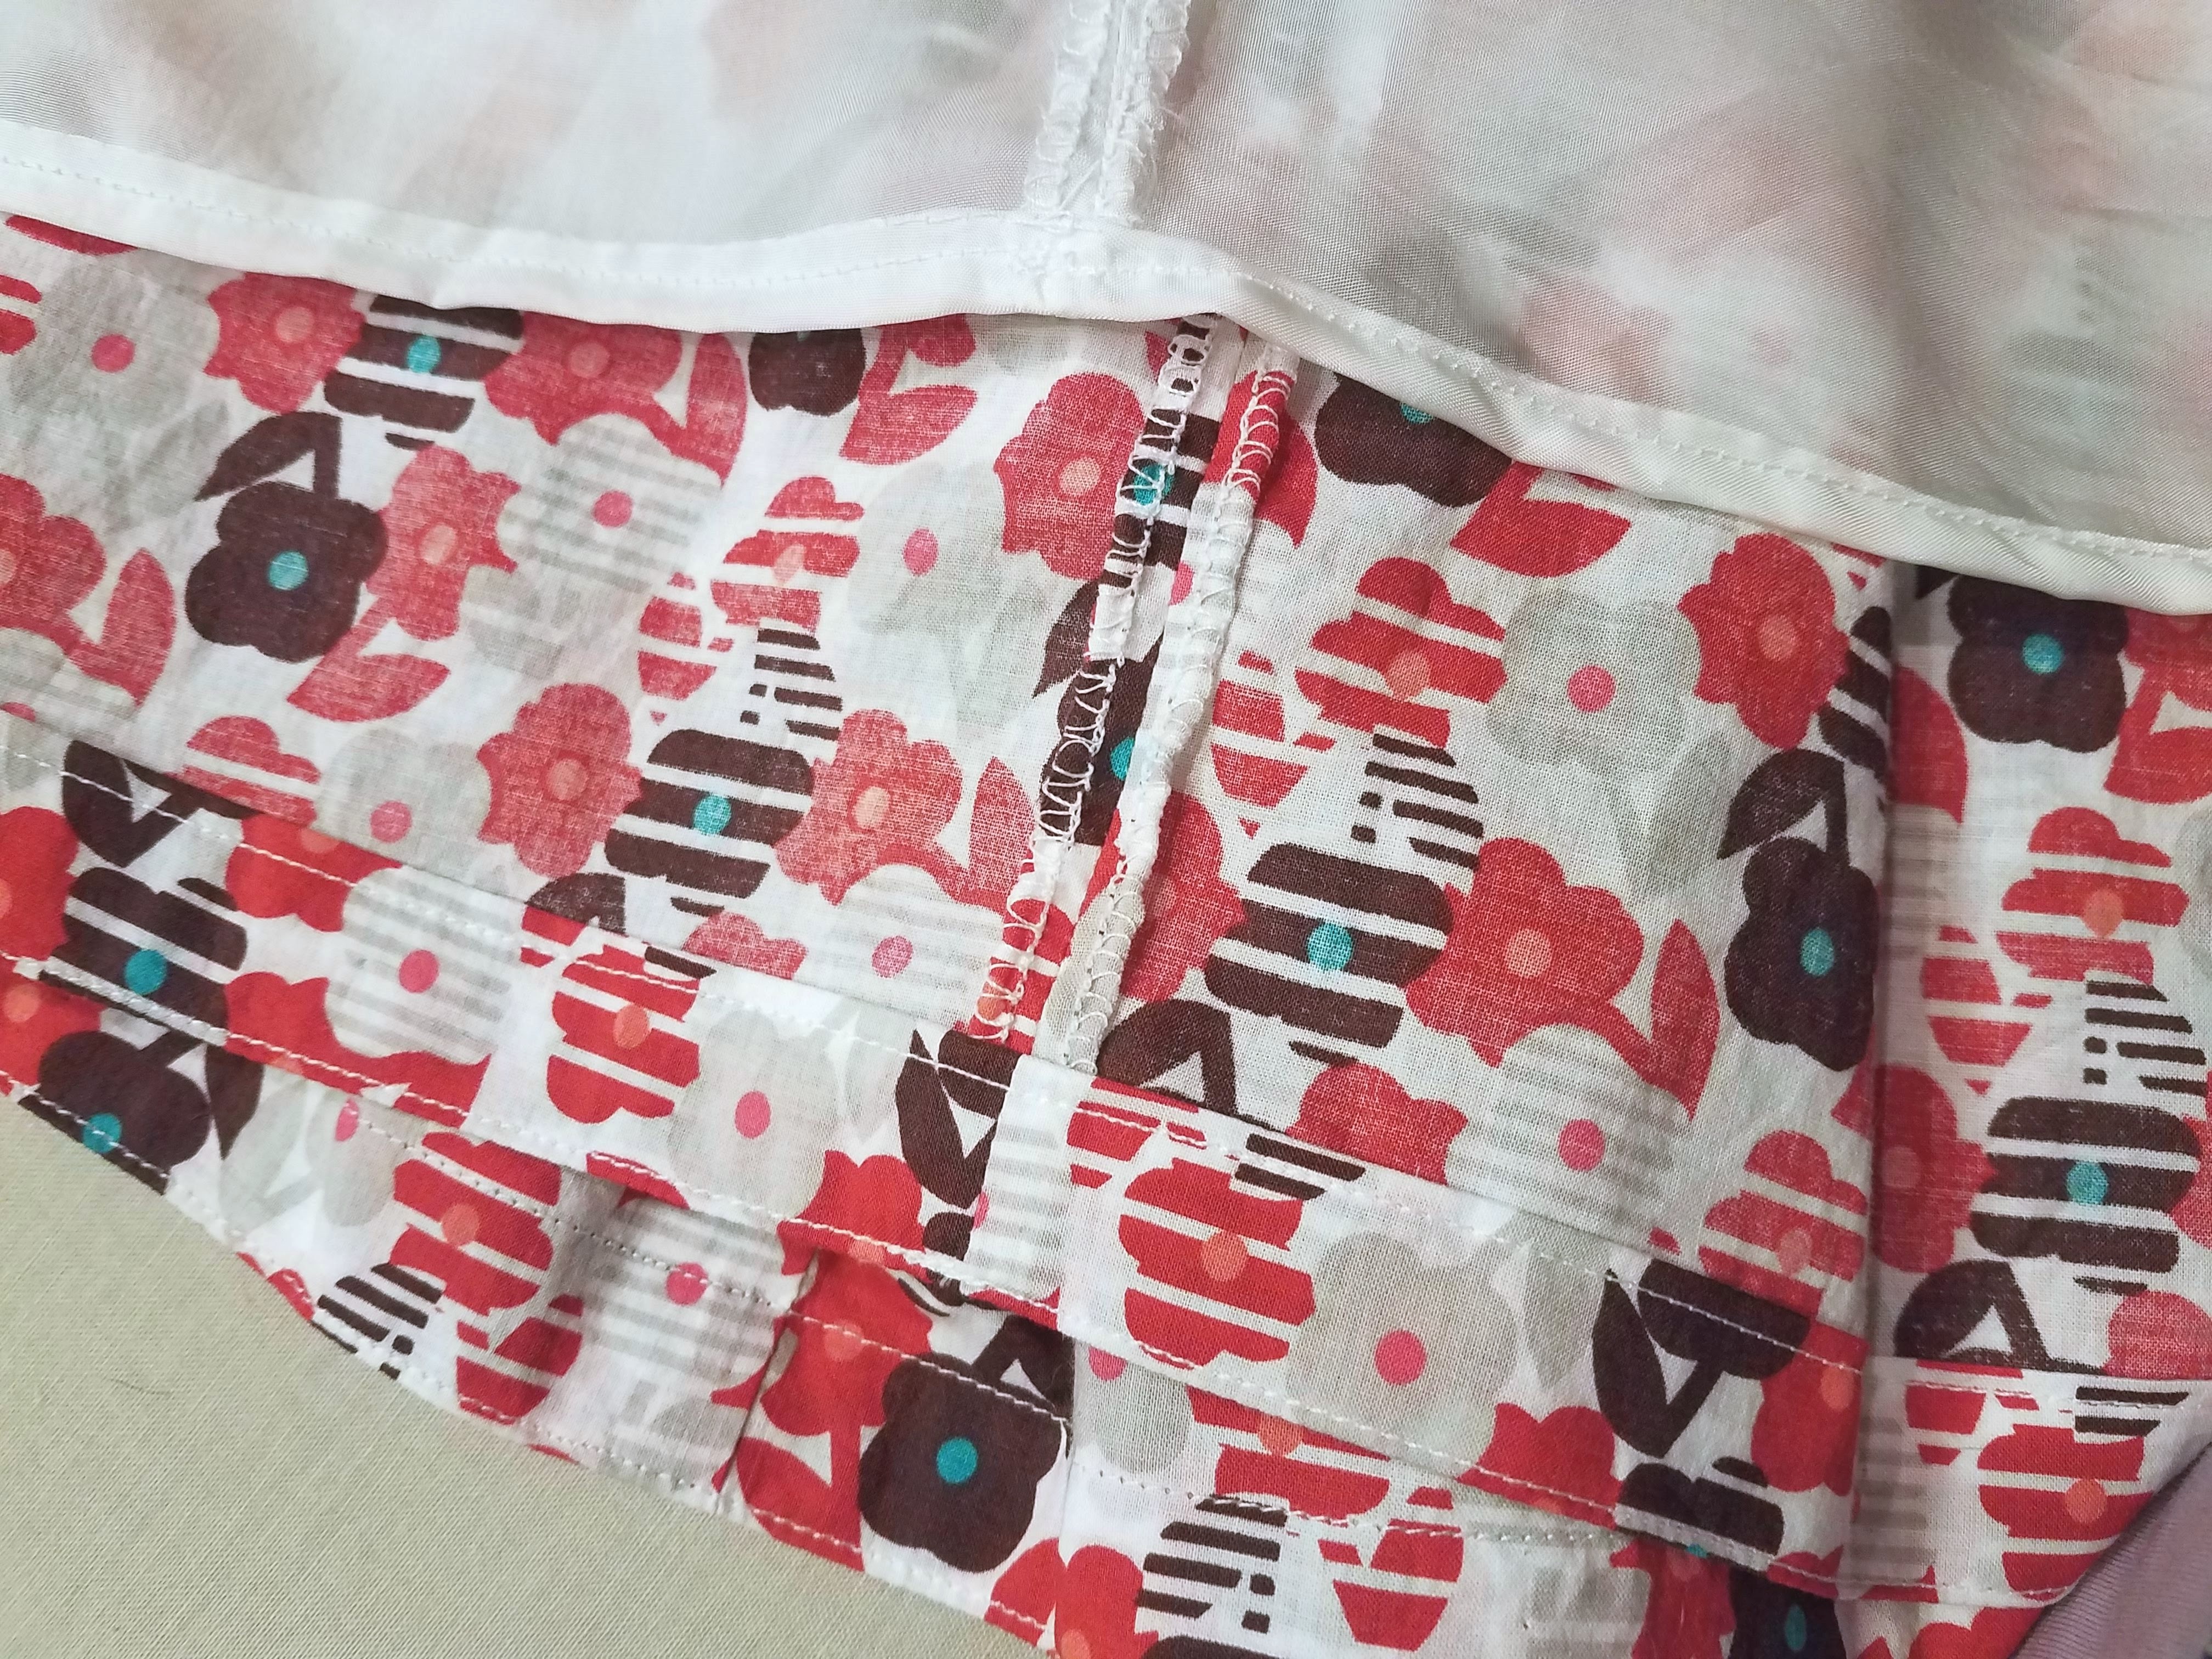
The hems.
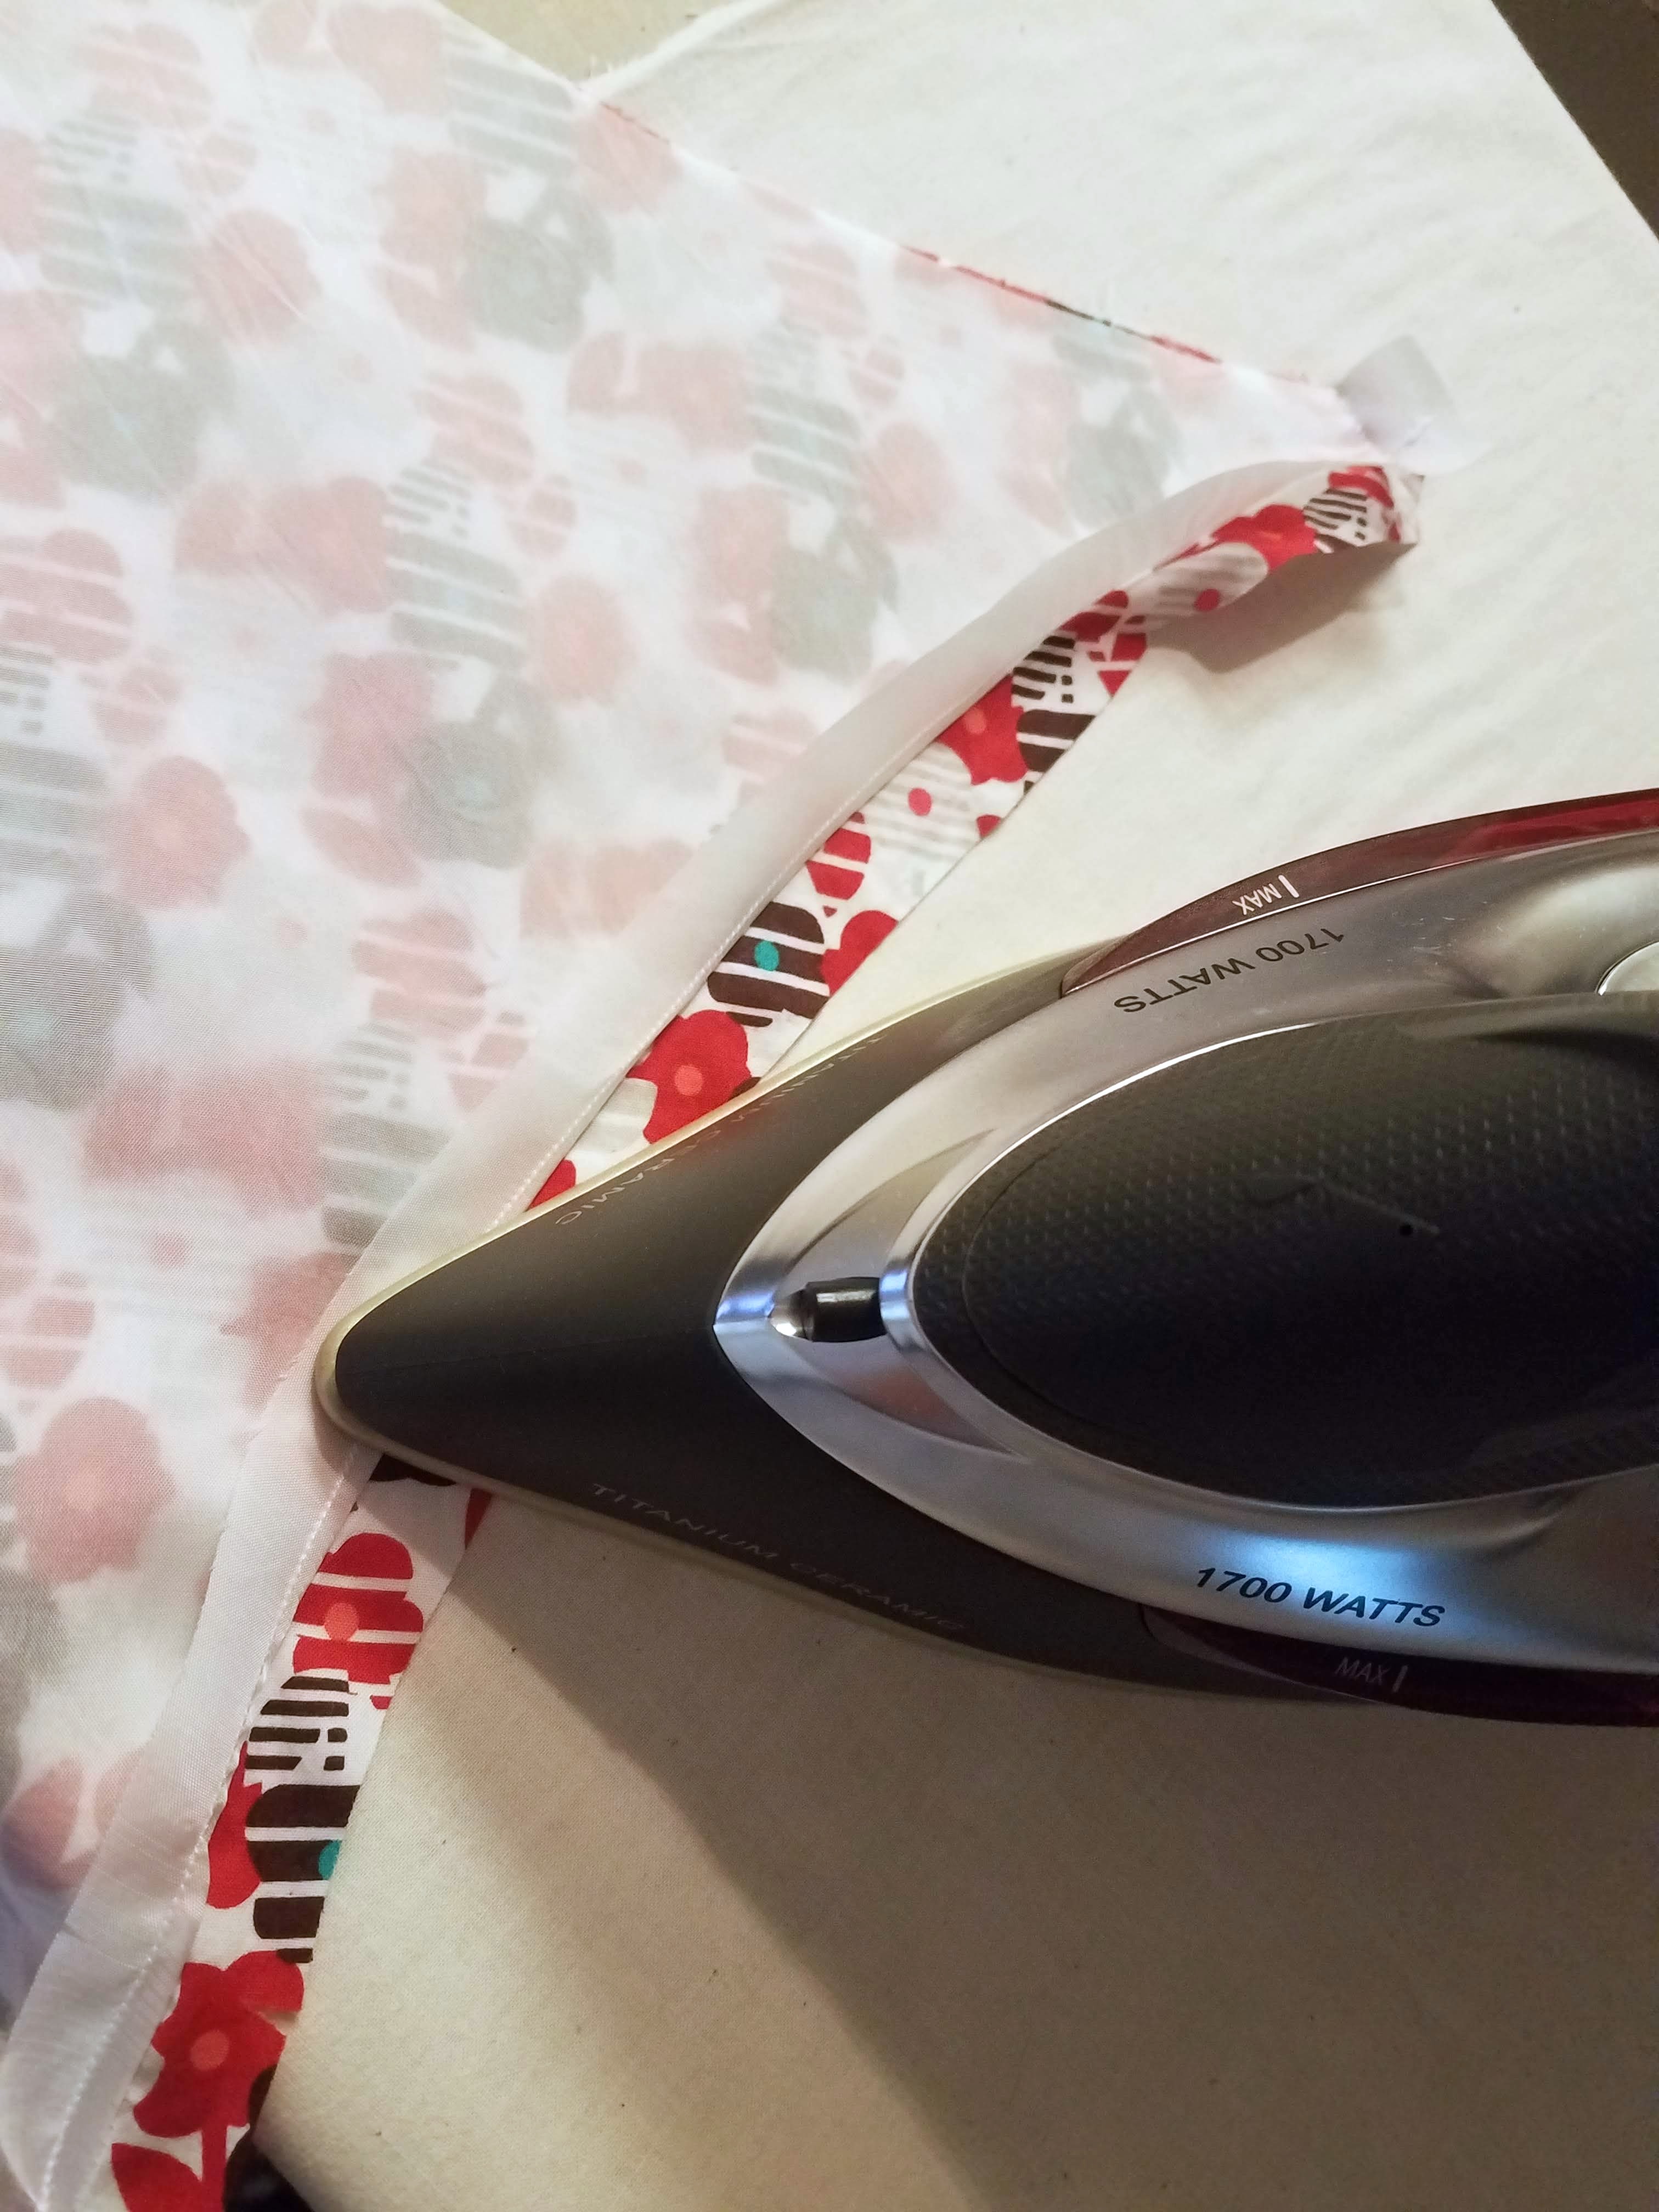
18 Finish the raw edges of the ribbon by pressing the ends over 6mm to the wrong side, then fold and press the ends over again 6mm. Edge-stitch along the inner folded edge of each of the folded ends, to hem the ribbon ends. Attach the safety pin to one end of the ribbon and lace it through the casing. Remove the safety pin. Tie the ends of the ribbon into a knot behind your neck to create a halter.
I did none of that. I took a little flame and ran it over the raw ends of the ribbon for a second or two. No fraying there, and no eyerolly wrestling with tiny stitches on a tiny section of ribbon that the needle plate was sure to eat.
Finito!

Leave a Reply