I had an oversized shirt. Behold:
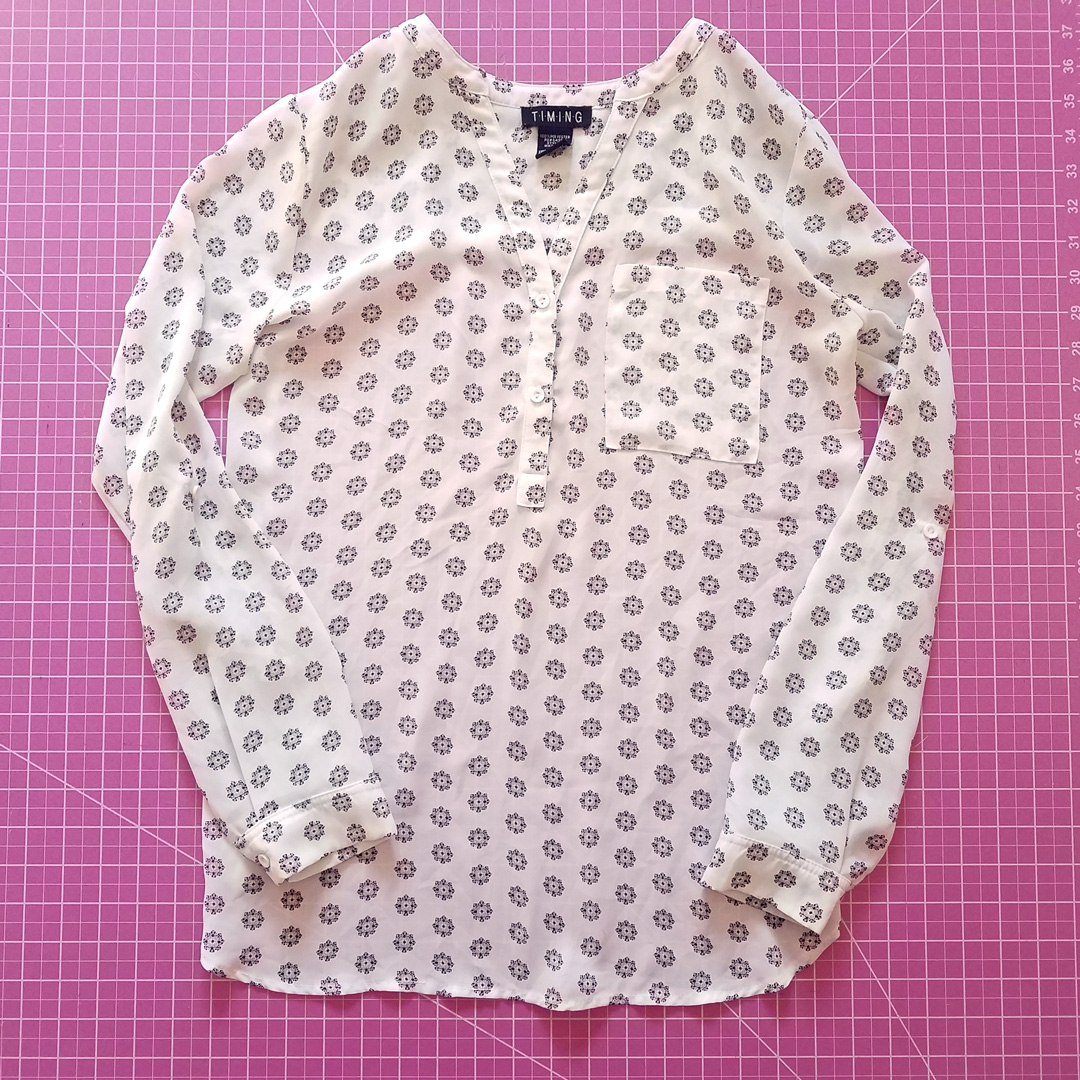
It seemed like a good thing at the time I bought it, but I went from loving it the first time I wore it, to liking it less and less each time I wore it again. I’m still not sure why. Maybe a combination of the silhouette, and the confusing combination of lightweight fabric and long sleeves, …and I think woven long sleeves just bug me.
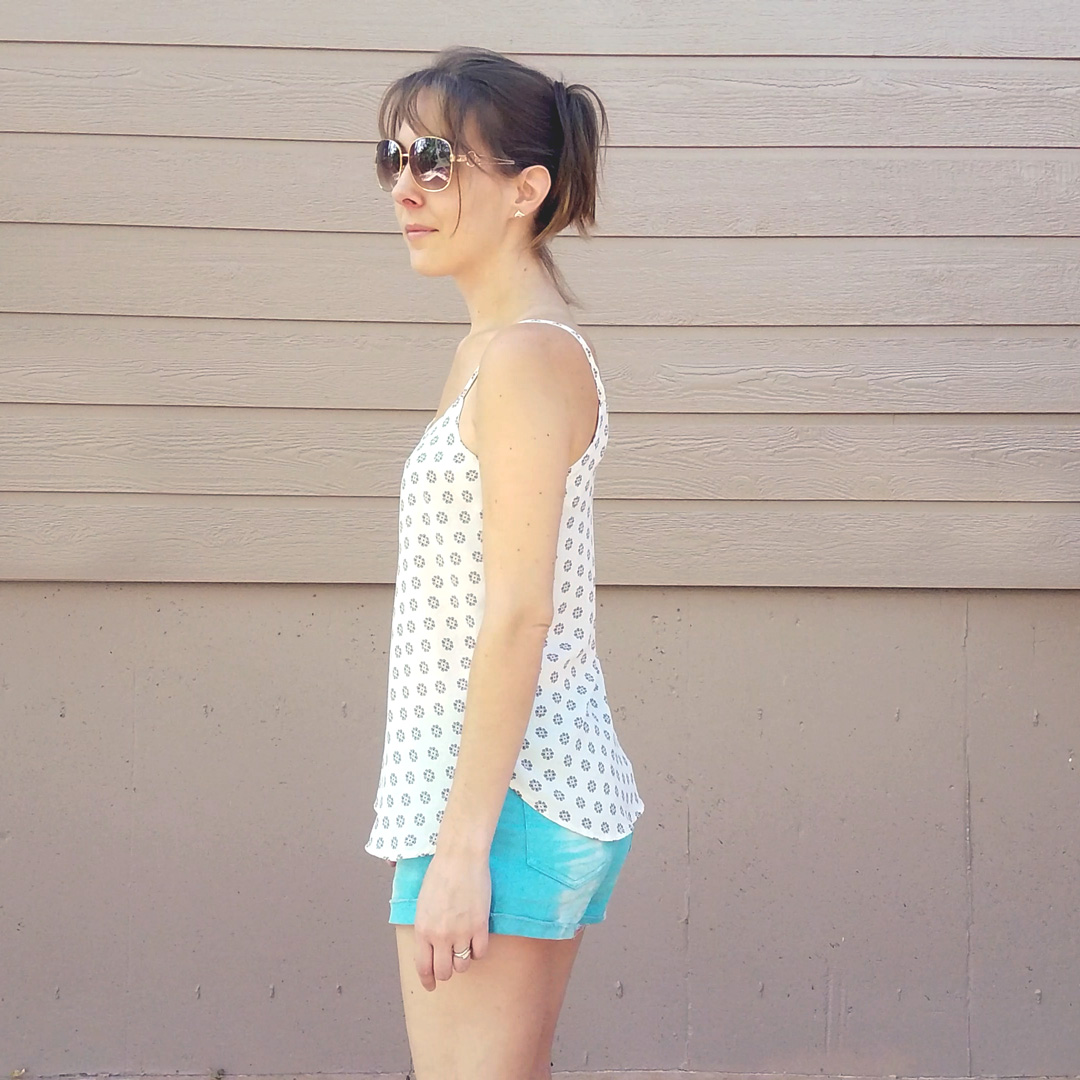
Whatever. I hadn’t worn it in ages, found it in my closet, and I thought…why not upcycle it. Millicent Joy’s Vanilla Cami seemed like the perfect opportunity.
A note about the Vanilla Cami: Millicent Joy Patterns was a small passion project by its designer who has decided to close up shop to focus more on her family. I’m not sure how much longer this link will work, but this is where it can be–or used to be–found. It’s unfortunately no longer for sale.
About the Fabric
I don’t know what the fabric is. A semi-sheer woven fabric. That’s all I got.
About the Pattern
The Vanilla Cami was an incomplete pattern test, but for being incomplete, I’m pretty impressed with it. With a few different options, including button-up, scooped neck, and straight back, you can get adventurous and mix and match them for a customized cami. For me, I just went with the basic cami.
It’s a simple sew and fairly quick. The facing will add a bit of time, but that’s nothing compared to a pattern that involves binding.
What I Did Differently
This being an upcycle project, I had a few things to contend with:
- Limited Fabric That meant deconstructing the original shirt to a point to maximize the fabric. I removed both sleeves and separated the front and back, and removed the yoke from the back. I cut the front piece from the front fabric, the back piece from the back fabric, and the facings from the sleeve. One of the facings I had to cut mirrored instead of on the fold because I just didn’t have enough to fit it, and then sewed the mirrored pieces together in the center. (I use this trick a lot on pieces that I can’t fit on the fold.)
- Front Buttons I didn’t want to get rid of them, so I just treated them as part of the front piece and cut right over them.
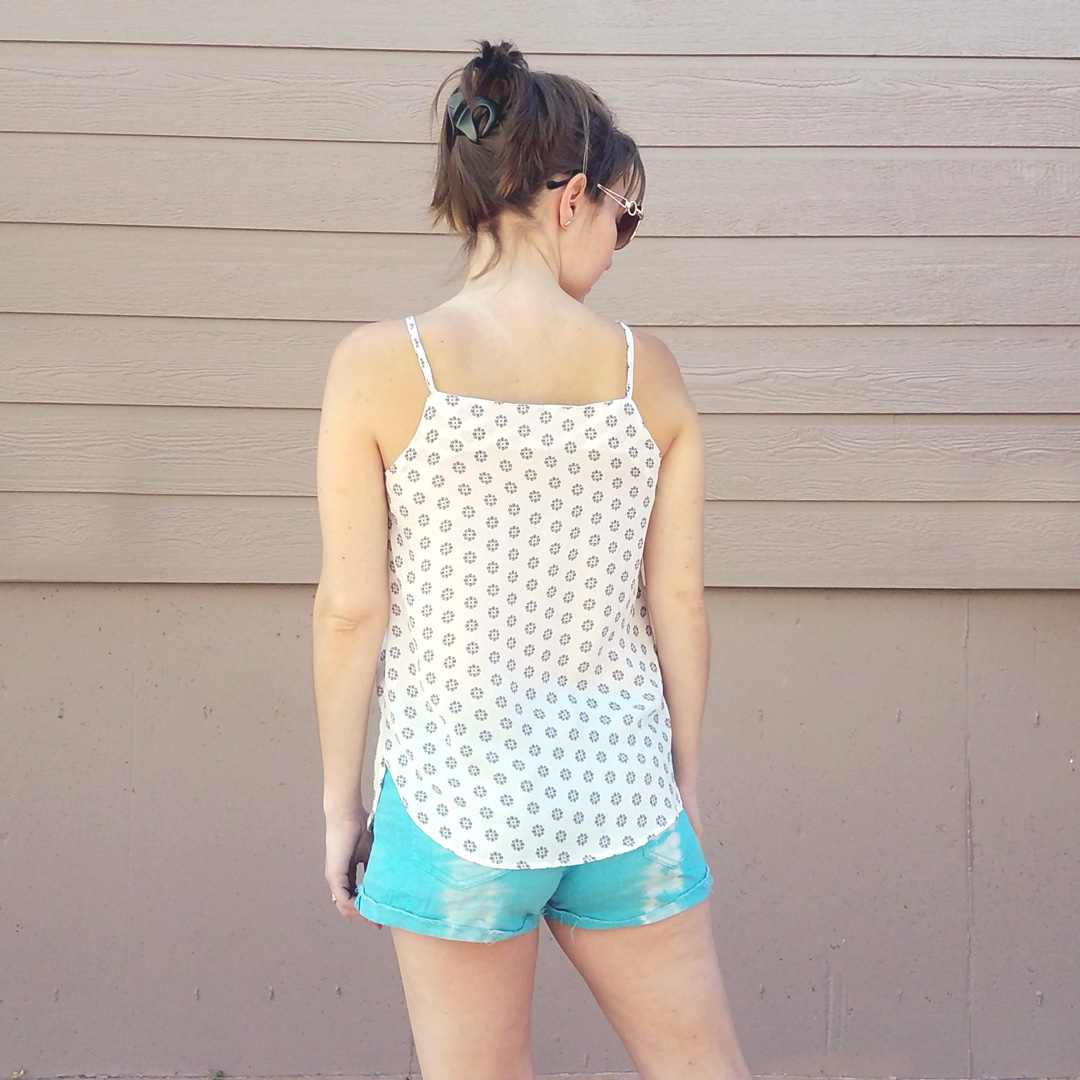
- Hemline of a Different Contour The hemline of the original shirt is quite different than the Vanilla pattern. I lined up the bottom of the pattern piece with the bottom of the shirt hem along the fold. I cut the piece out and when I reached the bottom of the side seam where the original hemline diverted, I just cut along the pattern until I ran out of fabric. I wasn’t sure how this was going to turn out but plowed ahead anyway. It would at least give me the advantage of utilizing the existing hem.
Construction
- Incorporating the Front Buttons As I said, I treated the front buttons as part of the fabric. I didn’t have any desire to make them functional, so I sewed them into the top seam when attaching the facing. It was substantially more bulky, so I had to go slow and pray I wouldn’t rat-nest myself into a thread jam. All went well. Pressing that bulky area and topstitching it were also a tad nerve-wracking, but again, go slow.
- The Bottom Hem The original hemline curves up at the sides. Thankfully, the side points lined up pretty well, so I ended the side seam where the front hem and back hem met. I thought the right and left sides of the shirt might not be even because I wasn’t overly precise while cutting, but luck was on my side.
- No Grading I usually grade between sizes for a custom fit, but it wouldn’t have worked well with the bottom of the fabric differing so much from the bottom of the pattern, so I cut a straight size 4 with no grading.
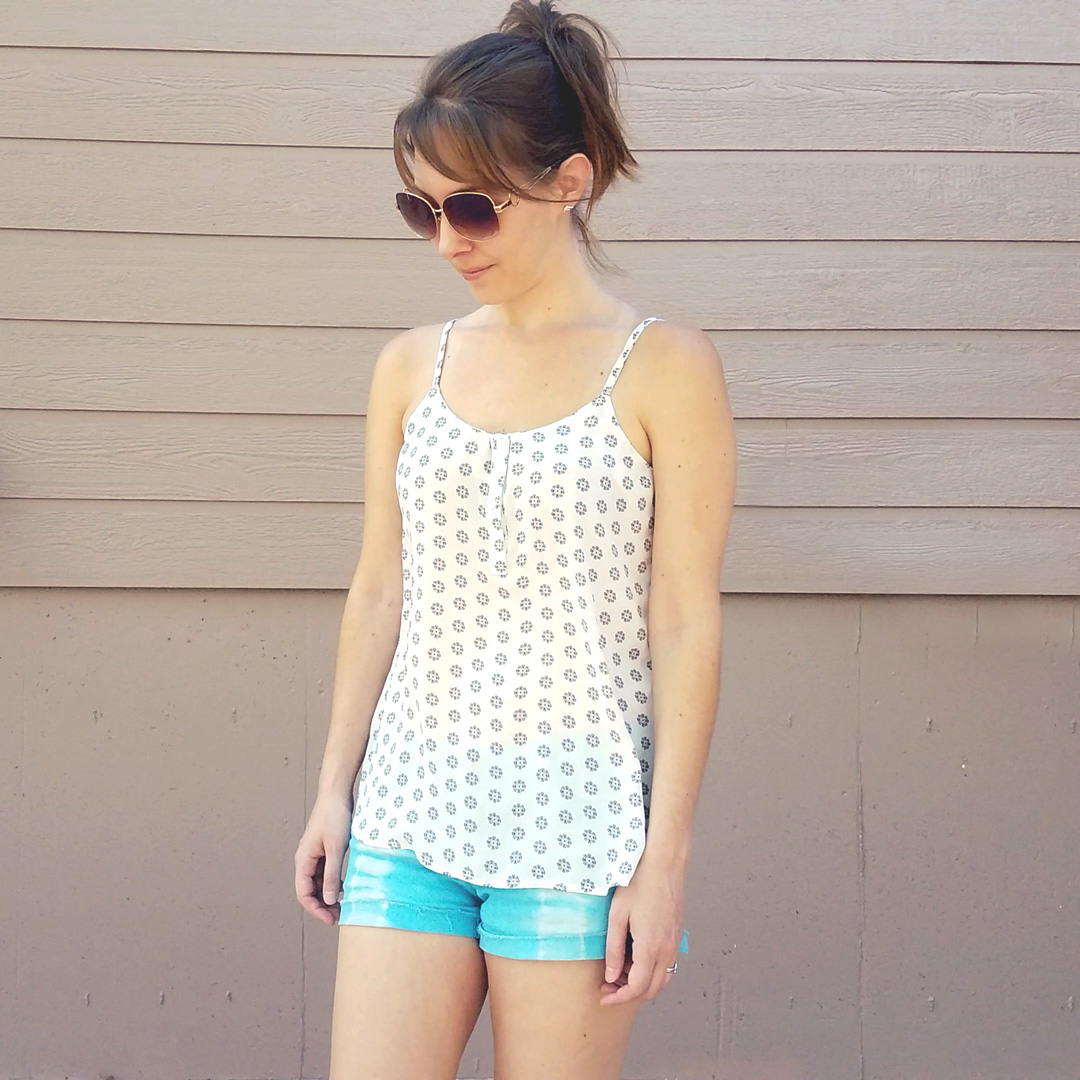
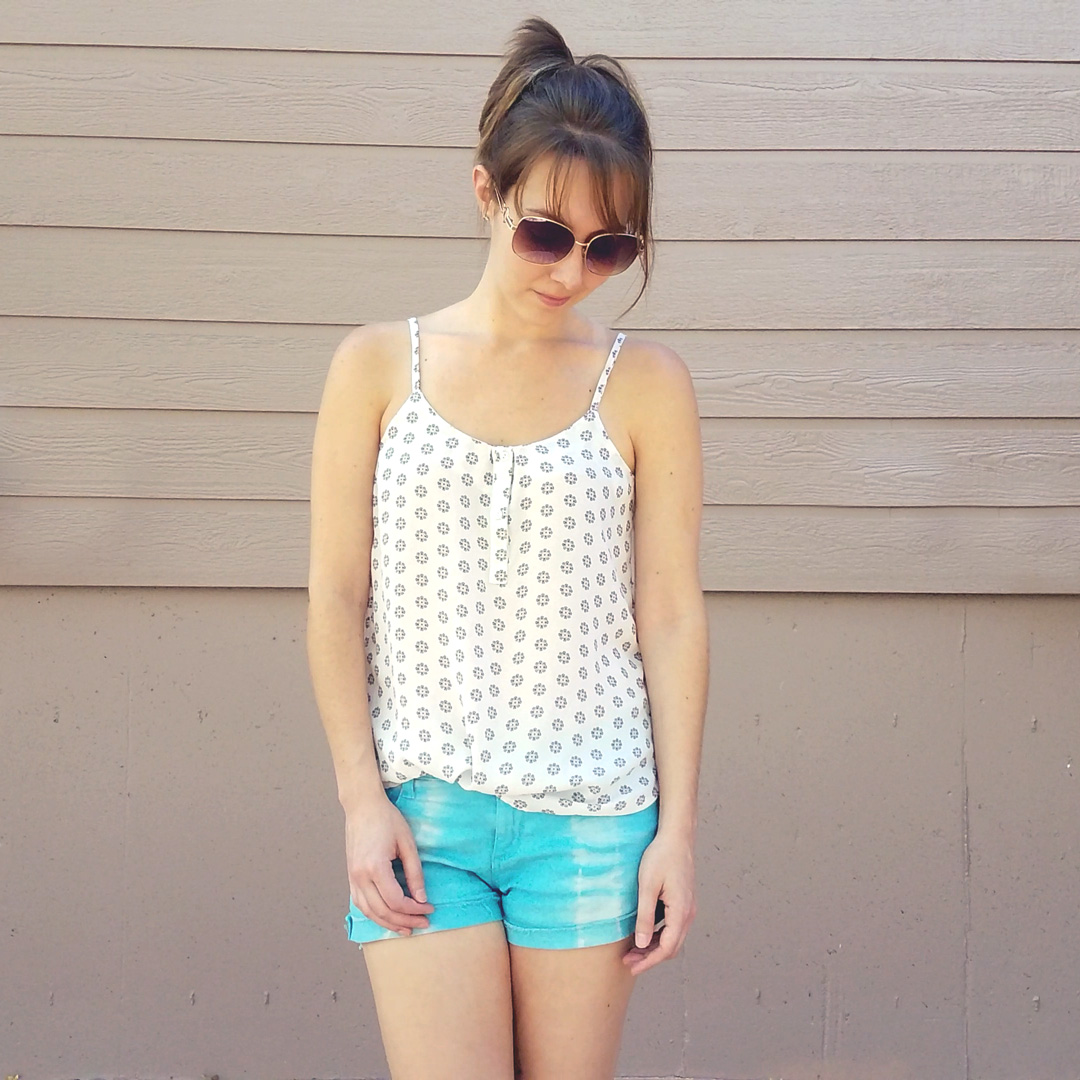
Verdict: I love this shirt now. Light and airy and summery with a silhouette I can embrace.
Notes for Next Time
- The Facing The bottom of the facing is curved to follow the contour of the neckline. I’m wondering if next time I extend the facing and just make it straight, like it is on the Daisy Tank.
- Neckline I’ll have to try that dramatic scoop neckline at some point. I might go a little risque and do it in the front and pair it with a G+G Little Black Bra.
Project Settings
Presser Foot |
Stitch# |
Width |
Length |
Needle |
Top Thread Tension |
Application |
|---|---|---|---|---|---|---|
standard zig-zag (A) |
1 |
3.5 |
3.5 |
75/11 sharp |
4 |
seams |
overedge (C) |
6 |
5.5 |
3 |
75/11 sharp |
4 |
edge finish |
overedge (C) |
1 |
3.5 |
3.5 |
75/11 sharp |
4 |
strap topstitch |
overedge (C) |
1 |
3 |
3 |
75/11 sharp |
4 |
bodice topstitch |
applique (F) |
1 |
3.5 |
3.5 |
75/11 sharp |
4 |
facing anchor |
Leave a Reply