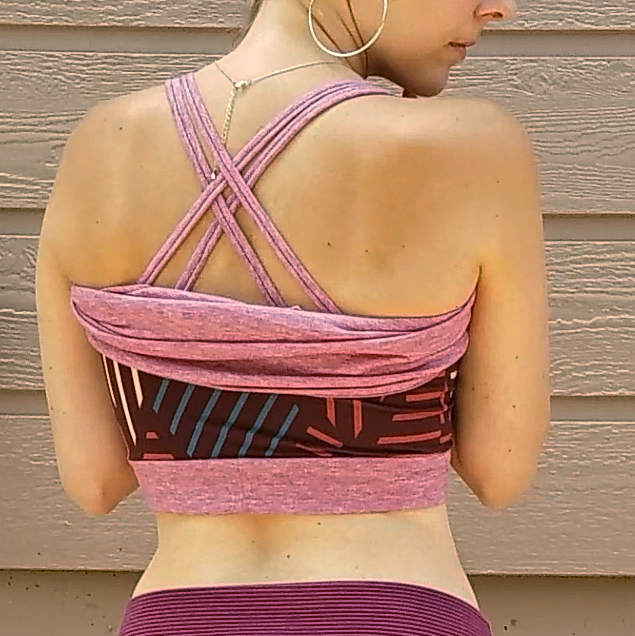
I knew even before starting my first Agility I wanted to skip the elastic band at the bottom of the bra. I knew it as soon as I watched the sew-along video and saw how it looked (at least to me): unrefined, wrinkled, an abrupt end to all the flattering lines… I might even go so far to say it looked sloppy to me. It gave a home-made finish rather than a professional finish.
Anyone who has read any of my posts so far knows that I am not a fan of elastic to begin with, especially around the waist and hips. Yes, elastic has a function and serves a purpose, but I find it unbearably uncomfortable, and I think it’s a straight up lazy way to bring in the fabric around a waistline. I immediately rejected every dress or top I’ve ever found in a store that used that technique–and I’ve found it a lot.
So I ditched the elastic and fashioned a fabric band instead.
Enter the Fabric Band
Ideally, a fabric band should be made of a fabric with ample stretch and snappy recovery.
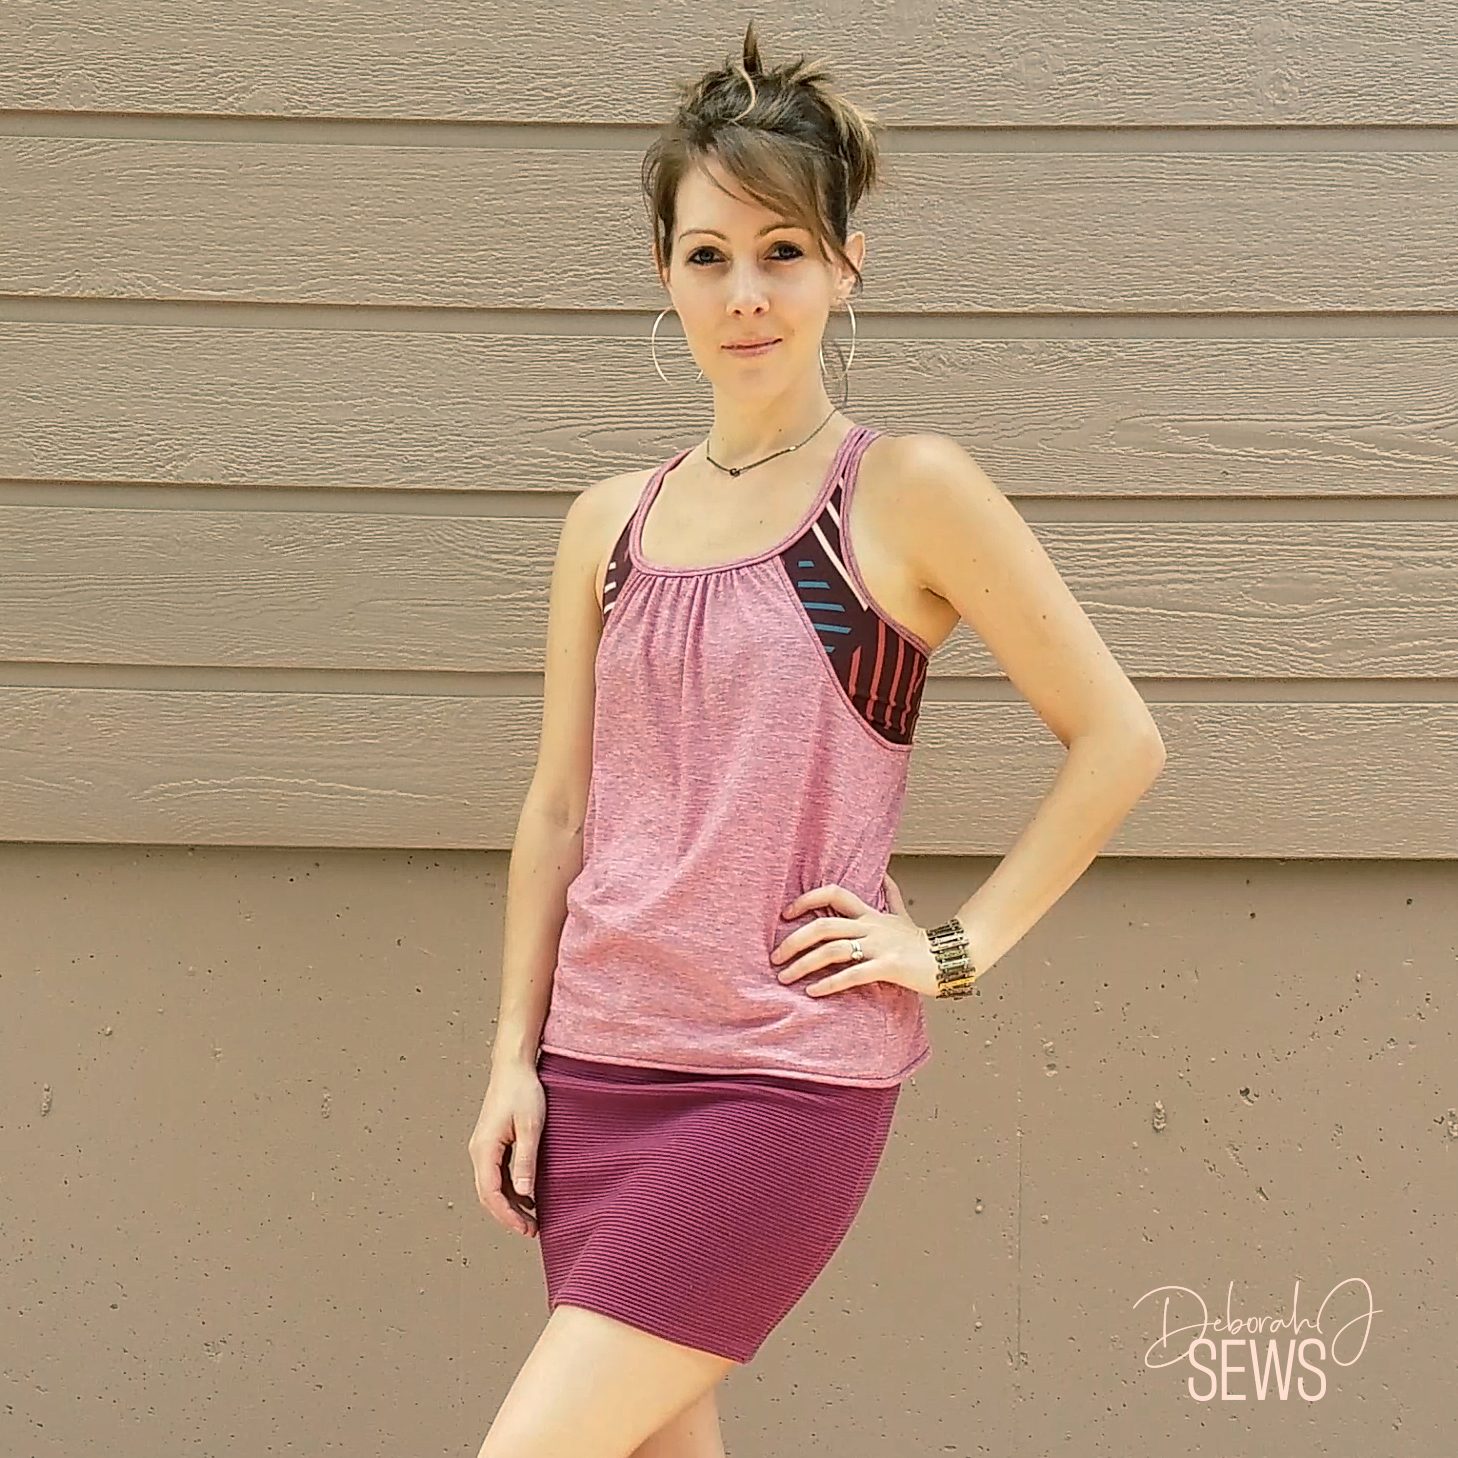
Both of my Agilitys are a mix of swim (athletic nylon spandex) and jersey from Boho Fabrics. The overlay and straps on both are jersey. The bra is swim. On my first Agility, I also used the swim for the fabric band. On this version, I decided to try the jersey and it was adequate enough to work on my body. Also…color blocking.
How did I measure ye olde band?
Pretty simple.
- Measure the circumference of the bottom of the unfinished bra. You can either do this when you reach this point while sewing, or measure the pattern piece before you start sewing. When I measured, I got 28″.
- Find out what 80-85% of that measurement is. If you want a more snug band, you can do 80%, but 85% is a safer place to start. For example 85% of 28″ is 23.8″. I rounded up to 24″.
- Add in your seam allowance. (0.25″ on each of the band adds a total of 0.5″ seam allowance.)
- So the total length to cut for my band was 24.5″.
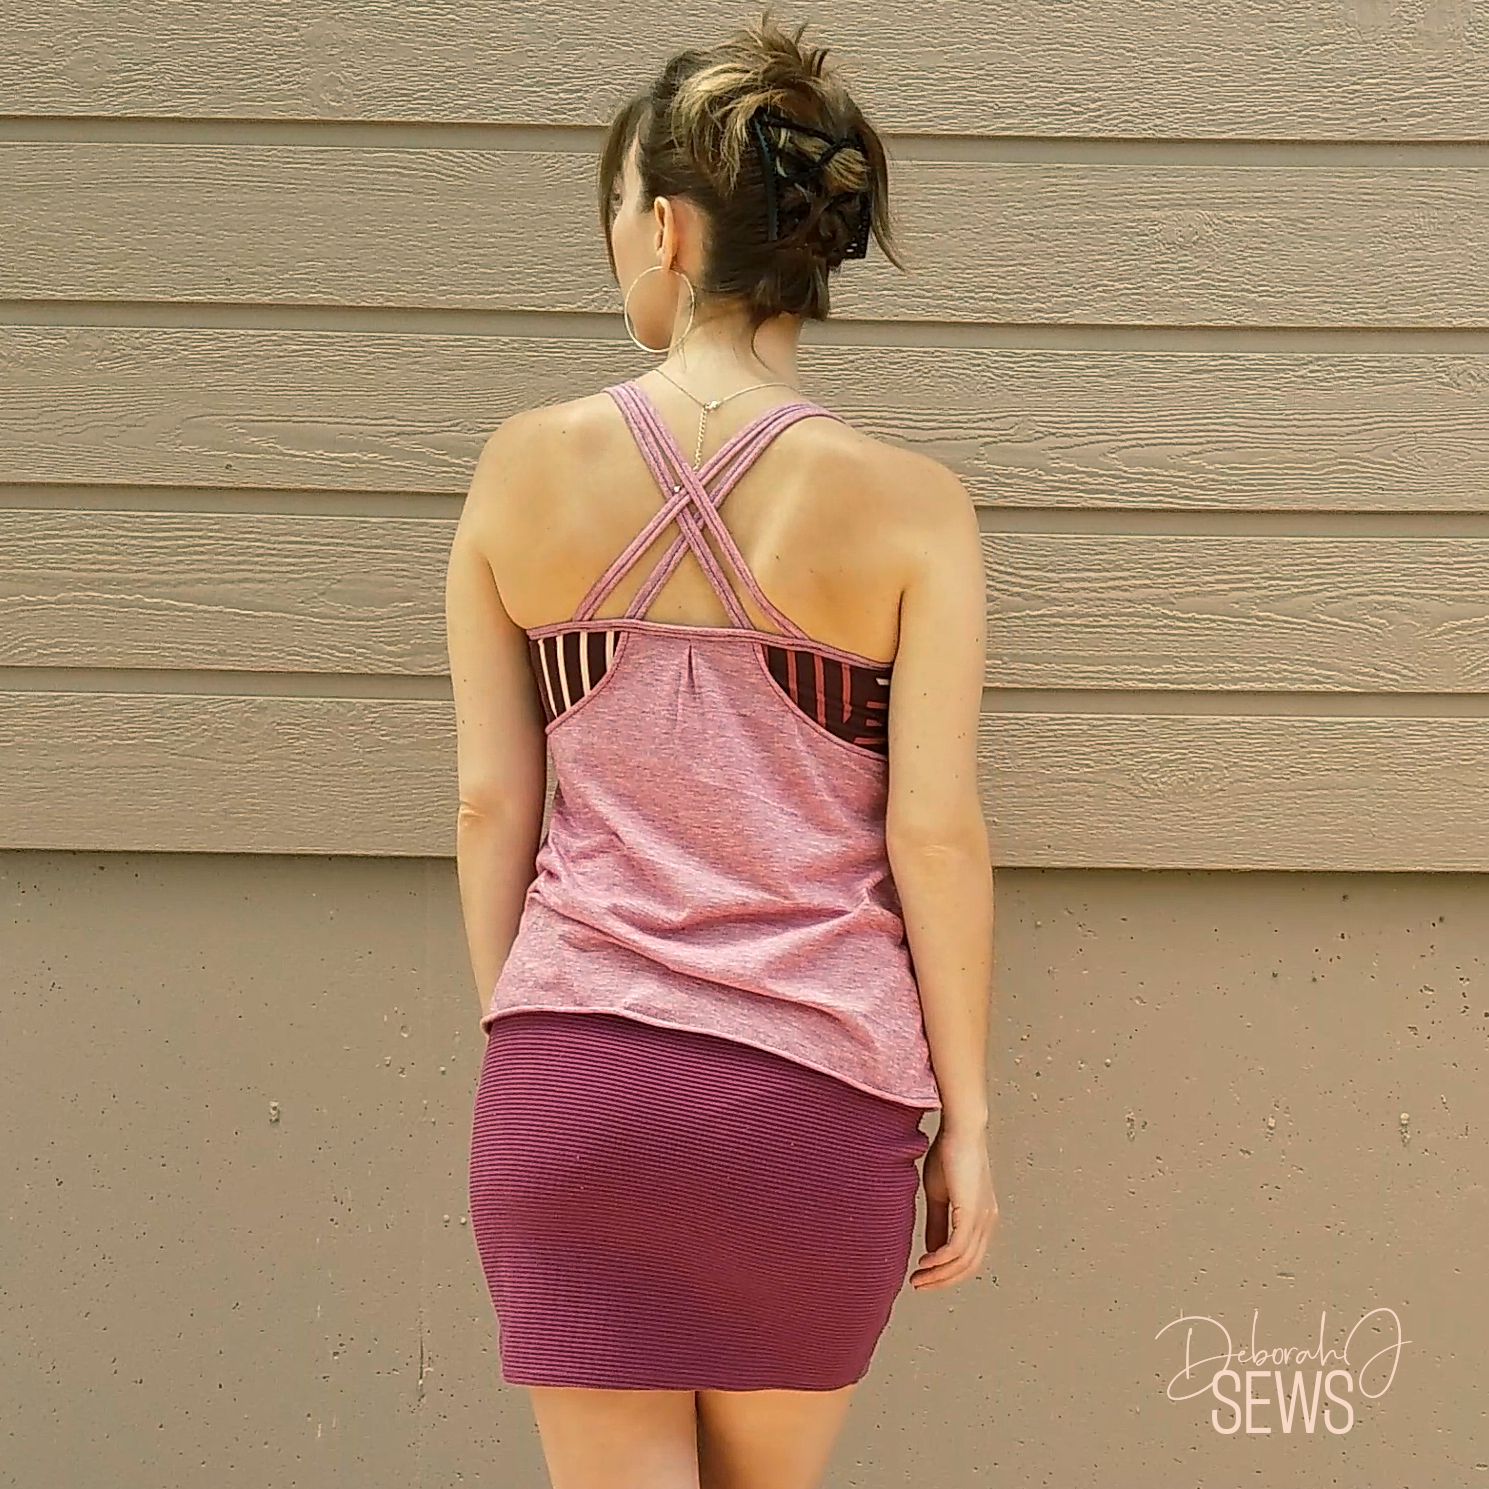
- Decide how wide you want the band to be. My first version was 1″ wide. (Note: My 2nd version (pictured above) was 2″ wide.) The band folds over itself once, so you need to double that width. 1″ x 2 = 2″.
- Add in your seam allowance to the width.
- So the total width to cut for a 1″ band was 2.75″.
- So cutting 24.5″ x 2.75″ will give you a finished band at 24″ x 1″.
Things I Did Differently
- Widened the bra band to 2″ compared to version 1.
- I ran out of my white elastic for the straps, so one strap uses white and one strap uses brown. That slightly affected the color of the jersey binding.
- No mesh/3rd layer in the bra. I can get away with not having that extra support.
- Used the higher armscye for this version. It’s a little more modest and makes this look easier to dress up.
Notes for Next Time
- The binding for the straps doesn’t seem to be wide enough. I also ran into this issue on my first version once you get around the neckline where you’re wrapping 3 layers of fabric + elastic. I think it can be mitigated by 1) adding some width to the binding, or 2) reducing the seam allowance when you first attach the binding and elastic to the bra. That’ll leave more fabric to wrap over and enclose all the raw edges while finishing the binding in the next step.
Project Settings
Presser Foot |
Stitch# |
Width |
Length |
Needle |
Top Thread Tension |
Application |
|---|---|---|---|---|---|---|
standard zig-zag (A) |
5 |
1.0 |
4 |
blue tip |
4 |
seams |
edge guide (SE) |
5 |
1.0 |
4 |
blue tip |
4 |
strap binding coverstitch |
standard zig-zag (A) |
6 |
3.0 |
1.5 |
blue tip |
4 |
sew-in bra cups |
Leave a Reply