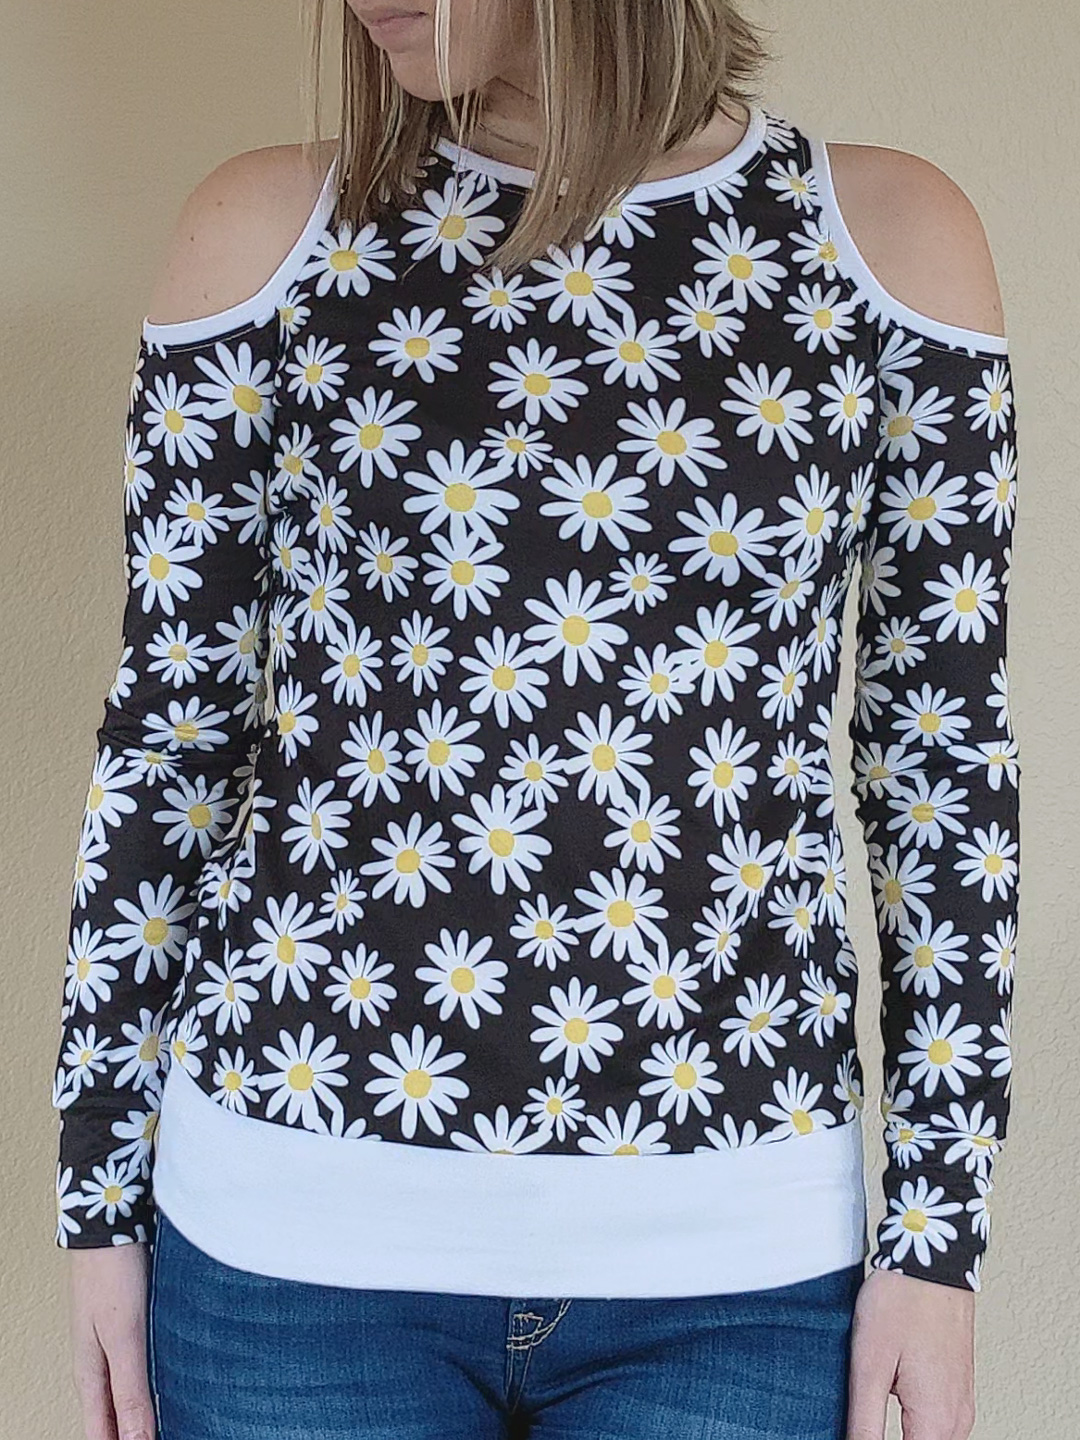
I’m not one for florals, but sometimes I see a print I fall in love with—usually because they border on geometric and I love geometric prints. This Daisy print DBP from Made of Love Fabrics caught my eye. I love the contrast, the pop of yellow, and the organic shapes that bring so much life and cheer to the pattern. To quote Meg Ryan from You’ve Got Mail, “Don’t you think daisies are the friendliest flower?”

About the Fabric
Main
White Daisies on Black – Double Brushed Polyester (DBP) from Made of Love Fabrics
- Fiber Content: 95% Polyester, 5% Spandex
- Weight and Thickness: Midweight
- Stretch: 125% horizontal, 50% vertical
- Softness: ★★★★★
- Sheerness: ★☆☆☆☆
I snatched three yards of this for $5/yard during Black Friday. As it always is, DBP is so very soft and comfortable, and easy to sew. There was some ghosting of the print on the fabric; something like an after-image of the black bled over onto the white in some areas, but it seems pretty isolated.
Accent
White Poly Rayon French Terry from Made of Love Fabrics
I had this left over from an order back in July 2020 which I purchased with a gift card I won for my Starstruck Dress. That was before I realized how much I don’t like French Terry. It is one of my least favorite fabrics. I don’t care for the dish-towel-like looped texture on the back, and the cut edges curl like mad which makes it a nightmare to work with. I’ve seen a lot of people on social media who use it for sweatshirts, but it really doesn’t seem worthy of sweatshirts to me. It’s not particularly warm, and it has a lot more drape than you’d imagine for a sweatshirt. I used some on a sweatshirt I made for my husband and I wasn’t thrilled with it. But I do like the end results when I use it for bands.
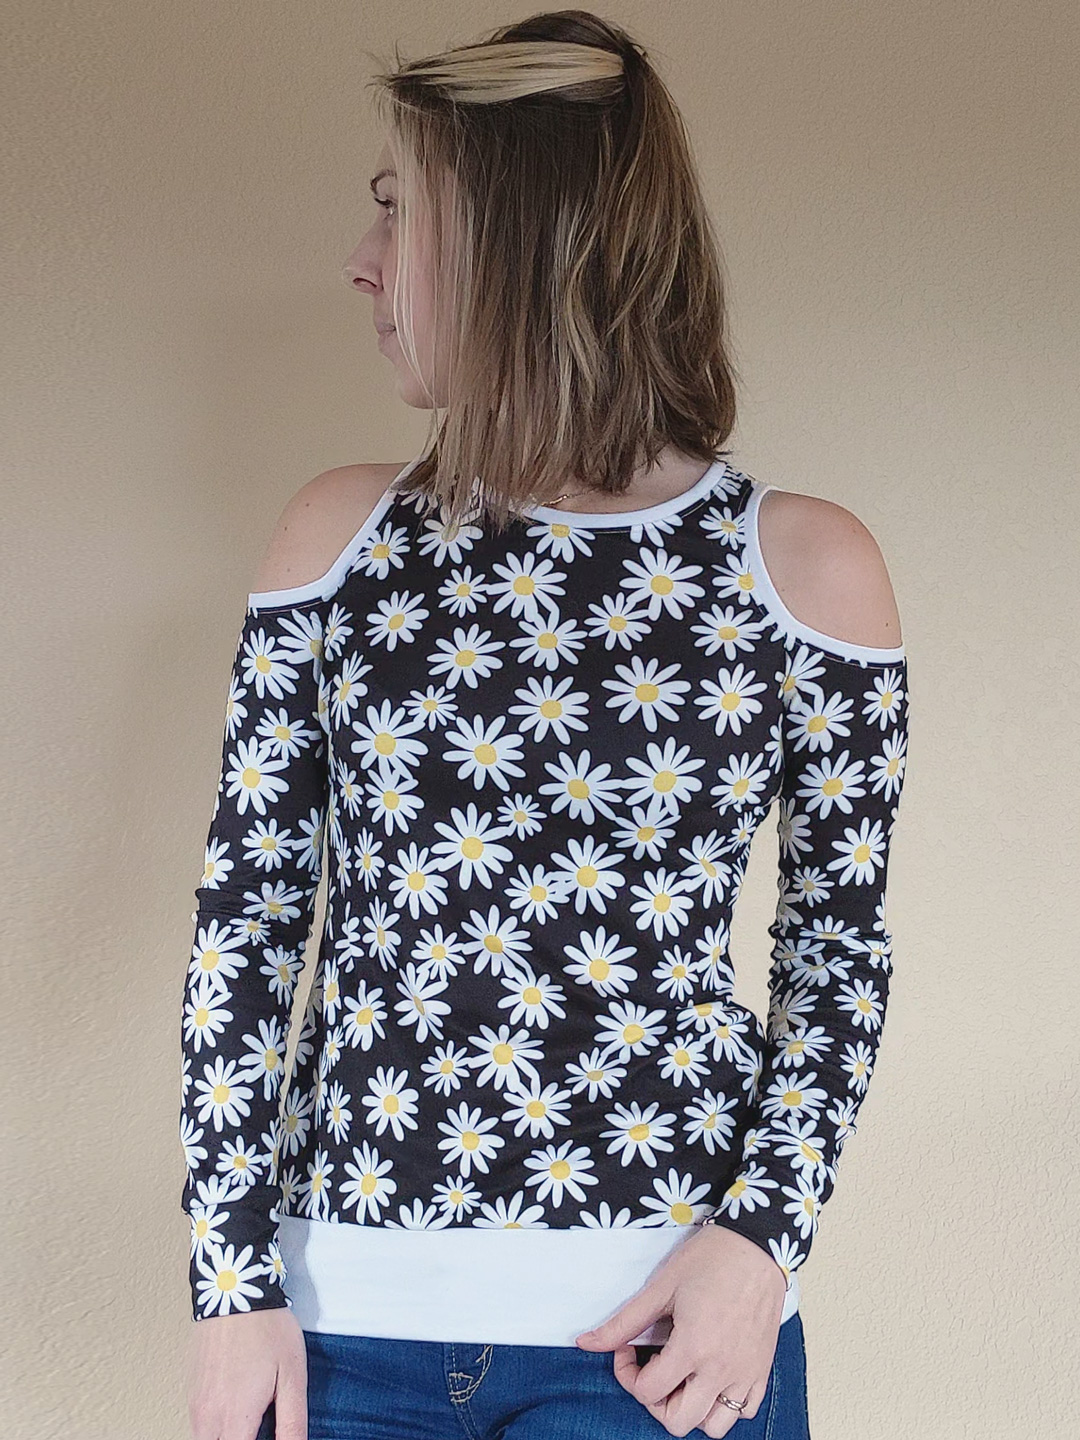
I used it for the waistband, neckband, and armhole bands. In the end, it’s soft and stretchy with a stable recovery, which is exactly what you want in a band. However, ponte would be a far less maddening choice.
About the Pattern
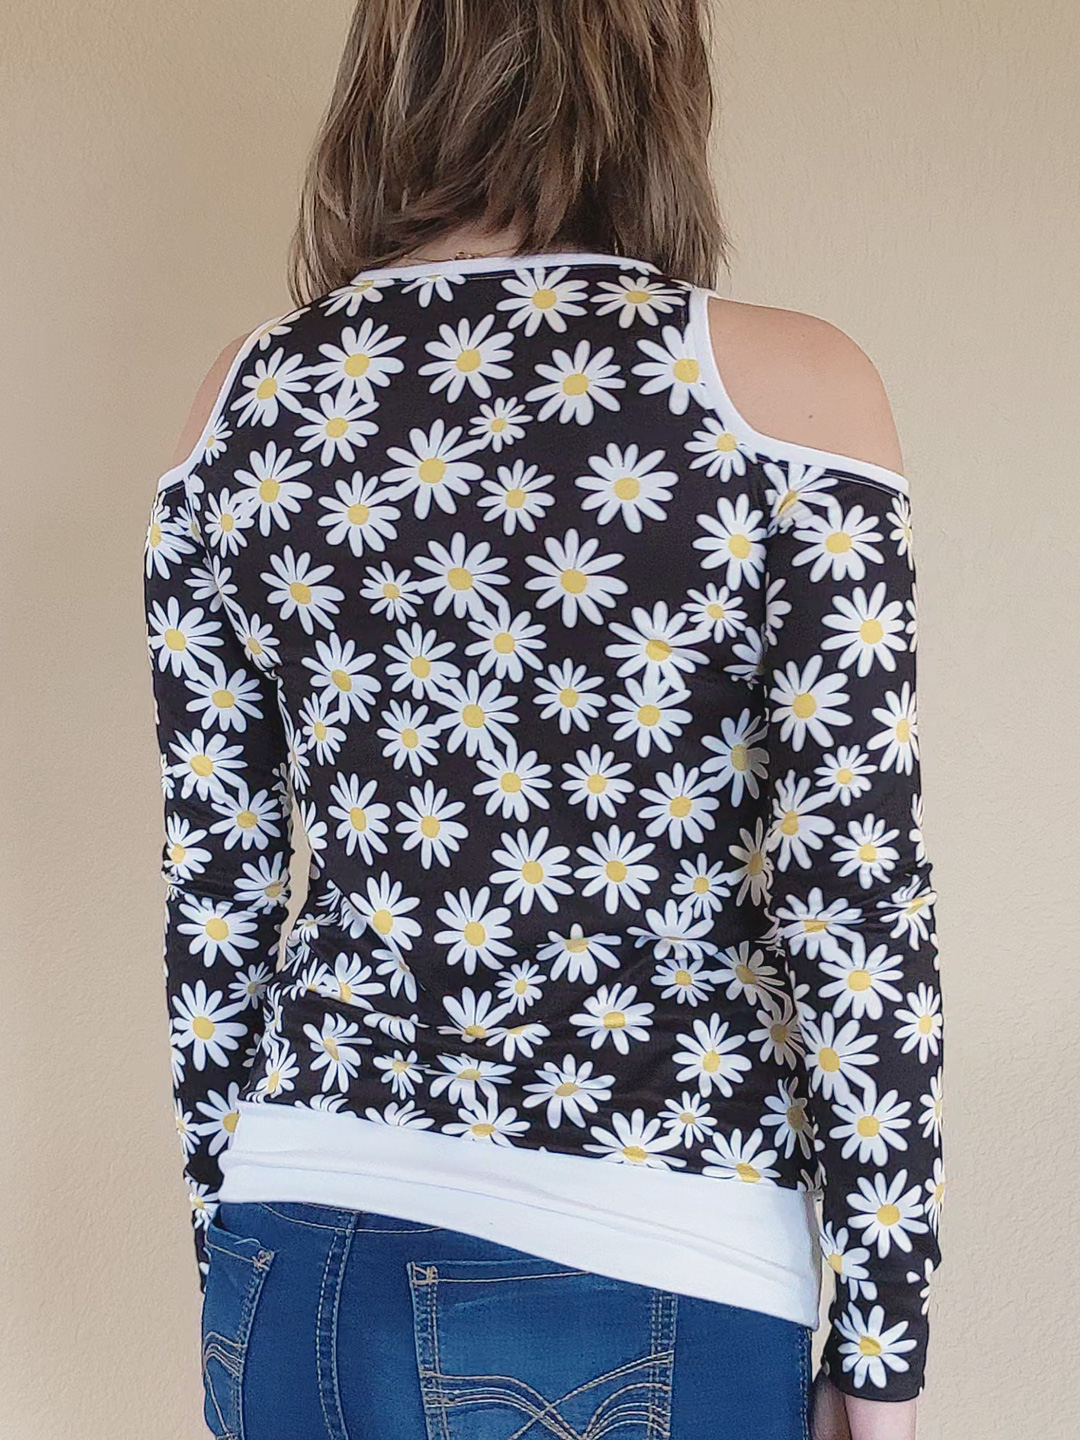
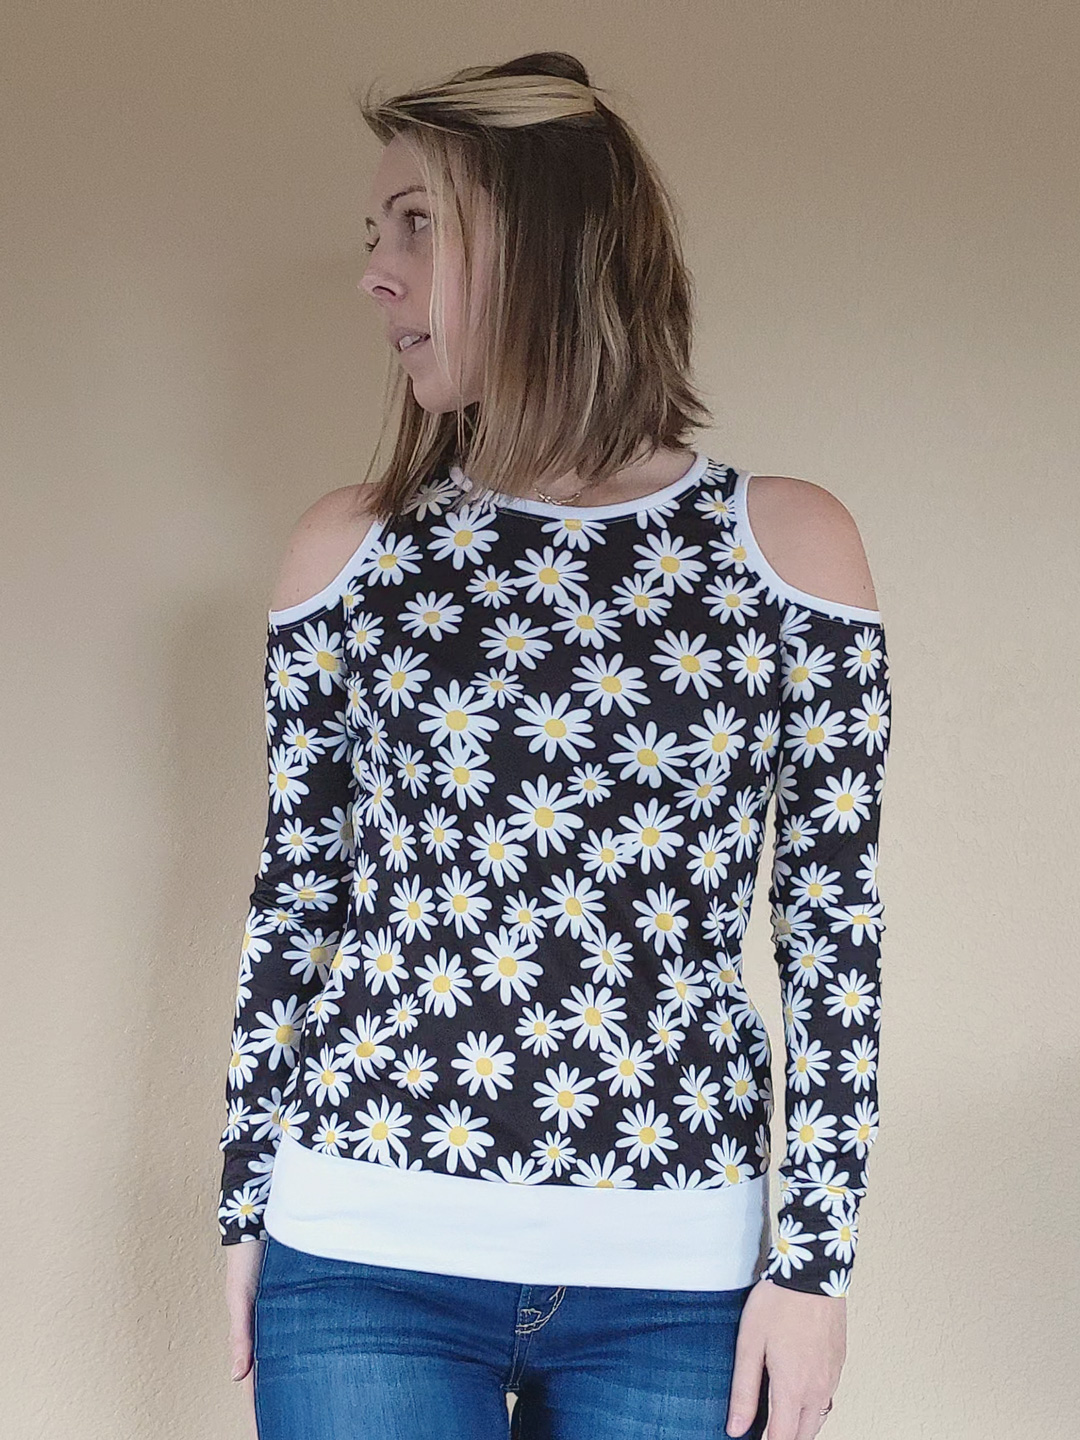
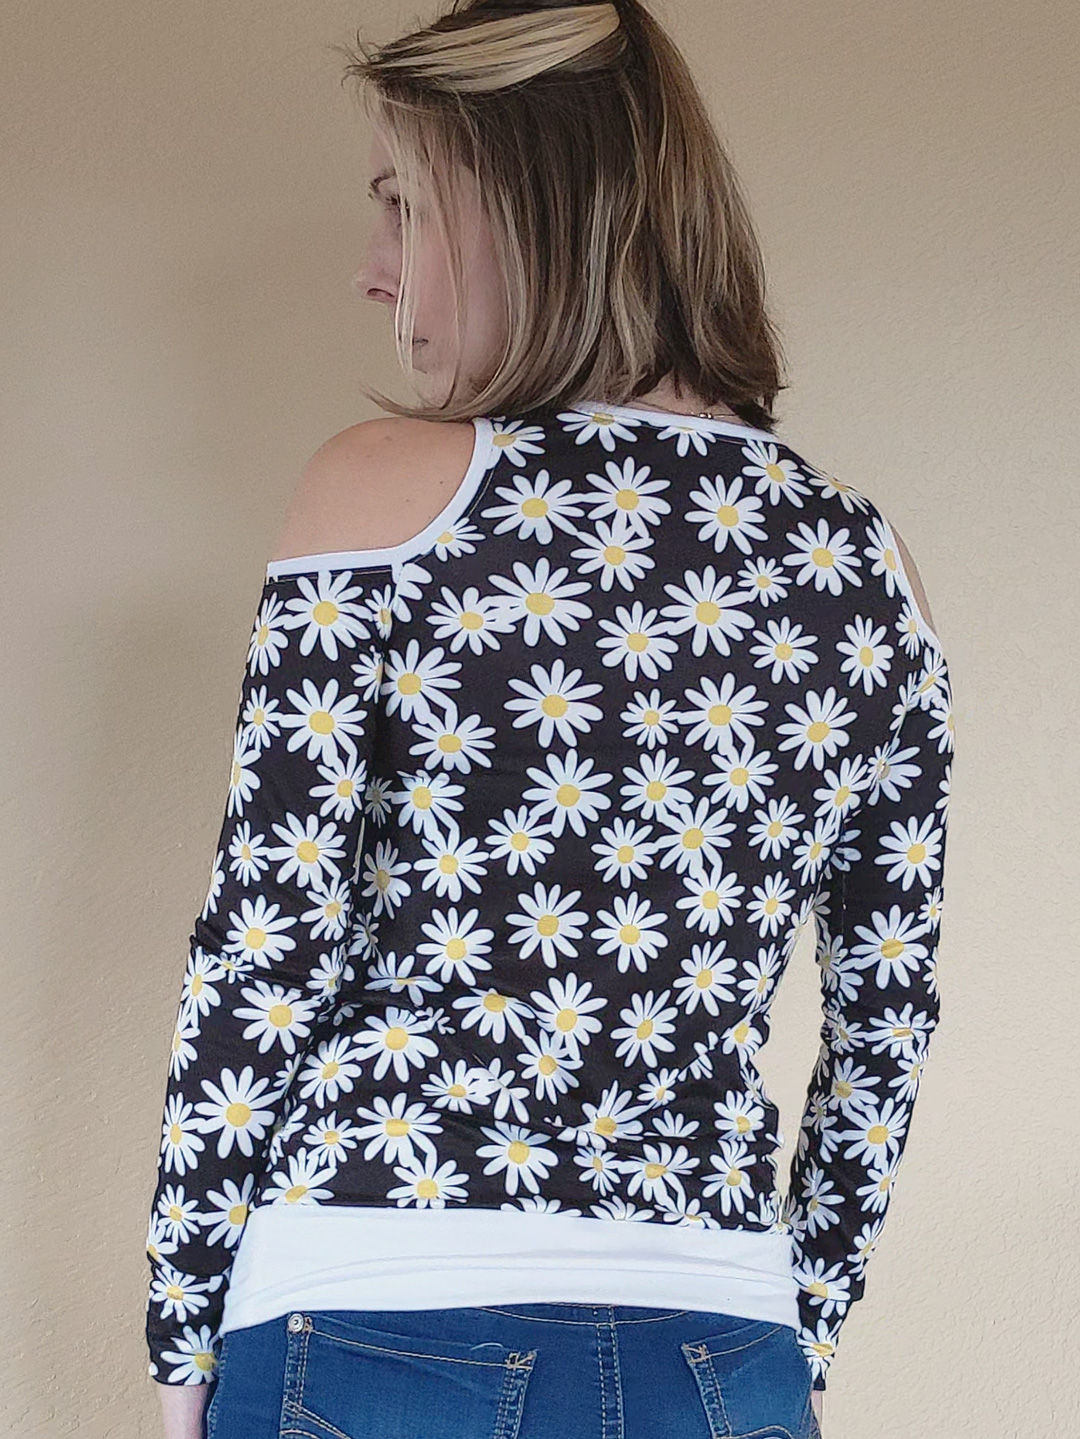
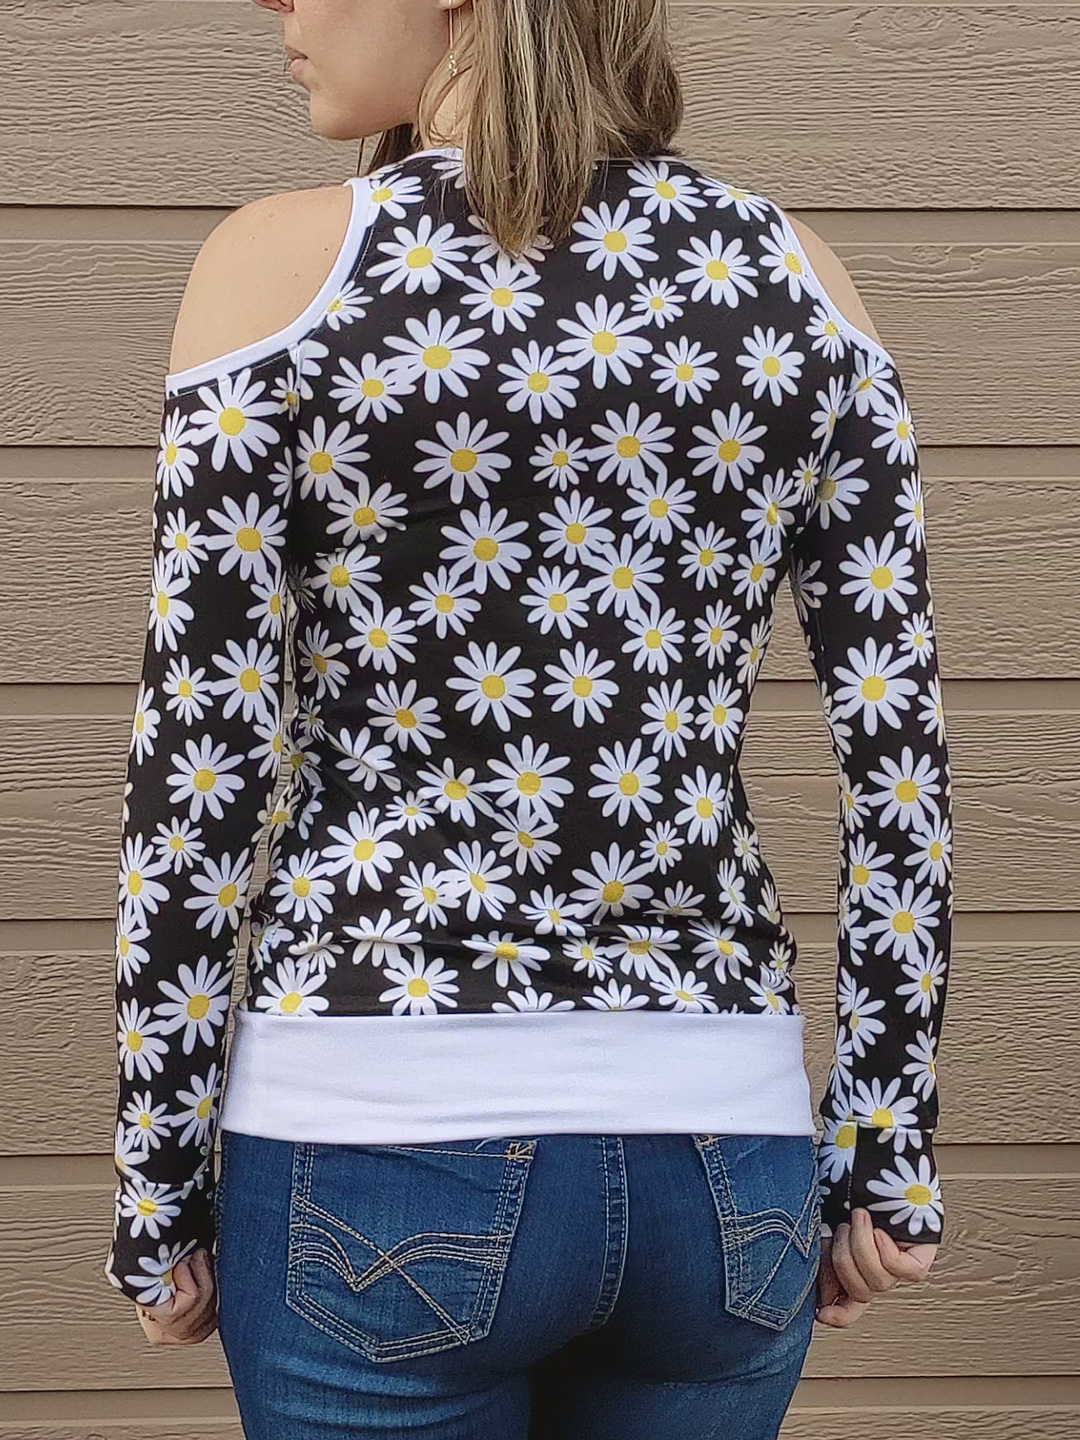
I love cold shoulder tops, and this is actually the first cold shoulder top I’ve sewn. The neckline is nothing special; I usually prefer more interest in my necklines than is offered by a standard round/crew/scoop shape. But the cold shoulder detail makes up for it.
The pattern is straightforward: bodice, sleeves, cuffs, and bands. The bands are the most time-consuming part; in my case, it was probably worse thanks to wrestling with the french terry to line up the raw edges.
The pattern has an option for a kangaroo pocket and a hood, which would add time to construction if you chose those features. There’s also an option to make the sleeve cuffs into thumbhole cuffs. I personally disregard “baked-in” thumbhole cuffs in favor of Sinclair Patterns thumbhole cuffs. They’re so much more interesting, comfortable, and the pattern comes with about 5 variations.
As far as the instructions go, I can’t critique them too much because I mostly skimmed them. I’m completely comfortable constructing a shirt at this point, so I really didn’t need anything beyond the photos to tell me what the next step in the process was.
Notes on This Make
- Size: XS
- Low hip band version
- Added 2″ to sleeves
I used my sewing machine and serger in equal measure.
Sewing machine: constructing all bands, attaching neckband and armhole bands, constructing cuffs, shoulder seams. (The shoulder seams were really short, so getting the fabric to feed happily through my serger was more trouble than it was worth, though I did try. It actually ended up offsetting the two layers on one shoulder seam, which I had to cut and re-do on my sewing machine.)
Serger: constructing sleeves, bodice side seams, attaching cuffs, attaching waistband.
Notes For Next Time
- I think I can size up to a Small. I used XS based off my experience with the Whistler Pullover, but XS on this make feels ever so slightly too snug—mostly around the underarm.
- Add another inch to the sleeves. They are adequately long on this version, but not long enough for my personal preference.
- Lengthen the bodice by about an inch.

Project Settings
Sewing Machine
Presser Foot |
Stitch# |
Width |
Length |
Needle |
Top Thread Tension |
Application |
|---|---|---|---|---|---|---|
standard zig-zag (A) |
5 |
1.0 |
4 |
blue tip |
4 |
shoulders, bands |
overedge (C) |
6 |
5.5 |
3.5 |
blue tip |
4 |
band finish |
adjustable edge (SE)#5 |
5 |
1 |
4 |
blue tip |
4 |
topstitch |
Serger
Stitch |
Needles |
Finger |
Threads |
Tension LN |
Tension RN |
Tension UL |
Tension LL |
Cut Width |
Stitch Width |
Differential |
|---|---|---|---|---|---|---|---|---|---|---|
super stretch |
R, L |
B |
3 |
3 |
2.5 |
— |
0.5 |
6 |
2.5 |
1.5 |
Leave a Reply