Look up the definition of “dumb luck”, and listed somewhere beneath it should be this dress. You would think the string of stupid things I did would’ve ended in utter failure–which would have been heartbreaking with this awesome textured ITY, but dumb luck prevailed.
The Pattern
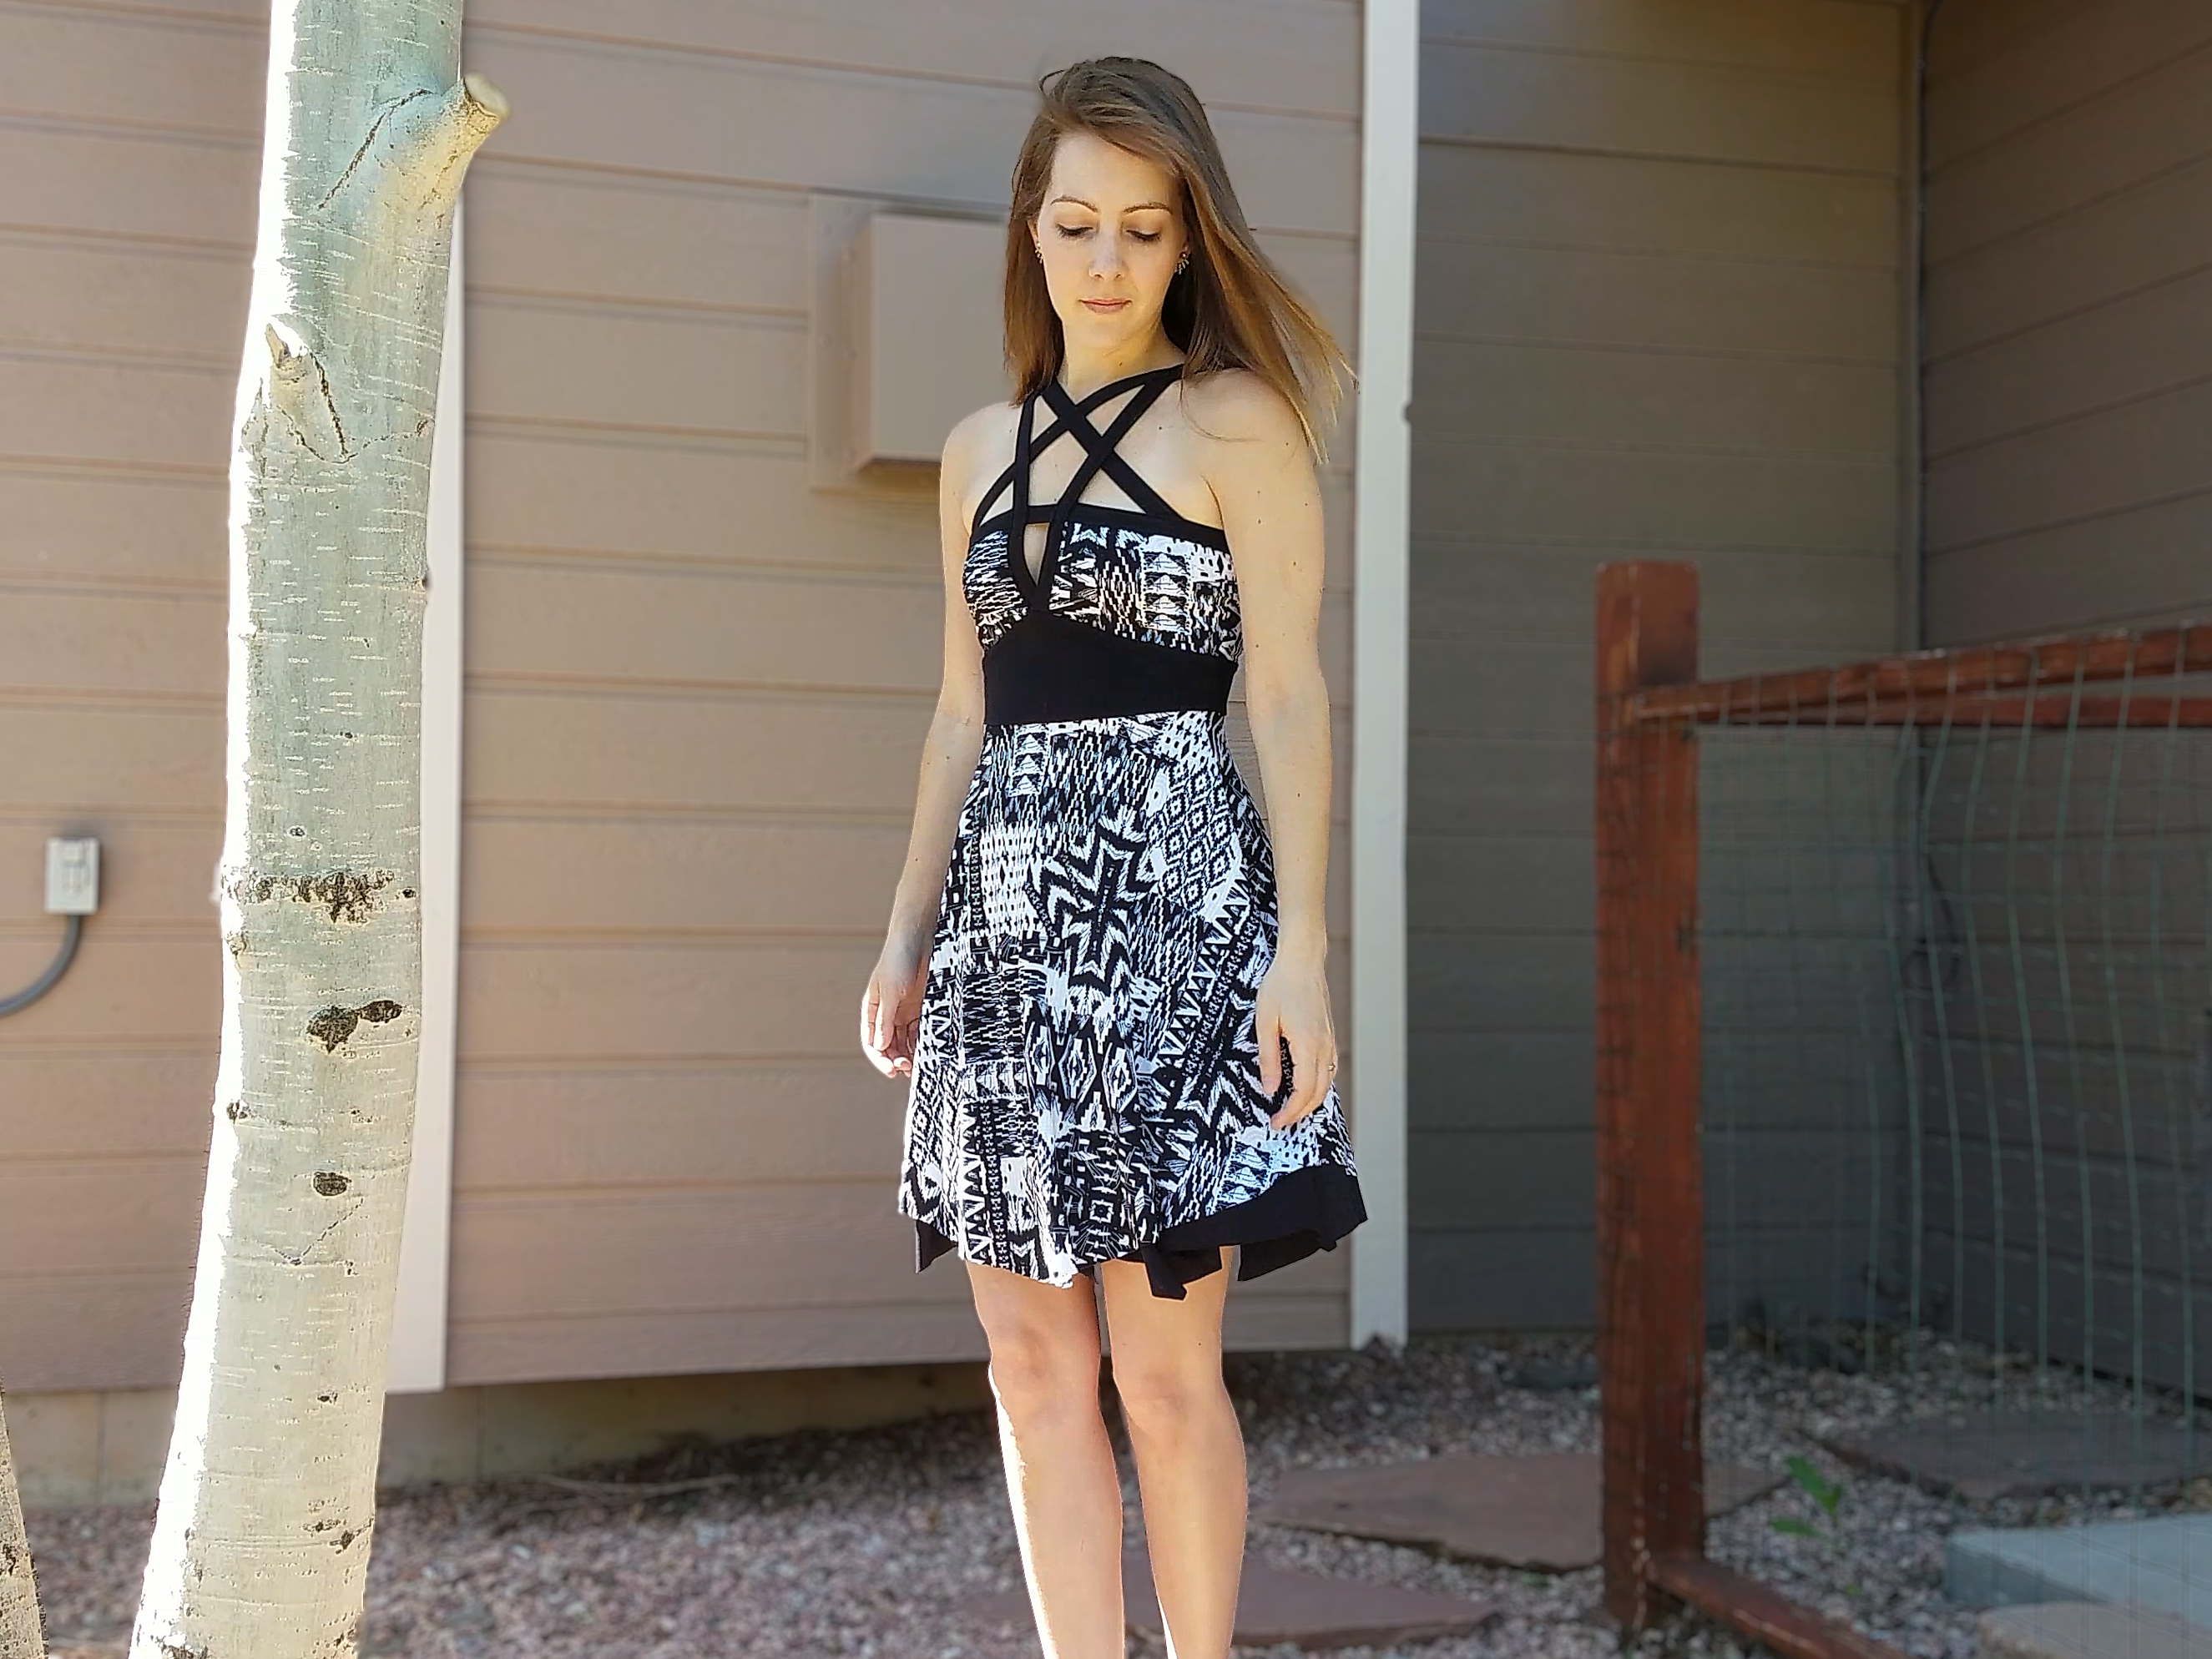
George + Ginger’s Starstruck, which looks way more complex than it actually is. Yes, it involves binding, but it’s one of the more painless binding experiences I’ve had. Even doing this pattern the first time was painless.
The Fabric
Grunge Crusade textured ITY from Made of Love fabrics. I knew I was going to love this fabric. I love ITY to begin with, but the visual interest of this print and the added texture feed my soul. This is my jam.
What I Changed for Version 2
- I mixed size 2 and size 4 pattern pieces:
- size 4: front bodice | back bodice | front waistband | back waistband | bodice binding
- size 2: center strap | front/back strap | cross strap
- I trimmed a total of about 1.5″ off the center strap. I didn’t line it up as indicated on the pattern. Instead, I paid more attention to the angle of the V made by the two front/back straps. Knowing my first version ended up gappy, I wanted a more acute angle there to help mitigate that problem. A combination of sizing the straps down and cutting even more off the center strap was exactly what I needed. I feel so much more secure in this one and it fits so much better.
- The skirt. Scroll down for more on that adventure.
The Skirt
My first idea was a nice, dramatic, hi-lo circle skirt. That was based on me hallucinating that I had like 3 yards of this awesome ITY.
I did not have 3 yards. I had 1. So close, but not close at all.
I dug through the Mix It Up pattern for alternate skirt options.
Hm…half circle skirt? Oh, handkerchief skirt would look ah-mazing! Alas, I still only had 1 yard of fabric.
Hm…half circle hi-lo? I can draw that out. Just grade a curve from the mini line to the dress line. Easy enough. Not as dramatic as I wanted, but one must work with the yardage one purchased.
Off I went to draw my custom hi-lo half circle skirt. And then I cut it out. And then I constructed the bodice which turned out so awesome. Then I sewed together the skirt. Then I finally realized my hi-lo vision was high at the sides and low in the front and back.
That’s…wonky…
Tried it on. It was passable, but it just wasn’t right. So I hung it up and mulled over what to do. The next day, I dug through my Mix It Up pattern again and studied the handkerchief skirt.
I had some luxury lining fabric from Boho Fabrics that I couldn’t remember why I purchased. I think it was to go with the woven fabric I have earmarked for a coat…except this lining fabric is stretchy and I need woven lining for that coat. So…might as well put this lining to use now! And how fun if I could get the raggedy corners of a handkerchief skirt to peek along the bottom of this wonky hi-lo fail I made. That could salvage things pretty well.
So I measured the length of my wonky “hi” and “lo” and drew a custom wonky handkerchief skirt pattern piece, and then proceeded to cut.
But I only cut half of it.
And sewed it together.
And didn’t realize until I saw the teeny tiny opening for the waist.
Why is my brain broken!?!?!
Walked away for a bit. When I came back, I sliced off one of the seams, cut a second handkerchief fabric piece, sewed it together with the original, and then attached it beneath the ITY.
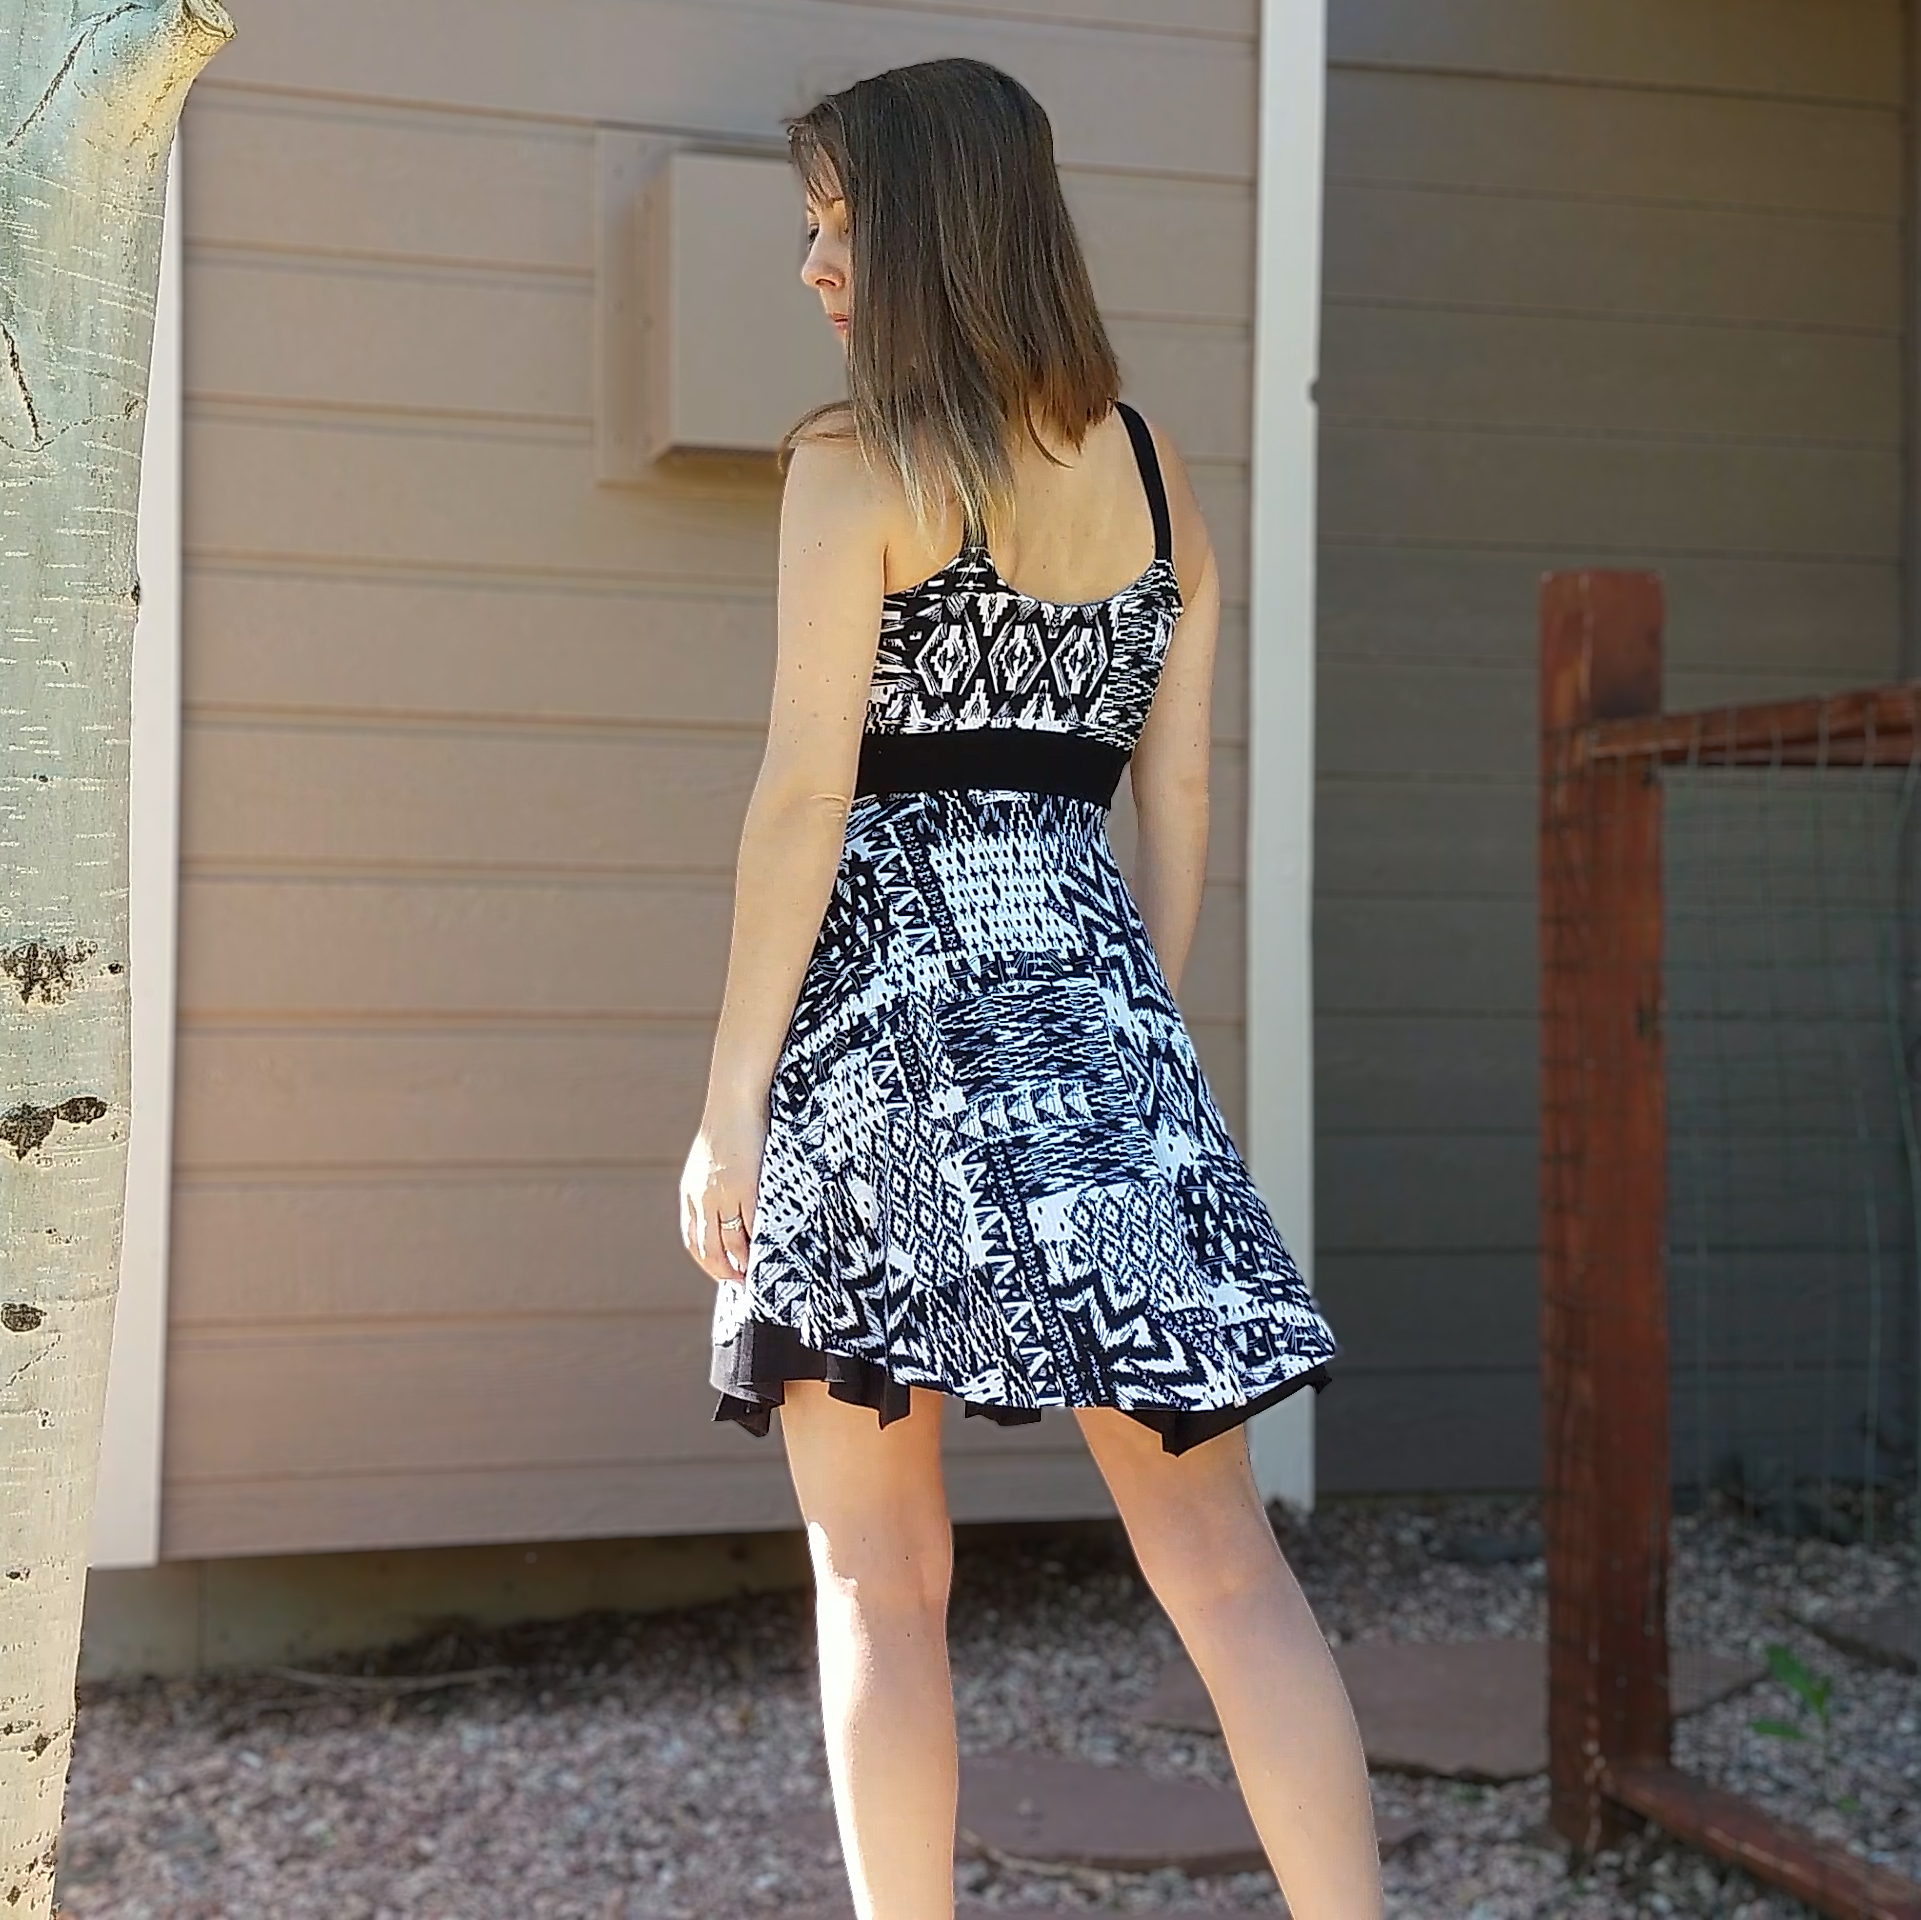
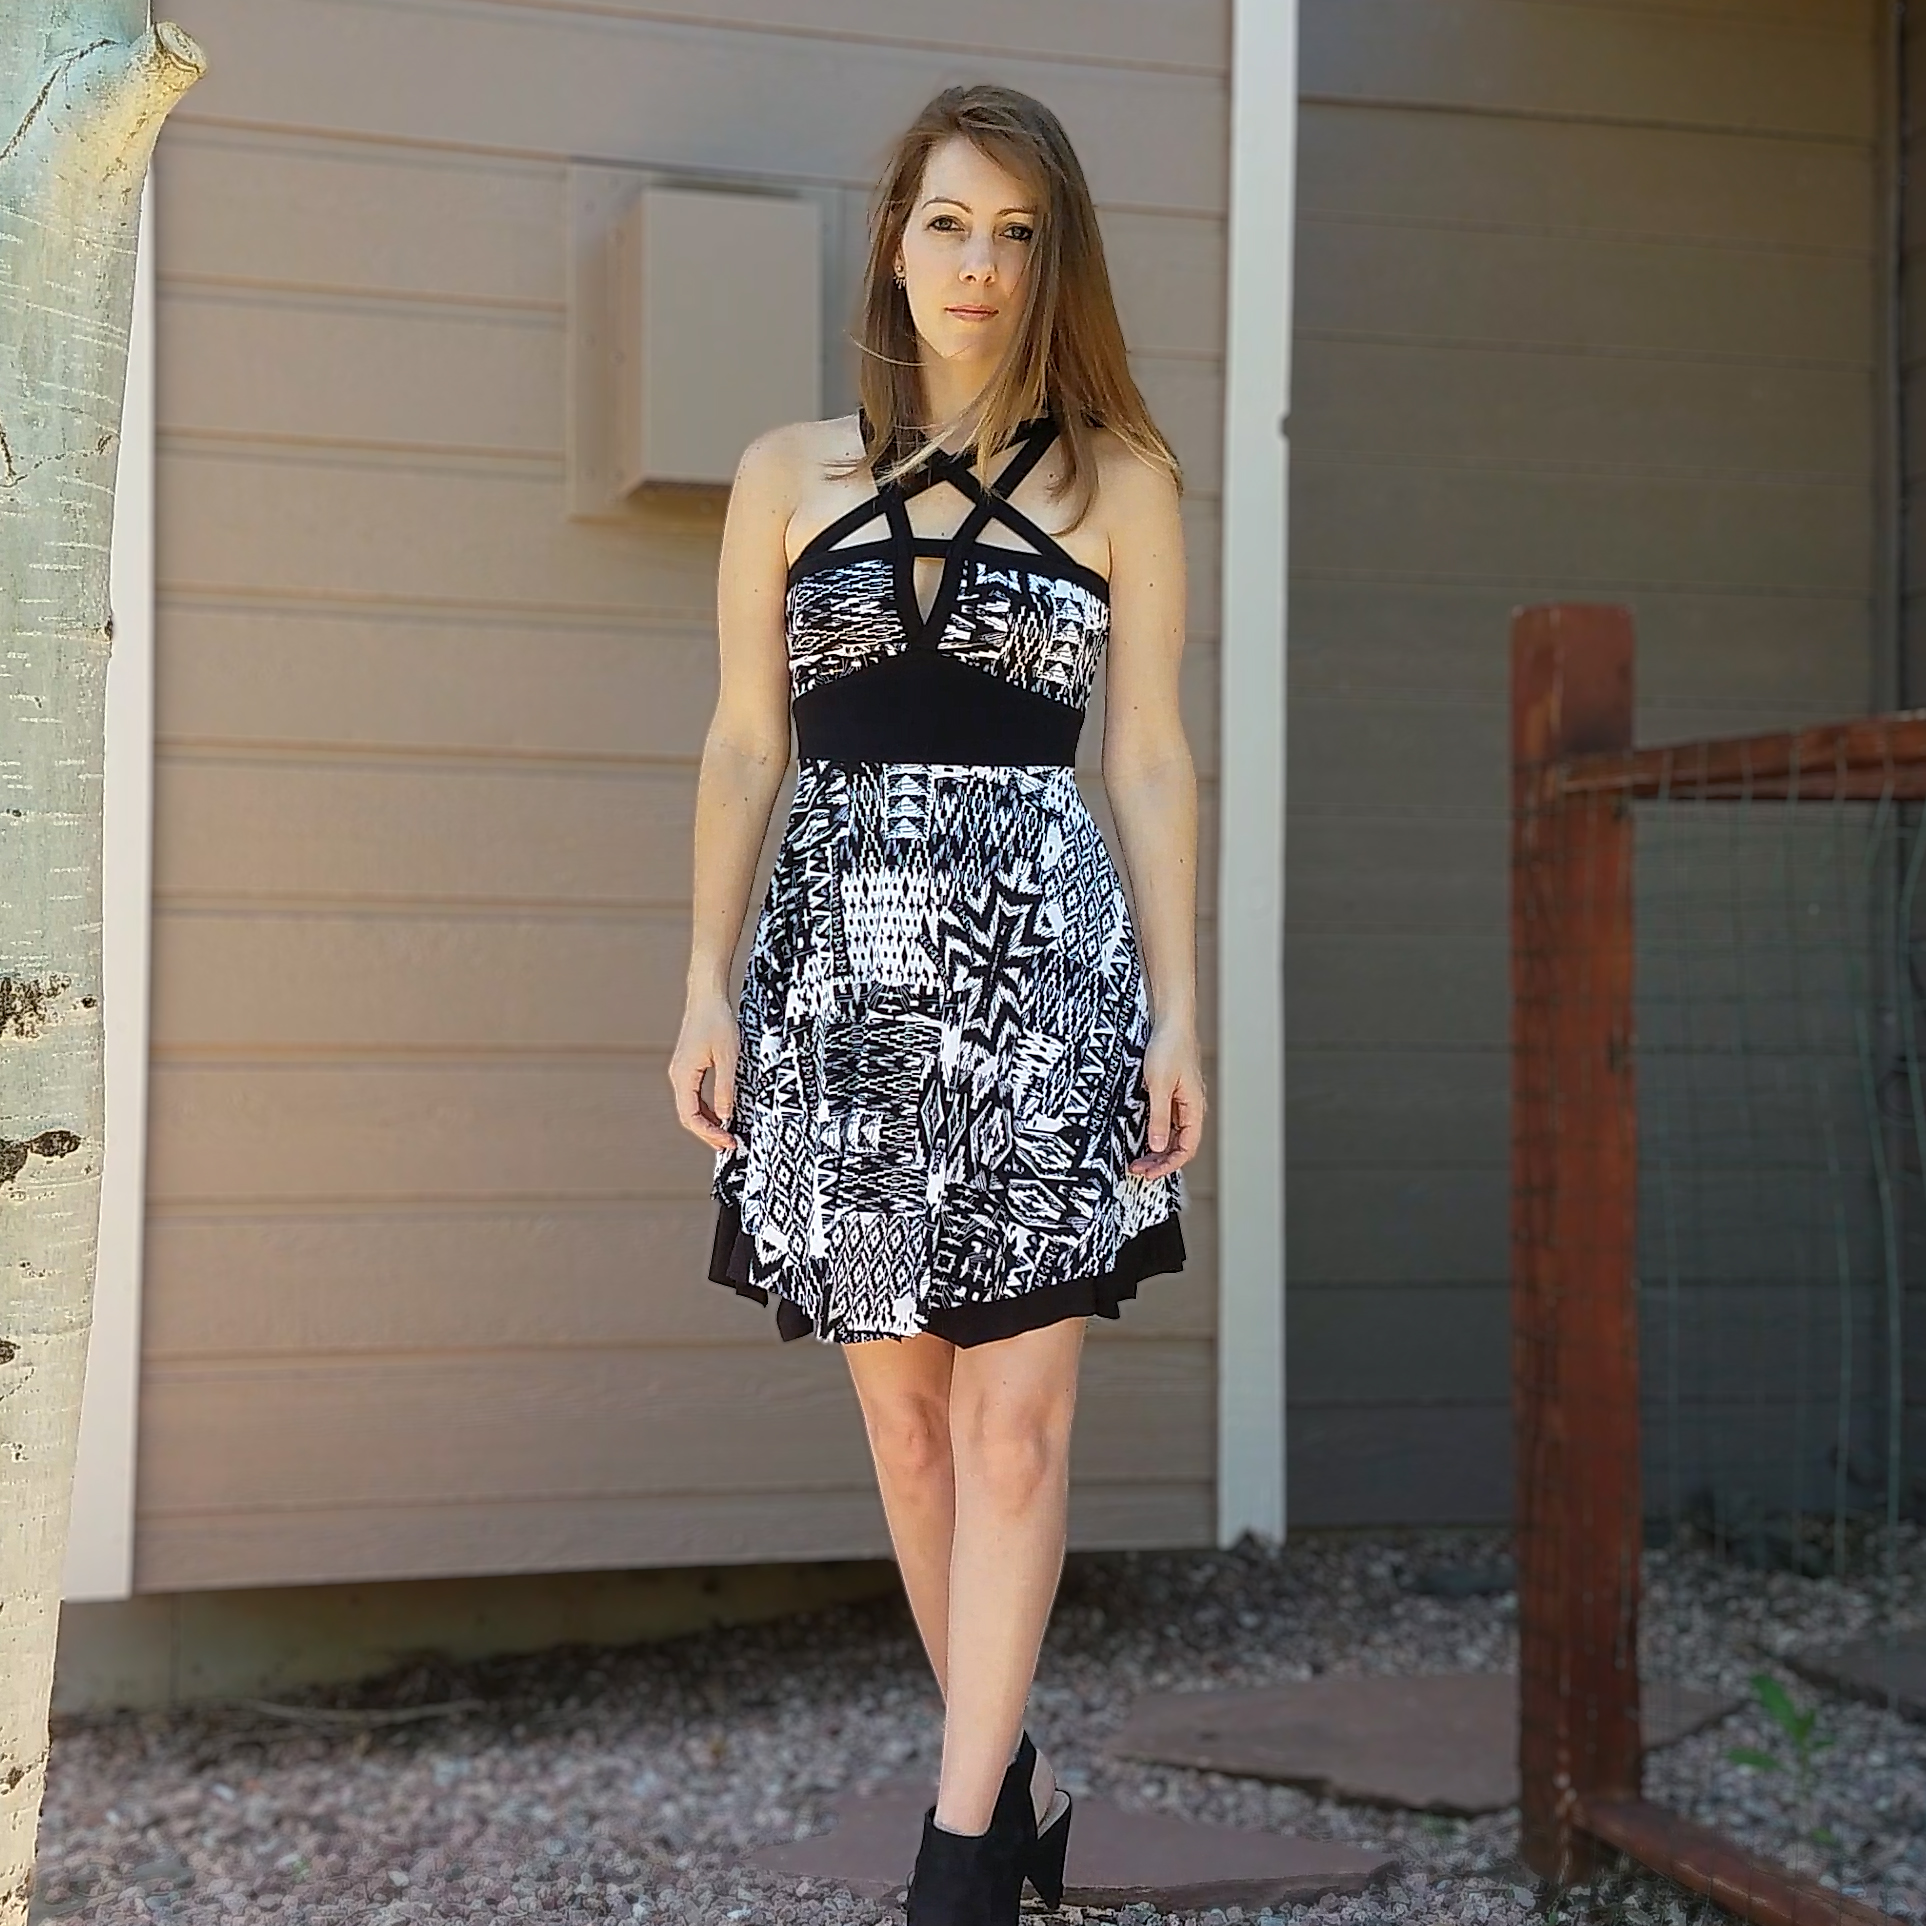
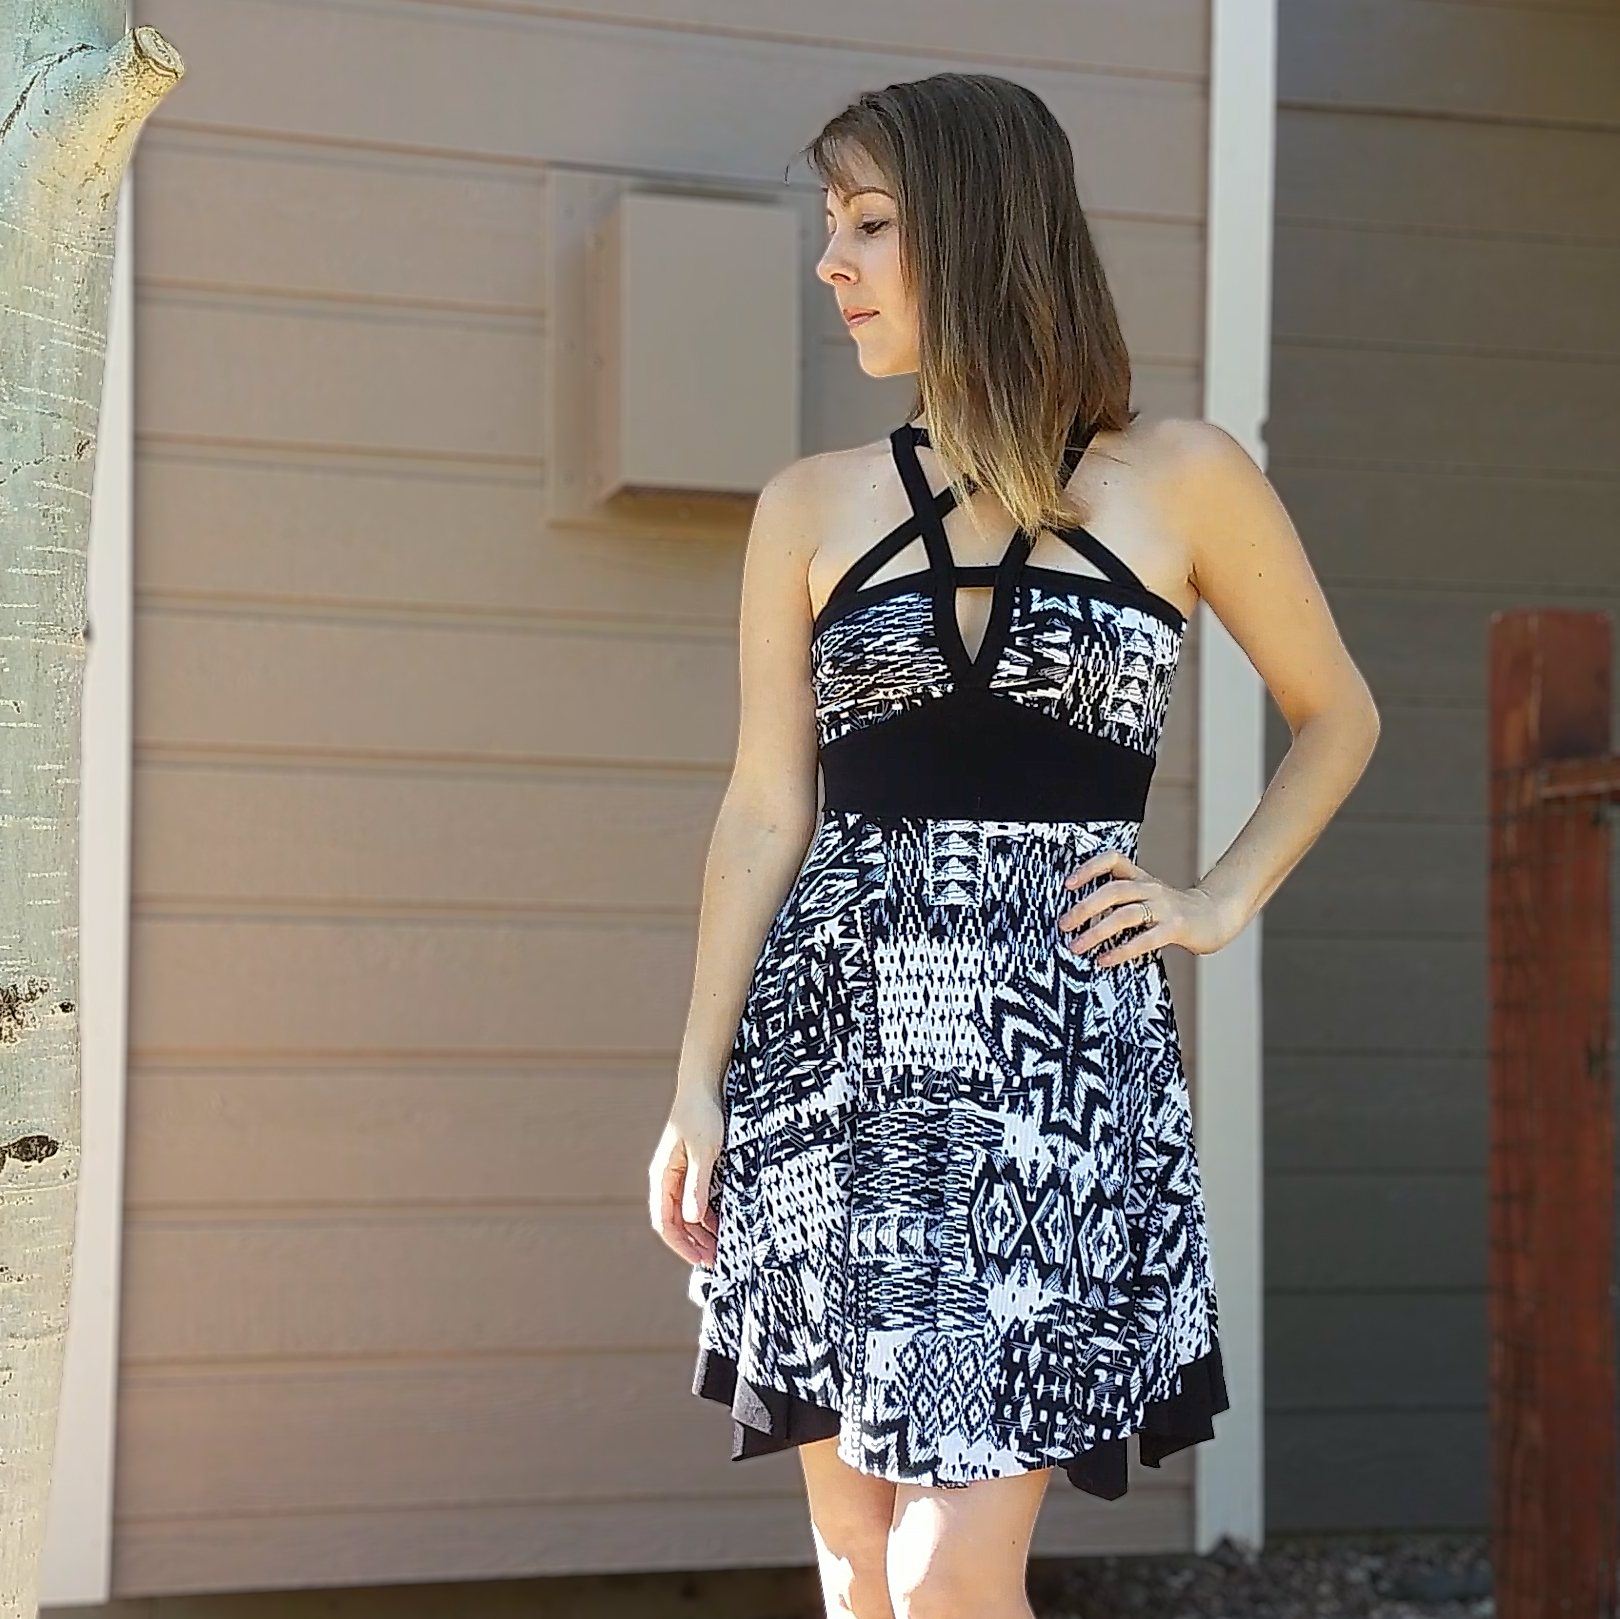
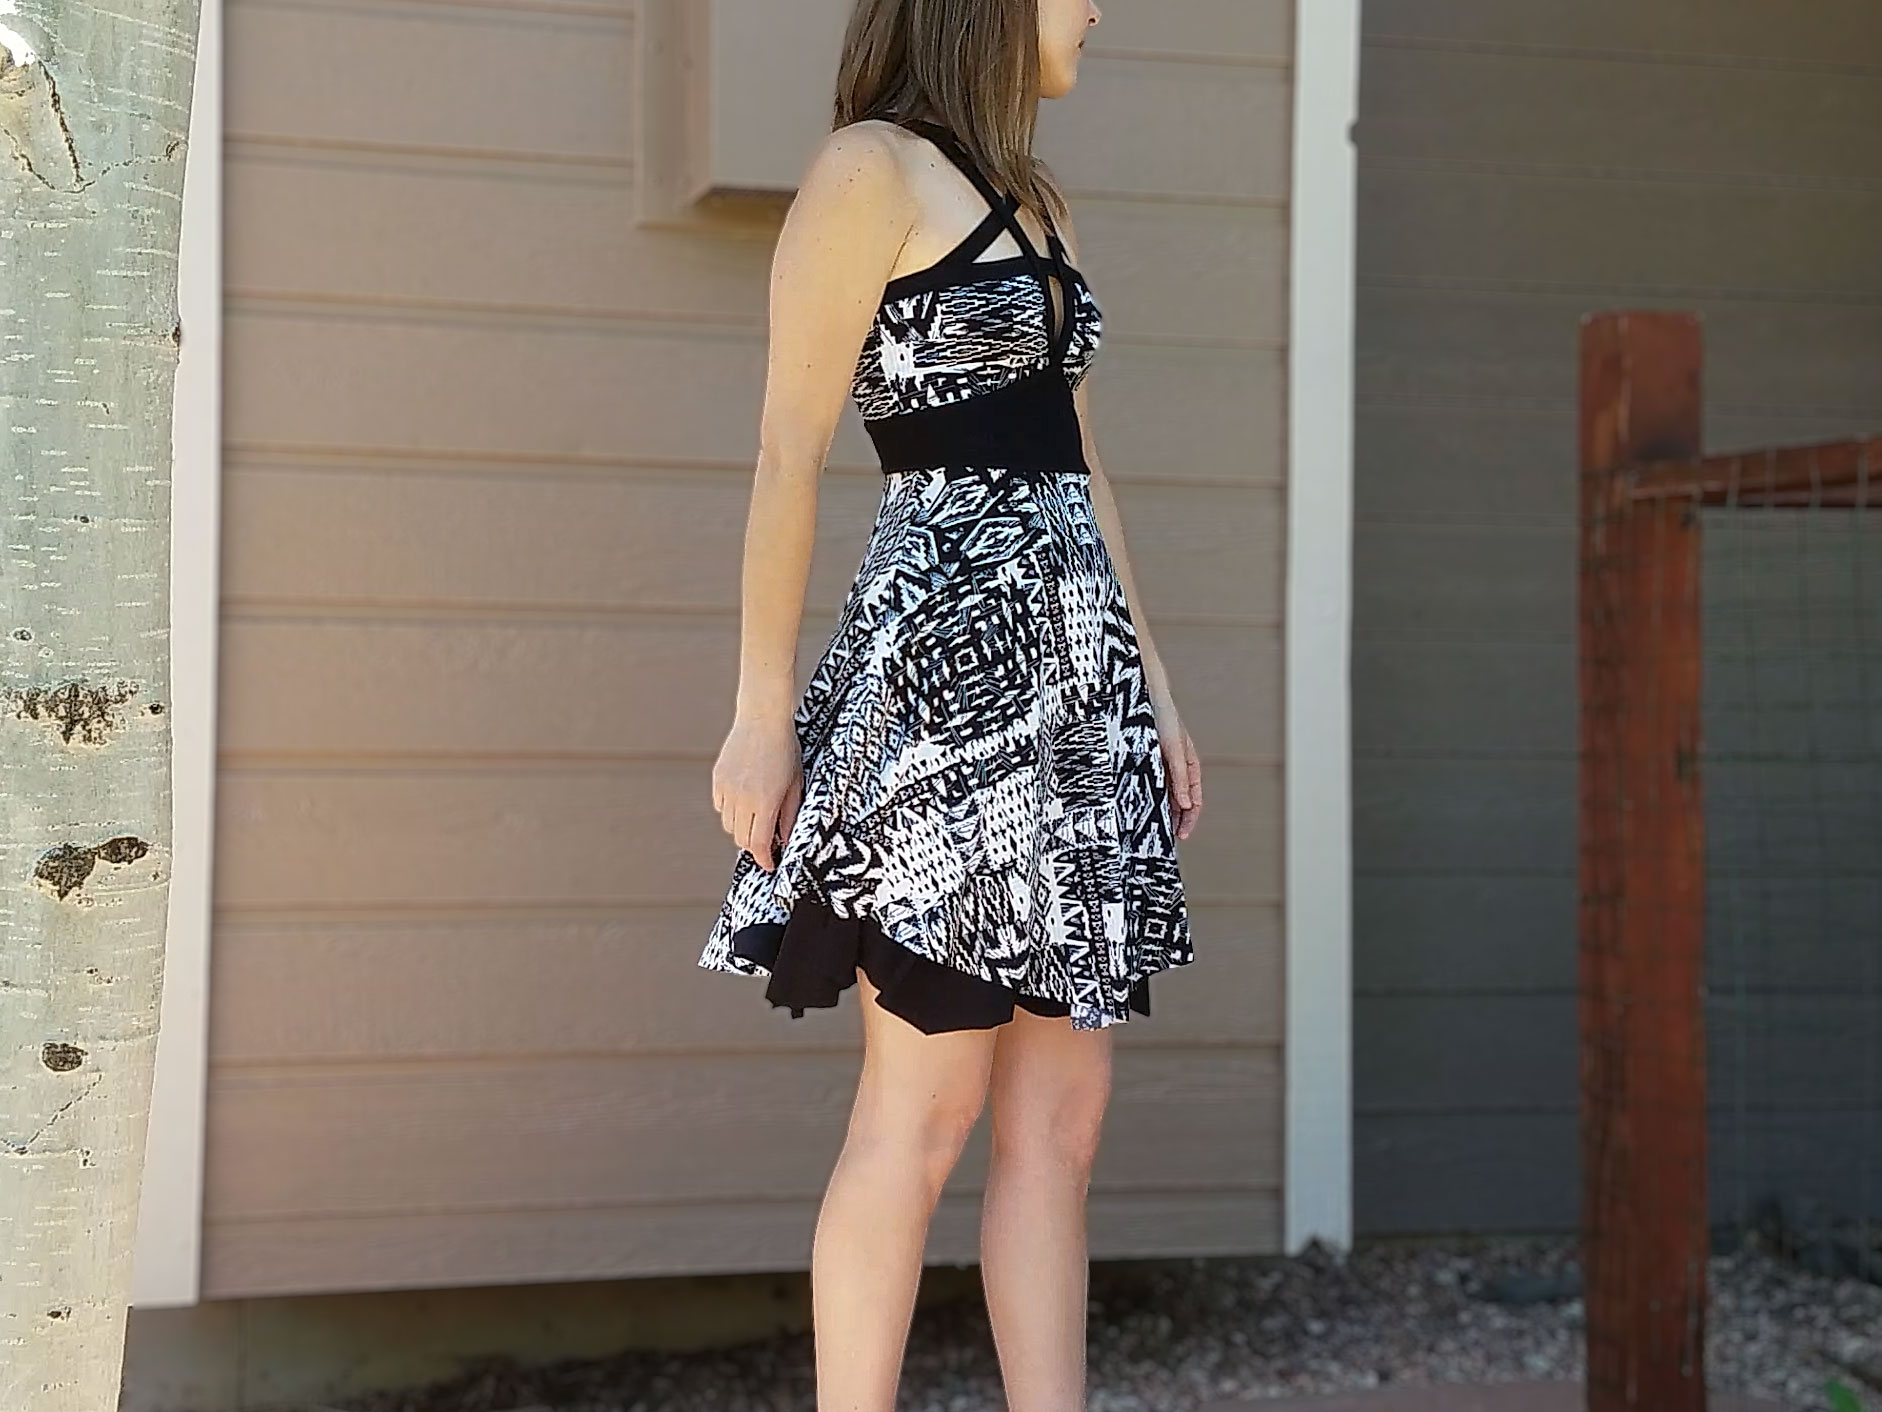
When next I put it on again, I fell in love with my disaster. It’s just the right kind of look to go with the geometric grunge of the fabric print. It also adds fullness and twirl factor and more texture and color balance and a bit o’ length.
So, thanks dumb luck.
Yours truly,
Deb
Project Settings
Presser Foot |
Stitch# |
Width |
Length |
Needle |
Top Thread Tension |
Application |
|---|---|---|---|---|---|---|
standard zig-zag (A) |
5 |
1.0 |
4 |
blue tip |
4 |
seams |
edge guide (SE) |
5 |
1.0 |
4 |
blue tip |
4 |
straps |
applique (F) |
2 |
3.5 |
2.4 |
blue tip |
4 |
strap attach |
standard zig-zag (A) |
6 |
2 |
5 |
blue tip |
4 |
waistband baste |
overedge (C) |
6 |
5.5 |
3.0 |
blue tip |
4 |
edge finish |
Leave a Reply