 I put my new serger to work on this abominable Christmas sweater and I have some first impressions to share.
- Threading a serger looks way more intimidating than it actually is. I considered using the “tying-on” technique since mine already came threaded with some small spools of thread, but I really wanted to learn how to do it. The thread guide diagram and instructions are helpful, but nothing beats a video demonstration. After first reading the instructions in the manual, following along with the video made it super easy. I should note, my very first attempt did not run properly and my lower looper thread snapped, so I redid the lower looper and both needle threads to resounding success.
- Sometimes a sewing machine is the better choice. Depending on what you’re doing and the type of seam you’re sewing, you just can’t beat a sewing machine. For example, on this sweater, I used my sewing machine to attach the collar. There were four layers of fleece in some areas around that seam, plus I wasn’t quite sure how to start…Do I just weirdly angle in from the edge? Probably, but in the end, that step was just easier to do on my sewing machine.
- Keep an eye on your pins. I’ve already knifed 2 pins by accident. Which brings me to note: that is one sturdy knife! The machine definitely doesn’t like it, but it doesn’t derail everything like I would’ve anticipated. Still, keep an extra eye out for buried pins.
- Sewing, cutting, and finishing a seam all in one fell swoop is awesommmmme. Seriously. Even though there wasn’t a ton of opportunity to serge this particular project, the times I did—mainly on the sleeves—were so satisfying.
- Maybe it’s just my particular serger or the thickness of the fleece on this sweater, but I was taken back to the days of my Singer and the “buzzy,” reluctant start when you ease on the presser foot. So, I employed my nudge the handwheel trick to get it rolling more easily.
- Securing serger thread tails is kind of a pain. I looked up a video that demonstrated a few techniques: seam sealant (she casually says “let that dry” when the bottle says allow to dry 15-30 minutes. Uh…I’m not pausing for 15 minutes after every seam I sew. Also, it’s rough and scratchy when it dries.); tying a knot—which seems to be the easiest way; weave the tail back into the stitching which looks (and is) highly annoying; or lock the seam on the serger which I haven’t tried yet. I should try it; securing the tail at the start of the seam looks convenient enough, but at the end where I’d have to disengage the knife would get old really quick.
- So long as you make sure all the layers feed together, the Baby Lock Vibrant handles multiple layers of fabric just fine. I sewed over at least 3 or 4 layers of fleece, plus serged seams, and the machine is solid through all of it.

About the Sweater
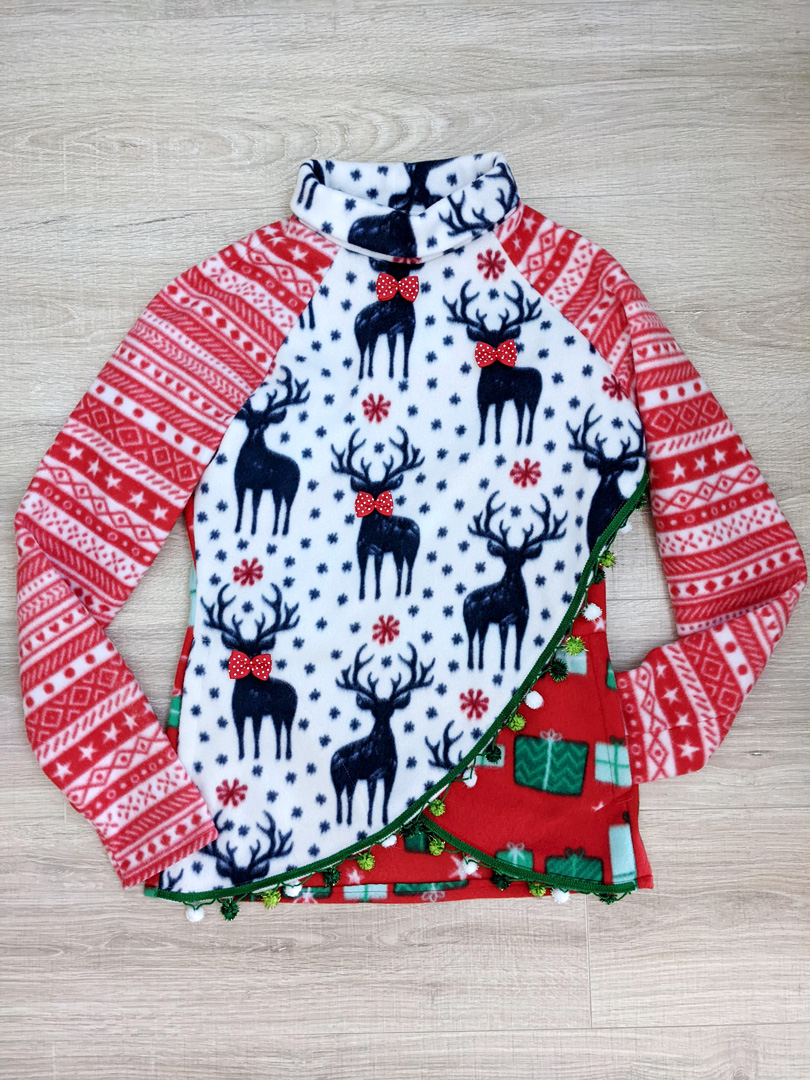
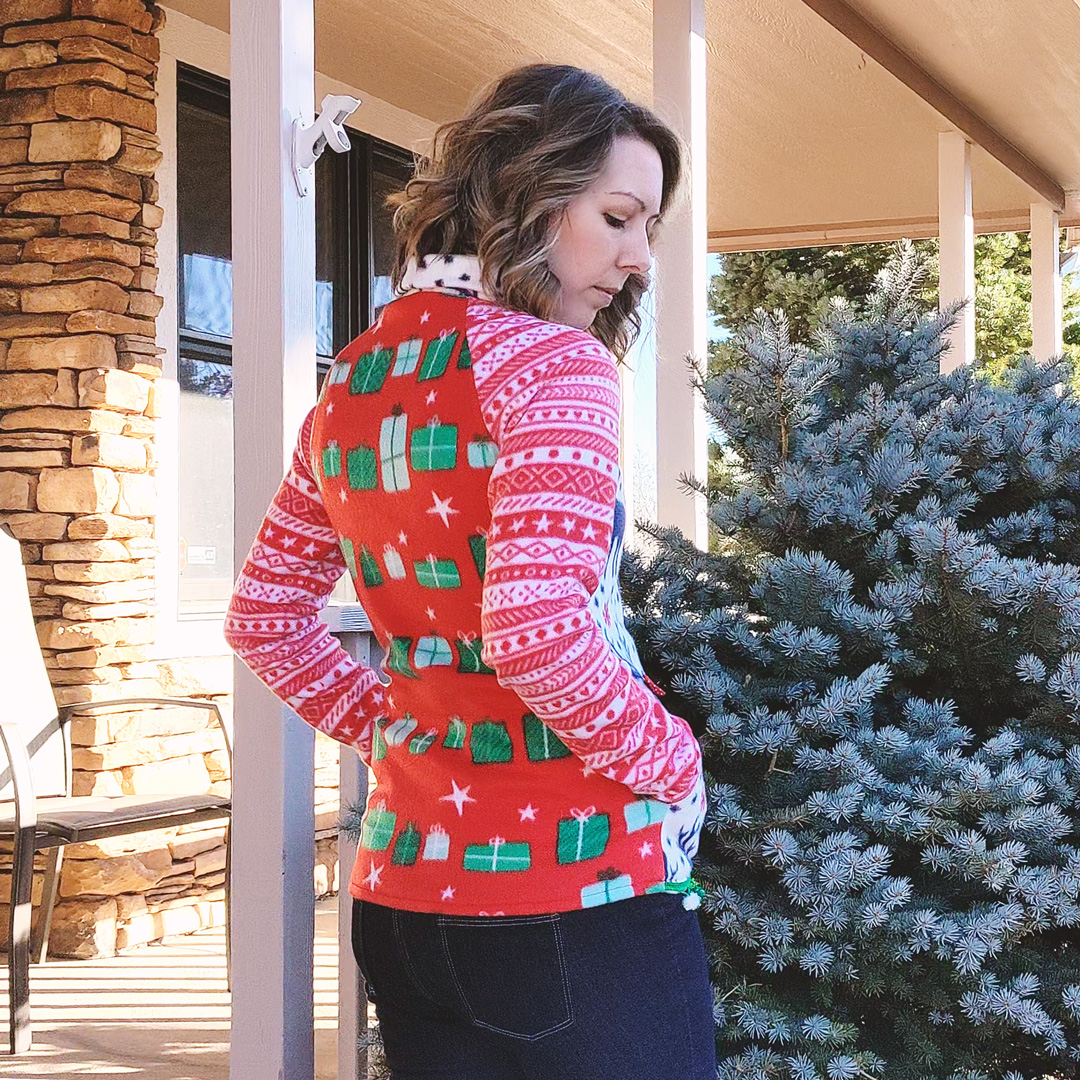
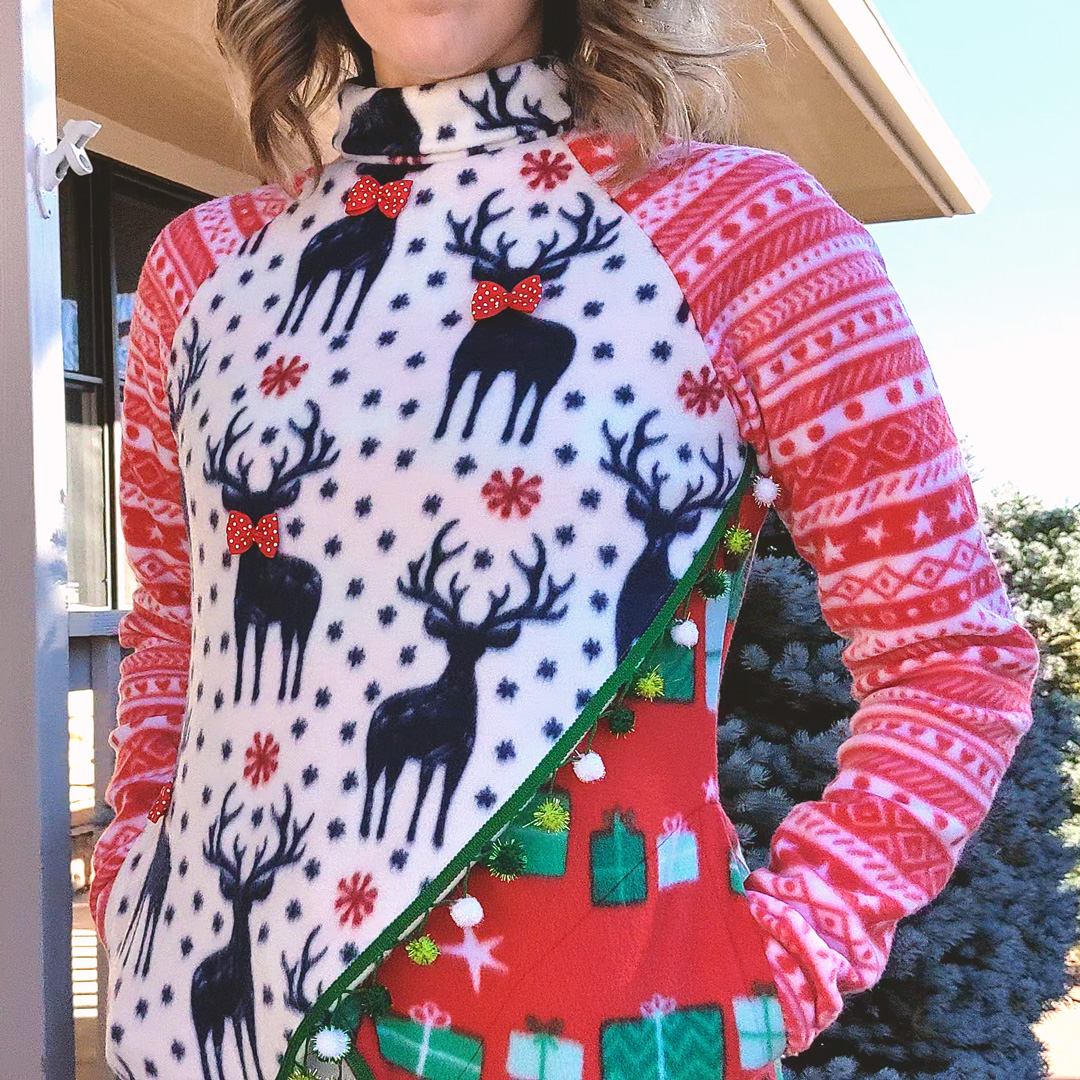
My inspiration for this sweater was red, green, ugly prints, and make sure nothing matches. So I put polka-dot bow-ties on a few of the reindeer, I’ve got snowflakes, hearts, stars, gaudy Christmas gifts, geometric lines, organic lines, and sparkly St. Patrick’s Day pompoms for trim.
The Pattern
I used The Orono Top (Itch to Stitch) for the pattern. I’ve made two of these previously back when I began sewing. I should have skipped the pockets to save time, but that didn’t happen, and I’m actually okay with it. The pockets are nice. However, I did skip all the interfacing, and next time I might skip all the basting, too—except on the pockets.
It’s been a while since I last made an Itch to Stitch pattern and I forgot all the extra steps involved; however, the instructions are clear with helpful illustrations and they’re also designed well.
The Fabric
I went to Joann’s after work one evening knowing I would unearth a plethora of atrocious prints. One thing that was convenient when we lived in our apartment was Joann’s was about 5 minutes away. From our house, it’s at least a half hour and not worth the drive for me most of the time. I hate crowds and traffic, so I’m super content to shop online for my fabric. I’ve never found anything super compelling at Joann’s anyway, so no great loss.
Anyway, I got 3 yards of their basic Blizzard fleece: 1 yard of each ridiculous print. It was all on sale, thankfully, for about $5.99/yd. It’s two-way stretch and pretty thick.
For the pockets, I used a lightweight, stretchy, red, brushed knit I had leftover from something I can’t remember. Nice and soft, though, and very inviting for pockets.
The trim was some rogue leftover I randomly found which they couldn’t even ring up so they chucked it in my bag for free.
Notes for Next Time
- Really suppress the urge to make anything remotely refined. Cut holes in a paper bag and draw on it with some markers. That’s what it takes to win the sweater contest.
- I’m curious what a fleece Orono would feel like in one size up. This version is graded between sizes 0 and 2. I’m wondering if a 4 might be just a bit more cozy.
Project Settings
Presser Foot |
Stitch# |
Width |
Length |
Needle |
Top Thread Tension |
Application |
|---|---|---|---|---|---|---|
standard zig-zag (A) |
5 |
1.0 |
4 |
blue tip |
4 |
seams |
standard zig-zag (A) |
0 |
3.5 |
5 |
blue tip |
4 |
baste |
serger |
4-thread overlock |
— |
4? |
— |
default |
serged seams |
What brand of serger are you using to handle layers of fleece?
Hi Judy! I have a BabyLock Vibrant. I wrote a pretty in-depth review about it here: https://www.deborahjsews.com/juki-mo-654de-vs-baby-lock-vibrant-bl-460b-choosing-my-first-serger/