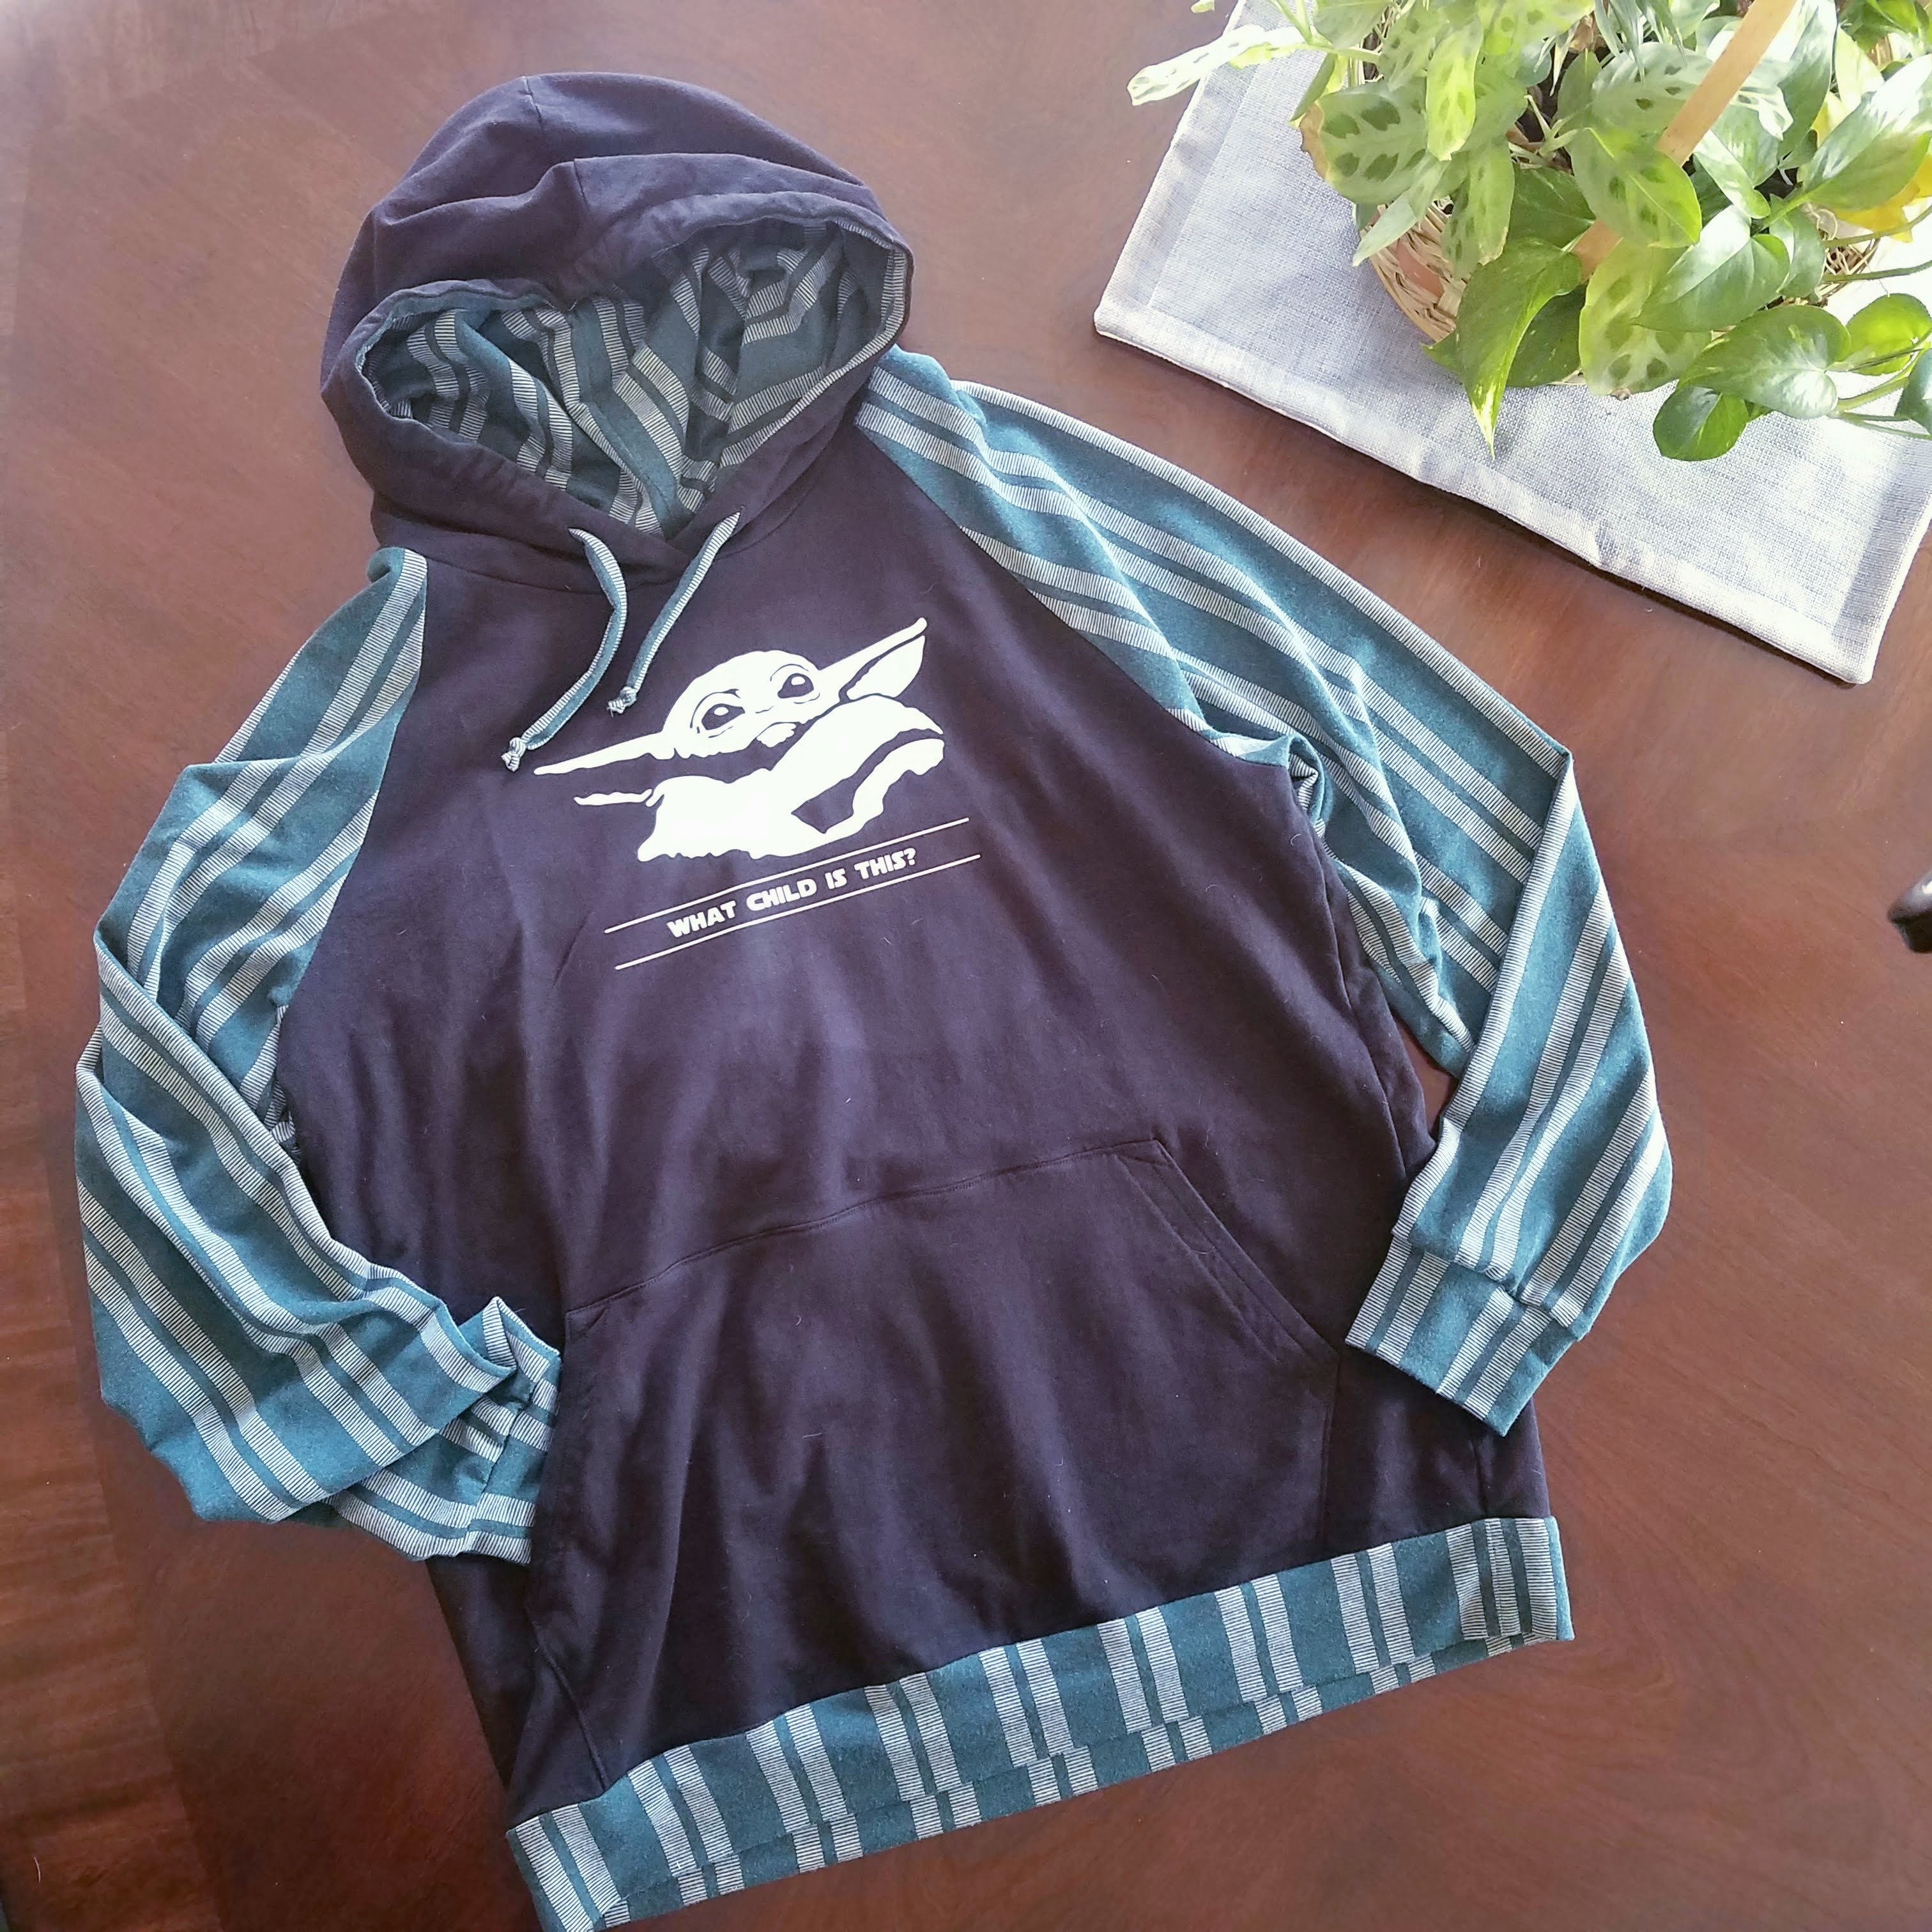
The Walker hoodie for men by Sinclair Patterns, featuring french terry and Siser Easyweed Stretch HTV
My first garment make for someone else is the Walker hoodie for men by Sinclair Patterns. Bonus baby Yoda brought to you courtesy of a shirt my husband saw online the other week and said he wanted but didn’t want to drop like $50 on it. So I made him his very own version for Christmas. To preserve the surprise, I did not take his measurements, but went with a straight size (44 large) from the tall version of the pattern. Hopefully he likes it.
Adding Baby Yoda

Put my graphic design skills to work to create an SVG of adorable baby Yoda in Illustrator. There were some snowflakes framing the “What child is this?” but I decided to remove them to make it less Christmas-specific.
I cut him out using my Cricut on some Siser Easyweed Stretch heat transfer vinyl from Brilliant Vinyl. It cuts perfectly using the built-in iron-on setting.
For the heat transfer, I set my iron between cotton and linen, laid the shirt on a solid piece of wood, and pressed firmly for 5-10 second intervals. You’re supposed to press for 20 seconds, but I wanted to be more gentle on the fabric, so I did multiple passes for shorter amounts of time.
Reviewing My Fabric Choices
Both fabrics are from Surge Fabrics. The black is a cotton/spandex french terry. There were other black french terry fabrics available, but I chose the cotton specifically because I knew I’d be doing an iron-on, and figured I would have better success with cotton vs. synthetic.
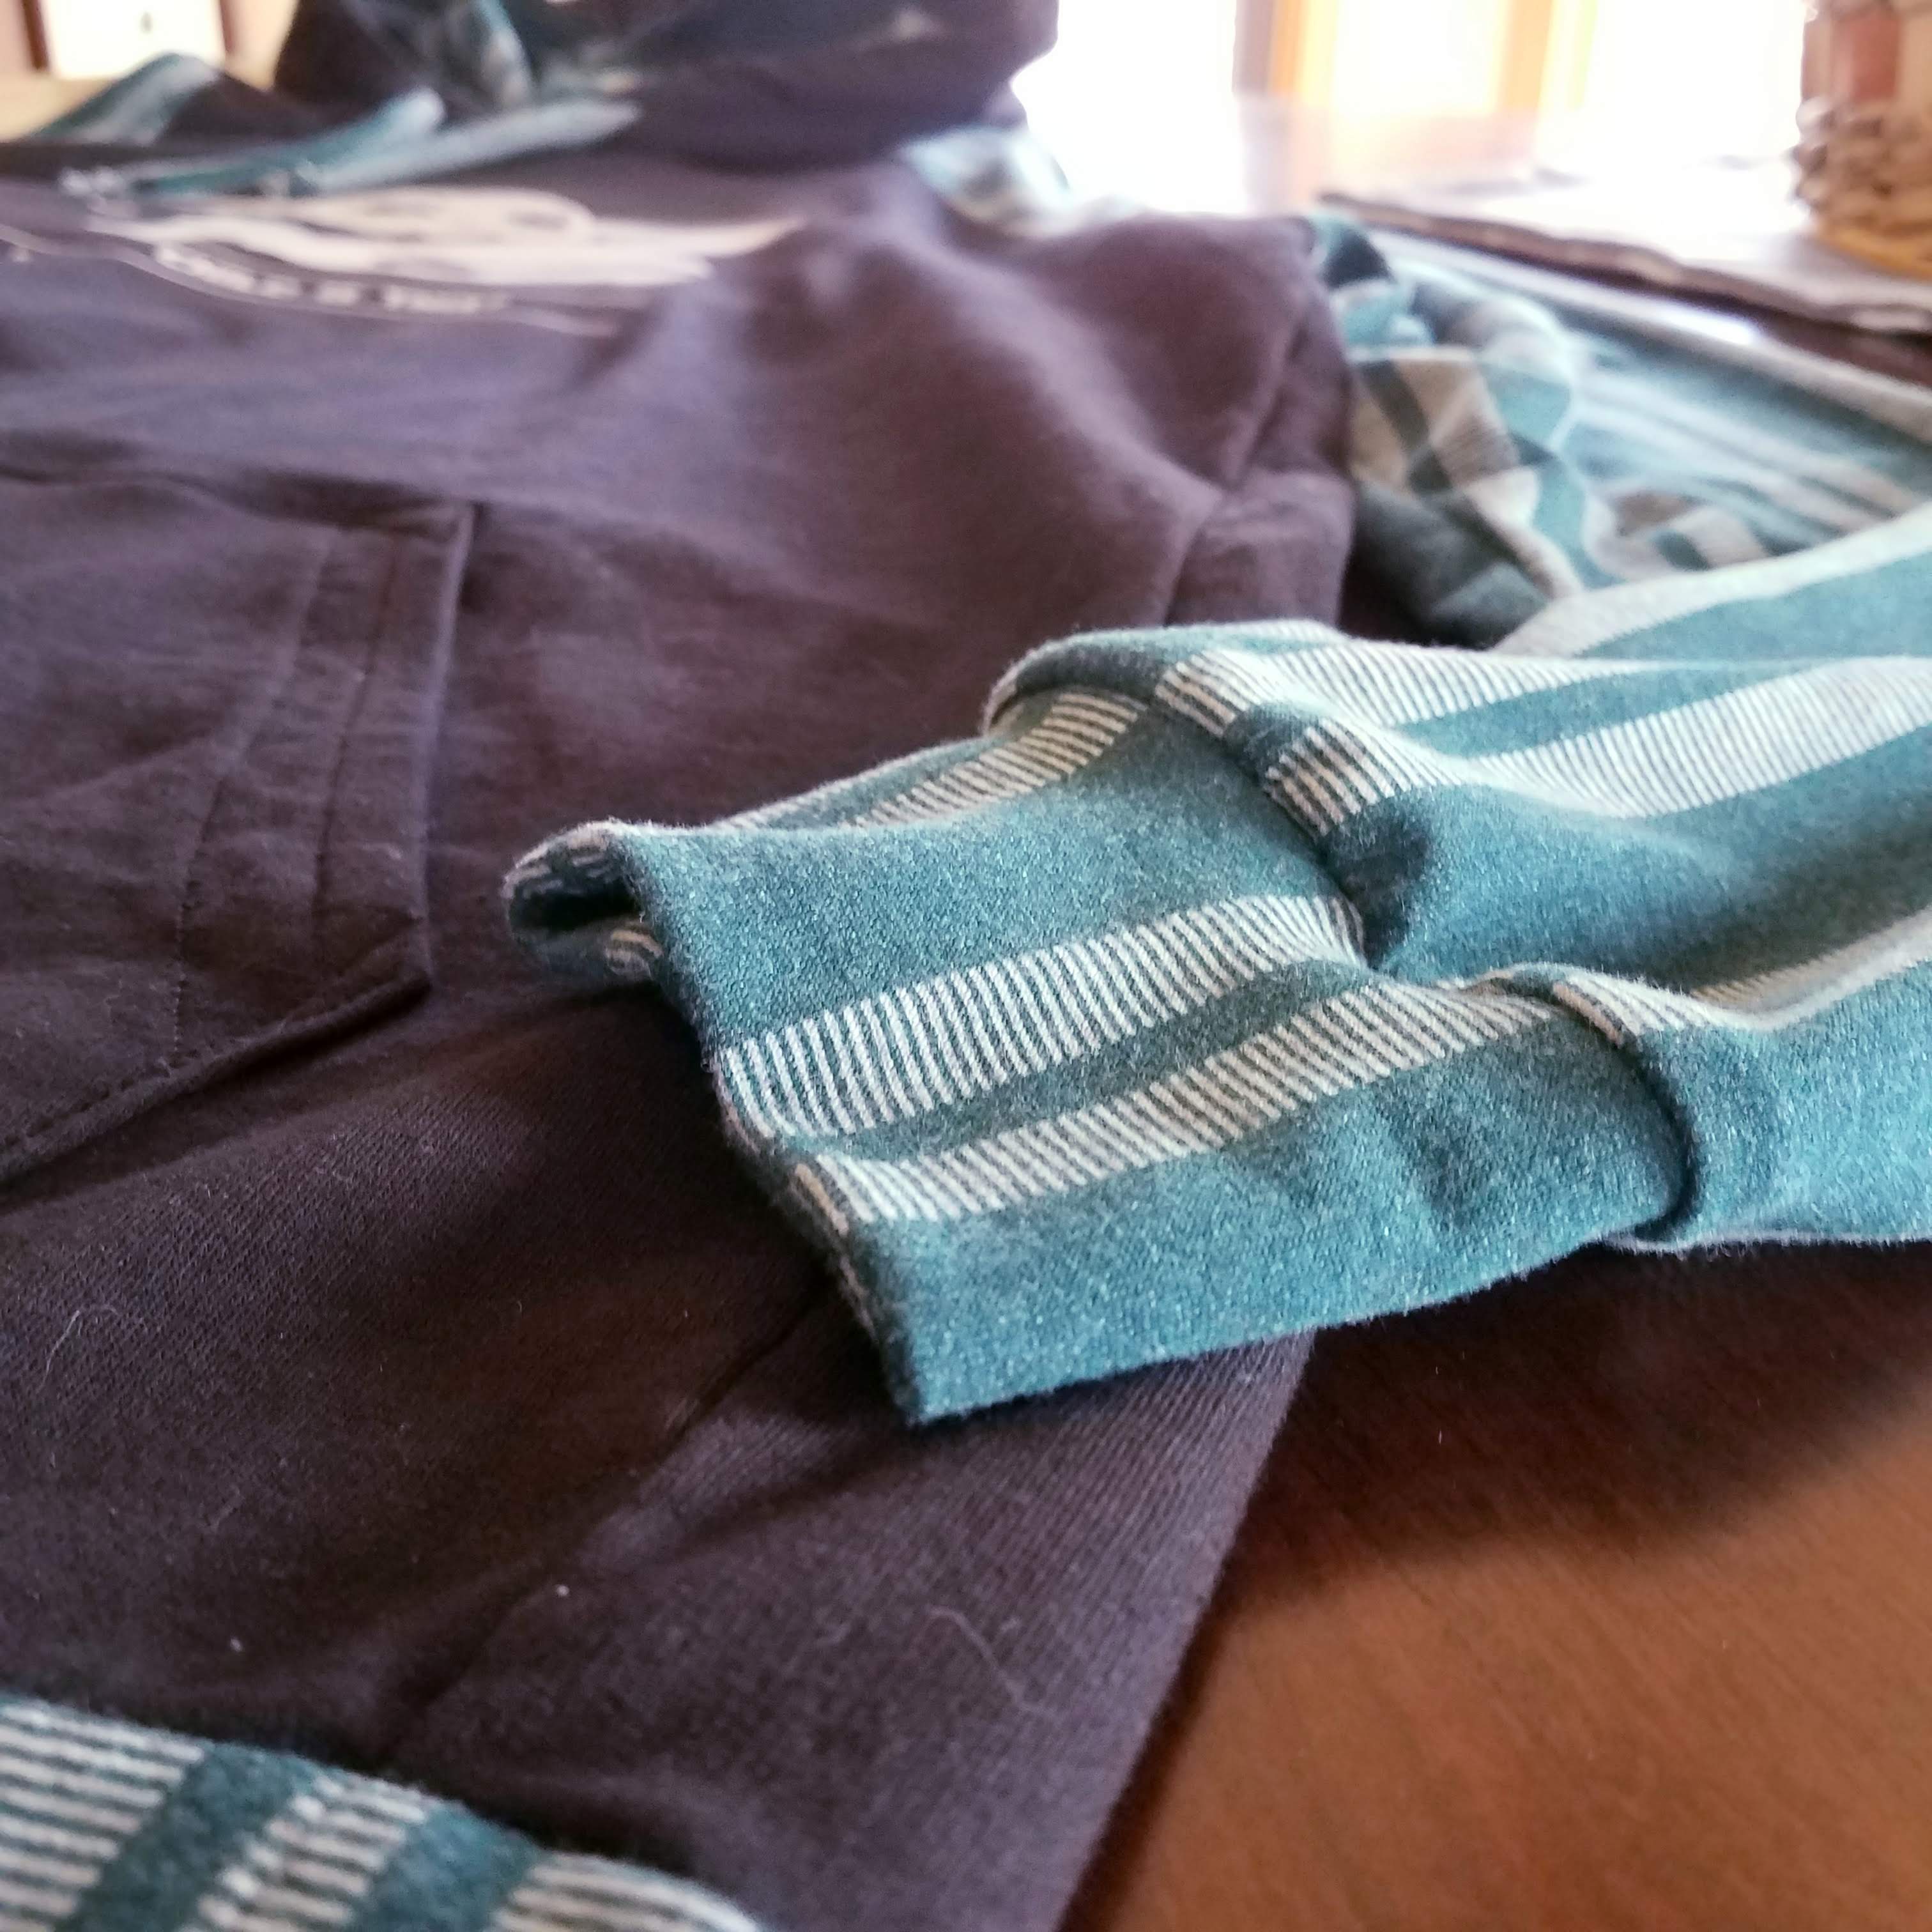
The hunter green vertical stripe french terry has a lot more drape to it than I anticipated. I was hoping for a bit more weight to it so the hoodie would be more structured, but that’s the risk with shopping for fabric online, especially when you’re still learning to qualify numeric fabric weights. 9 ounces literally holds no meaning for me yet.
Reviewing the Walker Pattern
I have a love/hate relationship with Sinclair patterns. I love the finished products; I hate the pattern instructions. They are not very well-written, logically-speaking. They’re thorough, but the phrasing is often awkward and directions are often confusing and involve a lot of back and forth, the layout of written steps and accompanying photos doesn’t flow very well, and the photos often don’t illustrate the steps very well (pictured fabrics don’t show a clear right/wrong side; hard to tell how she gets to the next photo from the previous photo, etc.)
I am constantly scribbling over and rewriting the directions as I go. For example:
With the right sides together match edges, pin and stitch at the outer edge 2 hood parts (6) cut from Main Fabric and 2 Hood parts cut from Lining at 7 mm / 1/4 inch seam allowance, using zig-zag or stretch seam (sewing machine) or 4-threads overlock seam (serger).
*twitches* Must rewrite.
With right sides together, match raw edges of the 2 Main Fabric hood parts (pattern piece #6). Pin and stitch the large curved edge using a 7mm (1/4 in) seam allowance with a zig-zag or stretch stitch (sewing machine), or 4-threads overlock seam (serger.) Repeat with 2 Lining Fabric hood parts (pattern piece #6).
(This is my INTJ personality rearing it’s head. I’m kind of not even sorry.)
I found the last step (attaching the bottom band) to be problematic. I feel like the pattern piece for the band should be deeper to allow for a larger seam allowance. That would make it easier to catch the pocket layer in the seam and allow some room for error in case the bottom raw edge of the pocket doesn’t line up exactly with the bottom raw edge of the bodice. 1/4 inch seam allowance is virtually no room at all to allow for that.
I also don’t understand why the seam allowances are so tiny. Why can’t they be at least half an inch?
Finally, I had to add 2 notch marks to the pattern pieces for the center of the front and back bodice. This helps with lining up and attaching the hood in a later step.
Things of Note
I used the buttonhole option for the drawstring openings. Very important: USE STABILIZER. Otherwise, the stretchiness of the french terry will bunch up under the buttonhole foot and fubar the whole buttonhole. Yeah, that happened. I had to cut a whole new hood piece.
Project Settings
Presser Foot |
Stitch# |
Width |
Length |
Needle |
Top Thread Tension |
Application |
|---|---|---|---|---|---|---|
standard zig-zag (A) |
5 |
1.0 |
3.5 |
blue tip |
4 |
seams |
overedge (C) |
6 |
5.0 |
2.0 |
blue tip |
6-7 |
edge finish |
buttonhole (R) |
18 |
– |
– |
blue tip |
4 |
drawstring opening |
applique (F) |
1 |
3.5 |
3 |
blue tip |
4 |
hood topstitch & casing |
applique (F) |
5 |
1.0 |
3.5 |
blue tip |
4 |
attaching sleeve cuffs |
Leave a Reply