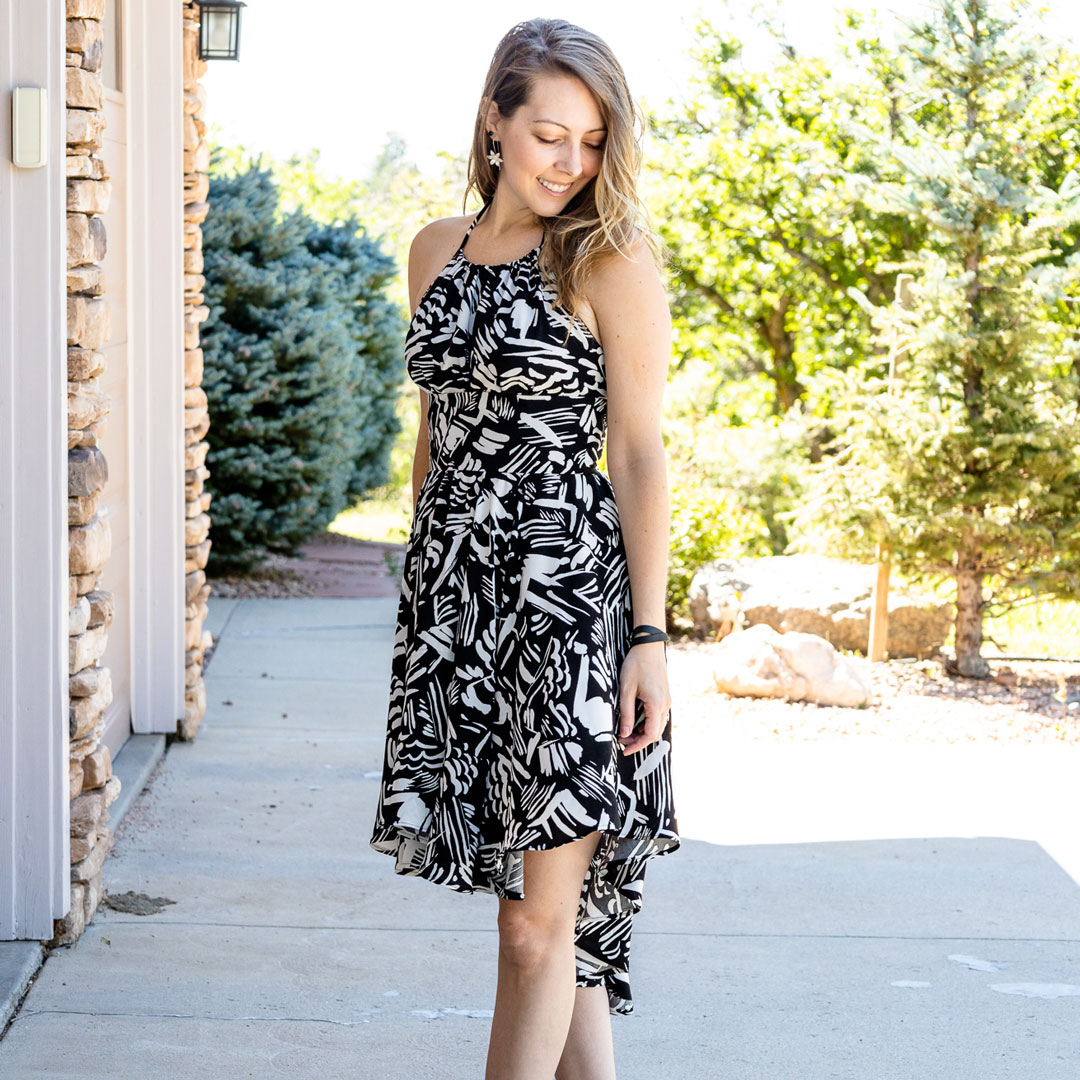
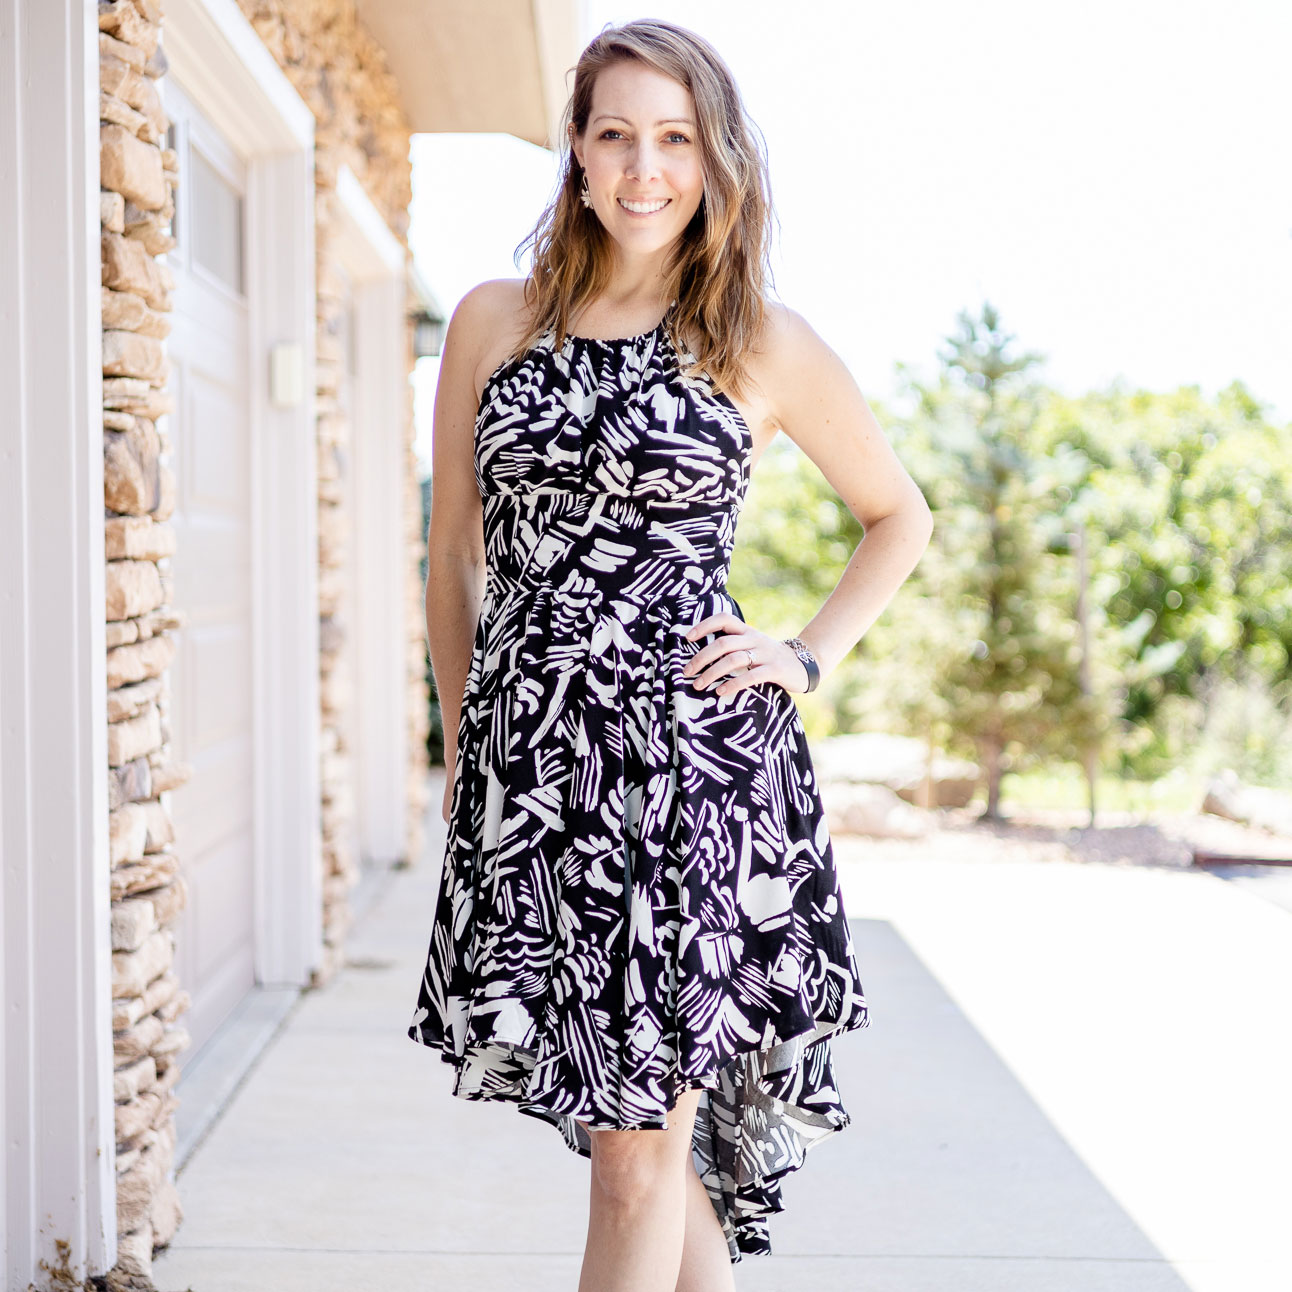
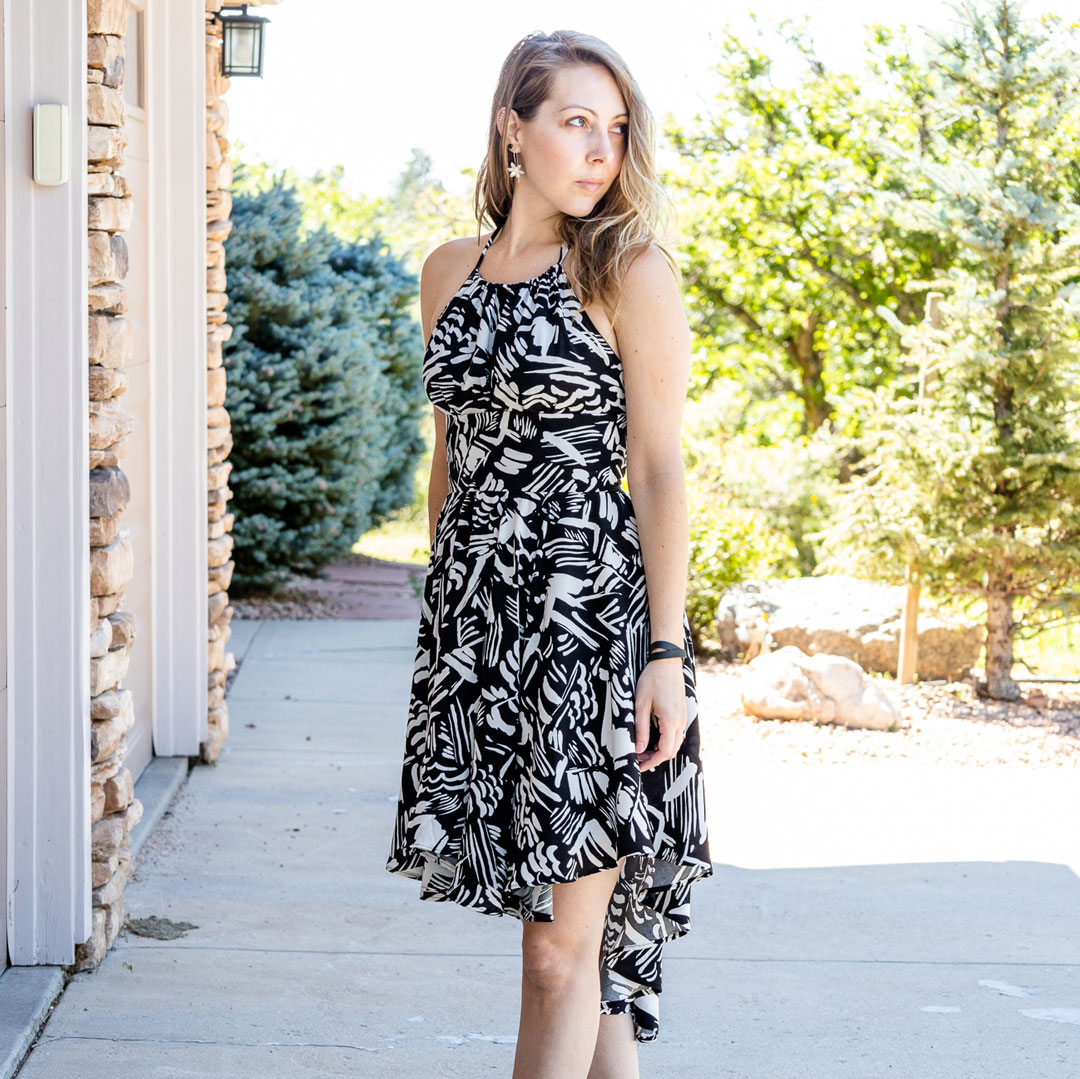
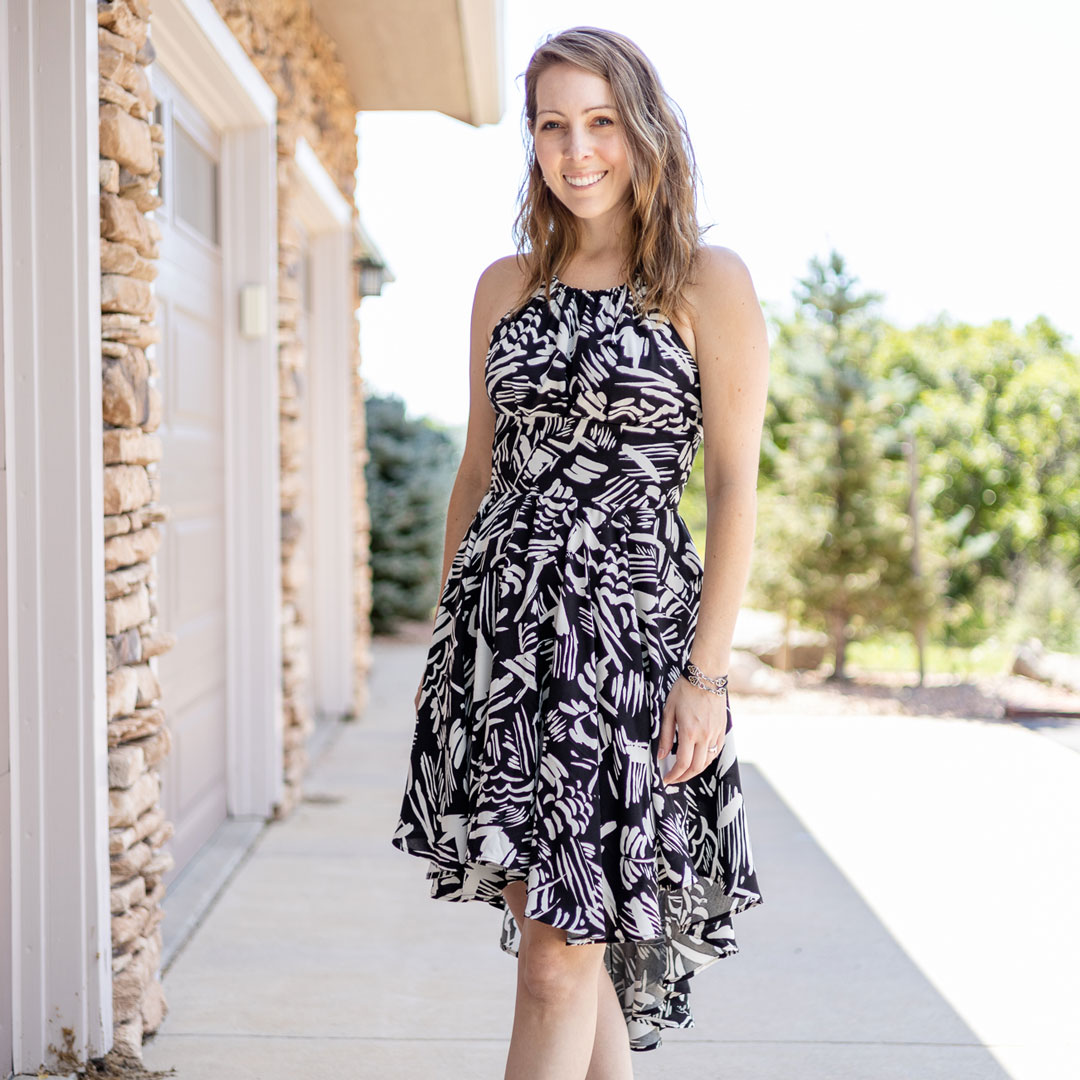
So many Avas have I made! Okay, maybe not so many. Regardless, here’s another one. I almost always prefer knit fabric, but this one is woven for the sake of that awesome fabric. I love abstract and geometric prints, and black and white is such a timeless color scheme. I sewed this up as an option for an upcoming event I’m attending in September. I have a bolero planned to possibly pair with it, but I also have another idea for a different dress and a self-drafted shawl.
About the Fabric
Main
4 yards Ink Drawing Rayon Voile from Blackbird Fabrics
- Content: 100% Rayon
- Weight: 115gsm / 3.3oz
- Opacity: Semi-Opaque
- Drape: Fluid
- Country of Origin: China
This was the first fabric I ordered from this shop. They stock some really eye-catching stuff now and then, but they are on the pricier side, and they’re in Canada and they’re still playing that dumb mask theater. But whatevs—it’s their prerogative to live in fear. Putting that aside and just looking at them for their fabric, they have unique and tasteful stuff!
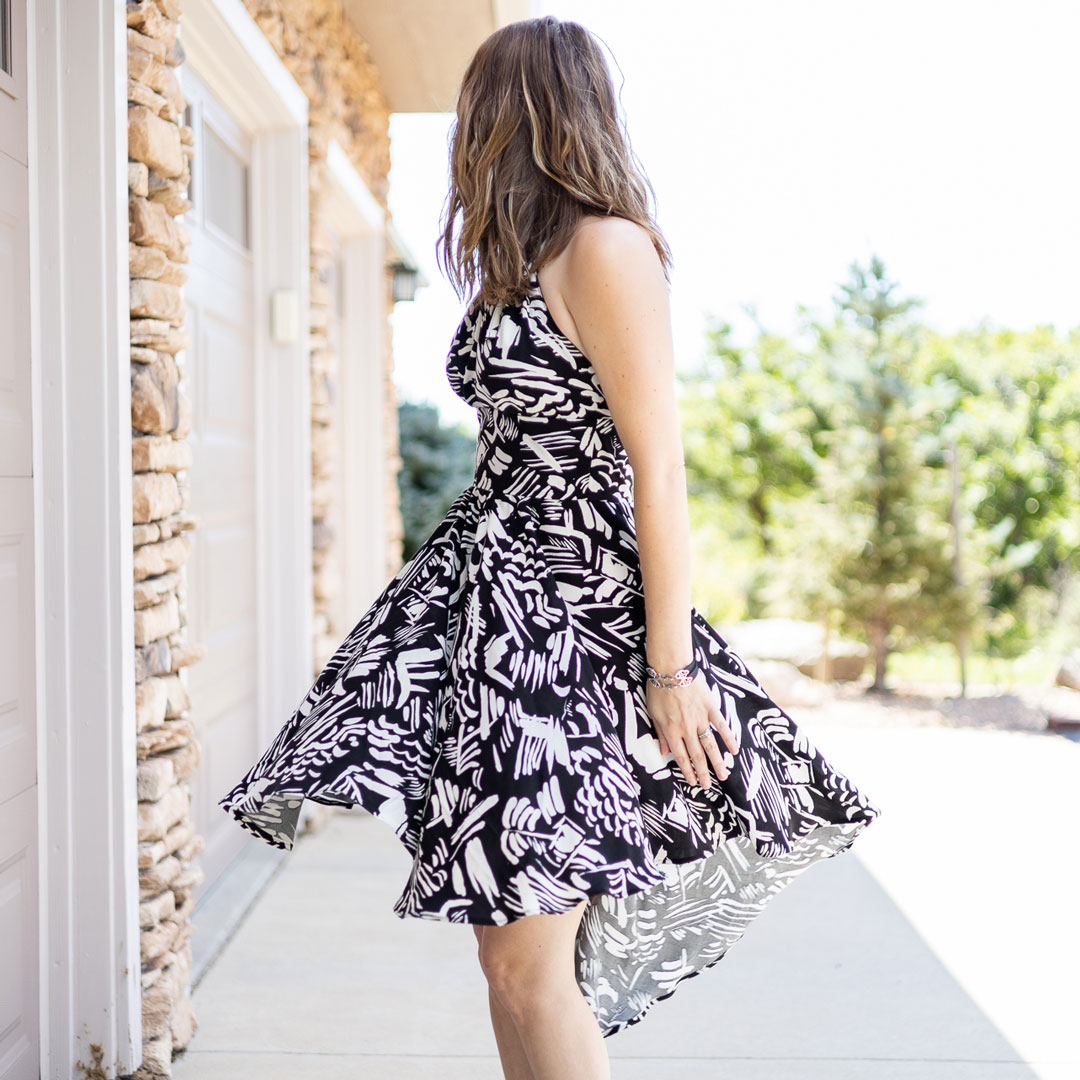
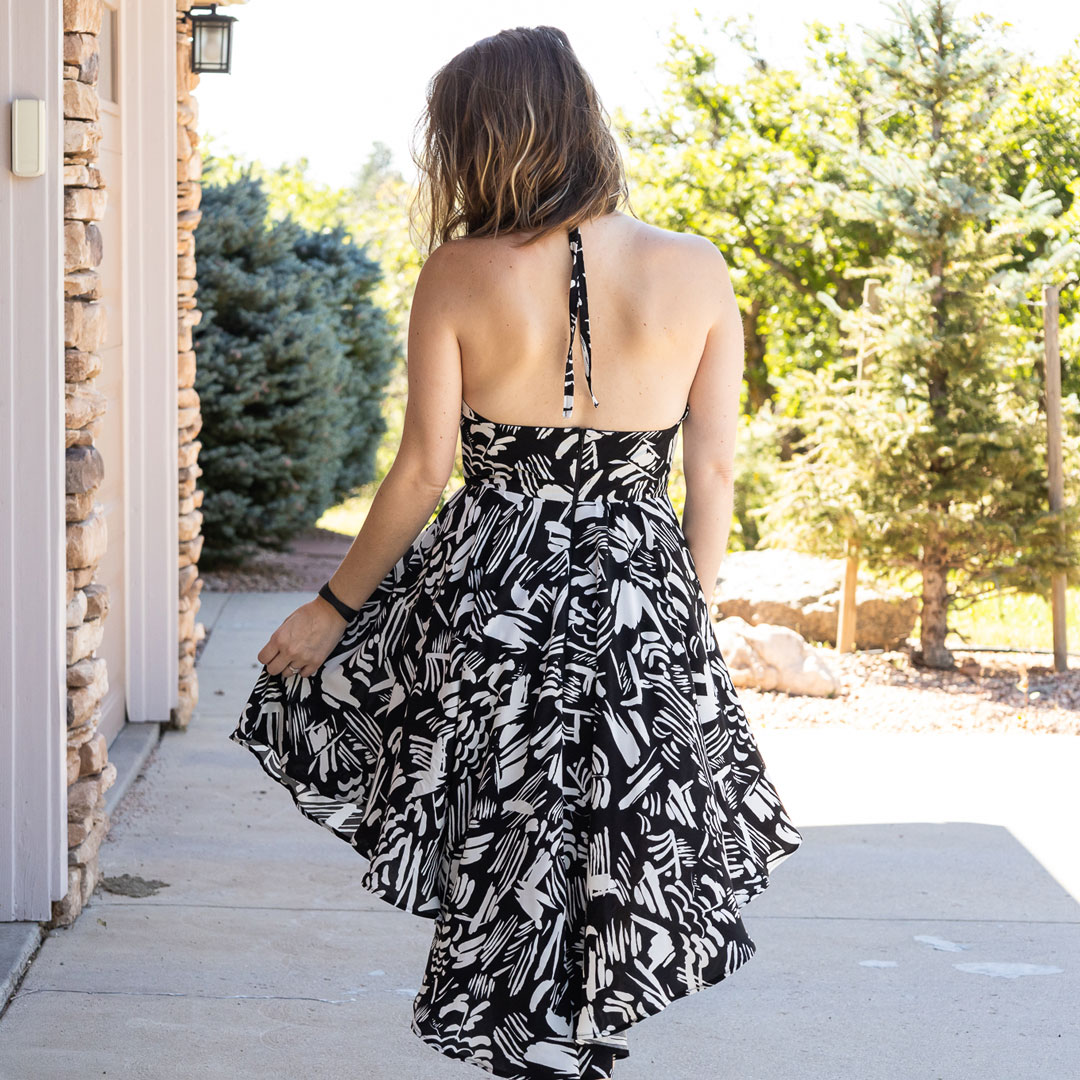
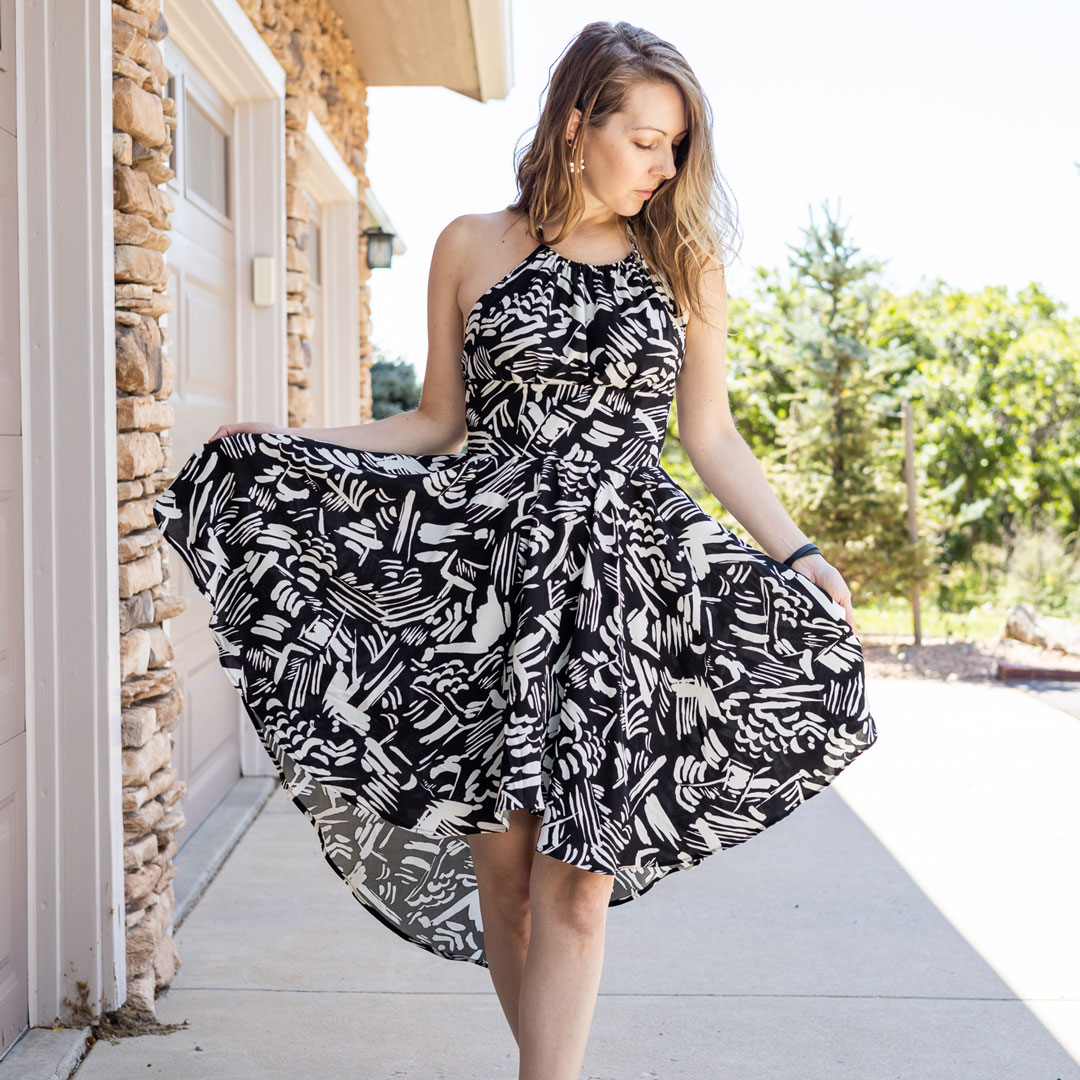
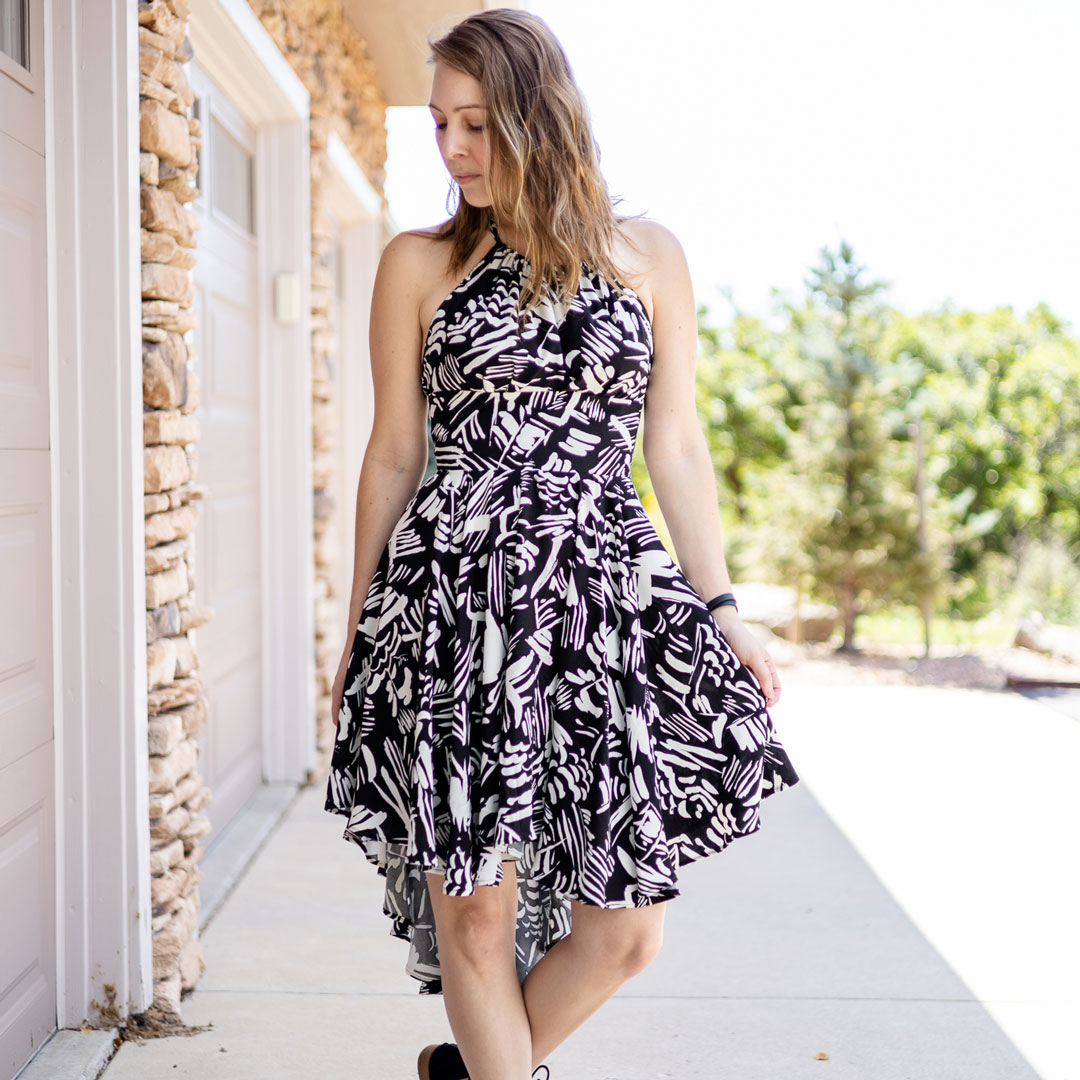
This rayon voile is a perfect summer lightweight. It floats away from the body, giving it some epic twirl factor. Pro tip: wear some underwear you wouldn’t mind flashing in the event of a rogue breeze.
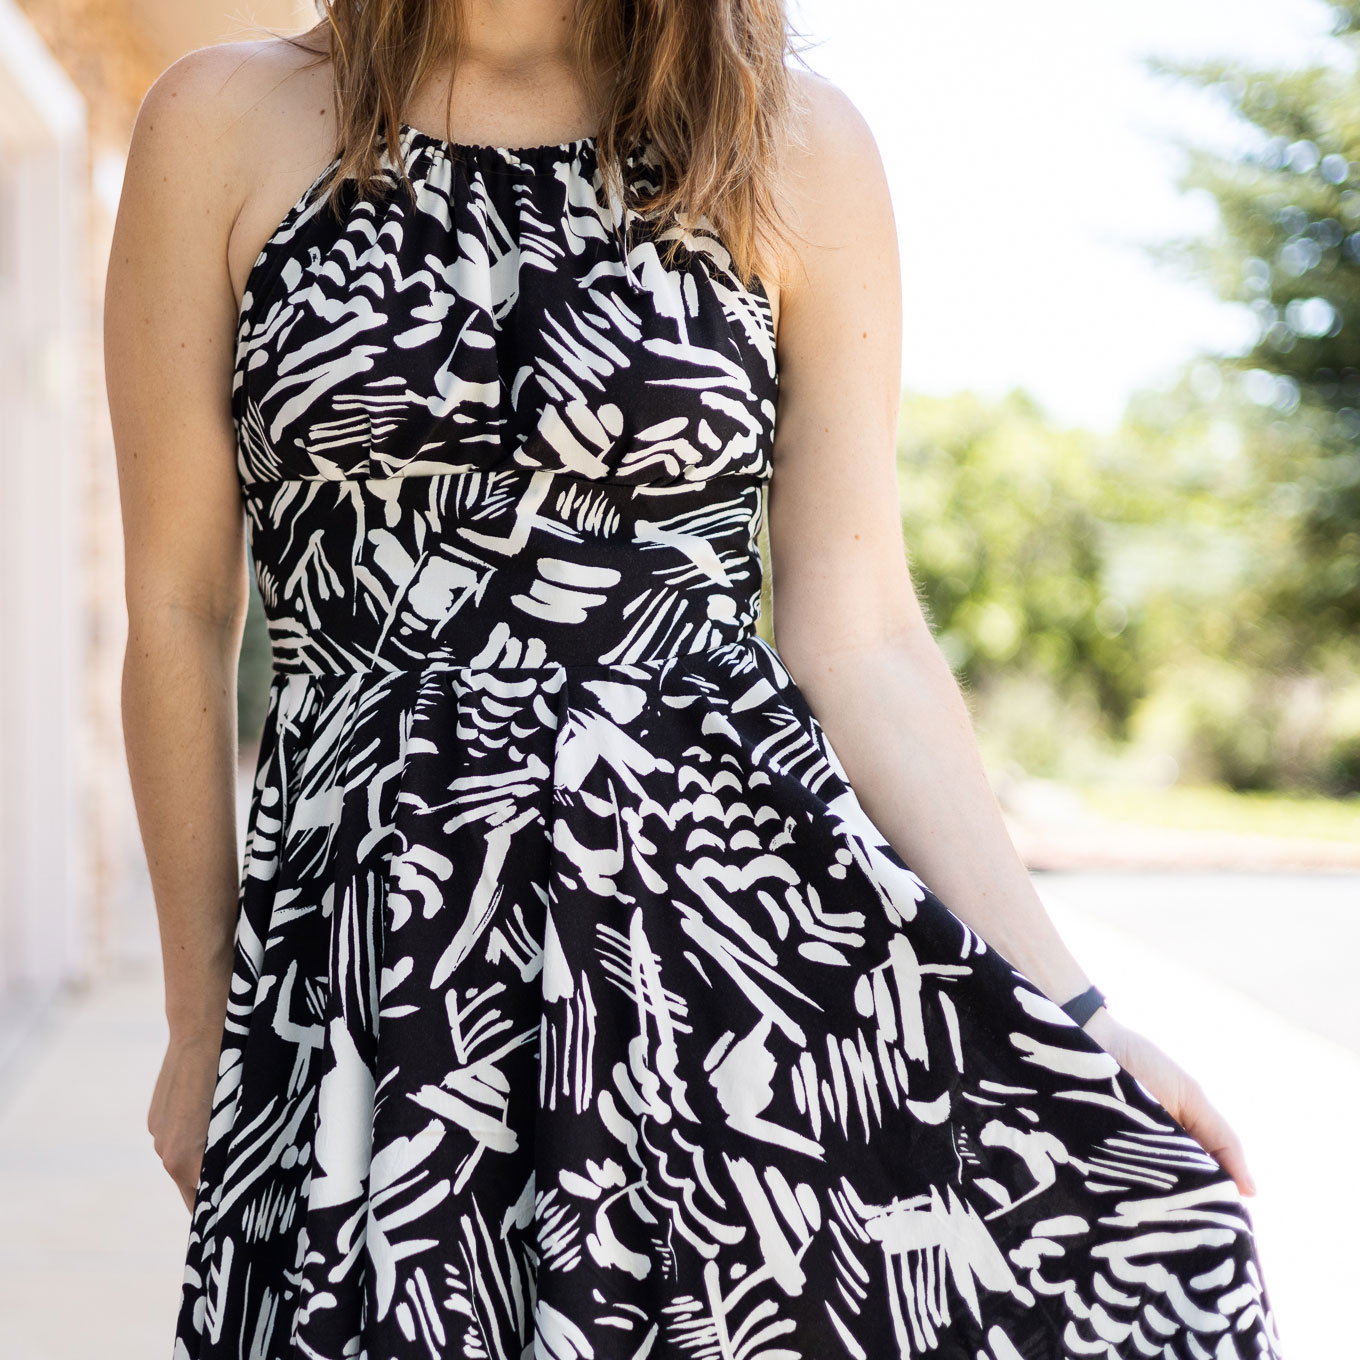
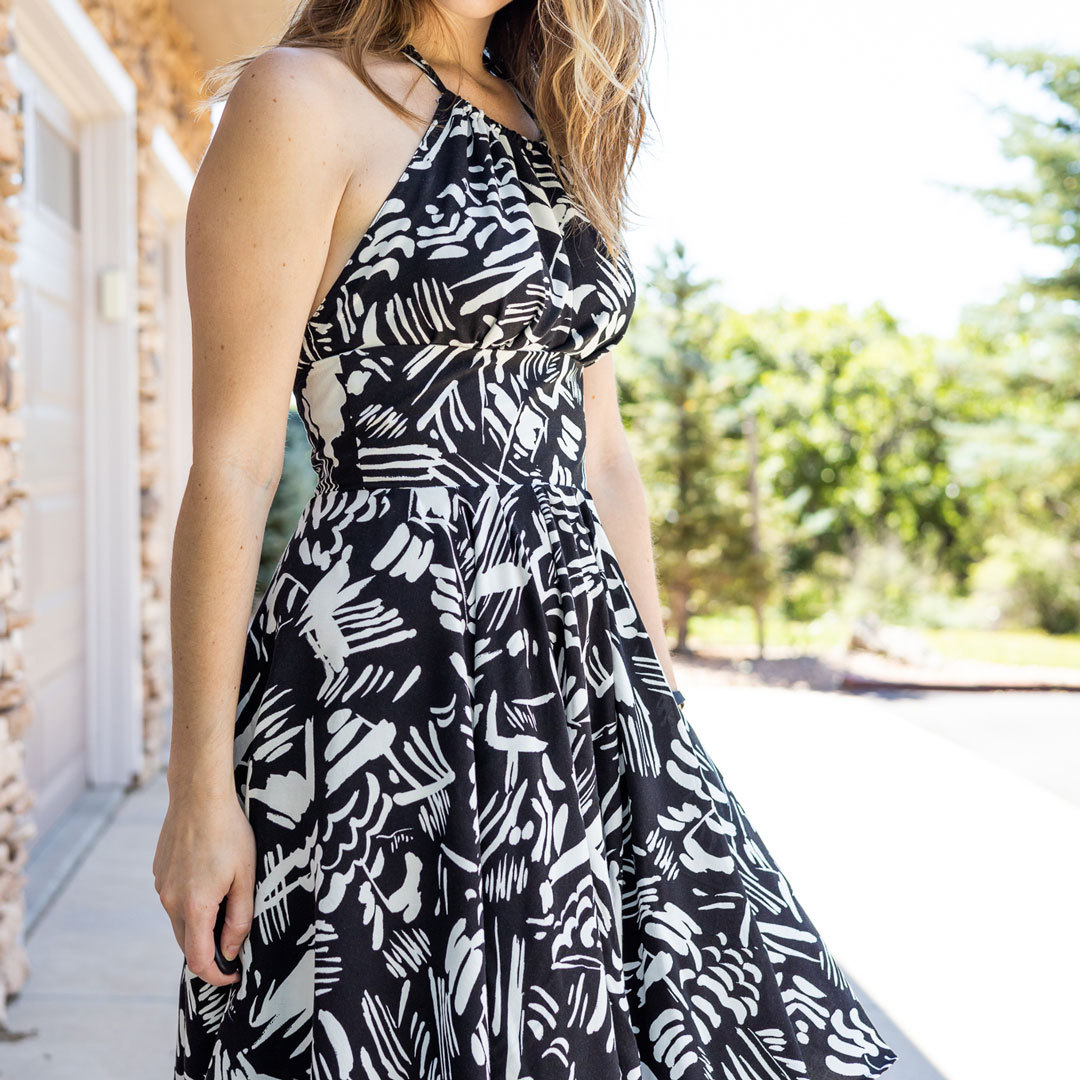
As far as working with this fabric, it was a little on the shifty side. I had to take care to keep edges unskewed. The interfacing on the waistband and lining on the bodice helps mitigate that.
Lining
Uhhh…trying to remember… Maybe Mood?
3 yards Black Polyester Lining
- Content 100% Polyester
- Industry Weight 2.82 oz/yd
Nothing to write home about. It’s a smooth, lightweight black lining. It has a pretty structured drape compared to the voile, but it serves its purpose in lining the bodice.
About This Make
The Ava Sundress is a free pattern (wuuut?!) previously found on Love Sewing Mag’s website (which appears to have gone defunct?). It seems to live at Craft World now which requires a login to view, but looks like setting up an account is free. I haven’t done that, so I’m not sure if that lets you through the gate to obtain the pattern or not. If it does, it’s worth it! It’s one of my favorite patterns. The instructions are a bit cringe-y, but I made a whole post with photos to help supplement them and clean them up. Enjoy.
Specs
- Used a custom in-between size between XS and S on the bodice
- Self-drafted the circle skirt using a little math
- Measured the length of the front and back waistbands and added them together to get the circumference of the bottom of the waistband.
- Used the good old circumference formula (C=πd) to find the diameter of the skirt opening at the waist.
- Decided I wanted a 20.5″ fall at the front, and a 32.5″ fall at the back with a narrow hem.
- Drafted the skirt up in Illustrator using the numbers above. PDF
- Everything else was per the instructions.
I considered lining the skirt, but decided against it. Unless I had fully sewn the lining to the skirt, I imagined it would look weird to be hanging loose on a high-low silhouette. I might conjure up some kind of above-the-knee petticoat, but I’m not completely sold on that.
What I Did Differently
- I skipped all the staystitching. Turns out fine without it.
- I sewed a halter strap instead of using ribbon as the instructions say.
Notes for Next Time
- The shape of the skirt may need some tweaking along the sides. The hemline looks off to me. I kept it at 20.5″ at the front and sides and then graded out to the 32.5″ at the back. I think I need to start grading closer to the front. (The above linked PDF has this tweak applied.)
- I had to gather the waistline of the skirt just slightly to fit it to the waistband. I hadn’t wanted to do that, so I need to figure out how to fit it smoothly at that seam, or commit to more gathers—or possibly some strategically placed pleats. (I’m leaning toward pleats at this moment.)
- The bottom of my zipper is kind of a joke. I ended up slip-stitching by hand because I didn’t take the time to learn how to properly transition from the bottom of a zipper to a regular seam. (I need to do that. I seem to have figured it out the first time I made this dress—and I did it pretty freakin’ well!—but that must be one of the things that has fallen out of my brain.)
- For an extra-nice finish, try angling the ends of the strap.


A Note on the Photos
← Meet my Canon EOS RP. There it is in this photo I took of me taking a photo of me taking my first photo with it. Twas momentous.
I’m so excited to up my photo game. I definitely got it to showcase my sewing better, but there is also just an insane amount of astoundingly beautiful things to capture where I live. And I am just a girl who loves to learn new things and make stuff. So I’m learning photography. And I’m already feeling way more legit compared to setting my phone up on a chintzy tripod and grabbing stills off a video while desperately craving a tasty, shallow depth of field.
That ship has sailed.
Project Settings
Sewing Machine vs. Serger
| Sewing Machine | Serger |
|---|---|
|
|
Sewing Machine Settings
| Presser Foot | Stitch# | Stitch Width | Stitch Length | Needle | Top Thread Tension | Application |
|---|---|---|---|---|---|---|
| standard zig-zag (A) | 1 | 3.5 | 3.5 | 75/11 | 4 | seams |
| standard zig-zag (A) | 1 | 1.5 | 3.5 | 75/11 | 4 | casing |
| standard zig-zag (A) | 0 | 3.5 | 5 | 75/11 | 4 | baste |
| overedge (C) | 1 | 3.5 | 3.5 | 75/11 | 4 | edgestitch |
| overedge (C) | 1 | 1 | 3.5 | 75/11 | 4 | strap |
| overedge (C) | 1 | 3.5 | 3.5 | 75/11 | 4 | hem |
| zipper (E) | 1 | 3.5 | 3.5 | 75/11 | 4 | zipper |
Serger Settings
| Stitch Name | 4-thread overlock |
|---|---|
| Needles | R, L |
| Finger | B |
| Threads | 4 |
| Tension Left Needle | 2.5 |
| Tension Right Needle | 2.5 |
| Tension Upper Looper | 3 |
| Tension Lower Looper | 3 |
| Cut Width | 6 |
| Stitch Length | 2.5 |
| Differential | 1.0 |
| Application | seams |
Leave a Reply