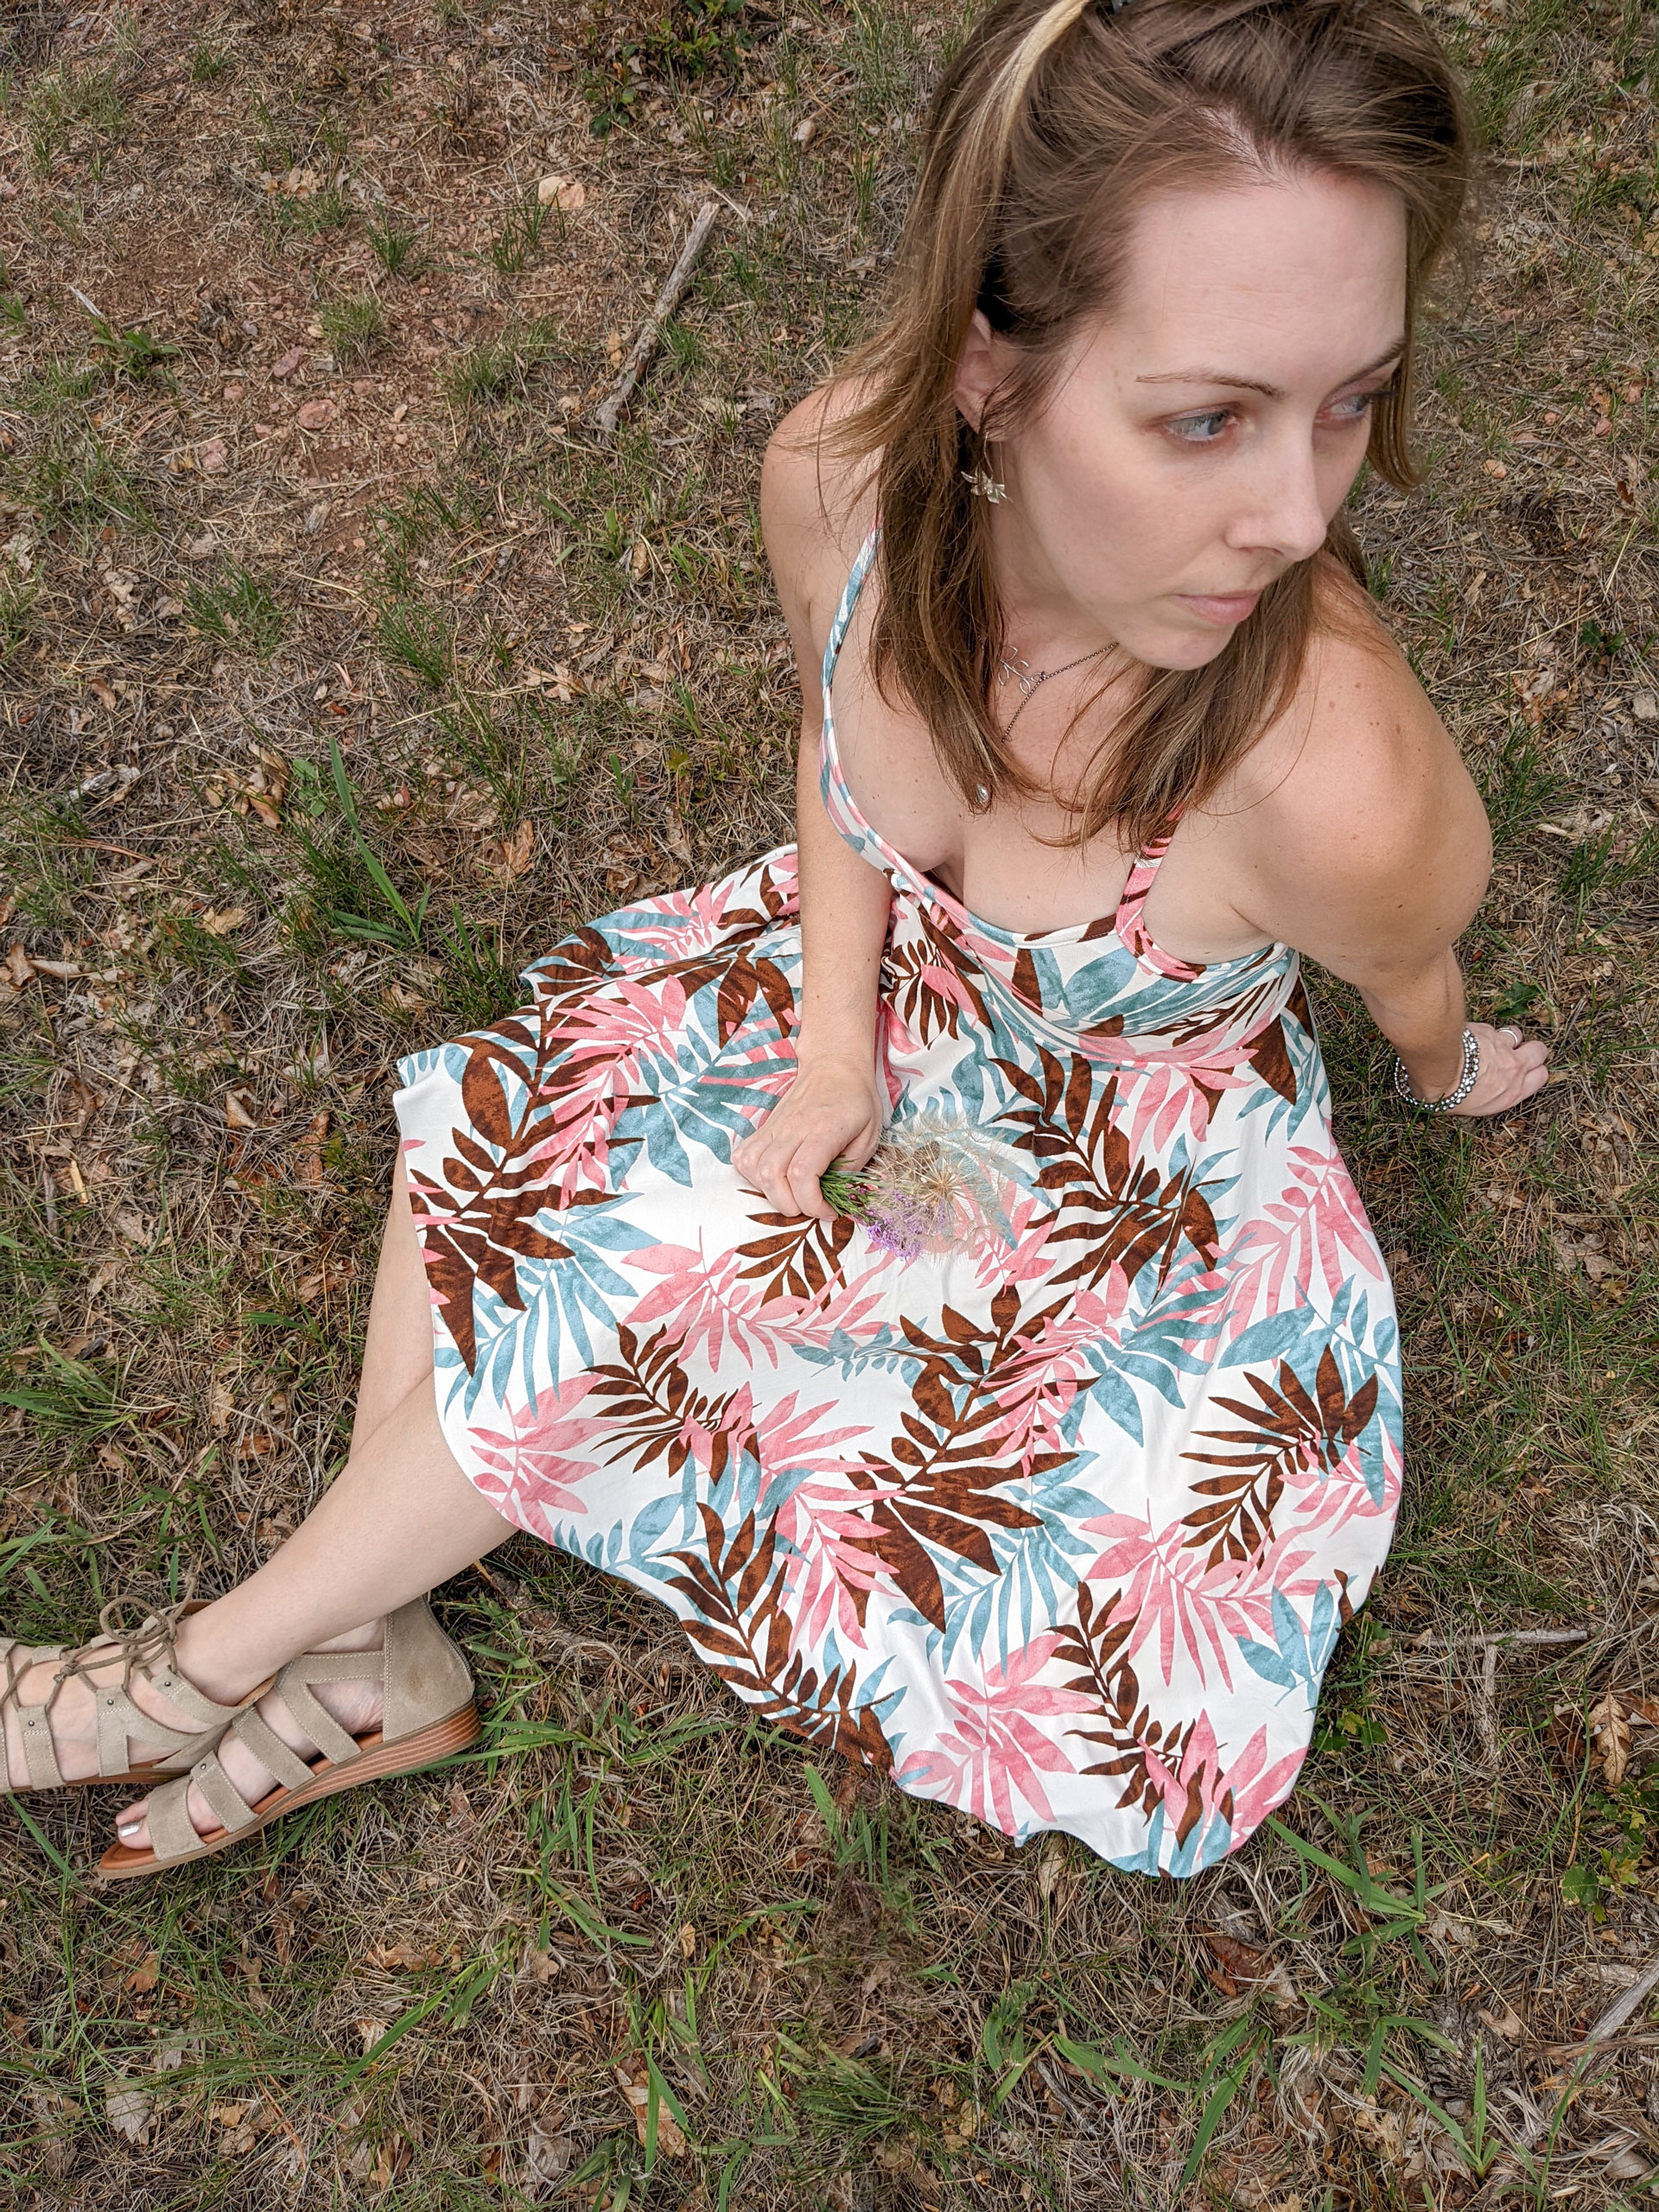
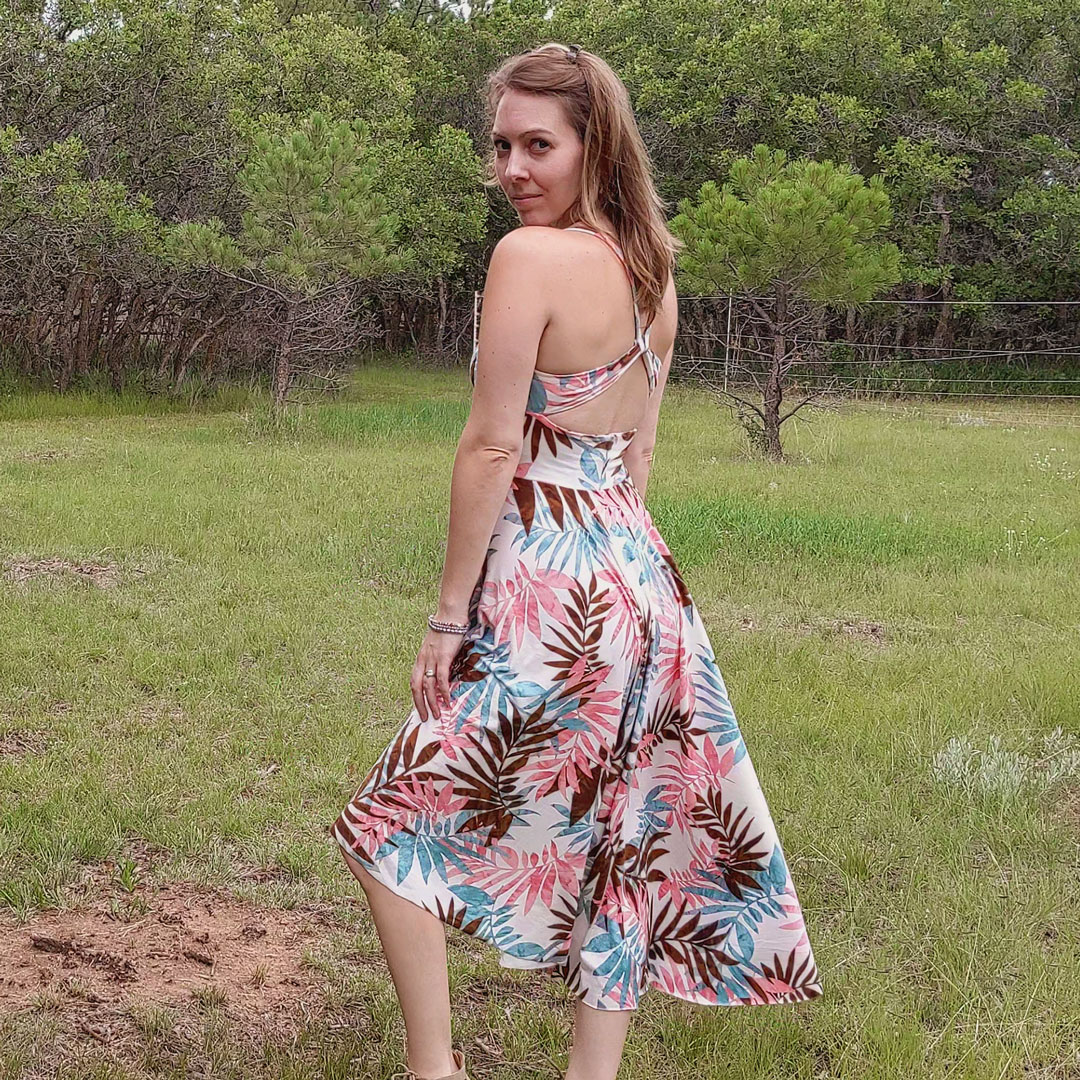
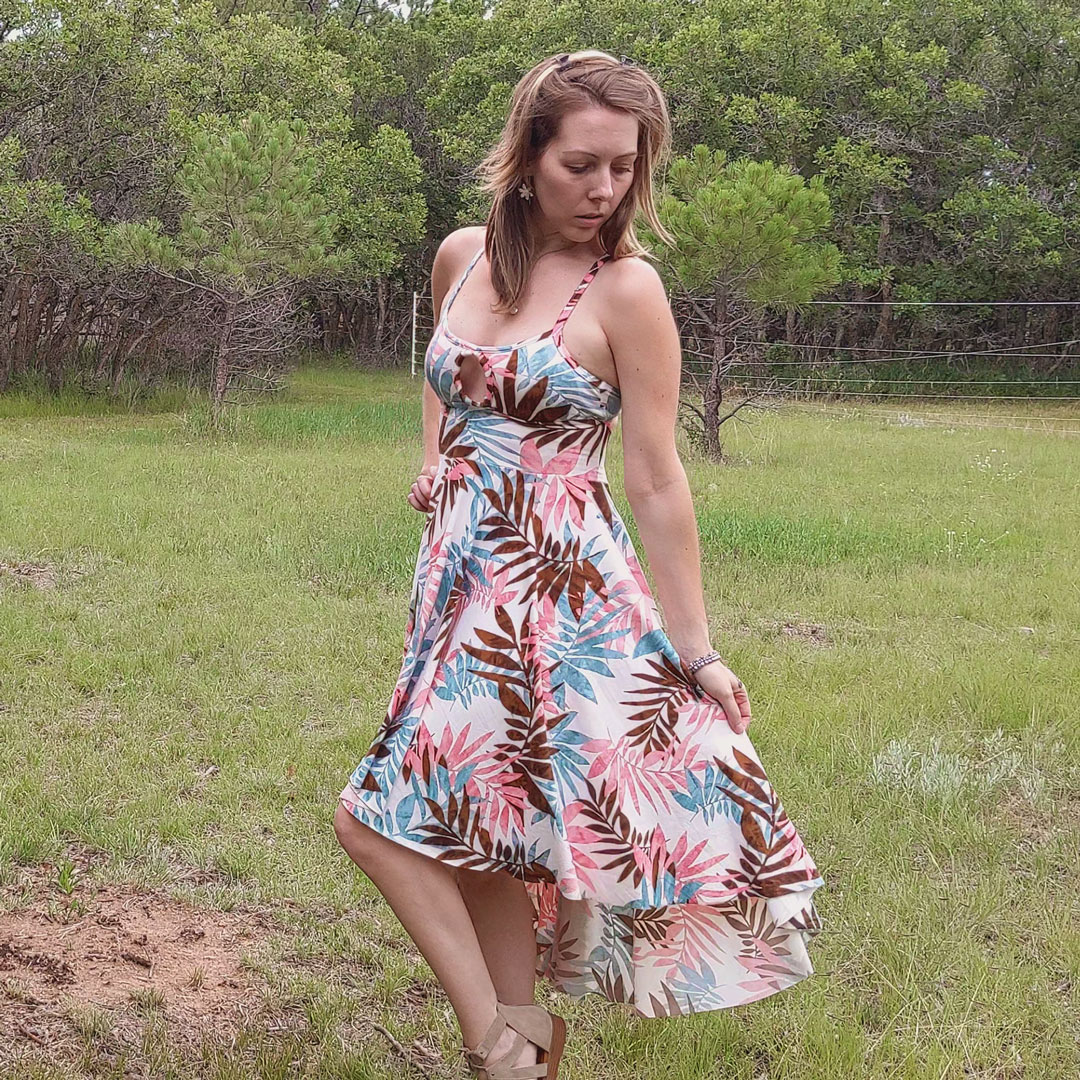
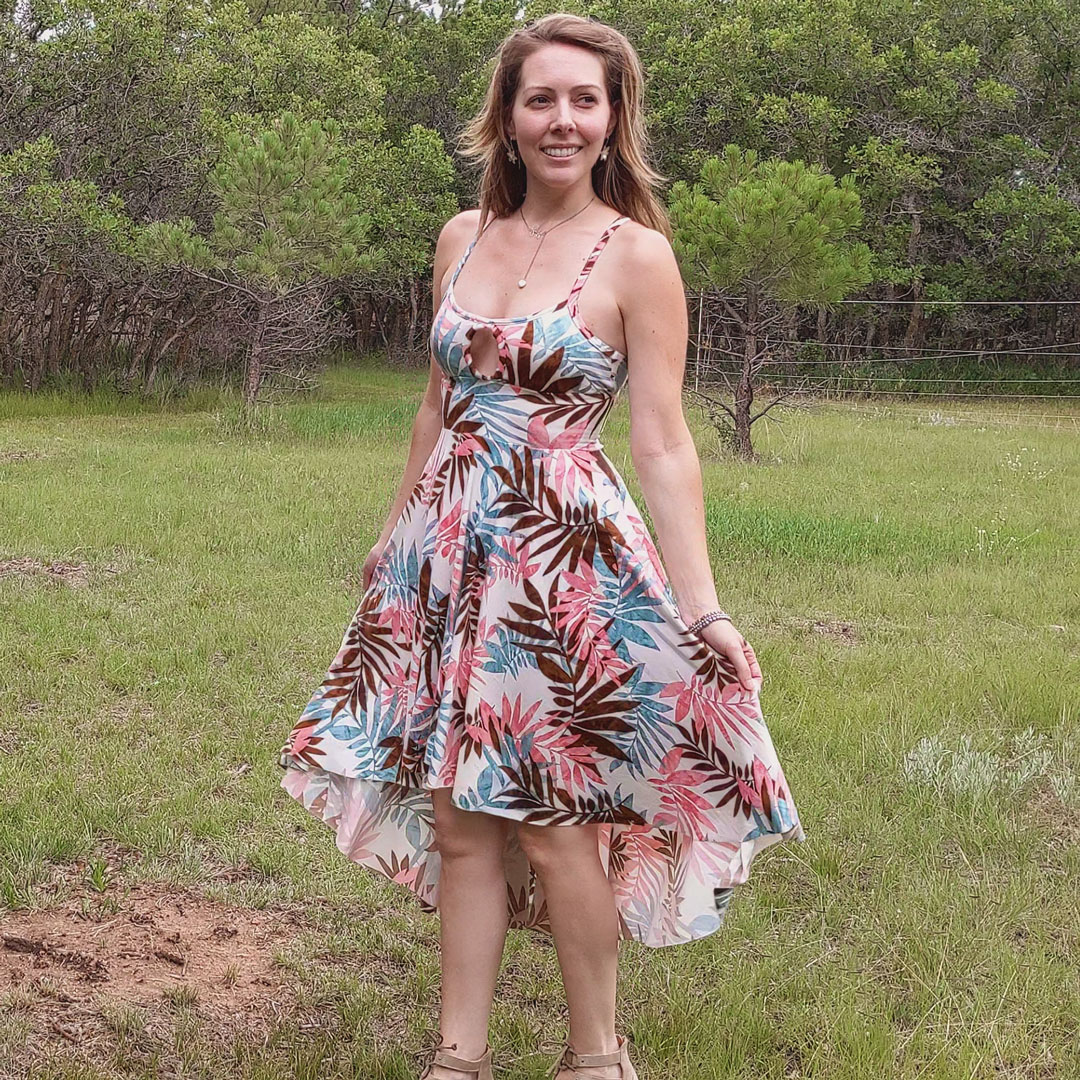
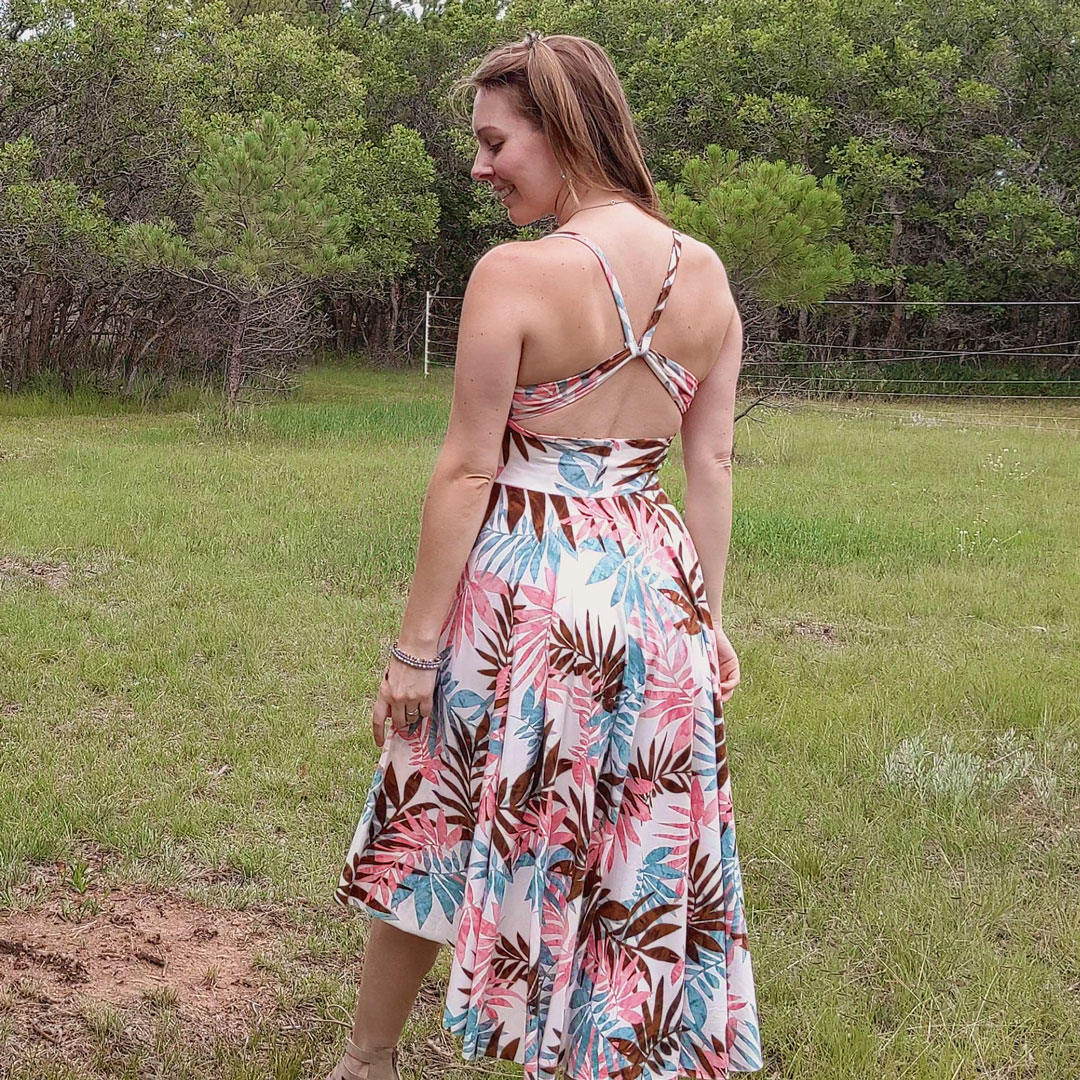
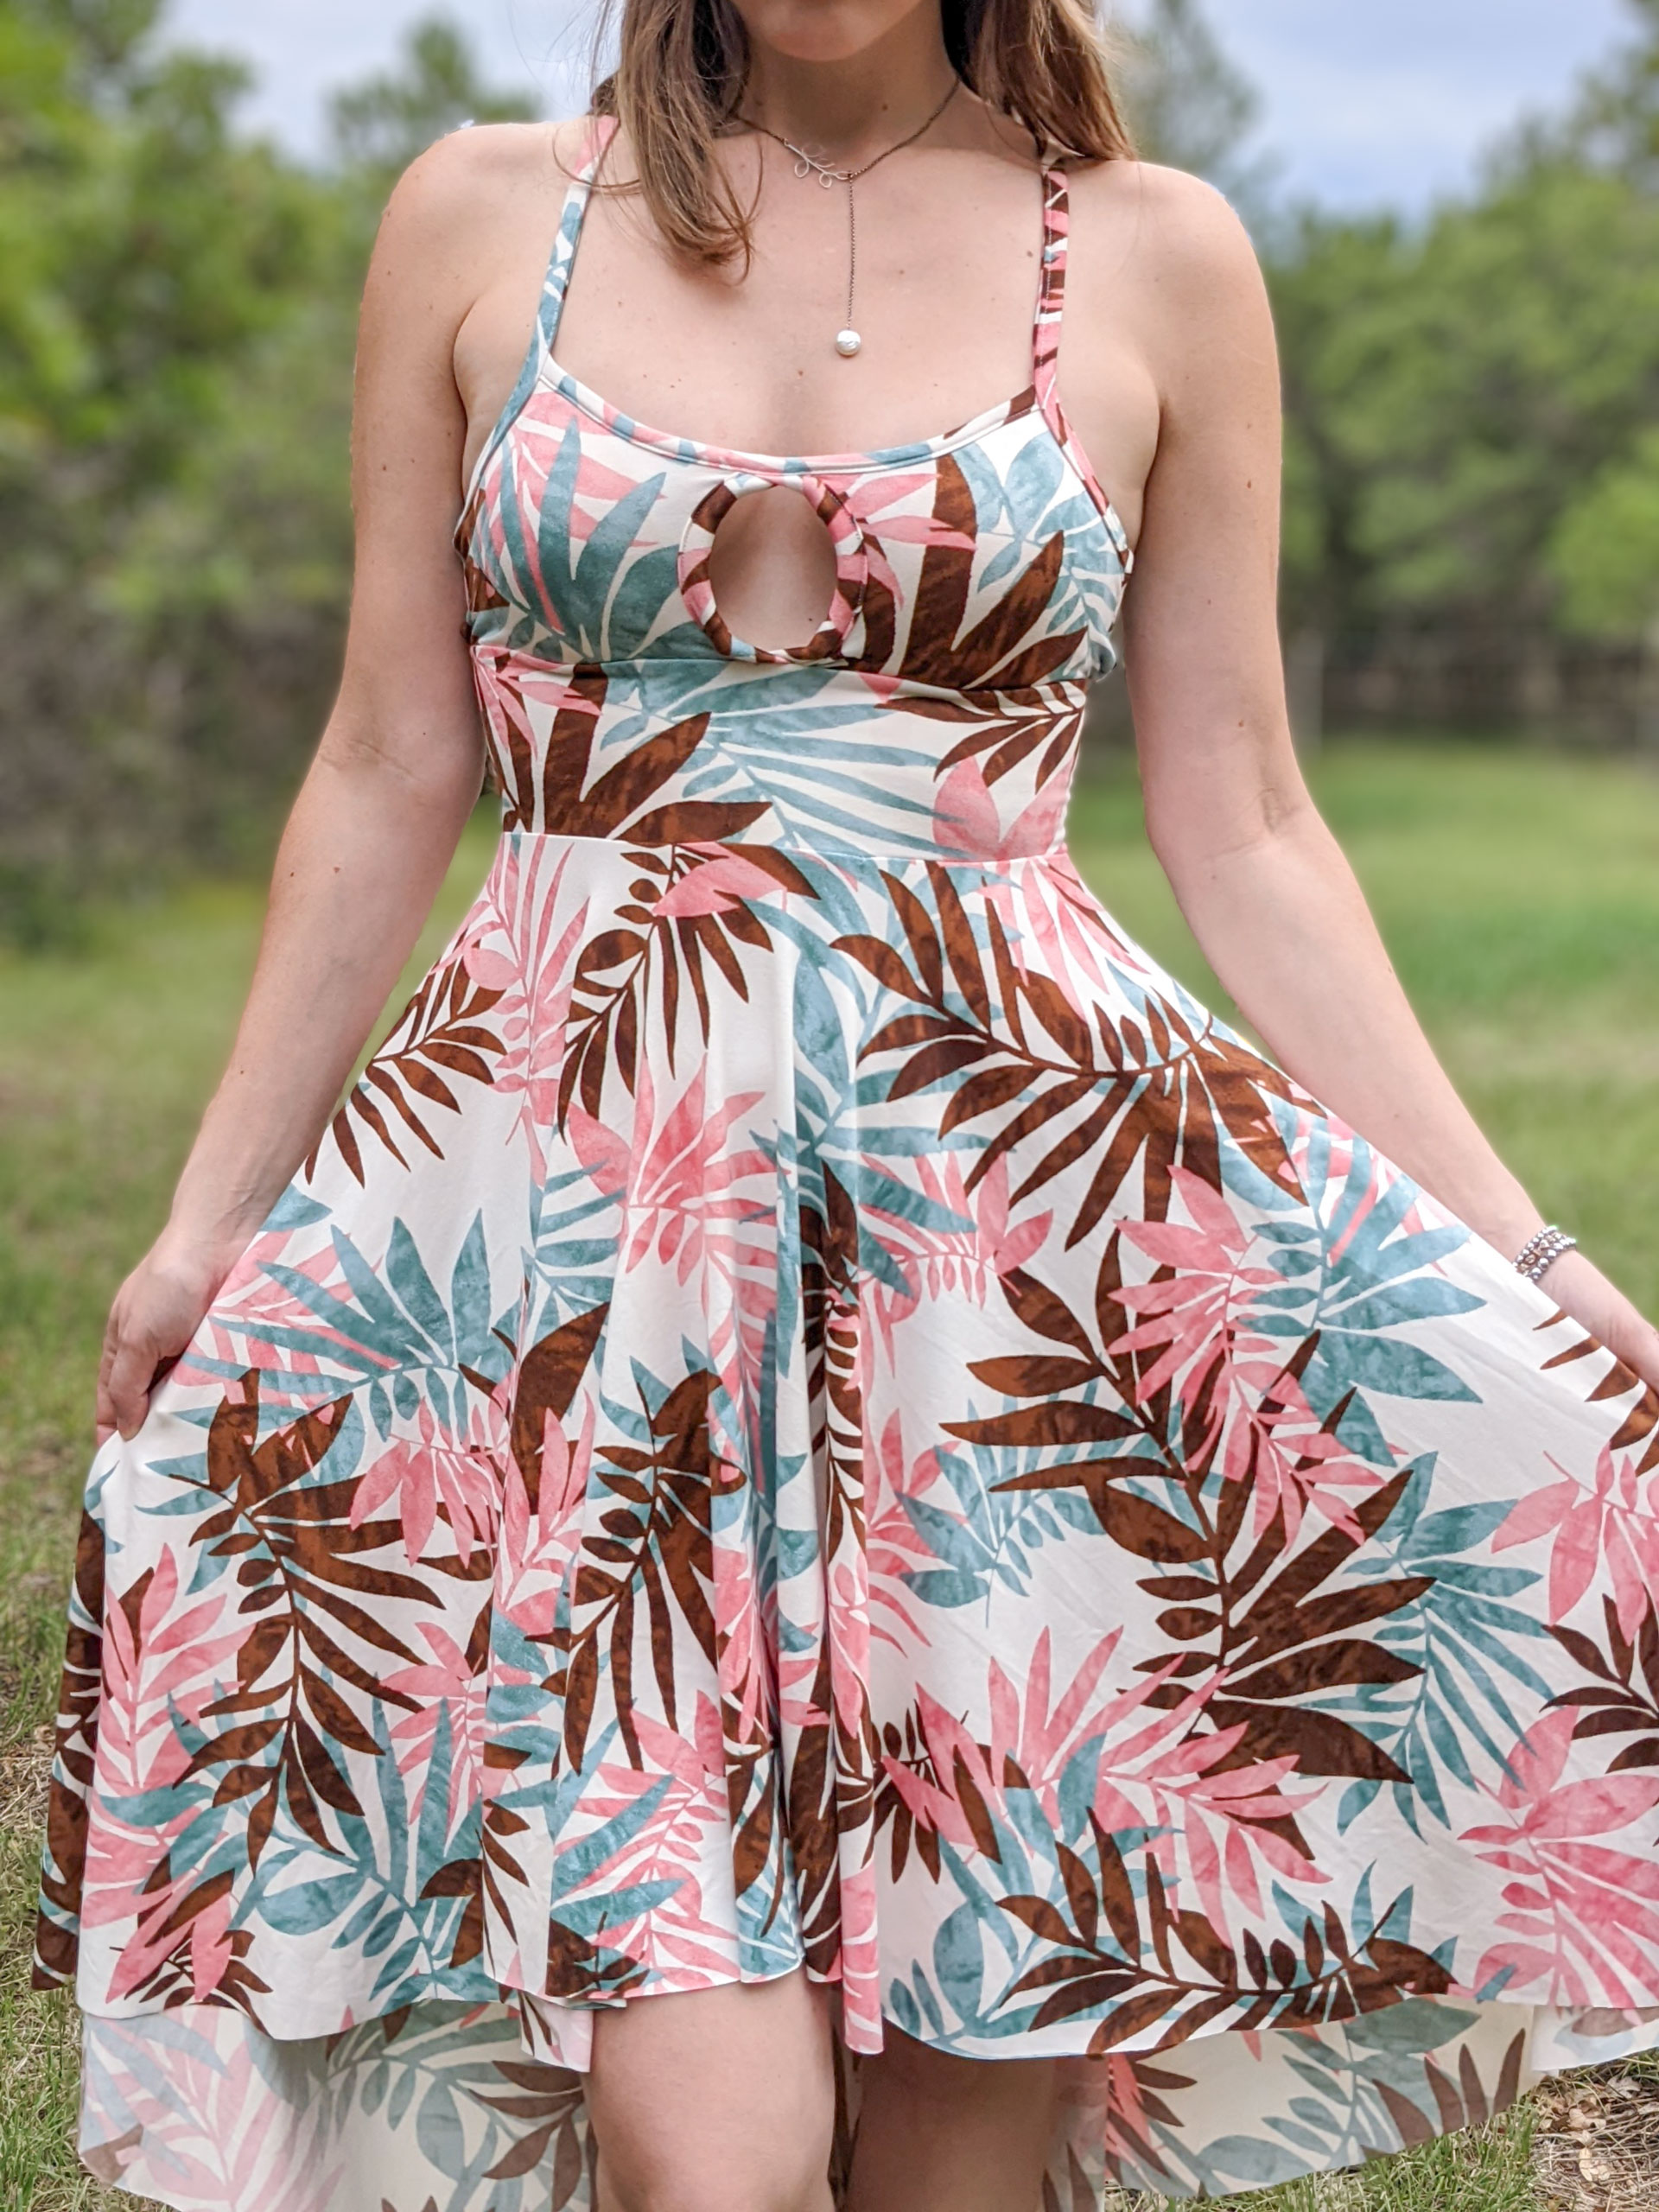
I am so happy with how this turned out! Everything from the fabric to the fit to the feel to the bells and whistles I added. How fun to take a mishmash of patterns, put them together, and make any number of adjustments I want to bring a vision in my head to life. This is creativity. This is empowering. The satisfaction of that creative process is so energizing and leaves me asking, “What’s next!?”
Better Than Boning
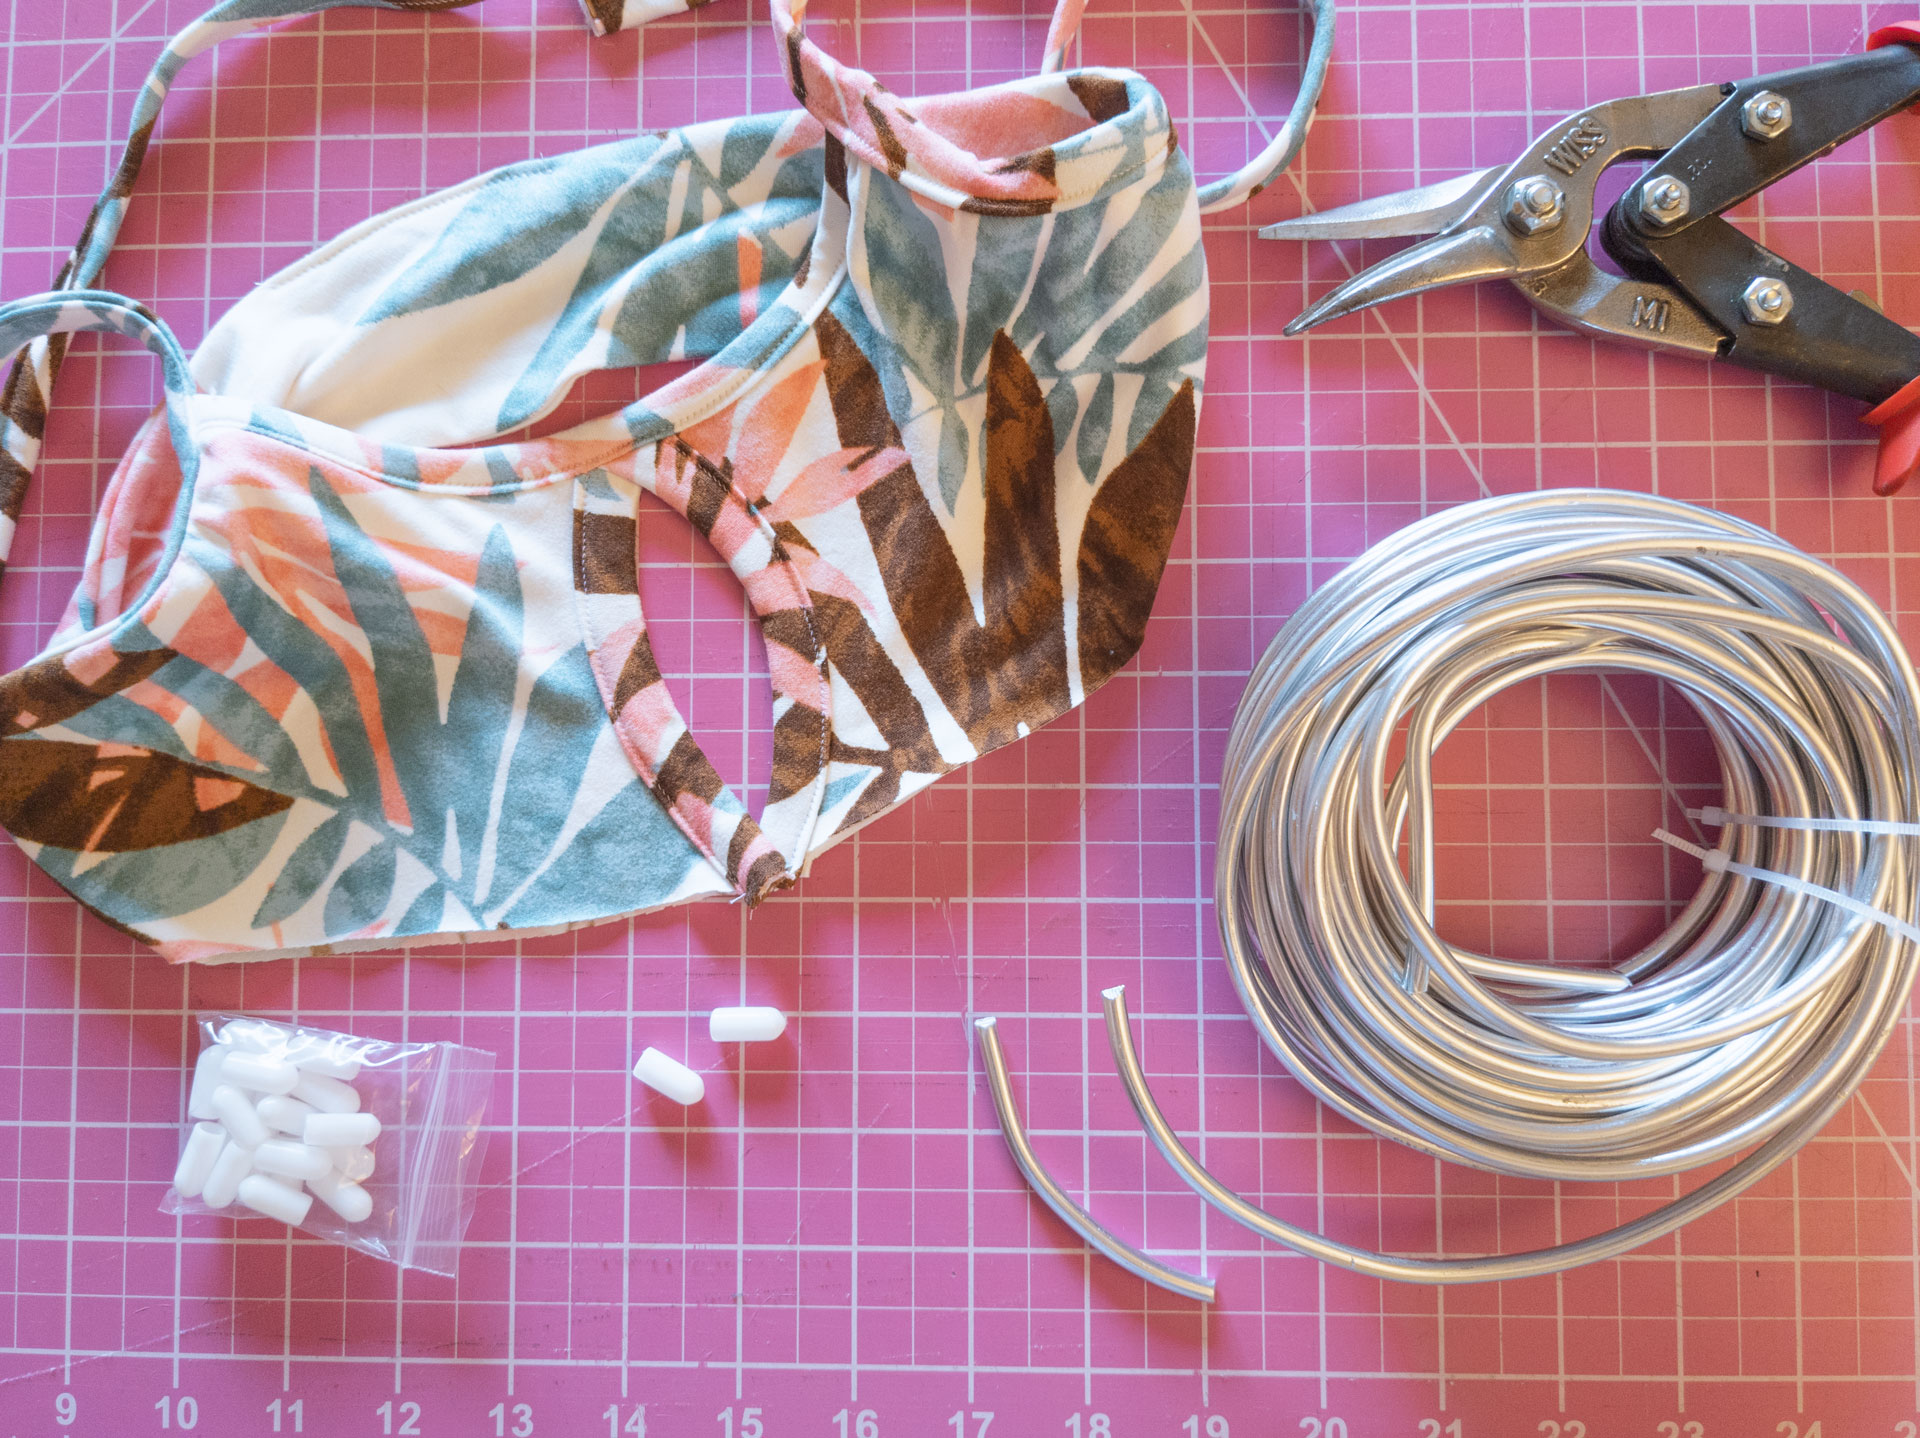
My biggest hurdle between this version and my test dress was shaping the front cut-out of the bodice. On my test, I used 1/4″ plastic boning. While it helped keep the cut-out from being stretched into an unflattering smooshed donut while wearing, it wasn’t the finish I wanted. For one, the boning is straight and I wanted to maintain the gentle curves of the cut-out. The straightness competes with the curve of the fabric and ends up pushing the ends of the boning against the fabric to the point it will eventually punch through. It will probably take a while and a lot of wear, but that’s where it’s headed.
So…what can I use? Boning is by default straight, suited for corsets and such where the lines it reinforces are straight. Underwire? Searching underwire results in pre-shaped wire made specifically for bras.
Hm. I also wanted whatever I used to fill out the binding around the cut-out. Maybe some kind of tubing? That would be more gentle against the fabric, but might not maintain it’s shape.
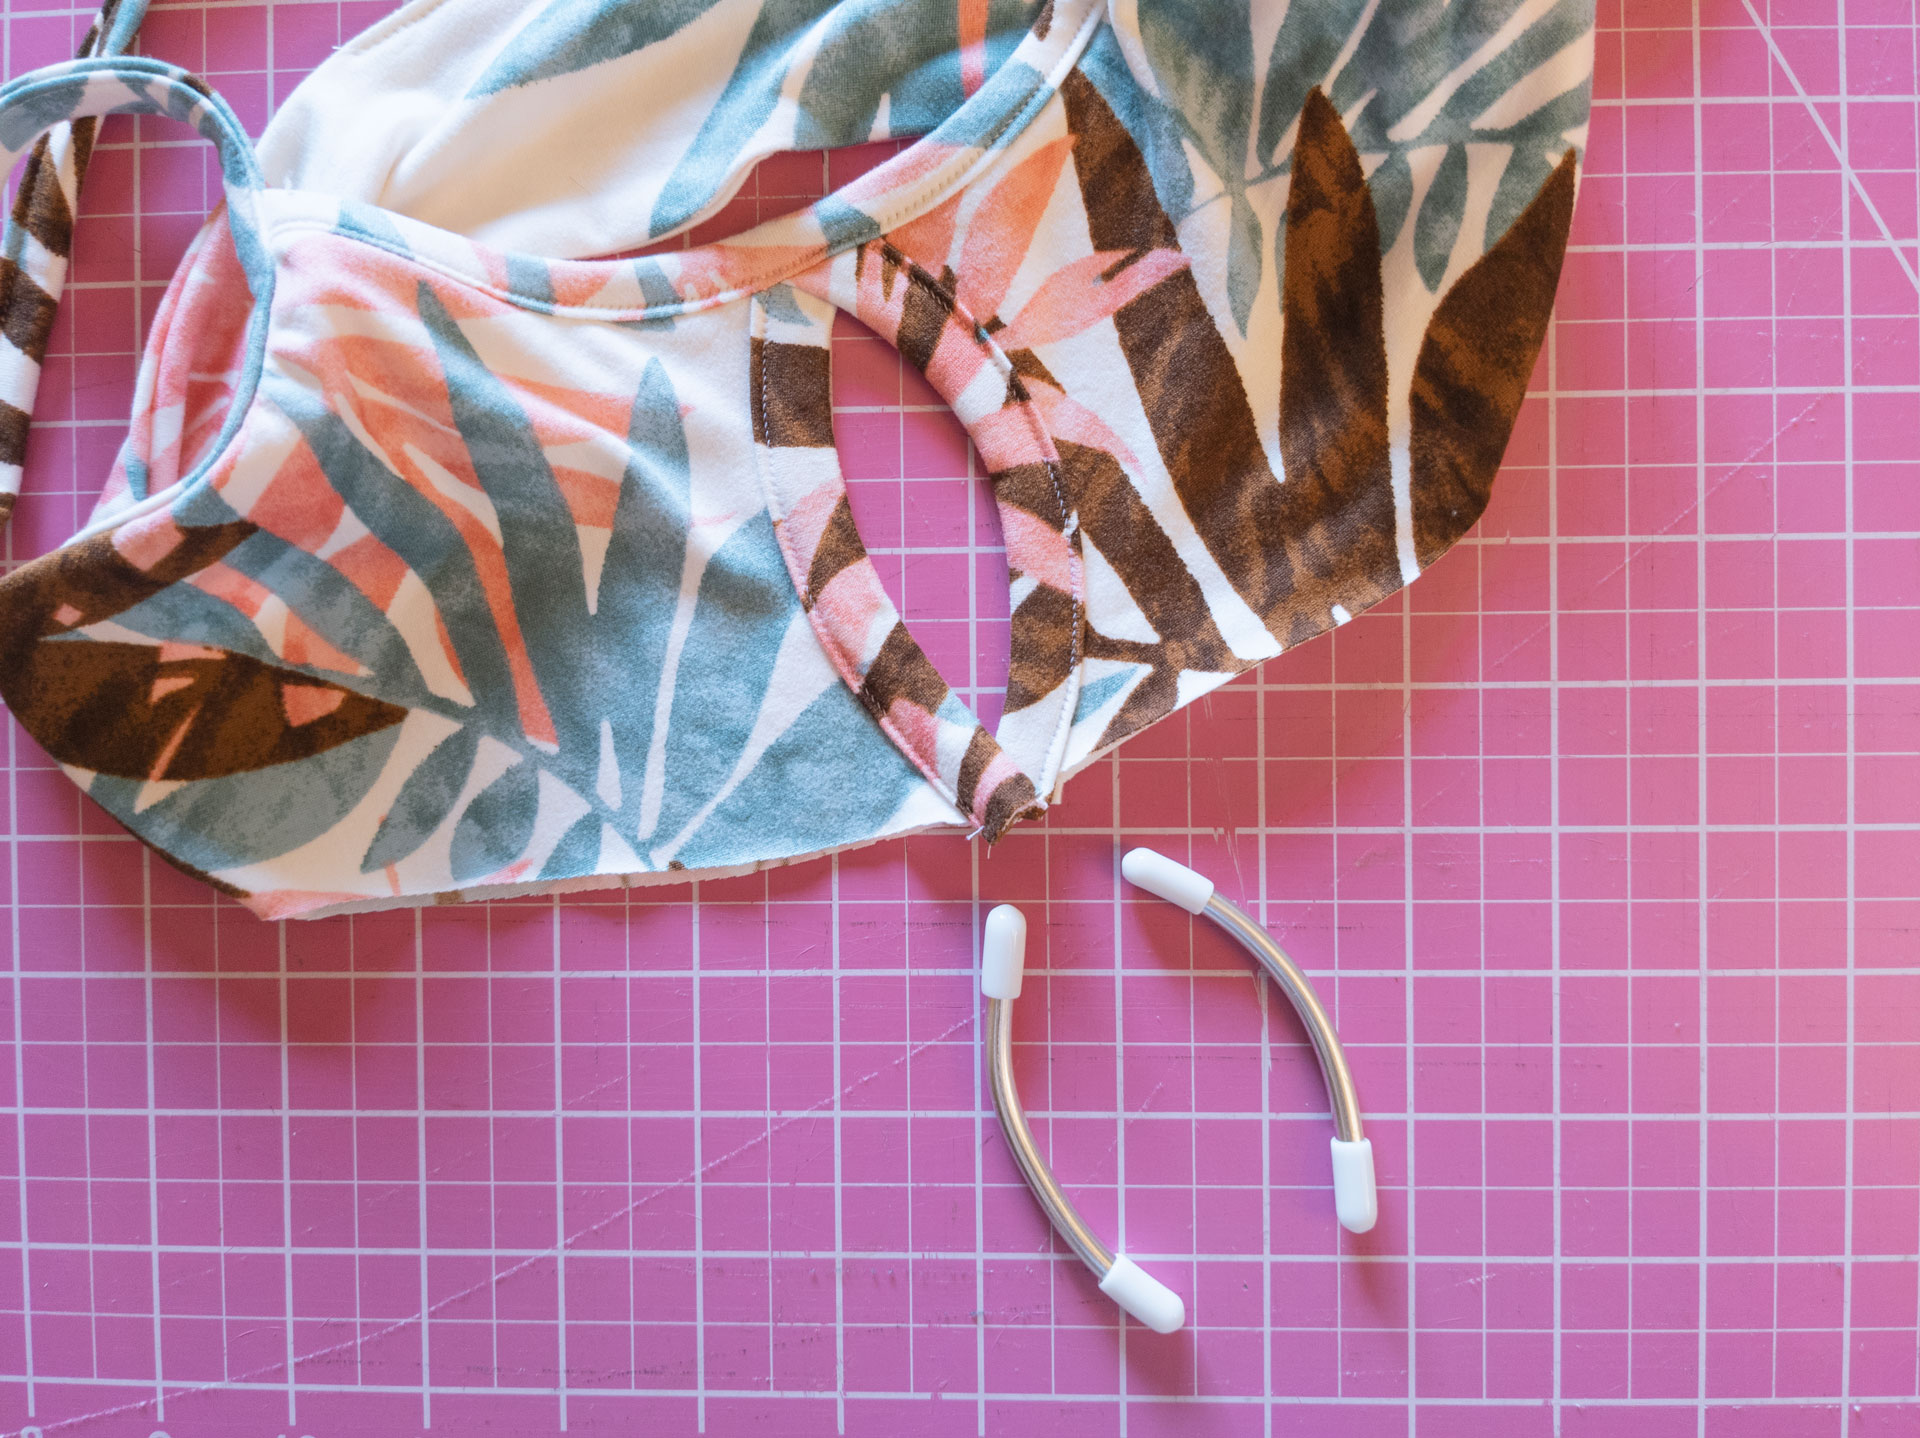
I kept drifting back to some type of wire. And then I found craft wire. It comes in a variety of gauges (thicknesses) and is both rigid enough to maintain its structure but also malleable enough that I can shape it. I paired it with some rubber caps to cover the cut ends, et voila! Perfect!

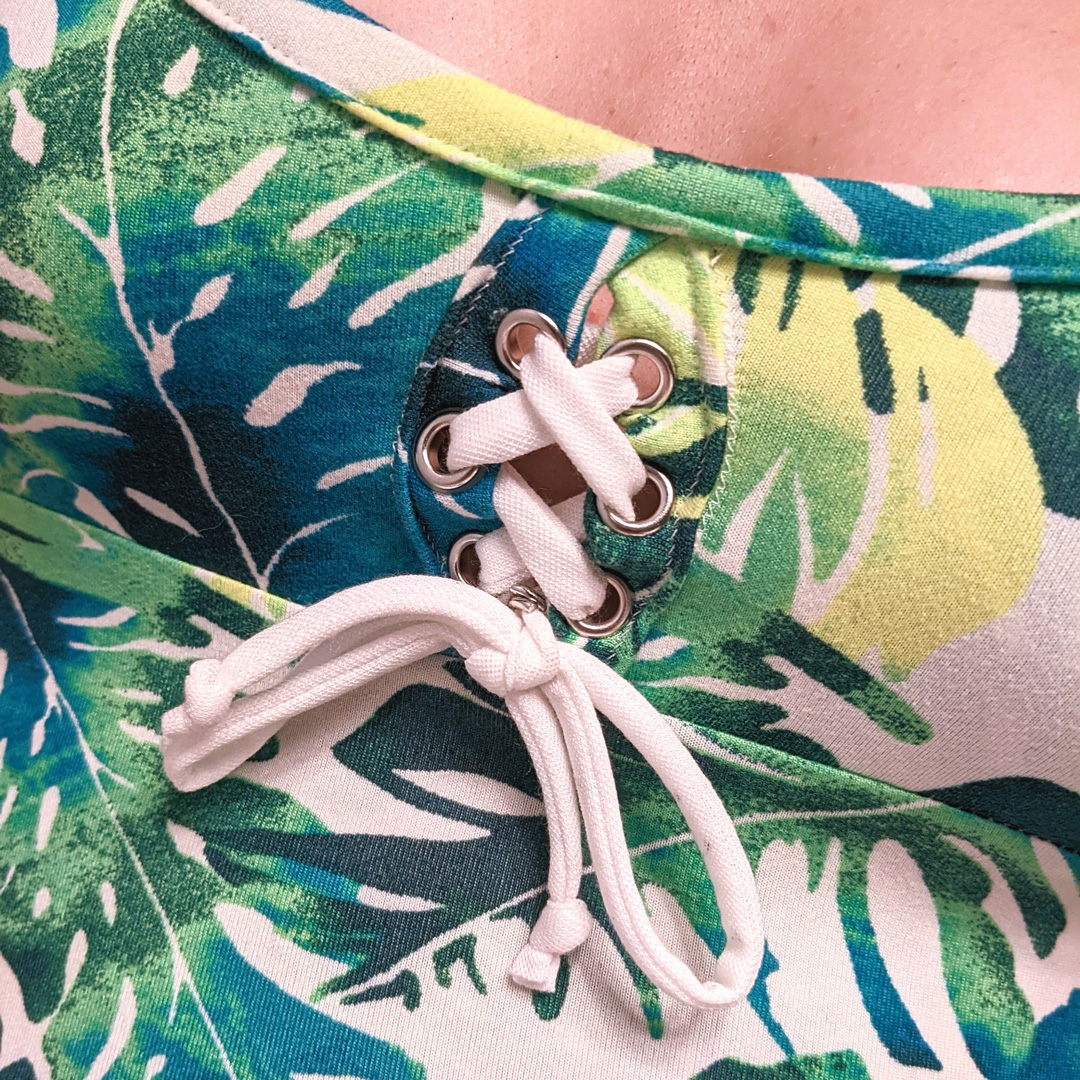
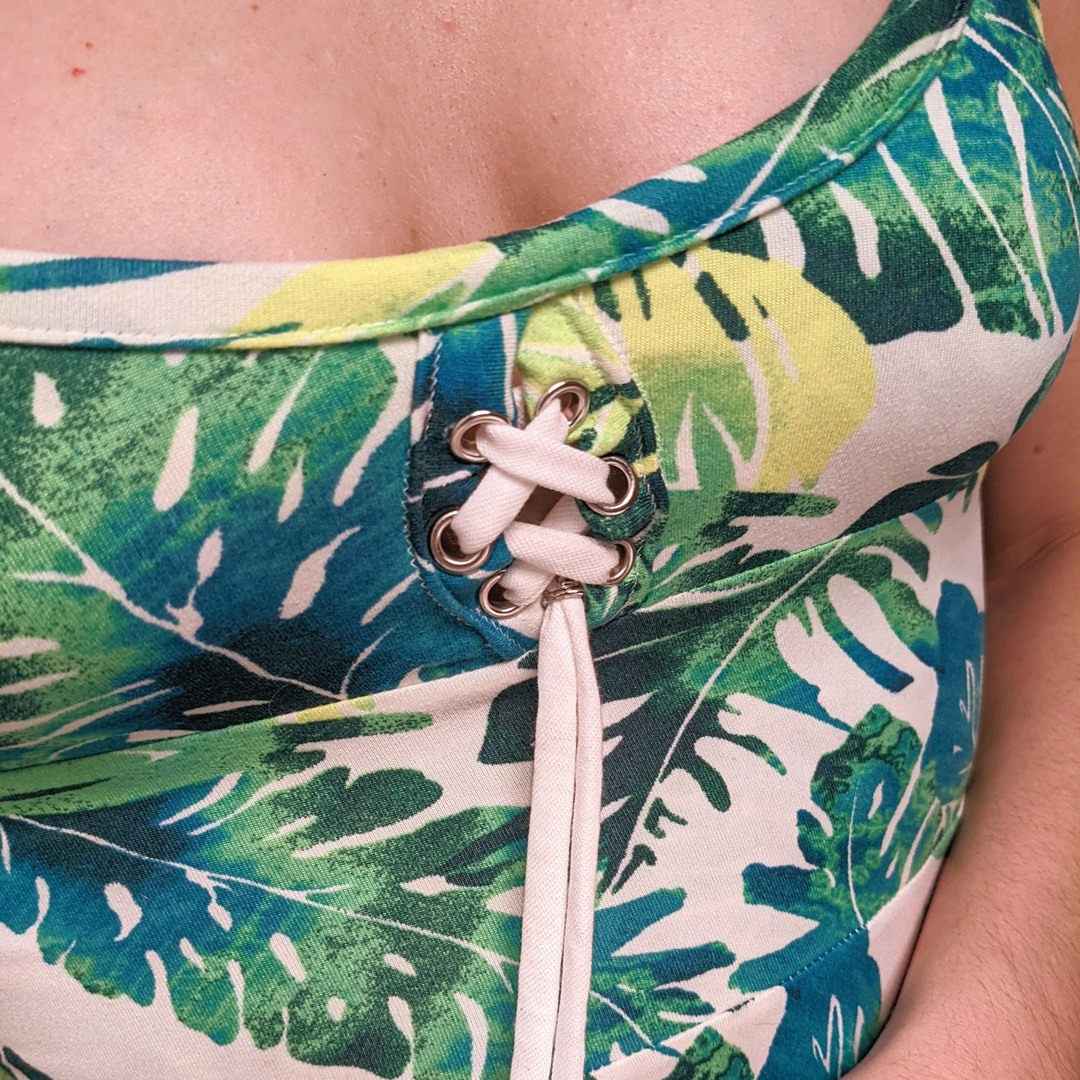
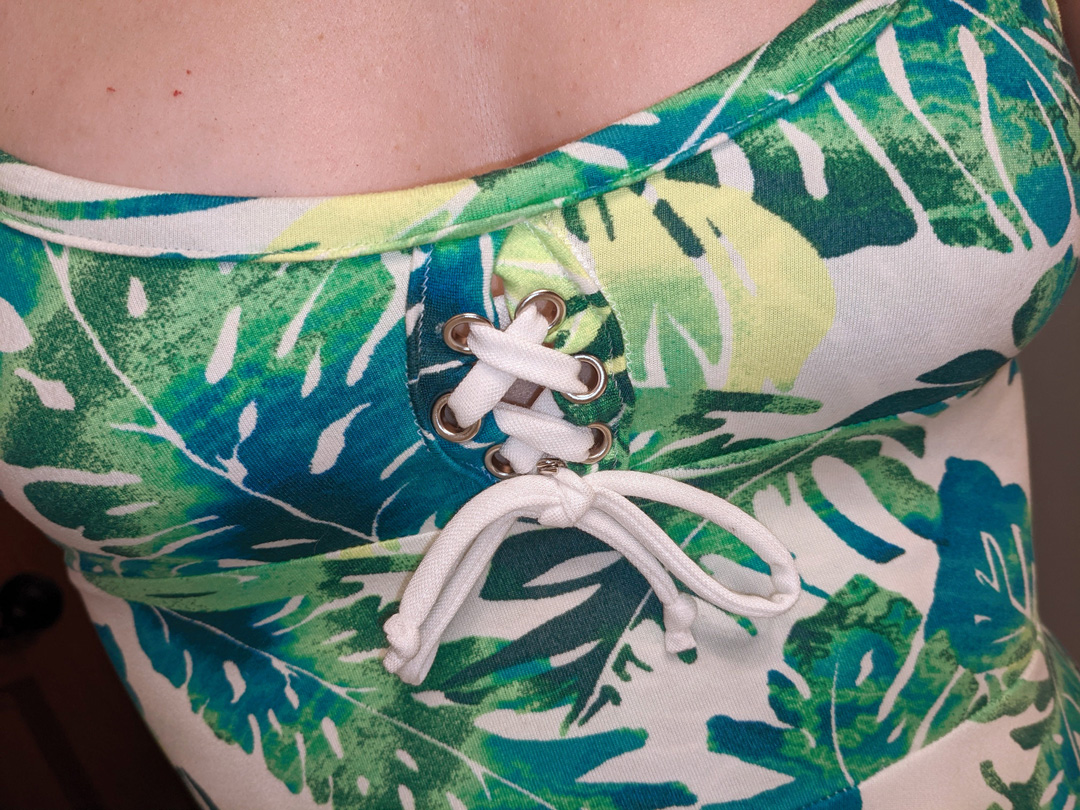
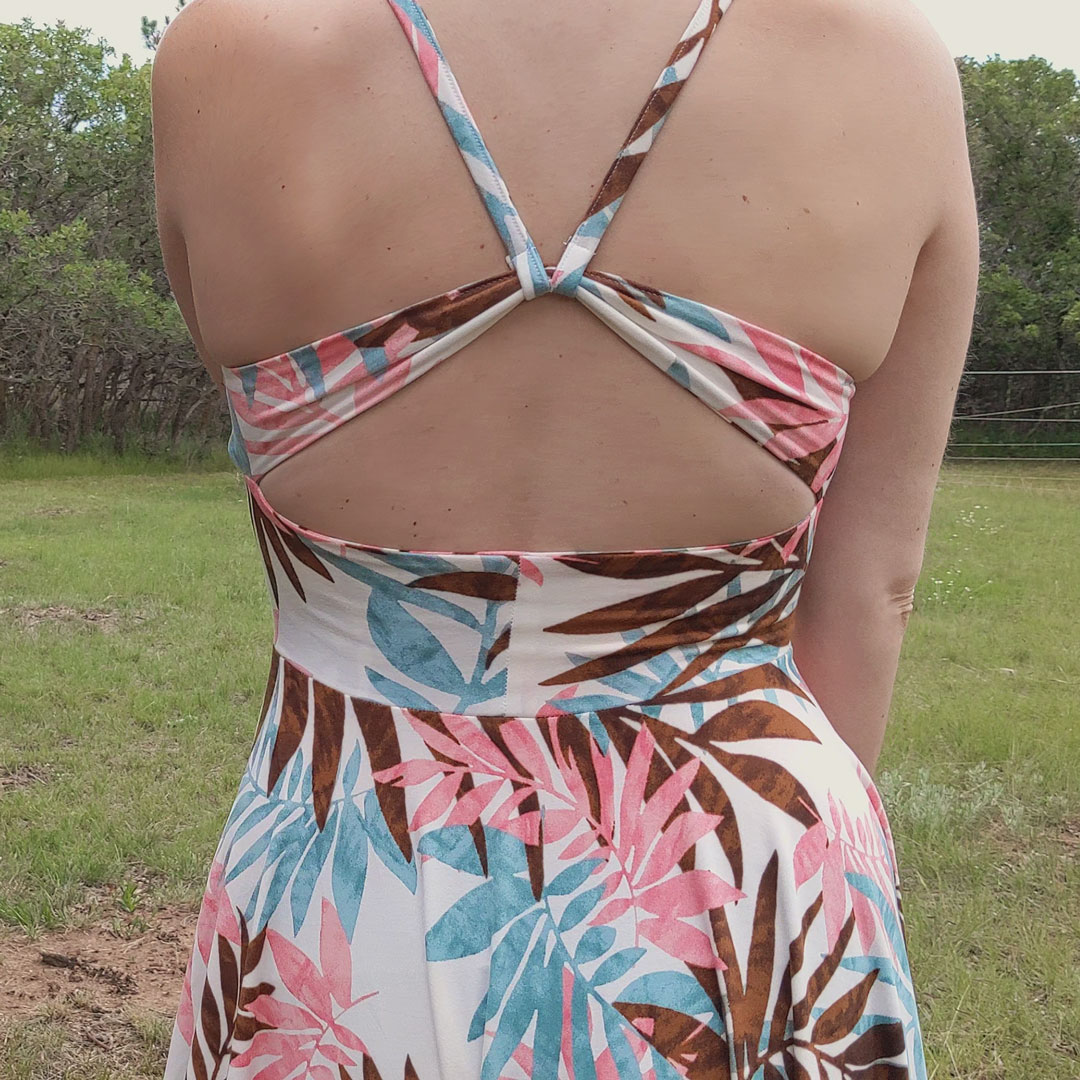
Option B: Crisscross Drawstring
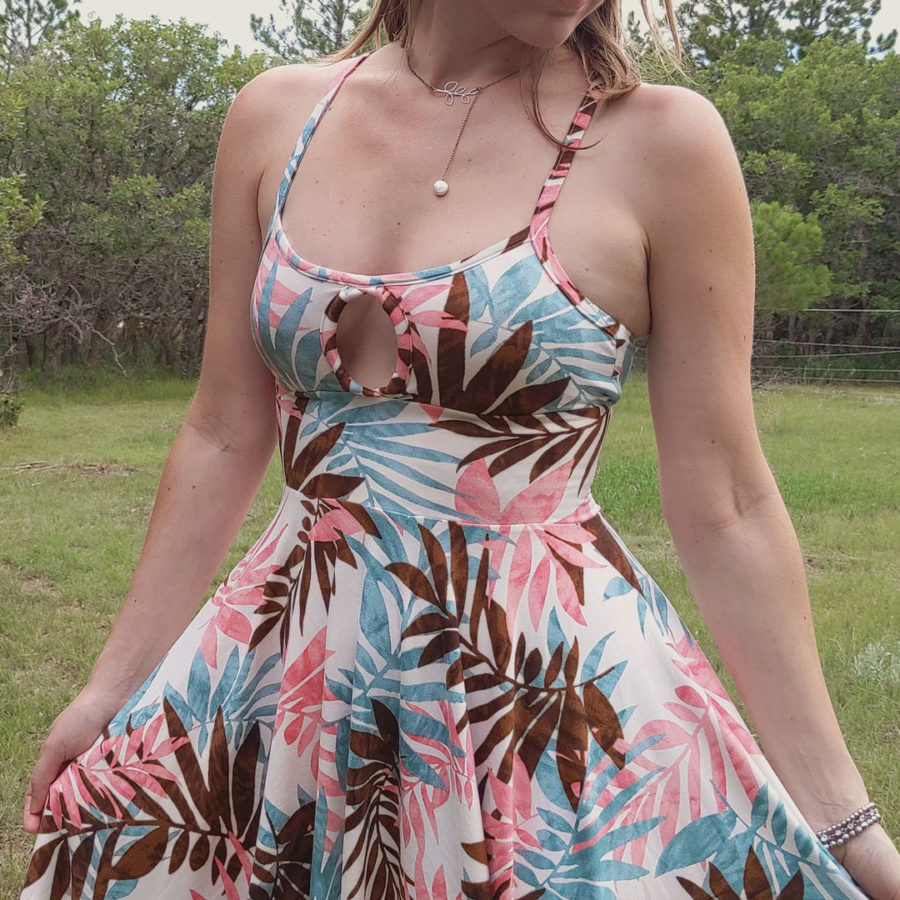
Since my original boning idea was a bust, I had my test dress to test another idea: eyelets and a criss-cross drawstring. I liked the adjustability of this idea, so I punched three holes in the binding on each side of the front cut-out, hammered on some 1/4″ eyelets, and threaded a narrow drawstring I sewed out of pylos liknit. I actually like this end result even better; it’s less risque and I like the detail of the rivets and crossing string.

About the Fabric
3 yards Tranquil Palms DBP from Sly Fox Fabrics
- Content: 96% Polyester, 4% Spandex
- Weight: 180 grams per square meter (gsm)
- Width: 58/60″
- Stretch: 50% Horizontal / 25% Vertical
Double brushed poly always feels really soft, but there’s something extra buttery about this fabric. It feels so good to wear. And this print and the colors are everything I love.
About the Make
So many mods!
- Switch It Up Bra – front view E; size 4
- raised neckline by 1″ (original neckline length: 5″; new neckline length: 4.25″)
- altered neck binding to compensate (original binding: 4.5″; new binding: 3.75″)
- altered cut-out to compensate (added 1″ to height)
- altered cut-out binding to compensate (added 1″)
- Switch It Up Bra – back view S; size 4
- Combined straps from front and back into one piece; final strap length 18.5″ (measured from bottom of armscye)
- Semi-circle bra pad inserts
- 3/8″ knit elastic for straps
- 4 gauge craft wire + 5mm rubber caps for cut-out structure
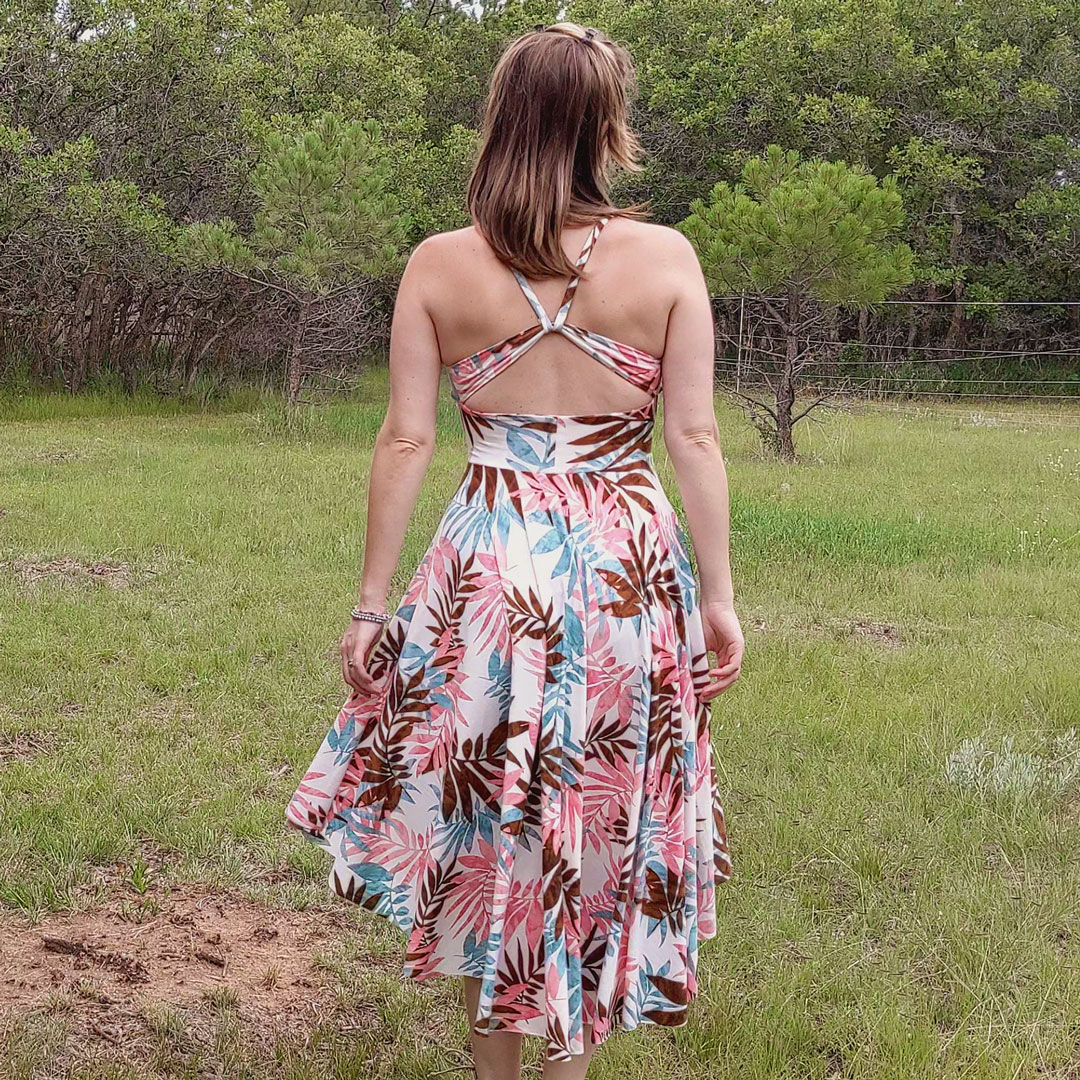
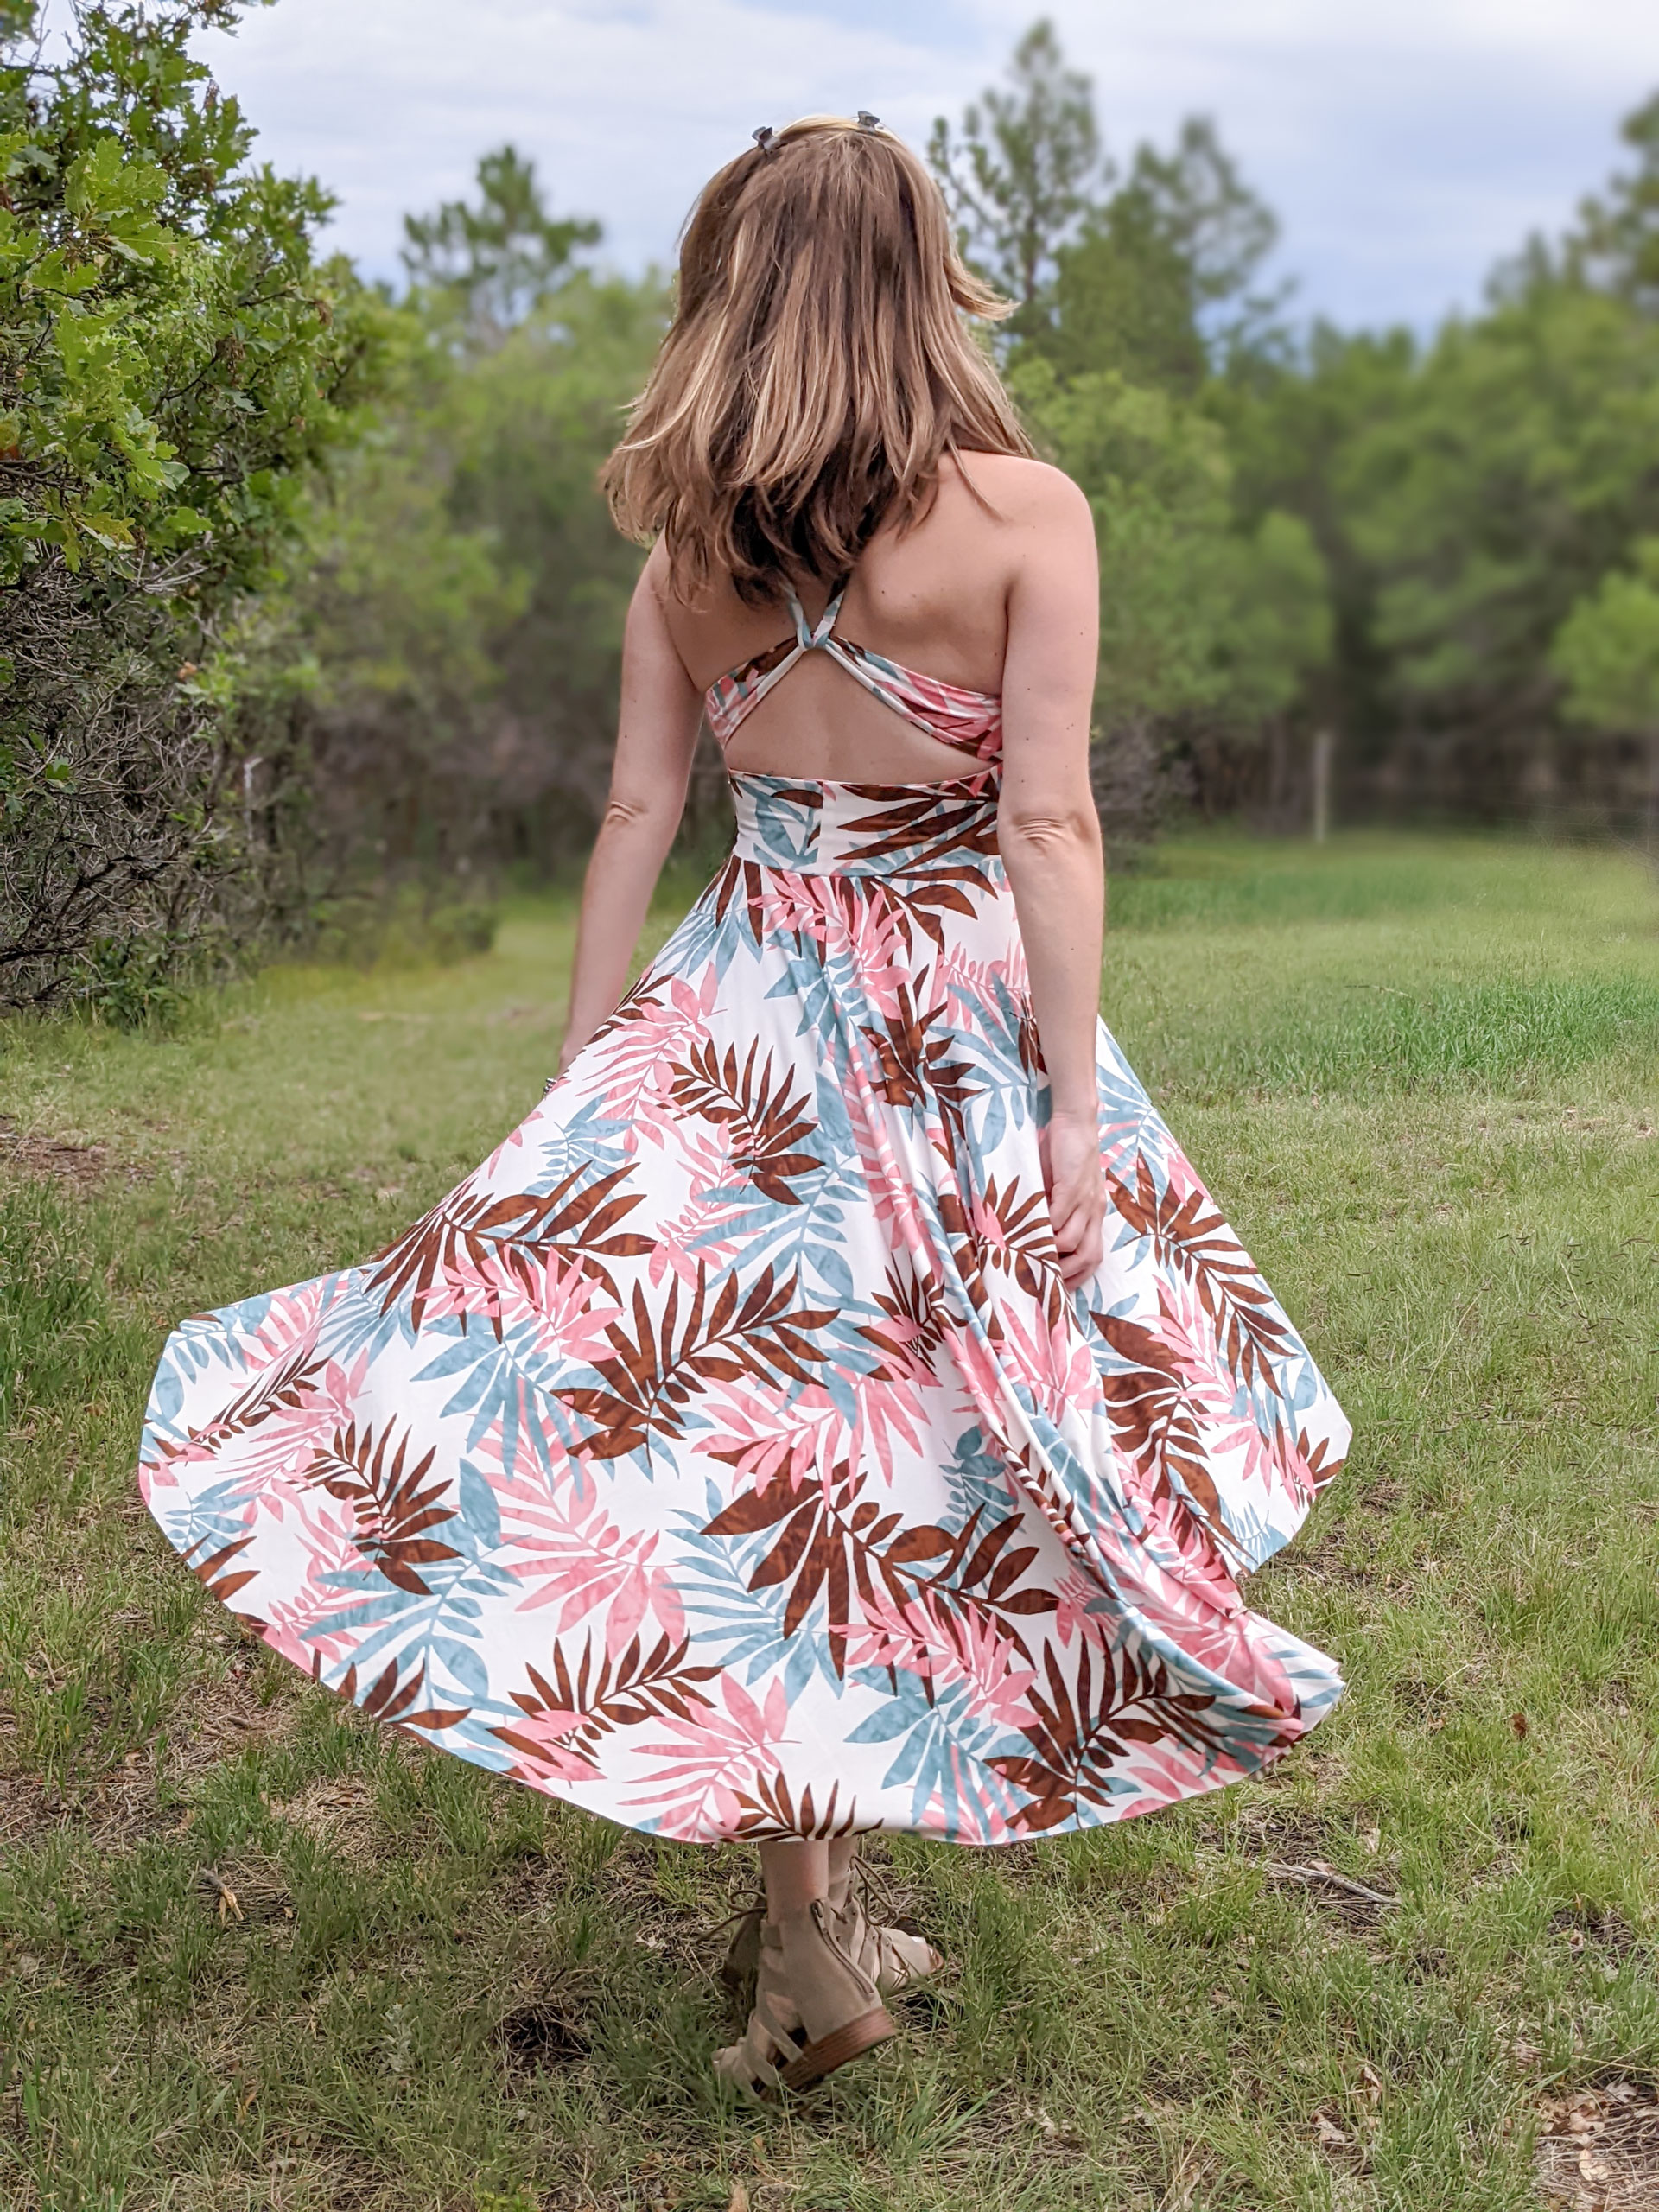
- Mix It Up Dress high-low long skirt
- added 11″ to the back
- added 8″ to the front and sides
Construction Walk-Through
- Lay 1 main overlay wrong sides together with 1 lining overlay and pin. Repeat with the other main/lining pieces. Bind the center cut-out. Marking lining sides.
- Baste the center cut-out together at top only, slightly overlapping the binding.
- Bind the neckline.
- Add 3/8″ elastic to straps. (I tried clear elastic on my first test but it was too difficult to stretch. I recommend knit elastic.)
- Bind the armscyes with the straps.
- Sandwich front bra between back pieces, with main fabric of bra and back facing each other and lining fabrics facing each other. Pin short sides. Then stuff the bra in between the back pieces, making sure everything is out of the way so you can pin around the long sides of the back. Leave a gap along the top or bottom for turning. Sew the back pieces together, making sure to catch the front of the bra only along the sides.
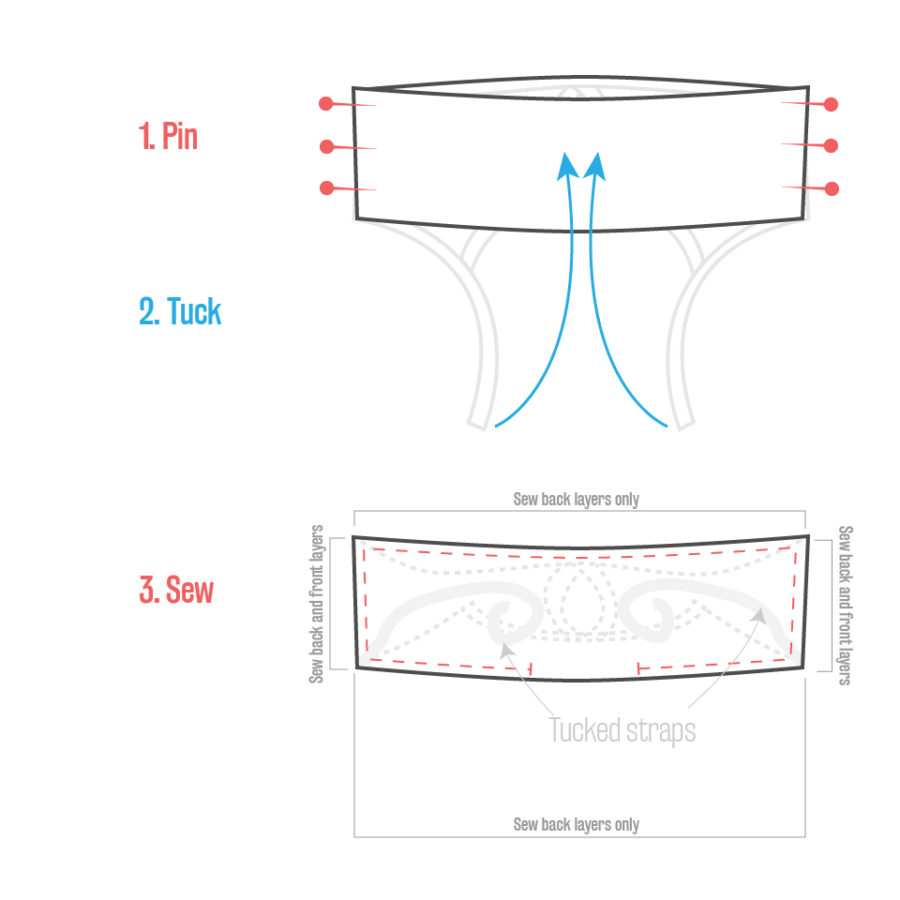
- Clip corners
- Pull out bra through gap and press.
- Slip stitch or topstitch gap closed.
- Secure straps at back according to pattern instructions. (My final length was around 19.5″.)
- Insert craft wire in cutout and baste bottom, slightly overlapping
- If adding bra cups, insert now. Baste bottom of bra to enclose cups (this is important since I don’t have much fabric to work with around the base of the bra cups.)
- Sew short ends of waistband. Repeat with waistband lining. Mark waistband quarter points.
- Sandwich bra between waistband main and lining, making sure lining orientation is correct and leaving back of bra free from seams. Align side marks of waistband with side seams of bra. Pin front bottom of bra to top front of waistband.
- Sew waistband to bra. Sew through all layers around the front, and only the waistband around the back. Edge finish to reinforce. Turn right side out and press.
- Attach skirt to waistband.

Notes for Next Time
- Basting after inserting the bra cups was absolutely essential. If the fabric hadn’t been stretchy enough, I would have had a lot of trouble securing them inside. So maybe consider adding more seam allowance to the bottom of the bra.
- Consider raising the armscye.
- I’m curious about further modifying the cut-out. Instead of have the right cup and left cup separate, maybe keep it all as one piece and cut out a smaller circle/oval from the middle, then bind all in one piece and only have one loop of craft wire. I could even play with the shape. Teardrop?
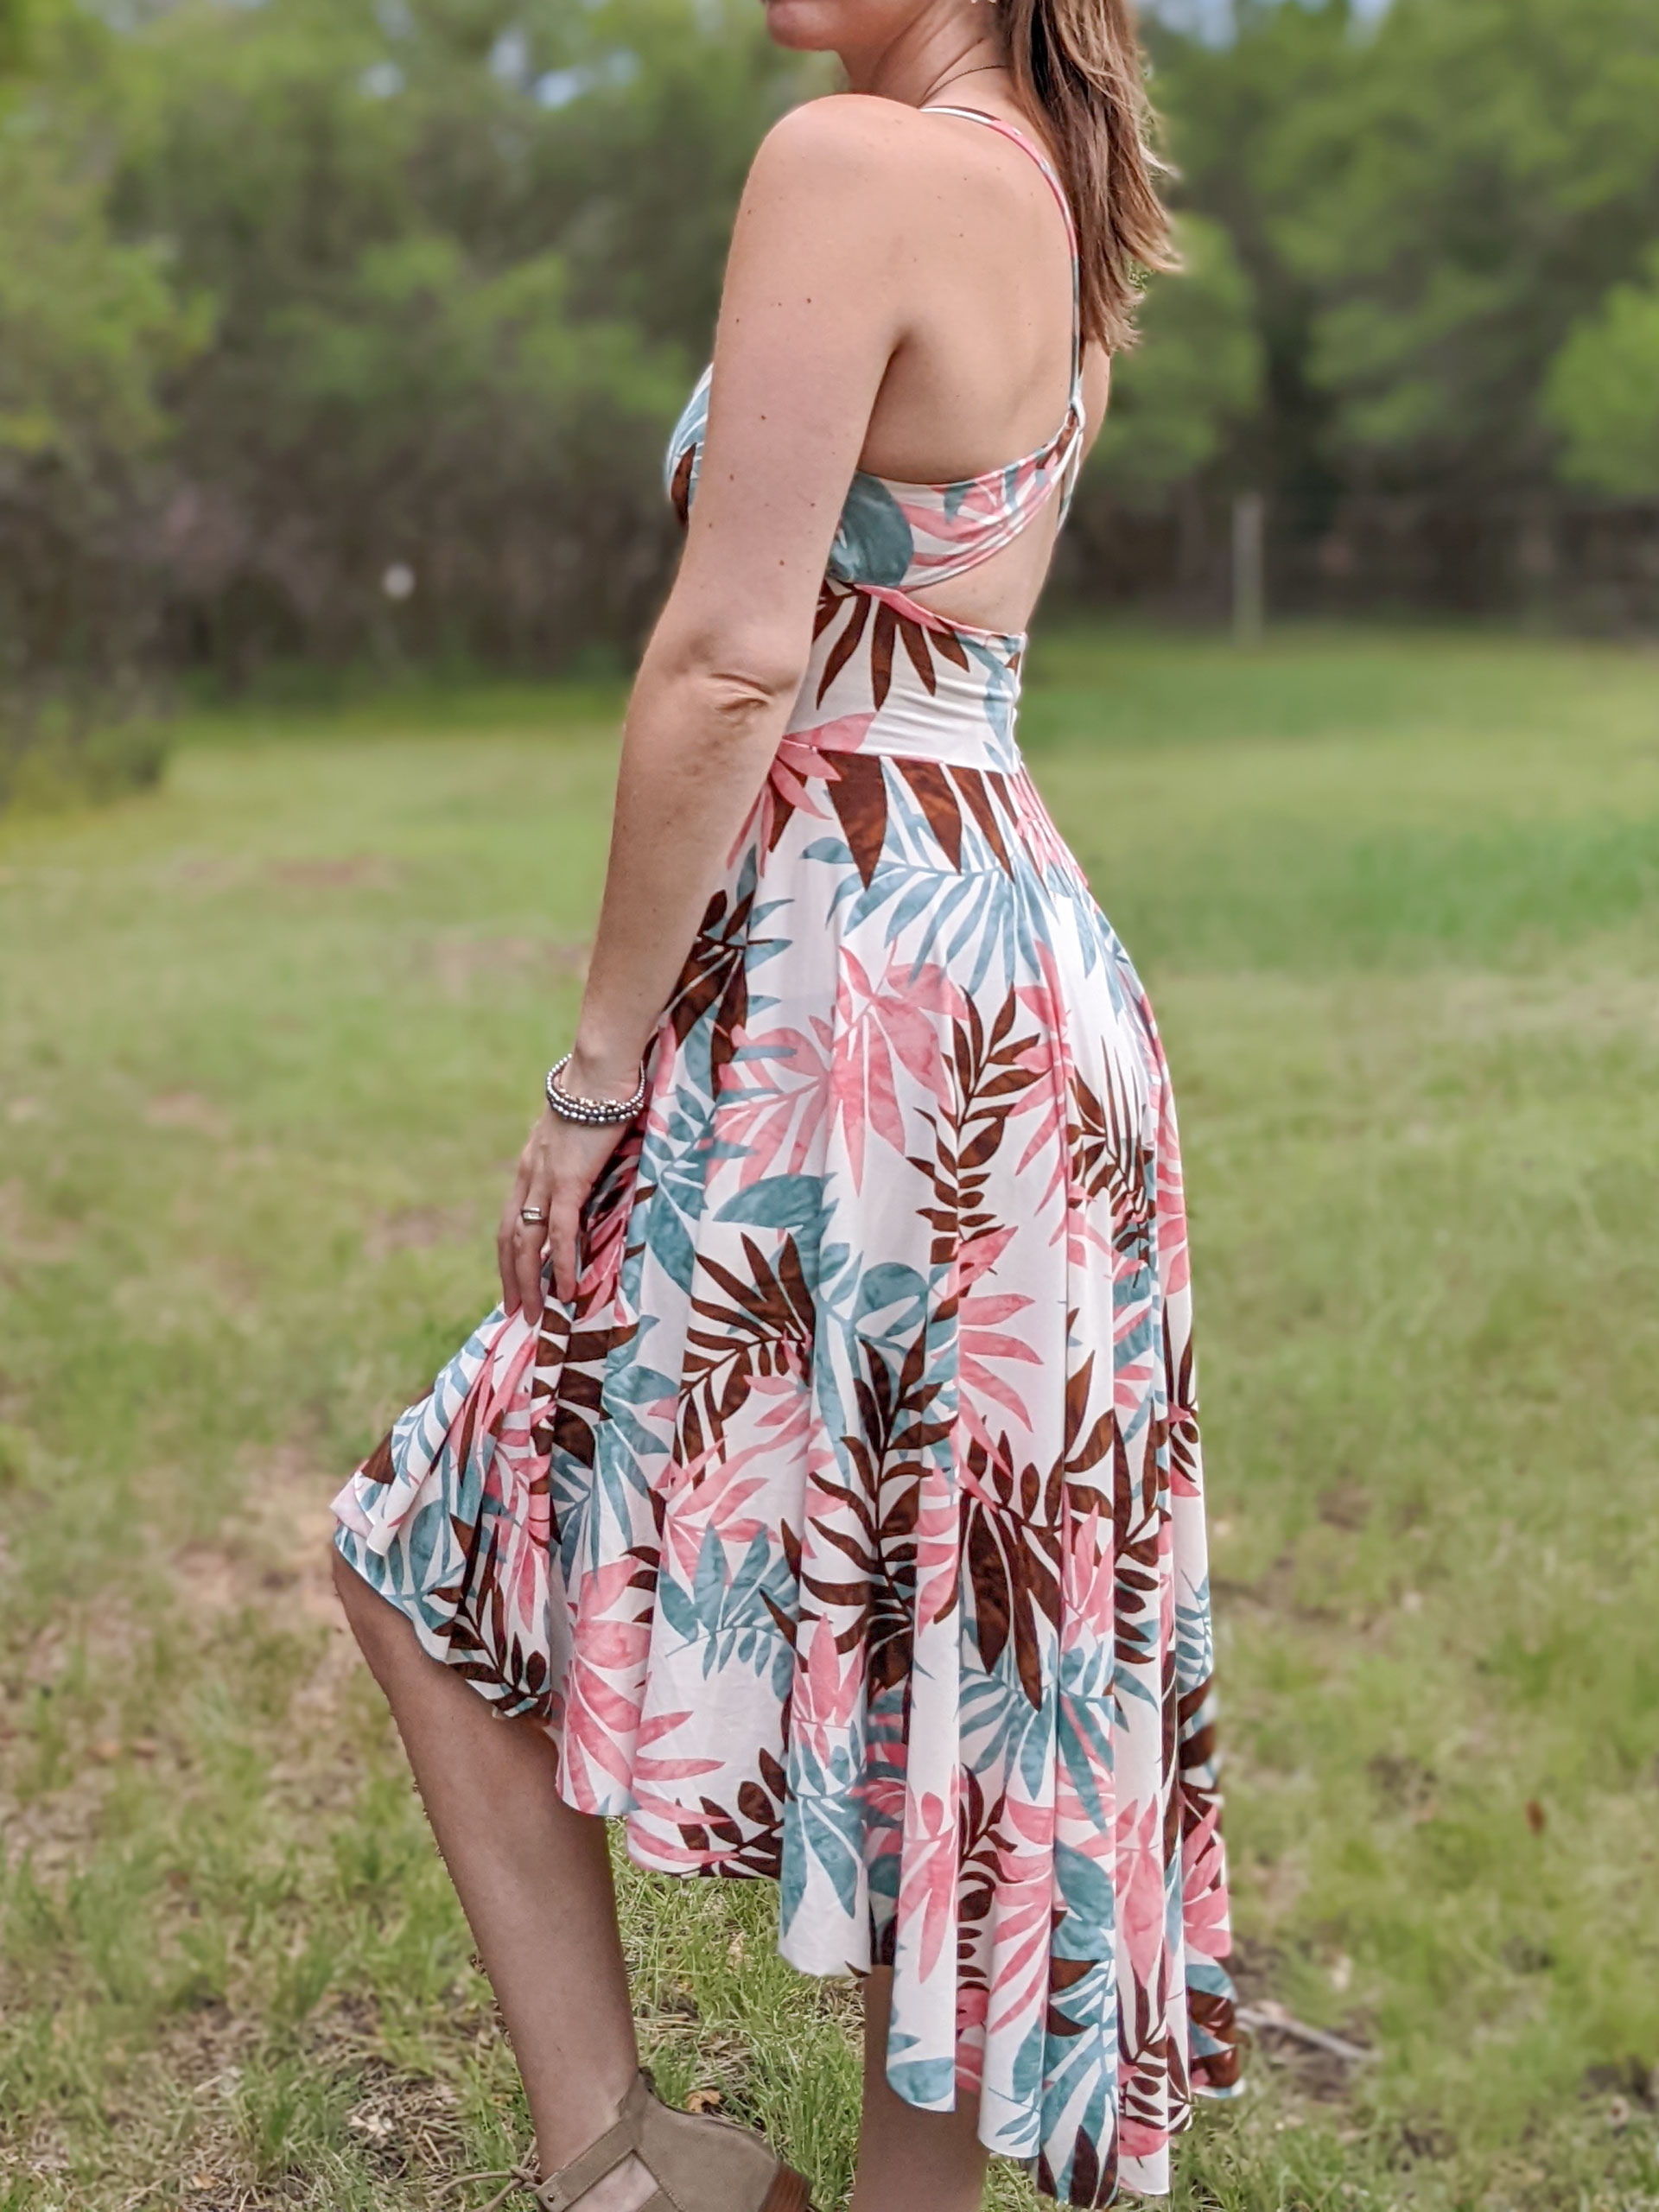
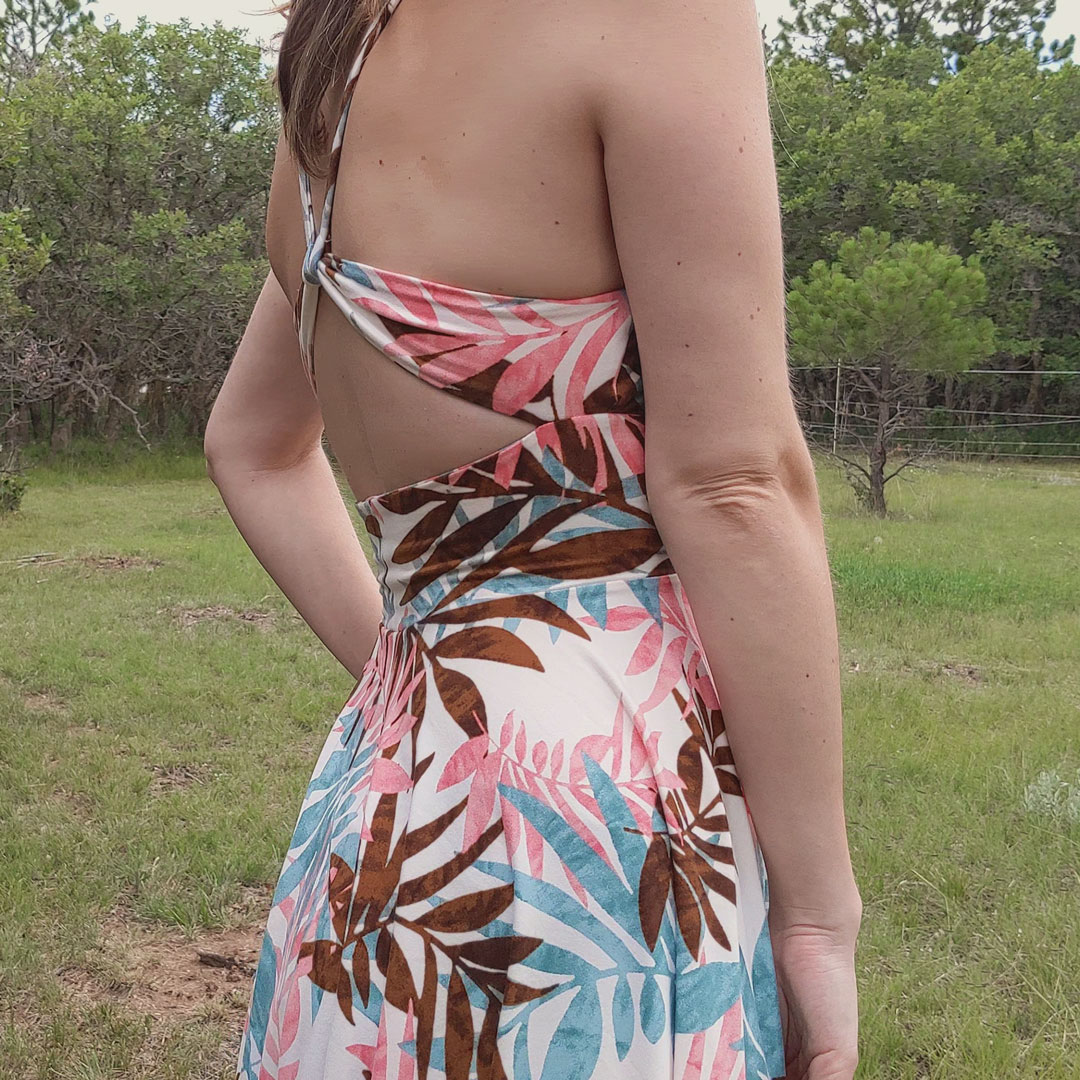
- I’m not sure how I managed it on my test dress, but I really need to watch it on step 6 when catching the smallest amount of the bra back in that seam before turning. I ended up with a little fabric pucker this time (seen below along my left side under my arm.)


Project Settings
Sewing Machine vs. Serger
| Sewing Machine | Serger |
|---|---|
|
|
Sewing Machine Settings
| Presser Foot | Stitch# | Stitch Width | Stitch Length | Needle | Top Thread Tension | Application |
|---|---|---|---|---|---|---|
| standard zig-zag (A) | 5 | 1.0 | 4 | blue tip | 4 | seams/binding |
| standard zig-zag (A) | 6 | 5 | 3.5 | blue tip | 4 | elastic attach |
| applique (F) | 1 | 3.5 | 3.5 | blue tip | 4 | strap secure |
Serger Settings
| Stitch Name | superstretch |
|---|---|
| Needles | R, L |
| Finger | B |
| Threads | 3 |
| Tension Left Needle | 2.5 |
| Tension Right Needle | 2.5 |
| Tension Upper Looper | — |
| Tension Lower Looper | 0.5 |
| Cut Width | 6 |
| Stitch Length | 2.5 |
| Differential | 1.0 |
| Application | seams |
Leave a Reply