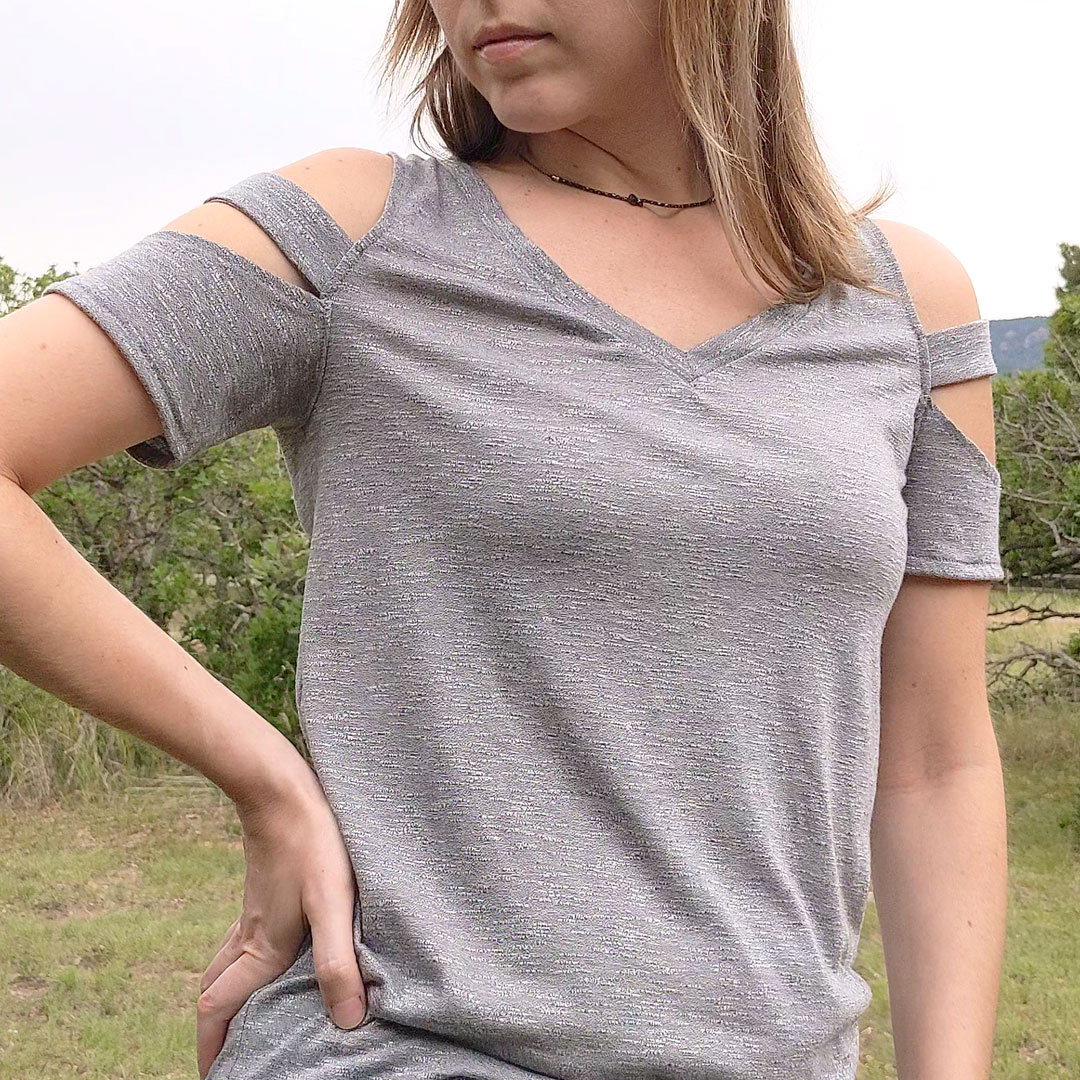
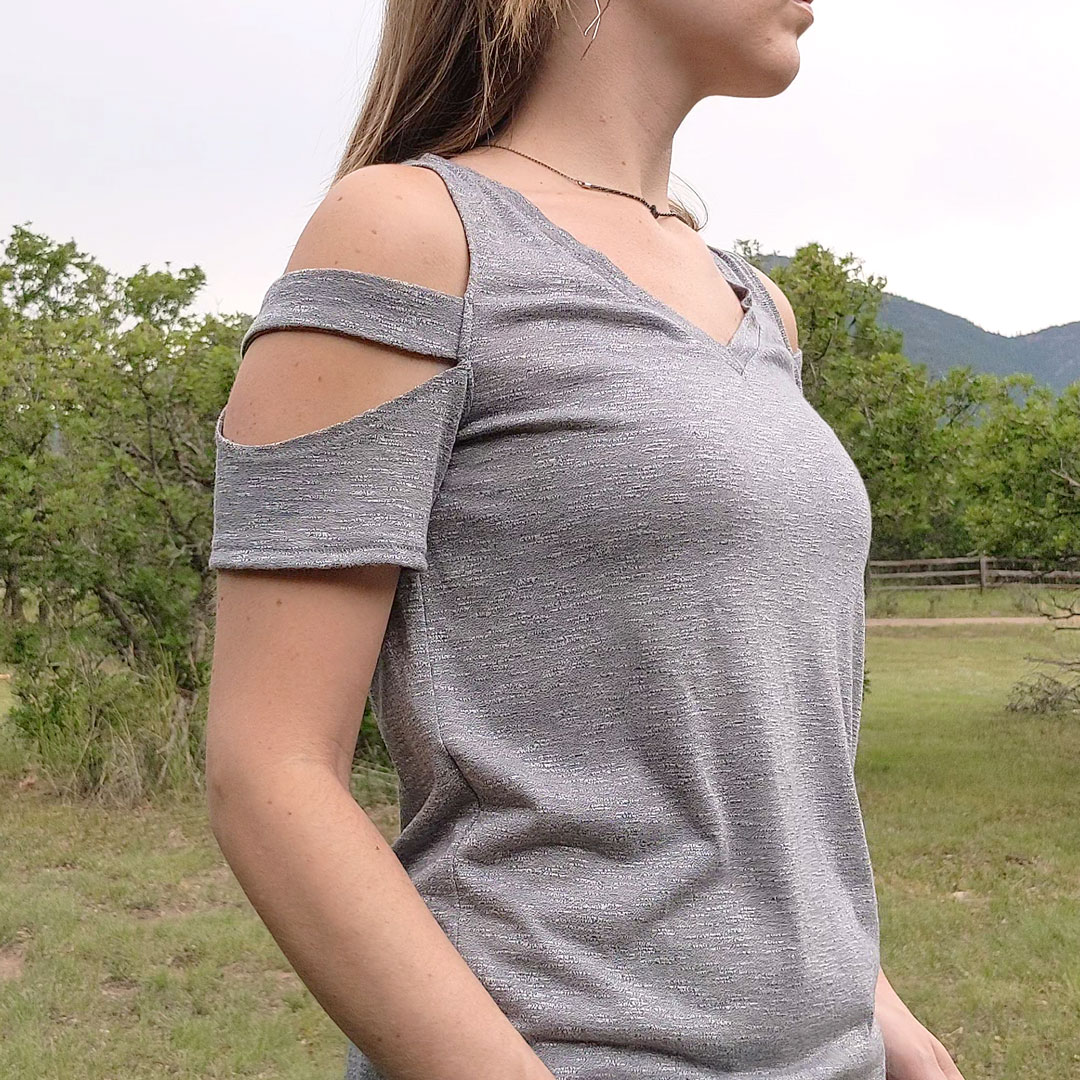
The GGVneck is great for a basic v-neck tee, but basic tees aren’t really my jam. I crave the something extra which is often satisfied by some cold shoulder details. Toss in some straps, and I’m fully on board.
My inspiration was this tee from Venus.

So why not just buy the tee, Deb?
Oh, so many reasons.
- Crew neck. I hate crew necks.
- It’s too fitted; I wanted something more relaxed.
- It would inevitably not fit the way I want.
- Even looking at it, I don’t like that fabric. I wanted to make something out of my last yard of melange twist jersey.
- The color. I don’t care for red, and black just turns into dog hair.
- I didn’t want that front knot detail—even though I do like it. Just wasn’t what I envisioned for this cold shoulder v-neck,
About the Fabric
1 yard Copenhagen Melange Twist Jersey (pewter) from Surge Fabrics
- Fabric Content: 50%Poly/50%Rayon
- Weight: 140gsm
- Stretch: 100% horizontal/ 20% vertical
So I Hacked
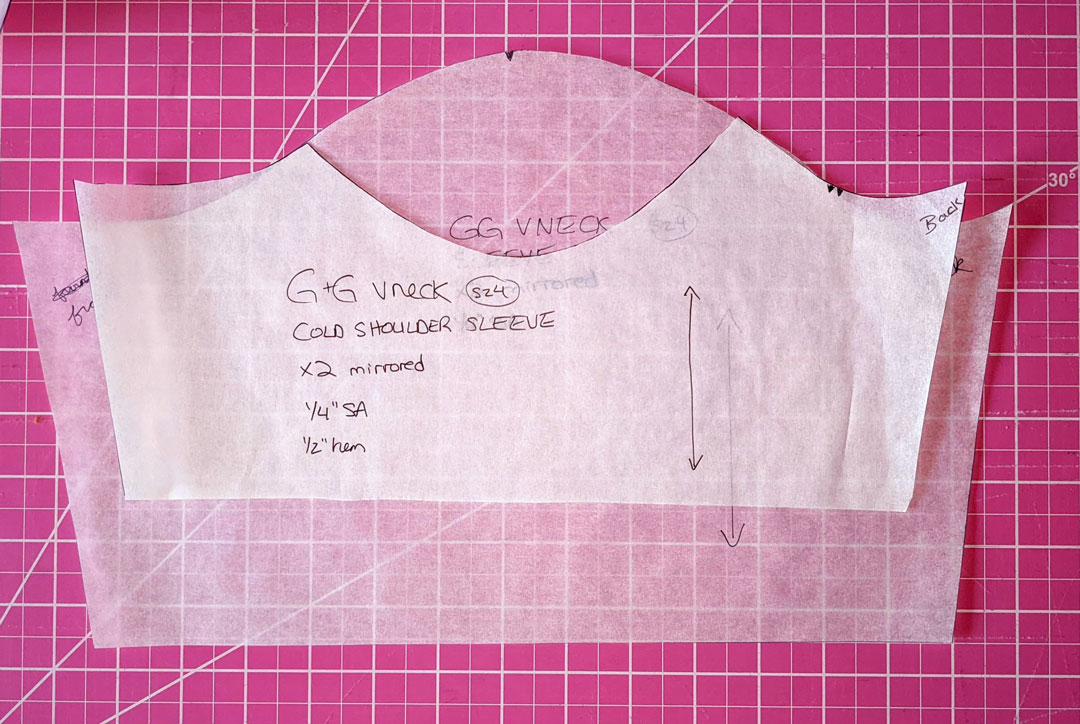
It took a few iterations of hacking the GGVneck sleeve pattern piece. First, I lengthened it a few inches to accommodate the deep shoulder cut-out I had. Turned out to be way too long and too baggy. So I went back to the original length and made the cold shoulder cutout much more shallow and adjusted the length of the strap detail.

And here’s what the final sleeve pattern looked like. I’m trying to remember how it ended up narrower… Oh yeah; because I use the 40K Sway sleeves for my v-necks and it’s a different shape and I based this new cold shoulder sleeve off of that. I’m pretty sure that’s why.
Project Specs
- size 4 graded to 10 at waist
- modified 40K Sway sleeve (*I could be wrong about this. I’m too lazy to verify it right now.)
- +1″ to bodice
- 8.5″ x 2″ strap pattern for a final 8.5″ x 0.75″ strap
Construction Walk-Through
- Construct straps. Sew right sides together along long edges. Turn right side out, press, and serge the raw short ends.
- Shoulder seams. Sew front bodice to back bodice right sides together along shoulder seams.
- Memory hem (shirt.) Fold hem of front and back bodices up 1/2″ and again 1/2″ and press. Makes hemming easier later.
- Side seams (shirt.) Sew front bodice to back bodice right sides together along side seams.
- Hem shirt armscye. Fold the armscye under about 1/4″, and again another 1/4″ to create a narrow rolled hem. Sew.
- Hem shoulder opening (sleeve.) Fold the curved shoulder opening on the sleeve under about 1/4″ and again another 1/4″ to create a narrow rolled hem. Sew.
- Memory hem (sleeves.) Fold hem of sleeves up 1/2″ and again 1/2″ and press. Makes hemming easier later.
- Side seams (sleeve.) With right sides together, sew the side seam of each sleeve.
- Attach sleeves to shirt. With right sides together, make sure the back of the sleeve is oriented to the back of the shirt. Line up the side seam of the sleeve with the side seam of the shirt and pin the raw edge of the sleeve armscye to the shirt armscye. Sew along the raw edge. Finish the seam.
- Attach straps. Pin each strap end to the wrong side of the shirt armscye just above the start of the sleeve. Sew; follow the rolled hem seam for a neat finish.
- Attach neckband. Check out tips for sewing a v-neck.
- Hem sleeves. Fold sleeve hem under 1/2″ and again 1/2″. Press. Sew close to the innermost fold.
- Hem shirt. Fold shirt hem under 1/2″ and again 1/2″. Press. Sew close to the innermost fold.

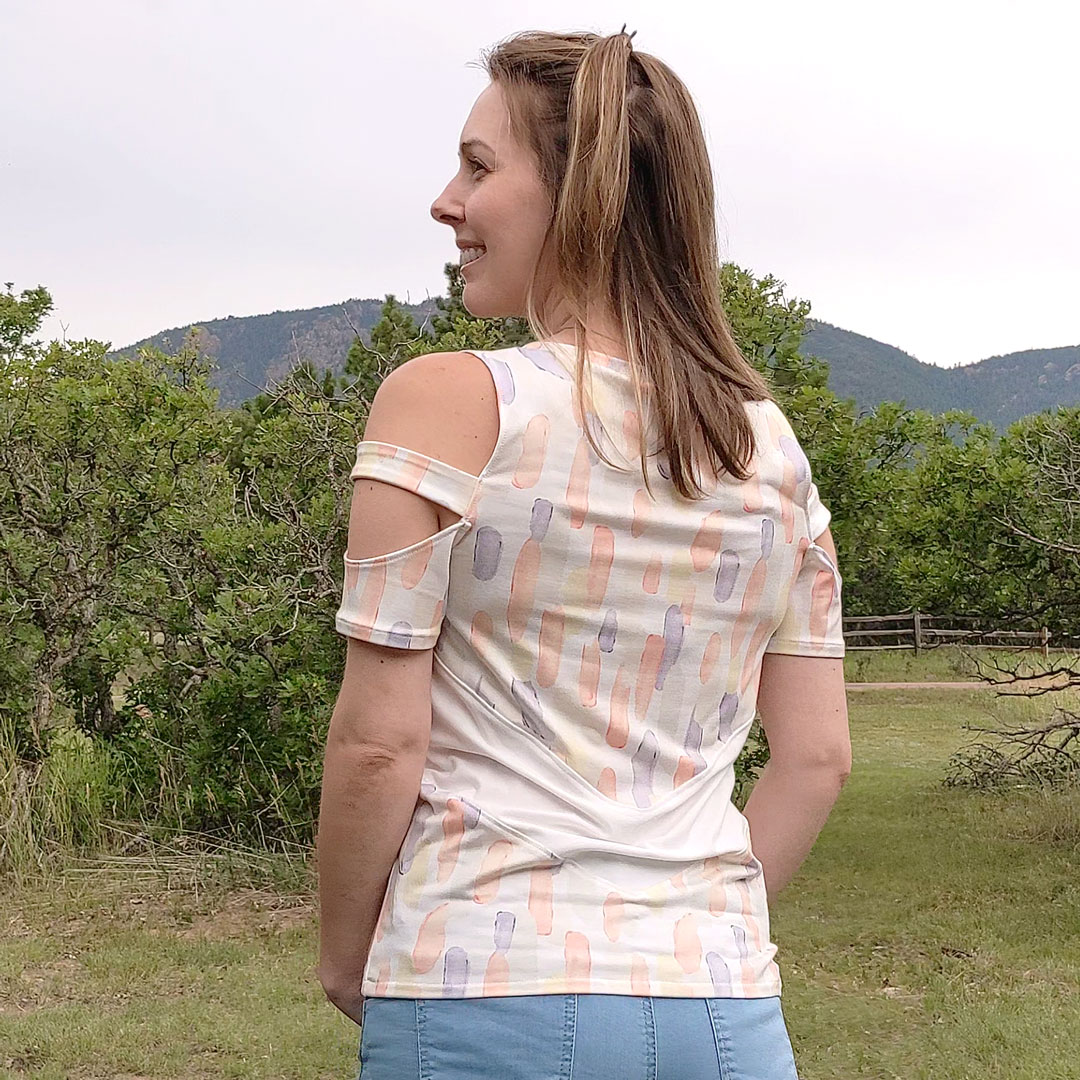
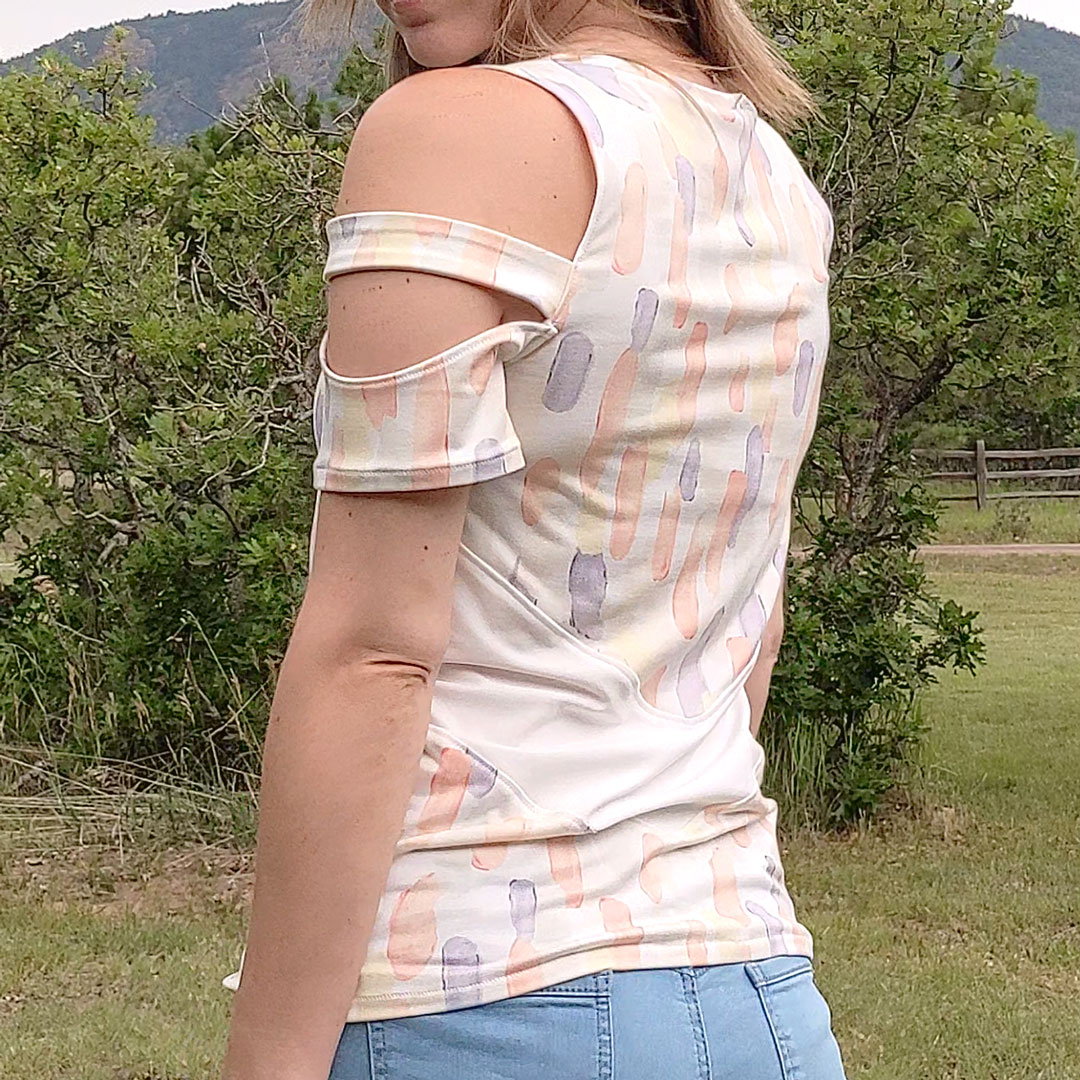
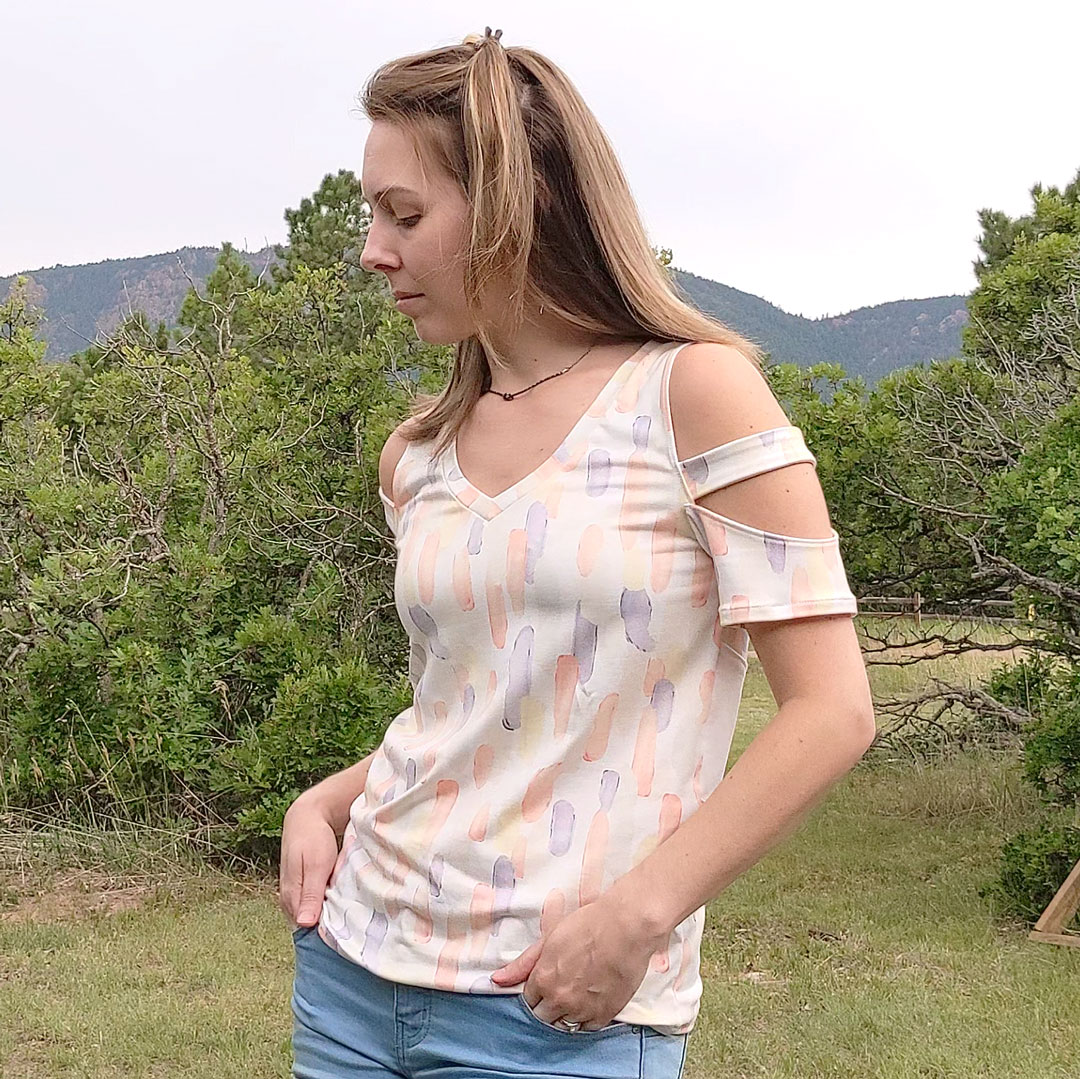
Version 2
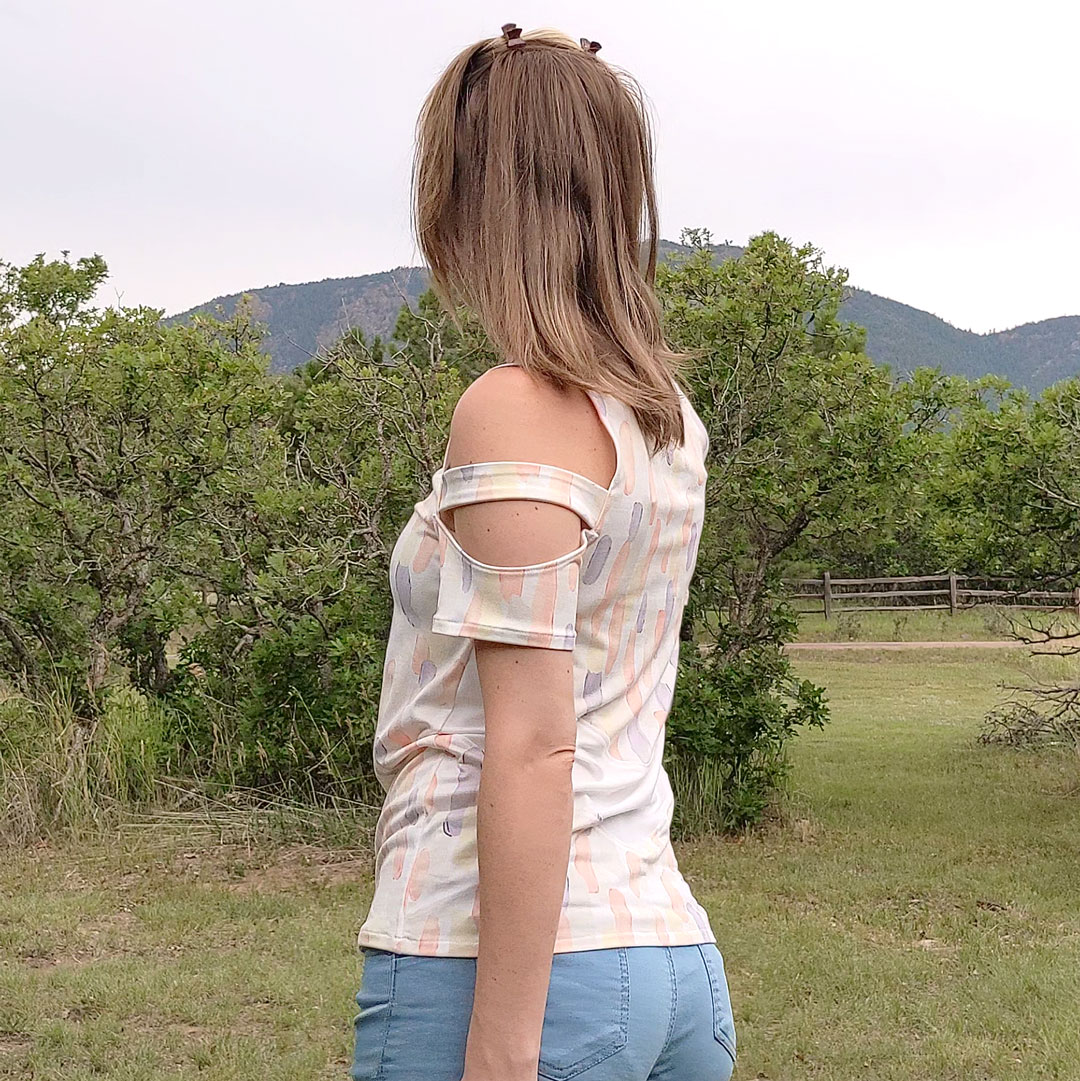
I had just enough leftover double brushed poly from my last Be Dreamy Dress to tempt me into making another version. Turns out, I was a few inches shy so I did a little v-shaped colorblocking on the back and had to cut the neckband as 2 pieces and sew the center back together. I attached the v-shaped colorblock pieces together using the same technique I use for attaching a v-neck band.
About the Fabric
MAIN: Pastel Watercolor Smudge from So Sew English Fabrics
- 96% POLYESTER / 4% SPANDEX
- Medium weight
- 4 – WAY stretch
COLORBLOCK: Offwhite Double Brushed Poly Spandex Knit from Cali Fabrics
- FABRIC CONTENT: 96% Polyester/4% Lycra
- STRETCH: 4-way 150%
- WEIGHT: 5.5oz (Light Midweight)
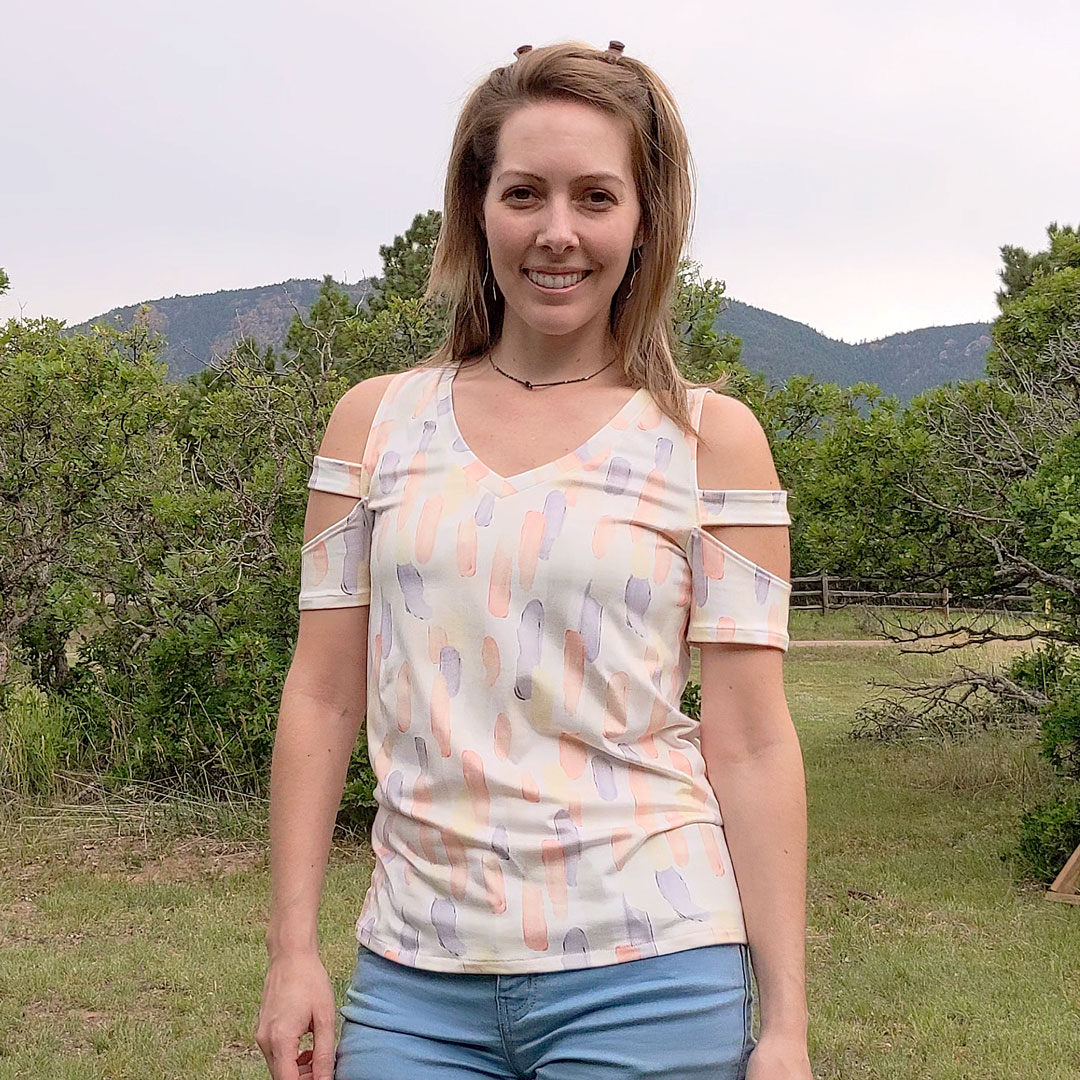
Notes for Next Time
- Lengthen straps and/or attach higher. They create some pulling as shown by the horizontal wrinkles under my shoulder.
- Play with strap details. Add two to each shoulder and crisscross. Or any number of variations I pinned.

Project Settings
Sewing Machine vs. Serger
| Sewing Machine | Serger |
|---|---|
|
|
Sewing Machine Settings
| Presser Foot | Stitch# | Stitch Width | Stitch Length | Needle | Top Thread Tension | Application |
|---|---|---|---|---|---|---|
| standard zig-zag (A) | 5 | 1.0 | 4 | blue tip | 4 | seams |
| overedge (C) | 6 | 5.5 | 3.5 | blue tip | 4 | edge finish |
| overedge (C) | 6 | 4 | 0.5 | blue tip | 4 | sleeve tack (optional) |
| applique (F) | 1 | 3.5 | 3.5 | blue tip | 4 | strap attach |
Serger Settings
| Stitch Name | superstretch |
|---|---|
| Needles | R, L |
| Finger | B |
| Threads | 3 |
| Tension Left Needle | 3 |
| Tension Right Needle | 2.5 |
| Tension Upper Looper | — |
| Tension Lower Looper | 0.5 |
| Cut Width | 6 |
| Stitch Length | 2.5 |
| Differential | 1.0 |
| Application | seams |
Leave a Reply