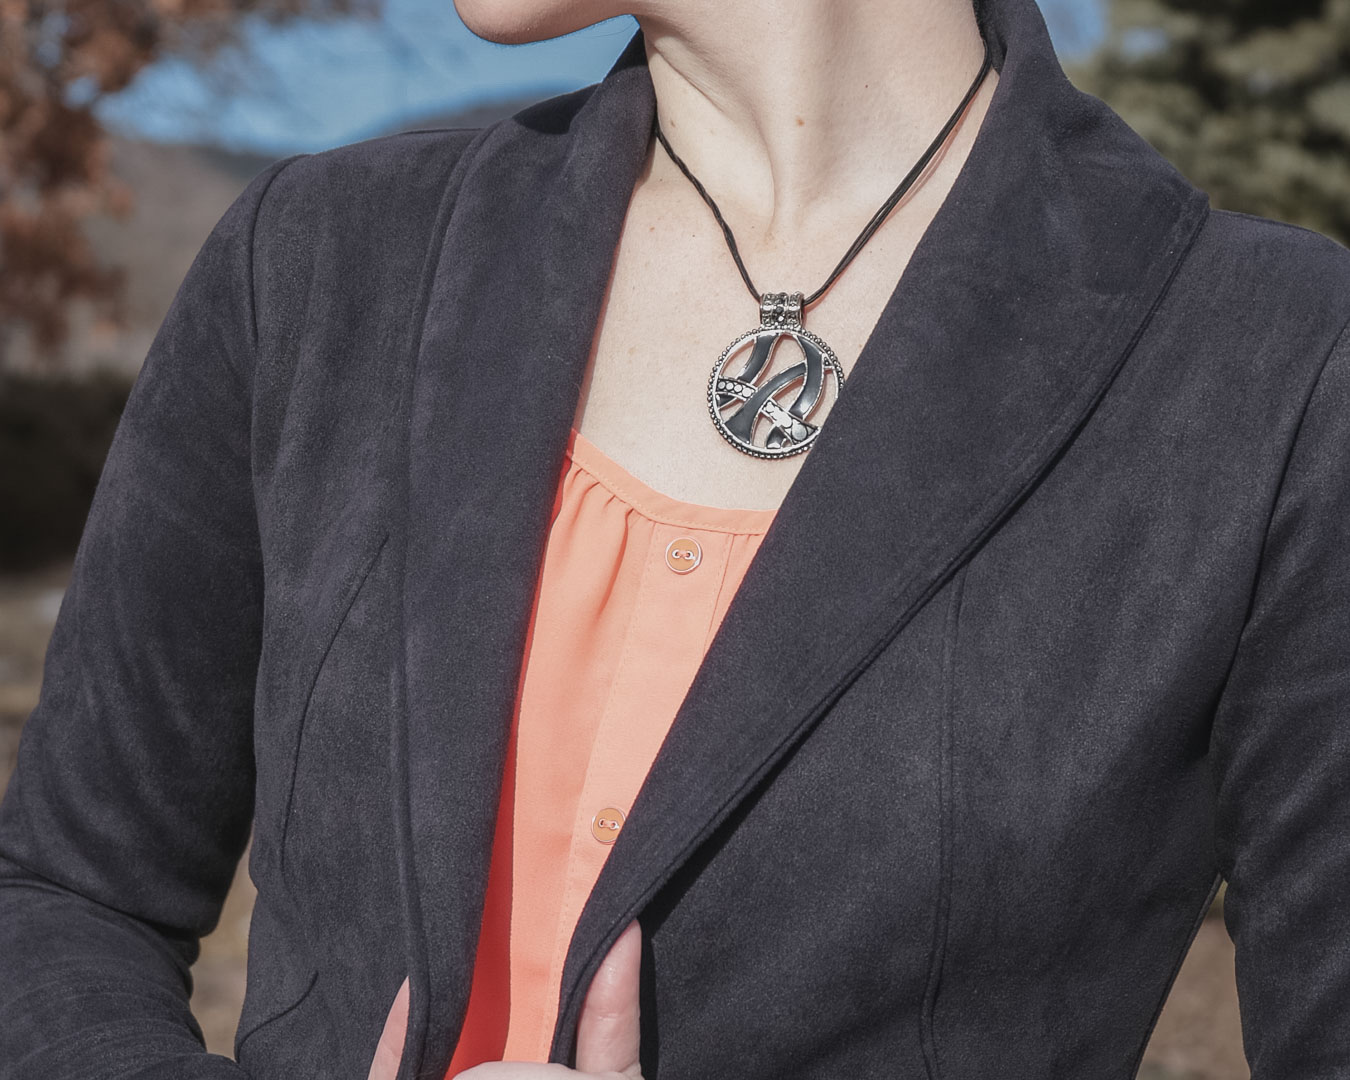
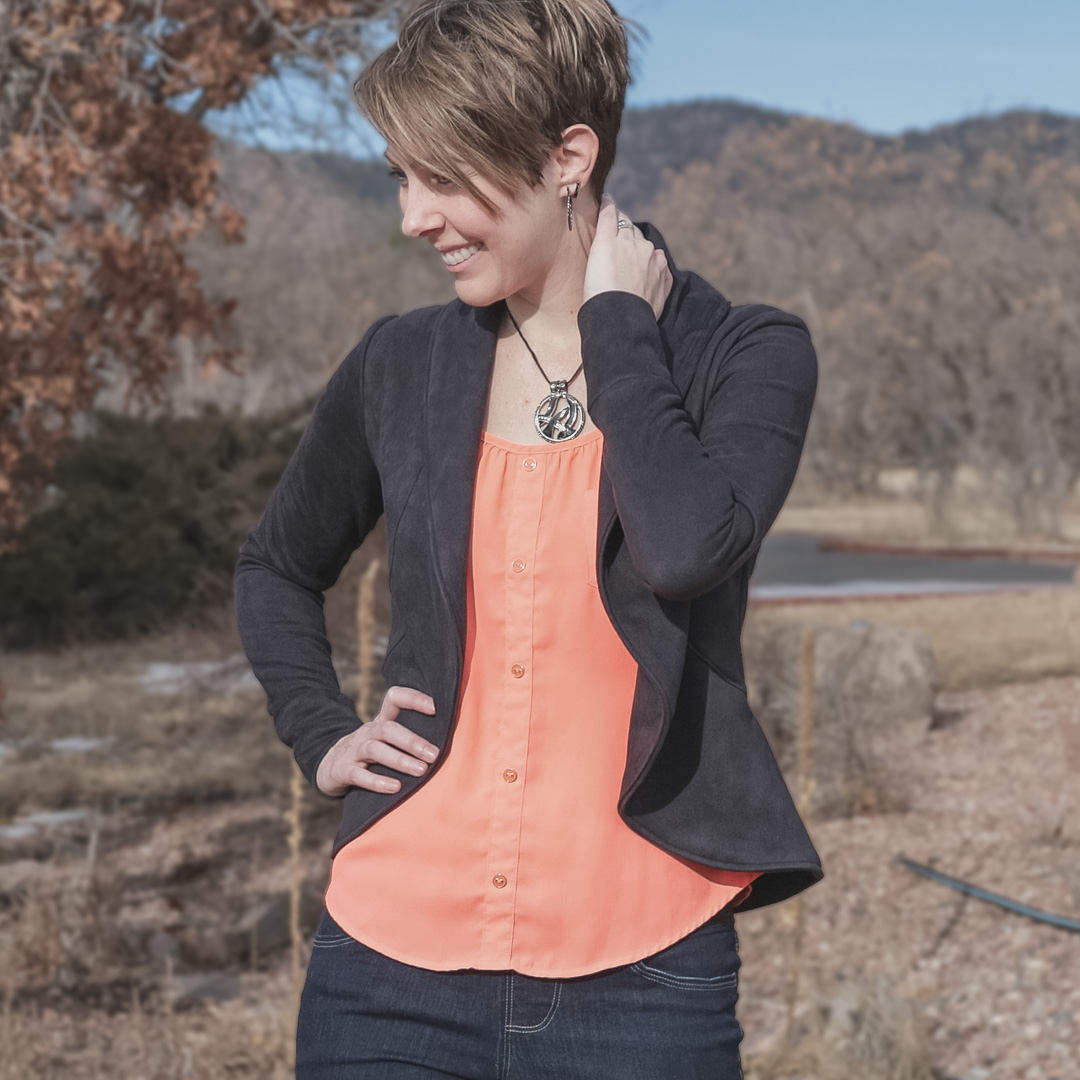
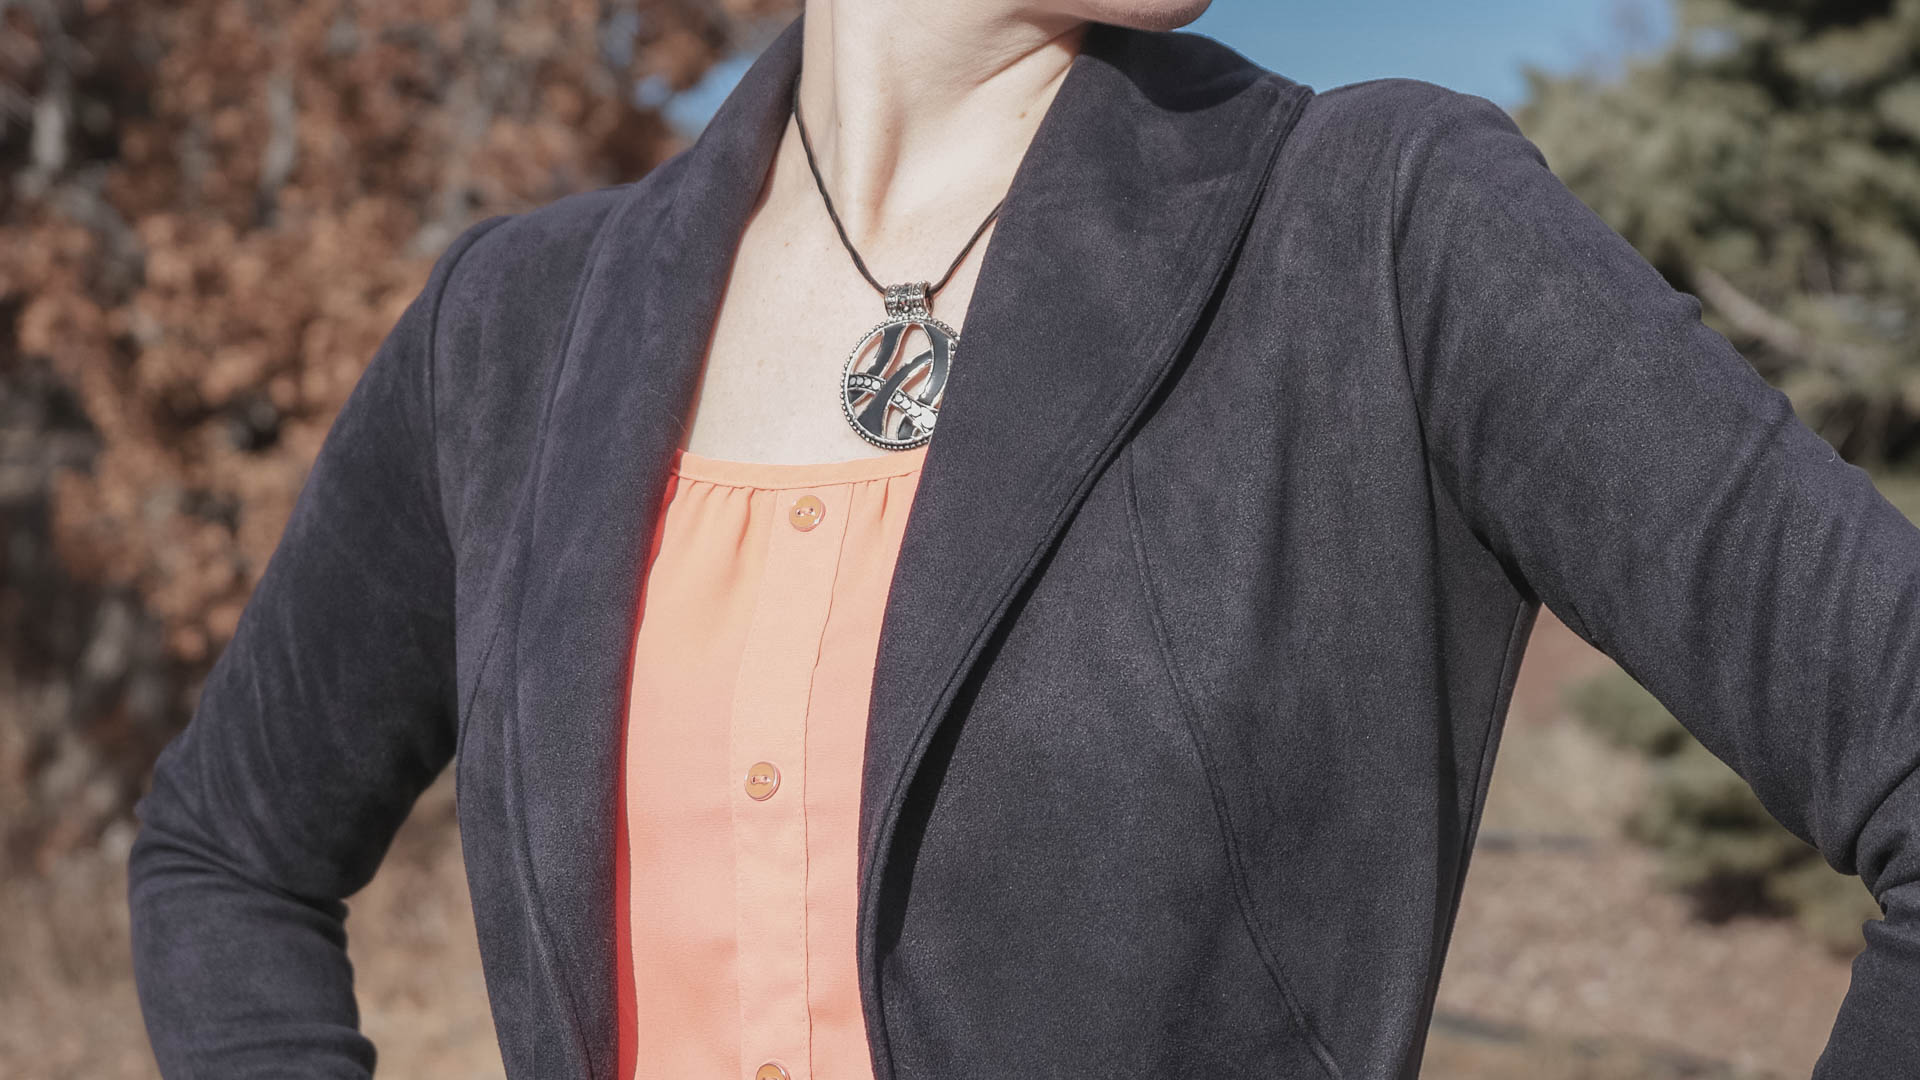
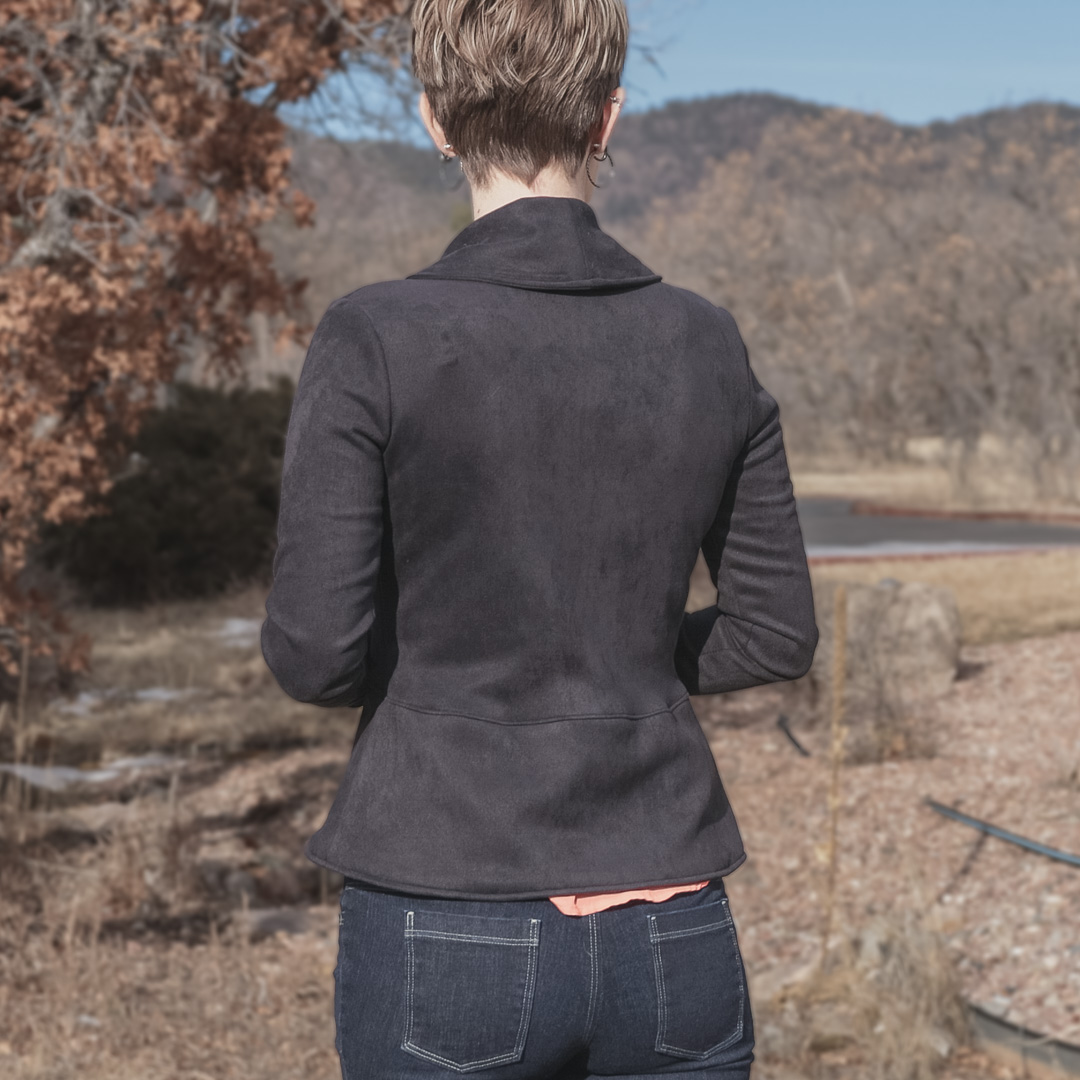
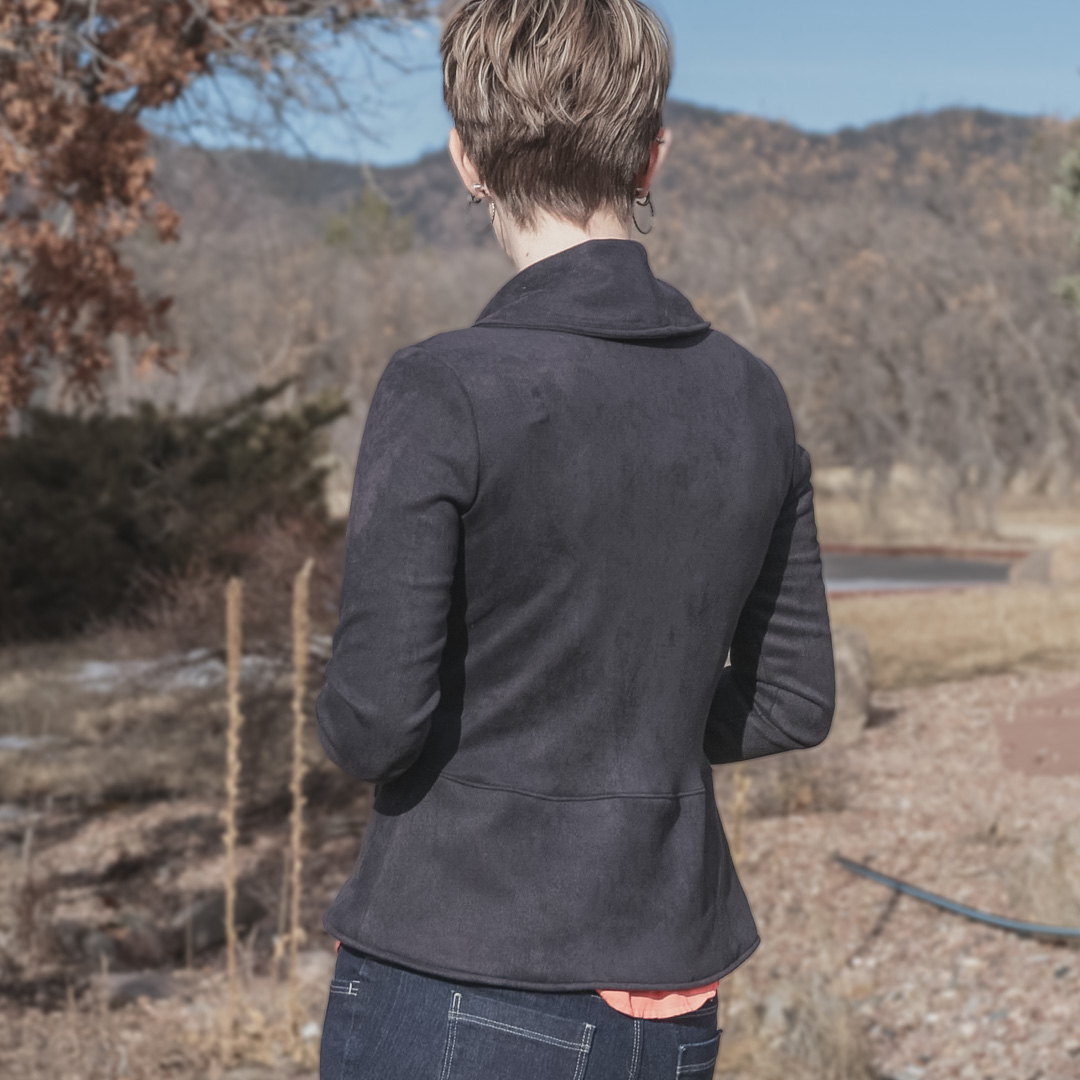
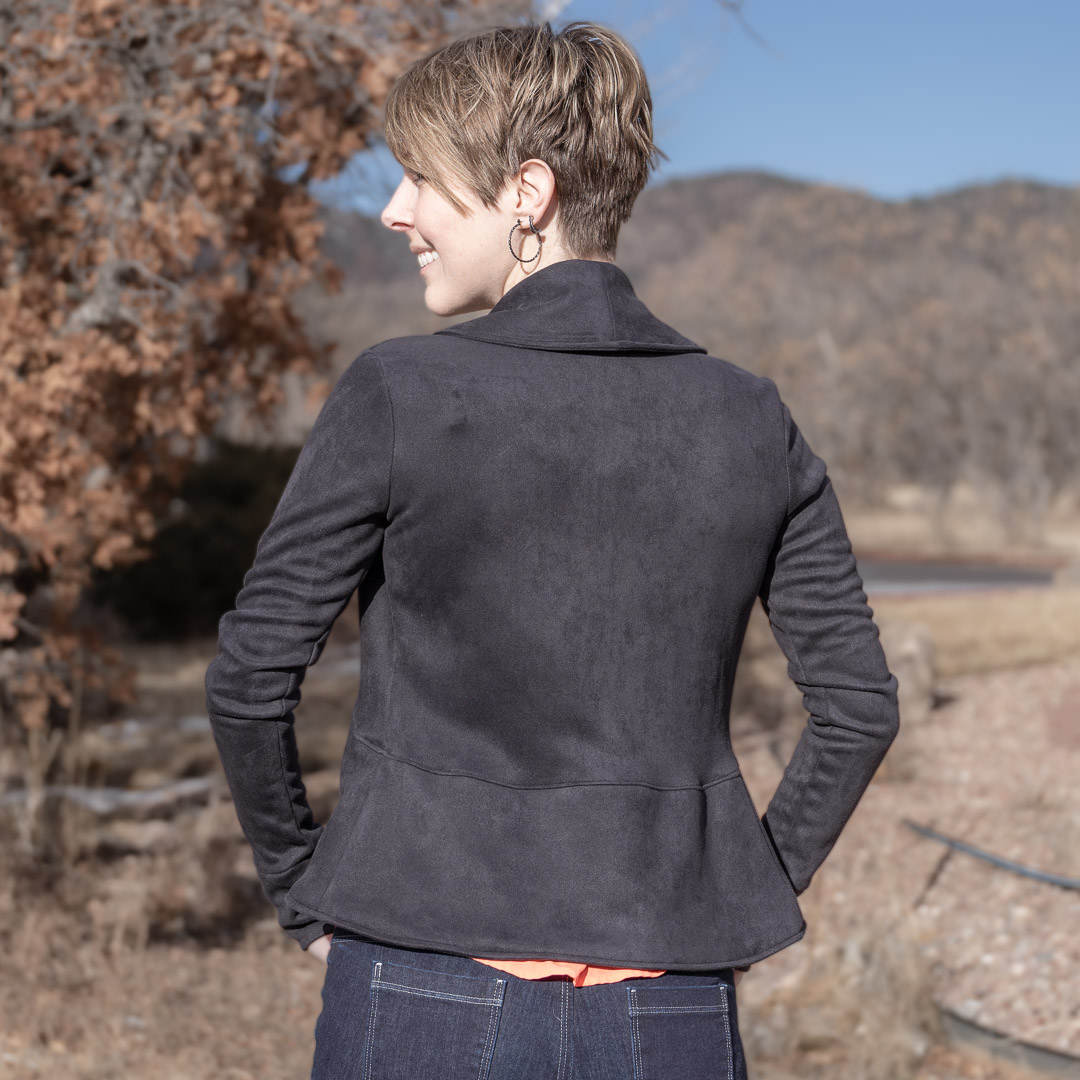
My love affair with faux suede knit continues with this black version of McCall’s M7254 cardigan—which I’m calling a blazer. I love the finished garment from this pattern, but the pattern itself is ridiculous (as all big four patterns are.) I have already made this blazer three times: one test version, a double knit version, and a brown faux suede version. The brown faux suede is my favorite; I am contemplating slicing off the hemmed sleeves and adding cuffs though. I say it a lot, but I hate hemmed sleeves, and it’s an incredibly easy alteration.

About the Fabric
2 yards Black, Heavy Scuba Knit Faux Suede from Boho Fabrics
- Contents: Polyester/Spandex
- Weight: 14 oz
- Width of Fabric: 60″
- Horizontal Stretch: 75%
- Vertical Stretch: none
This faux suede knit is delicious. Of course, all four faux suede knits I’ve bought so far are delicious. Yup, delicious fabric. Supple, stretchy, warm, easy to work with… It’s got all the things going for it.
About the Pattern
I ripped into this pattern already when I was testing it. This is my fourth time making an M7254 blazer, and I’ve pretty much done away with their instructions in favor of my own simplified, to-the-point version:
- Optional: apply interfacing to one mirrored set of collar pieces and one back peplum. (I do not use interfacing on these faux suede fabrics; they don’t need it.)
- Affix stay tape (hem tape) 1/2″ to 5/8″ from raw shoulder edge on wrong/back side of back bodice using Wonder Tape. (You might look at this step as optional, too, unless your fabric has the potential to stretch out in areas of stress like this.)
- Sew front bodice pieces to back bodice piece at shoulder seams and side seams.
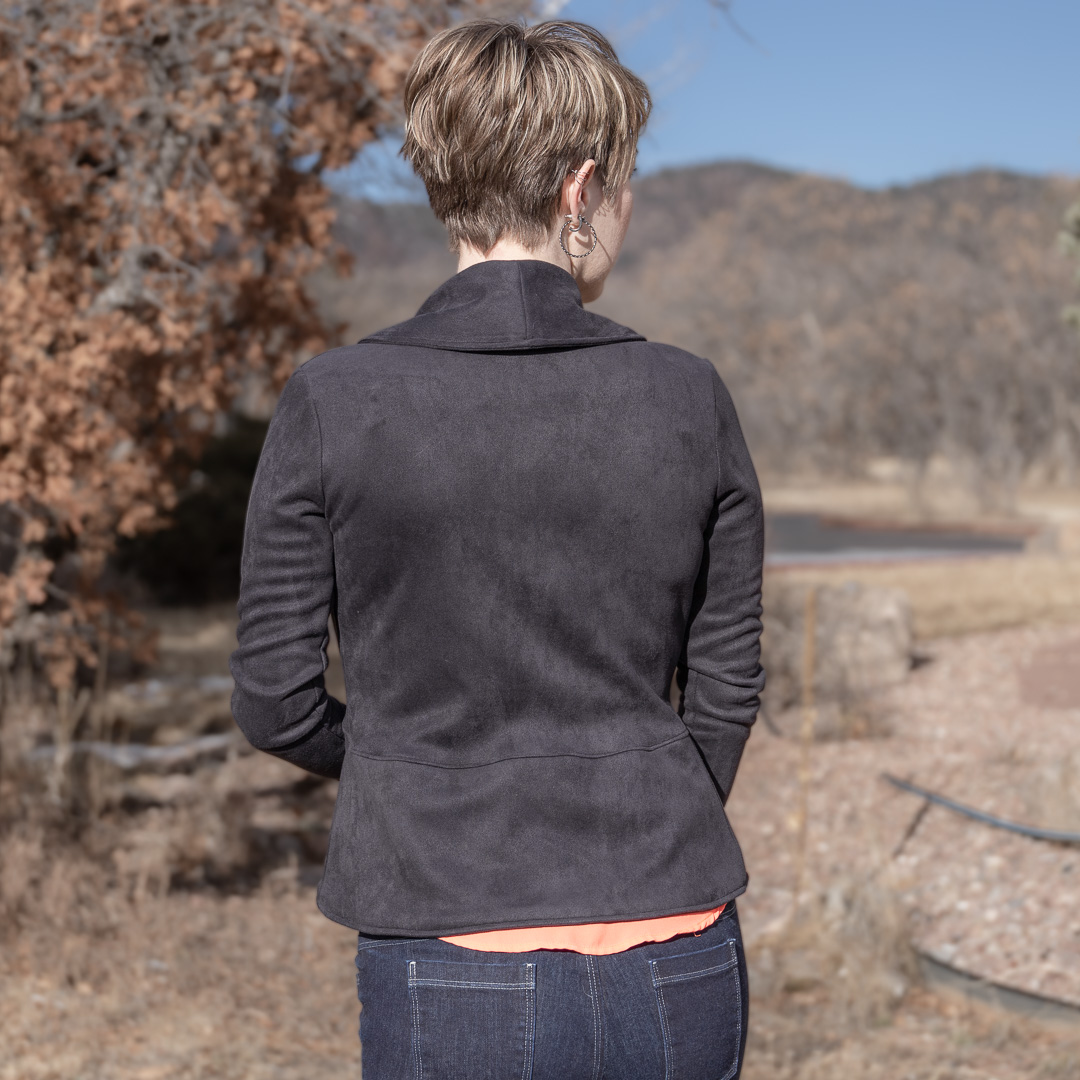
- Construct collar/peplum. Repeat for facing.
- Sew collar outer to collar facing along outer edge. Topstitch if desired. (I always do this on faux suede knit since it does not press well.)
- Sew collar to bodice. Optionally topstitch seam allowance.
- Sew sleeve side seams.
- Attach sleeves. *IMPORTANT: The original instructions have you sew two rows of ease stitching along the sleeve caps. I don’t do this. I attach the sleeves using my sewing machine, a combination of gentle stretching, and a little “bird nest” technique to ease the slightly larger sleeve into the bodice.
Bird nesting (my unofficial term for it) is a way of feeding the fabric through the machine where you simulate the curve of the body. Instead of having the layers you’re sewing together pinned flat, you shape them into curves in order to help ease a longer edge neatly along a shorter edge. Think about running track or driving cars along a curve; the person or car along the inside of the curve travels a shorter distance than the person/car along the outside of the curve. I call it bird nesting because it kind of mimics the gently curved shape of a bird nest around the presser foot. It’s my way of avoiding ease stitches and it turns out surprisingly well. I’ll have to make a video to demonstrate.
- Construct cuffs and attach to sleeves.
This is my first M7254 blazer where I had my serger to help. Such a time saver! It’s also fabulous for chopping off that mega 5/8″ seam allowance.

What I Did Differently
- Cut the sleeves 4.5″ shorter and drafted 4″ cuffs to eliminate the sleeve hem.
- Ignored the instructions and followed my outline above.
Worth Noting
- These faux suedes have quite a bit of substance to them. There are some areas where seams intersect and give you 4 or 5 layers of fabric to sew through. My sewing machine with a heavy duty purple tip needle handles that quite well, but my serger took a little bit of coaxing at the handwheel to restart when I had to stop at these areas to finesse the fabric.
- As I mentioned, this fabric does not press well, so topstitching is basically a necessity if you want a tailored finish.
- Suede can be a bit “grabby” at the sewing machine. That didn’t present any problems for me other than noticing it didn’t like to slide along my work surface as easily as most fabrics.


Project Settings
Sewing Machine vs. Serger
| Sewing Machine | Serger |
|---|---|
|
|
Sewing Machine Settings
| Presser Foot | Stitch# | Stitch Width | Stitch Length | Needle | Top Thread Tension | Application |
|---|---|---|---|---|---|---|
| standard zig-zag (A) | 5 | 1.0 | 4 | purple tip | 4 | seams |
| 1/4" | 2 | 3.5 | 3.5 | purple tip | 4 | topstitch collar |
| adjustable edge (SE#7) | 2 | 3.5 | 3.5 | purple tip | 4 | topstitch bodice |
Serger Settings
| Stitch Name | super stretch |
|---|---|
| Needles | R, L |
| Finger | B |
| Threads | 3 |
| Tension Left Needle | 4 |
| Tension Right Needle | 3.5 |
| Tension Upper Looper | — |
| Tension Lower Looper | 1.5 |
| Cut Width | 6 |
| Stitch Length | 3.5 |
| Differential | 1.0 |
| Application | seams |
Leave a Reply