If you haven’t sewn a day in your life, I have some friendly advice: do not start with a “big-name” pattern. You know, the ones you can find stocked in a Joann’s or whatever your local sewing shop may be.
You will want to claw your eyes out. I’ve been at this sewing thing since 2018, and the instructions for this stripey blazer… Well, have a minion to get the full effect:

Indie pattern designers are (usually) so much more beginner friendly. If I had to point you to the best when it comes to quality instructions, I would say DIBY.club or George and Ginger. Of the indie patterns I’ve used, they are my favorites in terms of clarity—with DIBY having a bit of a leg up on detailed explanations for beginners.
Read on if you want the deets on all the ways this pattern was way too extra.
I actually did what I should always do and made a muslin!
About the Fabric
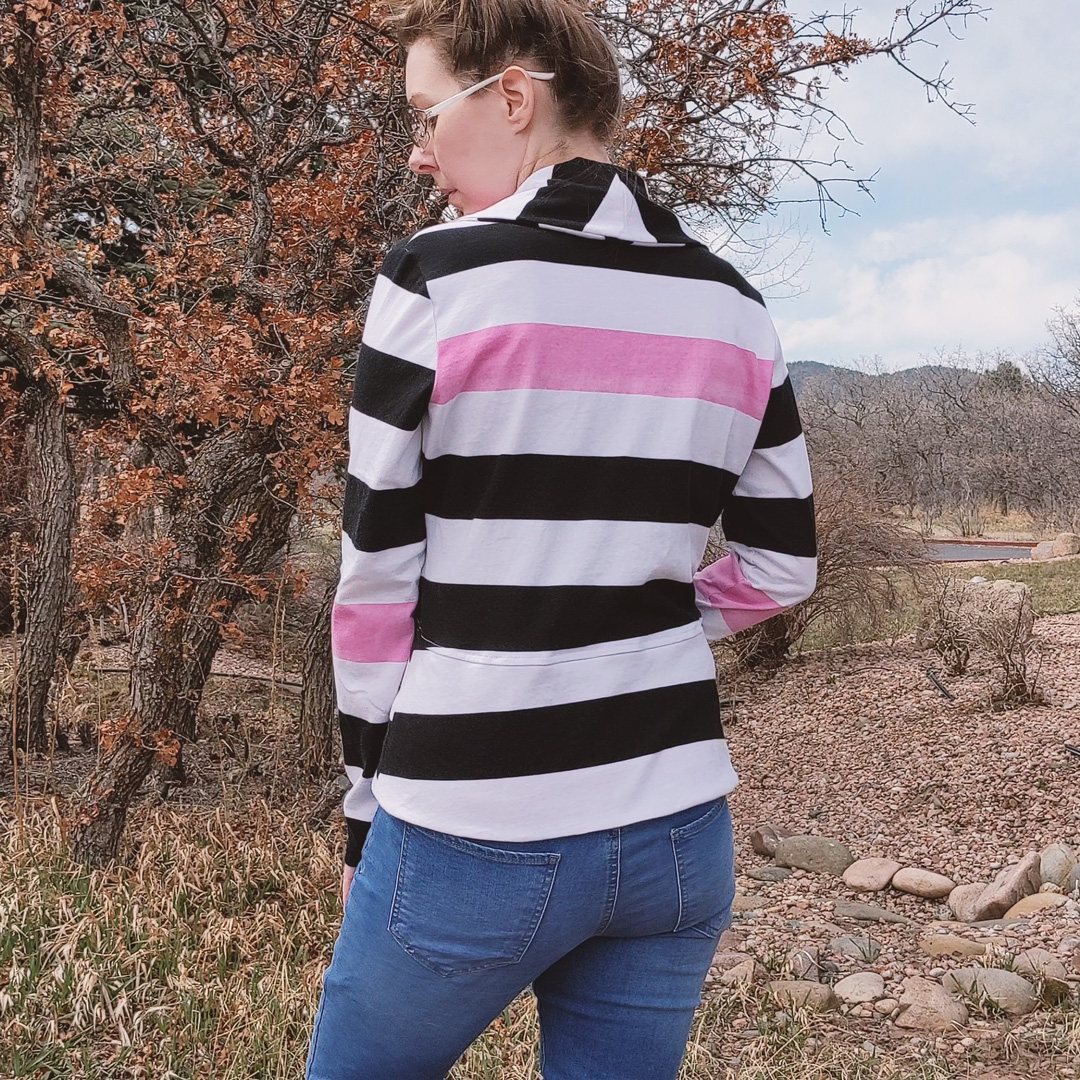
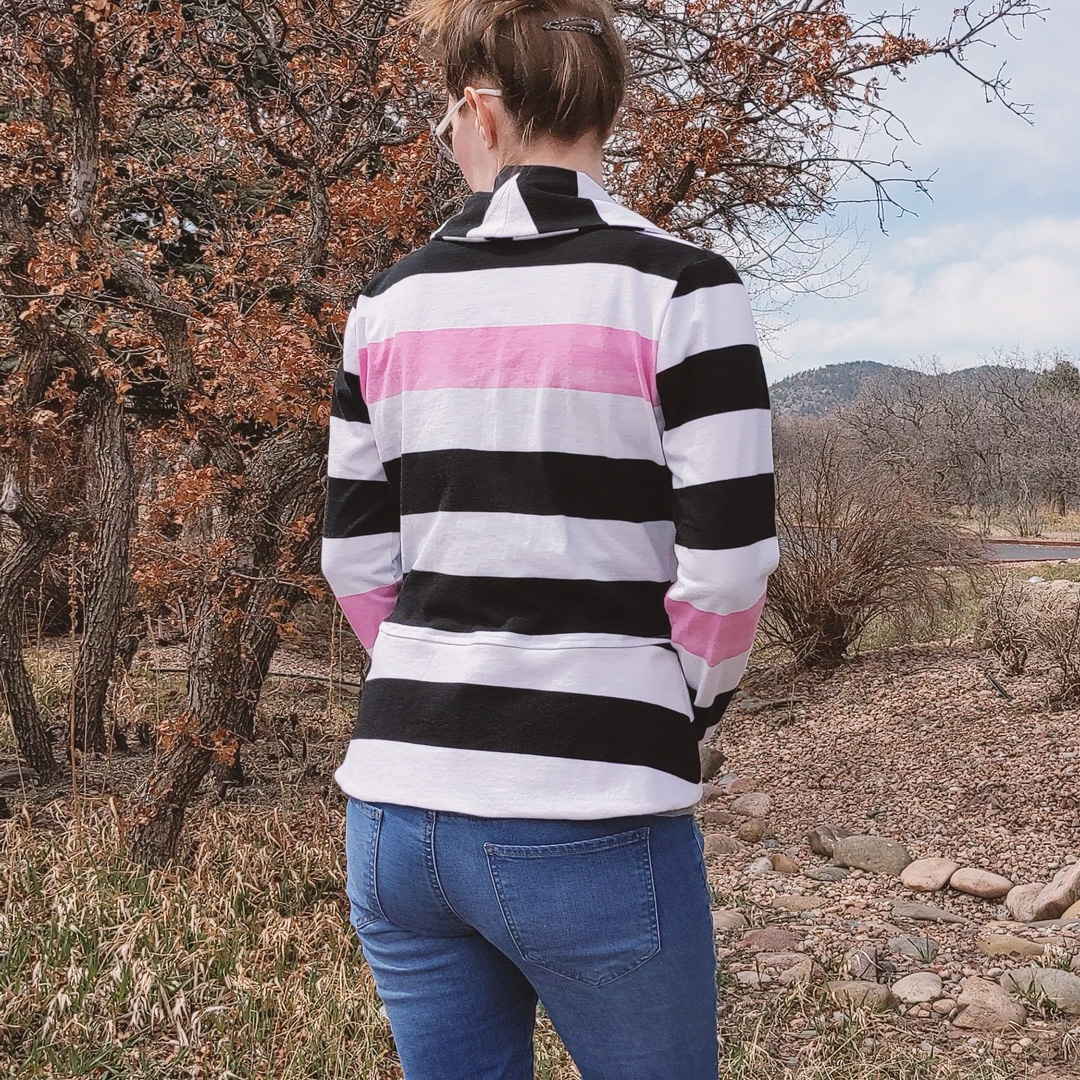
- ~2.5 yards of way-too-stripey cotton lycra
- horizontal stretch: 75% max
- vertical stretch: 50% max
This fabric is not my jam. It came in a clearance box from Boho Fabrics, which makes it perfect for a muslin. At ~$2.80 a yard, it’s very muslin-worthy. Jail-birdy stripes aside, I also almost-hate cotton lycra. It has an awkward drape, it’s clingy, the raw edges roll like a jerk, and it’s not even particularly warm. The only things I’ve been satisfied to use it for are leggings and undergarments.
About the Pattern
Buckle up, this is going to be extensive (and a little harsh.)
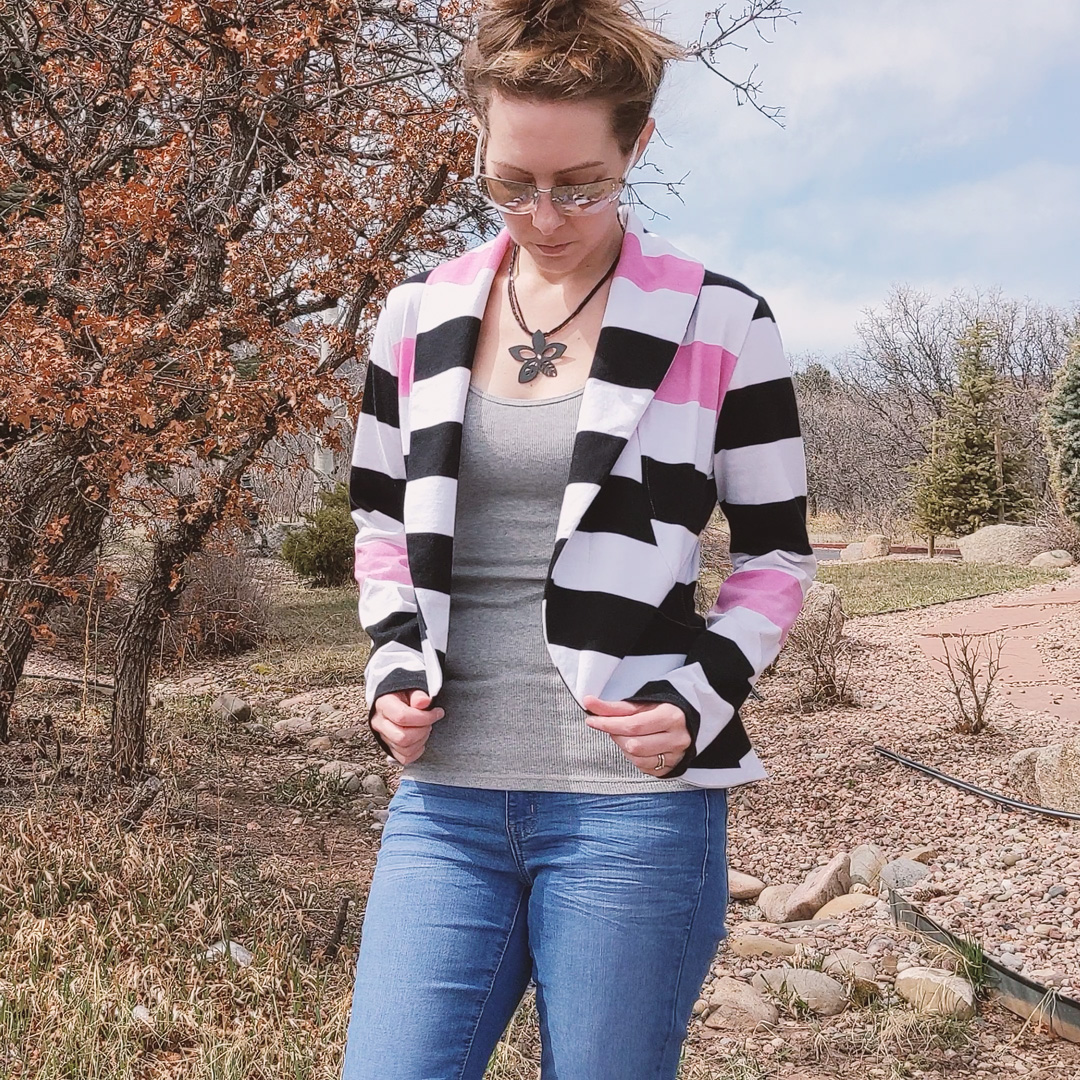
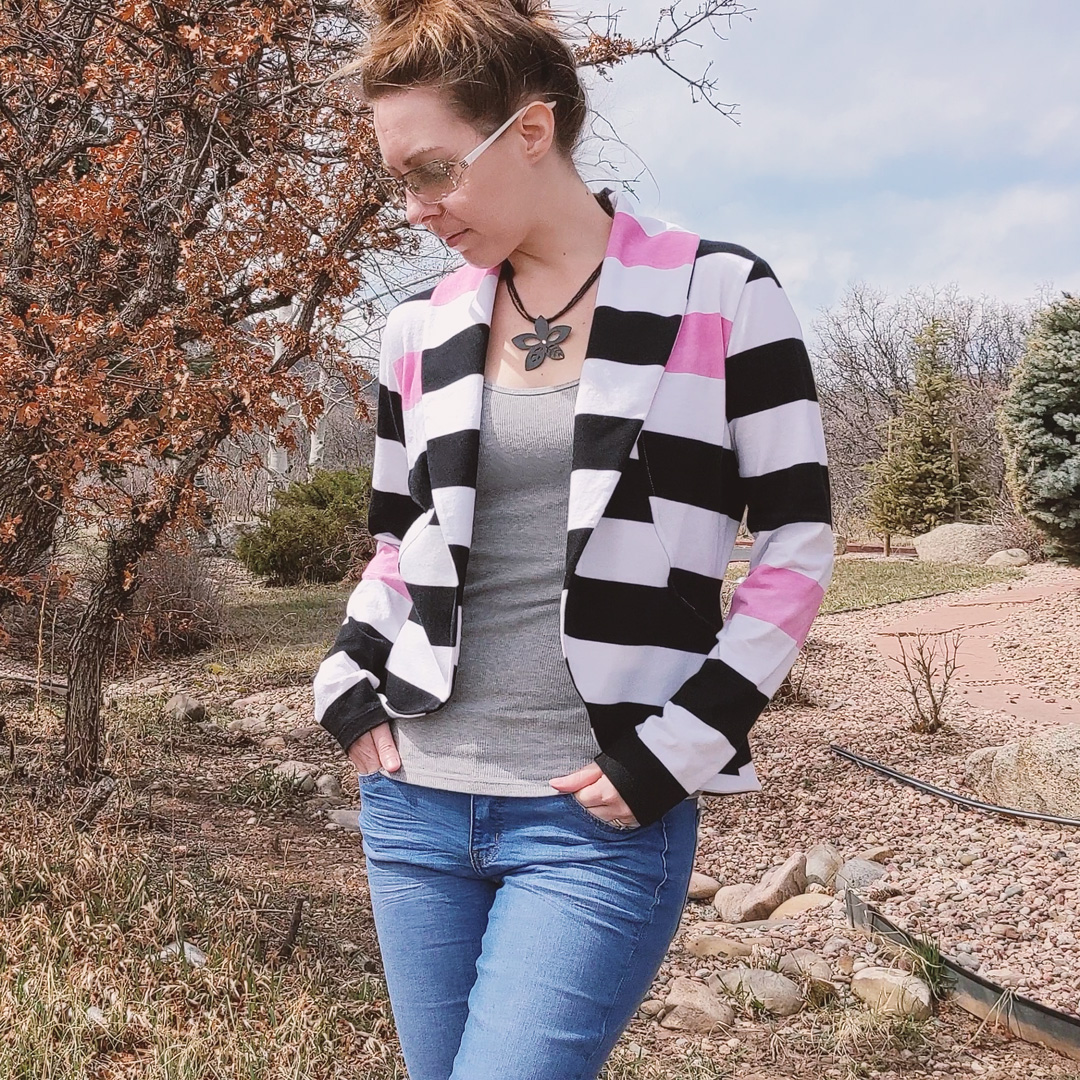
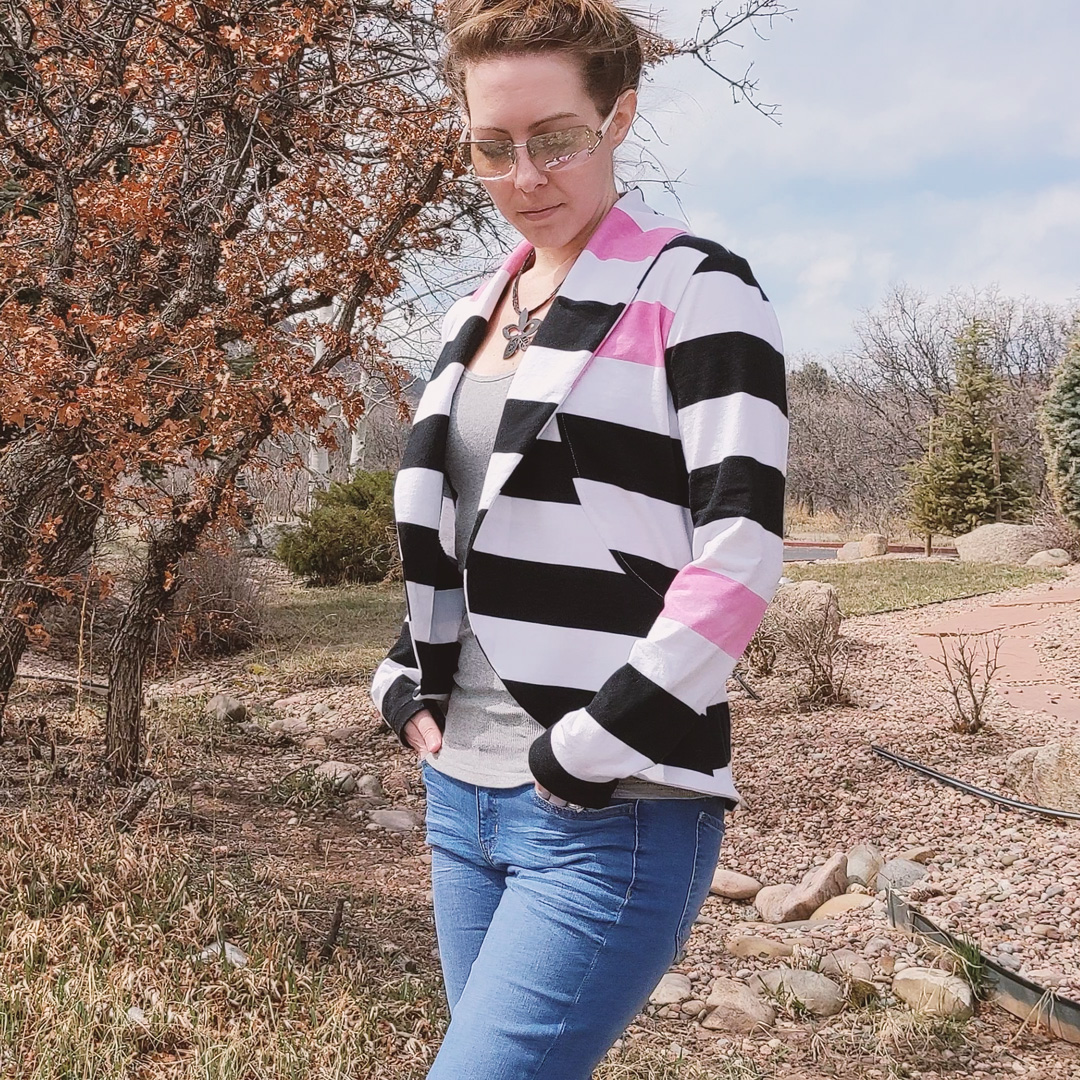
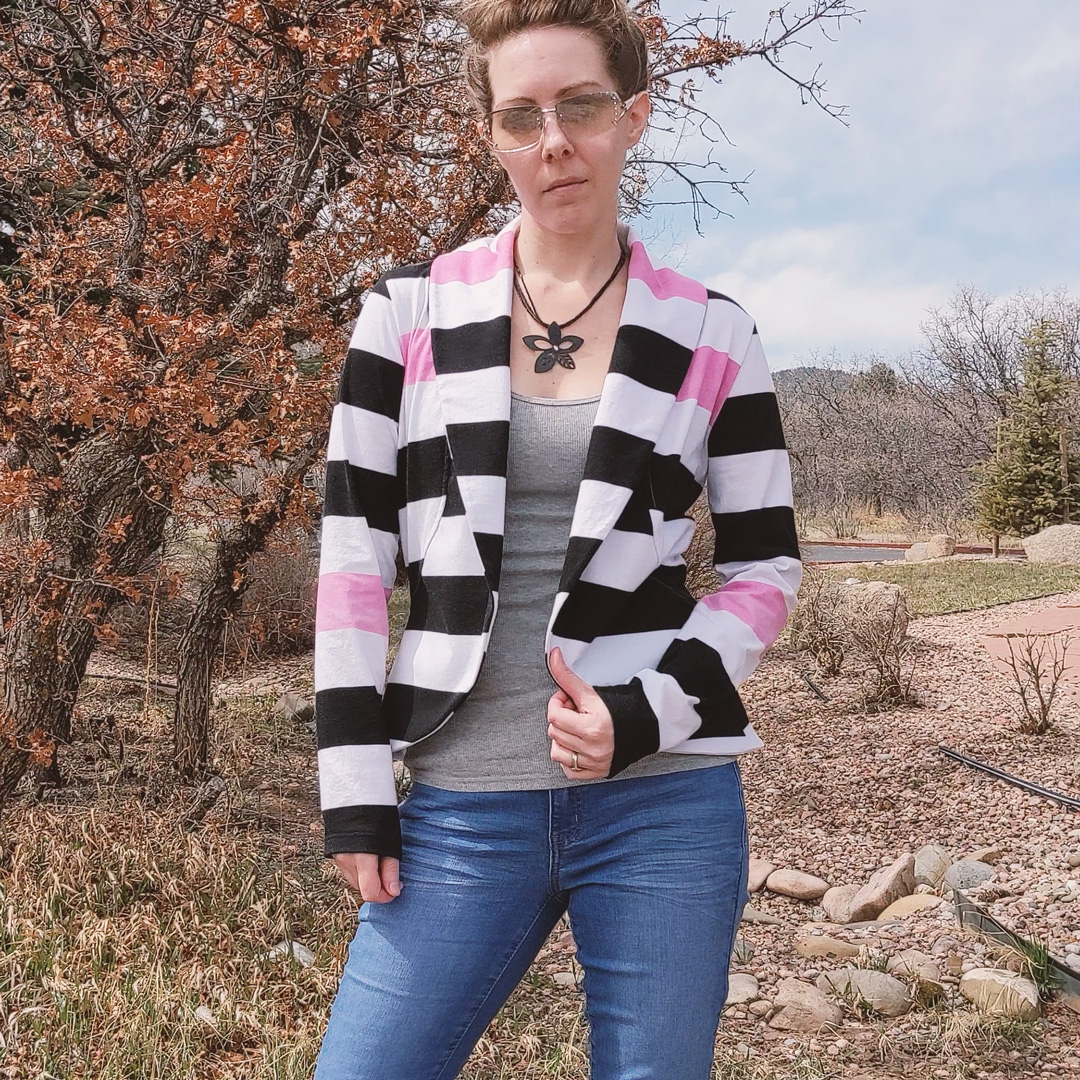
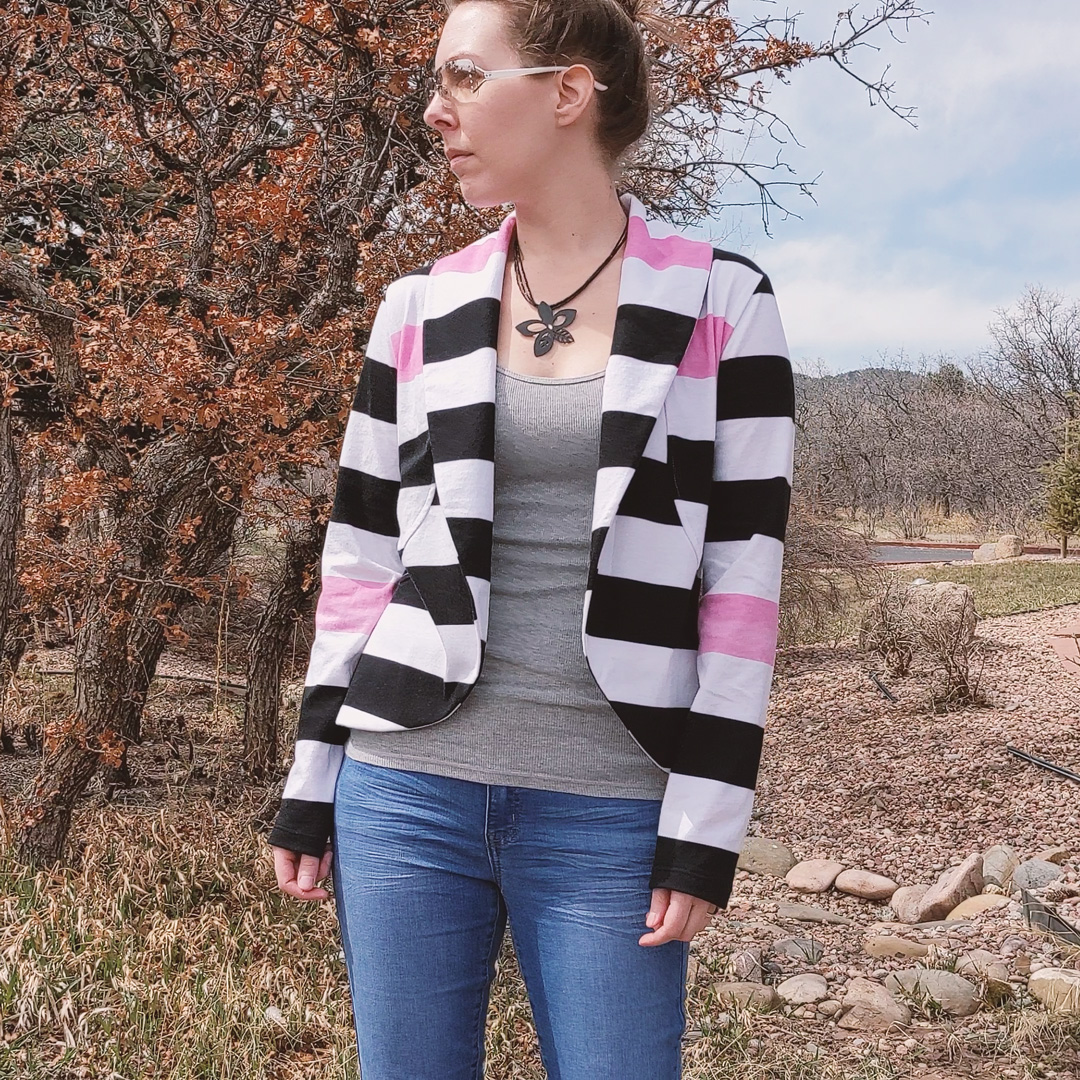
- McCalls M7254 Misses’ Cardigans with Shawl Collar (They call it a cardigan but it feels more blazer-y to me. /shrug)
Pros
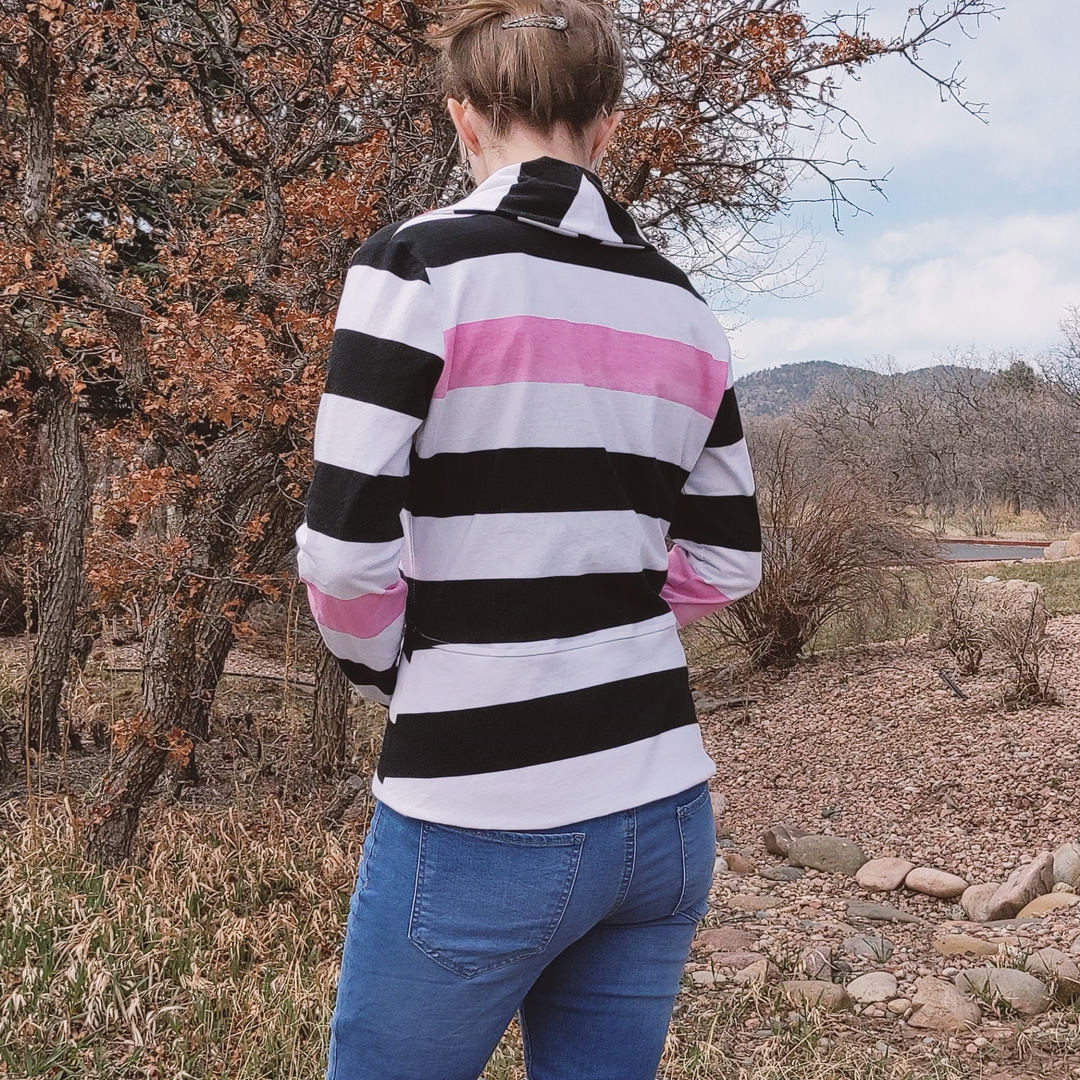
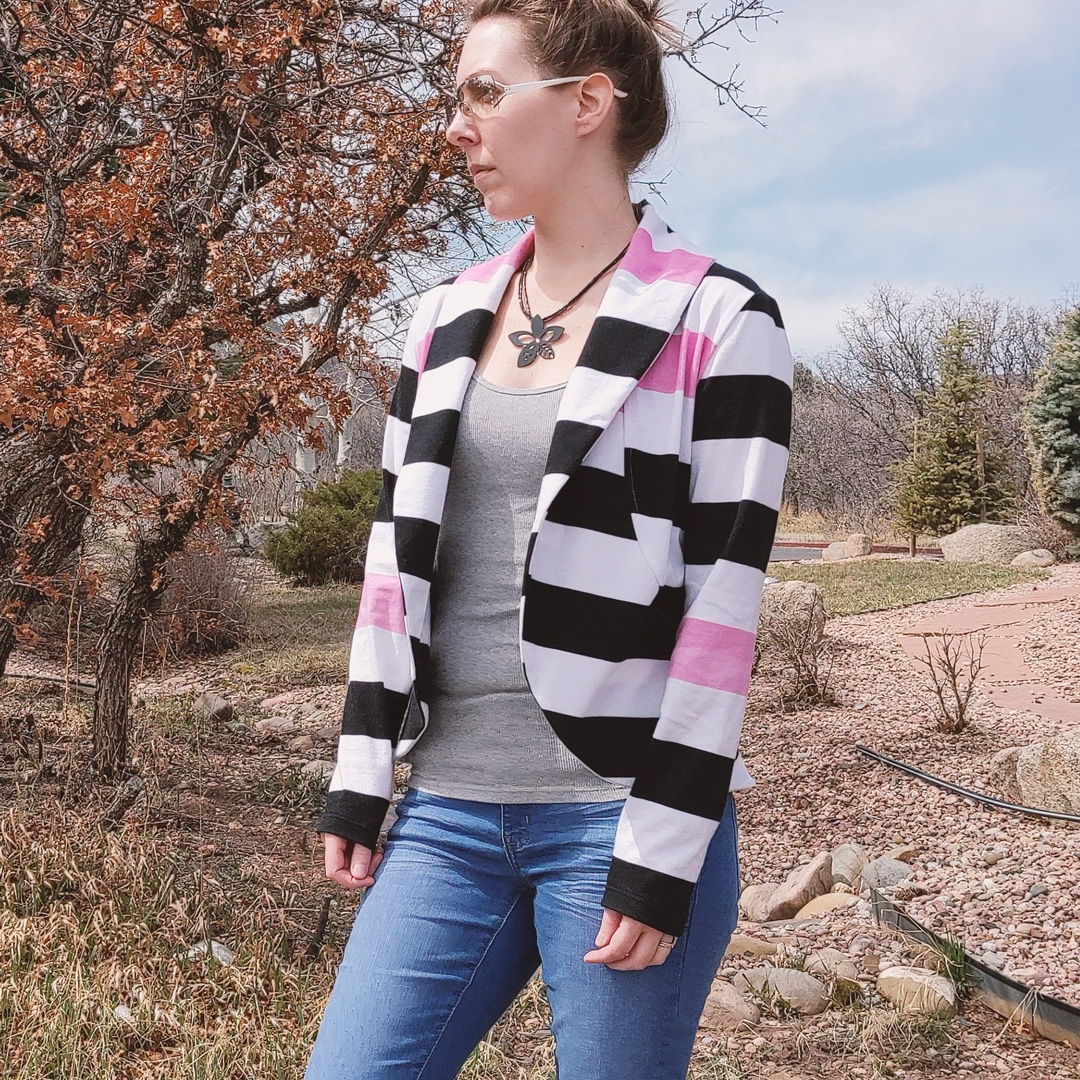
- The overall silhouette is just what I’m looking for in a jacket.
- It’s made for knit fabric.
- Several options:

Cons
Alright, maybe I’m just too used to indie pattern designers, but there seems to be so much unnecessary stuff in these pattern instructions. It started out alright:
- Stabilize the shoulder seams with “seam binding”. Okay…that’s nothing new to me—other than the fact they call it “seam binding” instead of something more logical like stay tape or hem tape. When you say binding, I think of BINDING, not stabilizing. Anyway…
- Fuse some interfacing. Yeah, that’s old hat, too… Except it wasn’t clear on whether to use woven or non-woven interfacing. I only had enough woven on hand to do it, and hey, it’s a muslin: I’m allowed to mess it up.
- Sew the collar together. Repeat with the collar facing. Simple enough.
- And then things went sideways with this glorious illustration:
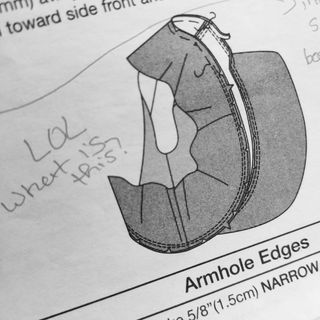
That’s when I started to just do my own thing. Attach the collar to the bodice? I can do that, as long as I ignore that abstract art they somehow thought would be helpful.
How I Made Sense Out of the Nonsense
- Anywhere it told me to baste, I didn’t. I’ve found basting knit fabric only manages to distort it and make the final seam a bigger pain.
- It told me to staystitch the inner edge of the collar. I still don’t know what that’s trying to make me do. Yeah, they define staystitching in the instructions, but it makes no sense to me in this step. So I skipped it. And had no problems.
- Everywhere it said to “Stitch. Stitch again. Trim.” or “double-stitch” on the last page of instructions, I stitched, trimmed, and finished the seams like I’ve done on the loads of knit garments I’ve made in the past.
- It didn’t specify which side of the collar was considered the “right side”, so I used the interfacing side as the “right side” and the collar facing as the “wrong side.”
- They wanted me to easestitch the sleeve cap. Two rows of stitches around the raw edge of a knit sleeve cap. To help “ease” it when attaching to the bodice. I didn’t do this. It’s knit fabric, people. It stretches. Like every other knit sleeve I’ve done, I just distribute the stretch. It’s so much simpler. And I’m also not making 5 rows of stitches. Literally: 2 rows of ease stitches, then baste, then stitch, then stitch again, then trim?? Cue my friend:
How ’bout I distribute the stretch, pin, and stitch once. Then trim and finish the edges. K? On that note, it would be nice if they notched the sleeve cap where it meets the shoulder seam. But they didn’t. - And then the sleeve hem. “Turn up…baste…turn in…baste…press…topstitch.” Holy ham. Guess what I did. I folded the hem up twice, pinned it, pressed, and stitched once. And it’s FINE.
About This Make
- View C
- Size M (no grading)
- +2″ to sleeves
- Used sheerweight non-knit interfacing
What I Did Differently
- Basted seam binding at shoulder seams with a 0.5″ seam allowance.
- Used my twin needle for final shoulder seam with a 5/8″ seam allowance (rather than doublestitching.)
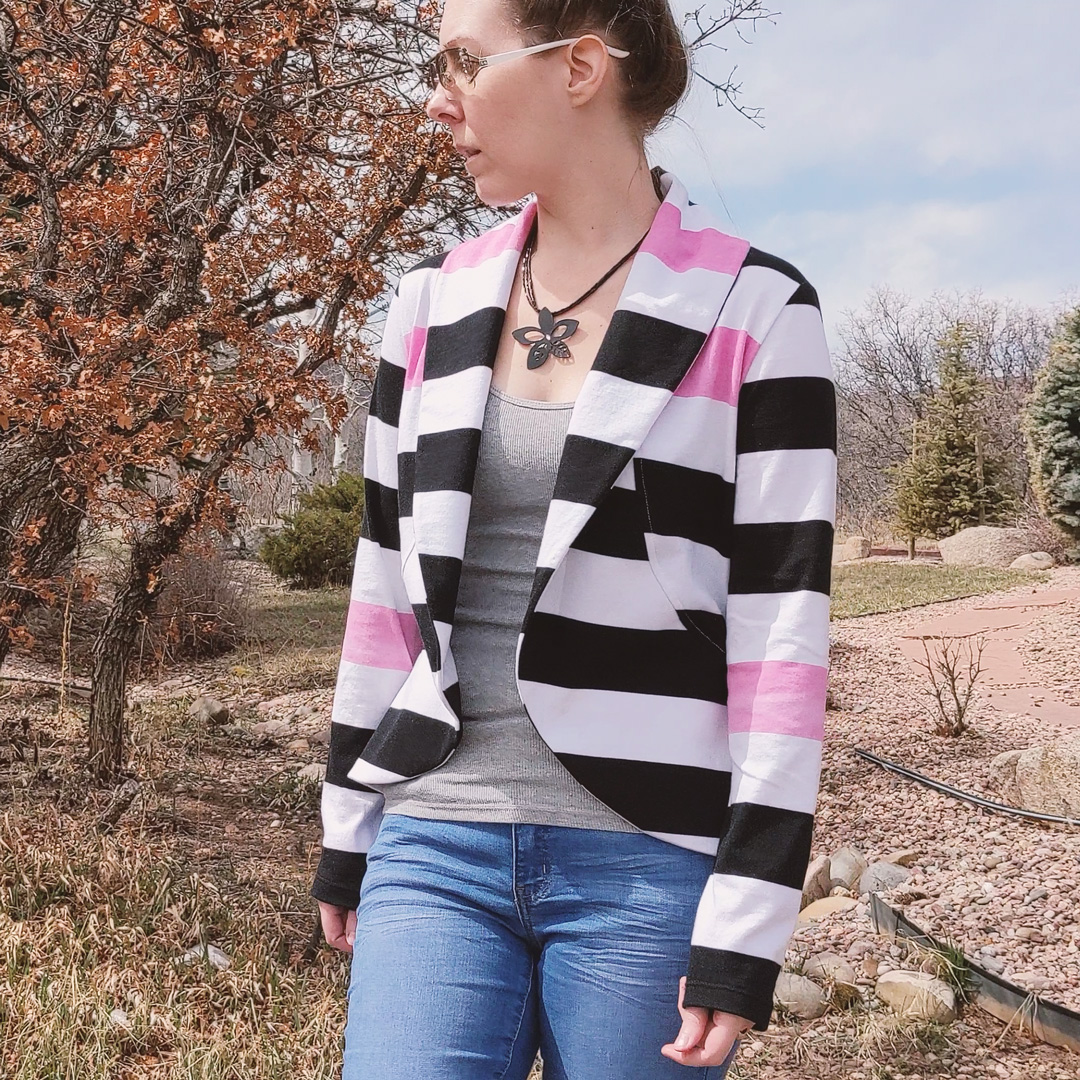
- I topstitched the collar seam allowance to the bodice, like I’ve done on my Bianca Boleros. I love the finish this detail creates.
- As I said, I didn’t baste anything except the seam binding at the shoulder seam. And even that felt a little pointless.
Notes for Next Time
- Use a stretch interfacing. One layer of stretchy fabric with one layer of non-stretchy fabric is a pain in the derriere to sew.
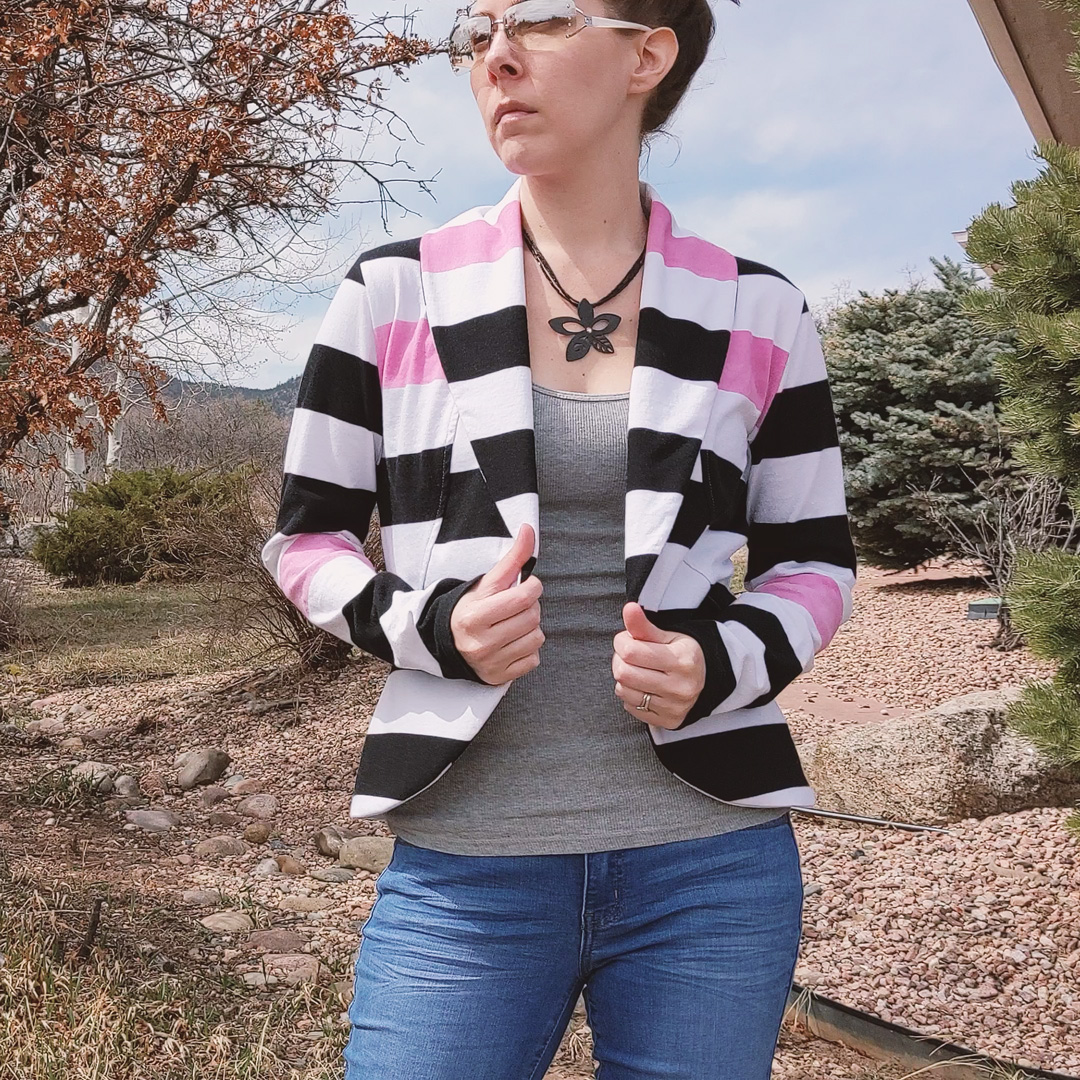
- It feels a little on the loose side. I wonder if I should size down to S.
- The 2 extra inches on the sleeves was a lot…but I’m not sure I want to shave any of that off. I love extra long sleeves, and if I size down, I might need that extra length.
- Just layer in the seam binding with the shoulder seams and sew it all at once.
- Treat any mention of doublestitching as my regular technique for knit seams. Sew, (trim excess if needed), and finish with zig-zag.
All in all, I’m pleasantly surprised how it all came together, to the point I’ll actually wear this out and about. It’ll work for some casual, shabby-something vibe. And now that I’ve gone through it, it’s actually a really simple garment to construct—you know, after you subtract all the extra.
Project Settings
Presser Foot |
Stitch# |
Width |
Length |
Needle |
Top Thread Tension |
Application |
|---|---|---|---|---|---|---|
standard zig-zag (A) |
5 |
1.0 |
4 |
blue tip |
4 |
seams |
overedge (C) |
6 |
5.5 |
3.5 |
blue tip |
4 |
edge finish |
standard zig-zag (A) |
0 |
3.5 |
5 |
blue tip |
4 |
baste |
standard zig-zag (A) |
1 |
3.5 |
3.5 |
Schmetz twin stretch |
4 |
doublestitching and hem |
1/4″ |
1 |
3.5 |
3.5 |
blue tip |
4 |
collar topstitch |
Leave a Reply