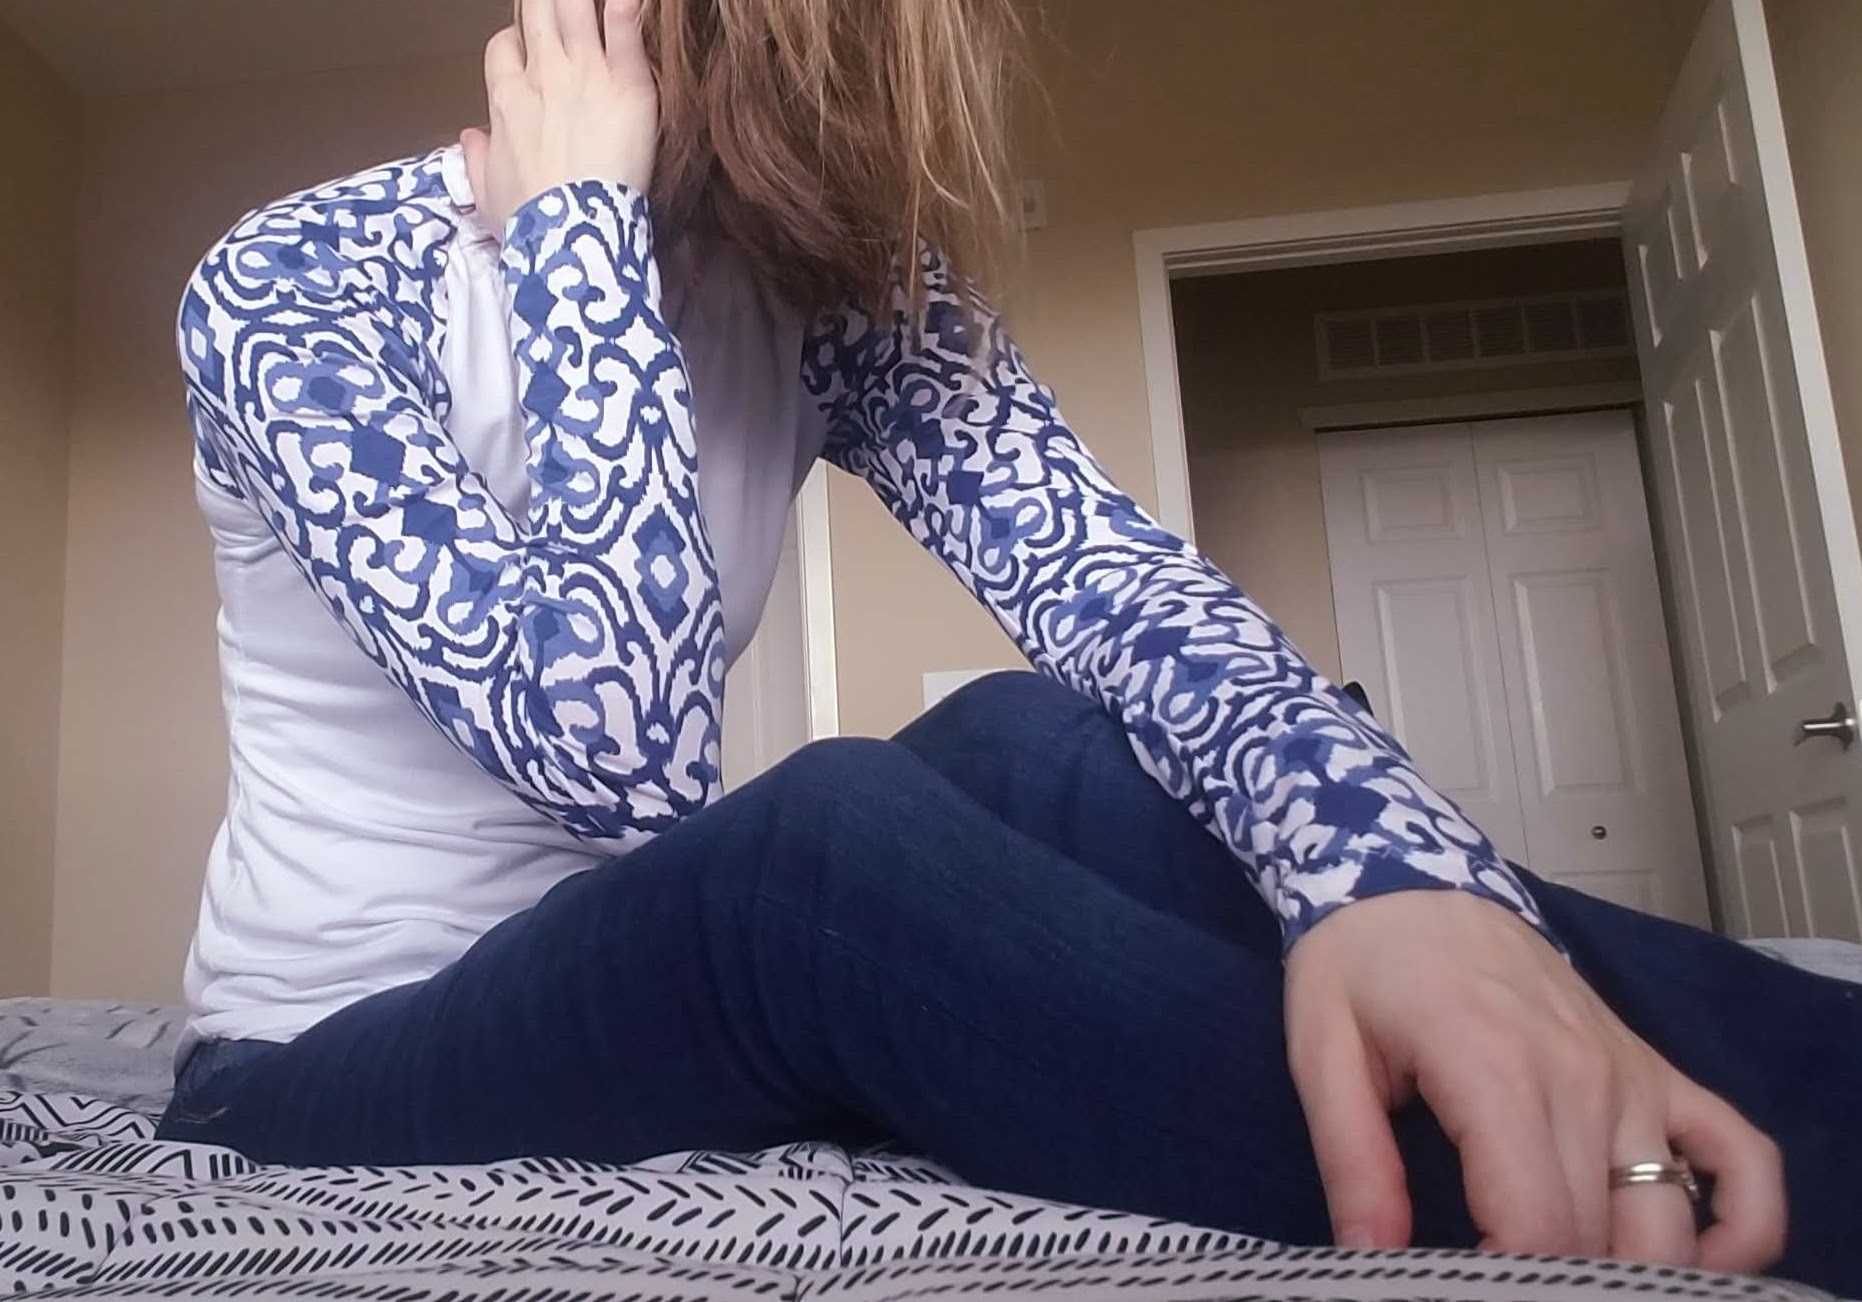
My Frankie Tee (from the Stretch! book) is complete, and I’m wearing it as I type this. washing it as I type this because I literally just dripped sauce on it. Of course.
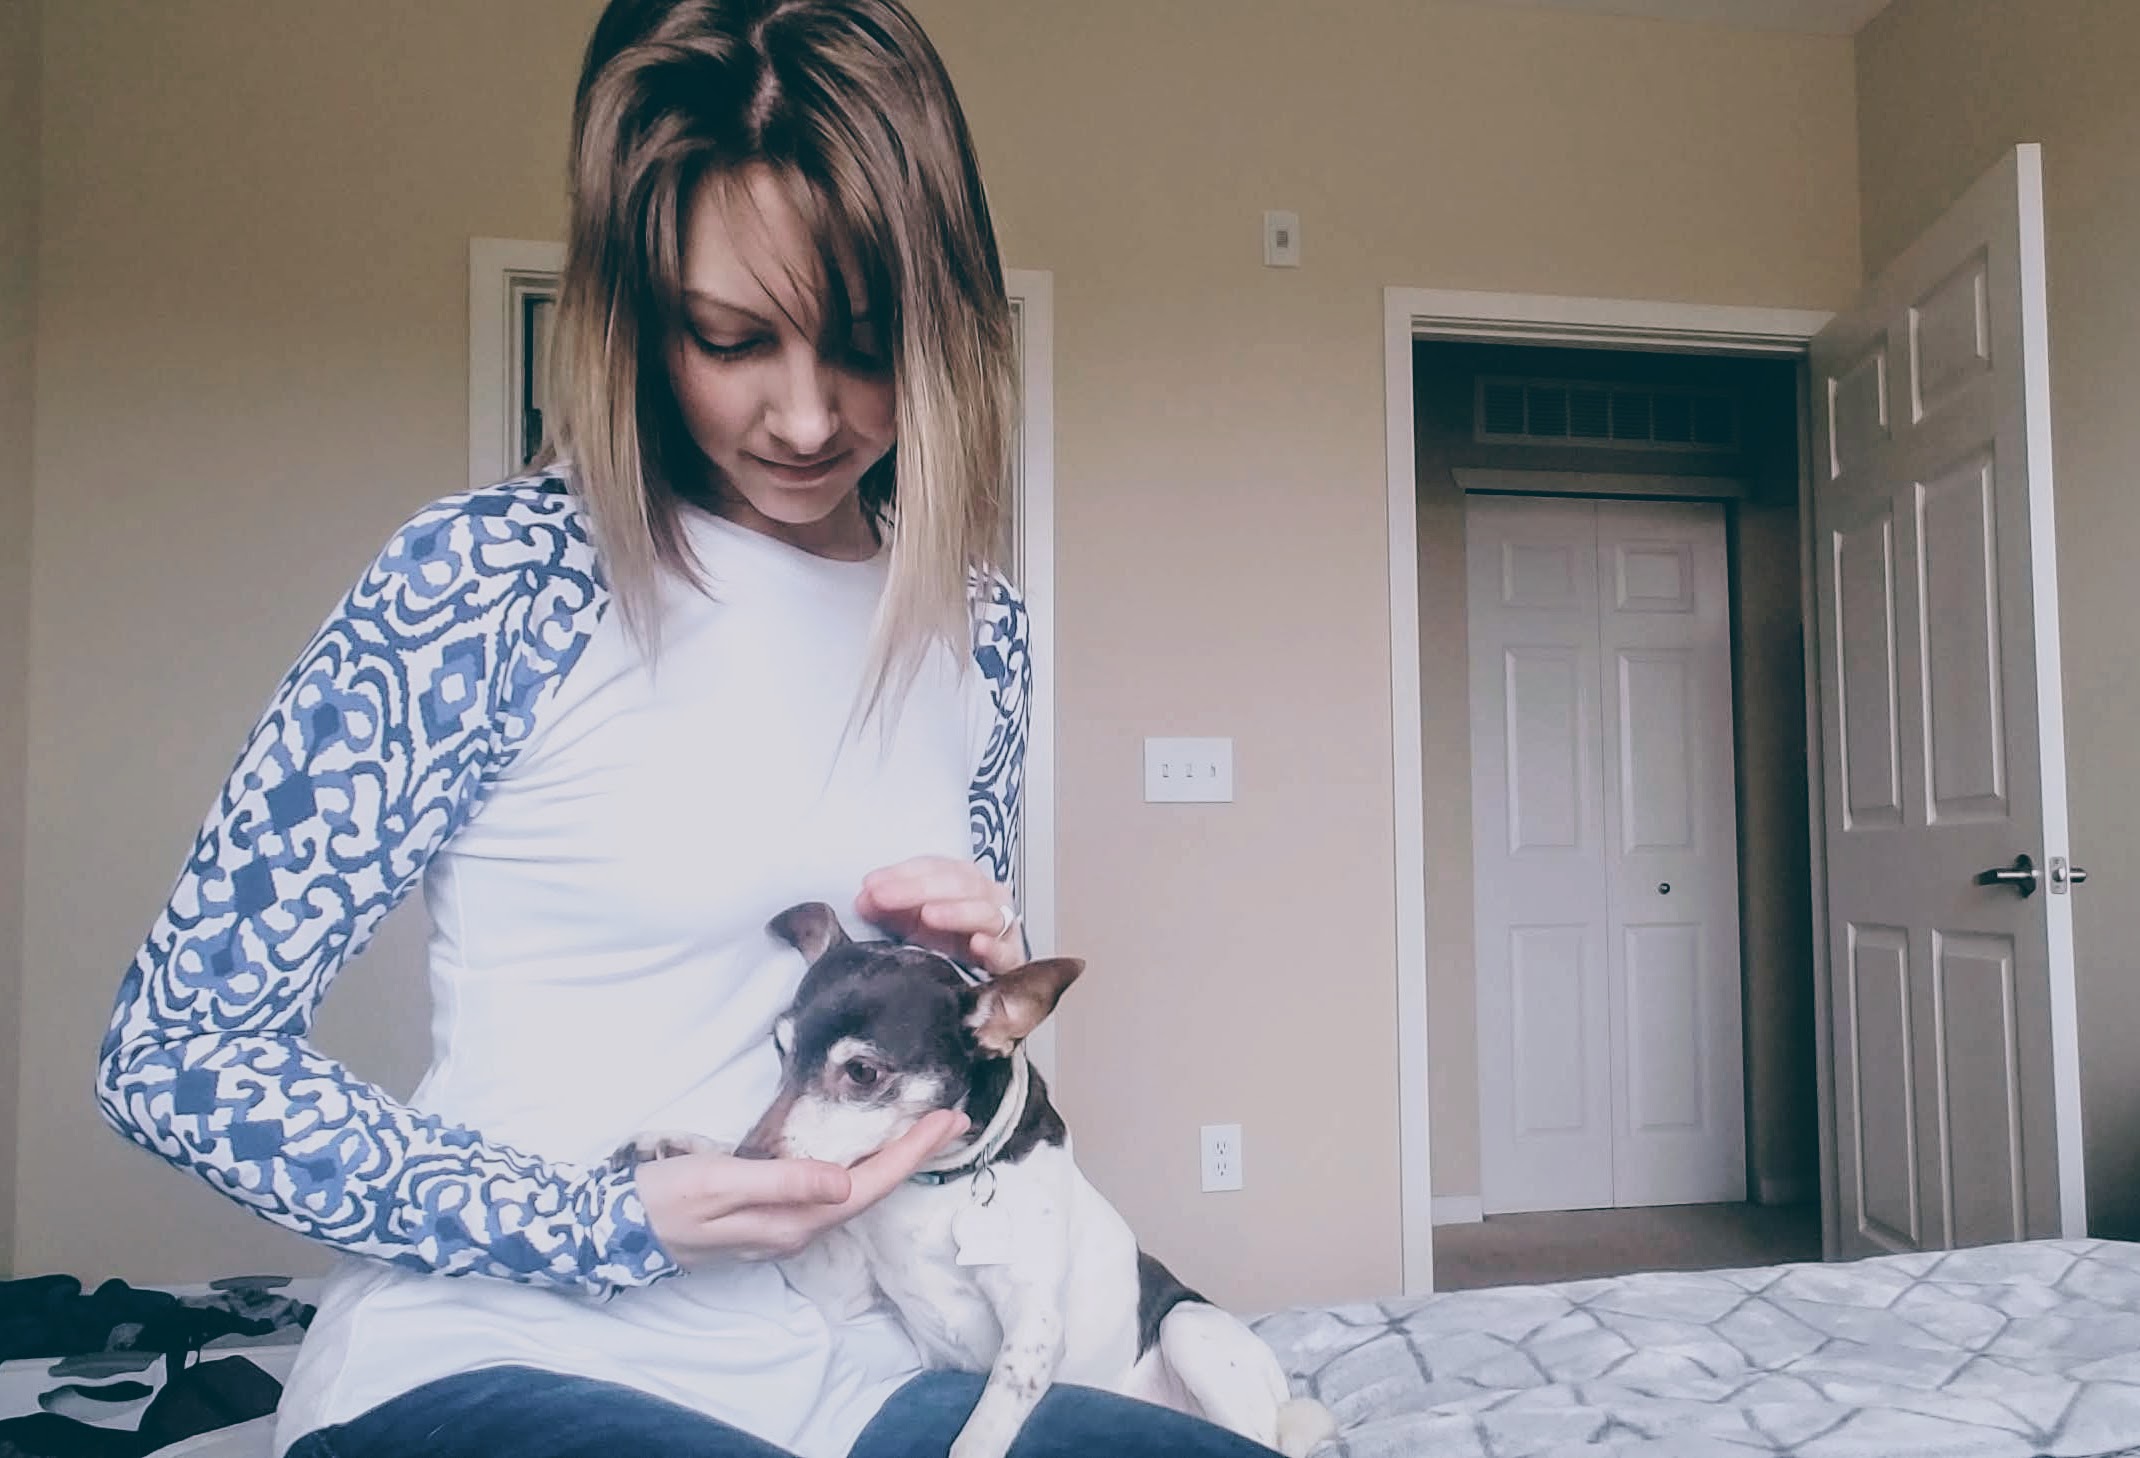
The Frankie Tee, and Katie, invading the photo with her favorite thing ever: licking.
Having never really worked with single knit jersey fabric at this level before, there were several hurdles I had to overcome, and I’m really pleased that once again I’ve come out with something wearable. Like, in-public wearable. So here’s what I discovered along this particular adventure.
Altering the Pattern & Cutting
I used my trusty tracing paper and traced my size from the pattern in the book. The pattern includes options for short, three-quarter, and long sleeve. Knowing that 99% of the sleeves in the wild are not long enough to feel comfortable on me, I measured the pattern and my arm and decided to add 2 inches to the end of the sleeves. It’s an easy alteration; you just draw the line for the end of the sleeve 2 inches further from where it is on the pattern, and then extend the side lines to connect.
Tilly gives some good tips in the book about cutting single knit jersey. She recommends using weights instead of pinning the pattern pieces to the fabric since it distorts easily (I used some glass dishes from the kitchen as weights), and to use a rotary cutter instead of scissors since they can also stretch and distort the fabric while cutting (I used my smaller 28mm rotary cutter in order to follow the curves more precisely.) Everything turned out beautifully.
Assembling the Pattern Pieces
Tilly uses pins throughout her walk-through in the book to hold the pieces together for sewing. I wasn’t happy with how the fabric was behaving as I was pinning, so I used clips instead. Clips seem to make me happier when I’m working with really drapey fabric. They’re a little more annoying to deal with around the sewing machine since they add more weight and like to pull your fabric around more than pins, but they hold the fabric in place without distorting it better than pins do. Also, the clips I linked are the ones I have, but I’m not a giant fan of that particular brand. (They were free with my presser set after all. I’m betting there are better quality ones out there.)
She also pinned multiple pieces at once (such as both sleeves to the front bodice) before sewing. I chose to clip one sleeve, sew it, then clip the other sleeve and sew. The more clips I could keep out of my way, the better.
The Neckband
“If you’re lucky, your neckband will go in perfectly the first time.”
Maybe I got lucky, or maybe my little hack for fitting it into the neckline was just that good.
“The neckband is 20% smaller than the neckline so it pulls in and doesn’t gape.” Meaning it has to be stretched when clipping/pinning to the neckline, and that stretch has to be evenly distributed around the neckline. Easier said than done. Tilly described a “quartering” technique, which has you mark 4 points equidistant around the neckband and the neckline, and then matching up those points and pinning from there. I tried that, but it wasn’t going well.
Then I thought, “Well, if it needs to stretch to fit, and stretch evenly, then why don’t I stretch both things around something, and then clip it?”
Enter the giant measuring cup:
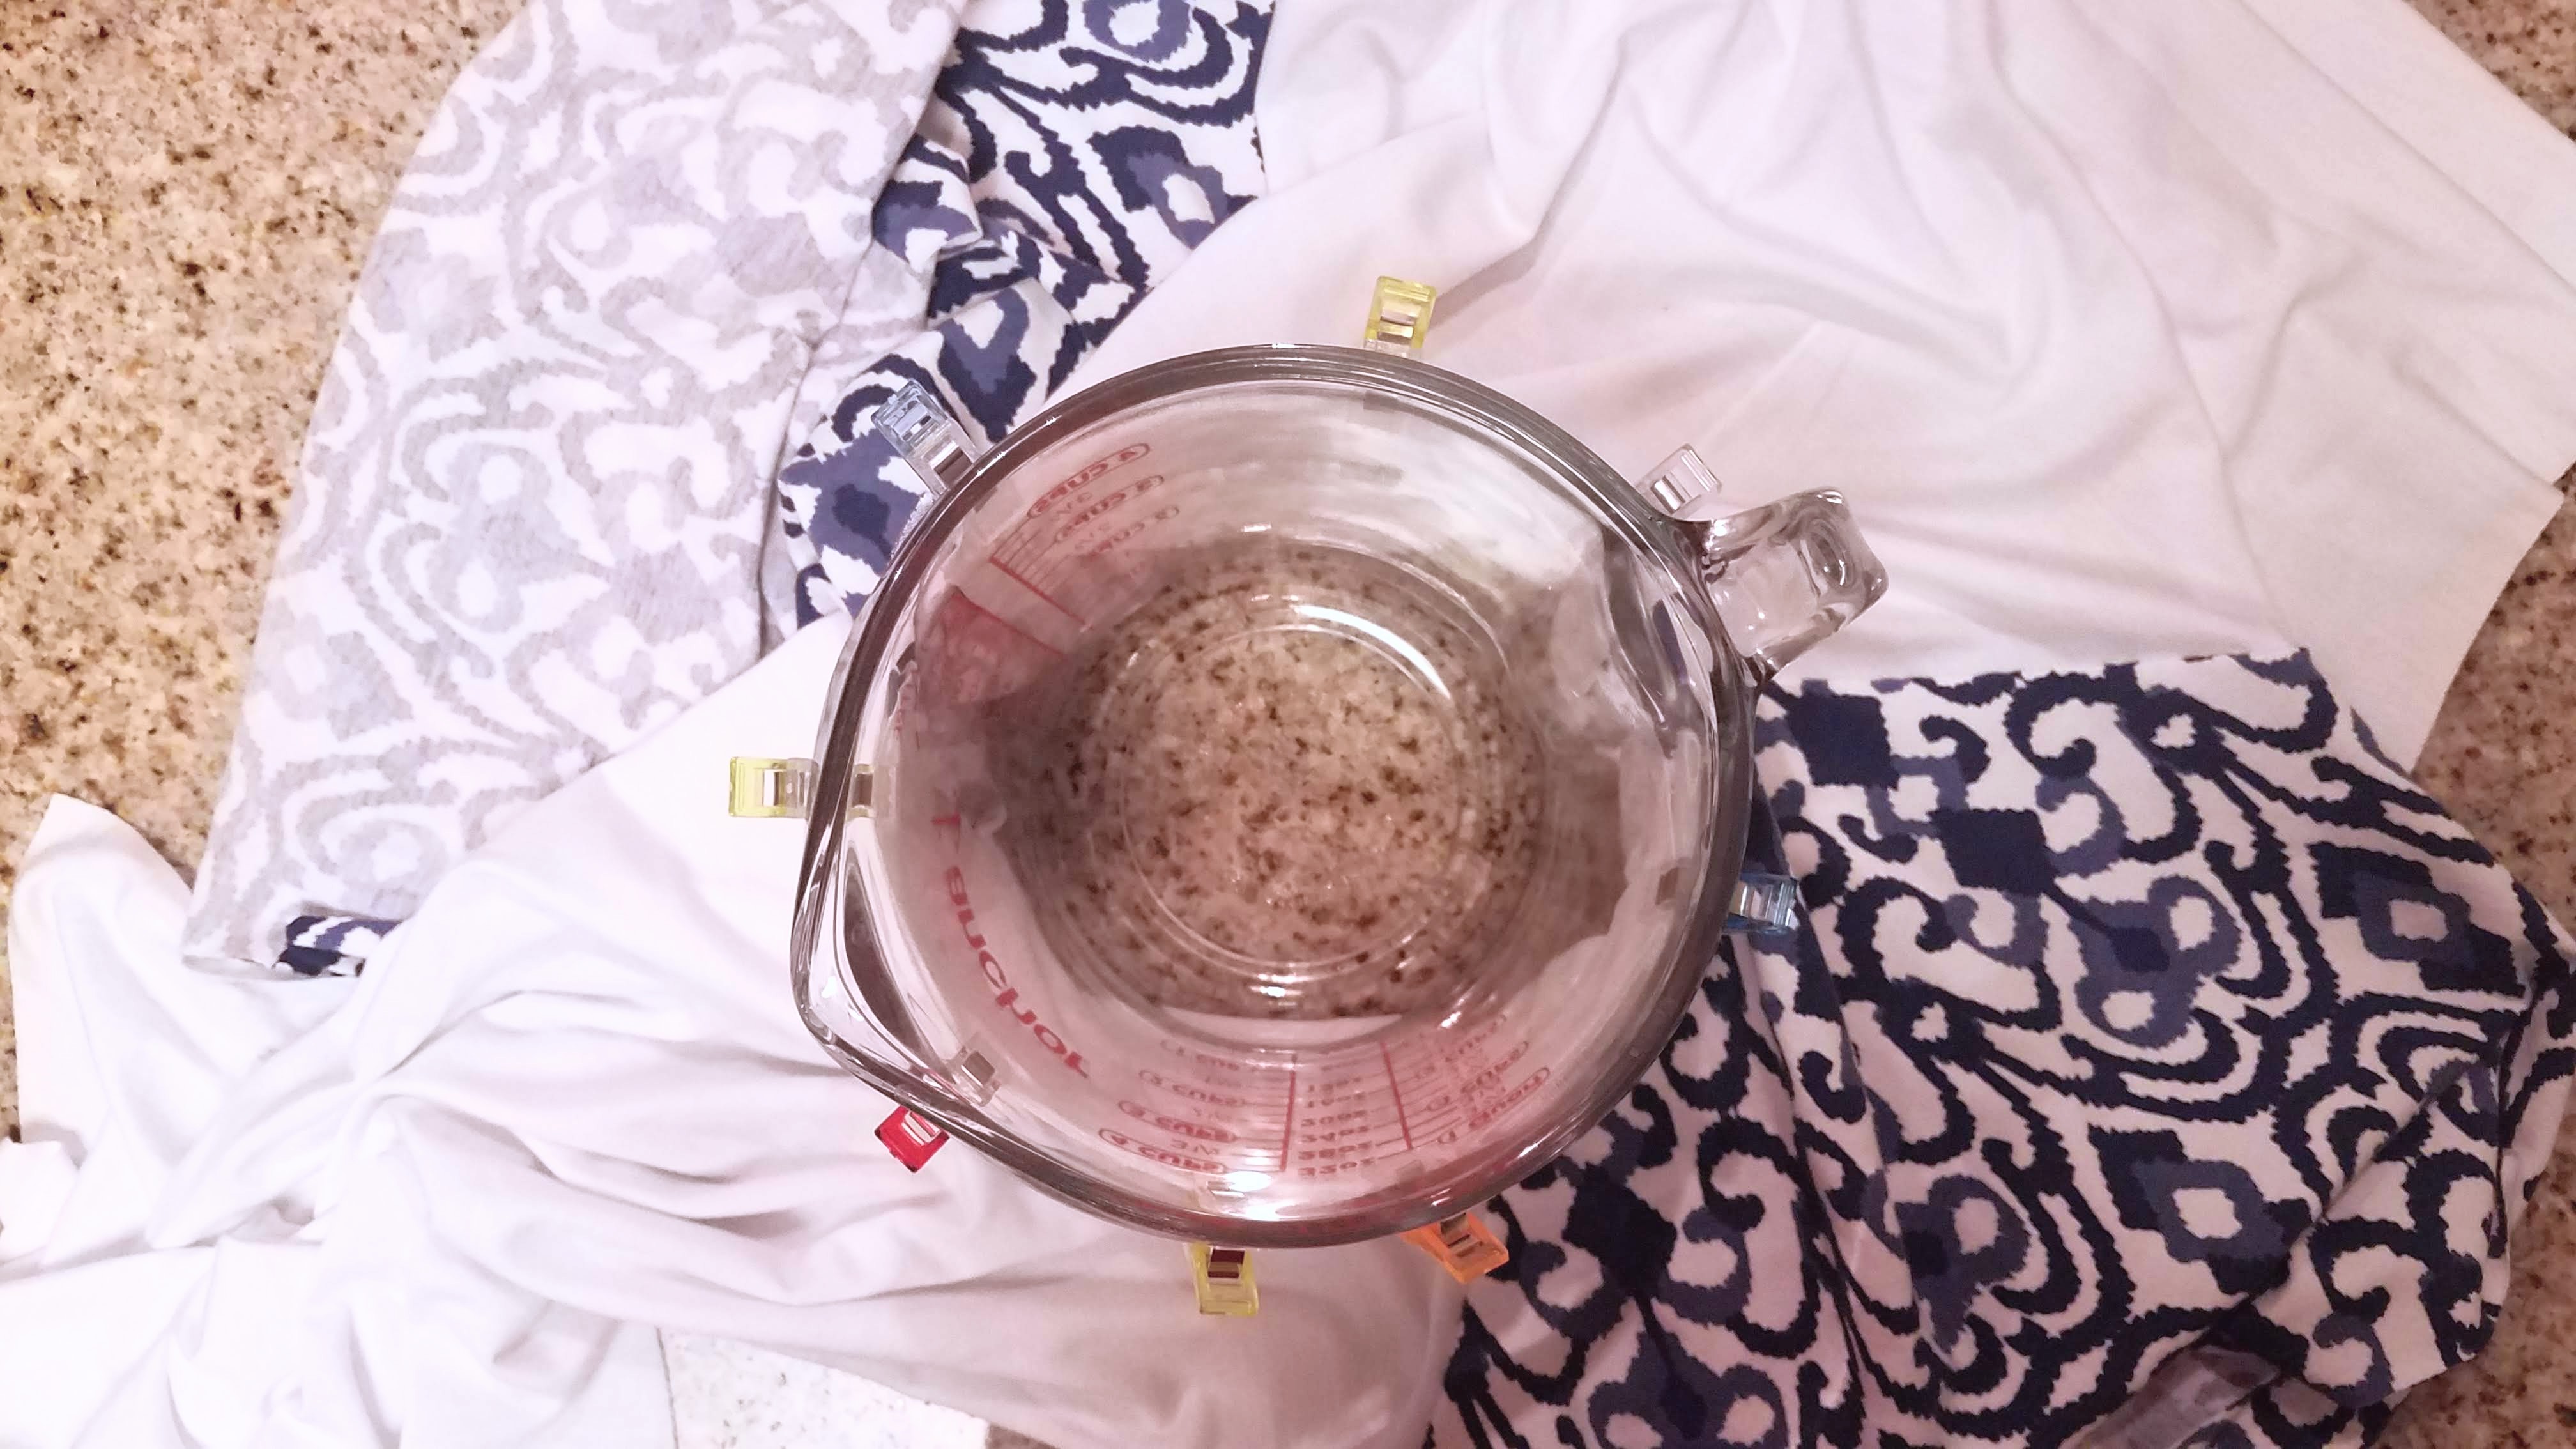
Who knew that so many kitchen utensils would be so handy when sewing?
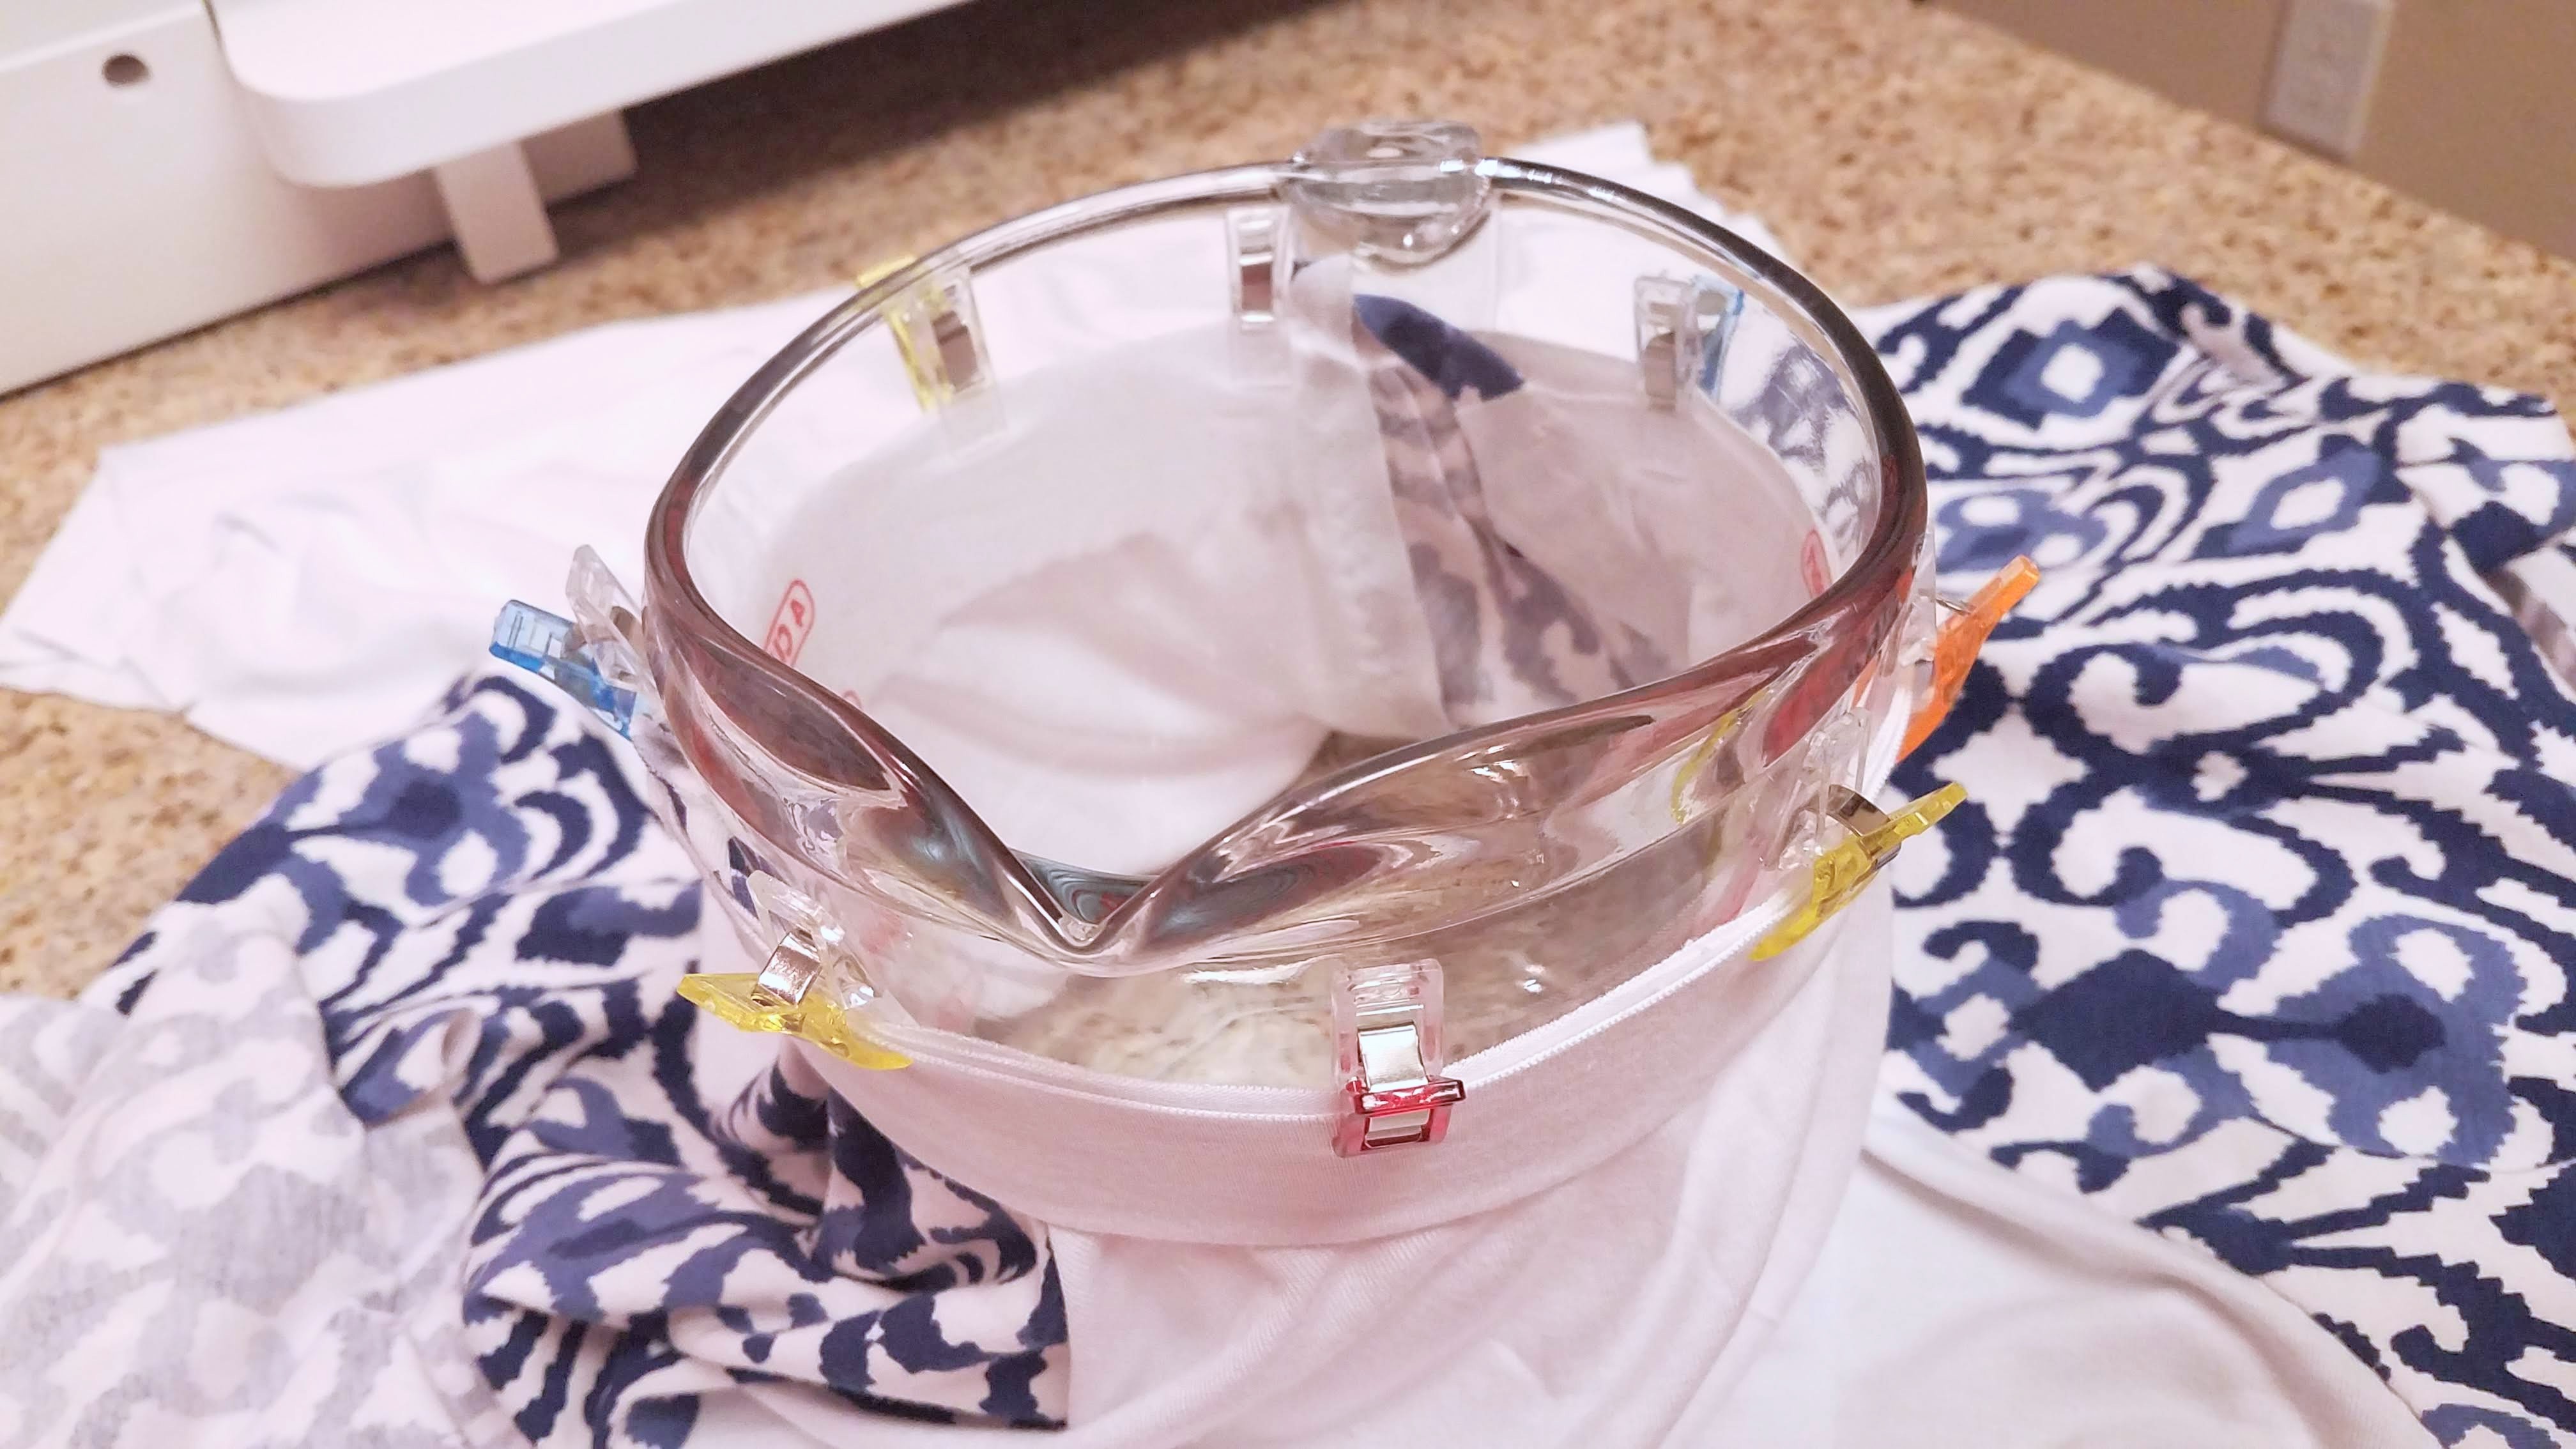
I slid the neckline of the shirt over the outside of the measuring cup, and then slid the neckband overtop of that. Both things were stretched out so they laid nice and flat against each other around the cup. I lined up the raw edges, and clipped away. Boom: even stretch all the way around. So easy.
Now for sewing it, Tilly suggested tacking (basting) first to make sure you’re happy with how it goes in. A nice precaution but I think I could have skipped it. The neckband went in great with basting, and mostly great with final stitching. (I say mostly because at one point, my throat plate got hungry and decided to eat some of the fabric. It was a pretty bad jam too; I had to remove the bobbin, needle, walking foot, AND unscrew the throat plate to get to the wad of fabric that was stuck beneath it. Then I had to hack at it a little bit. Thankfully, it’s not visible in the finished garment.)
I think this was the key to nailing the neckband: “gently stretch the neckband to fit between each pin without stretching the bodice neckline.” So as I was sewing, I would pull the neckband toward me to stretch it until the neckline beneath it was laying flat, and held that stretch as I sewed over one clipped section at a time. Worked beautifully, and after top-stitching the seam allowances (using the same stretch-to-fit technique), I ended up with a nice, flat neckline.

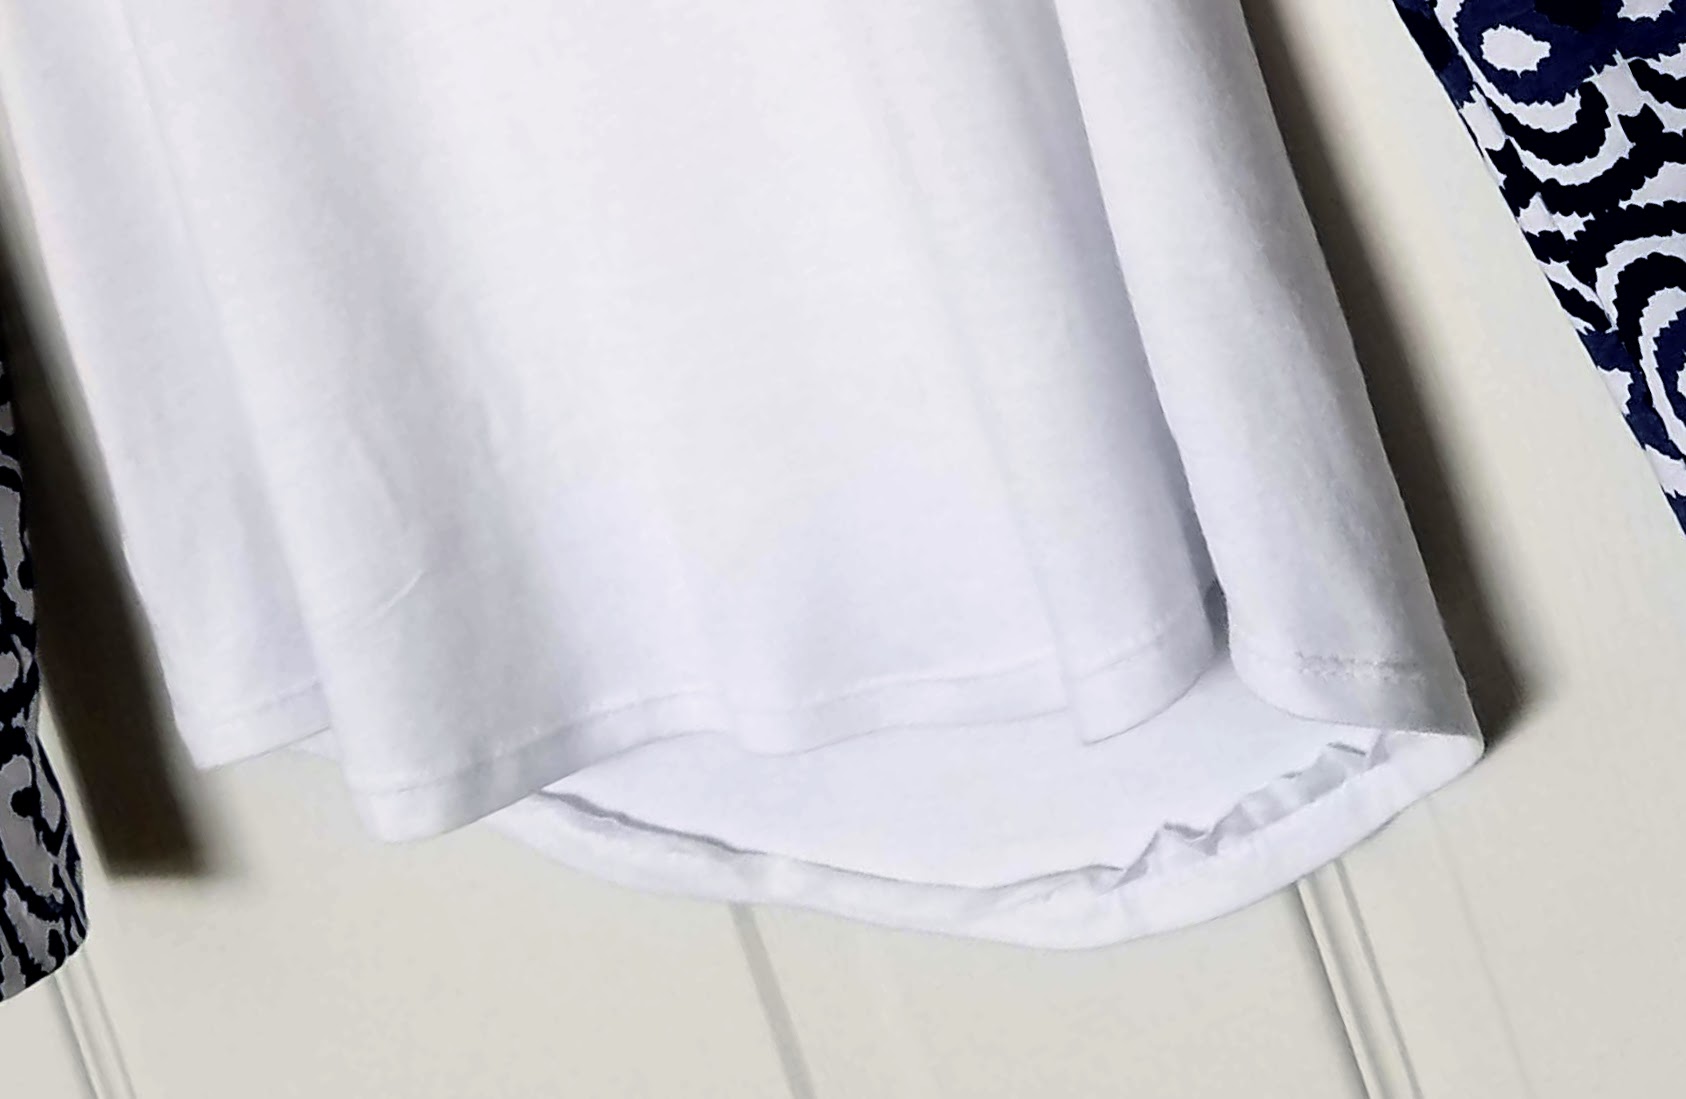
The Bottom Hem
After the easy part (sewing the side seams all the way up through to the sleeves), there was the bottom hem: a curved bottom hem. Try to fold and pin around a curve and you’ll quickly see why that’s not as easy as it might sound. You might be better served hemming the bottom of the bodice pieces as the very first step before anything else. The only thing I see that interfering with is when you try it on to check the fit and you’re not happy with the length.
What I did worked reasonably well:
- Fold the hem under and iron, with steam, lots of steam. I can’t stress the ironing bit enough. It’ll help you deal with the extra fabric created by the curves and tame it into some semblance of flat so you can pin it. (I used pins for the hem since I was dealing with a fold and not 2 raw edges.)
- Test out some stitches on scrap fabric. I didn’t want the look of a triple zig-zag along my hemline, so I had to do some testing for a different stitch. I went with a twin needle and a straight stitch (~4mm long.) It doesn’t give the kind of stretch the triple zigzag does around the neckline, but the bottom hem floats away from the body anyway so I didn’t need that drastic of a stretch. Also, I wanted the clean look of a double straight stitch along the outside of the hem. If I make another one of these shirts, which I think I will, I might try some type of overedge stitch instead.
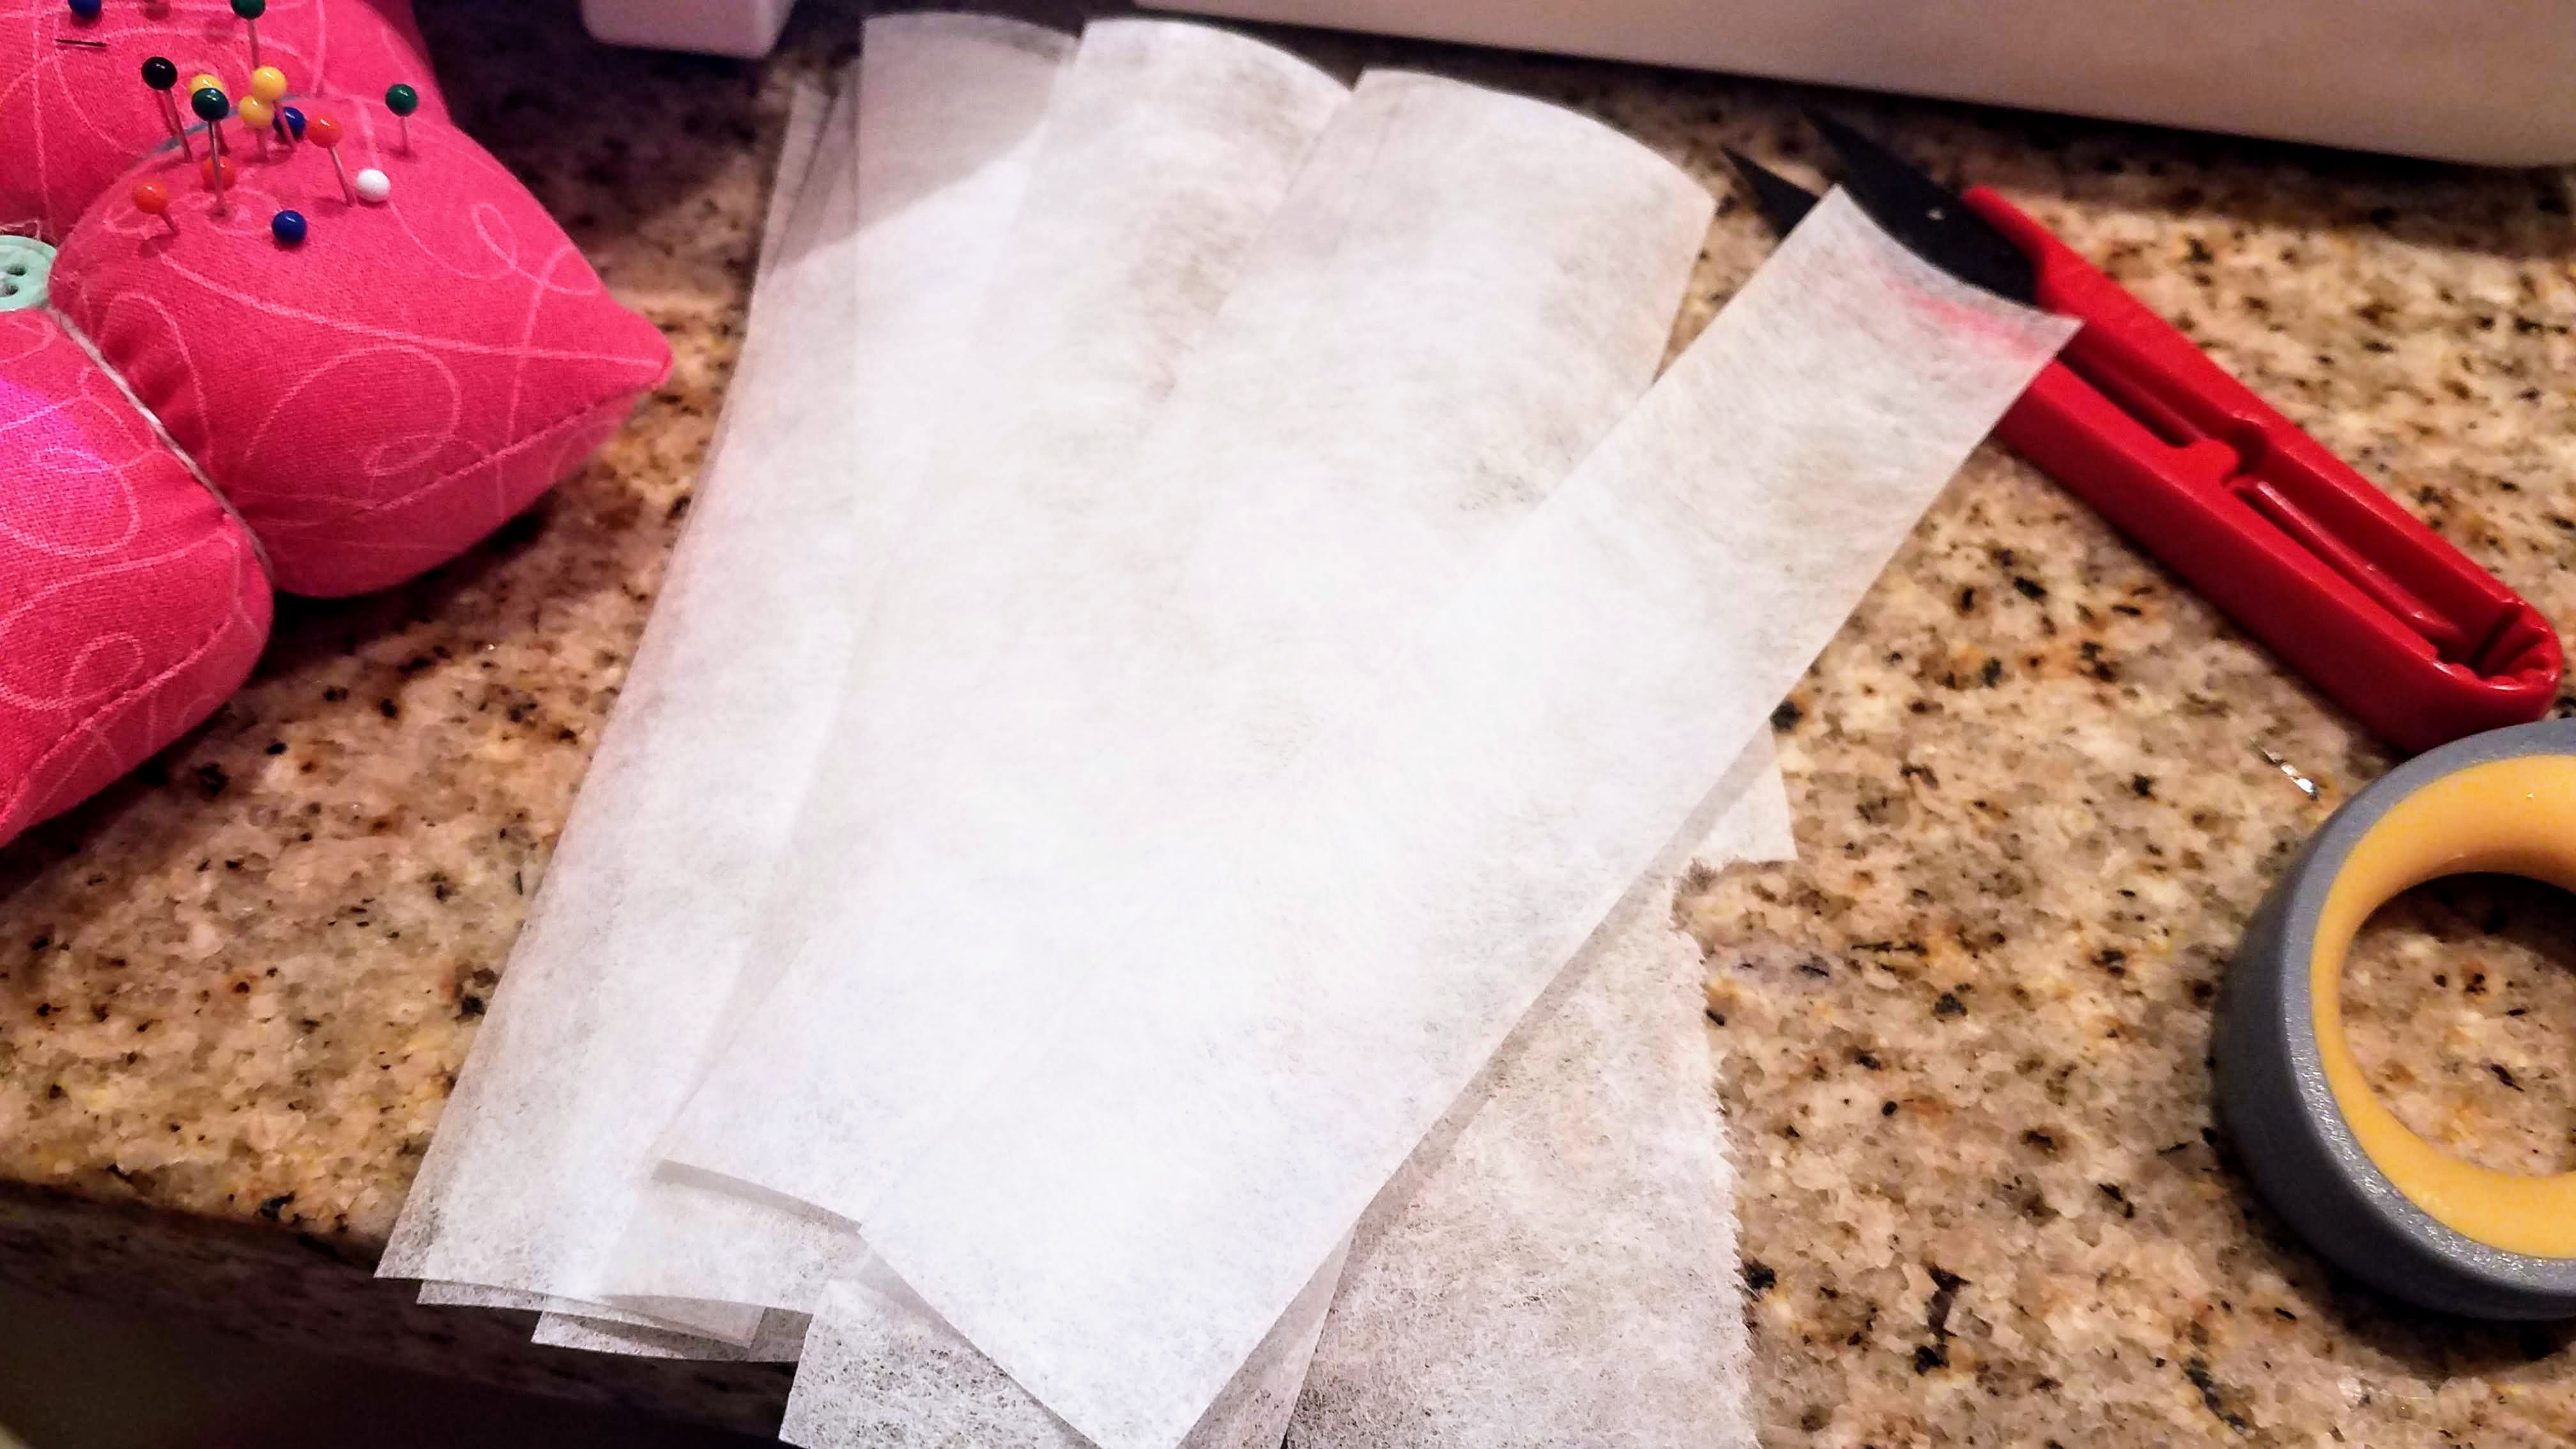
- Stabilize. There was definite tunneling on my test scraps. Tilly mentioned the wonderful Wash-Away Wonder Tape as a way to stabilize the hem while sewing, but rather than having to unpin everything, stick tape all the way around the bottom, then refold over the tape, I went with my tear-away stabilizer. I just slid it under the fabric one section at a time as I was sewing. This had the added benefit of avoiding the Hangry Throatplate. The only downside is having to tear it all off when you finish, and thought it claims to be “easy” to tear and “won’t stretch or distort stitches”, it’s really not that easy, especially on this fabric. If you just start yanking away, I’m pretty sure you run a very high risk of yanking some stitches with it. Other than that, it worked great. My hem came out looking really good. My one nitpick is the inside raw edge, which is why I want to try an overedge stitch next time to hopefully catch and contain that raw edge. Even though no one is really going to see it.

Hemming the Sleeves
Thankfully, this isn’t a curved hem. The challenge with this is the small size of the sleeve opening. Having the shirt inside out, and then top-stitching along the face (right side) of the fabric worked well enough so long as you take your time and stop often to adjust. Having the rest of the shirt piled off to the side and all twisted around will effect how well you can keep an even seam allowance, so stop and make sure it’s laying flat every so often.
And there we have it! My first self-made shirt!
Concluding Thoughts
As I was working through this project last night, I was thinking how much of a fan of jersey that I am not. However, after succeeding, and wearing the thing today, and just loving how comfortable it was and how I am always lacking long-sleeved shirts and how sleeves are never long enough to make me happy on store-bought items, I have the urge to make many more of these. I need to do at least one more to try out the V neckline detail. And maybe a 3rd short-sleeved version. I mean, summer is coming after all. (Pay no mind to those 2 inches of snow that just fell tonight. This is Colorado; it’ll be gone in no time.) And then maybe a 4th version with my own spin (I’m thinking a cut-out detail around the neckline…or some open details down the sleeves with a really drapey fabric…)
It seems I’ll be making a lot more of these.
Project Settings
Presser Foot |
Stitch# |
Width |
Length |
Needle |
Top Thread Tension |
Application |
|---|---|---|---|---|---|---|
walking |
0 |
default |
default |
twin |
? |
bottom hem |
^ |
8 |
5 |
1.5 |
blue tip |
~6 |
all other seams |
Leave a Reply