It looks like half an hour spent fiddling with scraps, thread, needles, feet, and settings. It looks like a giant waste of time and resources.
But it isn’t.
It’s a necessary part of sewing, a part no one really talks about in detail, a part no one really anticipates when they start learning to sew. The past few months, I’ve gone through my share of tutorials and project walk-throughs and books, and the extent to which most (if not everyone) go into is to say “Test on some scrap fabric.”
Well, what does THAT look like?
For woven (non-stretchy) fabric, that means checking that your thread tension is balanced, especially if you’re going to use different color bobbin and spool threads. If your tension is off, one of the thread colors is going to be visible on the other side. You’ll also be checking how your chosen stitch behaves with your fabric, if you like the width/length, and if you’ll need to use stabilizer to avoid tunneling issues or interfacing to add more strength to the fabric. Wovens are generally pretty forgiving.
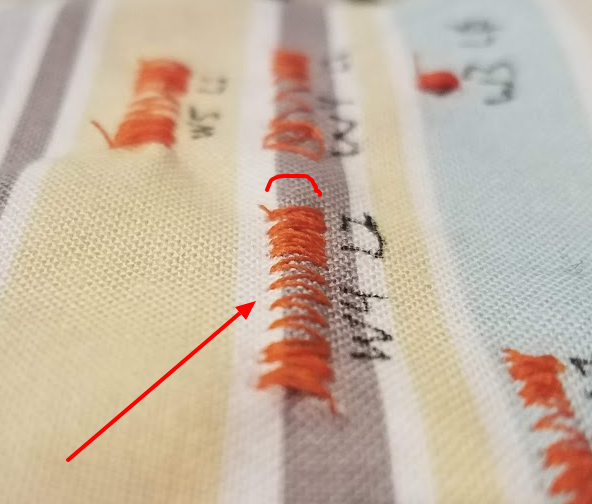
For stretchy fabric, the ultimate end-goal is being able to stretch your fabric without breaking any stitches. And when I say stretch, I don’t mean a little tug. If the fabric has a good recovery (it bounces back to it’s normal size and stays there after stretching), then I mean you stretch it like mad. Try to break those stitches.
They broke. Now what?
There are a bunch of different things to try. You can also try these on wovens to help you dial in the result you want:
- Adjust the width and/or length of your stitch, and try again.
- Try a completely different stitch. Or two. Or three. Or four.
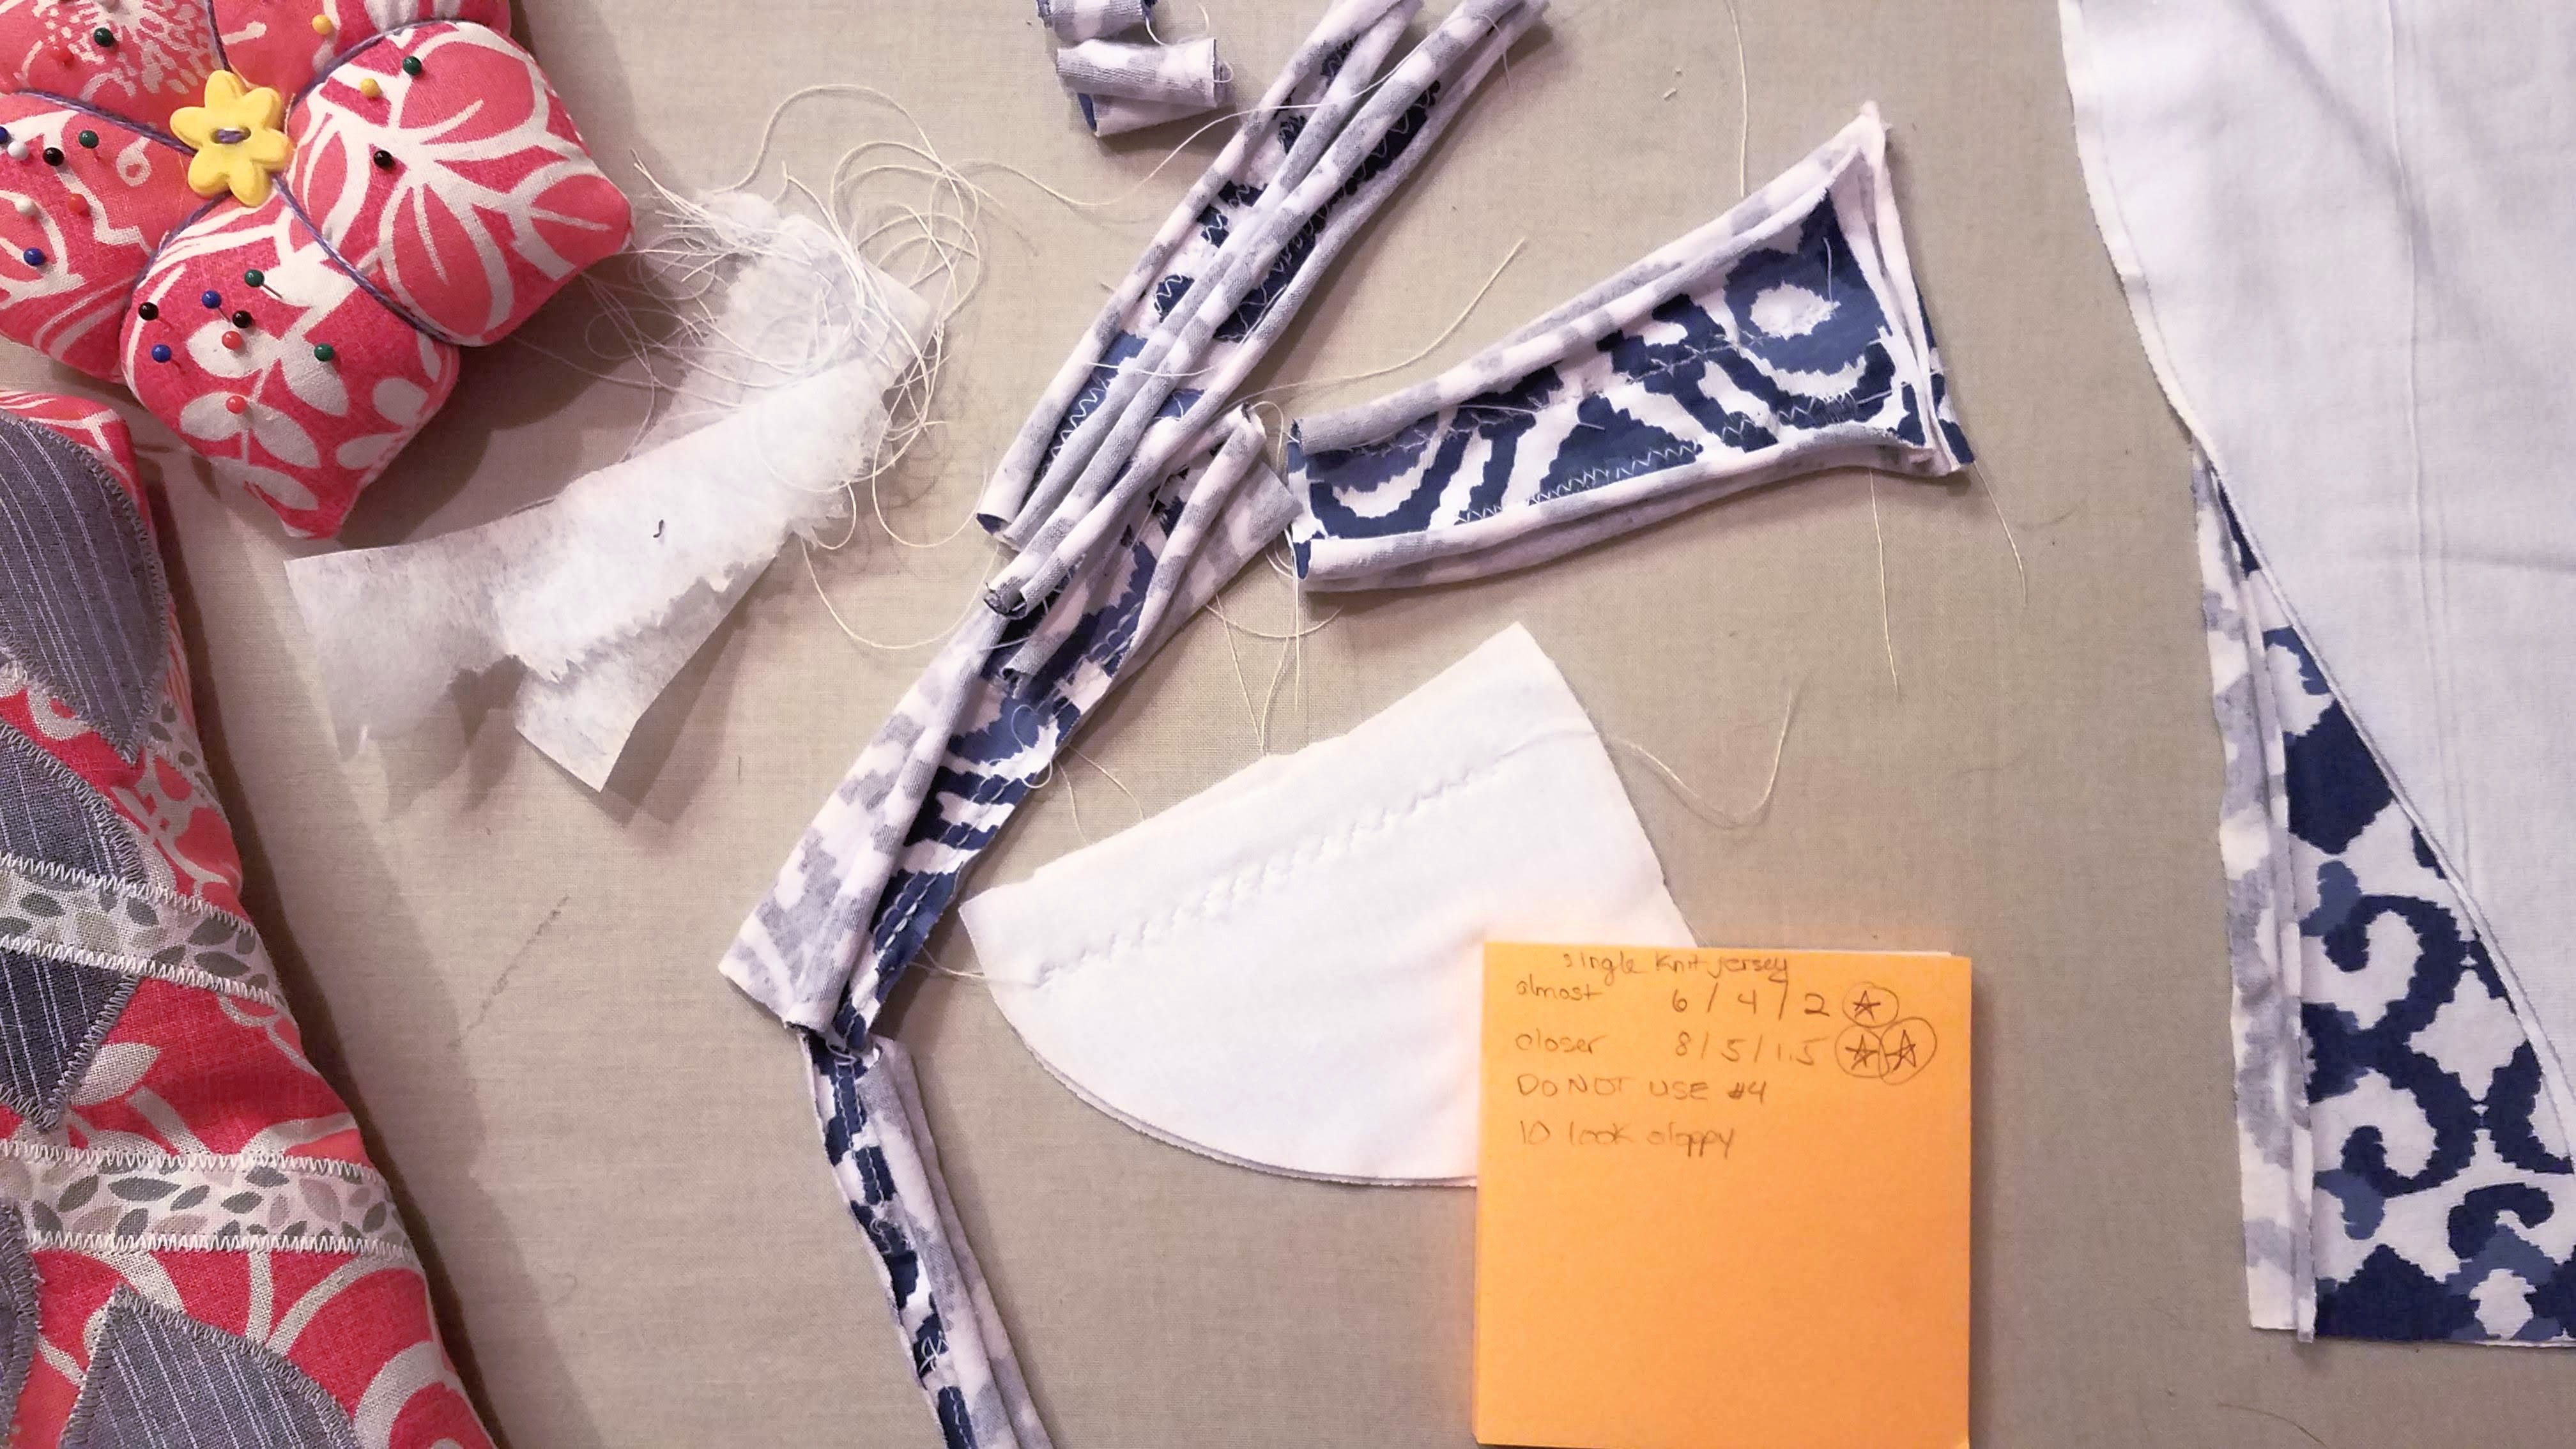
- Try a twin needle to see if it works well with your fabric. (On the single knit jersey(s) I’m currently working with, pictured above and here, it did NOT work well.)
- Tunneling? Try adding a layer of stabilizer to the bottom.
- Try a different presser foot; a walking foot or a tricot foot or just your standard foot. Or any foot you think will help.
- Maybe even try a different thread if you’re working with a fabric/material that’s more unusual.
- Mix and match the above.
Keep trying things, changing things, stretching, and testing until you land on something you’re happy with. It could be unexpected. (The stitch I’ve chosen to use on this jersey tee is a triple zigzag. I started out thinking I would use a twin needle and a straight stitch, but it doesn’t play well with that fabric. Then I thought to use my good ol’ fallback #10 knit stitch. While there was no way I could break the stitches after trying that one, it turns out looking very sloppy on this fabric, so I nixed it.)
You will make a mess. You will end up with an ugly pile of little scraps with all kinds of stitches and thread and what-not. You might even have to do some untangling or salvaging material that got jammed into your throat plate. (That was me tonight, twice, which taught me to never use a triple stretch stitch on this fabric without stabilizer.)
But you will also minimize the teeth-gnashing, swearing, seam-ripping, and pile of failed garment. So embrace the discovery and the opportunity to learn more about the tools and materials in your hands, and know that there is no one-size-fits-all answer to the settings you should use for a particular fabric. It’s all about your testing and your personal taste.
Leave a Reply