It isn’t often that my sewing projects turn into giant disappointments, but this was one of them for a few glaring reasons:
- Puckers all over the place. This almost never happens to me, and I know exactly what went wrong. I serged the waistband with the skirt feeding at the bottom of my layers when it should have been the top so I could keep an eye on it. I also blame the French terry. Oh how I hate French terry.
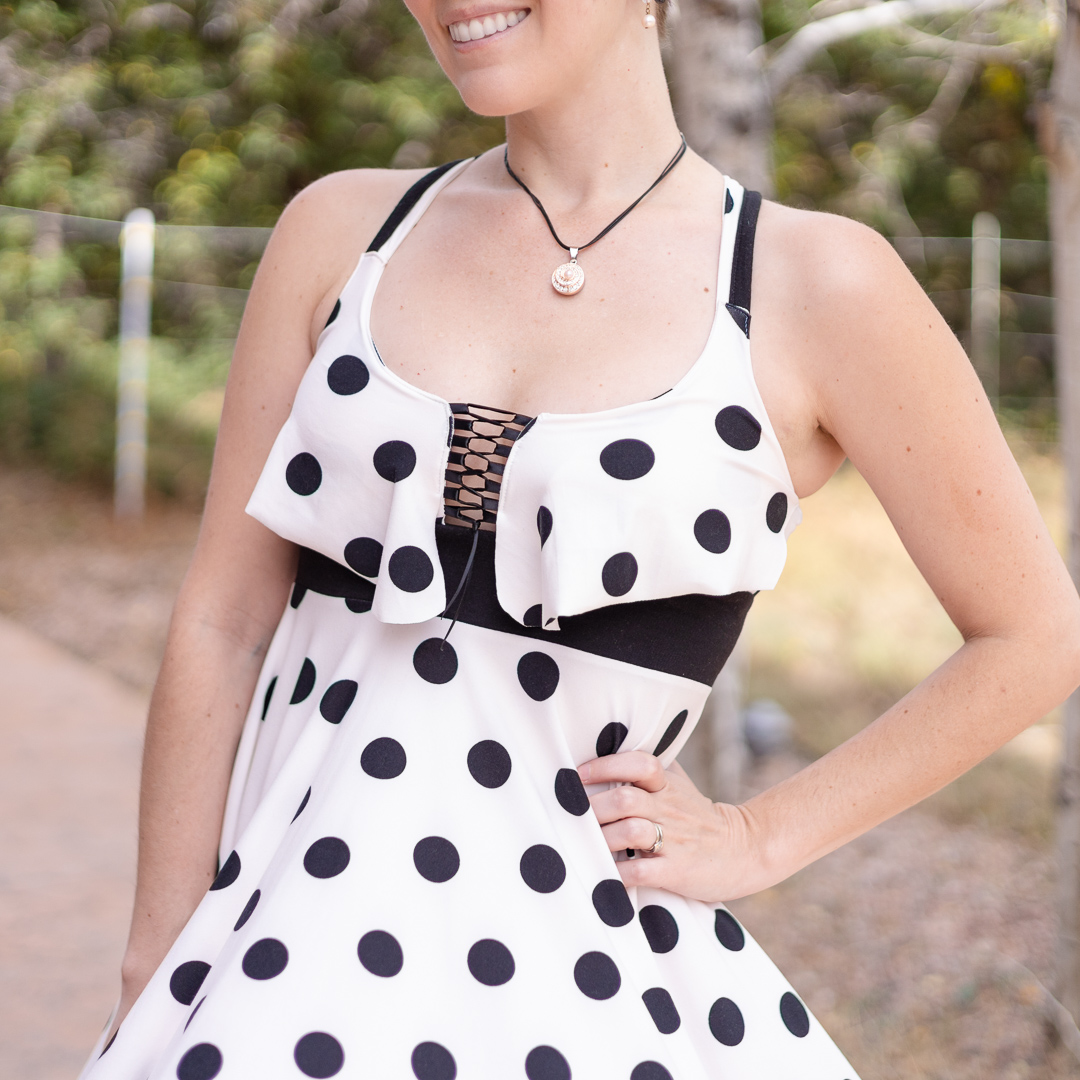
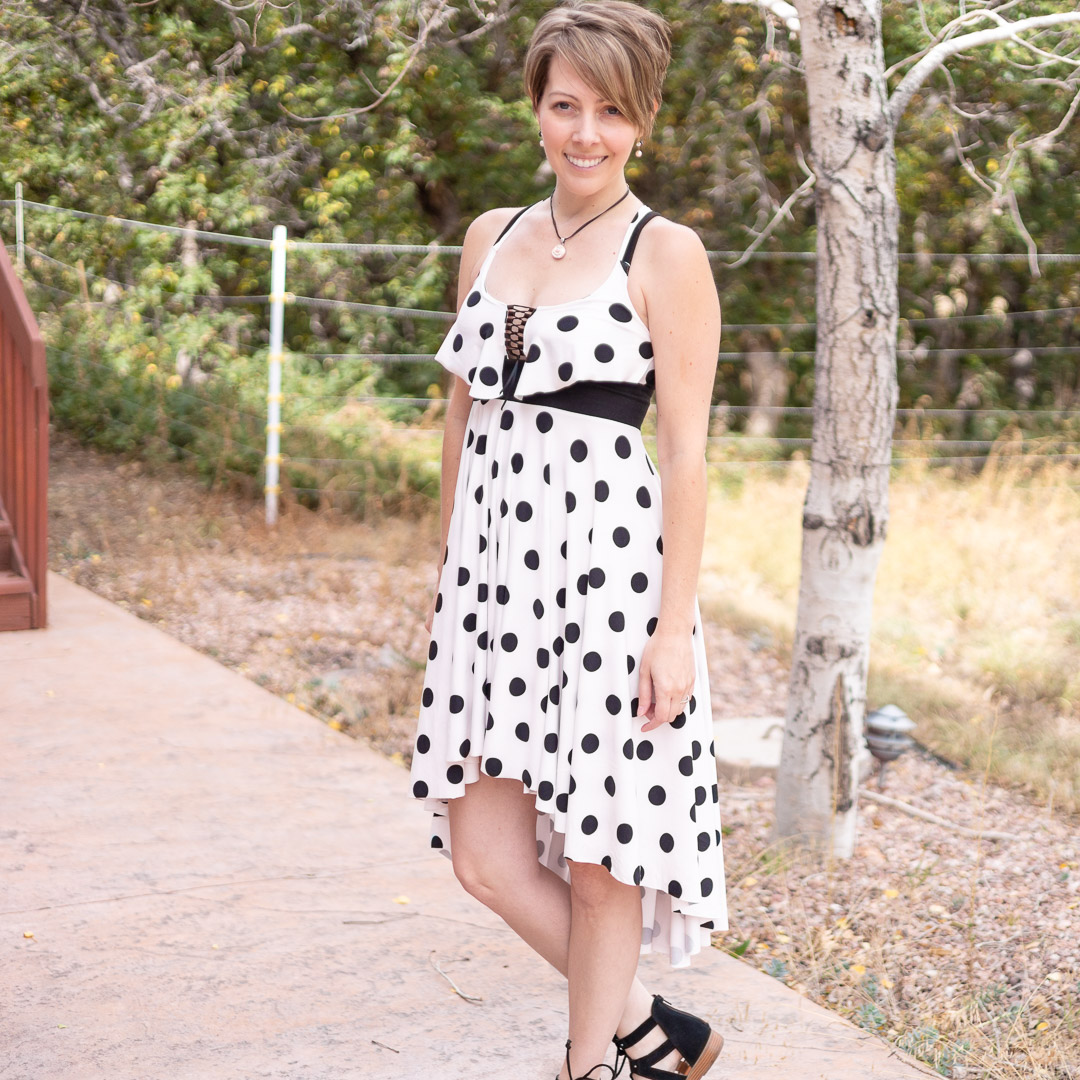
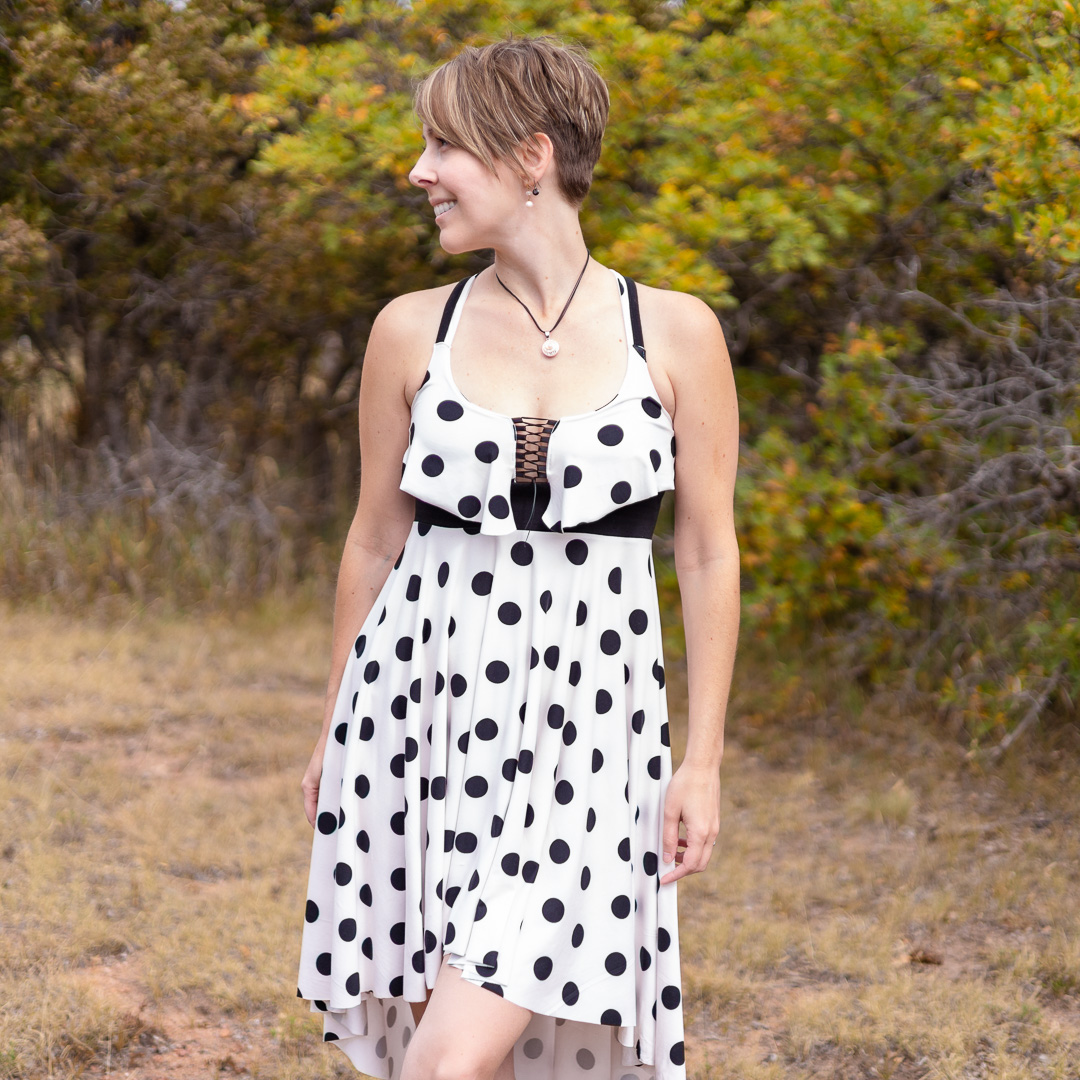
- Everything about the bust area: polka dot placement (in spite of trying to be intentional) and the bra cups showing through the fabric.
- So many basting stitches I didn’t remove which are constricting stretch.
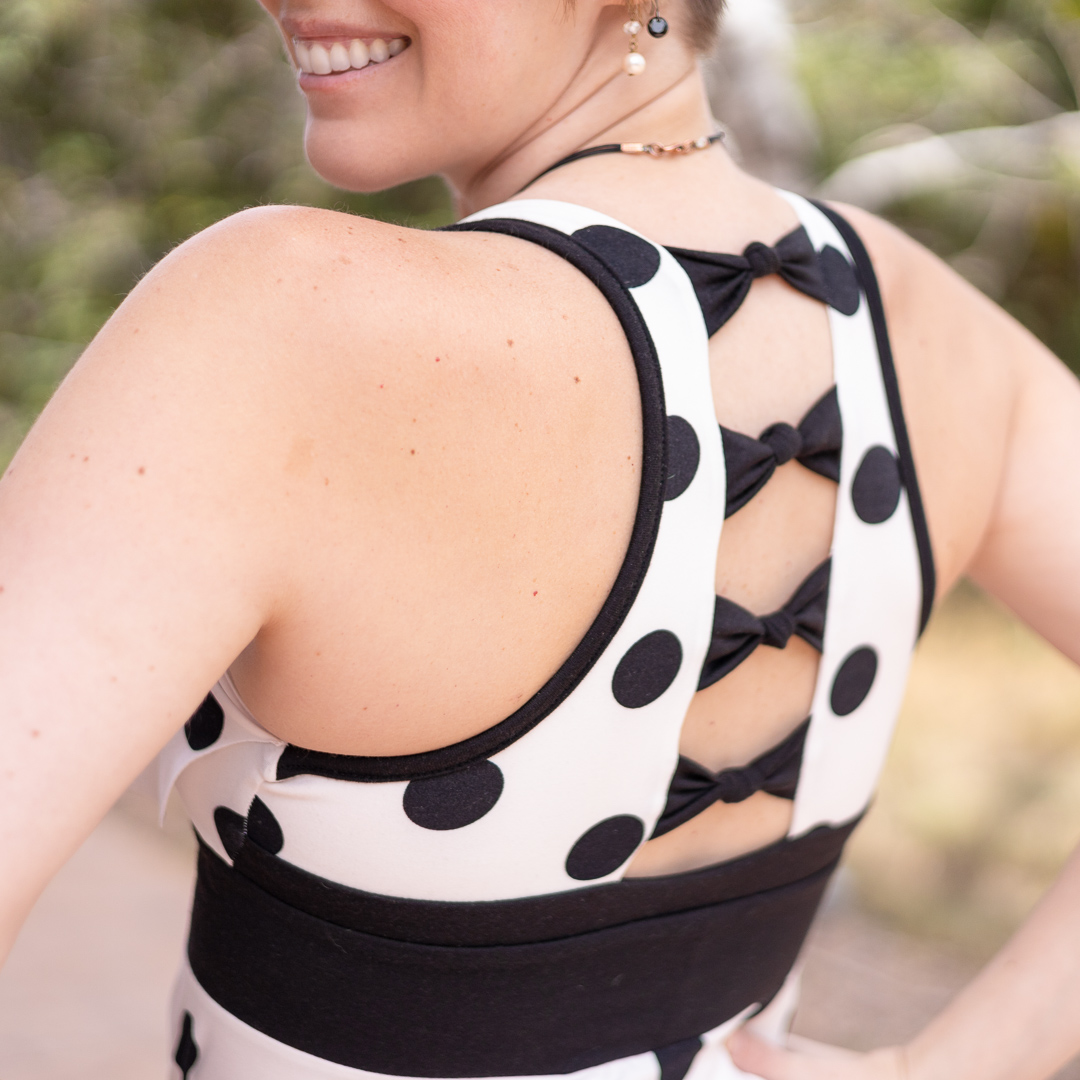
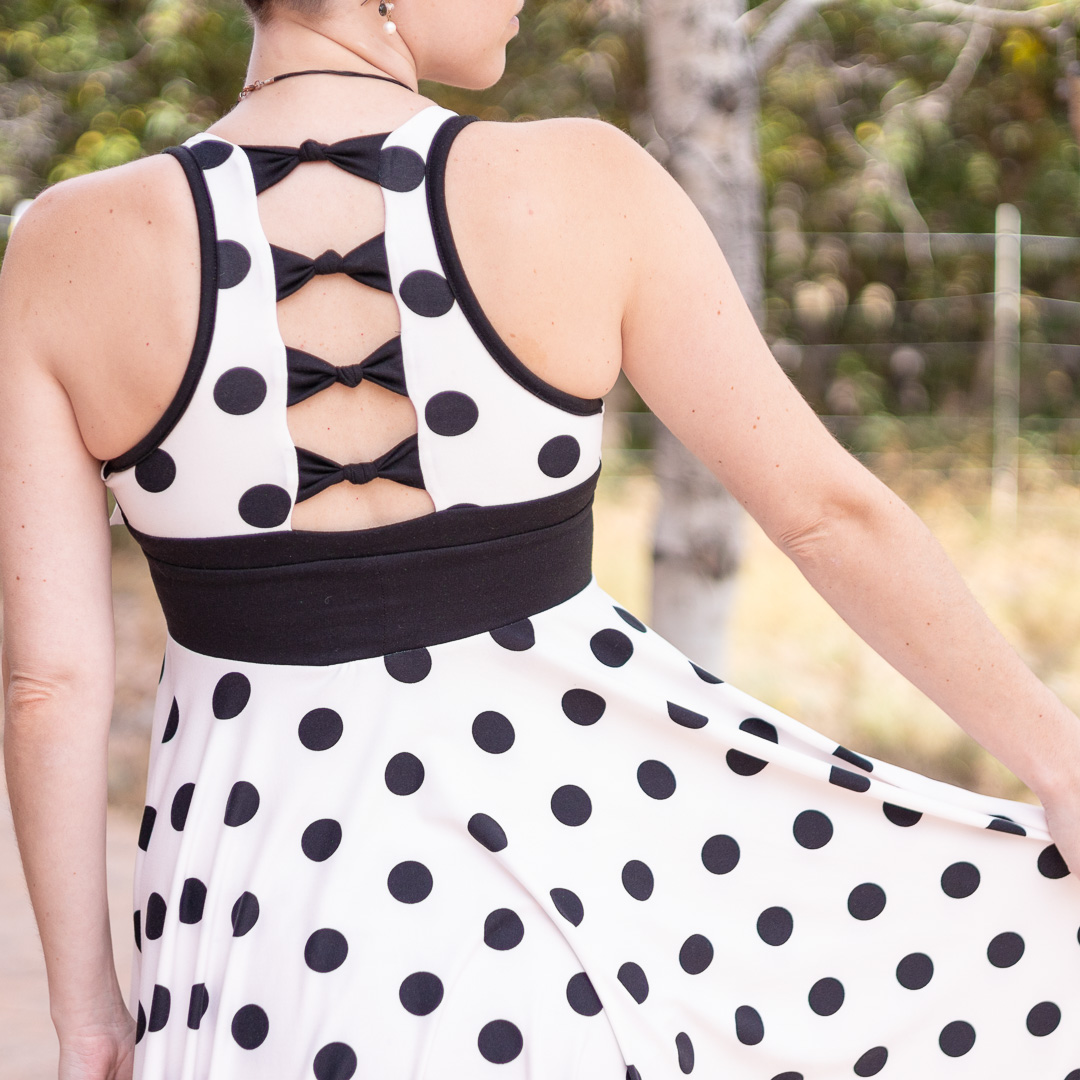
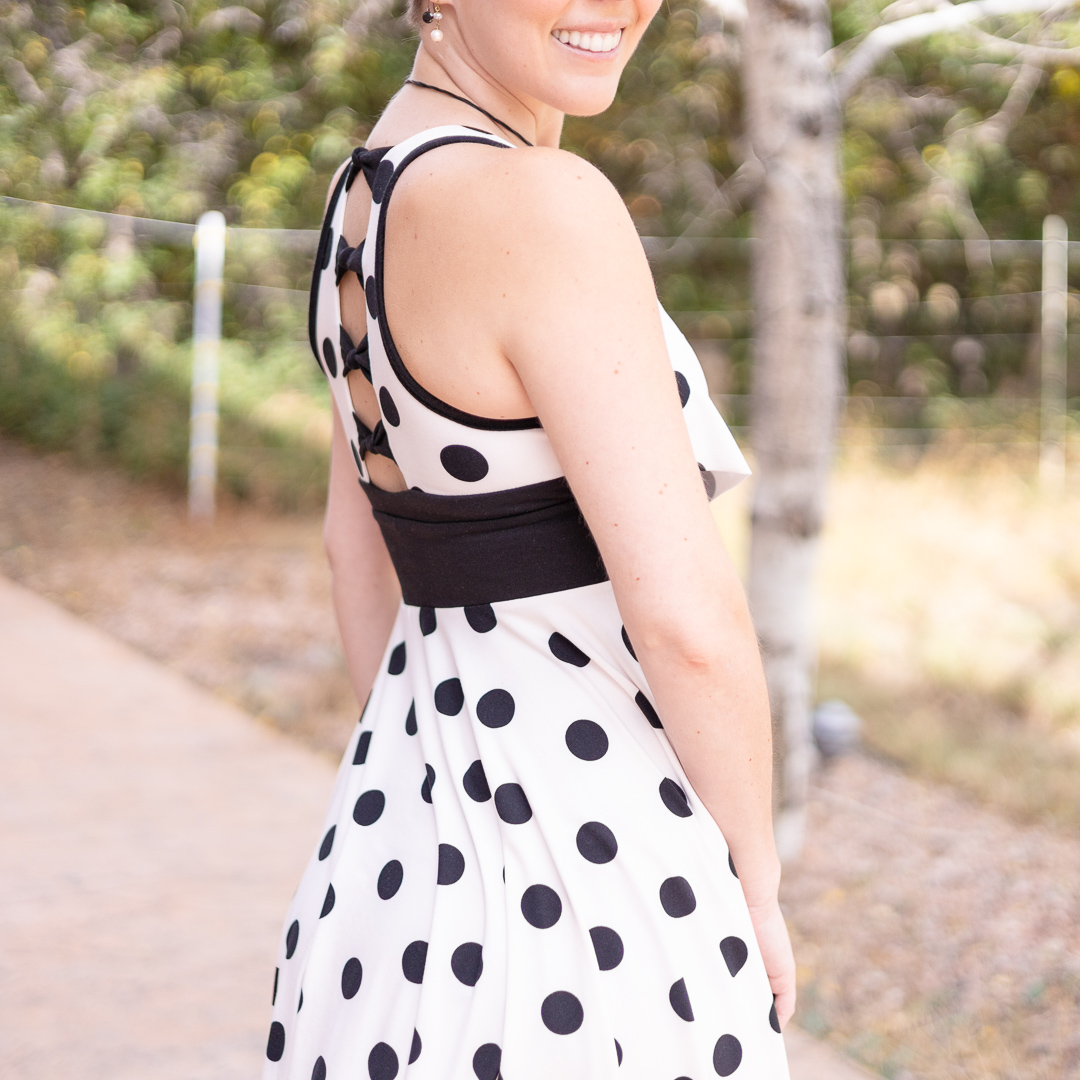
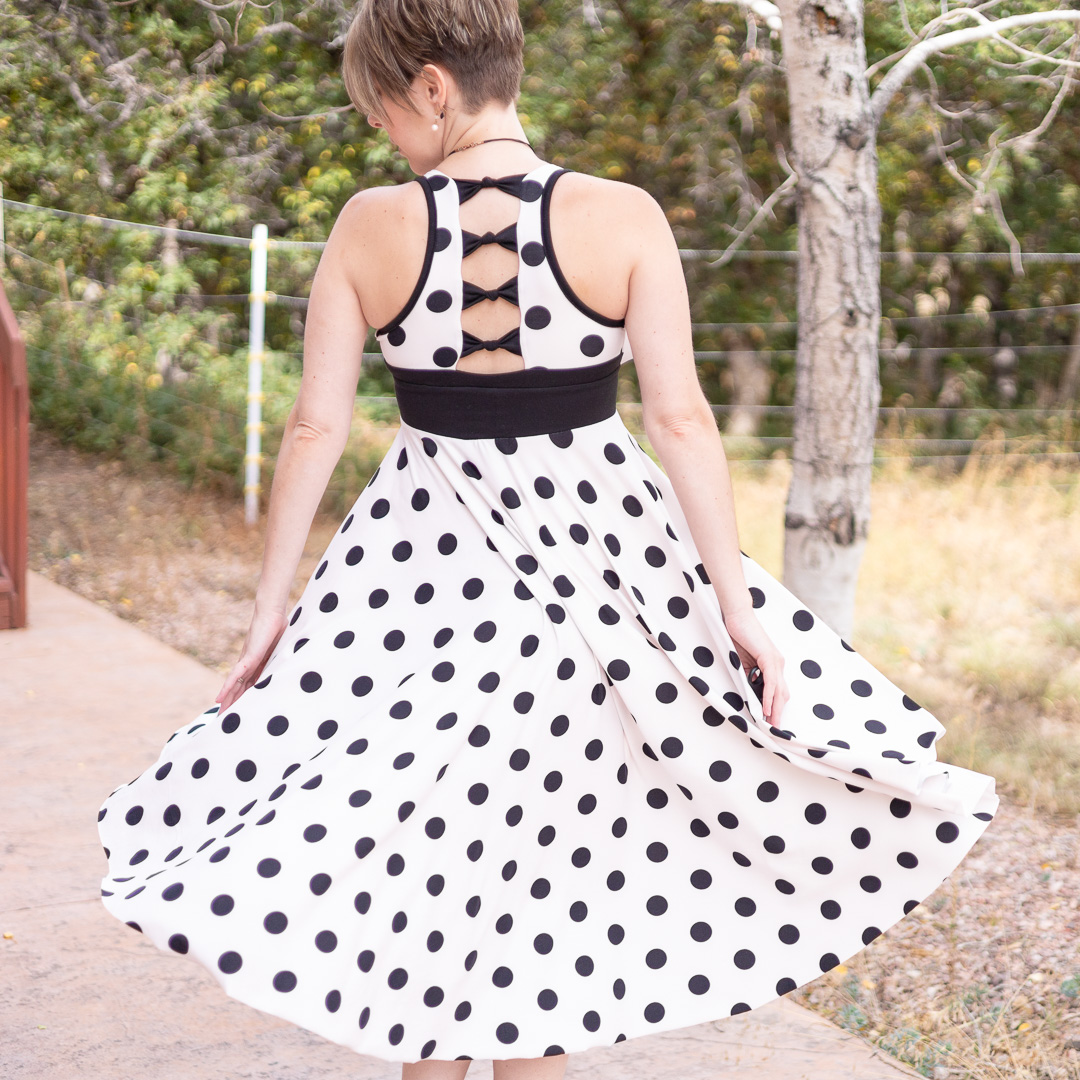
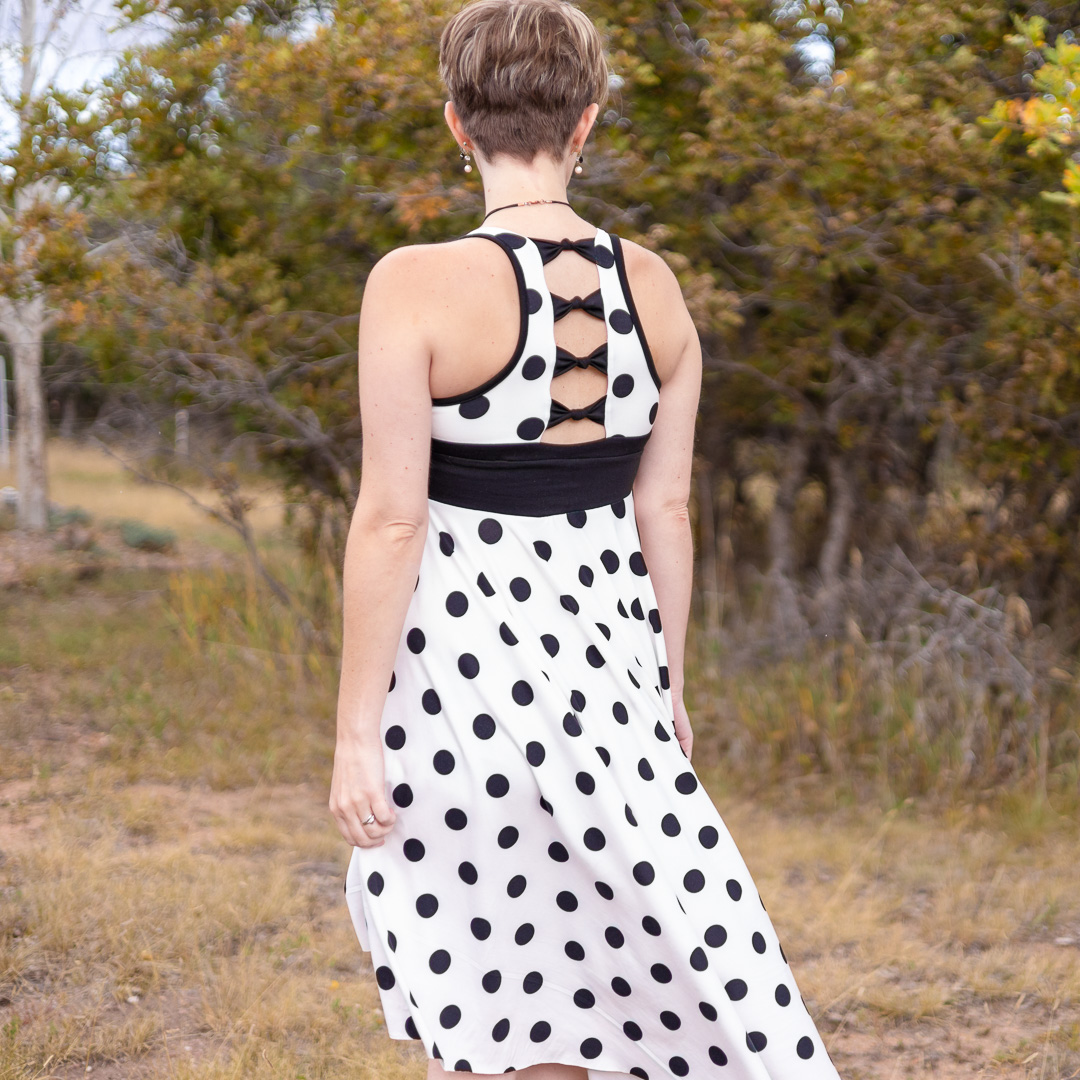
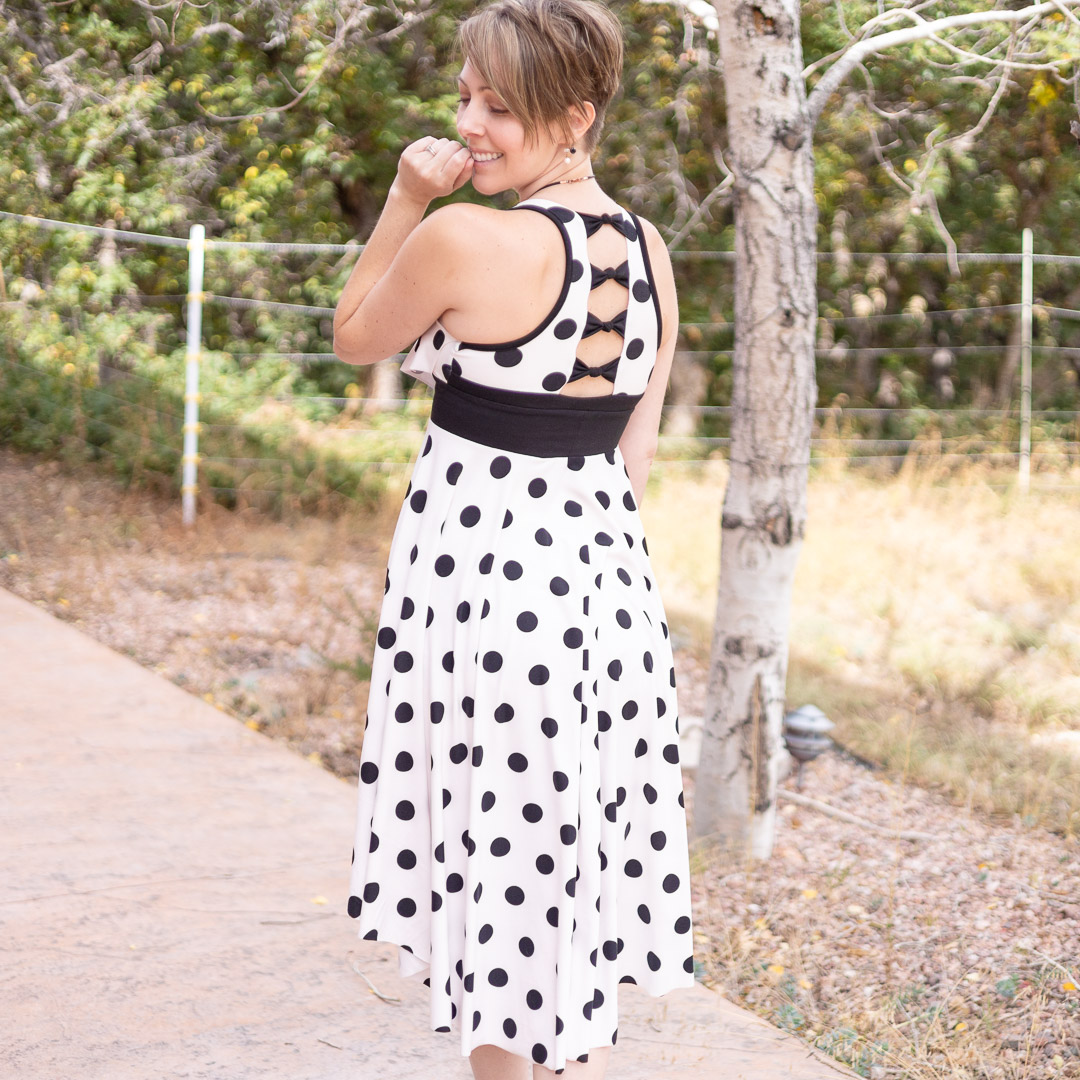
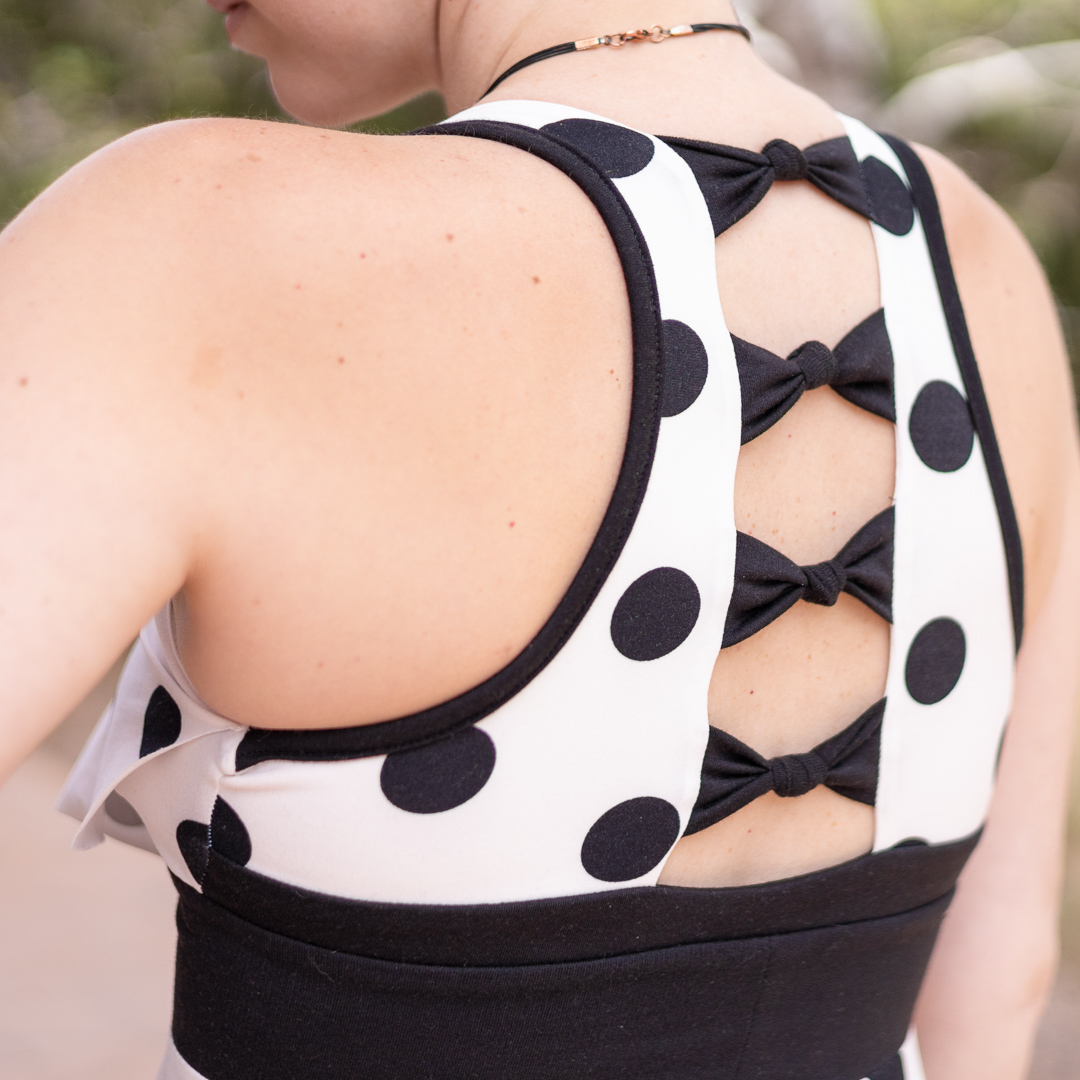
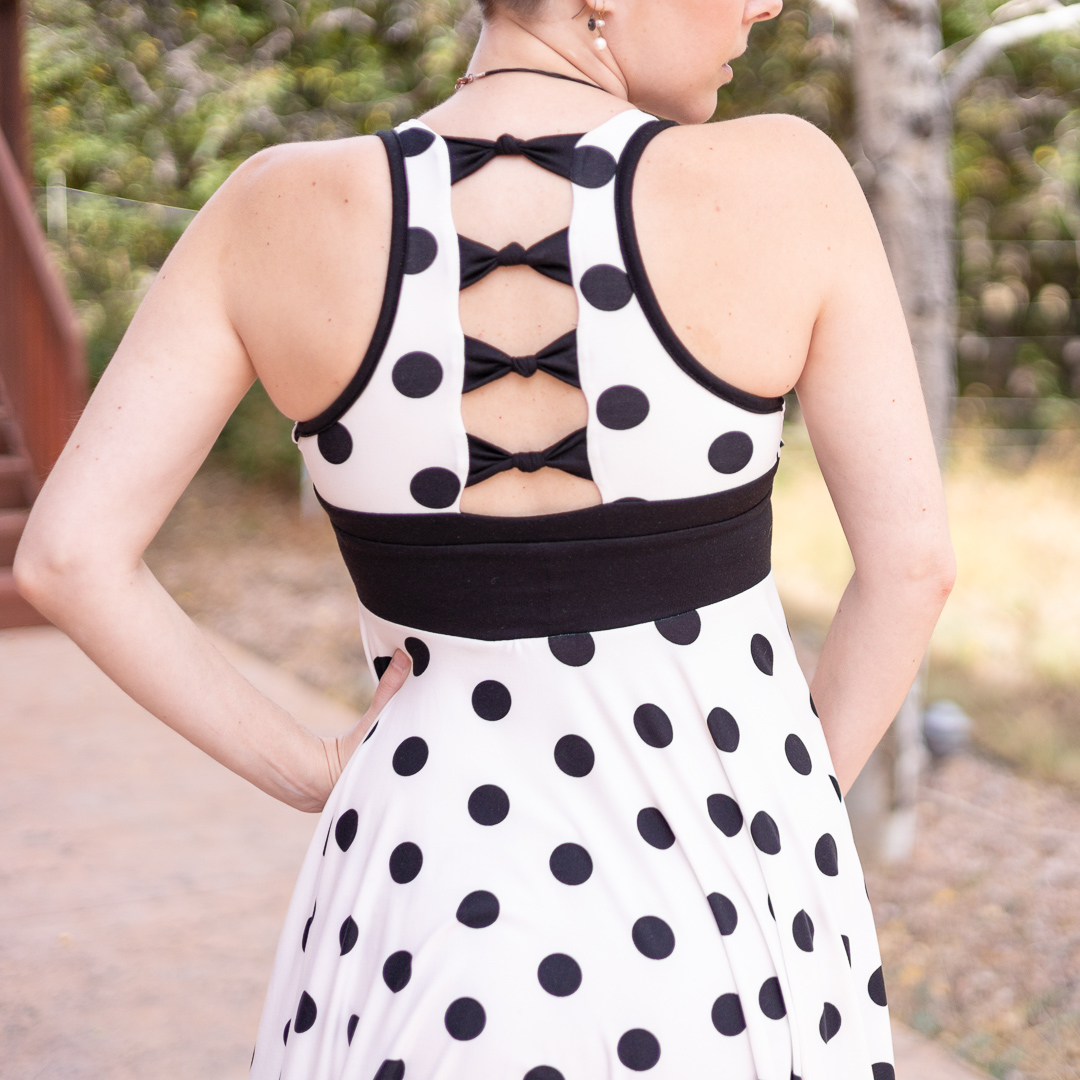
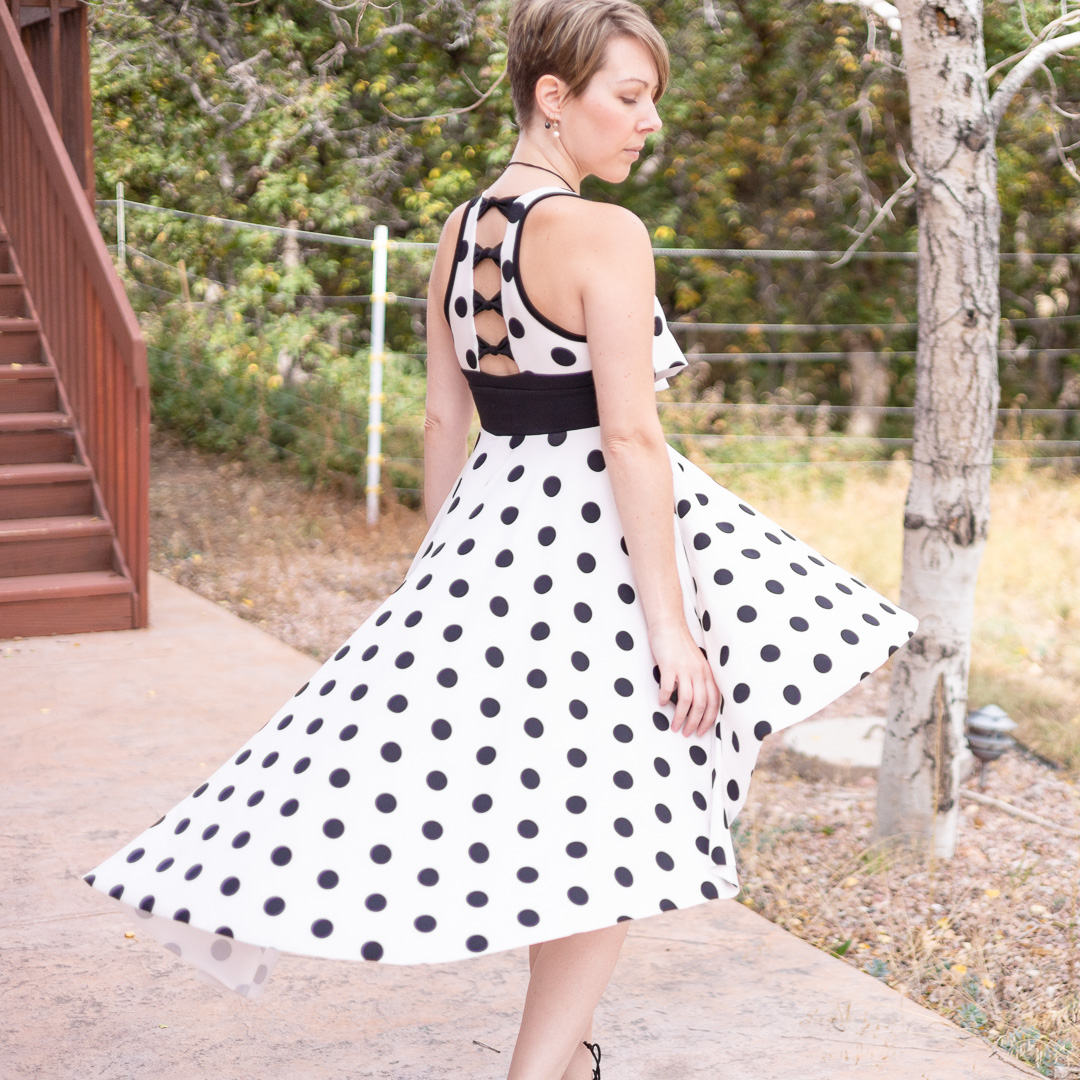
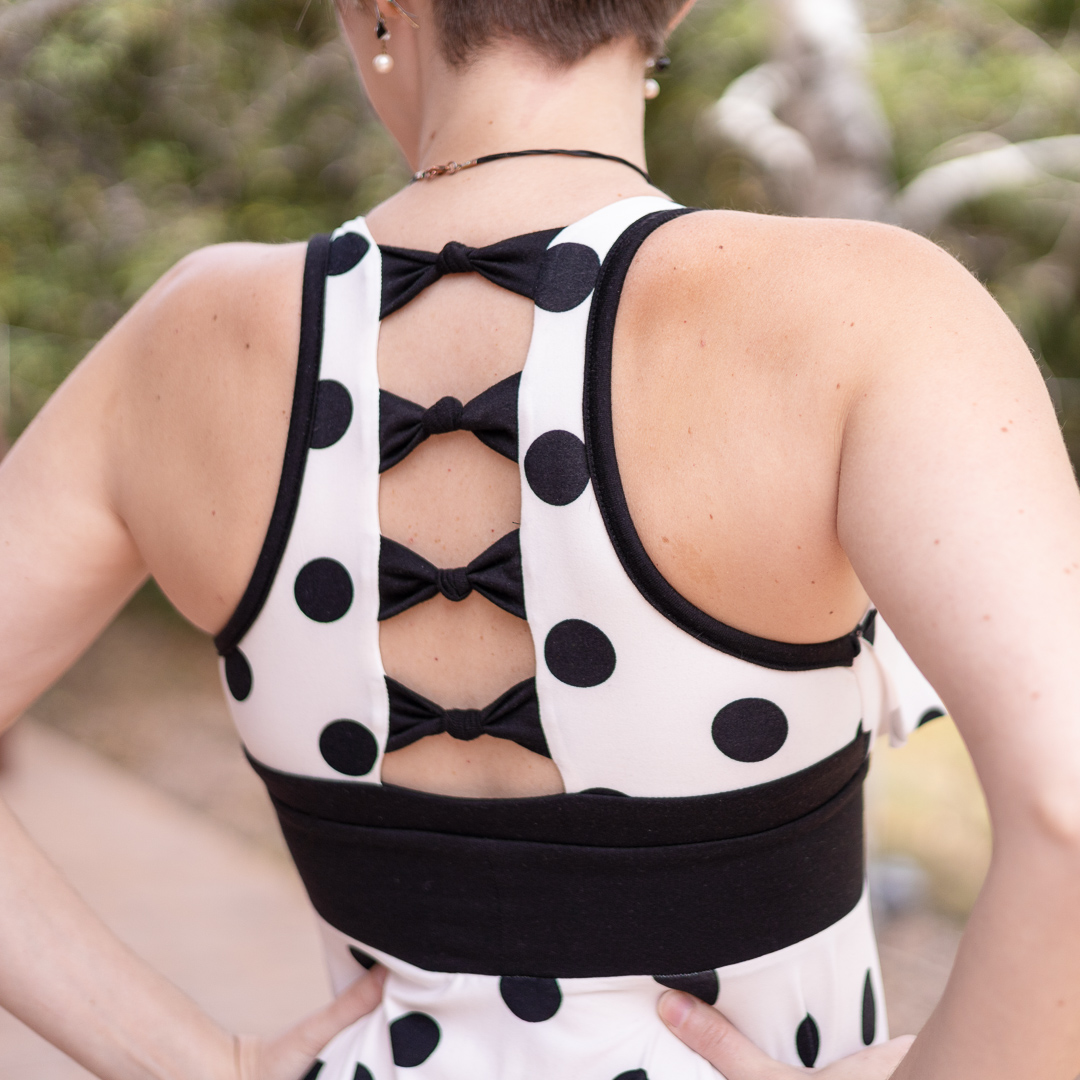
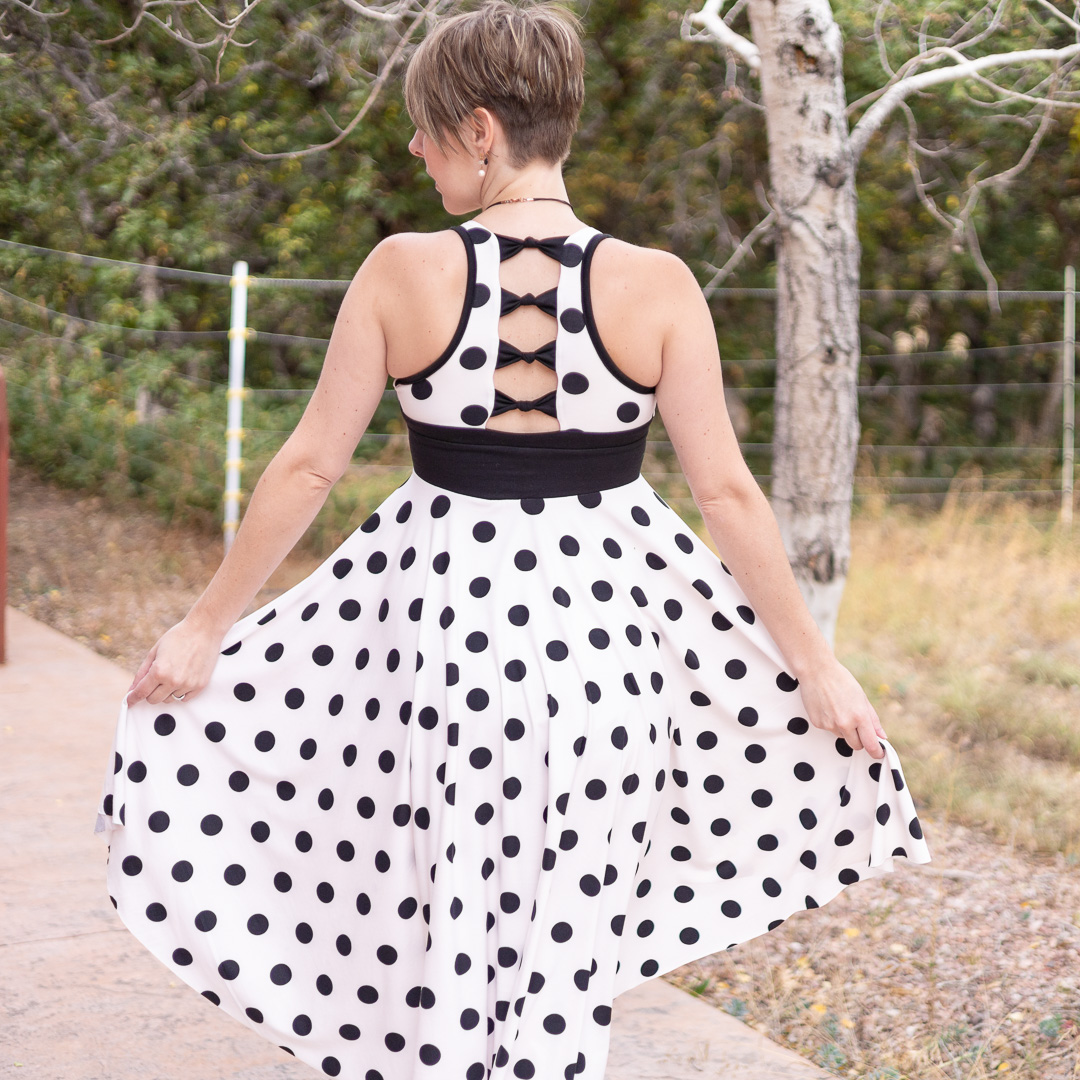
All of this made worse by how much I love the back of the dress!
So…how do I salvage it?
Ideas
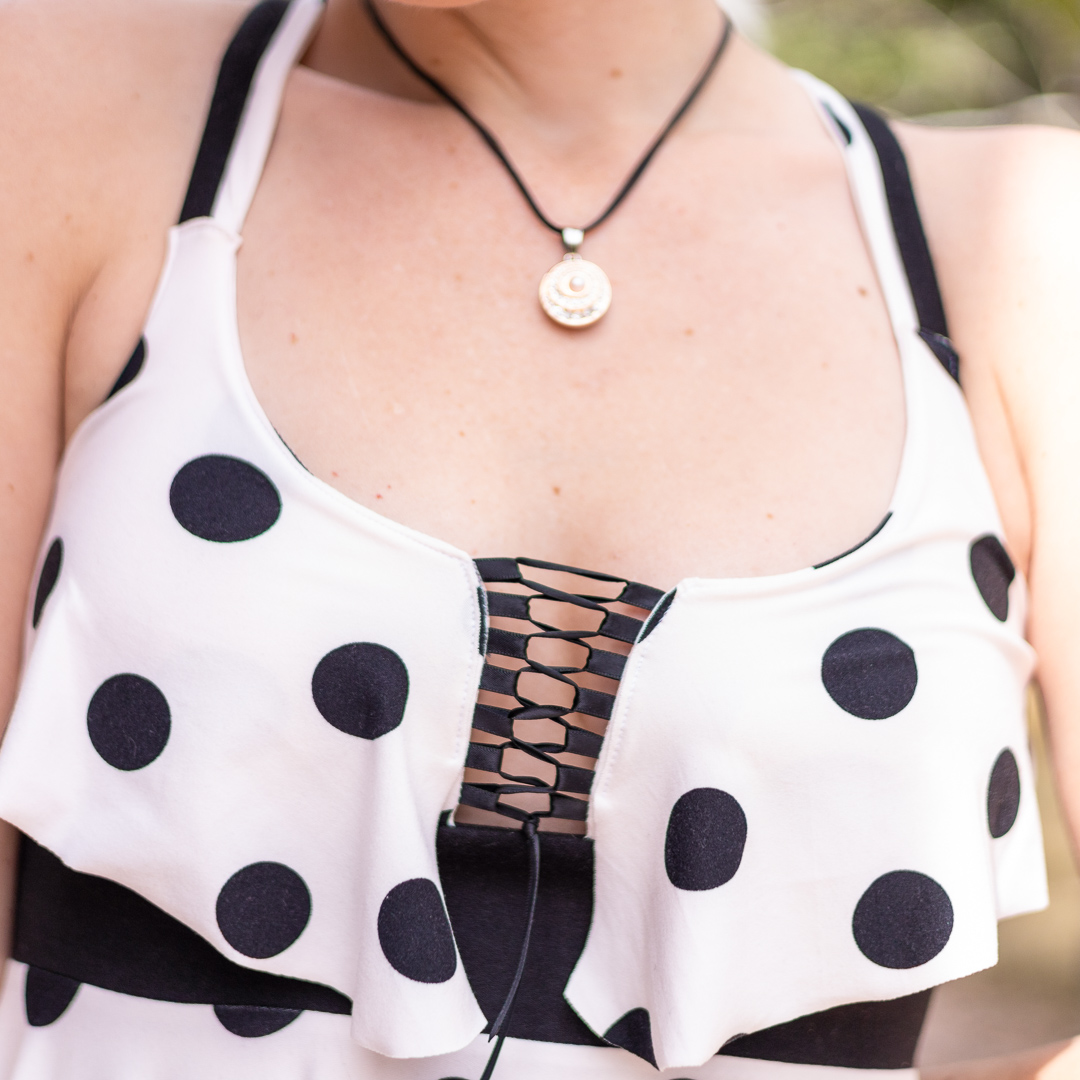
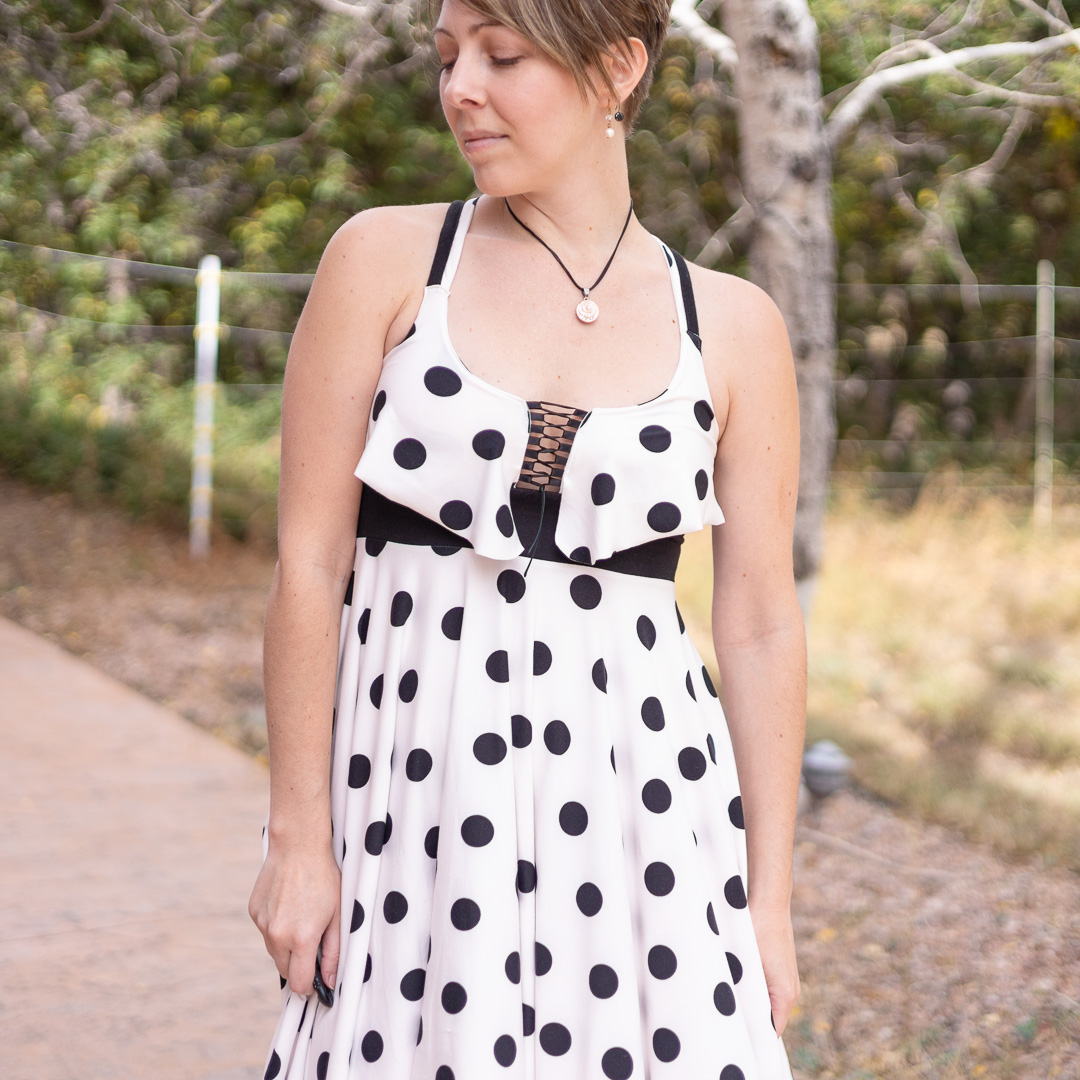
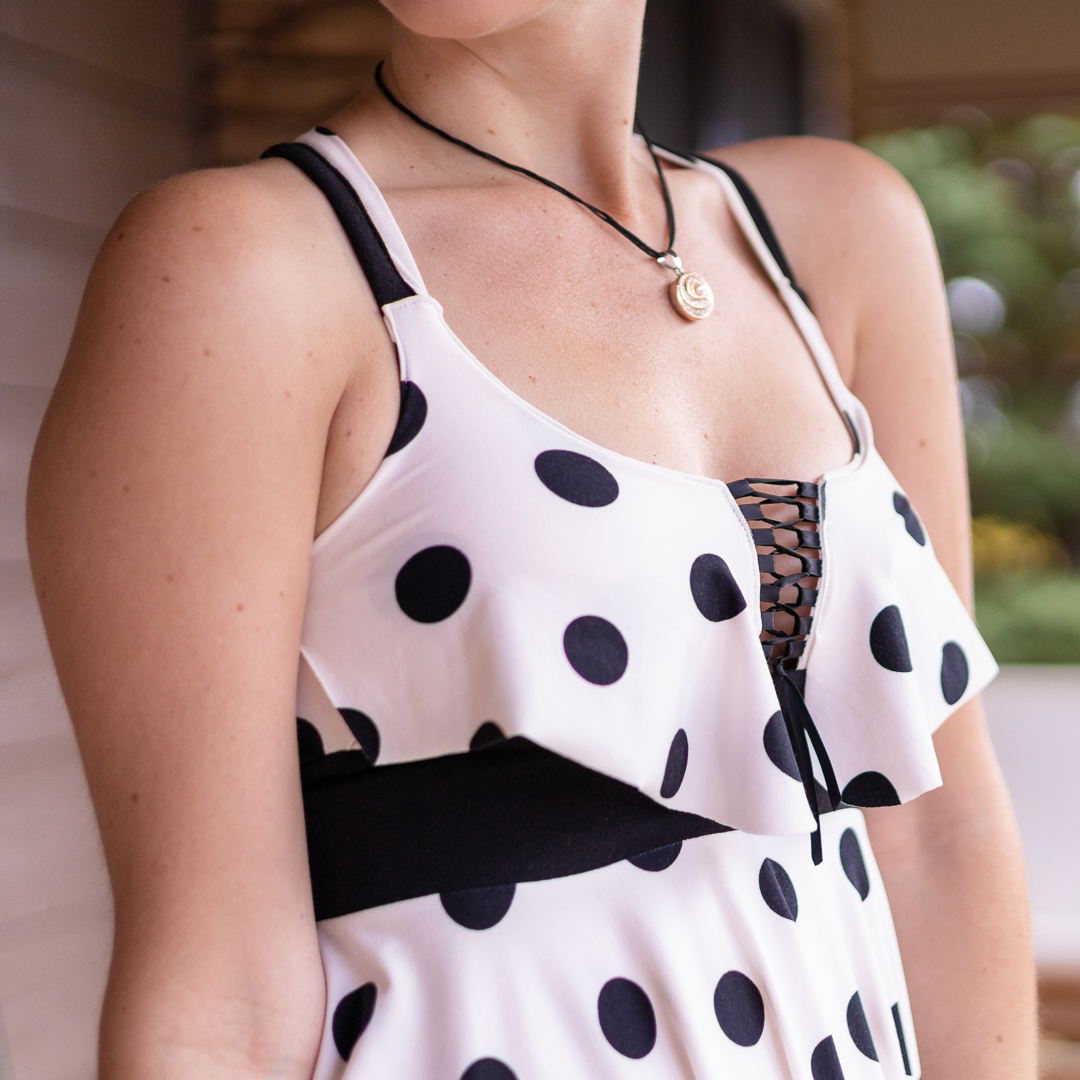
- Some kind of split flounce. I don’t want to lose the lace-up detail in the center front because I love how that turned out.
- Tear it apart and try a different fabric for the front: white? Black? Black with small white polka dots? So time intensive!
- Start over completely? I think I have enough fabric left over to do this.
Solution: I Fixed It With a Flounce
- I started in front of the mirror and visualized/measured how I wanted the flounce to fall.
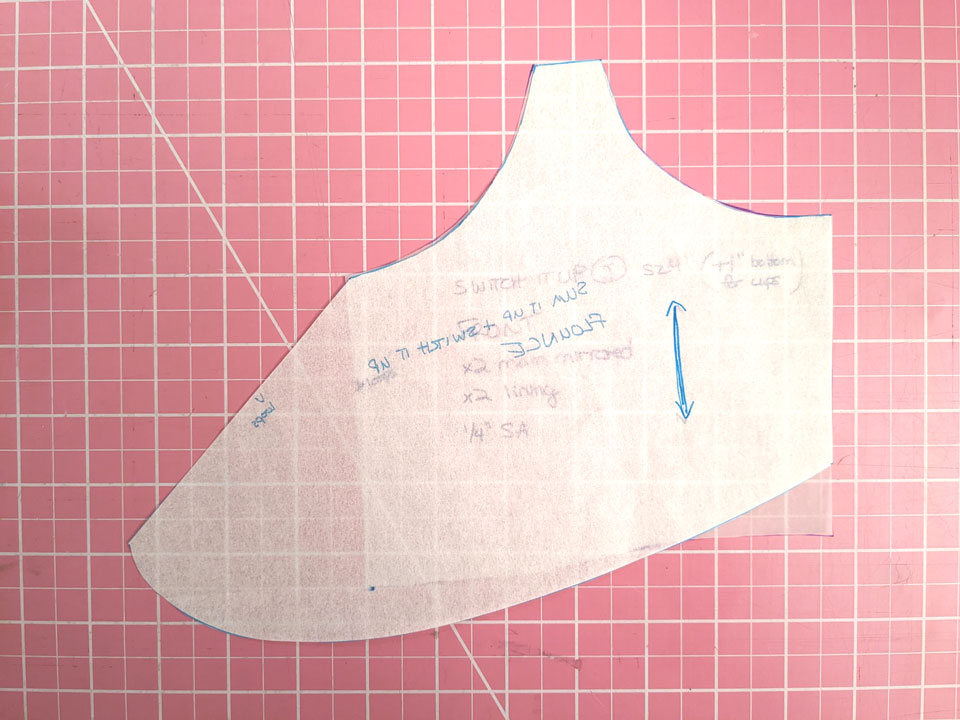
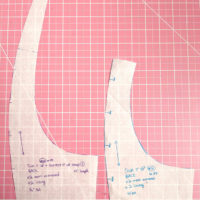
- Using the front pattern piece, I traced the top neckline, armscye, and side seam.
- I extended the center line out at a 45° angle for 5″.
- Using a French curve, I connected the center line to the side seam. The resulting pattern piece looks like this (laid over the original):

- Since the dress was already finished, I attached the flounce by folding under the neckline and armscye edges about 1/8″ and topstitching it to the bodice. I anchored the center point partway down along the loops and ties so it wouldn’t cover up that detail.
About the Fabric
MAIN: x3 yards Black on White Jumbo Polka Dot Stretch Double Brushed Poly from Cali Fabrics
- FABRIC CONTENT: Poly/Spandex
- FABRIC WIDTH: 60″
- WEIGHT: Light Midweight
- STRETCH: 4-way 100%
LINING: leftover Offwhite Double Brushed Poly Spandex Knit from Cali Fabrics
- FABRIC CONTENT: 96% Polyester/4% Lycra
- STRETCH: 4-way 150%
- WEIGHT: 5.5oz (Light Midweight)
DBP is still riding near the top of my favorite fabrics list, especially for dresses. So very comfortable and easy to work with.
ACCENTS: leftover Poly Rayon French Terry from Made of Love Fabrics
I loathe French terry. Truly. Everything about it. The only good thing I can come up with about it is that it looks nicer than DBP for bindings because it doesn’t get that stretched-out look DBP tends to get. That’s it. I hate the looped back of French terry, I hate how it attracts flotsam, I hate the shedding of the loops when you cut it, I hate how it rolls, and I don’t particularly care for how the face of the fabric looks either. I will never understand why people are drawn to this fabric for any reason, especially for things like sweatshirts. It’s not a cozy fabric, it’s way too thin and drapey for a sweatshirt, and it’s not particularly warm.
I used it here for the accents—binding, bows, and waistband. It seemed like a good opportunity to use up some of what I had lying around.
NOTIONS:
- semicircle bra pad inserts
- satin ribbon
About This Make
Behold, another “how do I mash these things together” project! I apparently keep choosing fronts and backs that weren’t necessarily meant to go together, which means doing a little reworking of the instructions and pattern pieces to make it work.
FRONT: Switch It Up Bra
- View J
- Size 4
- Pieces:
- full waistband
- front
- loops and tie
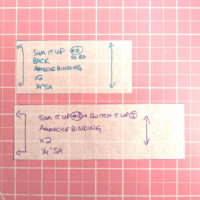
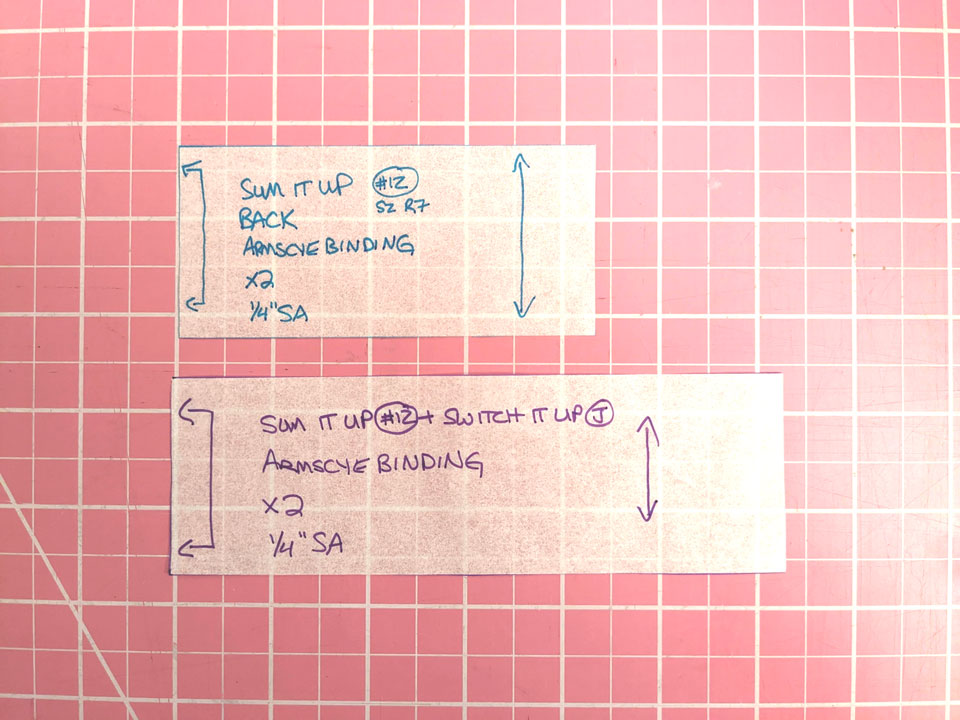
BACK: Sum It Up Bra
- View #12
- Size: range 7
- Pieces:
- back merged with Switch it Up front strap
- back bottom
- armscye binding
- bow
Construction
- Construct bows
- Construct back as instructed
- Anchor loops on front (I used Wonder Tape)
- Sandwich completed back between front main and front lining with main fabrics facing each other and linings facing each other. (In the future, this is where the flounce would also be attached.)
- Sew outer side, armscye, strap, and neckline
- Un-sandwich and sew center seams (loop and tie edges) of front with RST (right sides together). (Do not include the center of the flounce in this seam.)
- Turn RSO and press
- Topstitch center of flounce partway down along the loops and ties.
- Insert cups between main and lining and baste along bottom
- Attach waistband
What I Did Differently
- Merged the back Sum It Up piece with the front Switch it Up strap.
- Extended the armscye binding to compensate for the merged back/strap. How did I math it out? By measuring the original armscye and binding, measuring the new armscye, and plugging those values into a lovely little proportion equation and cross-multiplying. Yes, kids, some math comes in very handy when you grow up!
- Added 1″ to the bottom of the back and front bodice pieces to allow more room for inserting bra cups. I did trim this off after inserting the cups, but in the future I think it would behoove me to keep it.
- I did not sew the loops and tie; I used some satin ribbon I’ve been collecting from chopping off those hanger loops they sew into clothes, and I’m digging the finish. Way less bulk.

Notes for Next Time
- Keep the extra length at the bottom of the front and back bodice. Maybe reduce it to 0.5″ instead of 1″.
- I think I could size up in the front. The end result on this dress feels a bit snug.
- I think I’d like to embrace the flounce as a permanent addition, so work that into the construction process instead of topstitching it to the finished front at the end. This would have to happen during “the sandwich”.
- Remove basting stitches.
- Lengthen the waistband. The skirt lands higher on my torso than I want it to.
- Lengthen the back straps. There’s some fabric bulk where the back meets the front at the straps. If I had a little more length to work with, I could grade the seam allowance or something to smooth out that bulk.
- I adore that back detail with the bows. I’m envisioning a long-sleeve shirt that draws from this detail. I think I pinned something that shows what I’m envisioning.
- Use DBP for the waistband.


Project Settings
Sewing Machine vs. Serger
| Sewing Machine | Serger |
|---|---|
|
|
Sewing Machine Settings
| Presser Foot | Stitch# | Stitch Width | Stitch Length | Needle | Top Thread Tension | Application |
|---|---|---|---|---|---|---|
| standard zig-zag (A) | 5 | 1.0 | 4 | blue tip | 4 | seams |
| standard zig-zag (A) | 0 | 3.5 | 5 | blue tip | 4 | baste |
| adjustable edge (SE#4) | 5 | 1.0 | 4 | blue tip | 4 | flounce attach |
Serger Settings
| Stitch Name | 4-thread overlock |
|---|---|
| Needles | R, L |
| Finger | B |
| Threads | 4 |
| Tension Left Needle | 4 |
| Tension Right Needle | 4 |
| Tension Upper Looper | 4 |
| Tension Lower Looper | 4 |
| Cut Width | 6 |
| Stitch Length | 2.5 |
| Differential | 1.0 |
| Application | seams |
Leave a Reply