I bought a disappointing dress.
I think we’ve all been there. It’s inevitable when you’re shopping online and you see those awesome product photos that look too good to be true for $19. But you fall for it anyway because for $19 you can risk the disappointment and hope to be pleasantly surprised.
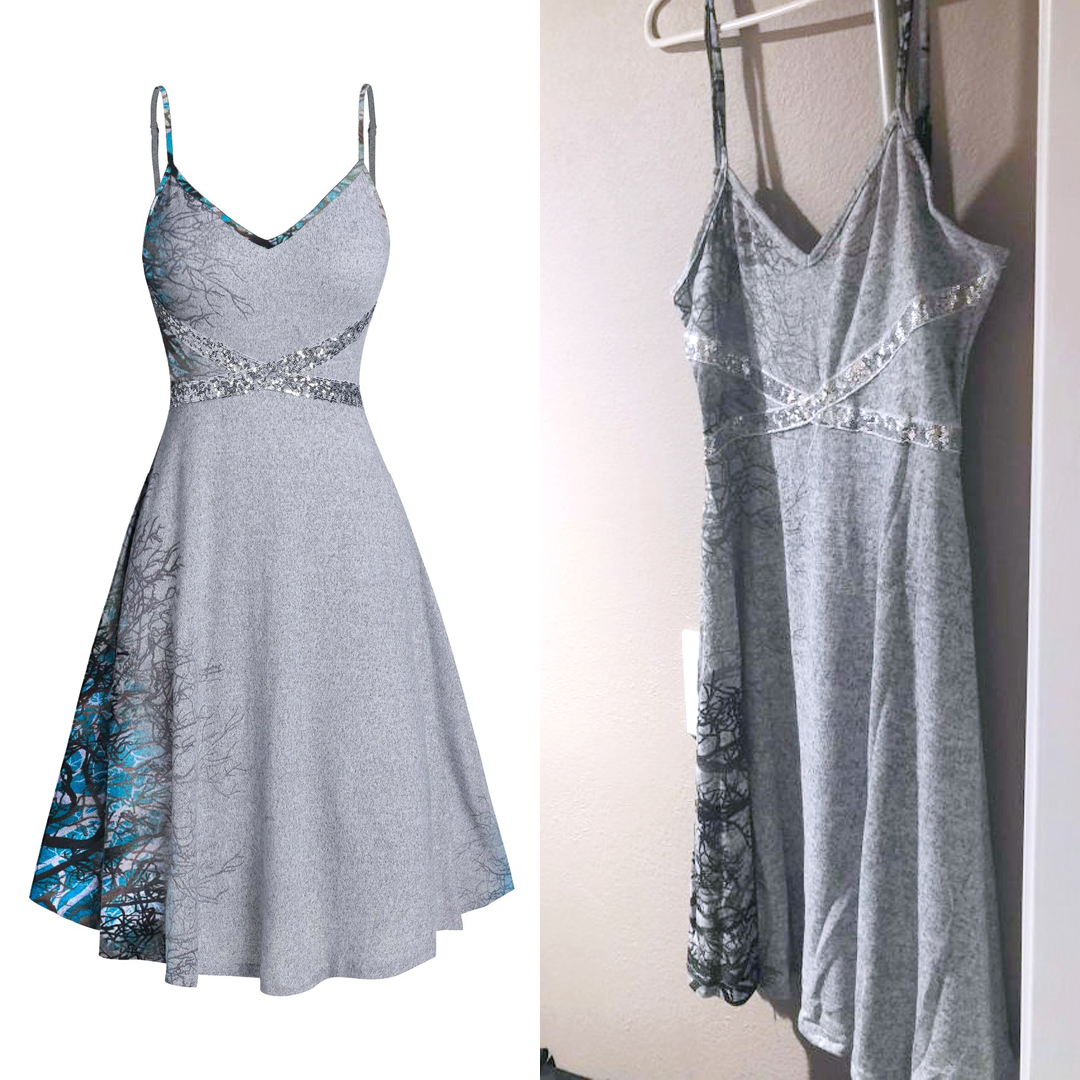
Left: the dream. Right: the reality (Stole this photo off someone’s review, but that’s exactly what I got.)
I was not. It was another classic case of dream versus reality.
Why This Dress Sucked
- The fit.
- We see in the product shot the beautiful A-line silhouette, the tapered waist, and the fullness of the skirt. Yes, obviously, it’s on a ghost mannequin to fill out those curves, but it wouldn’t curve like that without any shape to it.
- In reality, we have a virtually straight line from bust to hem.
- The colors.
- We see in the product shot those vivid splashes of blue along the side of the skirt, creeping all the way up to the neck binding and straps.
- In reality…I’m sorry, where’s the blue on this?
- The structure.
- We see in the product photo the illusion of weight and structure.
- In reality, we basically have a glorified t-shirt.
What Doesn’t Suck About This Dress
- The fabric. As a soft and stretchy lightweight sweater-type knit with wonderful drape, this fabric has a lot of good things going for it.
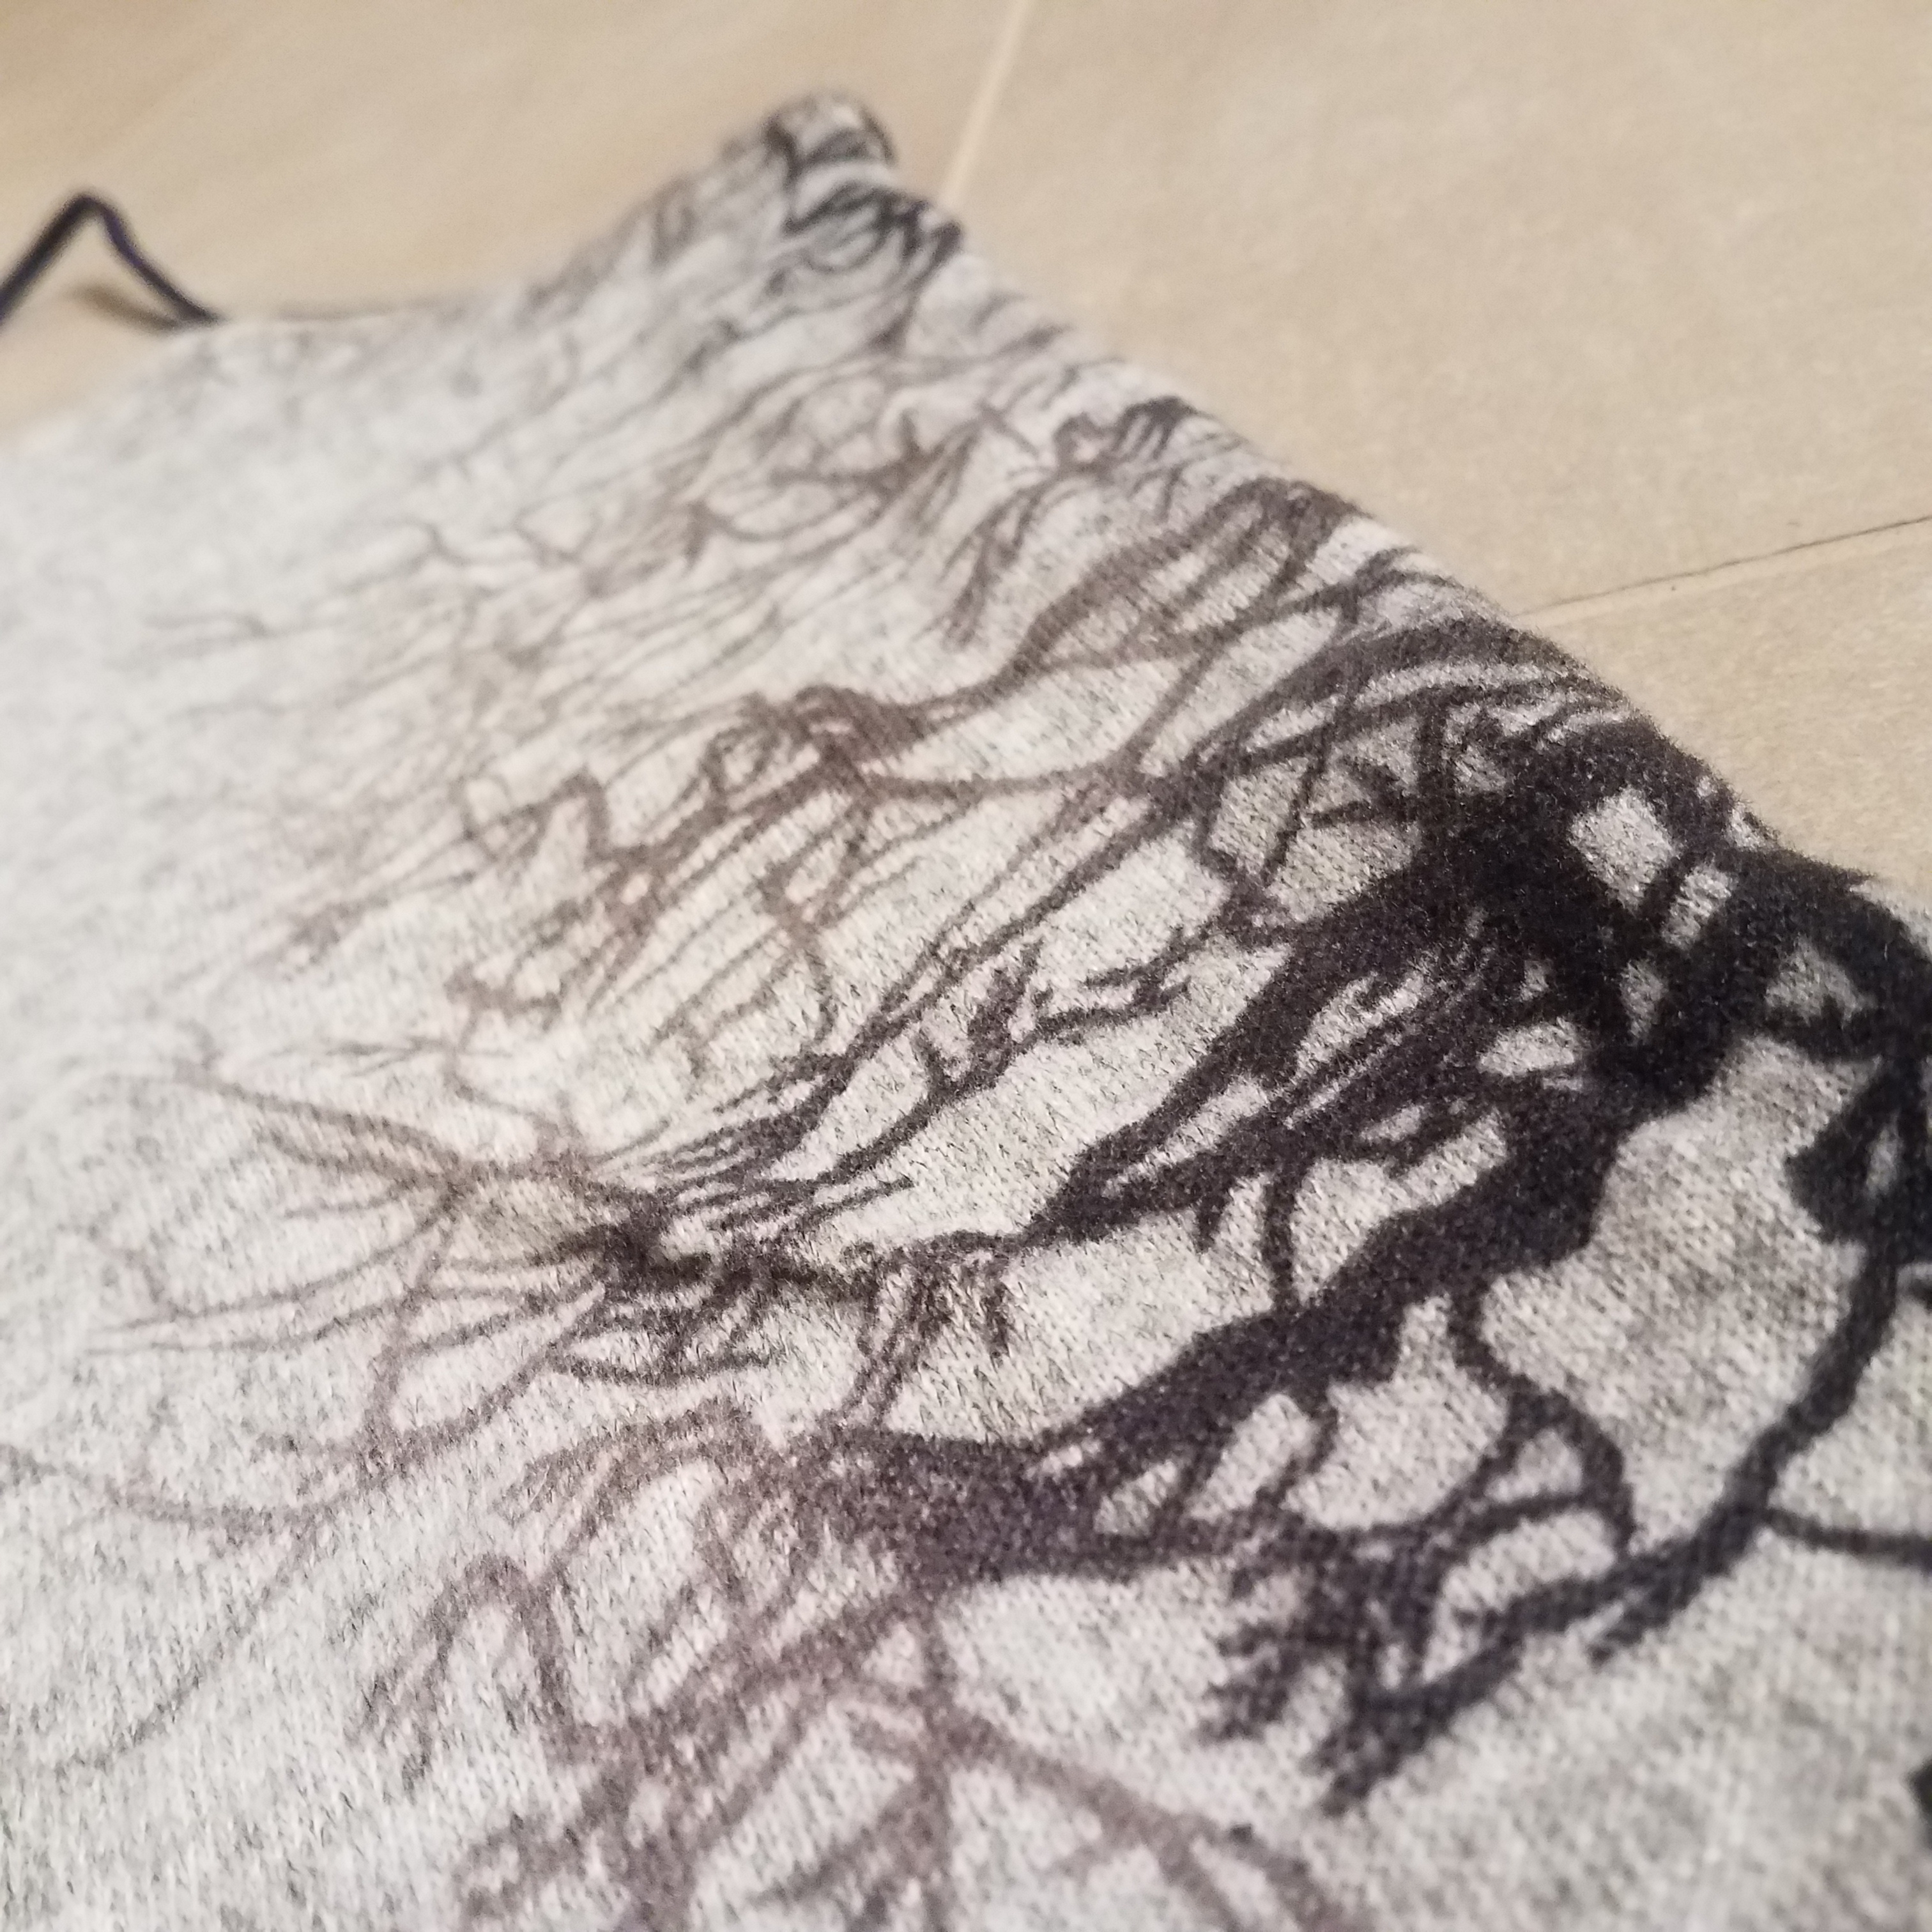
- The print. Even without the blue, the print design is totally unique, and the placement adds so much visual interest.
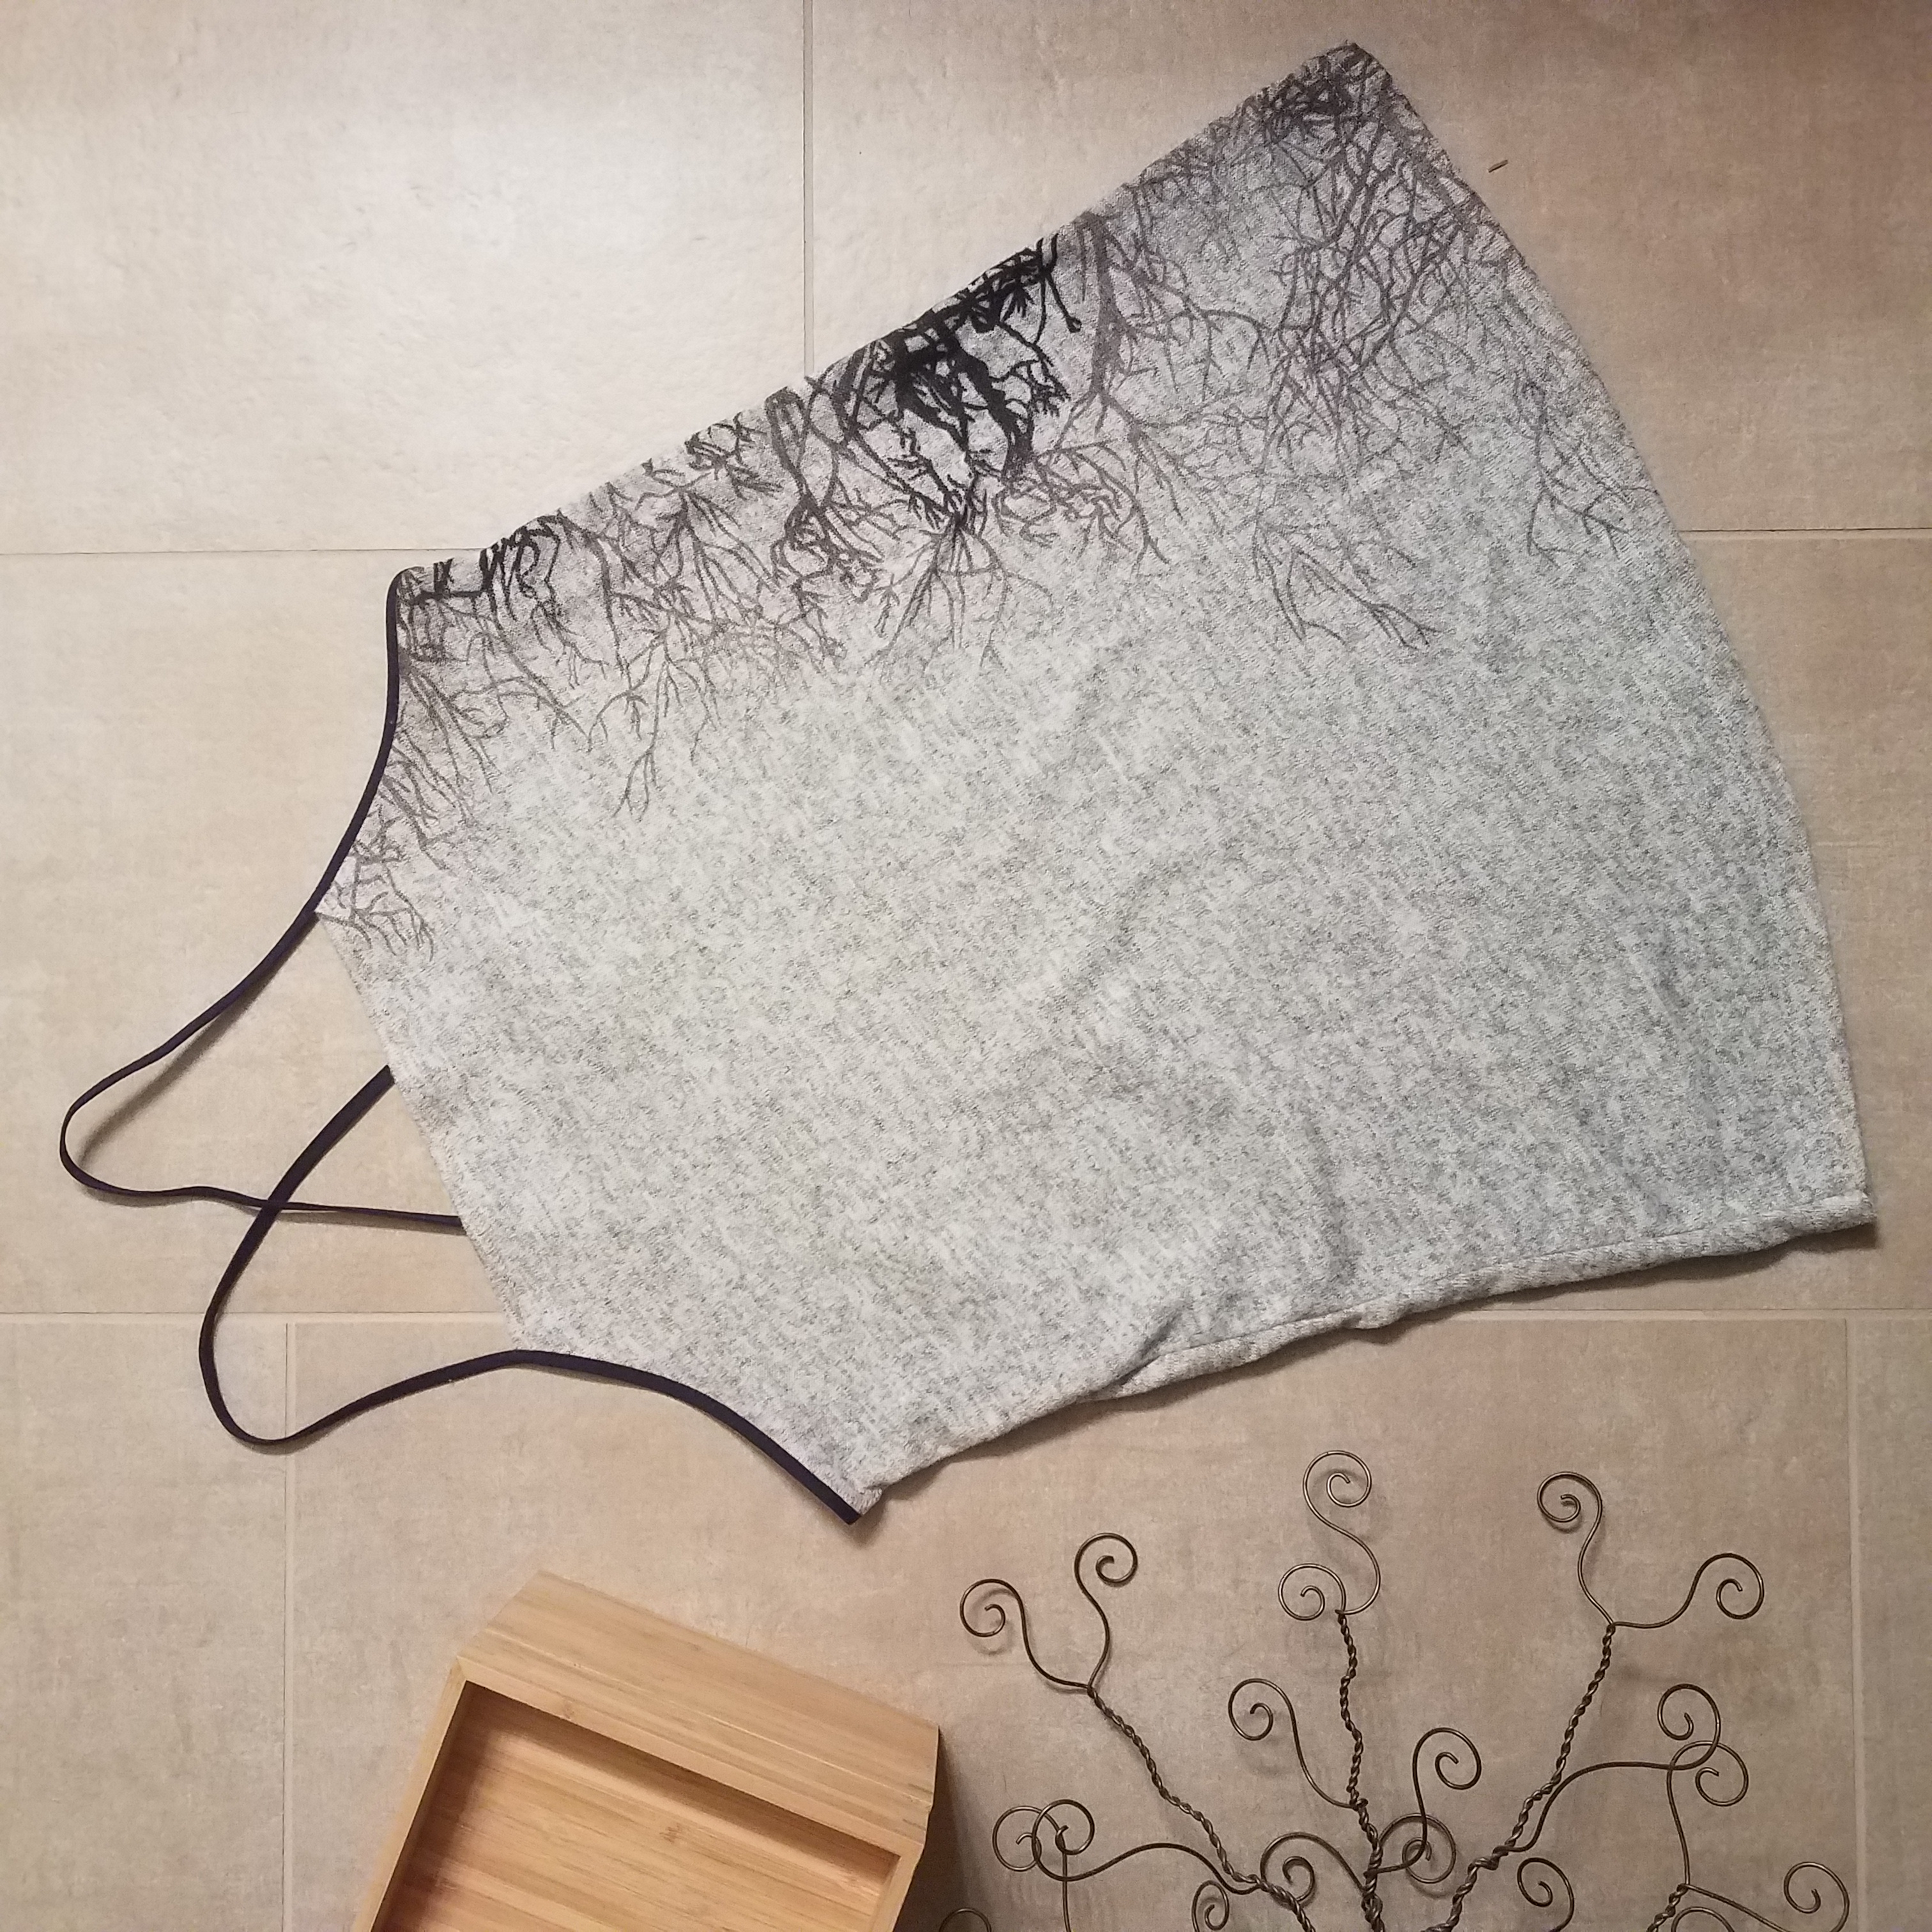
In conclusion, this fabric did not want to be this dress. So I let it whisper to me what it wanted to be, and it whispered, Hack the Daisy Tank.
So I Hacked the Daisy Tank
Get the Pattern Here (or for free on Facebook)
I wanted to go full-on Daisy Tank, but cutting into a fully finished garment involves compromise because you have seams and weird shapes to contend with.
The sequined detail across the bodice did a good job of hiding a seam running along the bottom of it, so I initially thought I would have enough vertical height to eke out a full tank. I removed the sequined bands (set them aside for some unknown future project) and uncovered that seam which sent me to the drawing board.
- What if I lowered the neckline in the front?
- And used binding instead of lining the top?
- Oh, that’d be an interesting little gap detail to drop the neckline and have the binding continue up to and loop around the neck tie.
- Except I can’t fit the height of the keyhole detail on the back…
- So what if I go full halter-top on the back and just cut straight across?
- That means the neck-tie is toast, unless I want to strangle myself with it.
- I don’t want to strangle myself.
- So I’ll just extend the binding and figure out what to do with it later.
- The rest should be easy: just cut the front on the fold with the dropped neckline, cut the back on the fold, hem the front neckline, sew the side seams, add the binding, hem the shirt.
Now that the mental plan was set…
Time to Re-Draw the Pattern
I referenced my ITY Daisy and measured how much fabric I could get away with removing along the front neckline. 5 inches would’ve been too much. Ideally somewhere in the 3″ range, minus some allowance for hemming. So I landed on 2.5″.
I also checked the finished garment measurements to choose sizing for a more fitted tank. I landed on grading between a size 2 at the bust down to a 1 at the waist and hips.
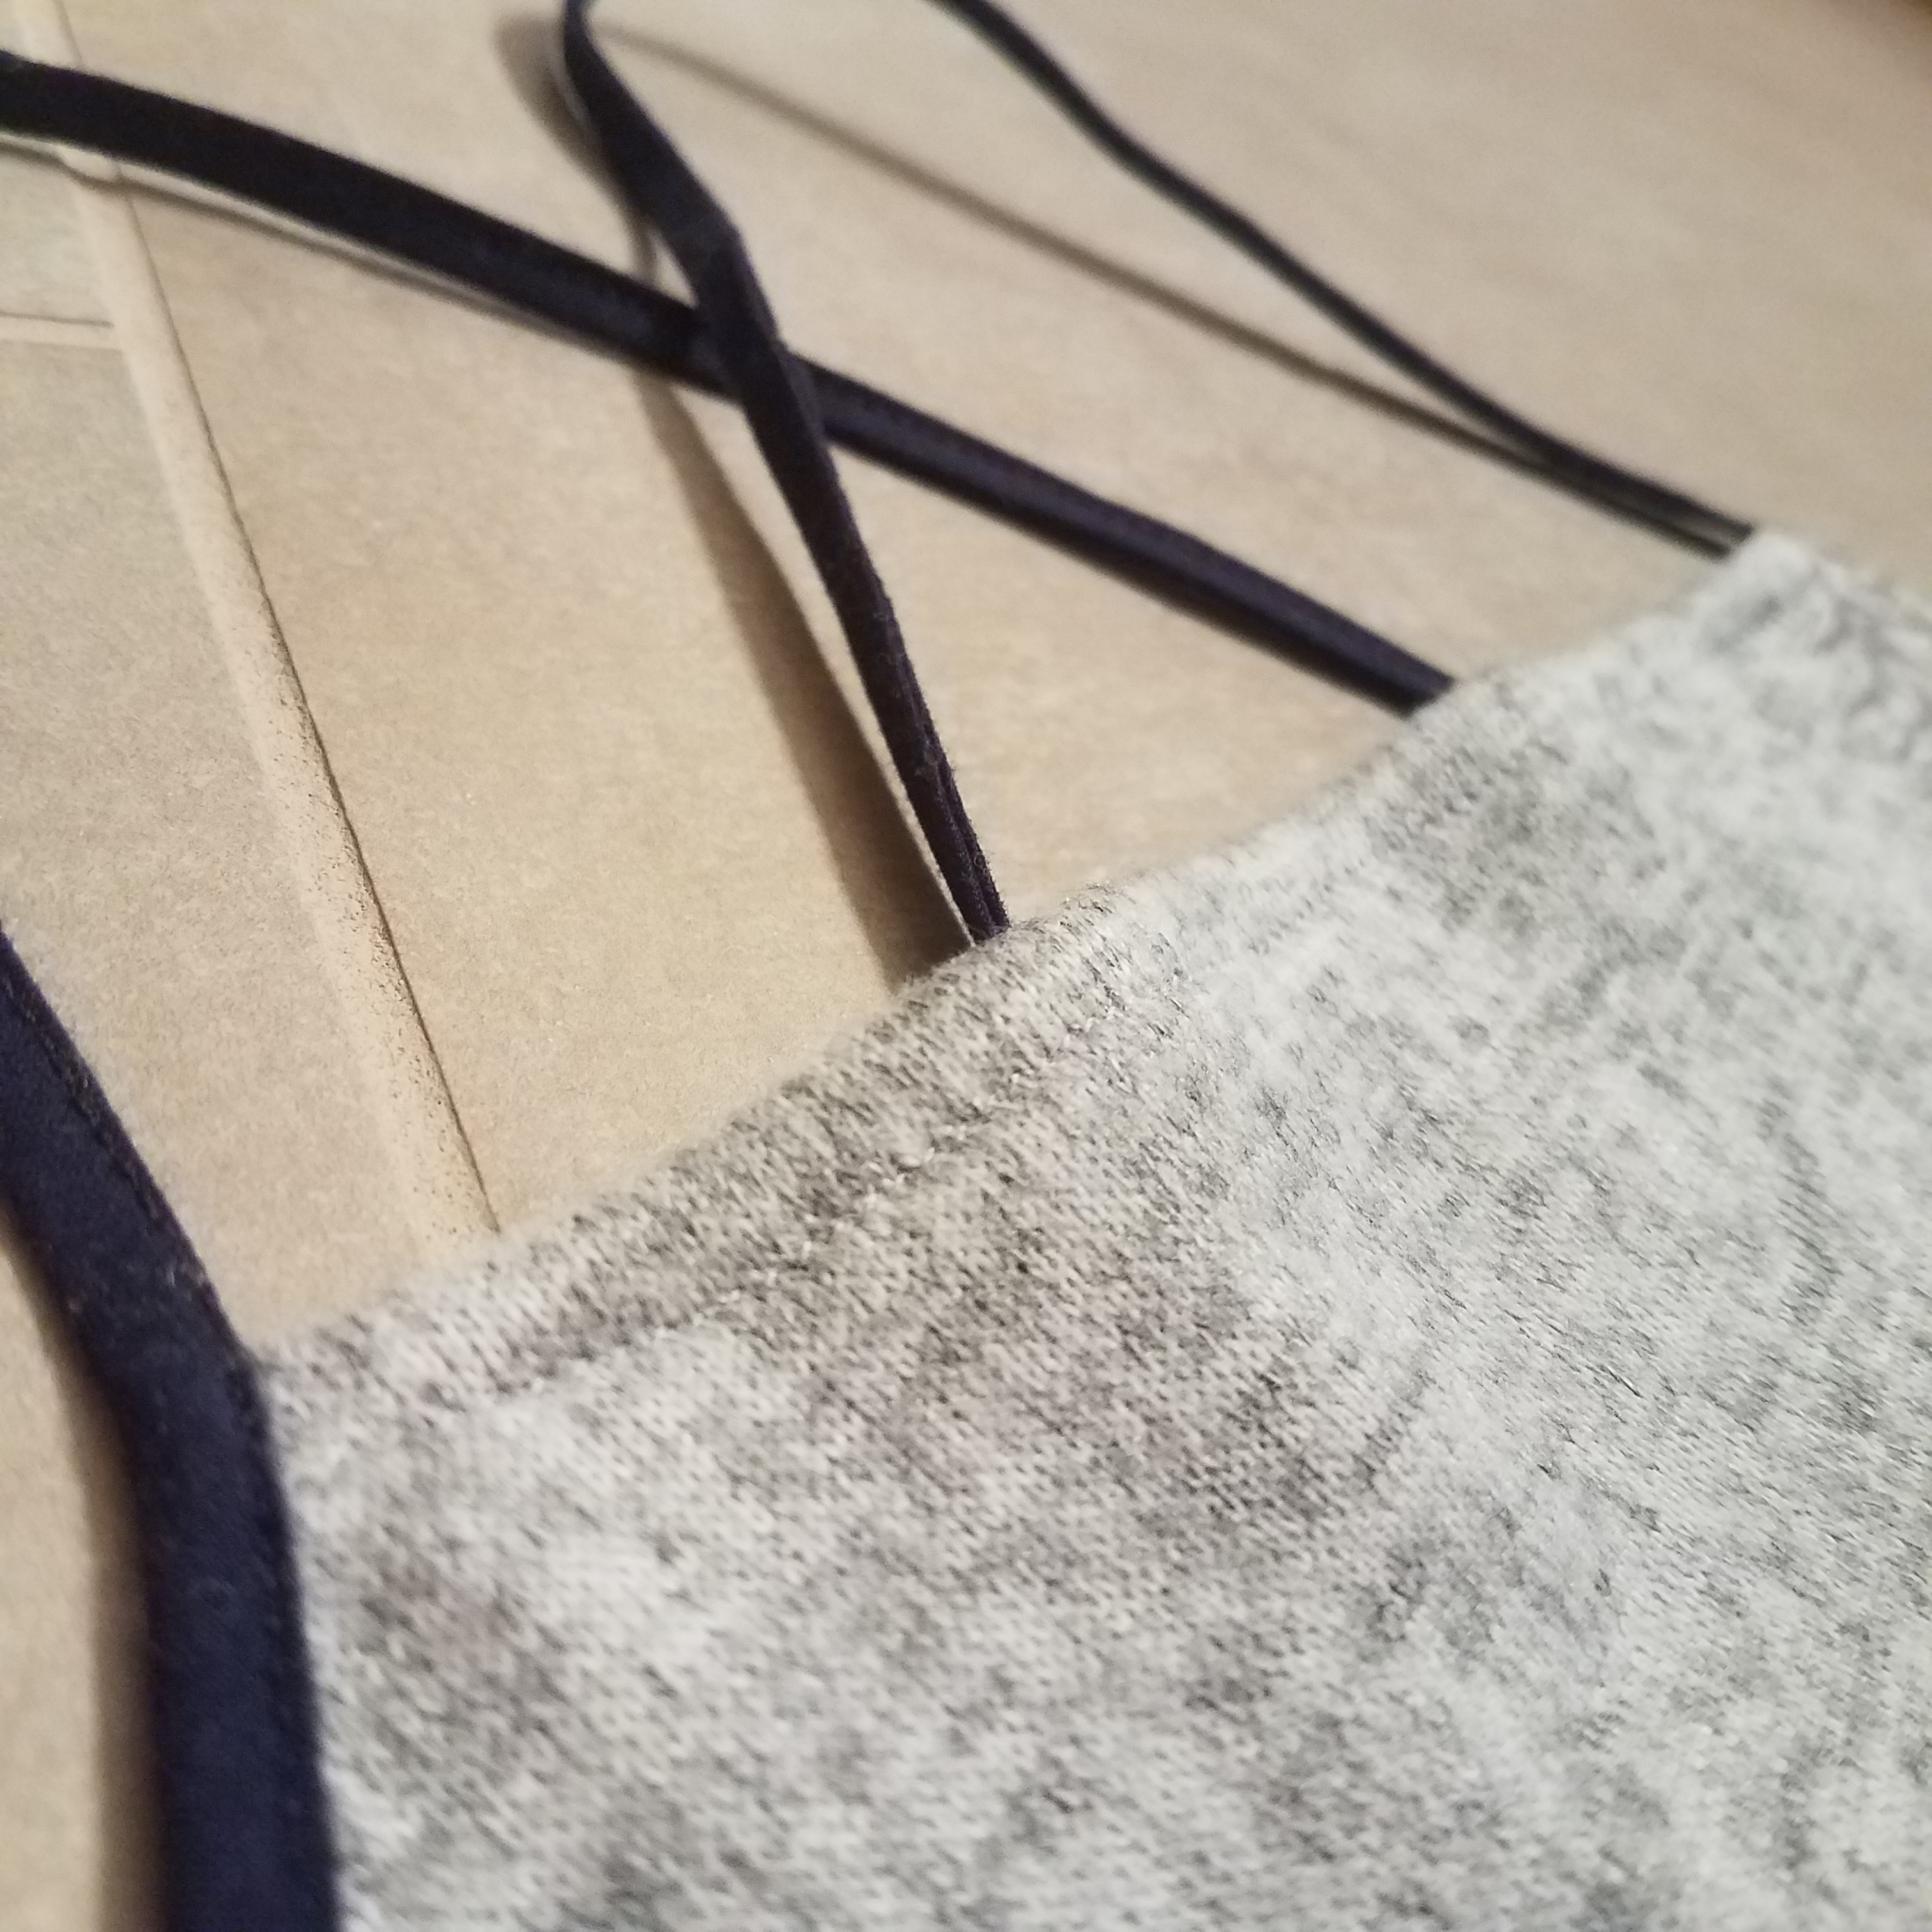
With those things in mind, I sat down to trace, drawing the front neckline 2.5″ lower than on the pattern, and drawing a line straight across from the bottom of the armscye on the back. Pretty painless.
Chop Up That Sad Dress
I cut along both side seams of the dress so I had 2 pieces I could lay flat and fold. Laid out my pattern pieces and it dawned on me, I’ll just cut all the way down to the dress hem, then I won’t have to hem this sucker later. That meant the tank would angle upward a bit more near the side seams, but it was minimal and didn’t bother me at all.
And Now…Sew!
(Sometimes it takes a while to get to the actual sewing.)
(Actually, it usually takes a while.)
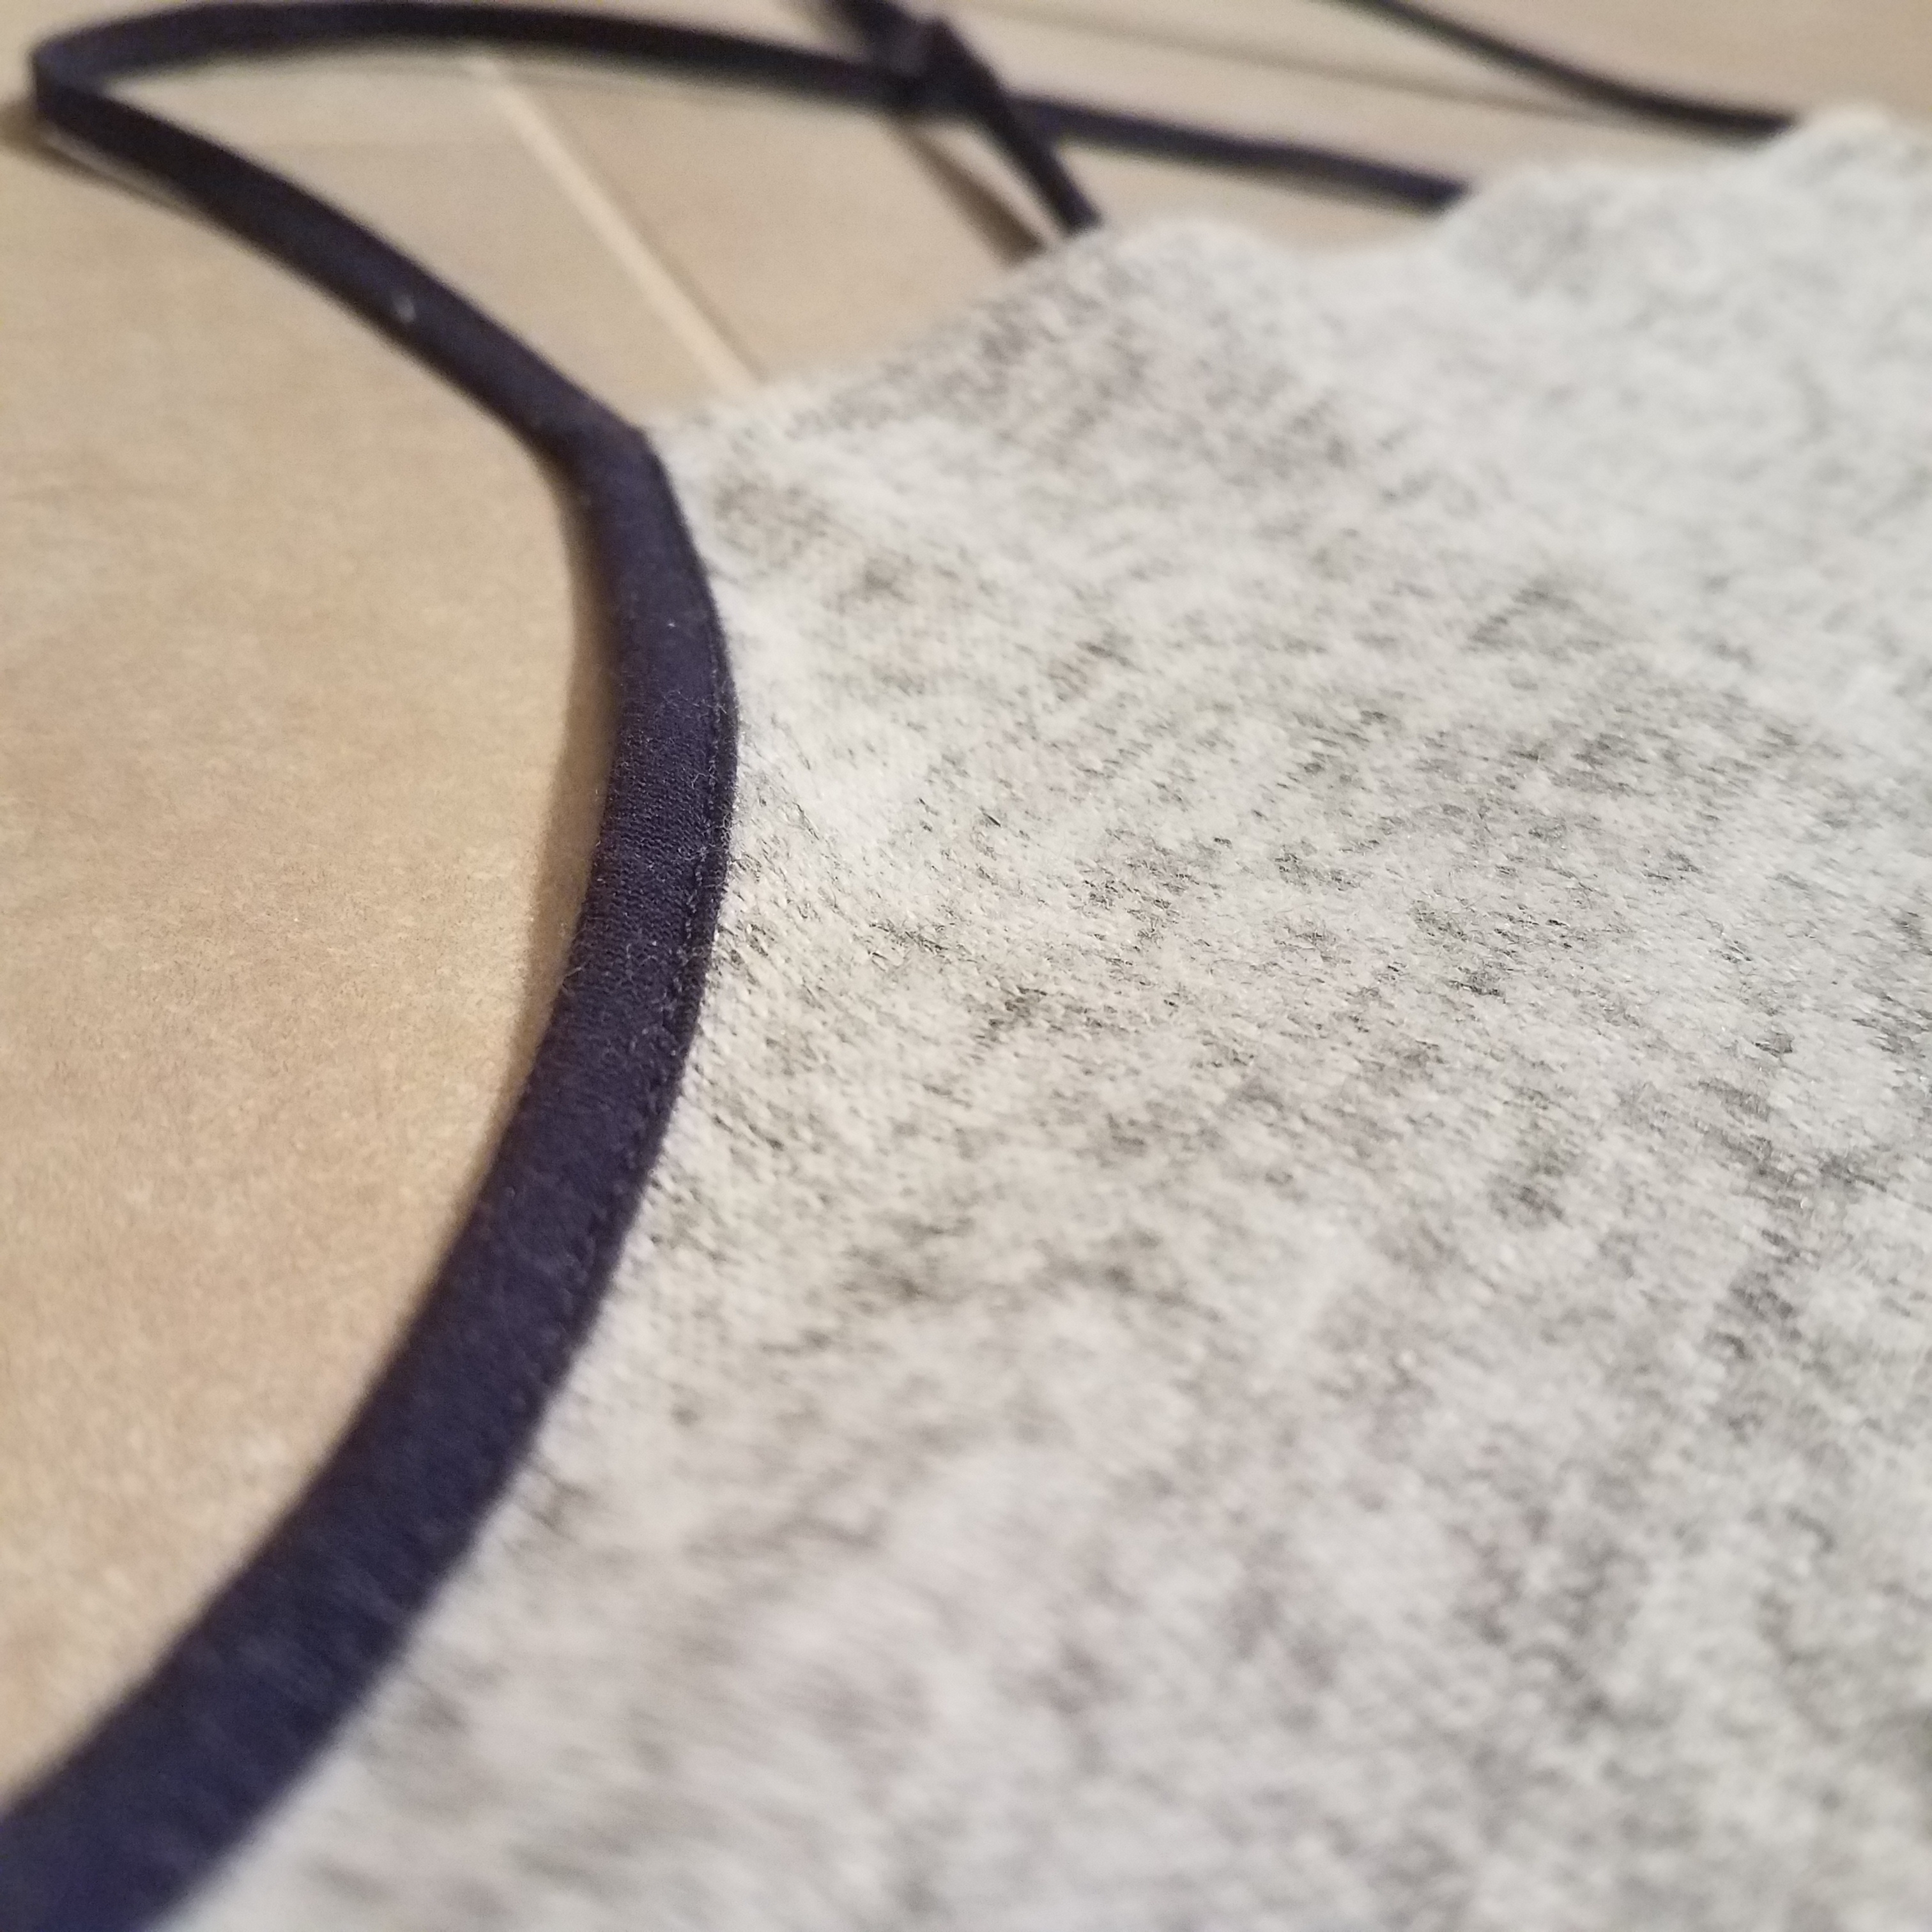
- Hem the front neckline. I folded the front neckline twice over and sewed with my good friend, the lightning stitch.
- Sew the side seams. With right sides together, I matched up the side seams on the front and back bodice pieces, and sewed them up with my good friend, the lightning stitch.
Front neckline hem.
Fit Check!
Good thing I did this, because holy-way-too-baggy. I pinched and measured about 4″ of fabric I could do without around the bust.
Hm, how can I adjust this without unpicking my good friend, the lightning stitch?
Darts?
I’m no dart expert. I’ve sewn a handful before, and only according to pattern instructions. I referred to my handy Sewing Book to review darts and build the illusion of confidence, then folded in some fabric along the side seams, and with my good friend the basting stitch, I darted those suckers. Sewed right along the side seam so it was impressively camouflaged on the right side.
Checked the fit again…
Well that worked surprisingly well.
Went back to the sewing machine and ran a regular straight stitch over those darts, trimmed the excess fabric, and jumped into binding.
Binding Can Make You Want to Murder Something…
Here are my tips to help you survive binding:
- Consider a binding foot. They look like this. I have one that came in my presser foot set. It can be a little finicky to work with, but it really does help tremendously.
- There are other techniques for binding that don’t require a binding foot and involve sewing one side at a time. I’ve done it a handful of times as a part of some projects, but not enough to detail it for anyone.
- GO SLOW. Even with a special foot, take your freaking time. Make sure your fabric isn’t slipping out of the foot and that you’re catching both sides of the binding.
- Stop often to check everything is where it needs to be, especially when going over bulkier areas. It’s kind of the worst, but patience will pay off at the end when you see a perfect binding.
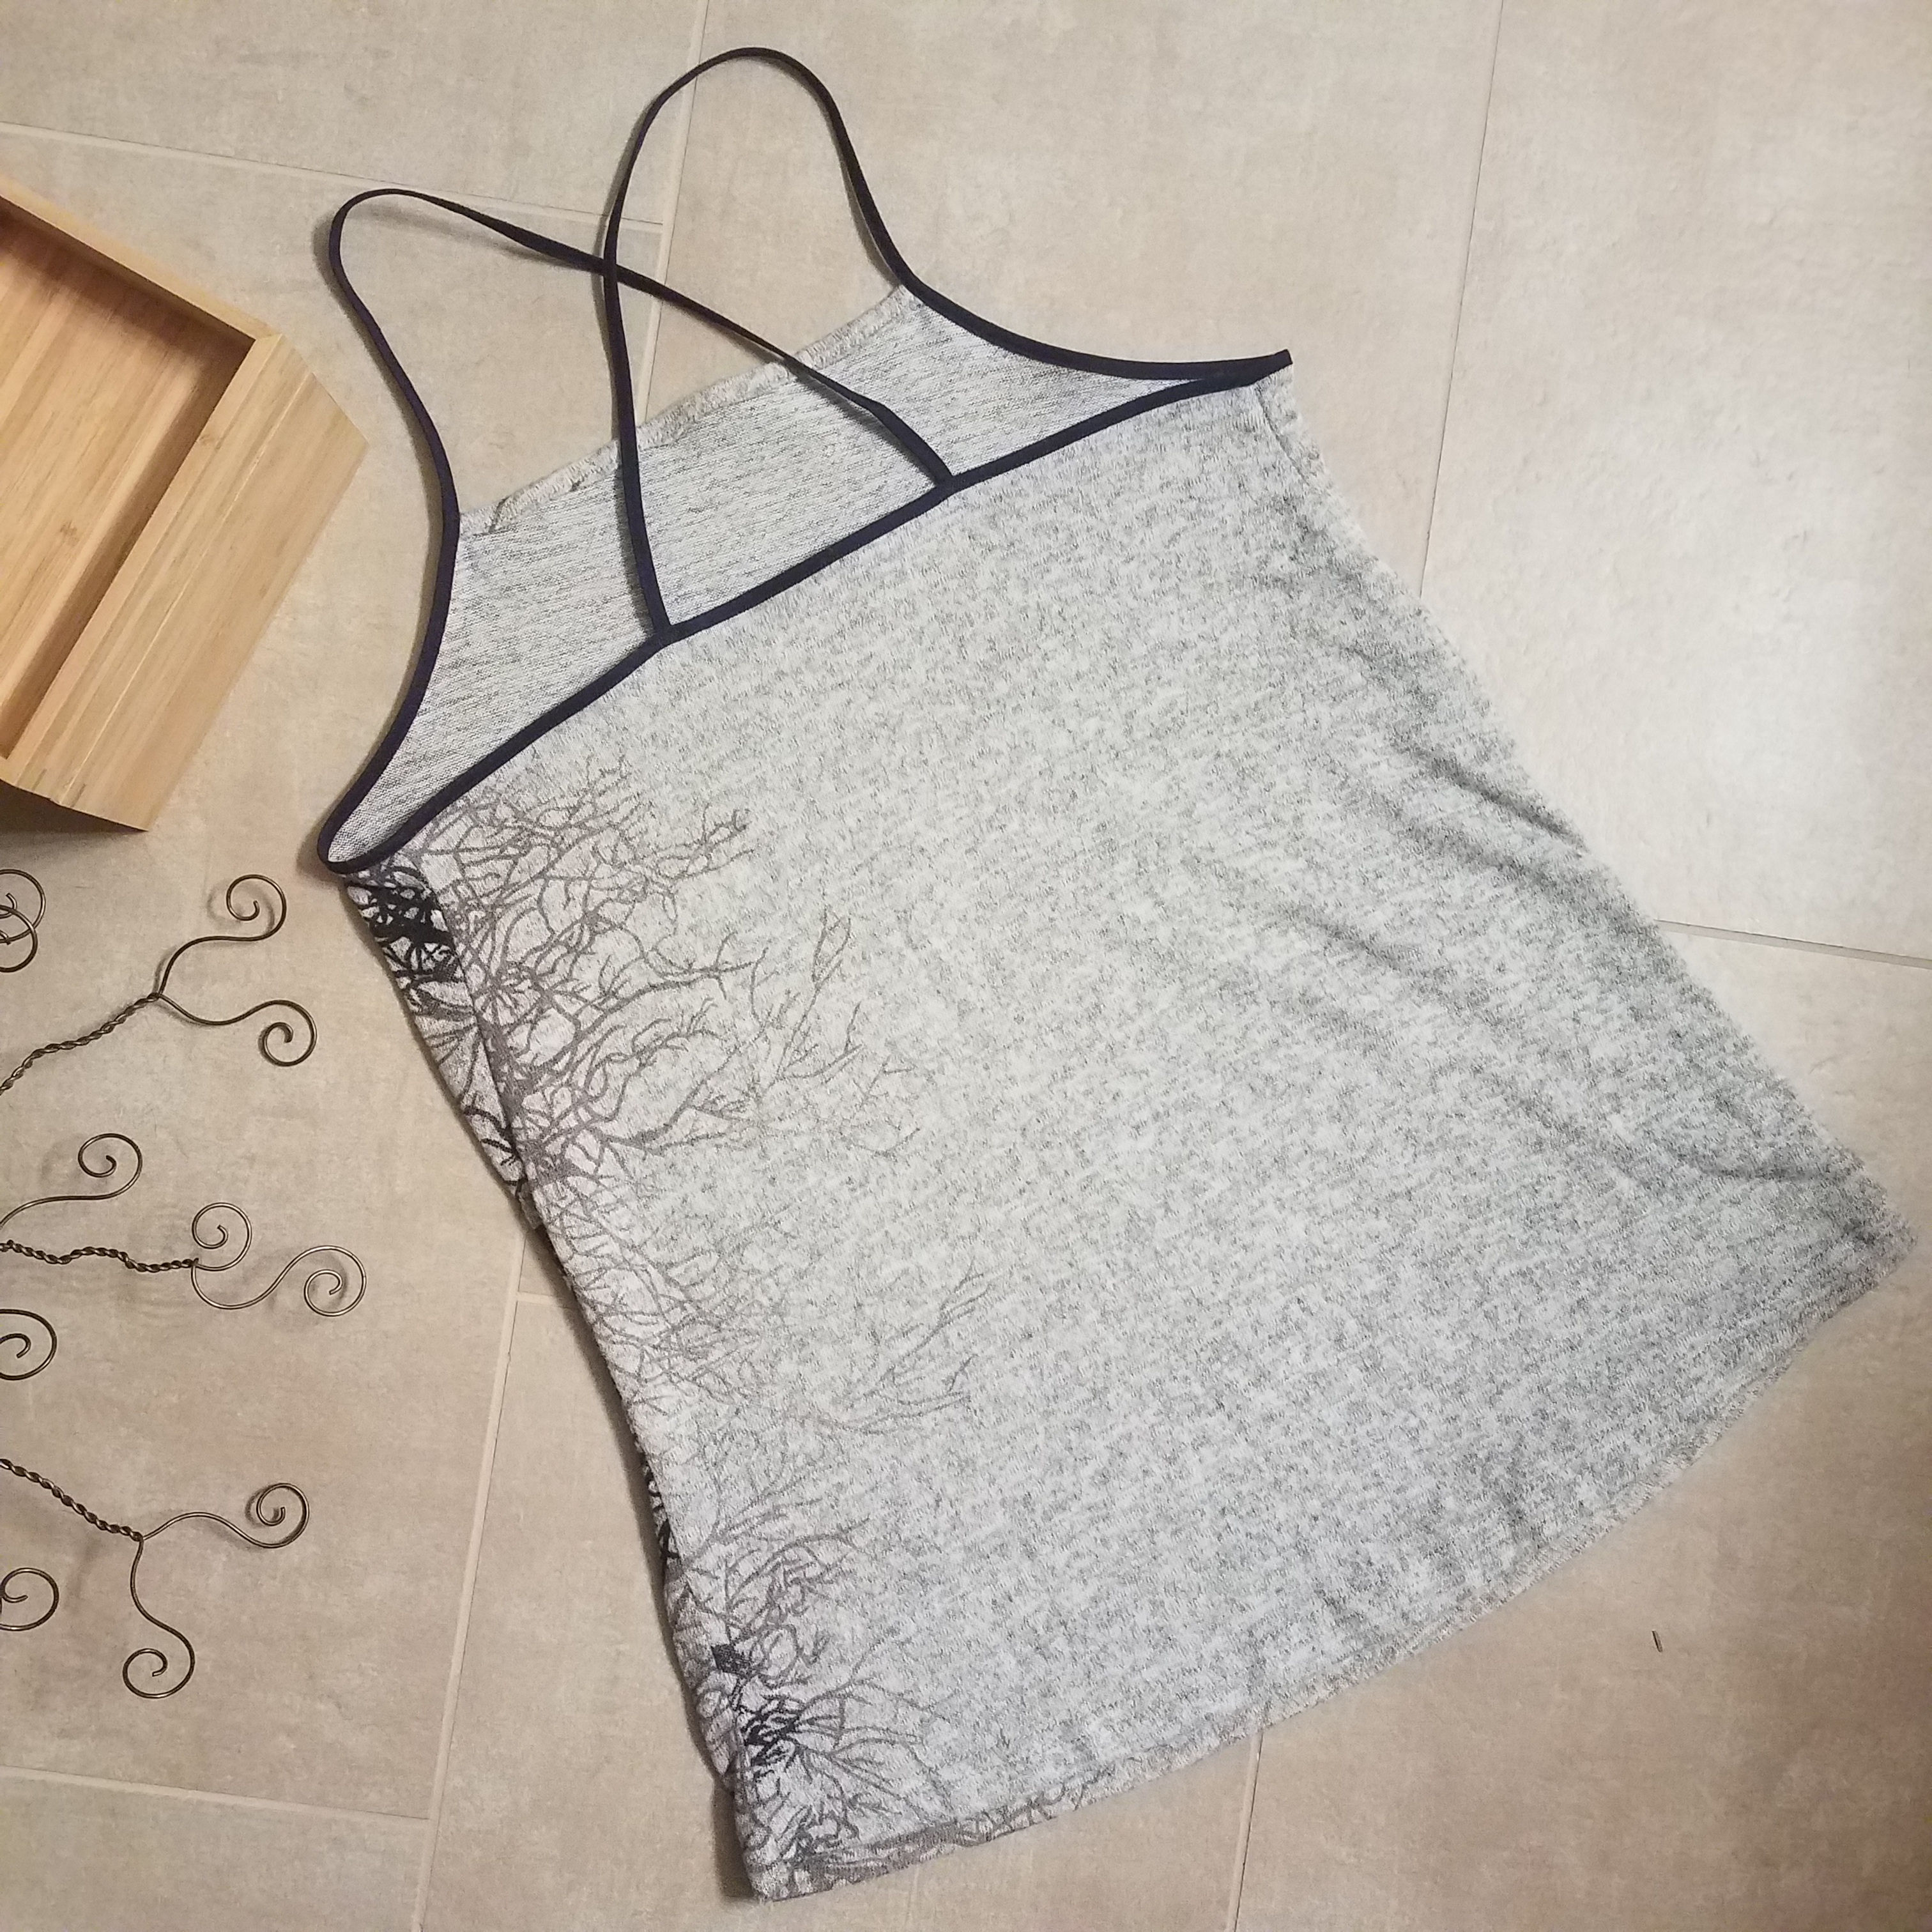
The Final Fit
With the 99% perfect binding job out of the way, I stood in front of the mirror and played around with the loose ends to see the option I liked best:
- Tie behind the neck like a true halter? Nope, don’t like how that leaves the back looking a little gappy.
- Attempt to loop it over a tie around the neck? Nope, that leaves the same issue as option 1, plus that seems like an overly complex way to asphyxiate myself.
- Run them straight over the shoulder like a regular tank? That could work.
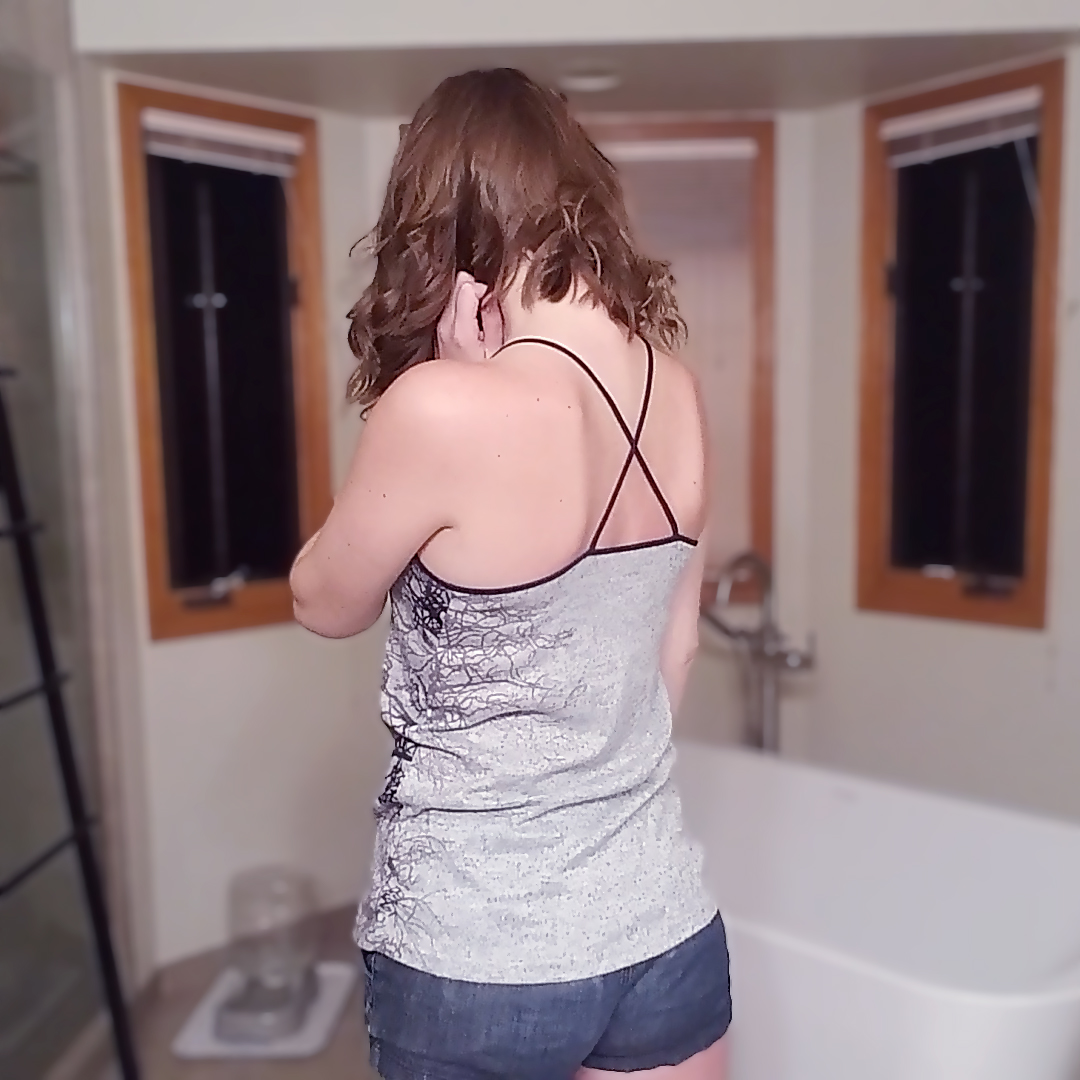
- Criss-cross. Way more interesting, good fit. Let’s do that.
I conscripted my husband to mark where the loose ends intersected the back binding, because sometimes you just don’t have enough arms or hands or detached heads to make sure it’s all even.
Then finally, straight stitched the loose ends to the back, trimmed them, and done! The sad dress is now a happy summer top I can’t wait to wear on our next warm day.
I love this sewing thing.


Project Settings
Presser Foot |
Stitch# |
Width |
Length |
Needle |
Top Thread Tension |
Application |
|---|---|---|---|---|---|---|
standard zig-zag (A) |
5 |
1.0 |
4 |
blue tip |
4 |
seams |
binding |
2 |
0 |
2.8 |
blue tip |
4 |
binding |
applique (F) |
0 |
3.5 |
1.8 |
blue tip |
4 |
strap attach |
Leave a Reply