Pattern storage has been an ongoing (and growing) challenge for me, not because I’m drowning in patterns—although I have a lot, but because I hate every system I’ve seen so far.
No, I don’t want to attach them to hangers in a closet. Ugly. Messy. And who has an empty closet just laying around?
No, I don’t want to fold everything into a 9×6 envelope (or any other size envelope.)
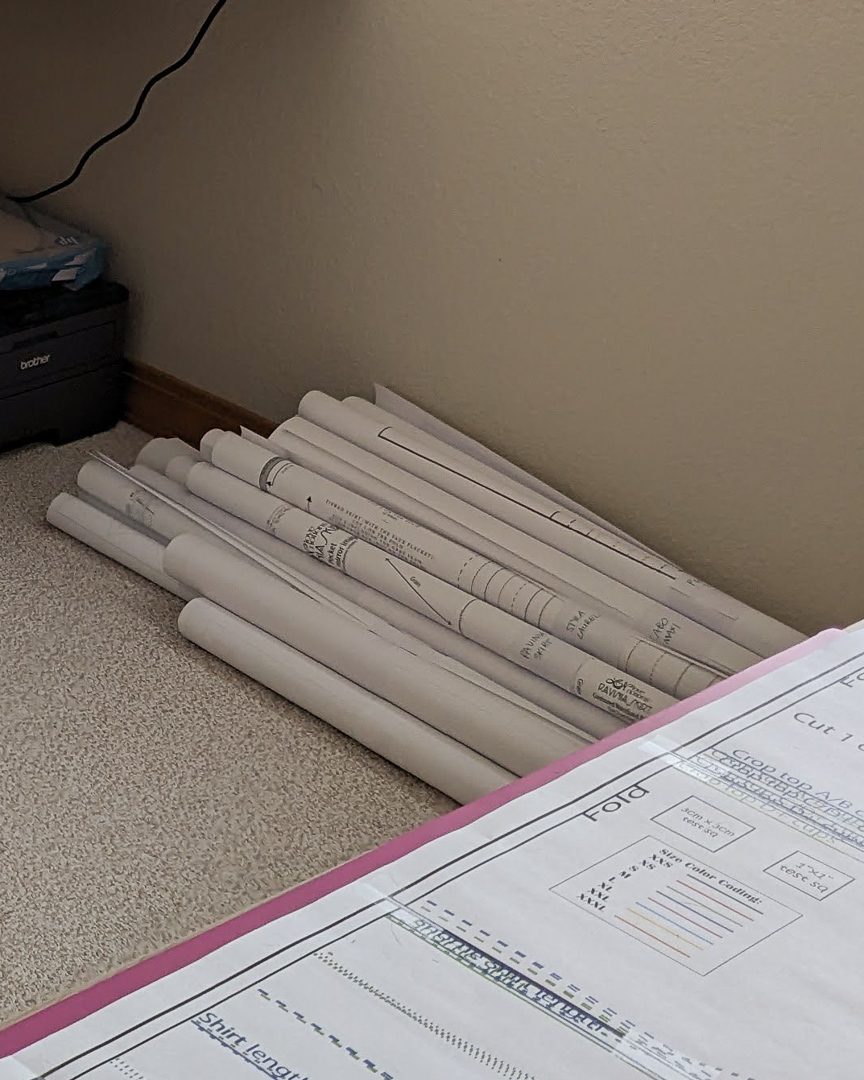
And I’m tired of rolling them up and shoving them in a storage bench because
- …they suck up way more space than they need to, and
- it’s a pain digging through everything to find the pattern I need…
- …and then having to put it all back in the bench so it fits.
- Not to mention actually using the pattern and fighting against rolling paper.
So what is the answer? Ikea, plus a little ingenuity to the rescue.
I Choose Drawers
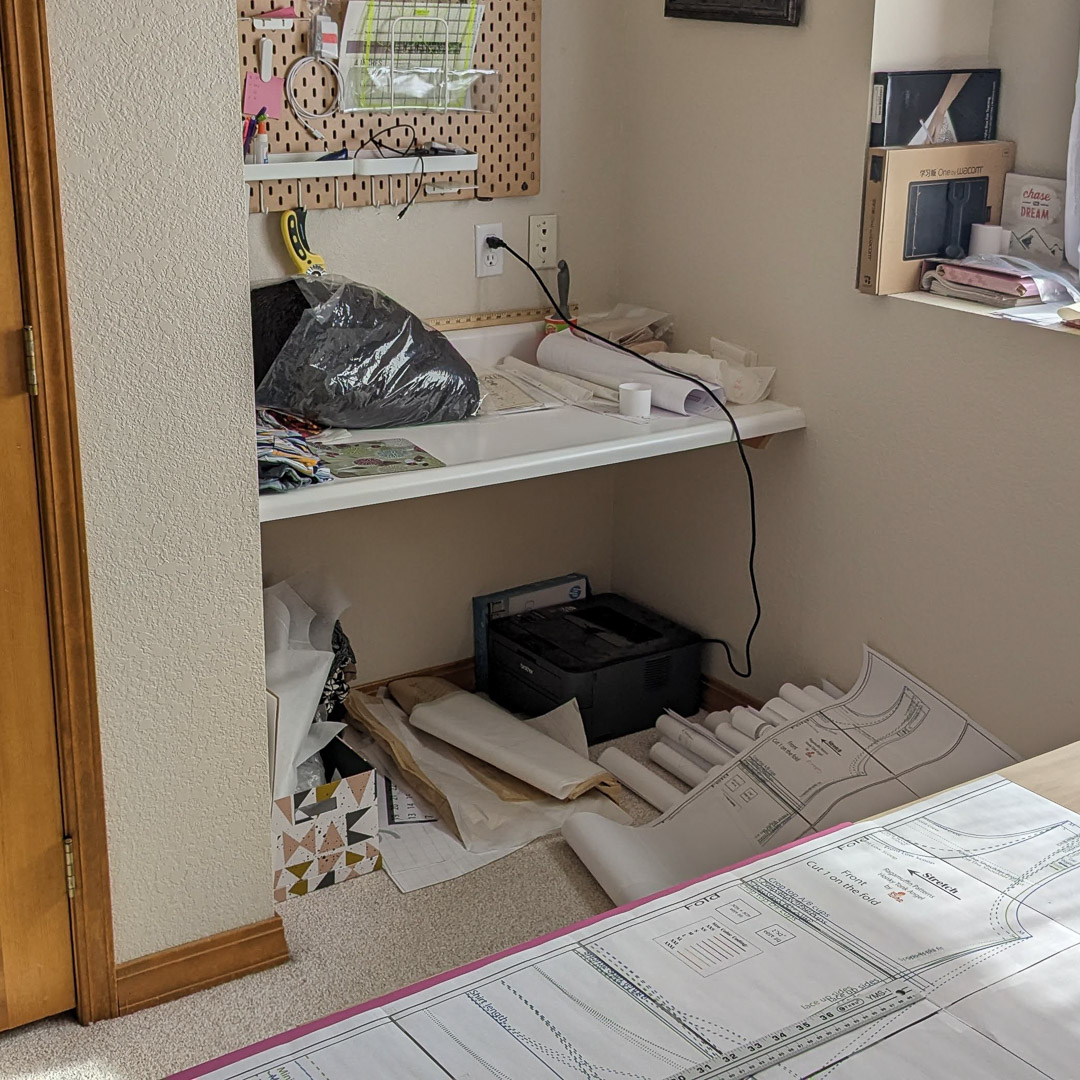
I have a desk built into an alcove in my sewing room which creates a natural nook beneath it. Since I don’t sit at this desk anymore (I use the workspace I created in the middle of my room), that space begs for some clever storage. And I’ve been ruminating on its potential for a while.
I finally pulled the trigger.
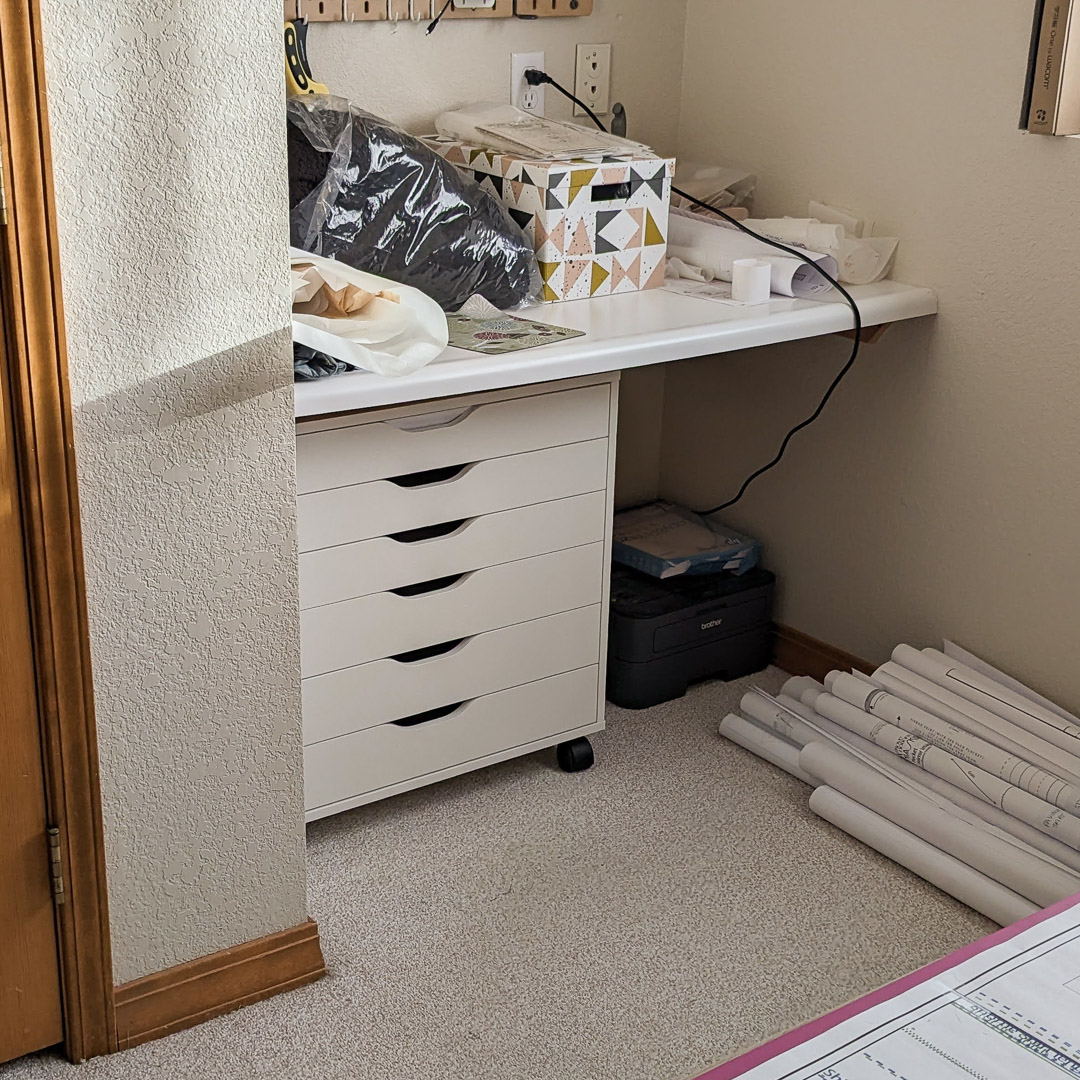
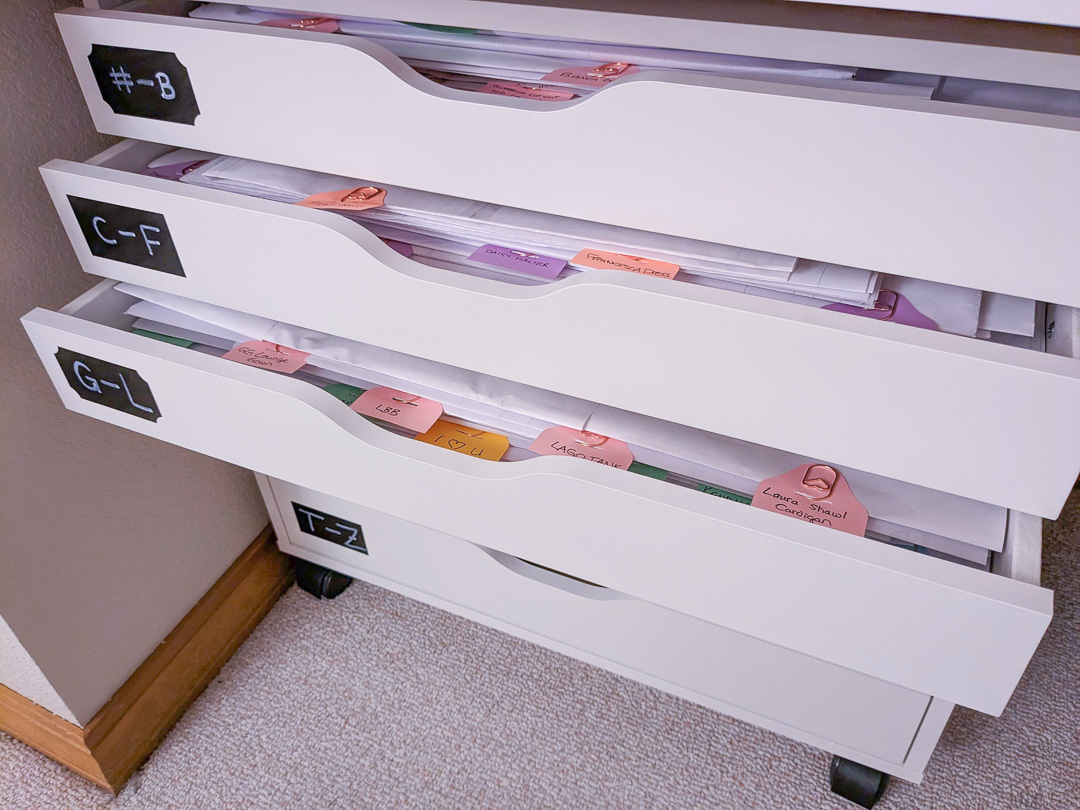
I bought the wide Alex drawers on casters from Ikea which fit in that space with enough room to leave my little black and white printer where it is. The drawers are large enough to fit an A0 print folded three times, which is acceptable to me. I was thinking I didn’t want to fold anything and just have the ability to slide A0 prints into drawers big enough to hold them, but drawers like that cost an arm and a leg and your firstborn. And the more I thought about it, I realized that folding an A0 a few times is 1) easy enough, and 2) creates a natural “folder” in which to tuck smaller pieces.
Because I preserve all my pattern prints and I work off of tracings for my pattern pieces, I end up with the large paper prints and all the smaller pieces I use to cut my fabric. So folding the A0’s is actually an ideal situation for me.
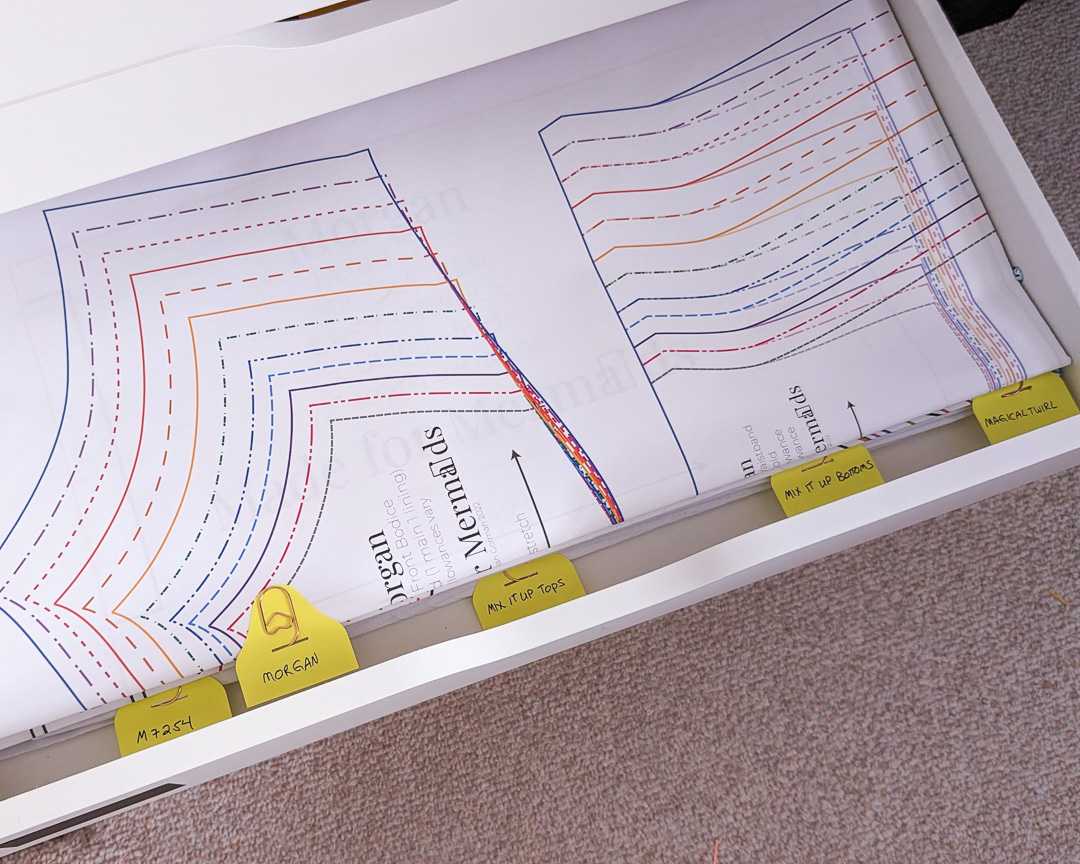
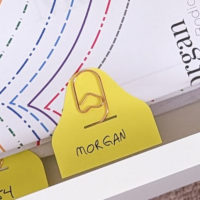
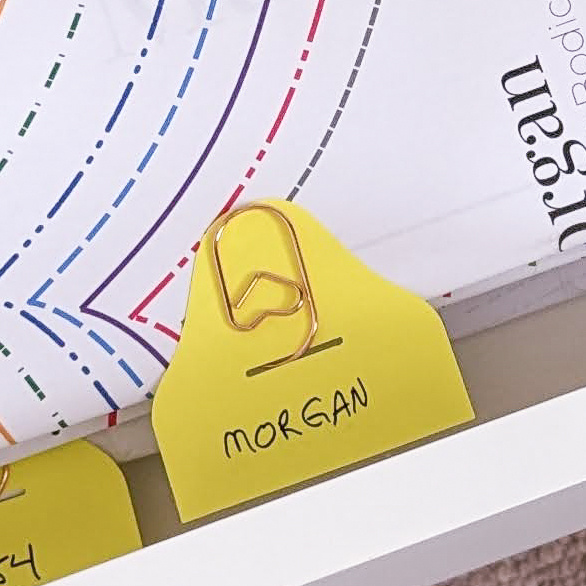
Now, for organizing them, I discovered these Clip-Rite paper clip things with labels. There are other label-y type clip things out there, but I specifically wanted something that would lay flat and optimize space. Also, something large enough to clip together all the crazy pieces I have going on.
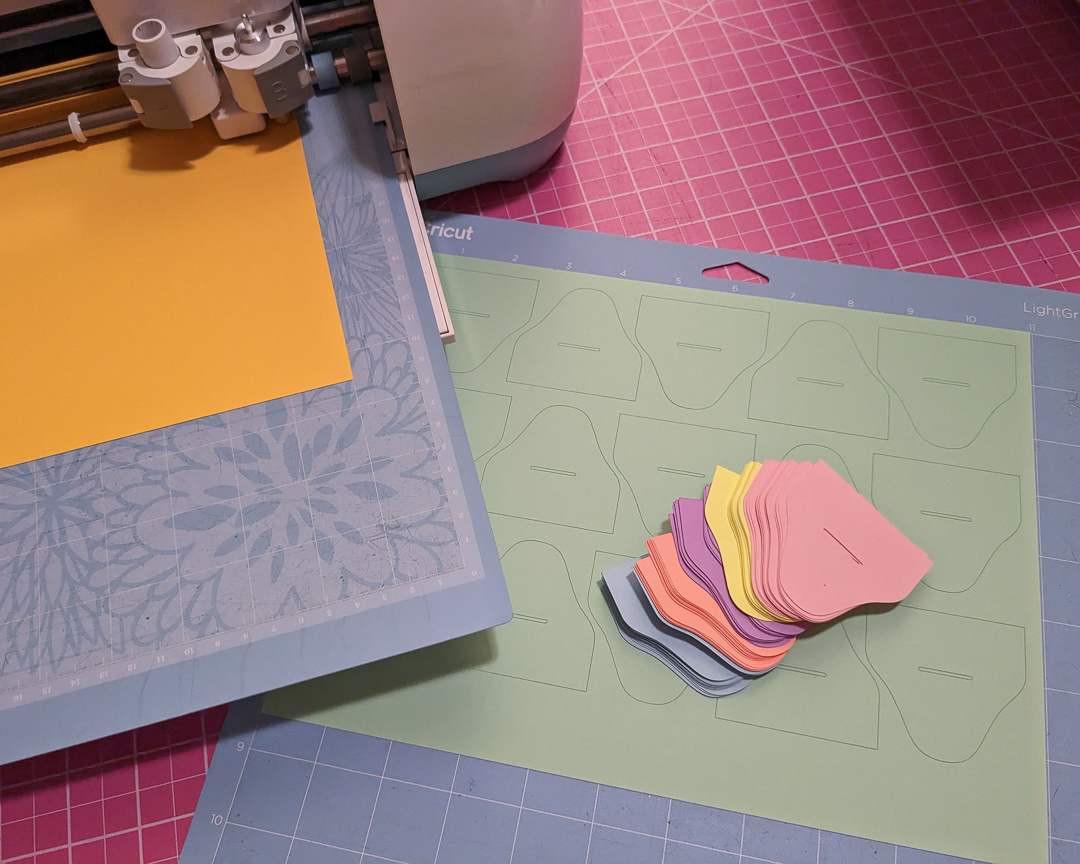
They’re not the cheapest things. So as I was looking at them, I realized that label piece would be pretty easy to draft and cut out on my Cricut. Meaning all I would need is some large paper clips. Not only is that way more affordable, I can cut out as many of the label pieces as I need, on demand, in whatever colors I want, and tweak them to my heart’s content as far as shape and dimensions go.
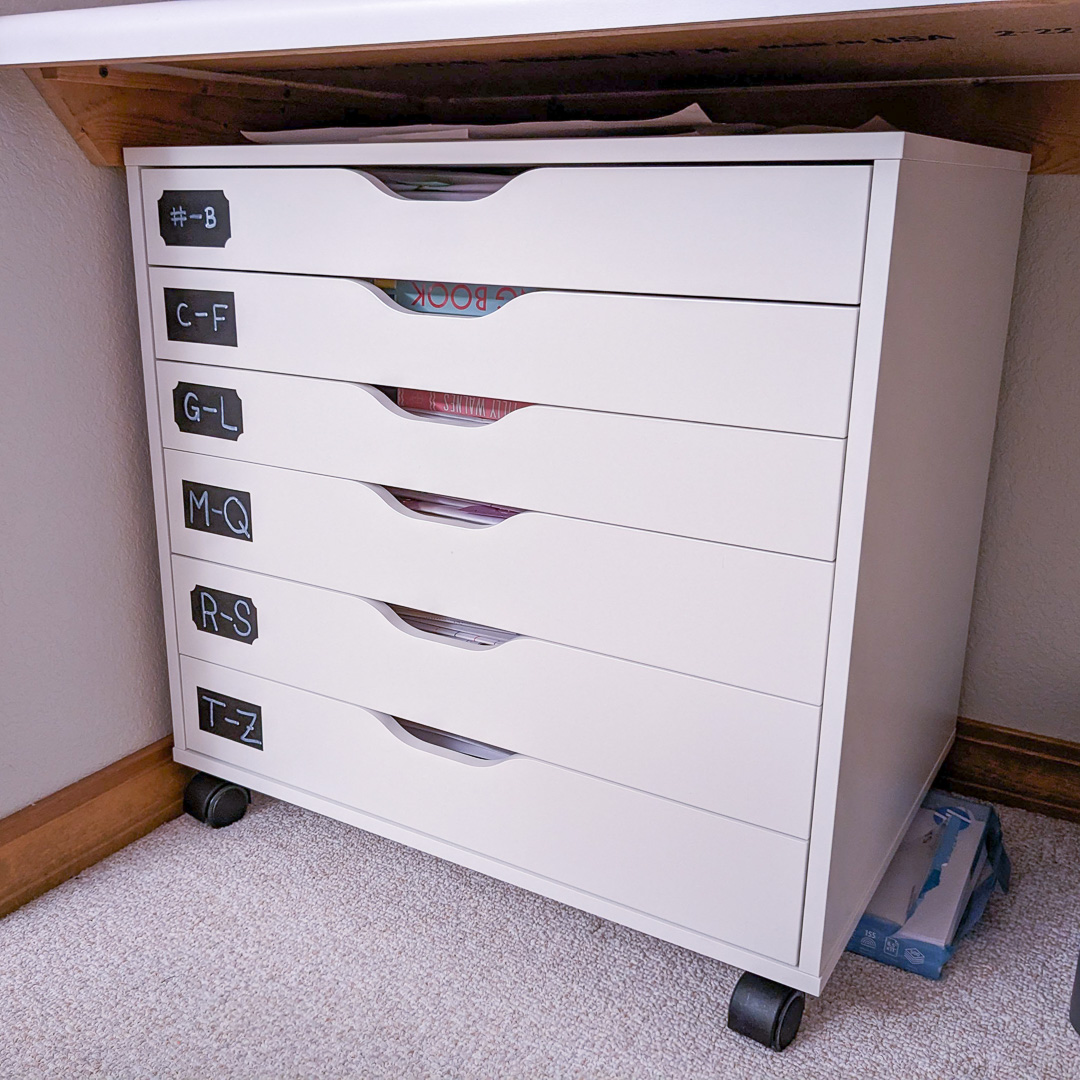
And for the front of the drawers, putting some removable chalk-like stickers on the front and labeling my custom letter demarcations with chalk pens takes care of that. Easy to erase and relabel as needed.
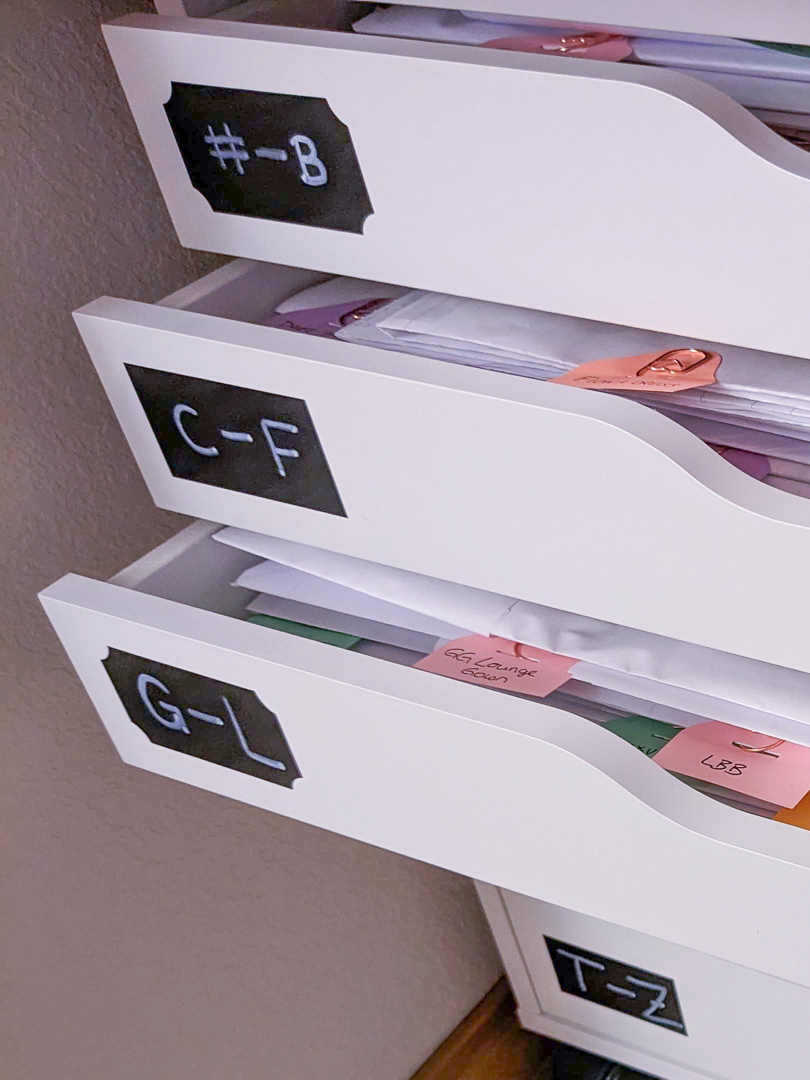
This was all feeling very right for what I wanted. I could conserve space and alphabetize my patterns, which translates to killing off some of the chore that can invade the sewing experience. And who doesn’t love a neat and organized space? For me, it serves as an invitation to create instead of a messy turn-off.
My Process
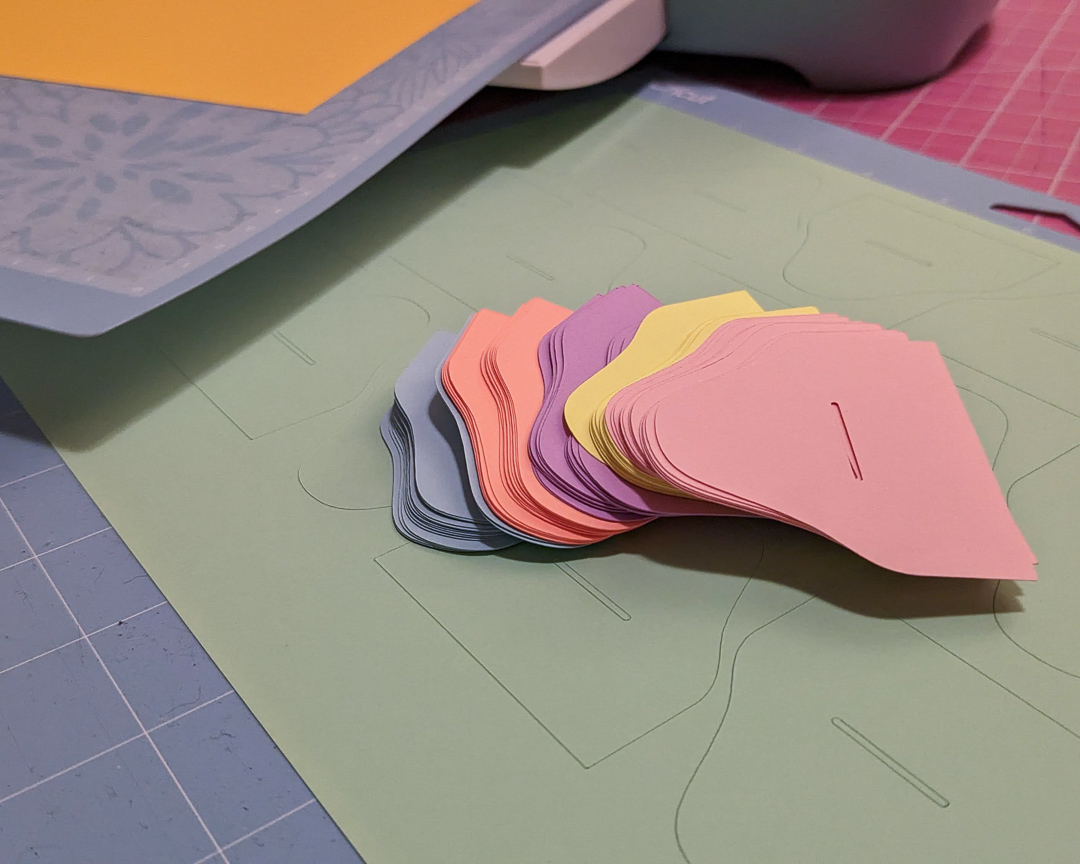
- I cut out a stack of clip tabs in various colors. (This was pretty fun in and of itself. I made plenty, but I weirdly want to make even more.)
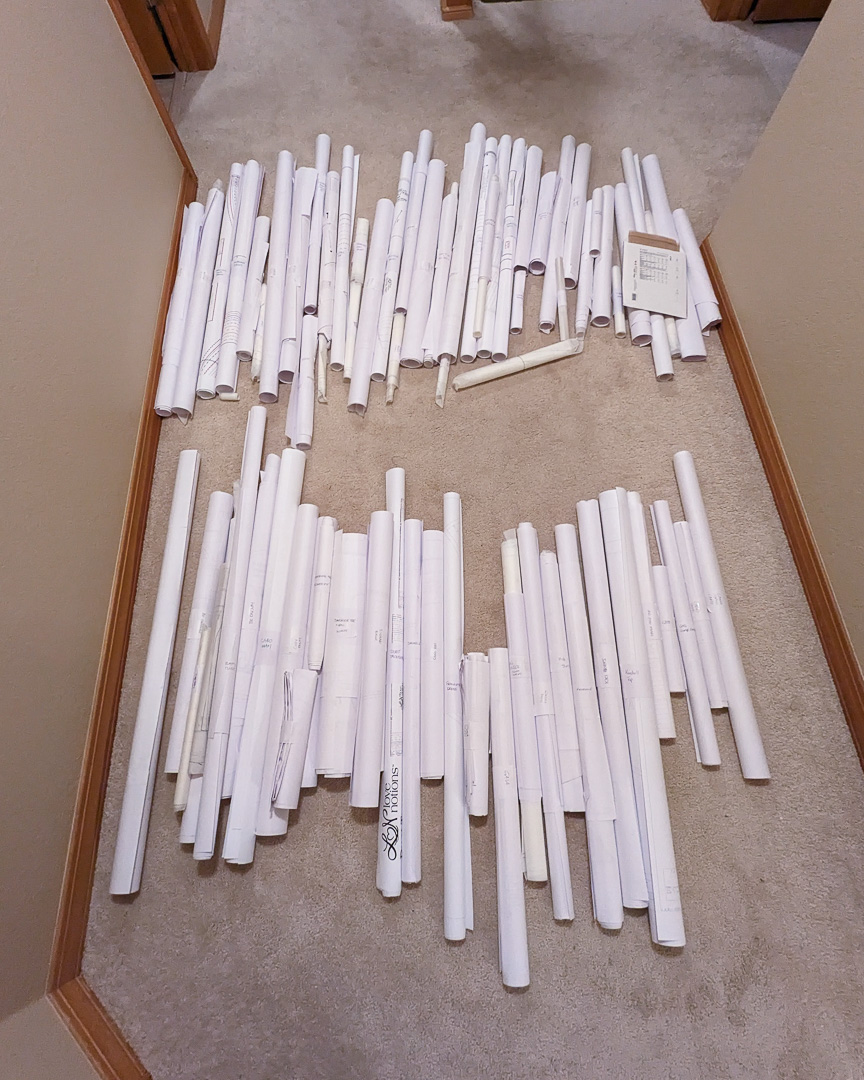
- I took out all my rolled patterns and alphabetized them on the floor.
- I wrote the pattern names on the tabs, switching colors for each letter. (That way, I don’t really have to alphabetize within the draw itself. The different colors will tell me which letter it represents and I can find what I need quickly enough from there.)
- Then came the tedious part: unrolling each pattern, ironing them at low heat to lay flat, and folding them to fit within a 15×23 box. I used a rock to crease the folds since it helps compress the paper better.
- Then I clipped the tabs on with these cute paper clips and slid them in the appropriate drawer.
Not gonna lie, doing this for a bunch of previously-rolled patterns at once was time consuming—at least 16 hours, but it had to be done. And now that it’s done, I am in a great place to stick to this system for any new patterns I get.
I plan to print future patterns exclusively on single large sheets at PDFPlotting.com (vs. at home tape-it-together paper) because folding the A0 prints is so much easier! Fold in half once, then in thirds, and done. I’m also considering their lighter (more expensive) newsprint paper. The white paper is really nice but bulks up so much quicker.
Note: While I love PDFPlotting, I found Patternprintingco.com is way cheaper. PDFPlotting has a $12 order minimum and their shipping is more expensive. For a 2-page A0 print, PDFPlotting would have been $25 total. The same print at PatternPrintingCo was $9. They use a “16# translucent bond paper perfect for sewing patterns. A better quality than flimsy generic tissue but not bulky like generic “printer paper”.”
Et Voila
All this…
…fit into THIS…
…with room to spare.
My friends, it is everything I wanted it to be. Is it future proof? Not completely, but it’s more future-proof than the other methods I never liked to begin with. It would just be a matter of getting another drawer unit and finding a place to put it. And I am pretty shocked how much space I saved and all my patterns fit with room to spare. This is going to make sewing so much more fun! So satisfying to just pull out the right drawer, skim the labels for the right pattern, and unfold it and go. No more stupid rolling paper to wrestle with.
If you’re super handy (or have a husband on hand who can build things), you could build your own drawers and take this idea to the next level. Honestly, that’s my dream; I have a vision for a whole custom wall unit with drawers for pattern, fabric, and notion storage, and a large central fold-out work table that can be converted to hold a mattress in the event I need to use my sewing room to host a guest.
For now, though, this is perfect.

Ooooooohhhh this looks like a perfect solution for me! I have my A0 patterns rolled and into some baskets but they take up a lot of space. I happen to have this exact Alex unit, and I try and do this! I already have some large paperclips, and my circuit has been begging to be put to some use… the ironing part is a bit scary though 😅
Thanks for sharing!
Oh yeah, the ironing was an experience. But you only have to do it once and it is SO worth the time and effort!