I saw a thing on Instagram:
Then my brain said, “That’s just two squares of fabric and some buttons. I can do that.”
So I did it.
It became a little more complex than two squares and some buttons in order to add the white trim, and I actually started out with some black silky fabric and underestimated the width of the trim. I had to unpick that first attempt and pivot. I didn’t have the right kind of black woven on hand, so I settled on my white Pylos liknit. Not the ideal choice since it has a little stretch to it and it’s a little heavier than I really wanted, but I was too excited to make this thing so I just went for it.
How I Did It
I full-on eyeballed it as far as length of the fabric and width: stood in front of the mirror with my tape measure, and felt out what seemed to look right while also knowing most fabric is either 45″ or 60″ wide from selvage to selvage. Here’s where I landed.

- two panels at 60″ wide by 21″ long
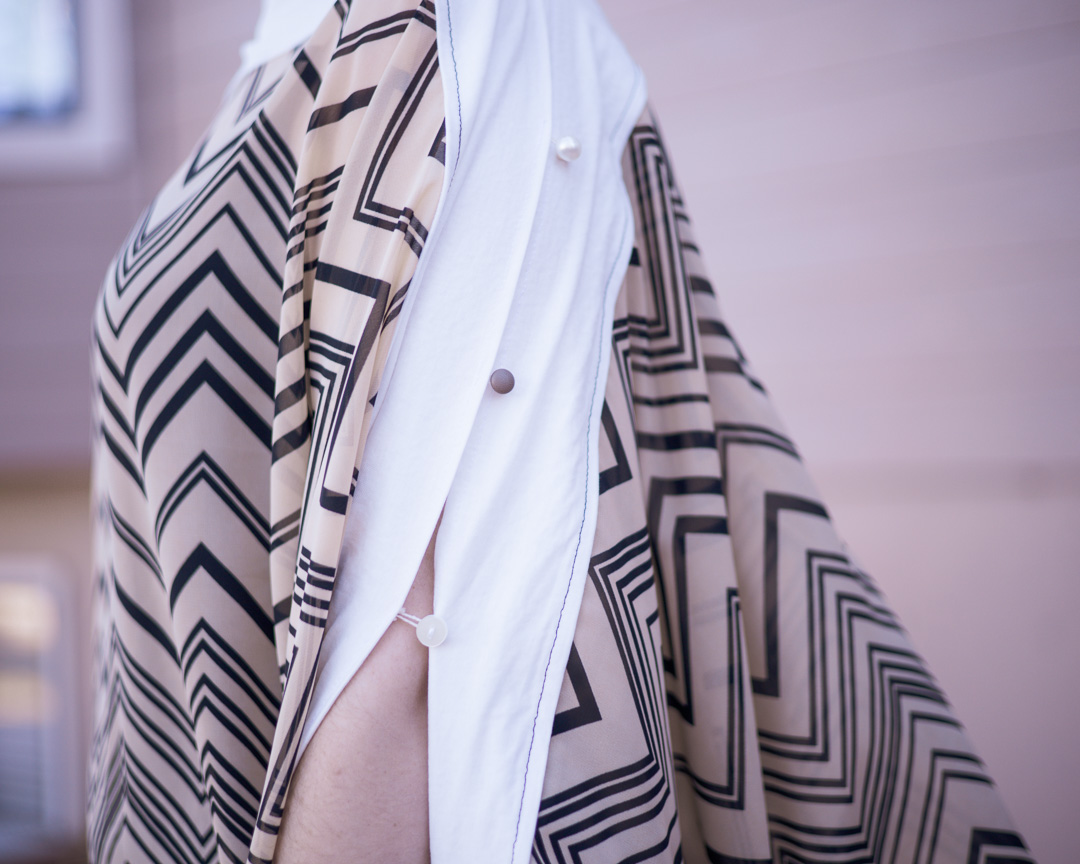
- two pieces of trim at 60″ wide by 6″ wide
- Neck opening at 13″ with four buttons on each side spaced 4″ apart
Construction
Like I said, this became more involved than I was anticipating, and I would do things a little differently next time, as I’ll note further down.
- Cut two chiffon pieces and two trim pieces.
- Pin a long edge of the chiffon to the long edge of the trim, right sides facing.
- Roll the chiffon into a tight tube so it rests in the middle of the trim piece.
- Flip the other long edge of the trim piece over the chiffon (so the chiffon will be sandwiched in the trim) and pin all three long edges together.
- Sew the long edge, being careful not to catch the rolled up chiffon in the seam.
- Pull the chiffon out from inside the trim and press the trim.
- Optionally topstitch along the seam you just sewed, and the opposite folded edge of the trim.
- Narrow hem the short sides and the long bottom edge.
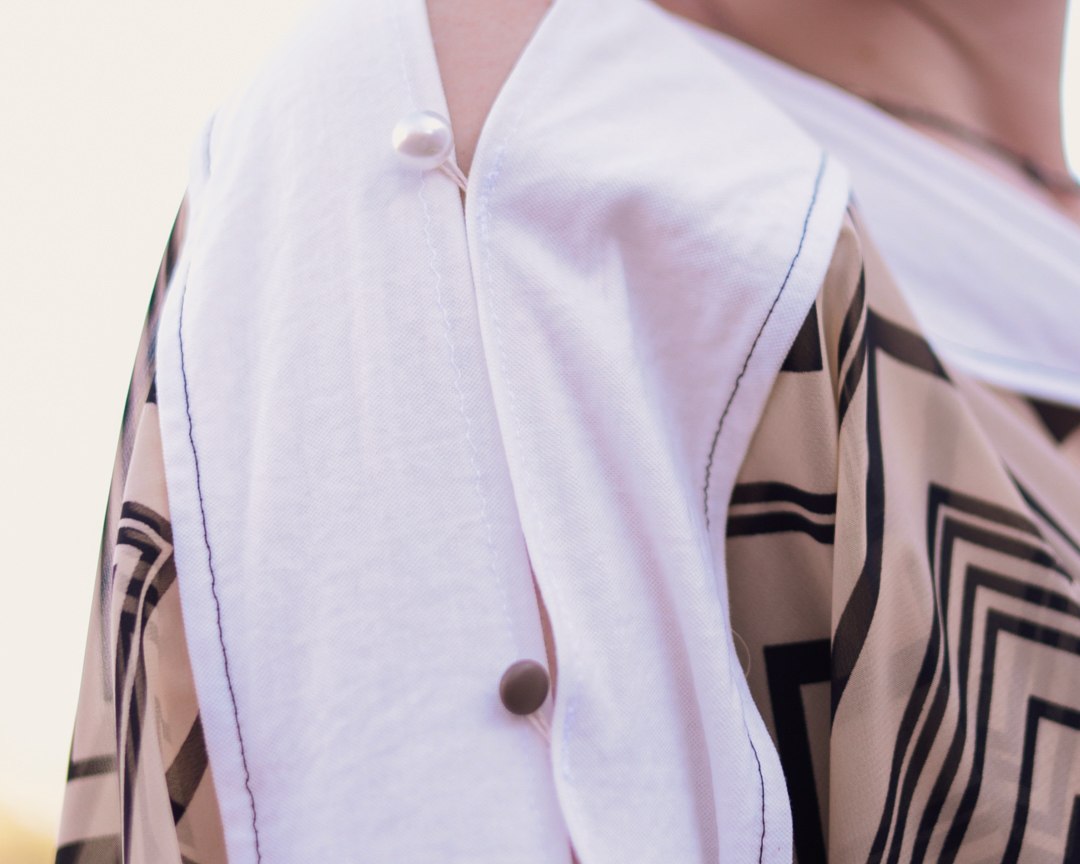
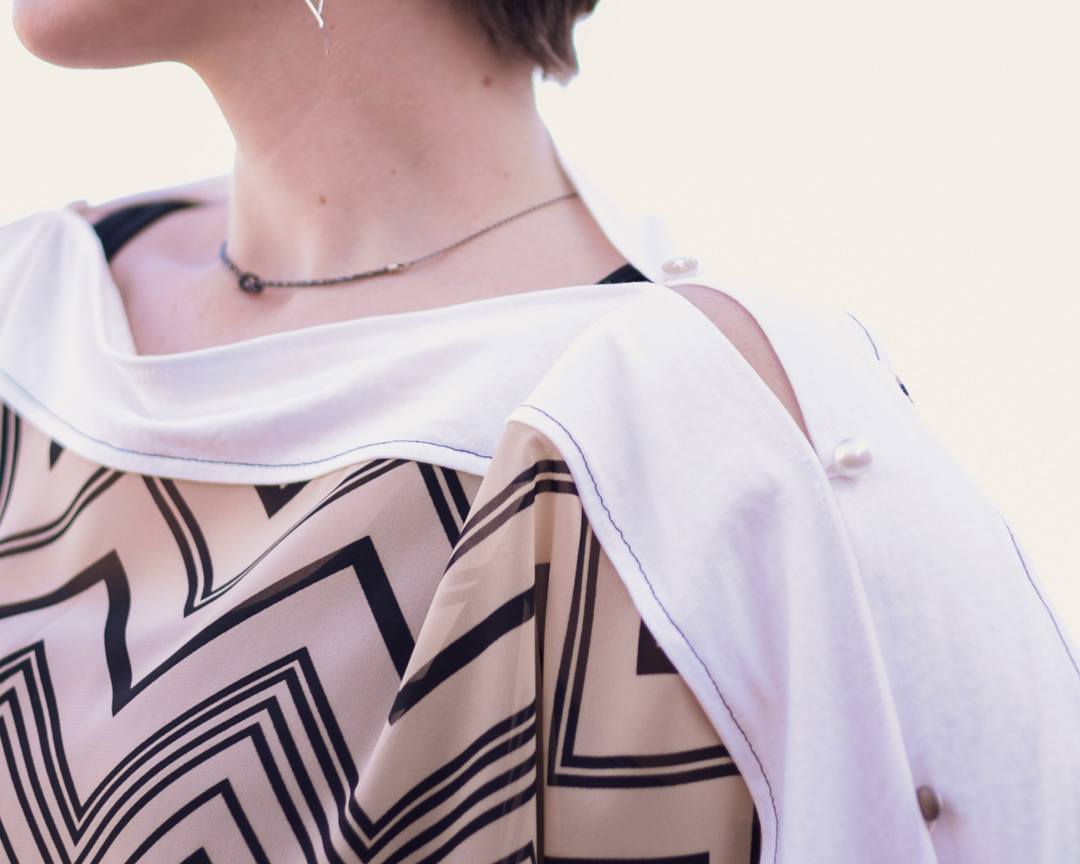
Buttons
I took the opportunity to mismatch upcycled buttons here instead of having 8 identical buttons. I like the fun twist it adds.
- I used embroidery thread and sized each loop to its specific button, marked the thread, and then cut it a little longer to have some extra to work with.
- I used Wonder Tape to anchor the thread on the trim over my topstitch seamline. I folded up the extra length of the thread so I would catch the thread four times instead of only twice in my seam. Then I stitched along my topstitch line, going back and forth several times to make sure the thread loop was secure.
- I had to hand-stitch the shank buttons, but it was worth it. I kind of love shank buttons.
About the Fabric
Main: 2 yards Black on Ivory Multi Chevron Chiffon from Cali Fabrics
- 100% polyester
- 60″ wide
Ah, chiffon. Fickle to work with but so wonderful to wear.
Trim: Ivory Pylos Liknit from Surge Fabrics
- Fabric Content: 55% Rayon/45% Nylon
- Fabric Width: 58/60″
- Fabric Weight: 9oz/linear yard
- Stretch Percentages: 25-40% horizontal/0 vertical
I intended to make a nice pair of linen pants out of this fabric—twice—but I keep using it for other things. So that probably speaks to its versatility.
I didn’t want to use a stretch fabric for the trim, but I didn’t have any coordinating wovens (or enough yardage) on hand that I liked. So here we are. The liknit had an ideal drape and weight—maybe a little more on the heavier side than I was imagining.
Notes for Next Time
Oh yes, I have already ordered fabric for my next version in a fun grunge-y print and turquoise trim. And there’s a third in my head using black or white for optimal layering potential.
- Cut one trim piece in half and anchor the button thread loops directly into that seam.
- Possibly use satin ribbon for the button loops? Or something else… Must ruminate.
- If the trim has any stretch, try gently stretching while sewing. I ran into some twisting issues on this version.
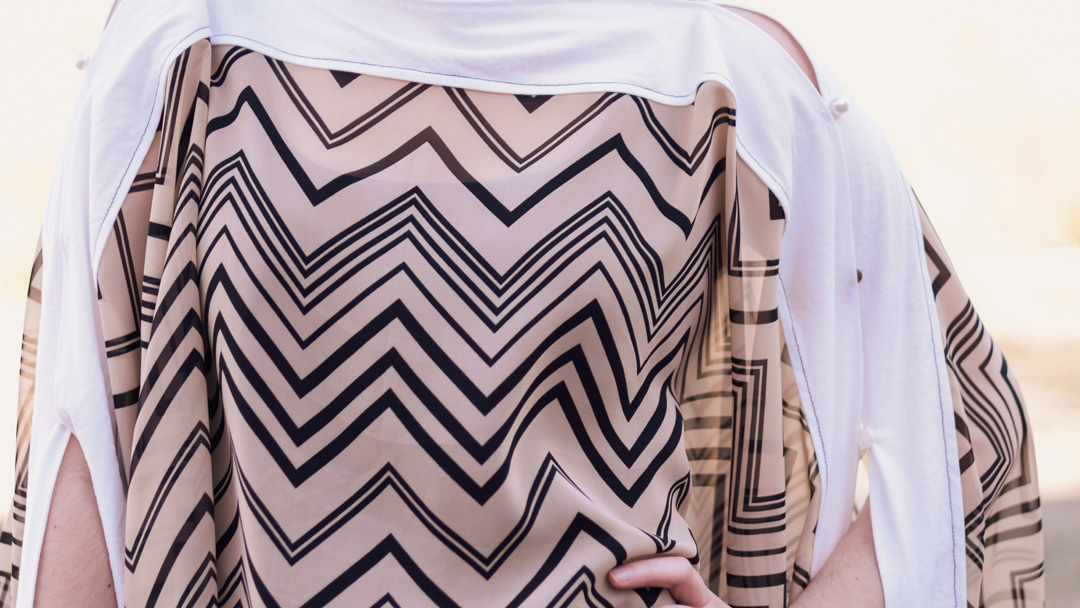
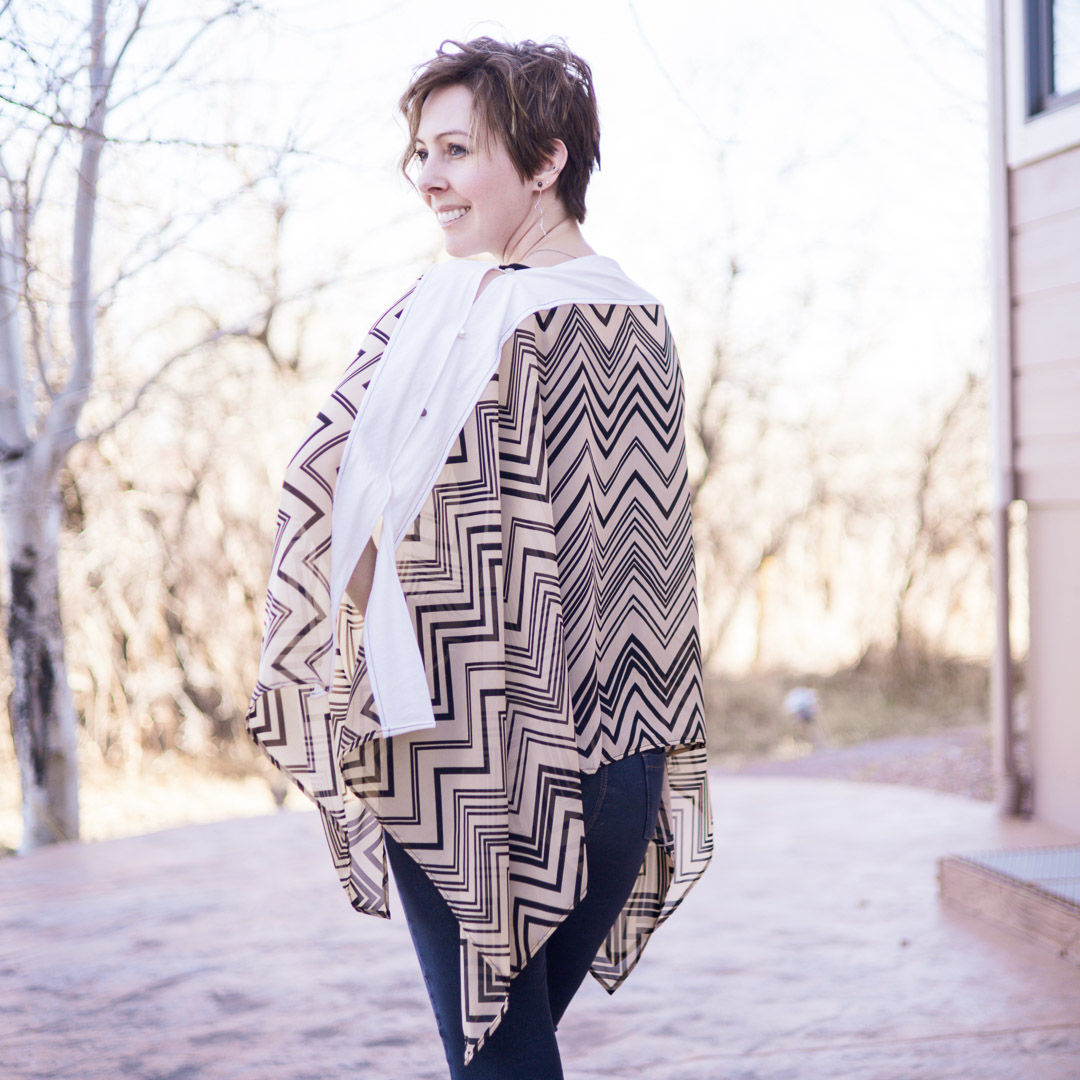
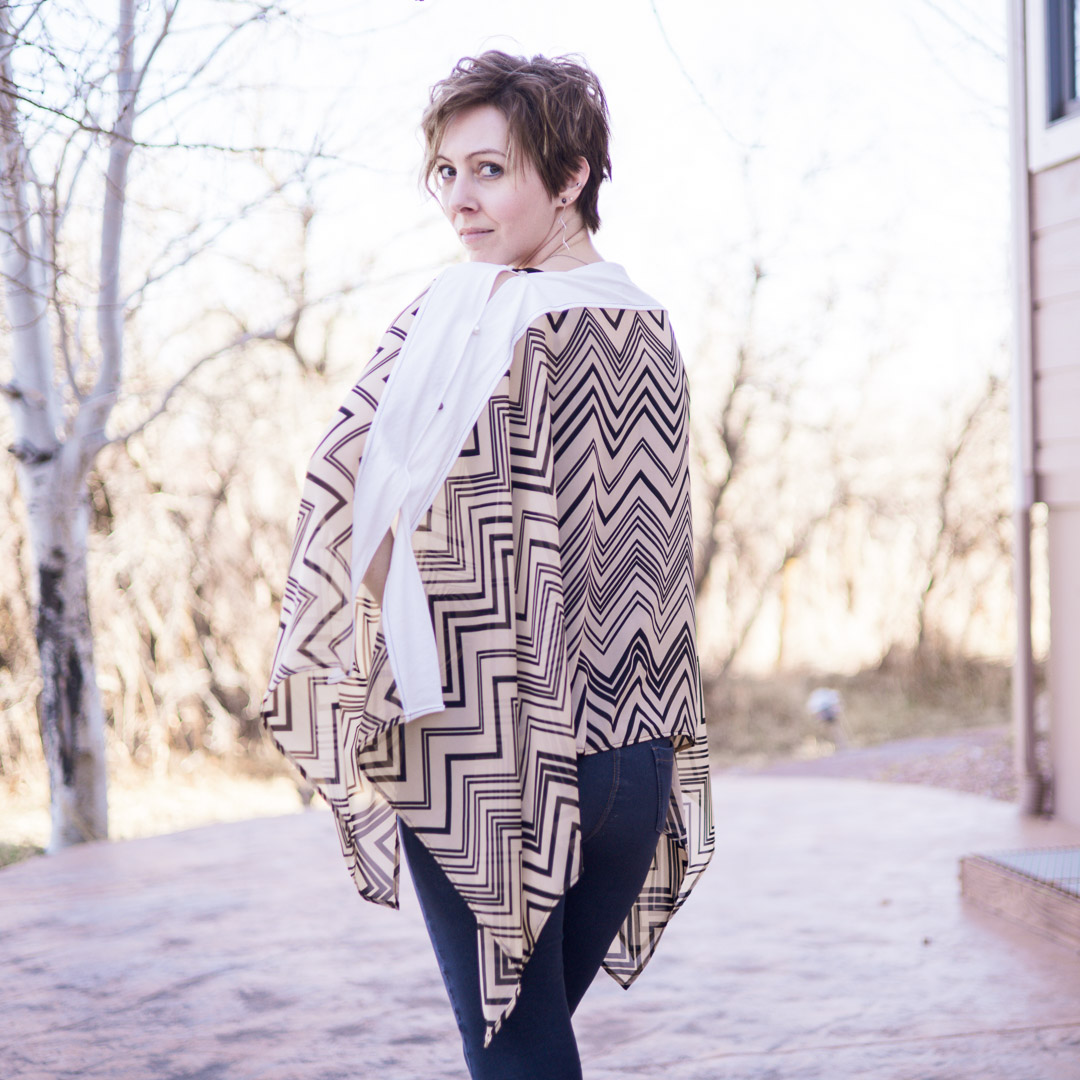
Style Gallery
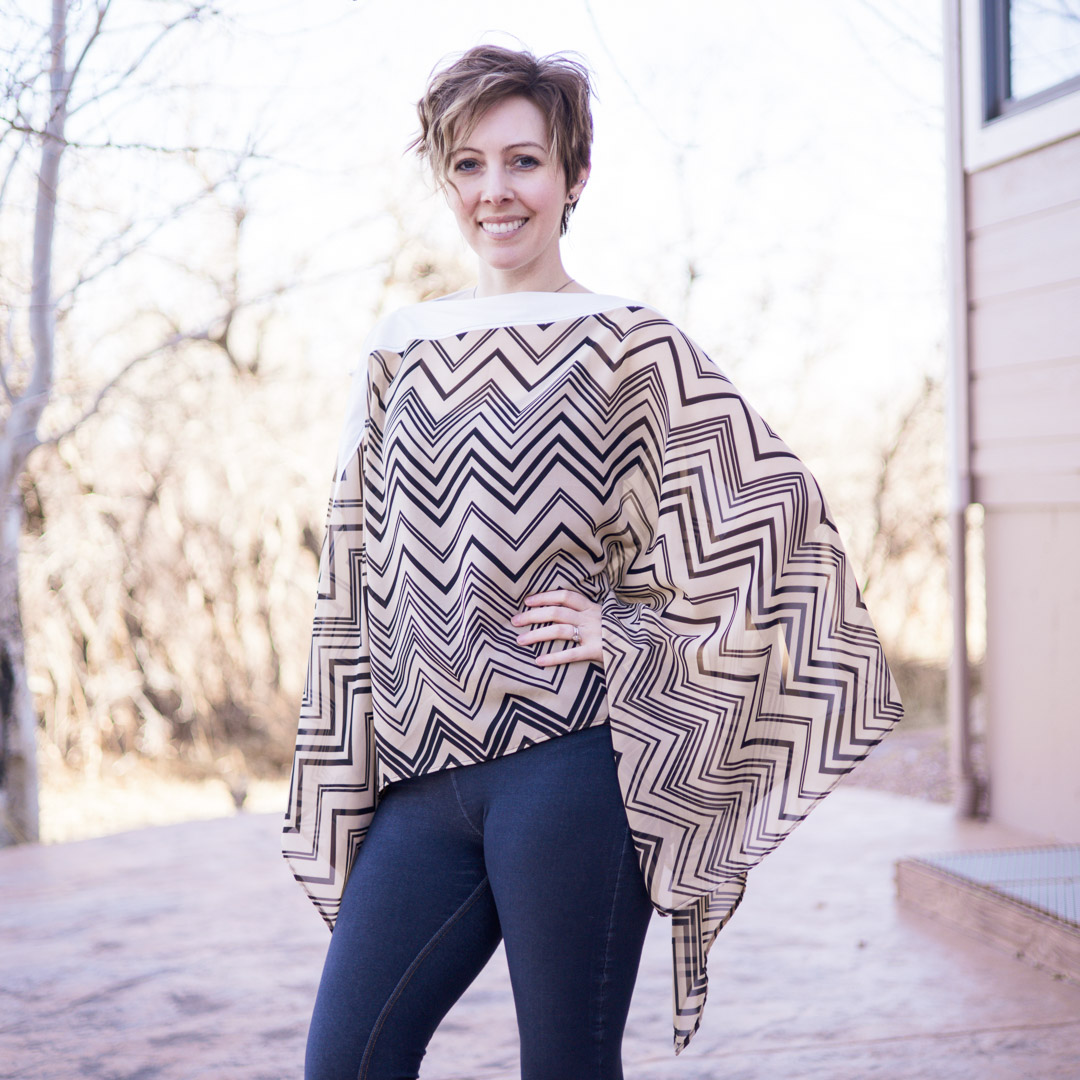
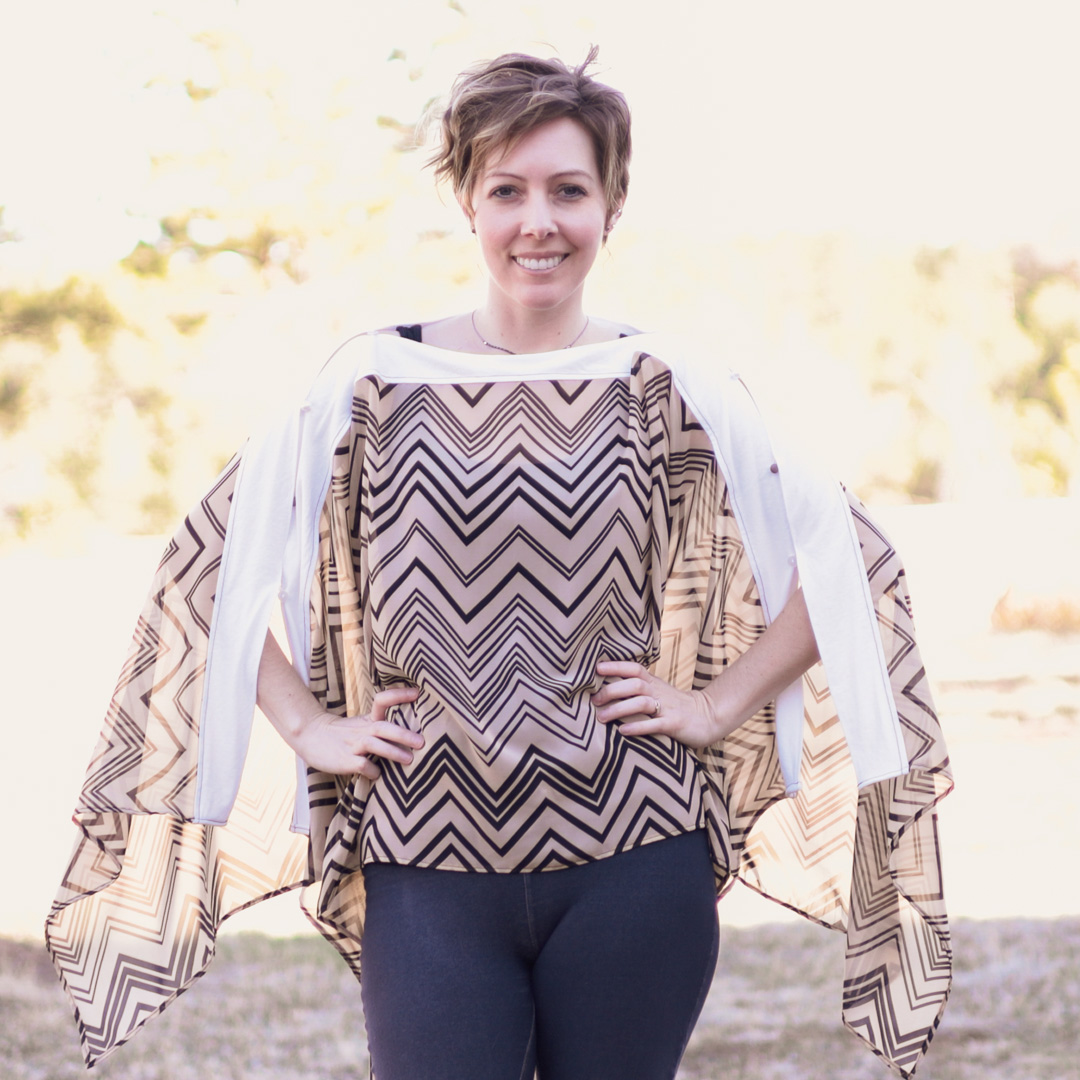
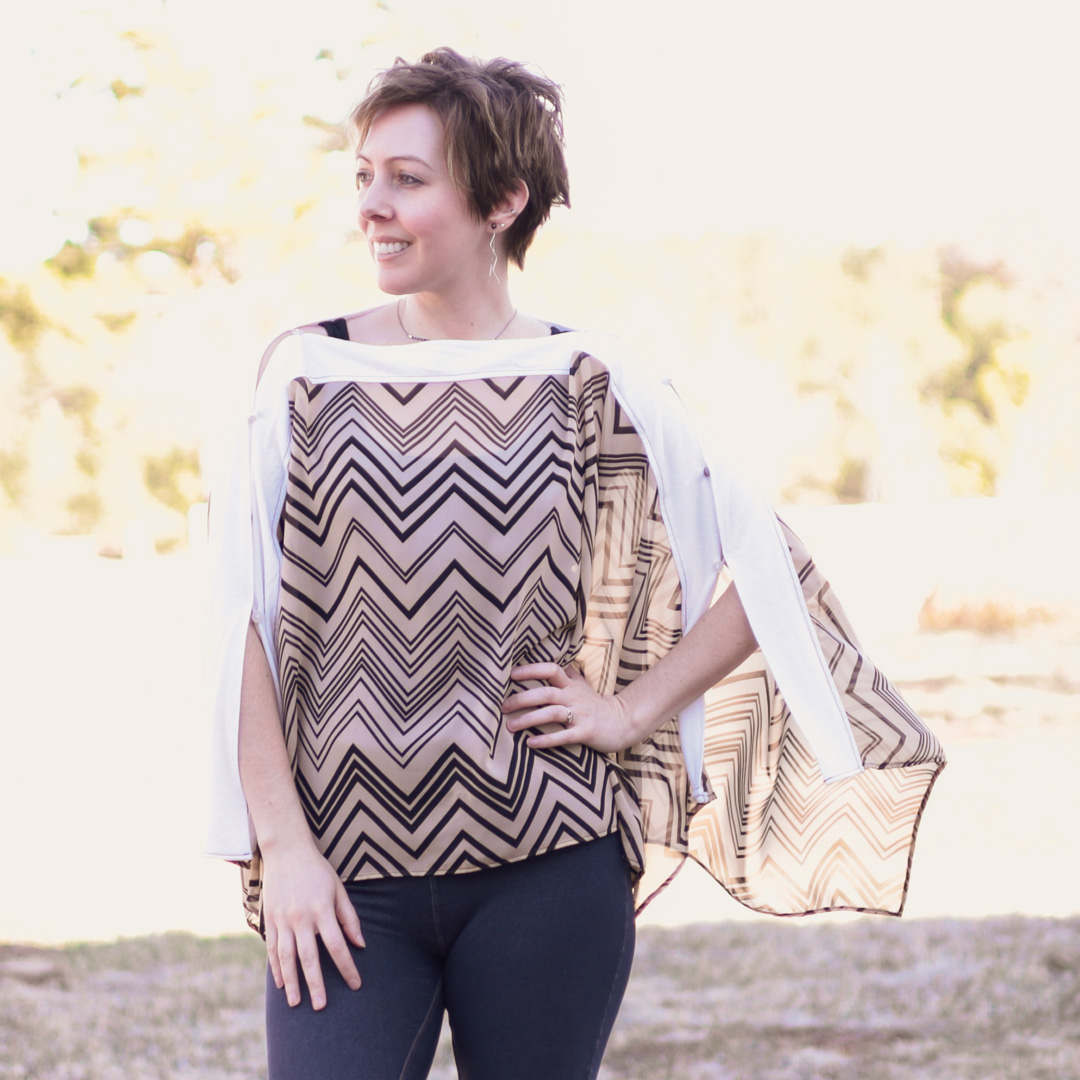
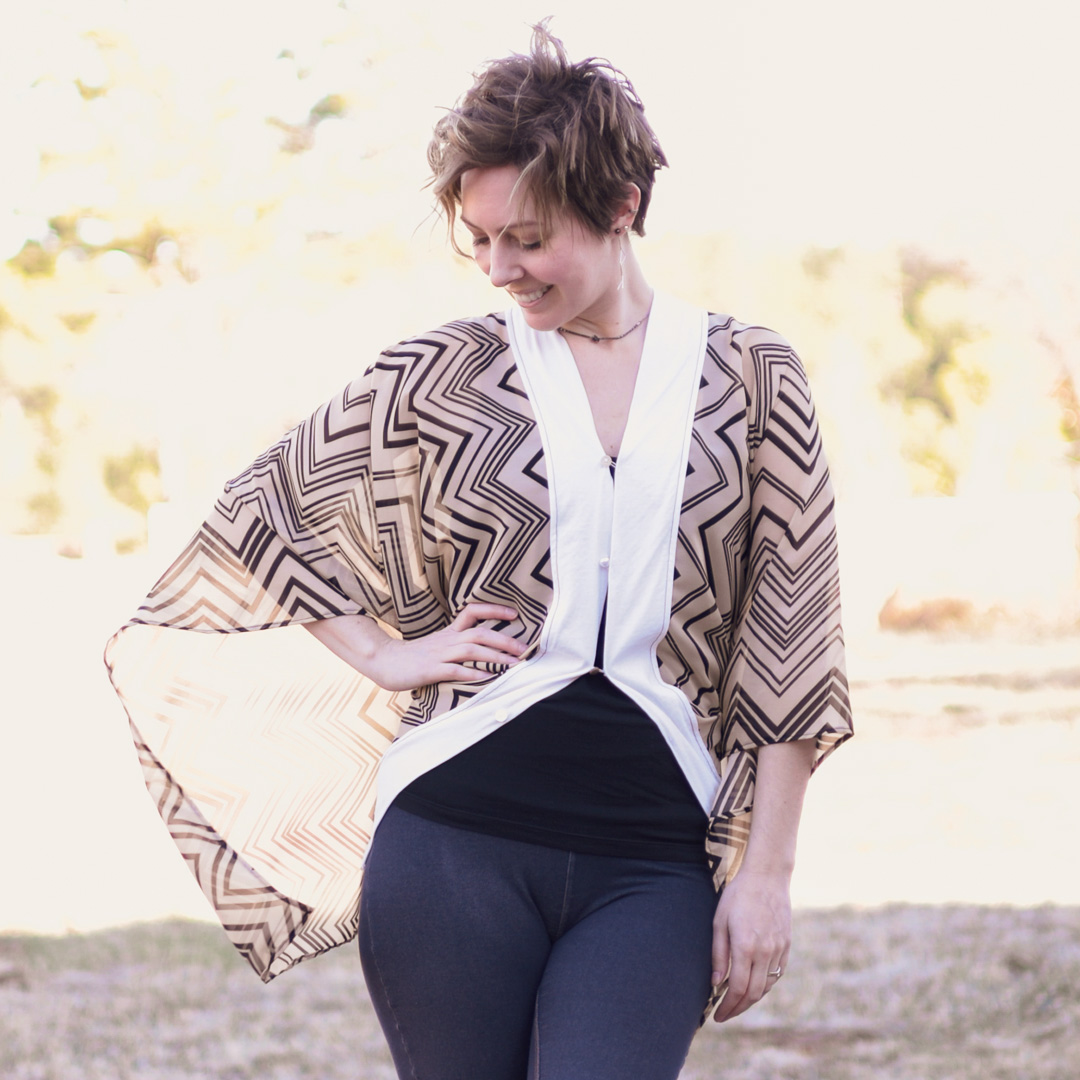
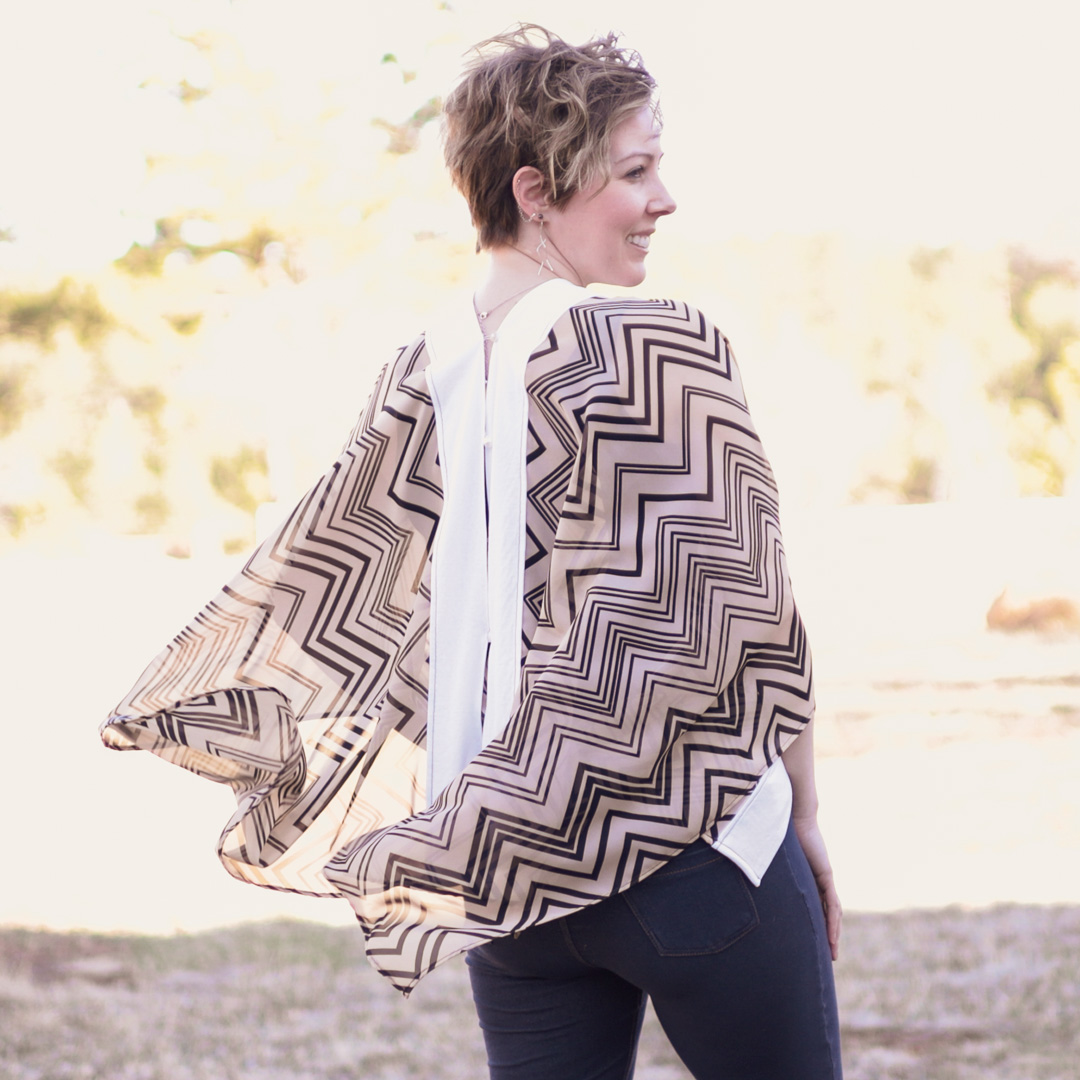
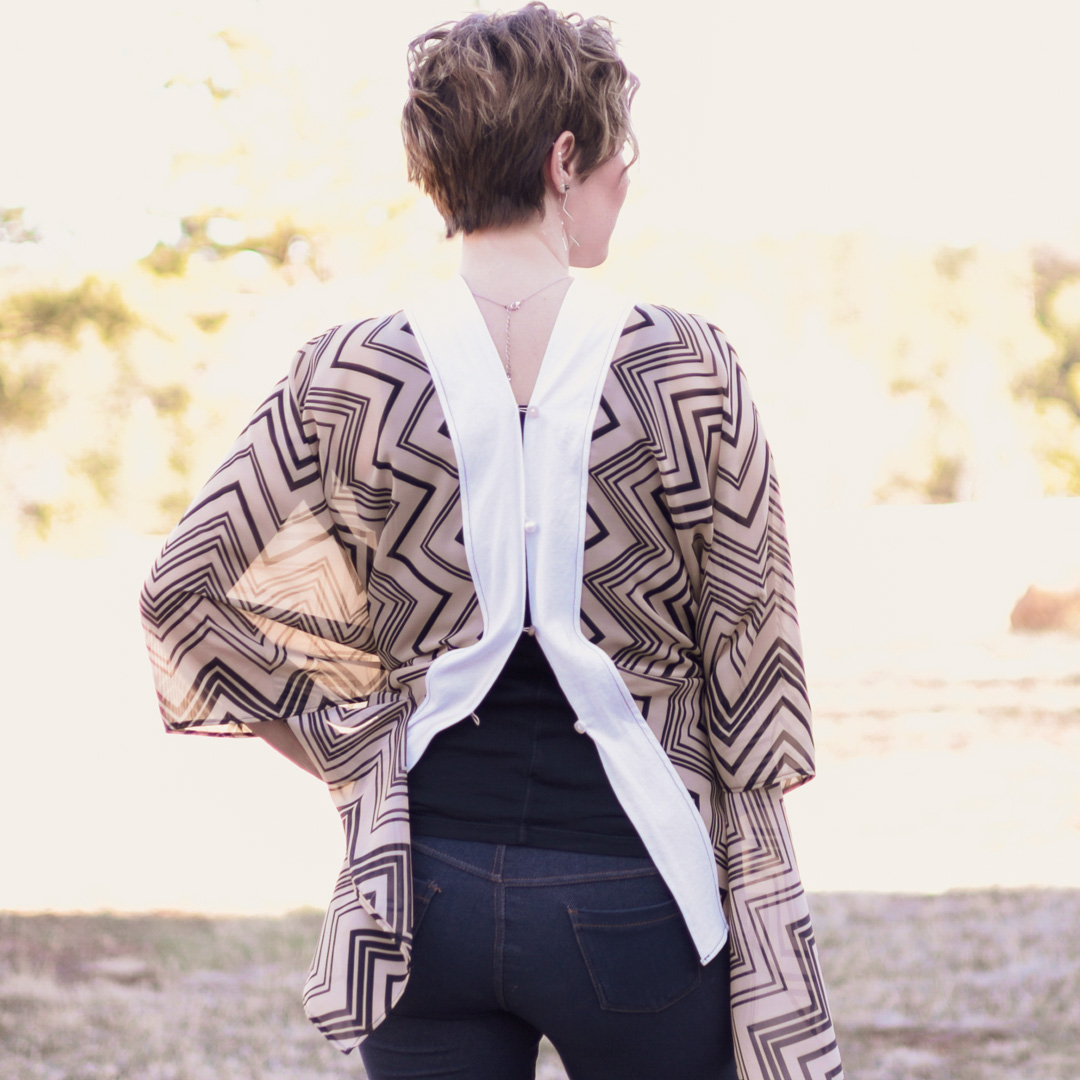
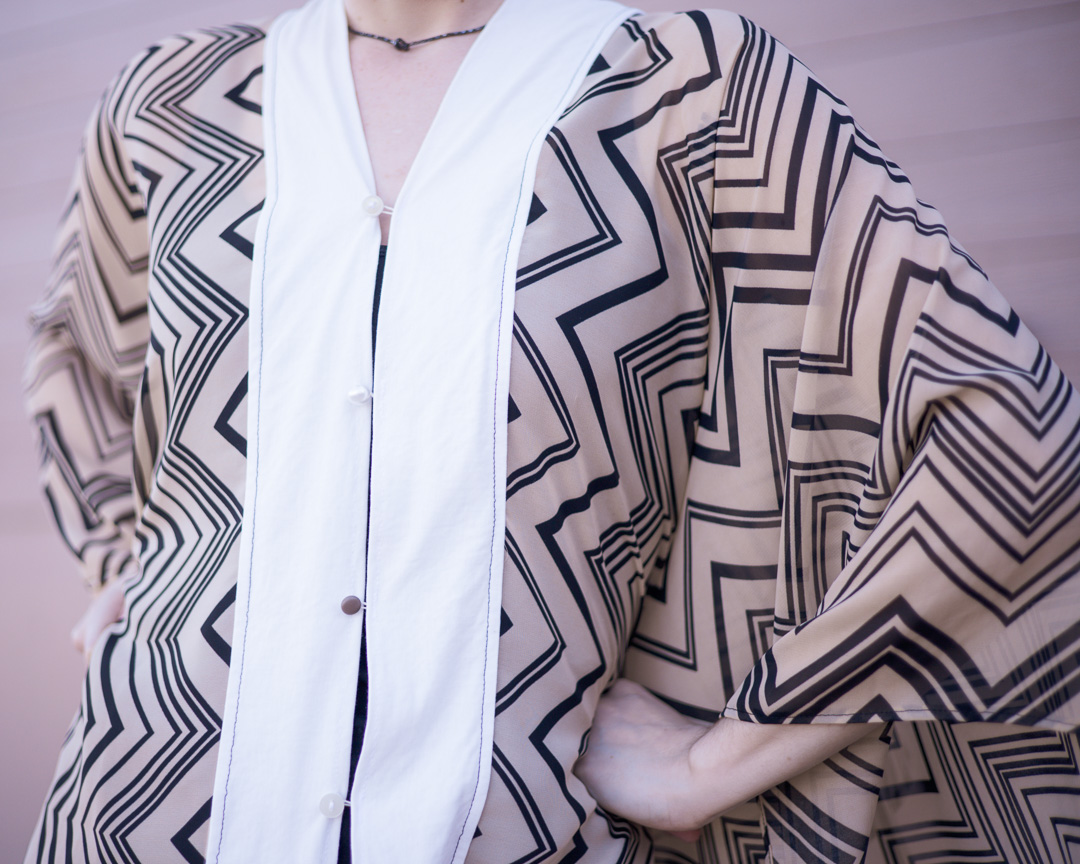
Style #1: Full buttoned poncho
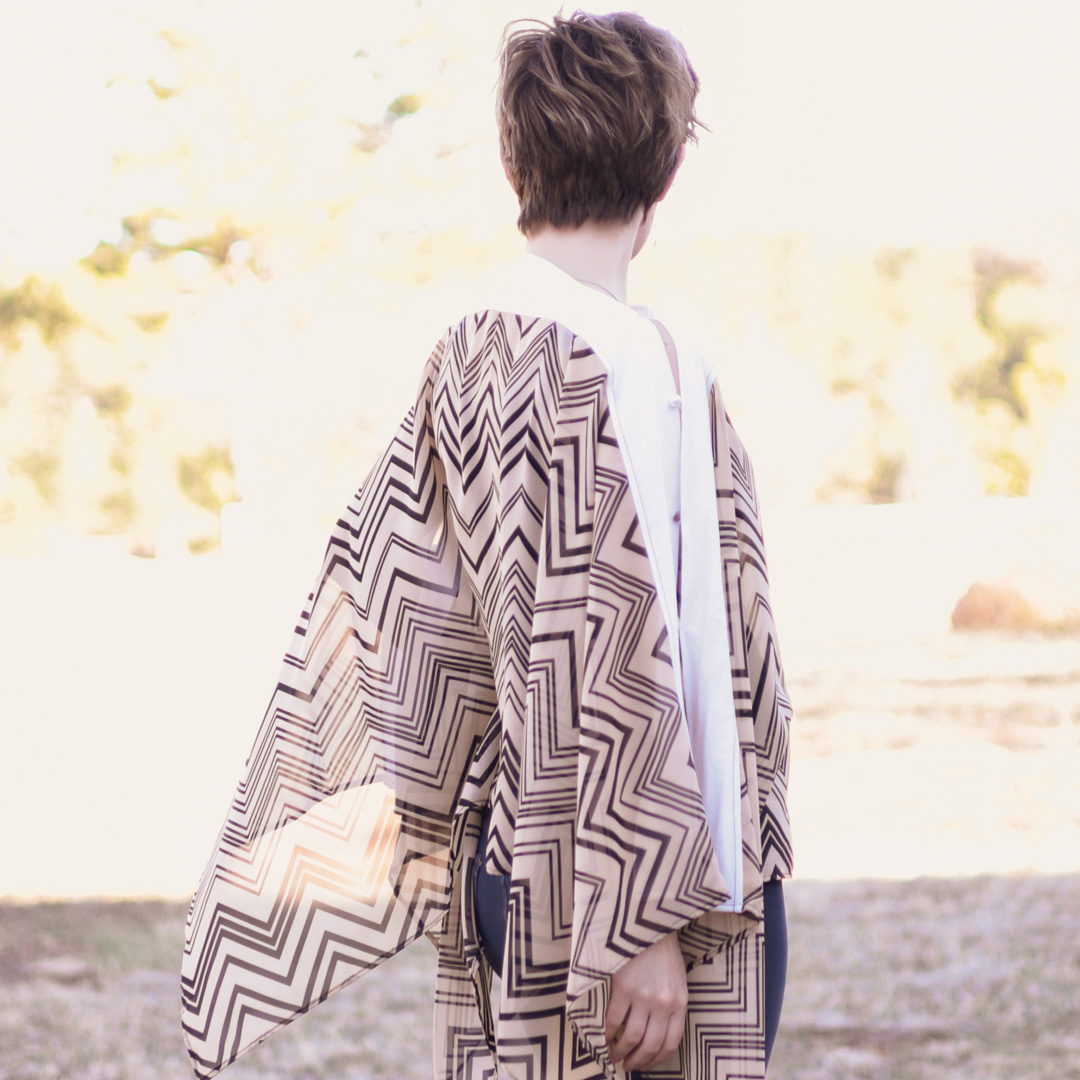
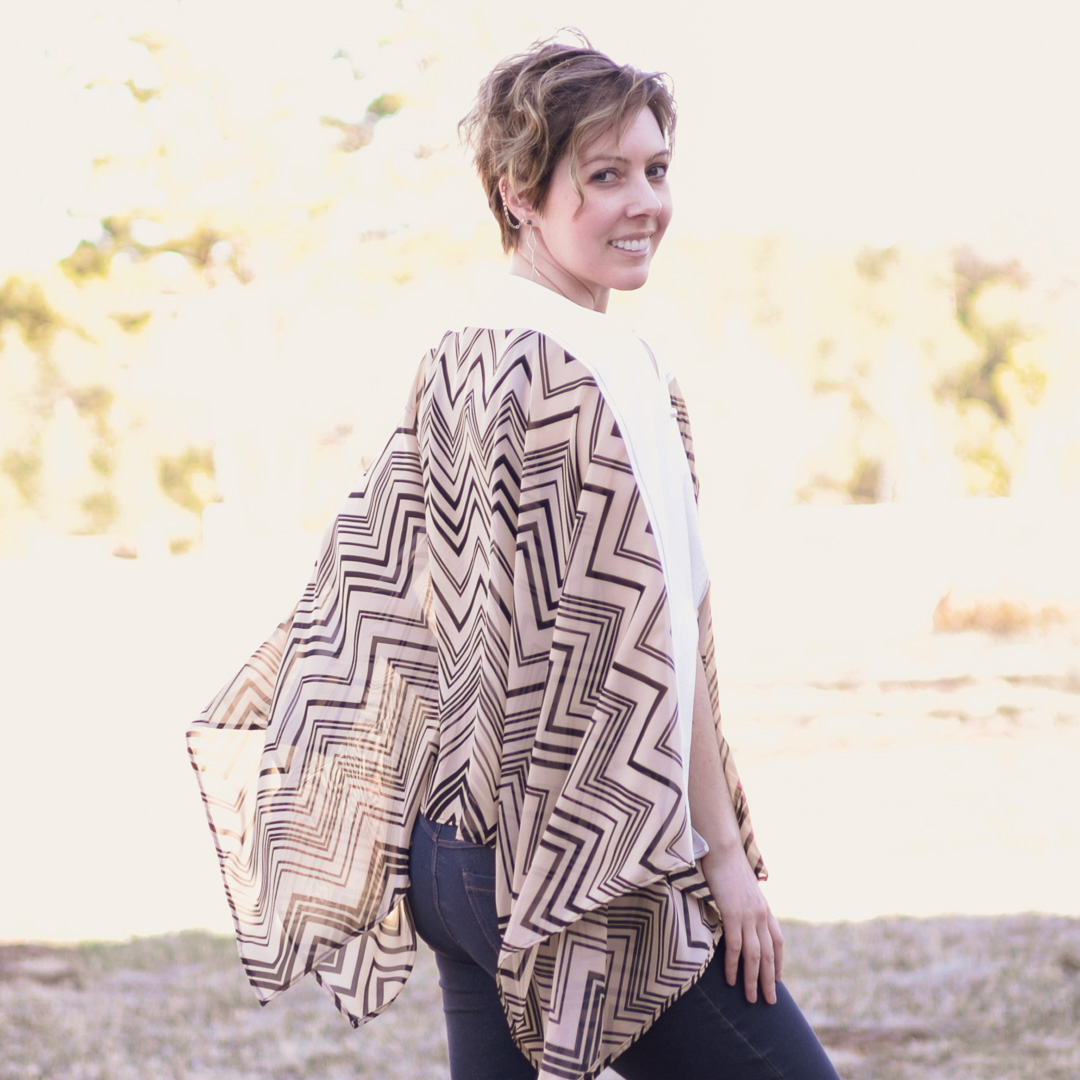
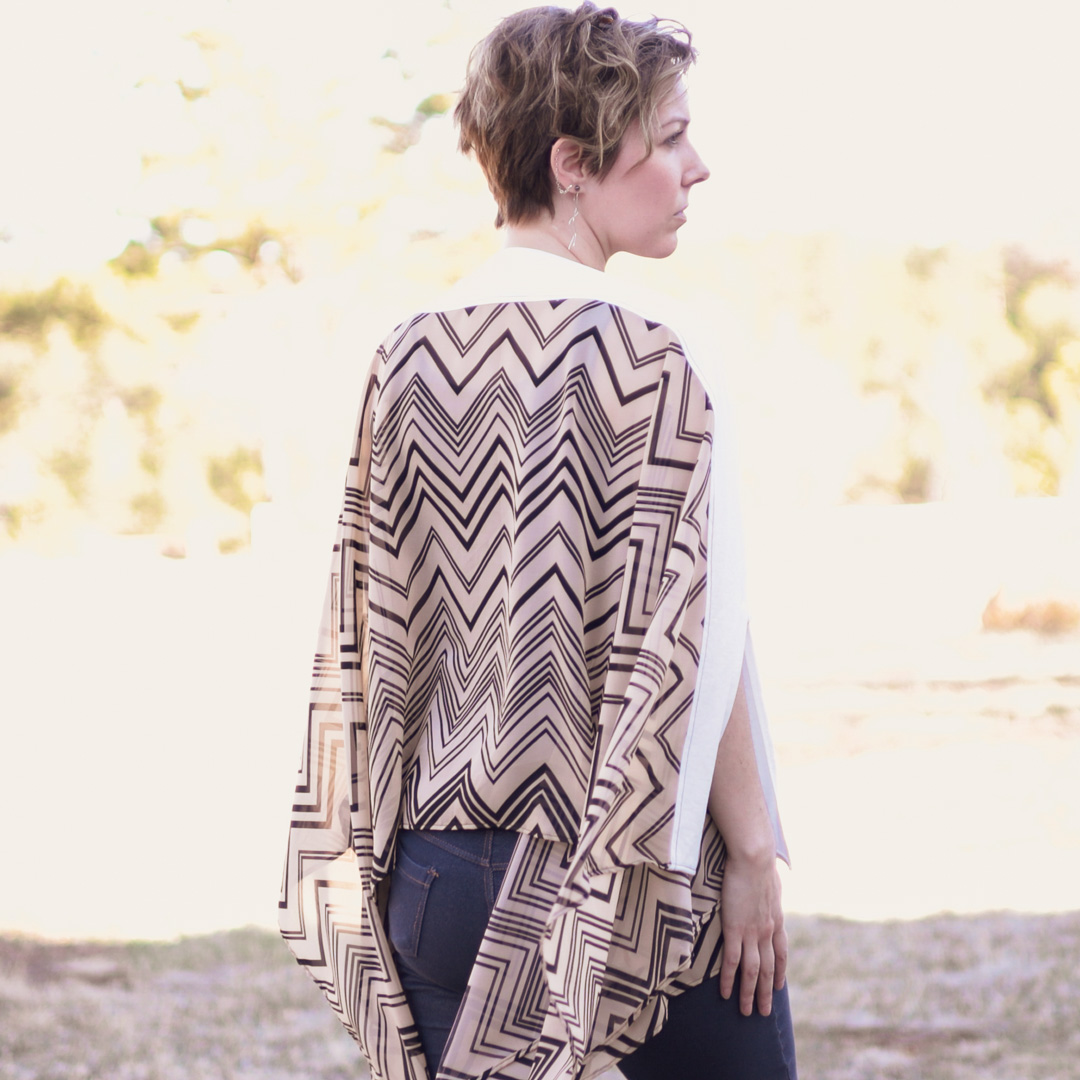
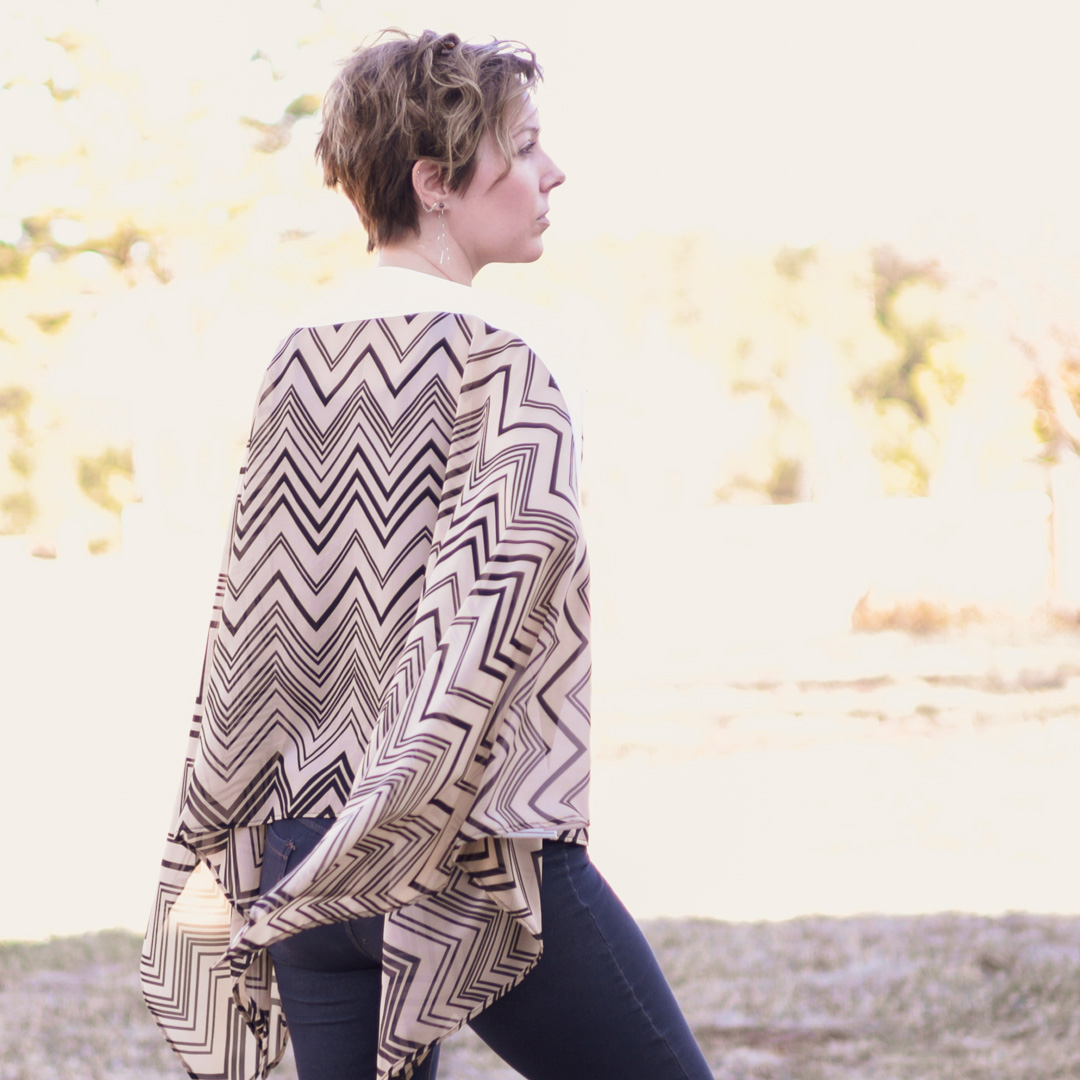


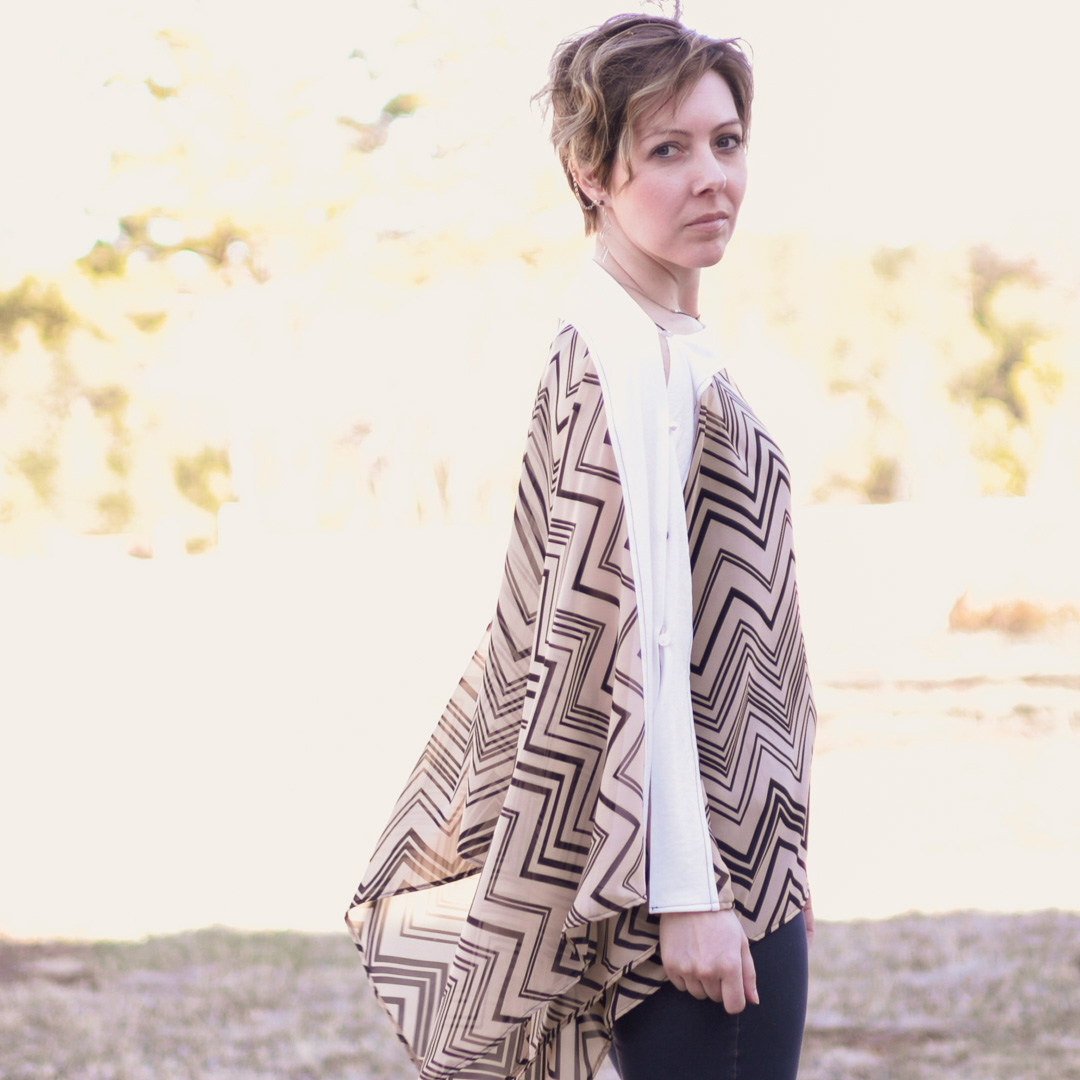


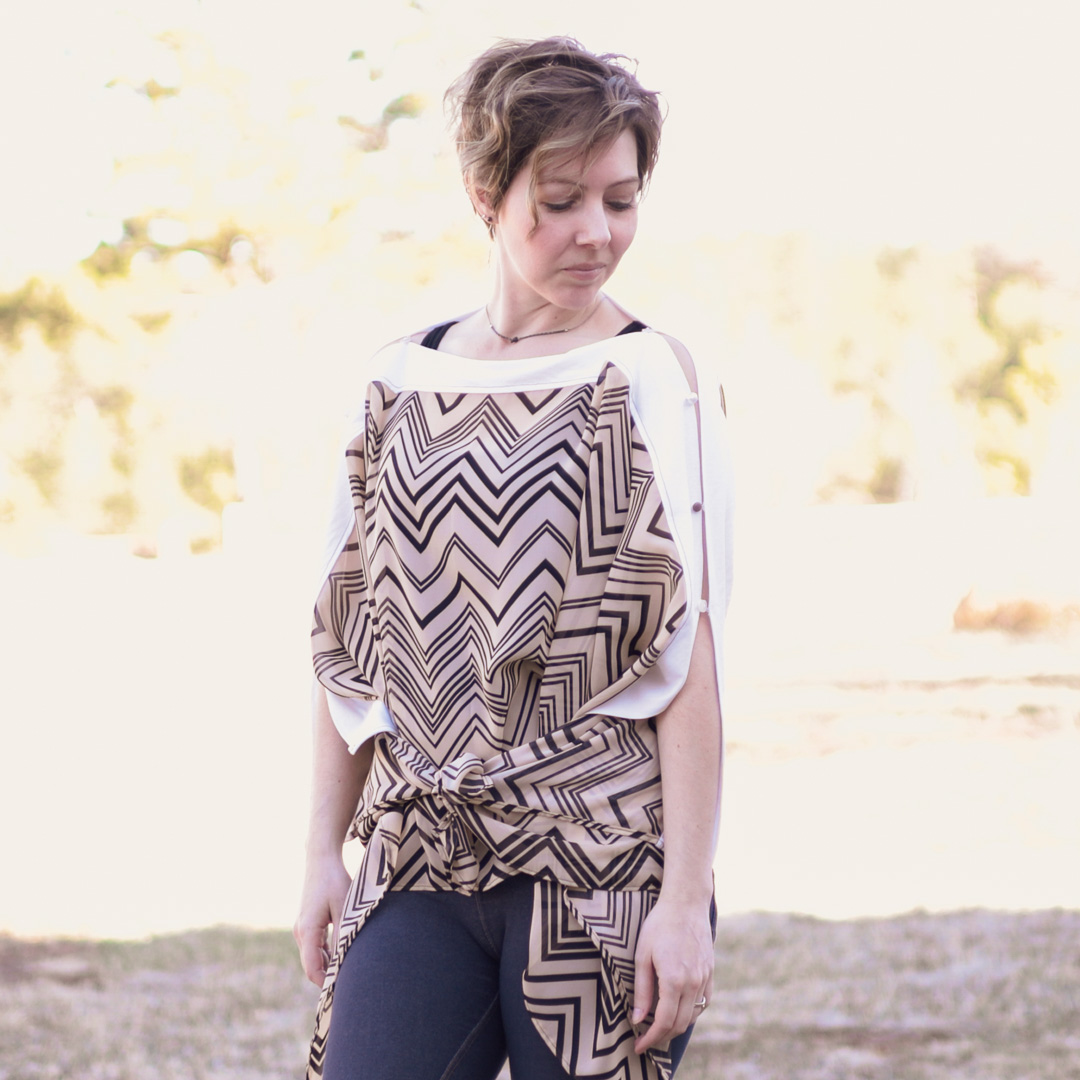
Style #2: Tie Front

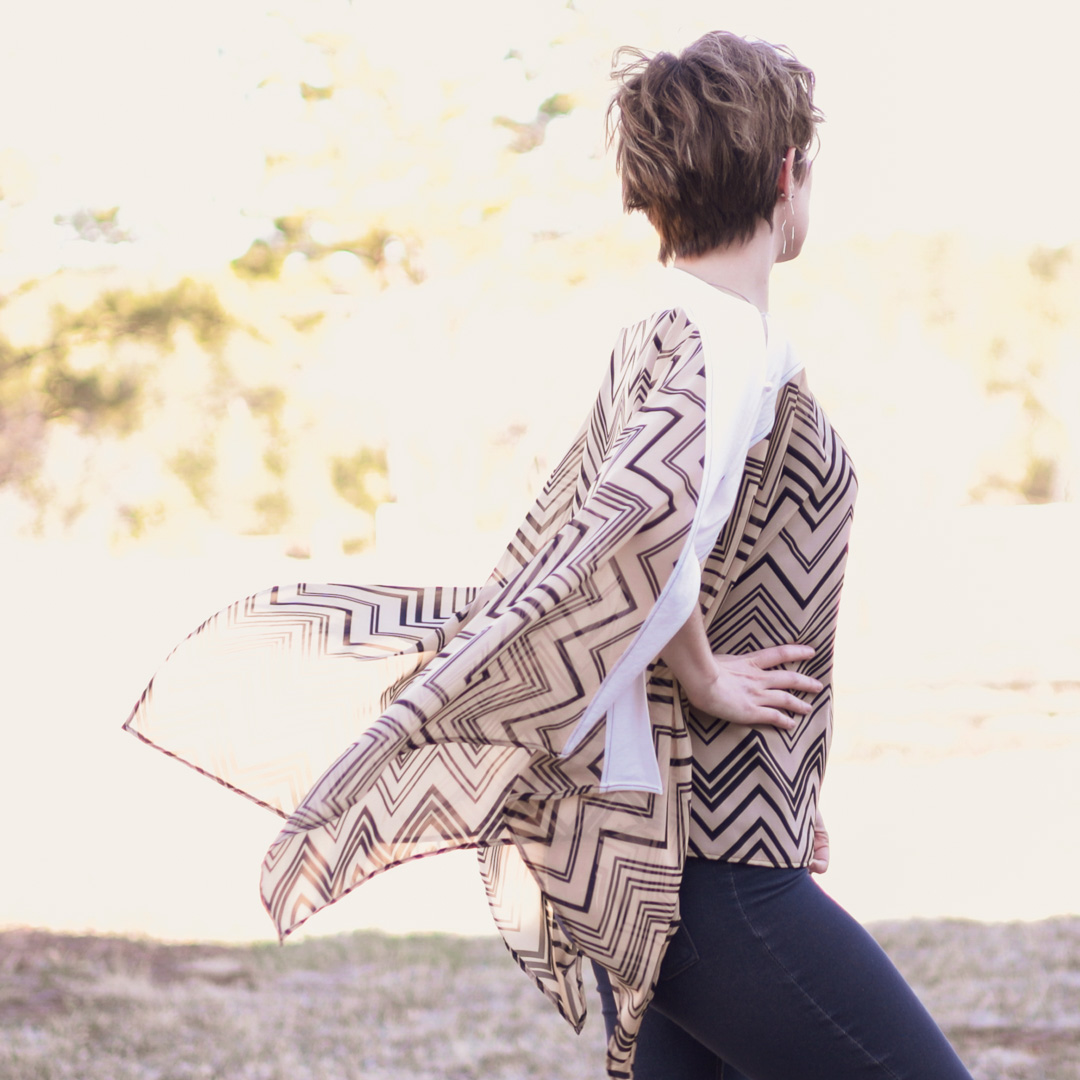
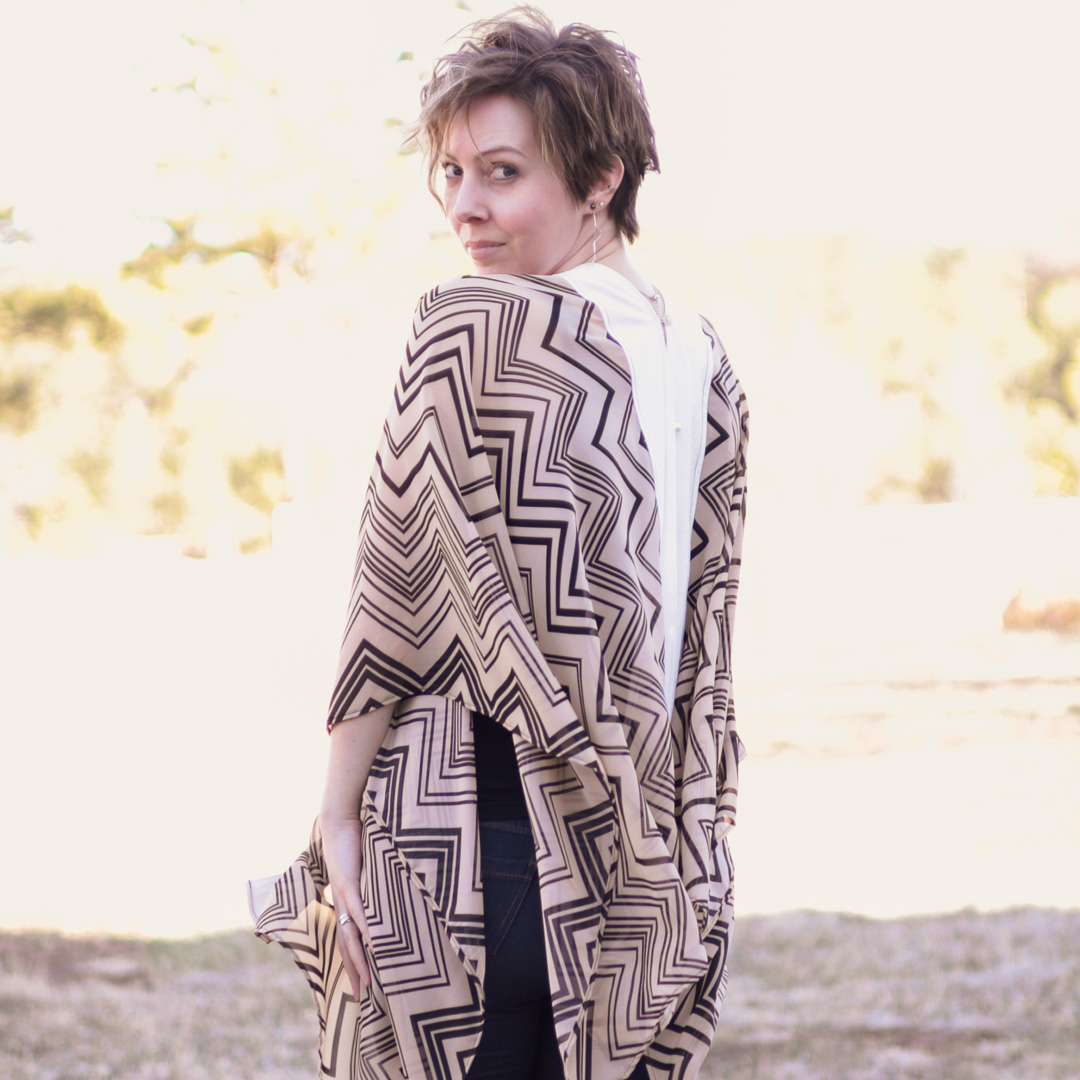
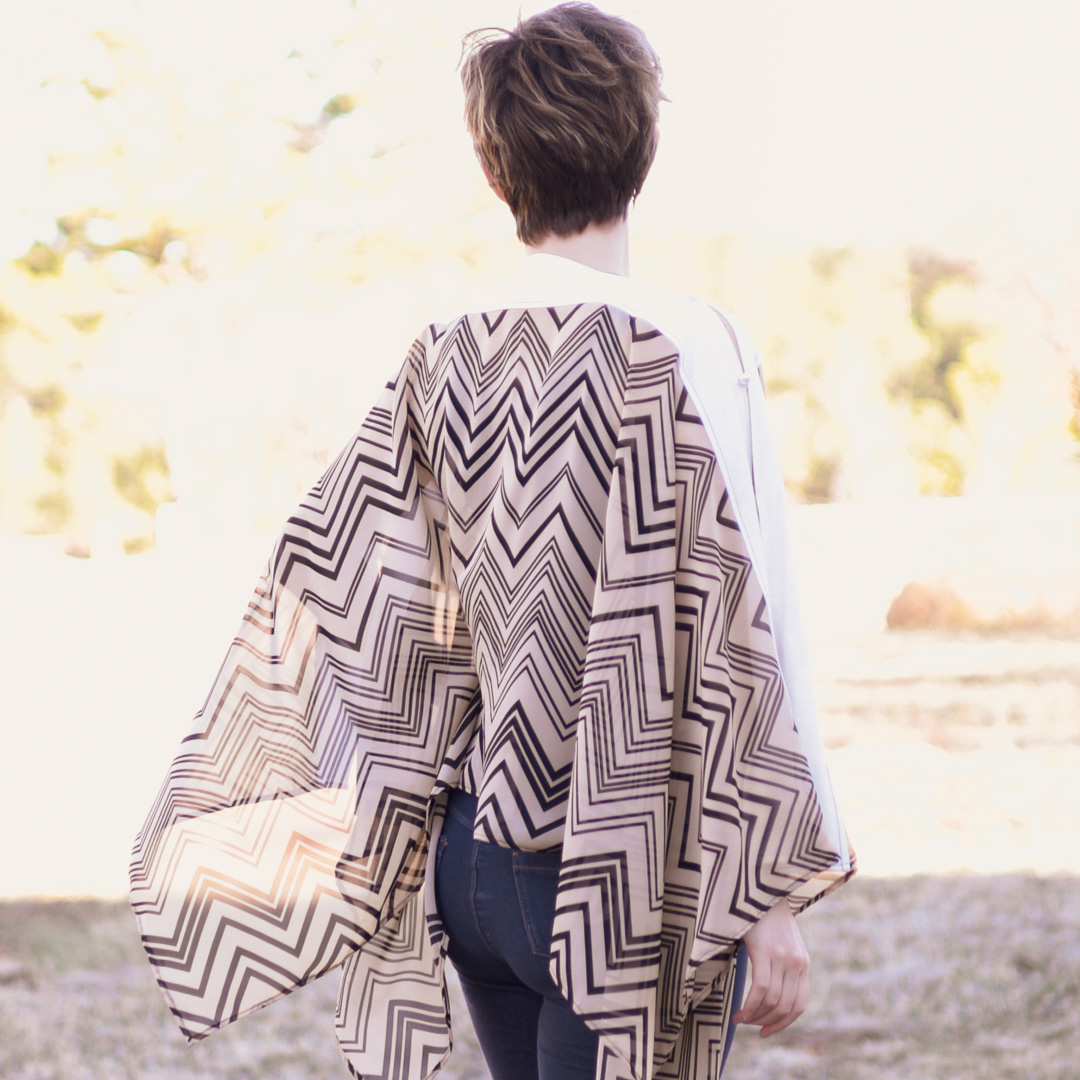
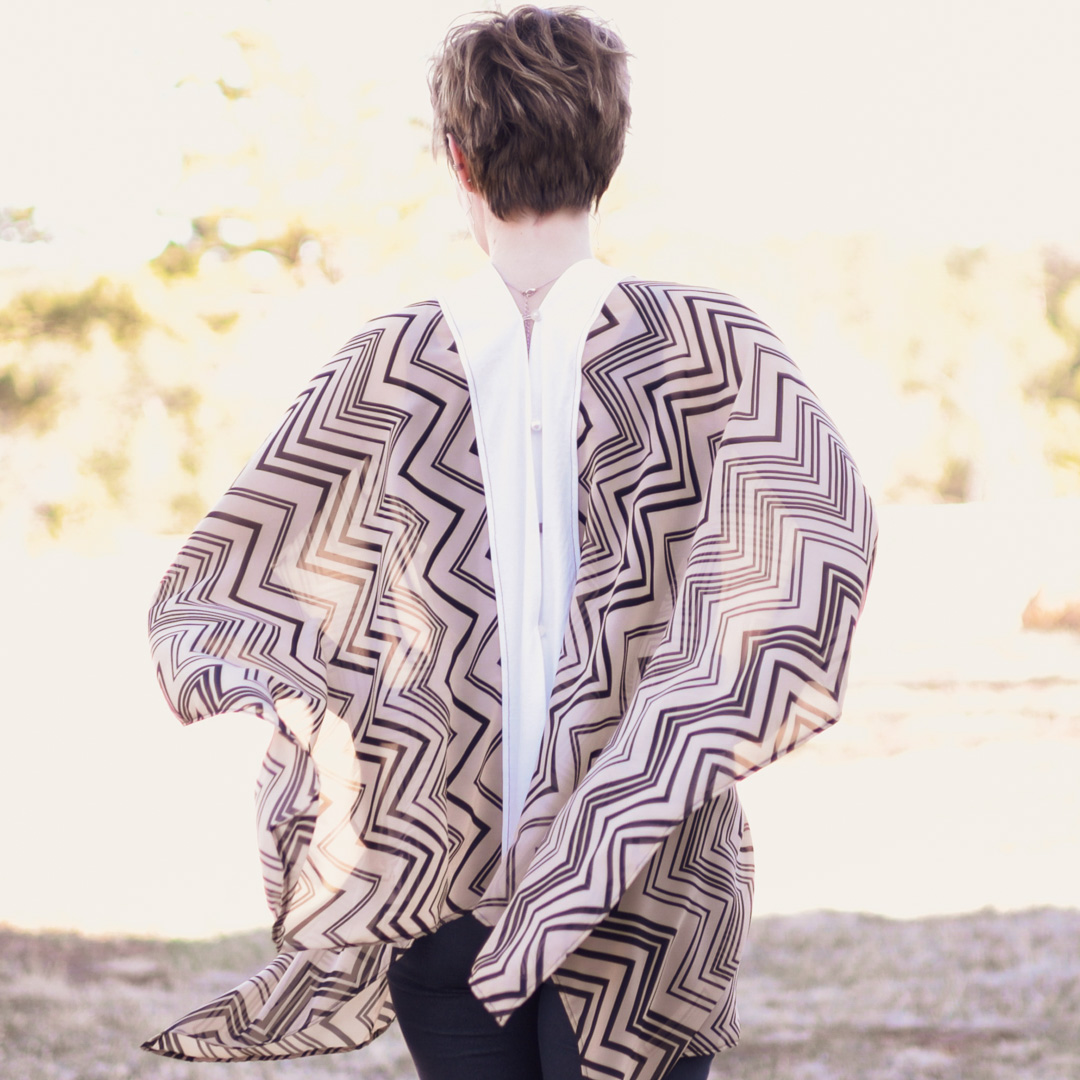
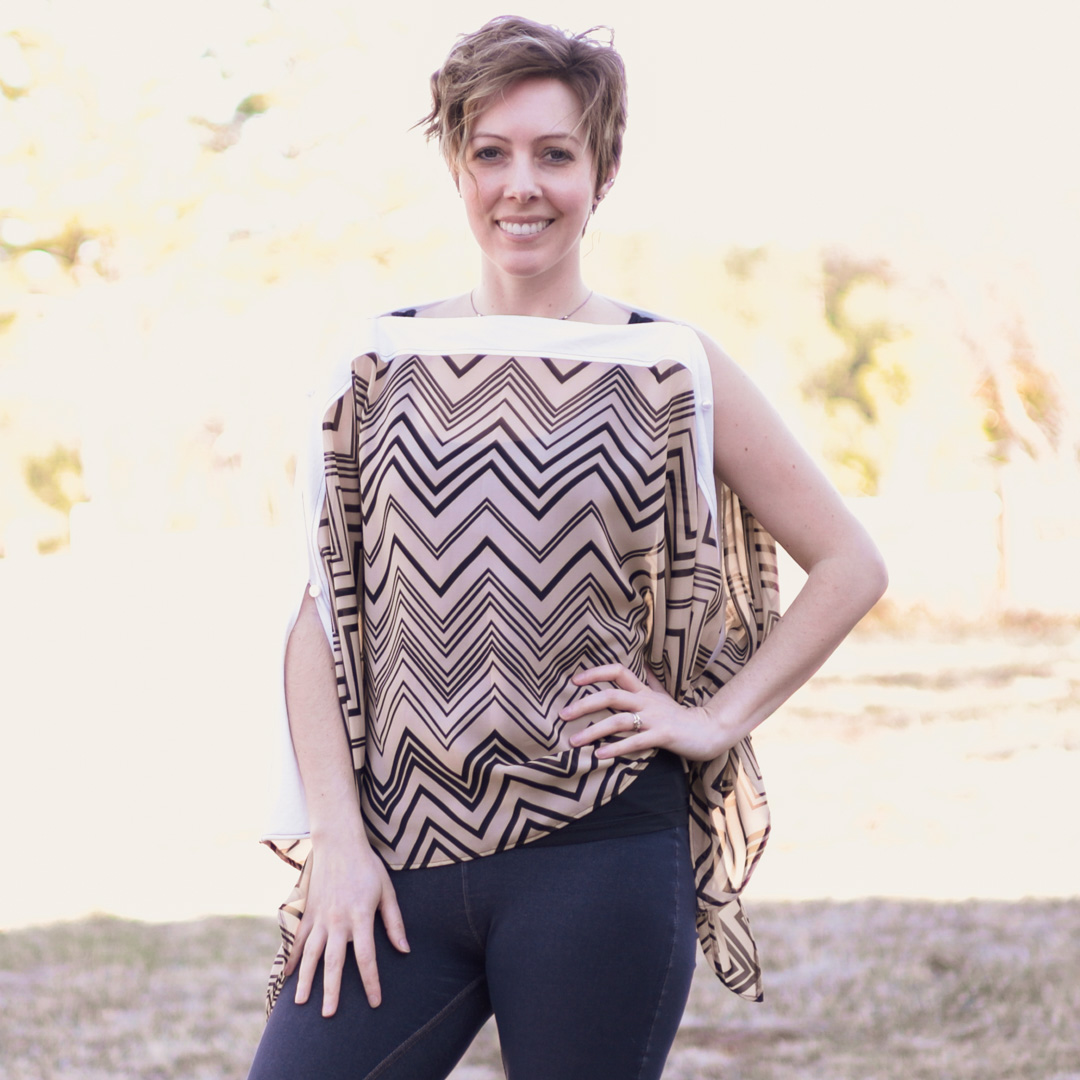
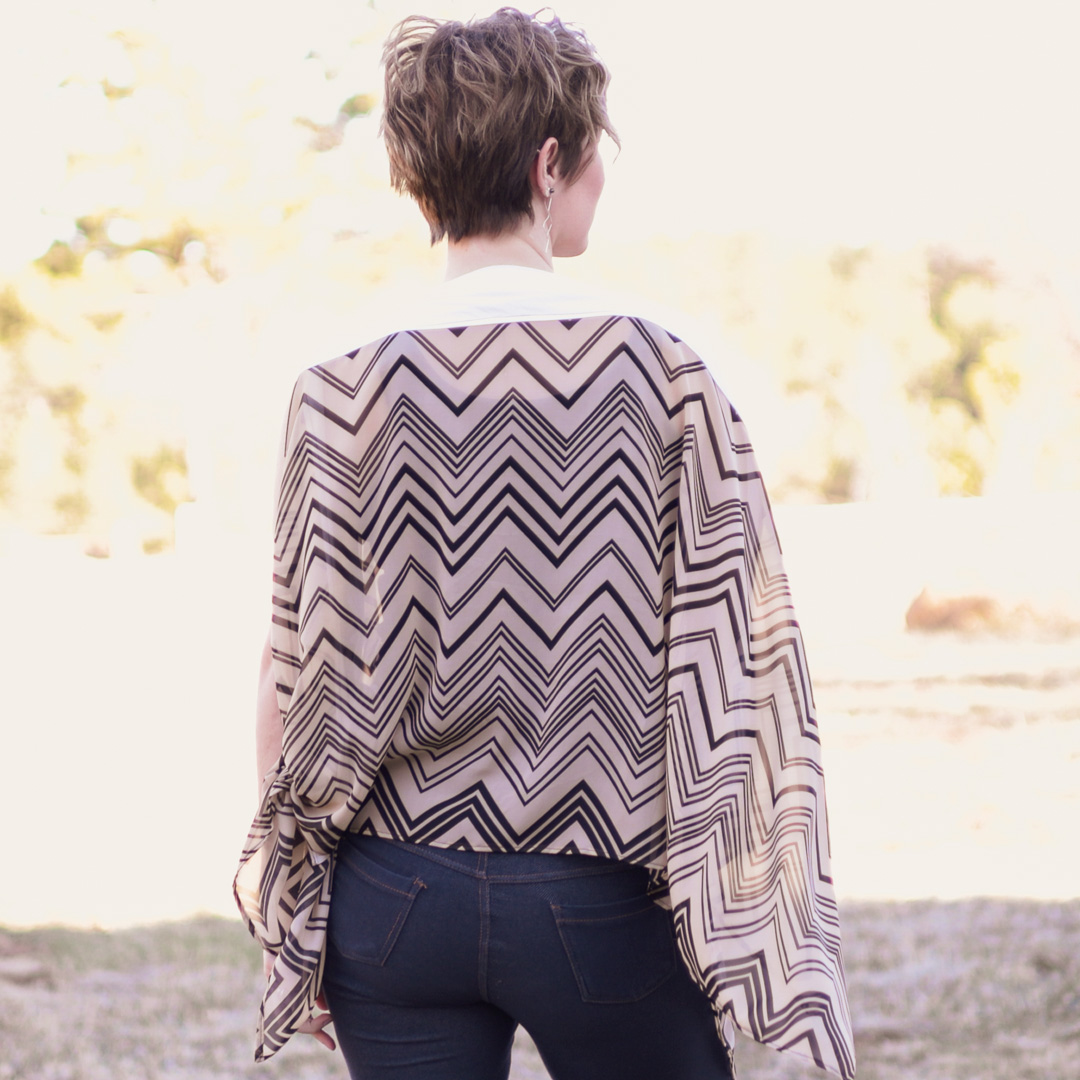
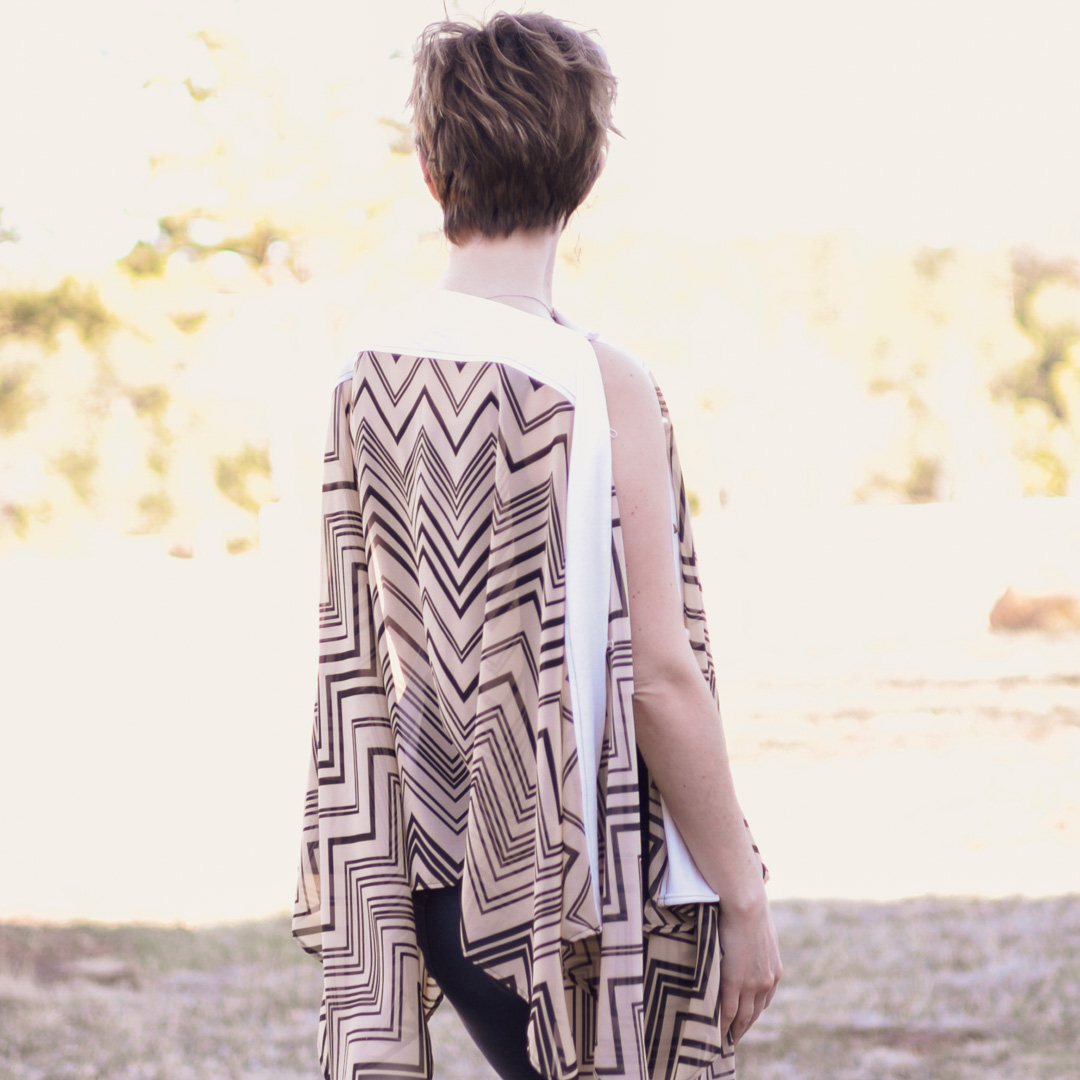
Style #3: Rotated

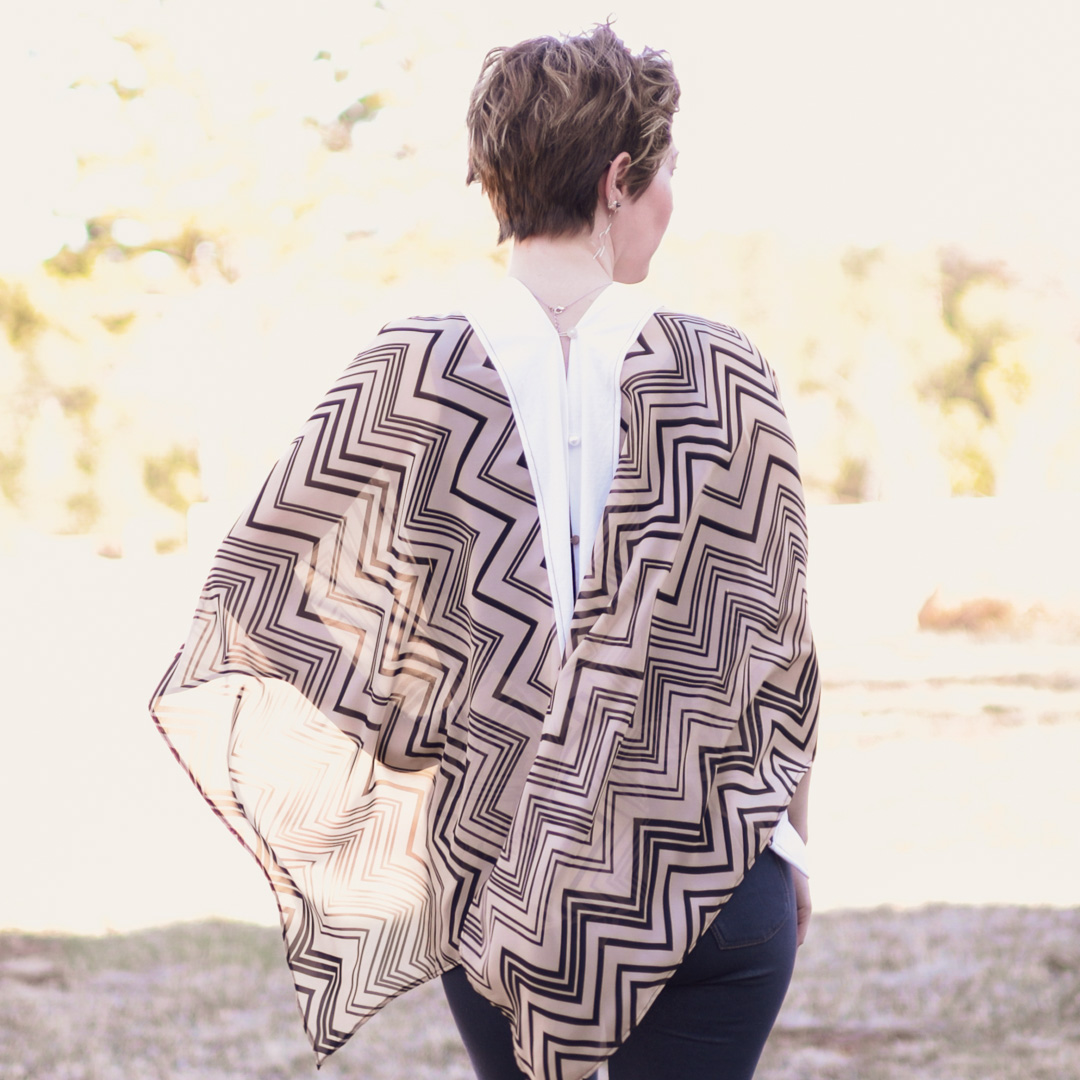
Style #4: Rotated Tied Back
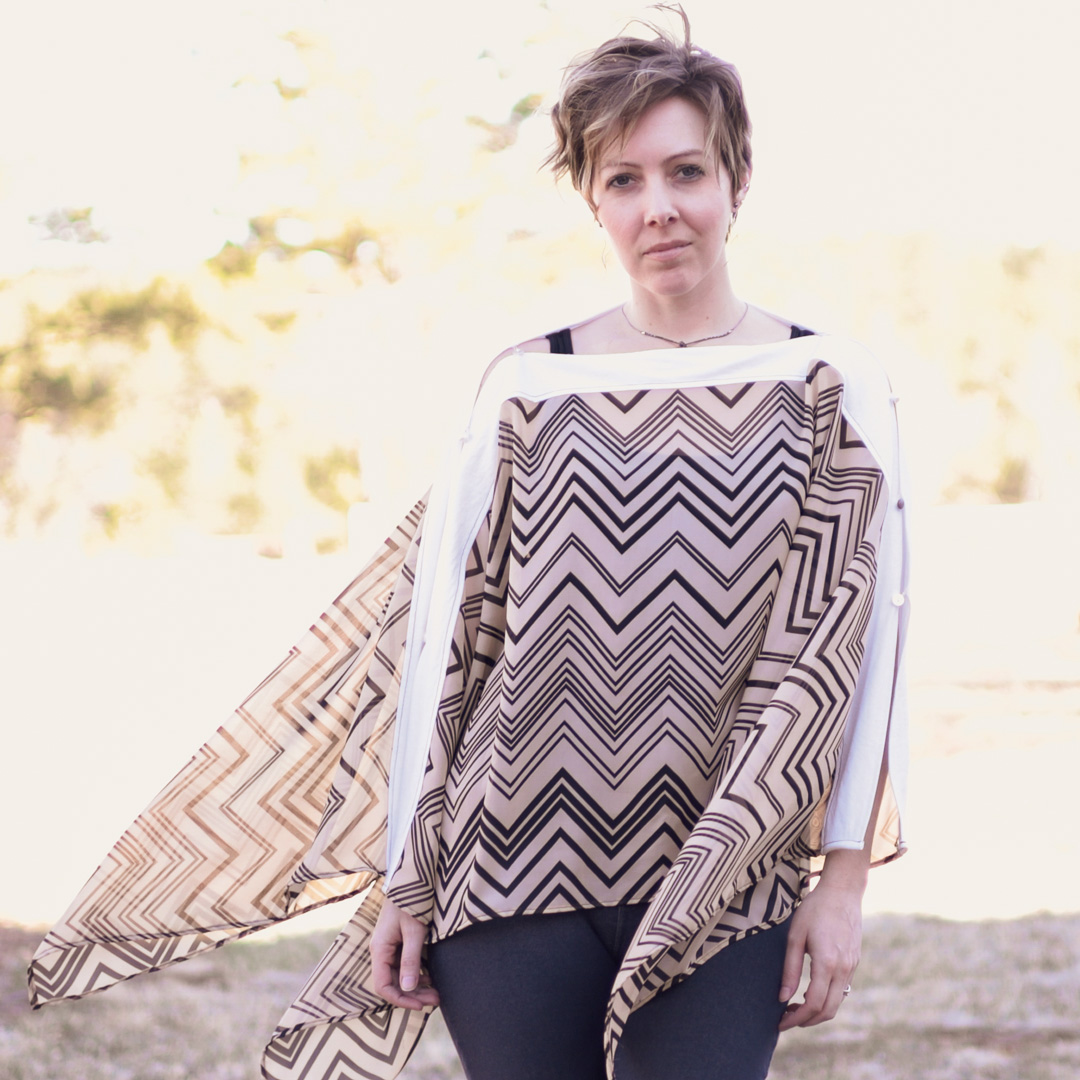
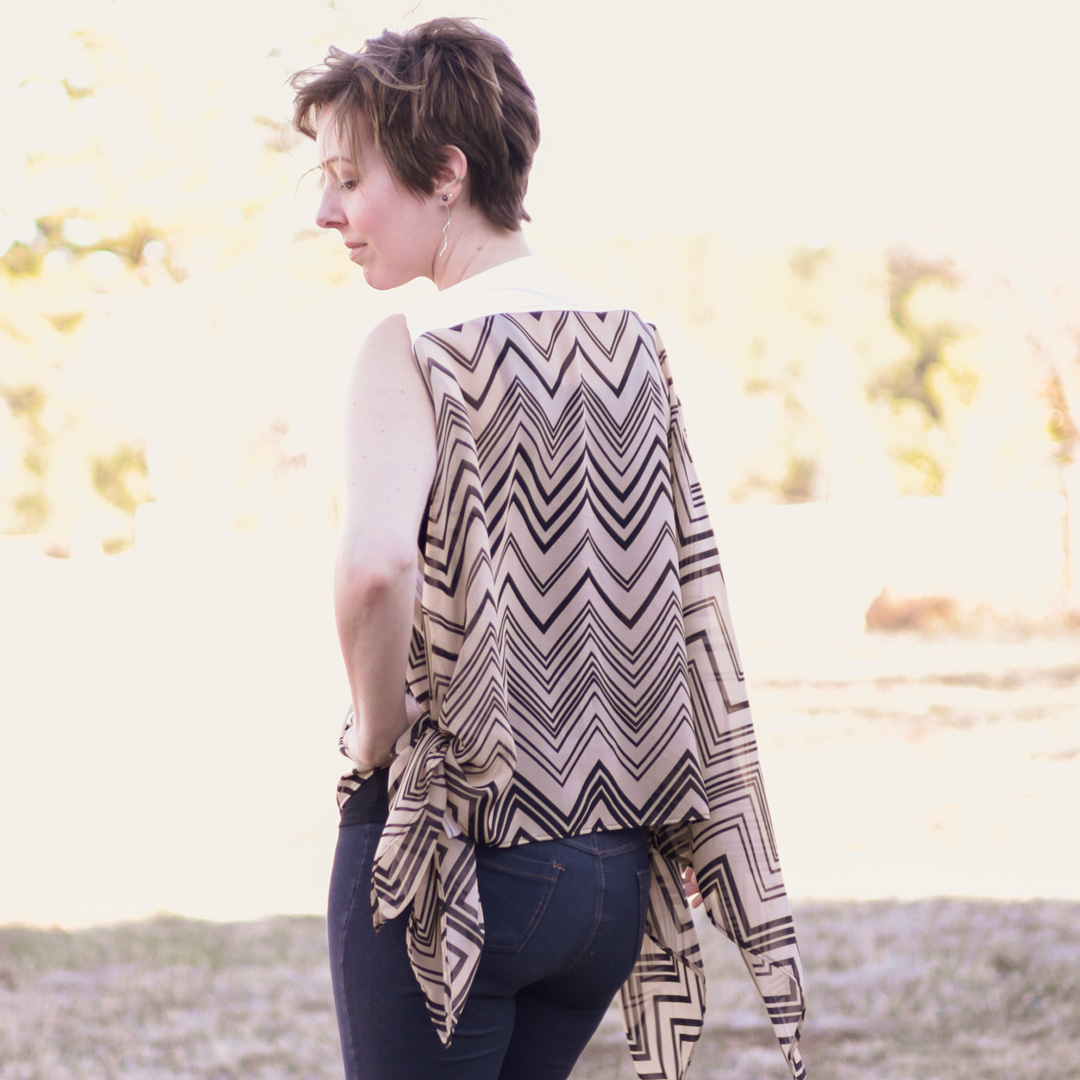
Style #5: Side Knot Poncho
Style #6: Single Button Poncho

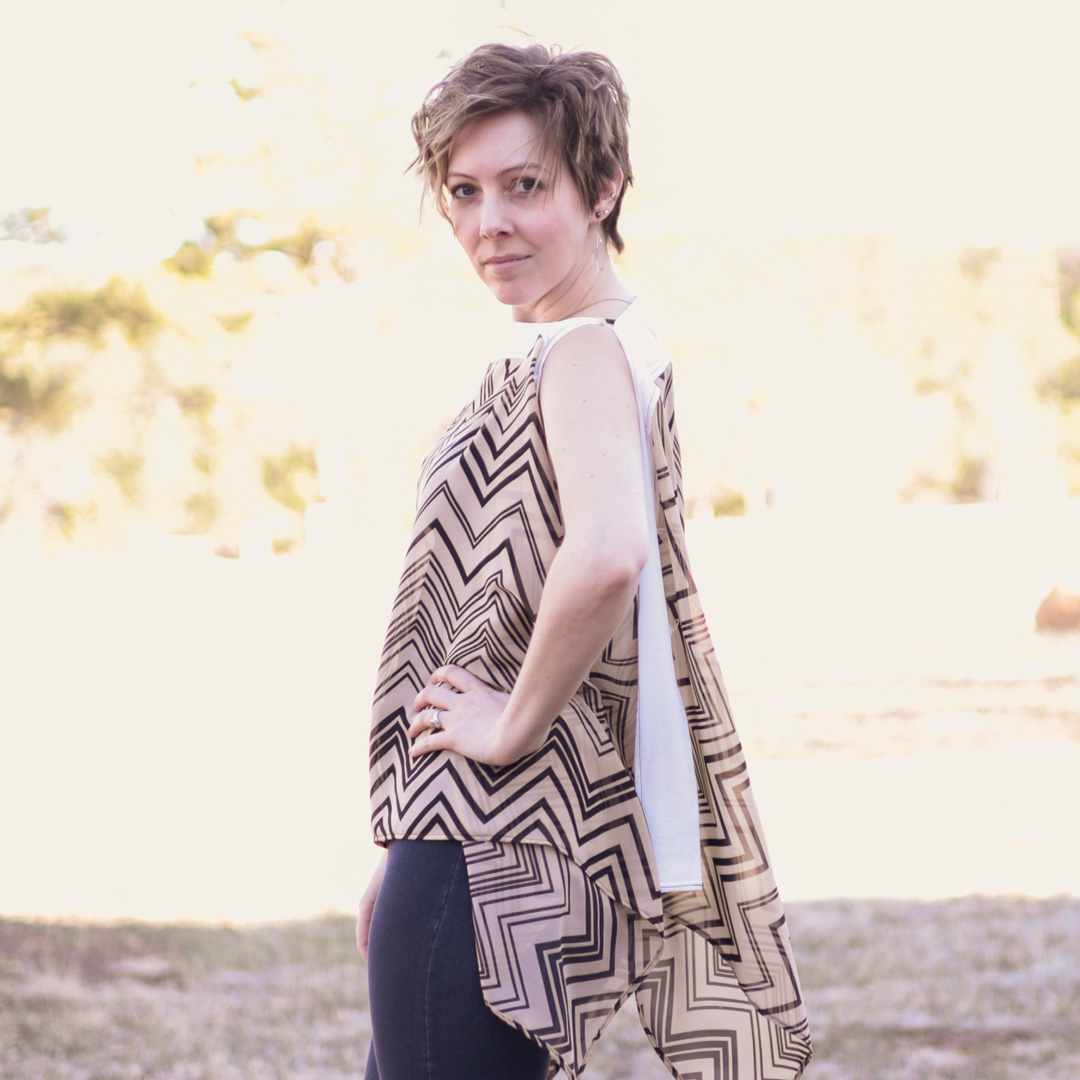
Style #7: Rotated Tied Front (under)

Style #8: Rotated Tied Front (over)

Details

And that’s not even all the styles you can do with this; it’s ridiculous. Your imagination is the only limit, really.
Project Settings
Sewing Machine vs. Serger
| Sewing Machine | Serger |
|---|---|
|
|
Sewing Machine Settings
| Presser Foot | Stitch# | Stitch Width | Stitch Length | Needle | Top Thread Tension | Application |
|---|---|---|---|---|---|---|
| standard zig-zag (A) | 2 | 3.5 | 3.5 | 65/9 | 2 | seams |
| overedge (C) | 2 | 0.5 | 3.5 | 68/9 | 2 | narrow hem |
| applique (F) | 0 | 3.5 | 2.4 | 90/14 | 2 | button loops |
| button foot (T) | 6 | variable | drop feed | 90/14 | 4 | buttons |
| 1/4" | 1 | 3.5 | 3.5 | 90/14 | 4 | topstitch |
Serger Settings
| Stitch Name | 4-thread overlock |
|---|---|
| Needles | R, L |
| Finger | B |
| Threads | 4 |
| Tension Left Needle | 2.5 |
| Tension Right Needle | 2.5 |
| Tension Upper Looper | 3 |
| Tension Lower Looper | 3 |
| Cut Width | 6 |
| Stitch Length | 2.5 |
| Differential | 1.0 |
| Application | seams |
Leave a Reply