The more I sew, the more confident I feel straying from the recommended fabric in a pattern. It’s even something I’ve come to love about sewing: the flexibility and the fact that there is very seldom a “wrong” way to do things. There are things that work better than other things and there are things you may choose to do based on nothing more than personal preference, but after more than a solid year of sewing, there’s nothing from my beginnings that I think, “I did that totally wrong.”
I just do things differently now because they work better for me, things like tracing patterns, sewing stretchy fabrics, and yes, straying from the recommended fabric for a pattern.
Tracing Patterns
My first time working with patterns, I went through the whole process of tracing, pinning, and rolling a tracing wheel over transfer paper to mark my fabric and then cut it with scissors. Holy headache. It didn’t take very long before I abandoned that production. Now, I trace/grade onto translucent paper, cut out the pattern pieces, anchor them on my fabric with pattern weights, and cut out my fabric with a rotary cutter. It’s a huge time saver.
Some people skip the tracing bit and opt to cut their pattern pieces directly. I don’t do this for a few reasons:
- Most of the patterns I work with are PDF patterns. I print them at home on letter-sized paper and tape them together. That’s time consuming and I don’t want to have to re-do that every time I decide to make an adjustment, whether that’s grading between different sizes, trying a different fit or length, or redrawing some lines more to my liking. I preserve the original so when I do decide to make these kind of changes, I either alter my existing tracing, or do a new tracing, which is faster than taping 40-some-odd pages together.
- There’s something about tracing I actually really enjoy.
- I thought I had a 3rd reason.
Sewing Stretchy Fabrics
There’s a learning curve when it comes to sewing knits. Controlling the fabric can be challenging when you’re first starting, and I often found it frustrating trying to get it to feed straight, keeping a consistent seam allowance, and ending up with even edges at the end of my seam. I tried a walking foot and actually used it several times until I learned I work so much better without it. I tried clips vs. pins for holding my fabric together. I tried seam stabilizers, wonder tape, different stitches, sewing slower, you name it.
I think this process of discovery is important for everyone to go through even though it can make you want to throw up your hands and stay in the relatively safe world of wovens. Push through! You will discover the technique that works for you and you risk falling in love with knits to the point you prefer them over wovens. That’s what happened to me.
After much trial and error, this is the technique that I find works great for me:
- Ditch the walking foot. I sew my knits using just a few basic presser feet. 99% of the time I just use these first two:
- standard (zig-zag) foot
- overcast / overlock / overedge foot
- applique foot (for tighter areas)
- 1/4″ foot (for some minimal stitching seam allowances to linings)
- Pins work better than clips. Clips add a lot of weight/bulk and can pull at already stretchy fabric.
- 99% of the time, my lightning stitch works flawlessly for my seams. I still test on scraps before starting a new project, but this is my go-to stitch now and I usually don’t have to stray from it. (For finishing edges (overcasting), I use the afore mentioned foot with a zig-zag stitch.)
- A tiny piece of stabilizer at the beginning of a seam helps feed the fabric and keep it from getting sucked into the throat plate, which is much more likely to happen with knits, especially if you do a locking stitch or backtacking (as you should.)
- And finally, the little discovery that did wonders for me: I give my fabric some TLC as it feeds. I use the end of my unassuming brush that came with my sewing machine to flatten my fabric in front of the foot as it feeds. This keeps the foot from pushing fabric up in front of it and eventually causing the top layer to skew. I gently flatten it towards the foot and outward toward the raw edges. Demo animation is below. I even did this without pins to show how effective it is.

Bucking the Recommendations
Most patterns give you a guideline to recommended fabric for that particular pattern. You can follow this a tee, or you can get adventurous and try pretty much anything. Got a pattern that suggests using a woven cotton voile? Why not try it with a knit? Size down for the fit you’re looking for. Got a pattern that suggests a 30-50% stretch but you’re in love with a fabric that has maybe 15%? Size up depending on how fitted the pattern is and the look you’re going for, and then give it a shot. (If it’s expensive fabric, it’s probably best to find a cheap fabric with similar properties in order to make a muslin first. This is my downfall; I usually just dive right in, probably because I’ve gotten away with it so far.)
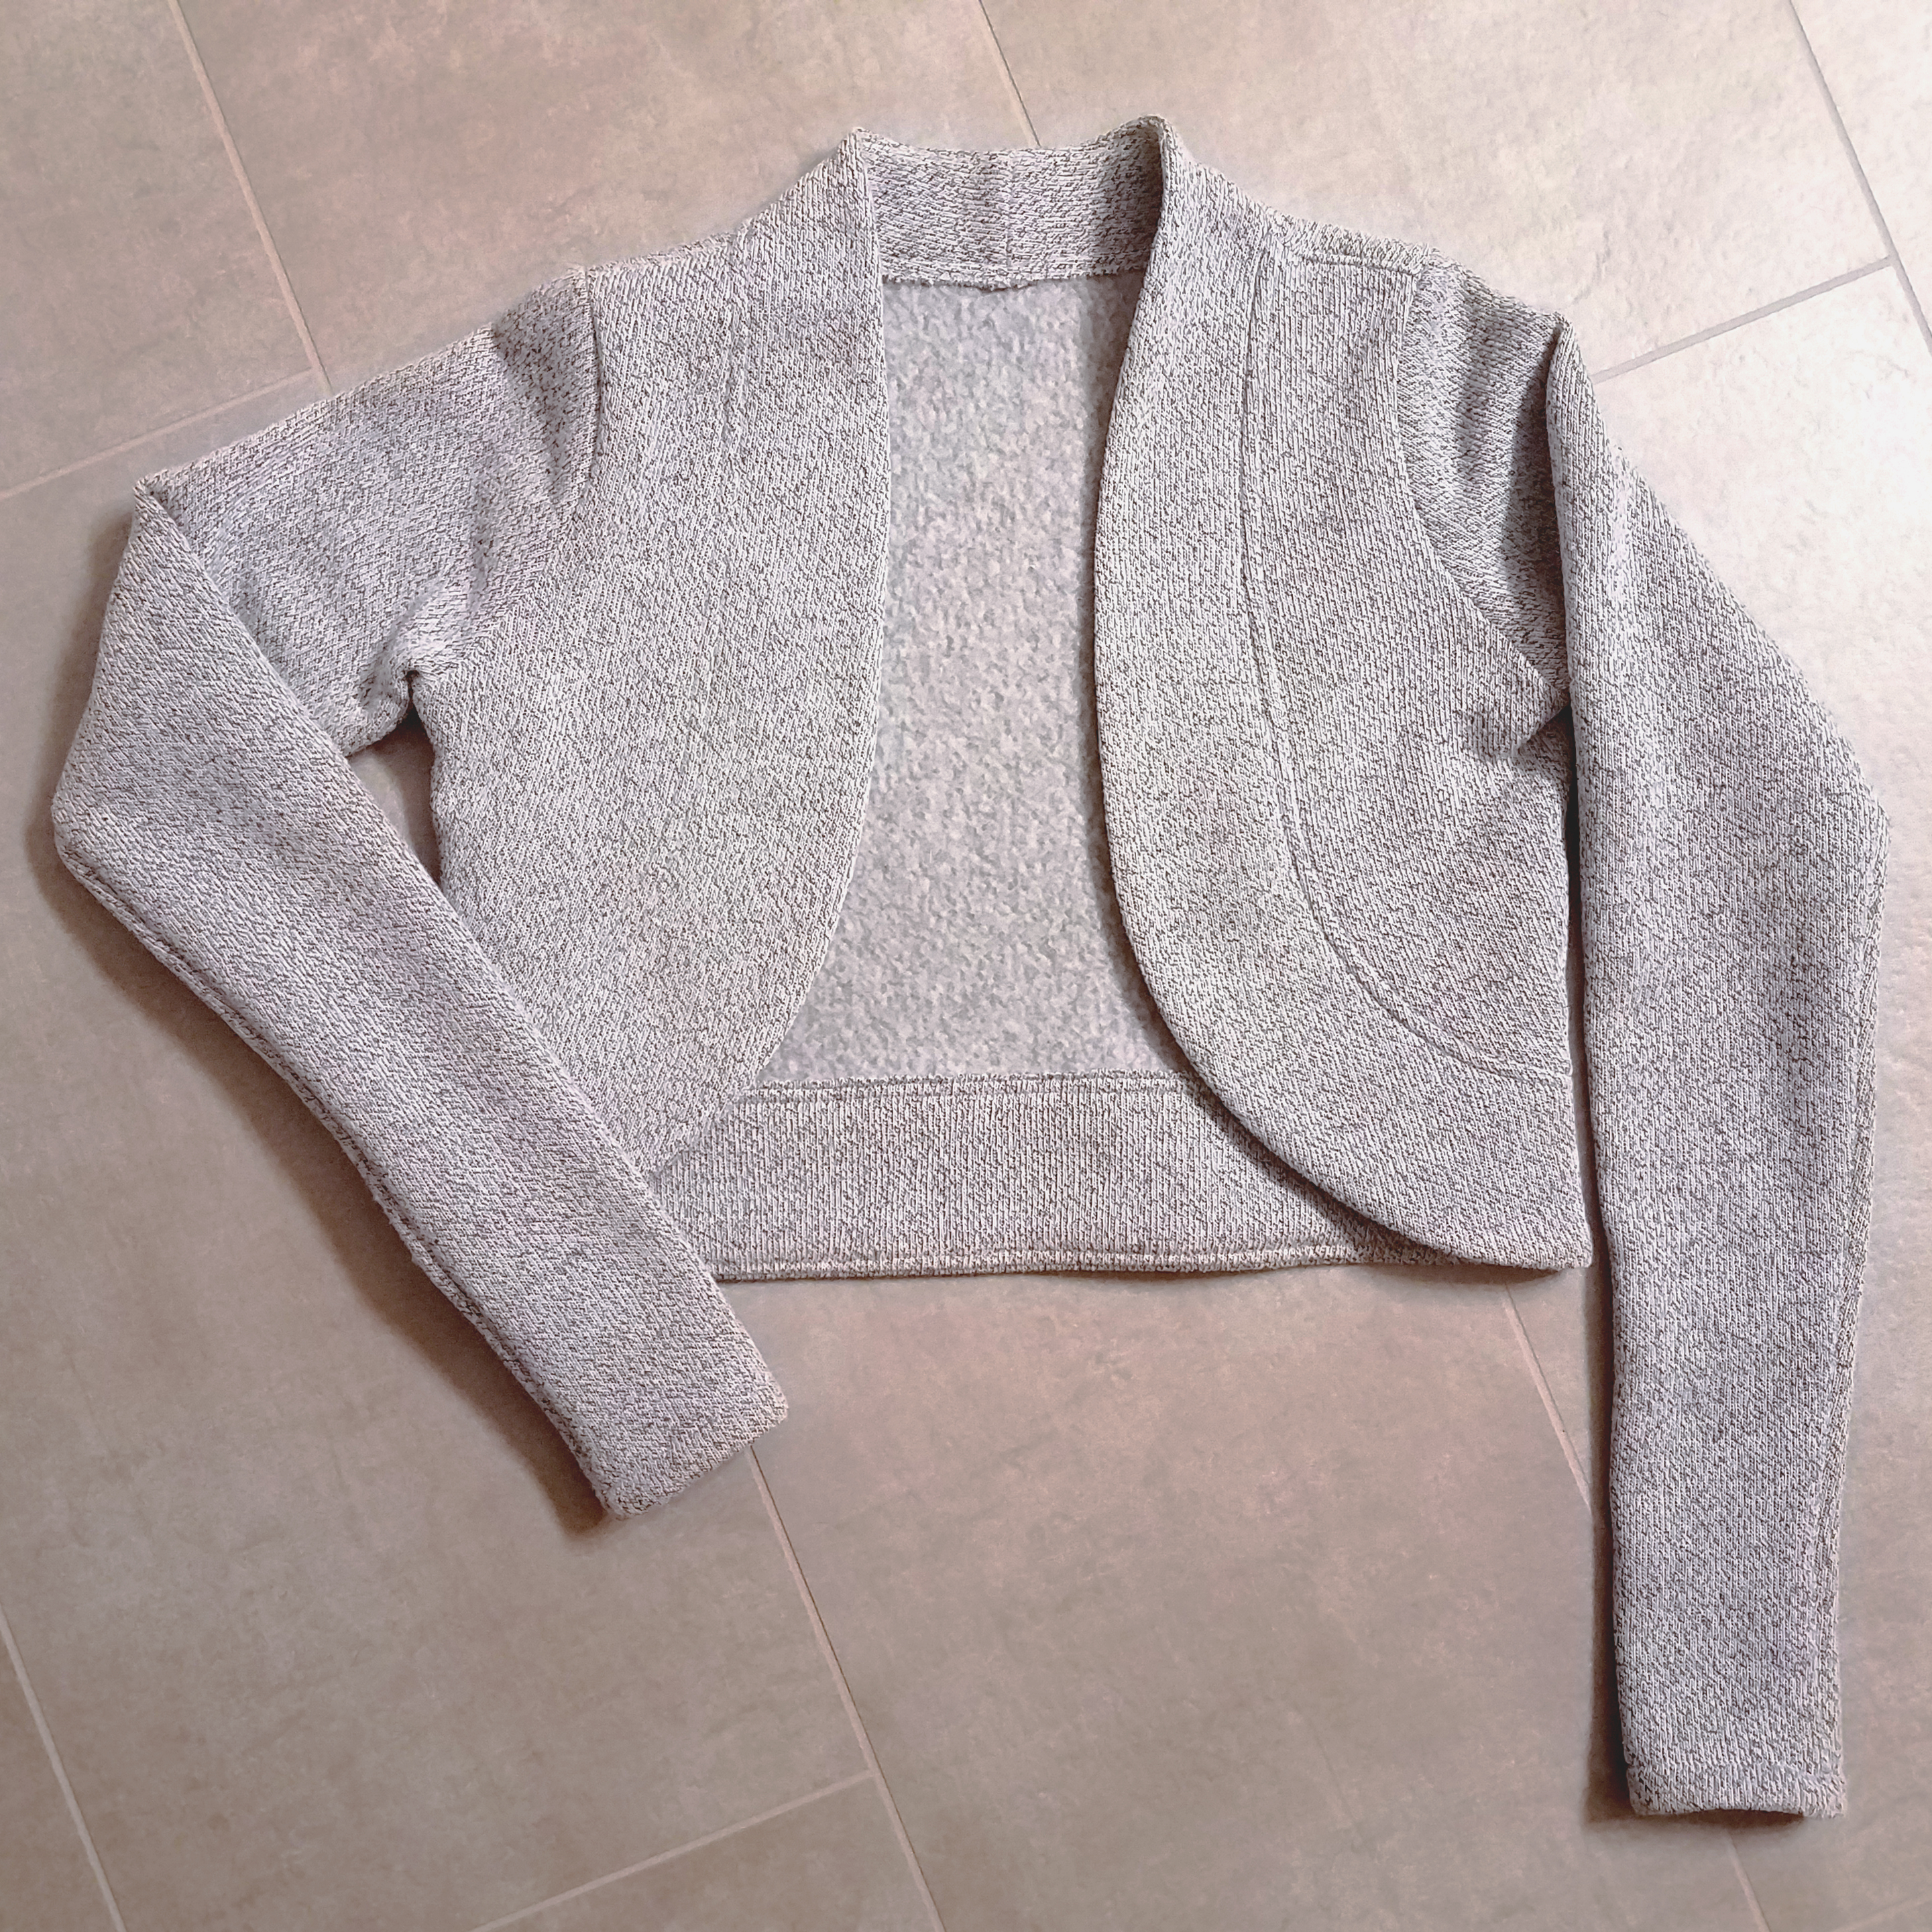
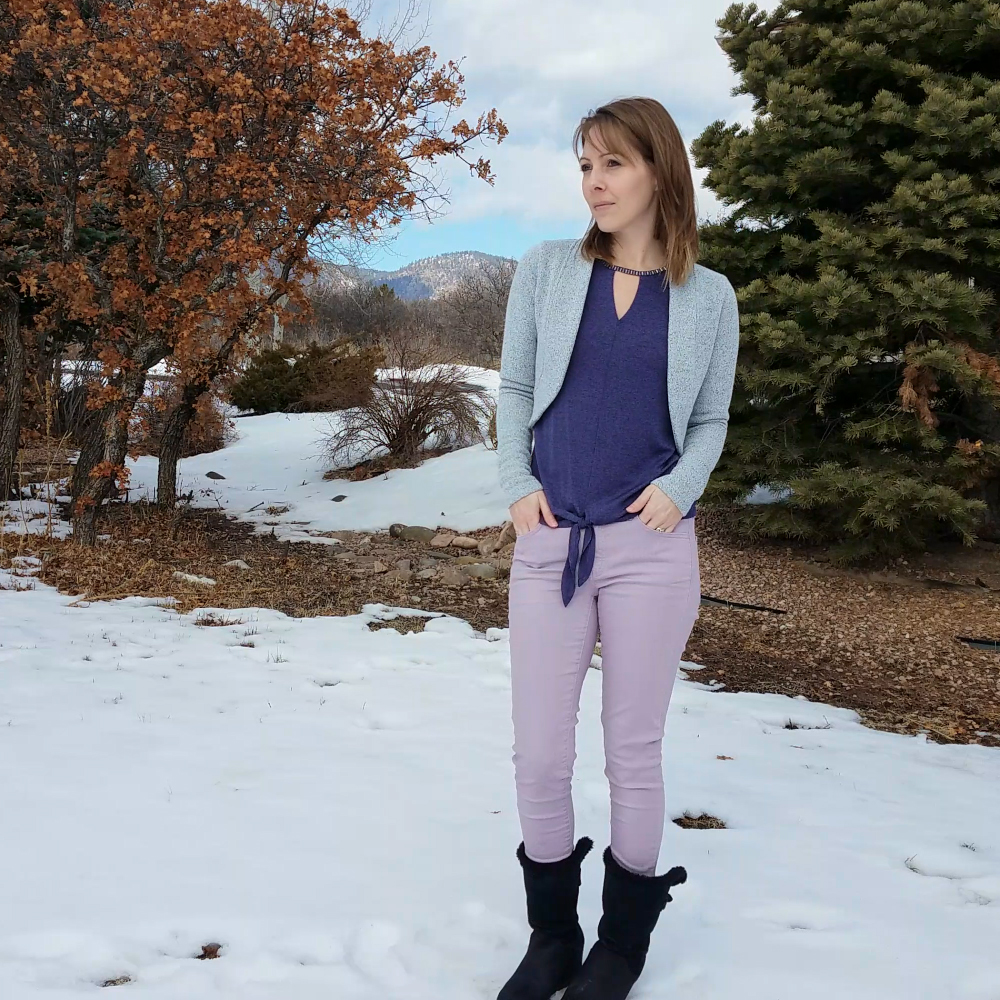
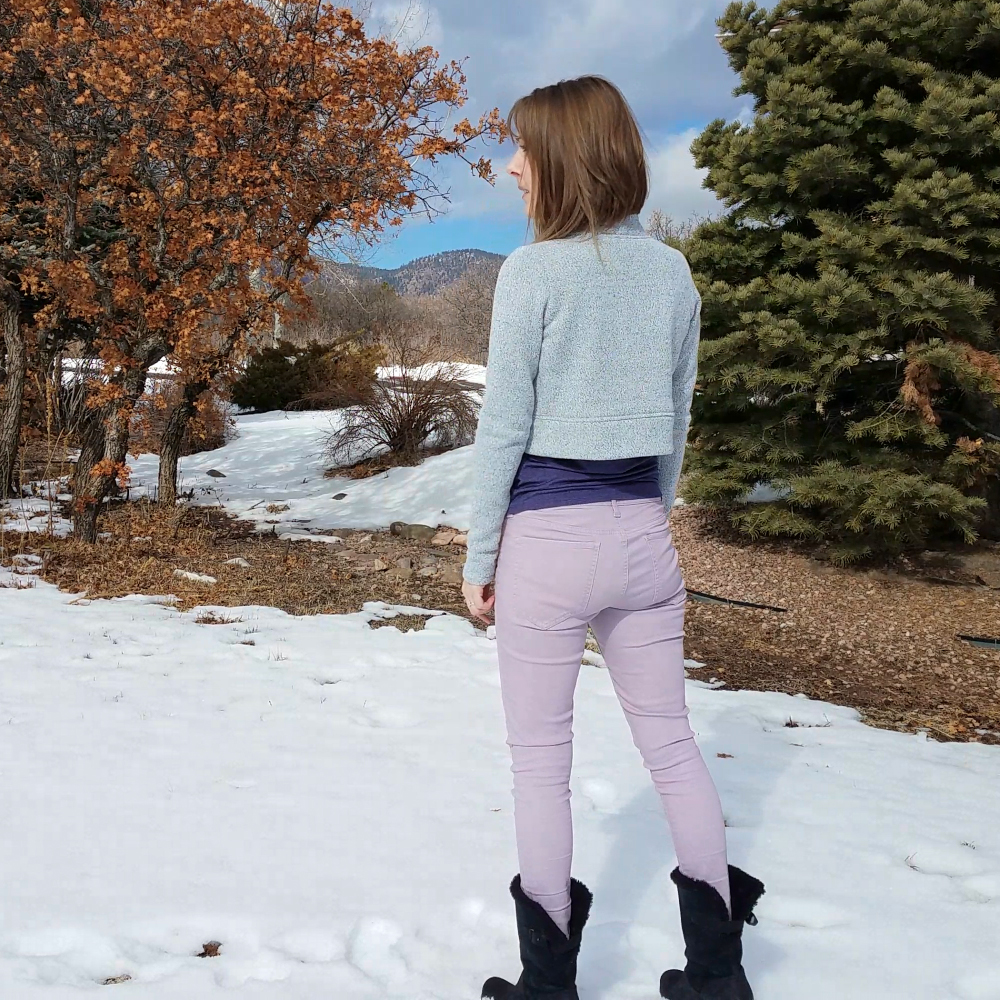
This brushed sweater knit I scored a few weeks ago at Hobby Lobby has a lot more structure to it than the recommended fabric for the Bianca Bolero, and less stretch. I didn’t size up because I had made my first version out of ponte and had a good idea of what the fit was like. I did add 2 inches to the sleeves though, because I’d used this knit in previous makes and knew it needed that added length to be comfortable for me in the sleeves.
So, there’s not a thing wrong with not using the recommended fabric in a pattern. In fact, I would almost encourage you to try something wild. This is how you learn. Maybe you end up with a disaster (I’ve been there!), or maybe you end up with something passable, or maybe you absolutely nail it. If you ask me, the appeal of ending up with something no one else has is totally worth it.


Project Settings
Presser Foot |
Stitch# |
Width |
Length |
Needle |
Top Thread Tension |
Application |
|---|---|---|---|---|---|---|
standard zig-zag (A) |
5 |
1.0 |
3.5 |
blue tip |
5 |
seams |
overcast (C) |
5 |
0.5 |
3.5 |
blue tip |
5 |
shoulder topstitch |
overcast (C) |
6 |
5.5 |
3.5 |
blue tip |
5 |
edge finish |
overcast (C) |
1 |
3.0 |
3.5 |
blue tip |
5 |
understitch |
1/4″ foot (O2) |
1 |
3.5 |
3.5 |
blue tip |
5 |
topstitch collar |
Leave a Reply