I mostly sew knit fabrics, and I sew them exclusively on my sewing machine—no serger, no coverstitch—so being familiar with my stretch stitches is vital.
Not All Stretch Stitches Are Created Equal
You’d think one stitch is pretty much the same as the next, but that’s not true. Some are stronger than others, and some are stretchier than others.
Nine times out of ten, my lightning stitch works great, which makes it my default stretch stitch. But once in a while it just doesn’t work at all, as was the case with the Peg Legs contoured waistband. Made of a Brazilian performance athletic knit, these Pegs have some impressive stretch and recovery, so I needed an impressive stretch stitch to match.
I knew lightning wasn’t going to cut it based on my pair of houndstooth Pegs. I had sewn those around the waist using my usual lightning stitch settings and when I tried the waistband on for fit, they wouldn’t stretch enough to even get on without popping stitches. I cut new waistband pieces and sewed them using my #10 (knit) stitch, which was a LOT better (and wearable), but not quite it.
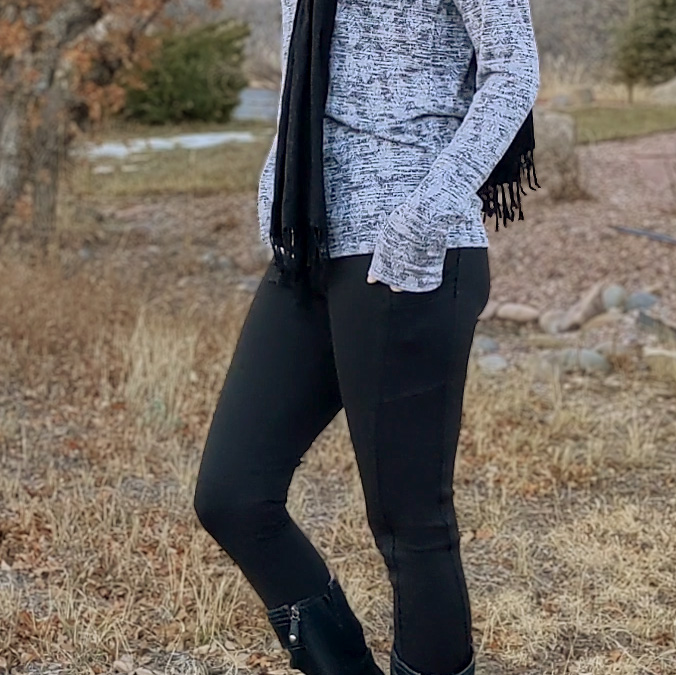
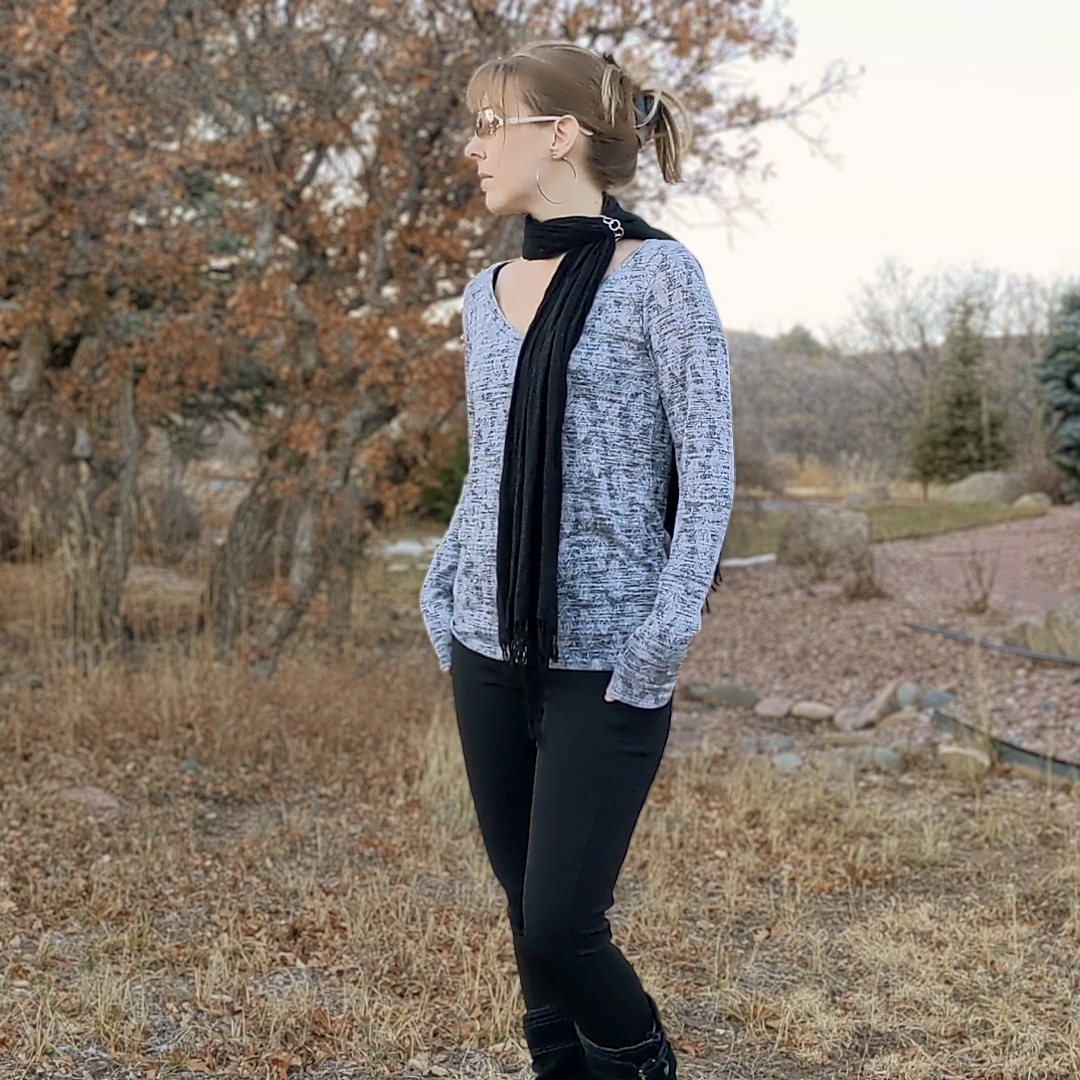
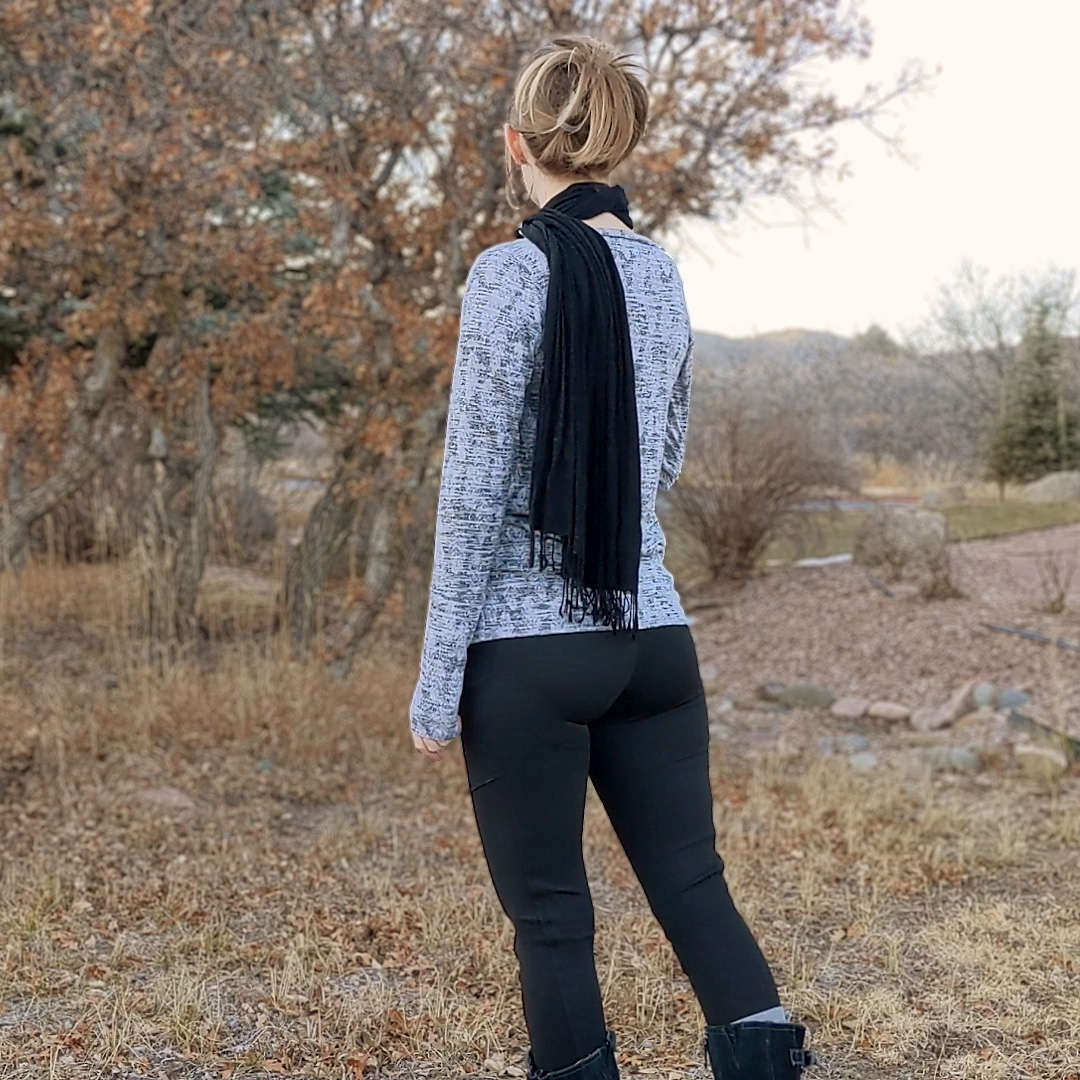
Peg Legs made with Grey Crosshatch Brazilian Performance Athletic Knit from So Sew English; sewn using the “wrong” side of the fabric for a nice basic black capri (plus pockets!)
Testing for the Stretchiest of Them All
There are several stretch stitches on my machine. I’ve highlighted the basic ones below. (I’m sure—out of 99 stitches—a lot more than this stretch, but these are the bedrock stretchy construction stitches.)
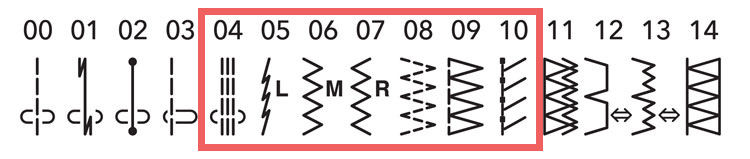
- Triple straight (#4)
- Lightning (#5)
- Zig-zag (#6 & #7)
- Triple zig-zag (#8)
- Overedge (#9)
- Knit (#10)
- Straight + twin needle (#0–#3)
I decided to compare five of them with the greatest potential to stretch well and stay strong. I used the default settings for each stitch while testing.
The Results
Stitch Diagram # |
Beginning Length |
Stretched Length |
Difference |
|---|---|---|---|
4 (triple straight) |
3″ |
5″ |
2″ |
5 (lightning) |
3″ |
5.75″ |
2.75″ |
8 (triple zigzag) |
3″ |
6″ |
3″ |
10 (knit) |
3″ |
5.5″-5.75″ |
2.5″-2.75″ |
2 (straight + twin needle) |
3″ |
5.25″ |
2.25″ |
And the winner is the triple zig-zag.
The Project
About the Fabric
I’ve already made a pair of Peg Legs using this Brazilian knit from So Sew English, but I had just enough left over to eke out a pair of capris. I decided to use the back of the fabric as the right side for a nice, versatile pair of basic black athletic capris.
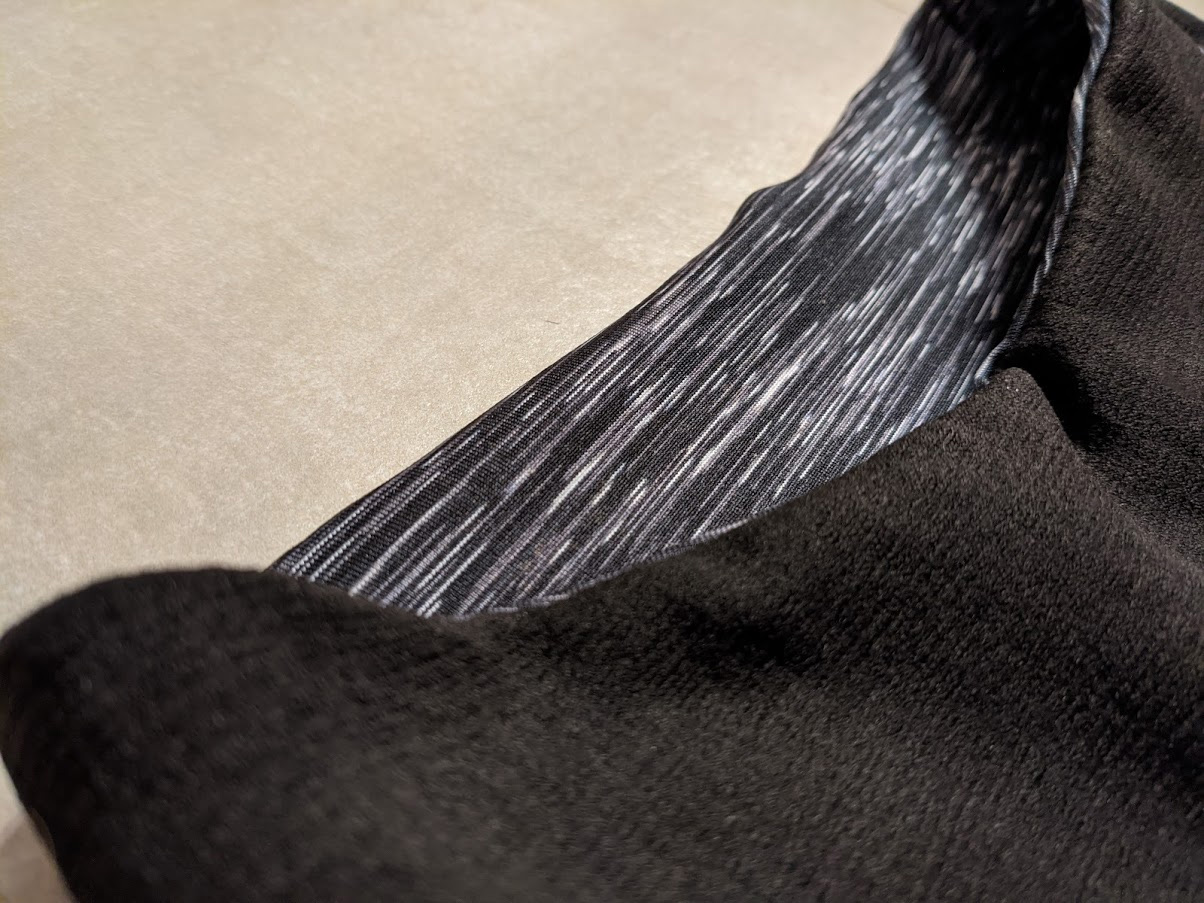
I didn’t have quite enough to cut every piece I needed, so I used some leftover nylon spandex from Made of Love to create the waistband lining, and some black french terry from Made of Love for the side pockets.
Construction / Options / What I Did Differently
- Low rise
- Contoured waistband with 1″ scooped from front center.
- Knowing how stretchy these fabrics are and how large was a little too large on my first version with this fabric, I used a straight size medium, no grading.
- Did NOT topstitch the waistband.
- Did not hem the legs. I plan to wear these while skiing (under snow pants, wool socks, knee braces, and ski boots), so eliminating all possible bulky points is more important to me than a hem.
- Ski verdict: They are absolutely perfect. If I can spend two whole days skiing and not once think about the pants I have on, then I count this as a 100% win. I didn’t have to hike them up at all, they weren’t restrictive, didn’t dig in uncomfortably anywhere, kept my legs perfectly warm and comfortable (in below freezing temps), and stayed dry and breathable under my snow pants. Also, no bulky areas. I love them.
- Used the triple zig-zag stitch around the waist and it is exactly what I was looking for. It doesn’t inhibit the stretch of the fabric at all.
- I used my blue tip needle for 99.9% of this…until it shattered while finishing the seam where the waistband attaches to the pants. This is a pretty hefty fabric, so I should have been using my purple tip the whole time. I’m lucky I got as far as I did with the blue tip.

And finally, I have a pair of Pegs that are very near perfect fit-wise (with the added bonus of doing all kinds of nice things for my butt.) I might finally be able to cut into my Dusty Plum textured Brazilian performance fabric now. The most important thing to take away from this whole Peg journey is to always always always let the stretch of the fabric determine the proper sizing.

Project Settings
Presser Foot |
Stitch# |
Width |
Length |
Needle |
Top Thread Tension |
Application |
|---|---|---|---|---|---|---|
standard zig-zag (A) |
5 |
1.0 |
4 |
purple tip |
4 |
seams |
overedge (C) |
6 |
5.5 |
3.5 |
purple tip |
4 |
edge finish |
standard zig-zag (A) |
2 |
3.5 |
3.5 |
twin stretch |
4 |
leg topstitch |
standard zig-zag (A) |
8 |
5 |
1.5 |
purple tip |
4 |
waist |
standard zig-zag (A) |
0 |
3.5 |
5 |
purple tip |
4 |
baste |
Leave a Reply