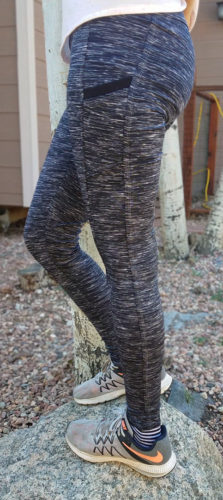
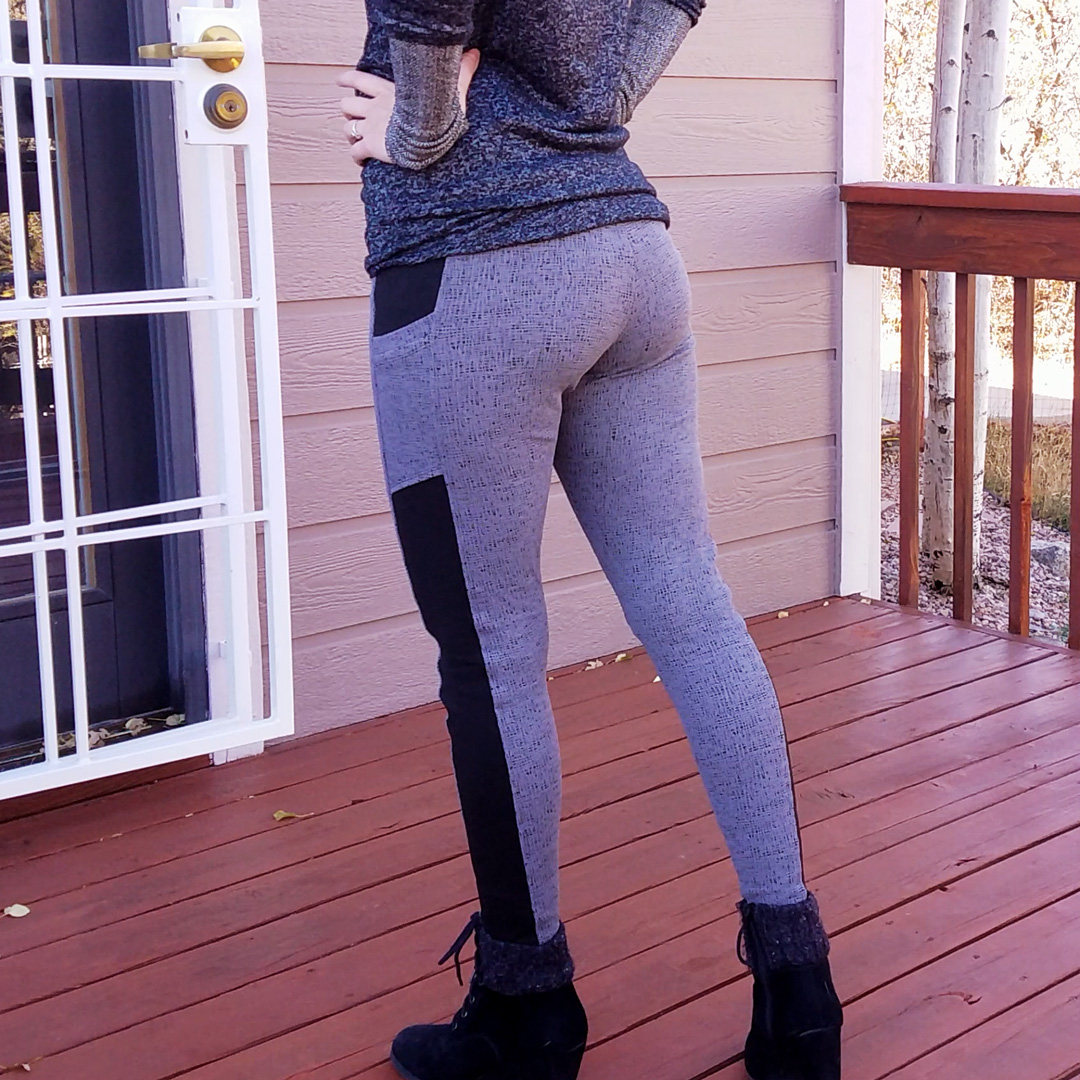
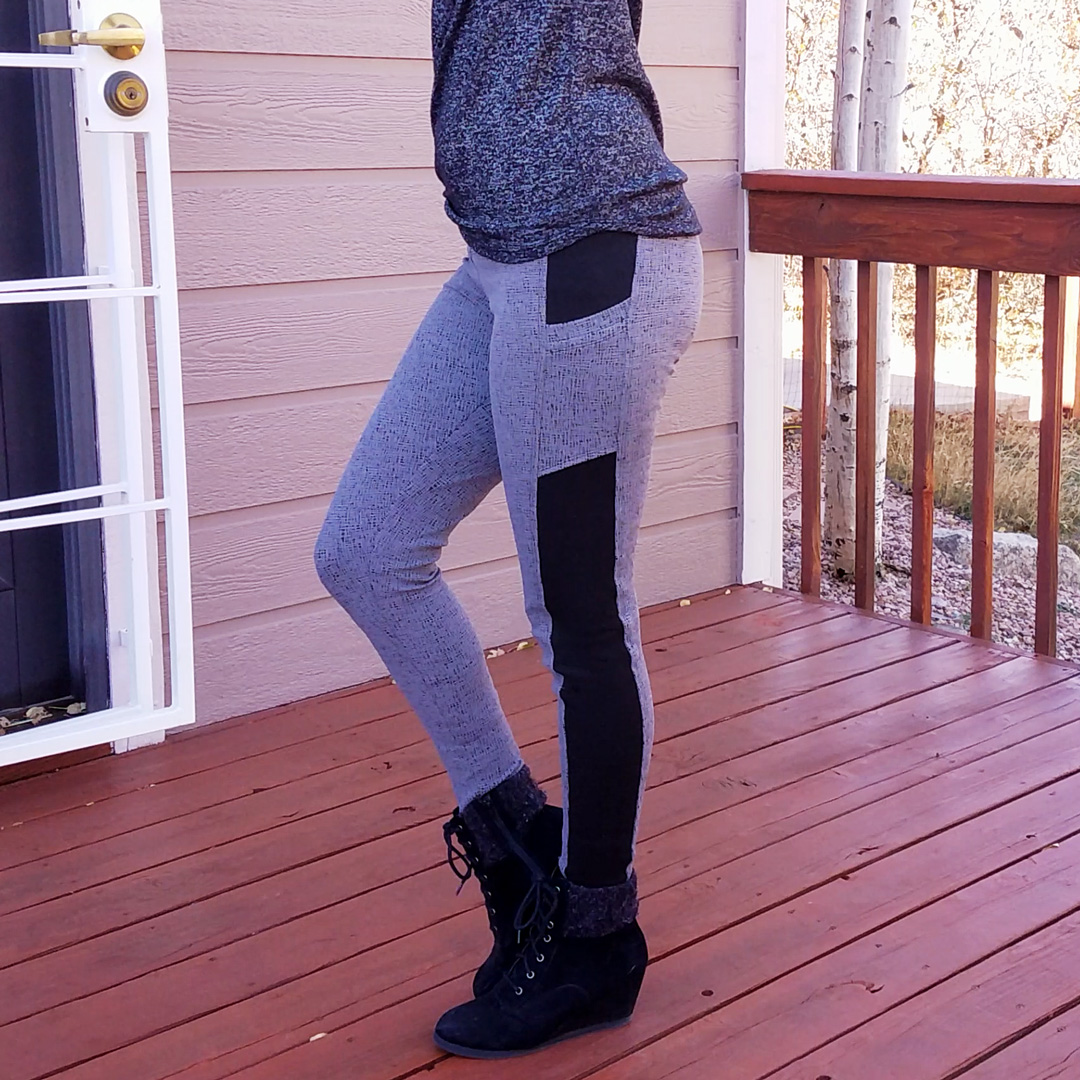
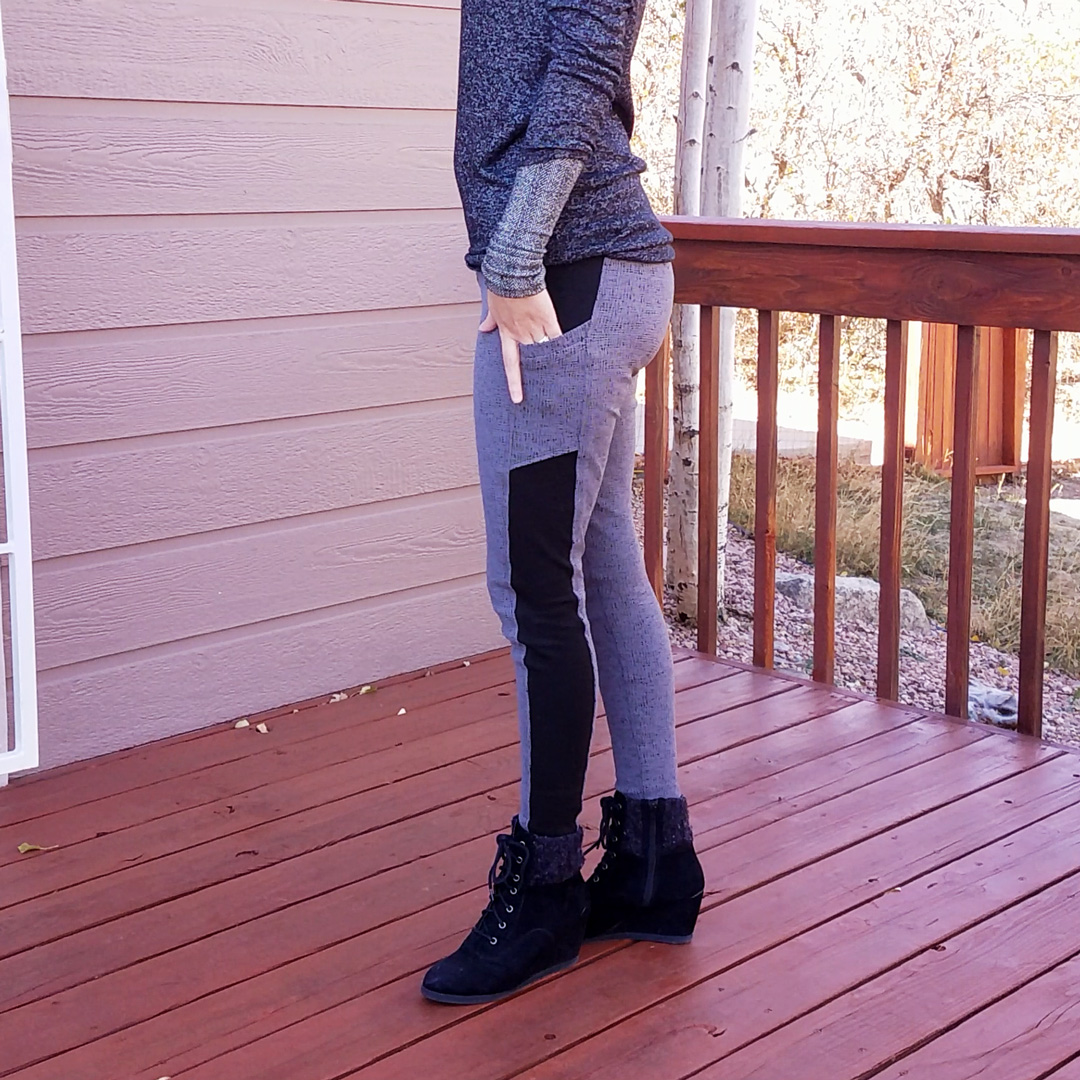
Peg Legs in space dye athletic nylon spandex from Made of Love Fabrics.
Pants are the bane of my (wardrobe) existence. I am never happy with how they fit, and I am still dialing in the fit even after this, my nth pair of Peg Legs. (Seriously, I lost count. 8? 9?)
One of the joys of sewing your own clothes is choosing your own fabric. It’s also one of the challenges, for with different fabrics come different behavior. You might nail the fit of a garment using one fabric, and then need all sorts of adjustments with a different fabric. That’s exactly what happened here.
My most recent pair of Pegs were made from athletic nylon spandex from Made of Love Fabrics. I did not grade between sizes, and I’m pretty happy with them.
So naturally, for my next pair, that was my starting point. Straight size large with no grading. However, I used a different fabric: Brazilian Performance from So Sew English, a “high end, superior quality, athletic fabric.” (No idea what the fiber content is; they didn’t say.)
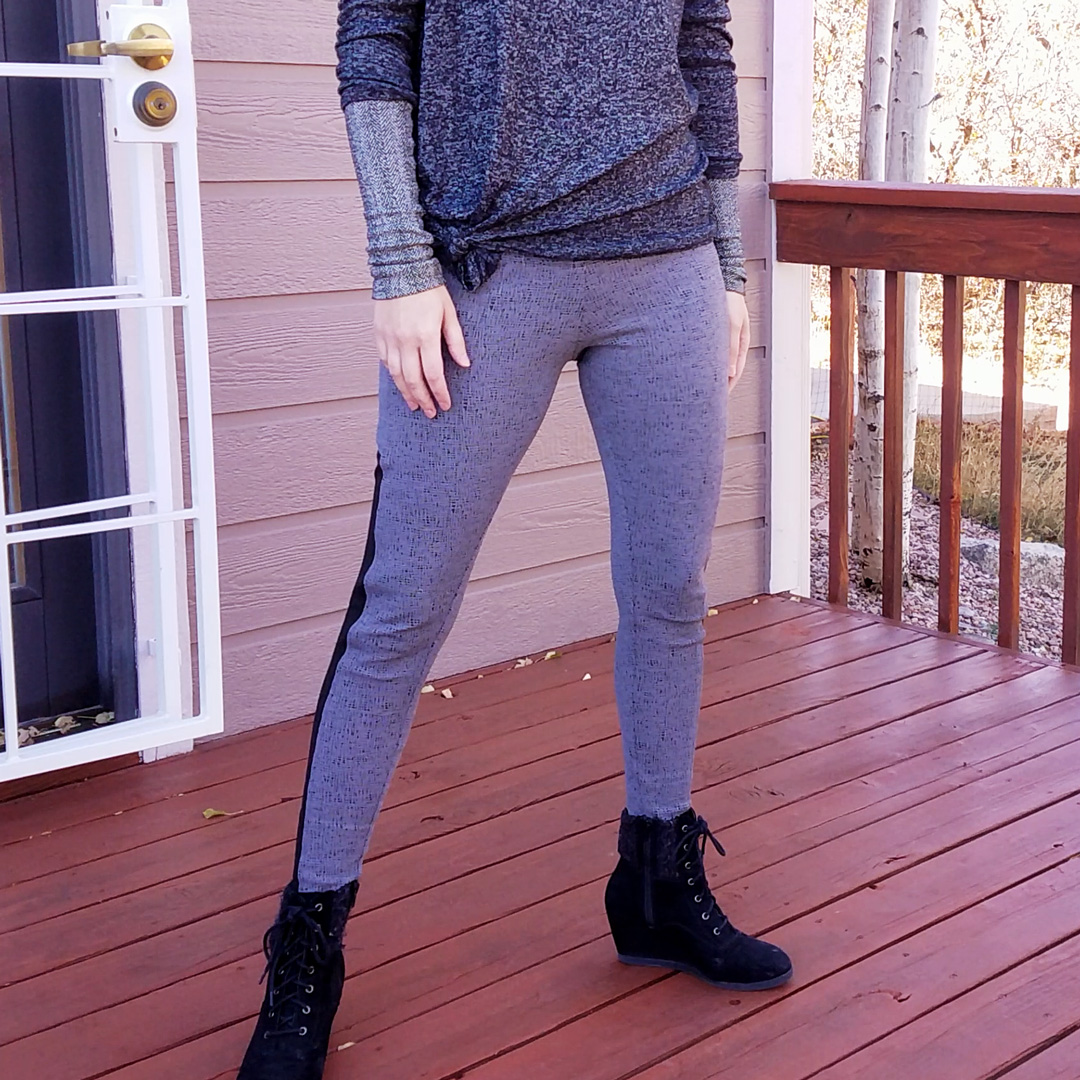
About the Fabric – Gray/Black Crosshatch
Whatever it is, it is funky, and I love it. The face is textured with an almost rubbery appearance, but it’s fabric-soft. It has an almost neoprene weight/thickness to it, but it’s breathable. Structured but flexible. Abundant stretch and great recovery. Warm and does a good job of blocking the chill in the air, yet somehow after wearing them all day, absolutely no sweat. This fabric is full of wonderful contradictions!
It’s also wonderful to sew. Cut edges stay clean and lay flat. Multiple layers can build quite a bit of bulk, but my machine sewed through it all with no problem.
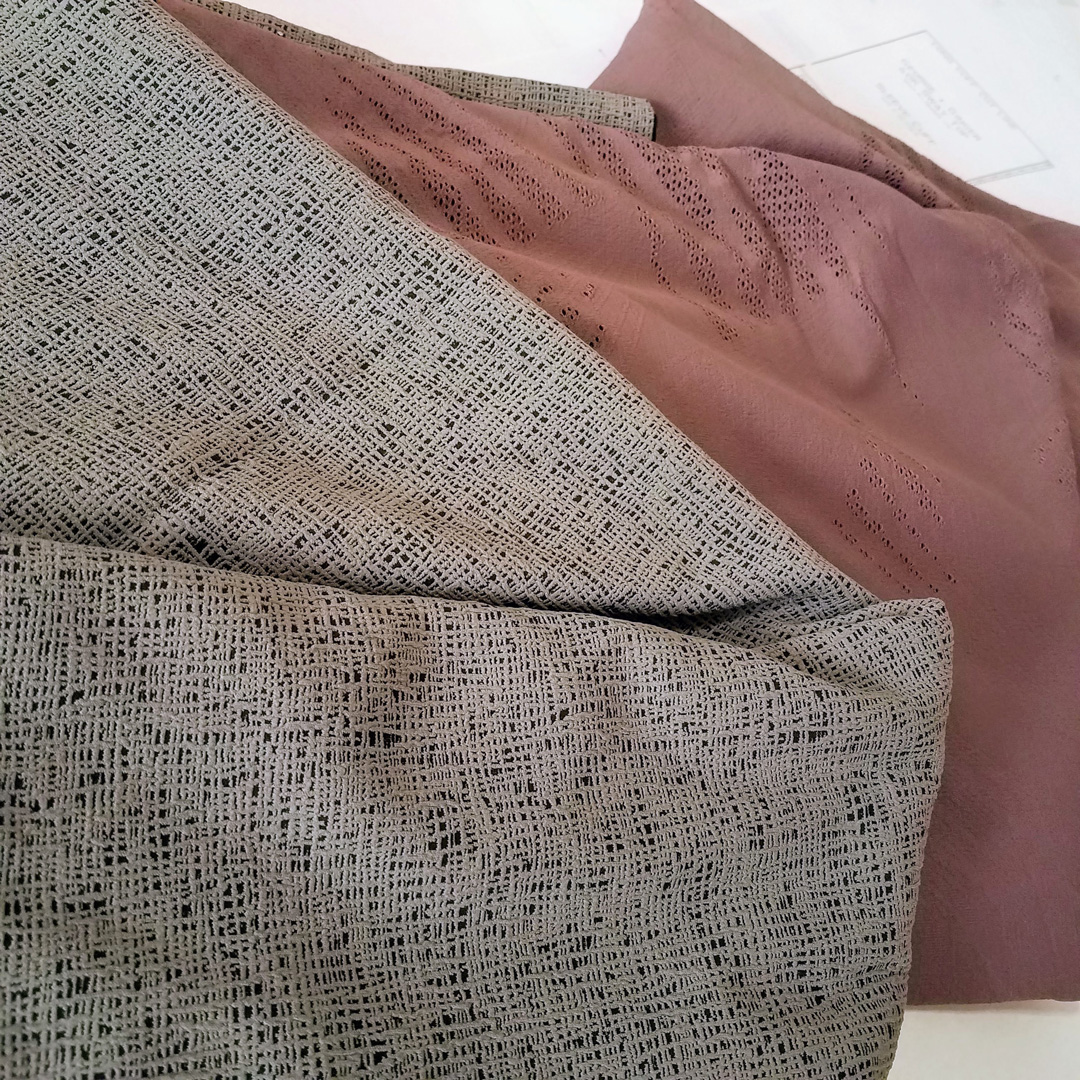
Brazlian performance athletic fabric from So Sew English (left: gray/black crosshatch; right: dusty plum texture)
Fixing Baggy Legs
So, along with a new fabric I’ve never worked with before comes the inherent risk of fit issues. With only hemming and some topstitching left, I tried them on and discovered they were loose around my knees. Not unwearable loose, but definitely loose enough to bother me.
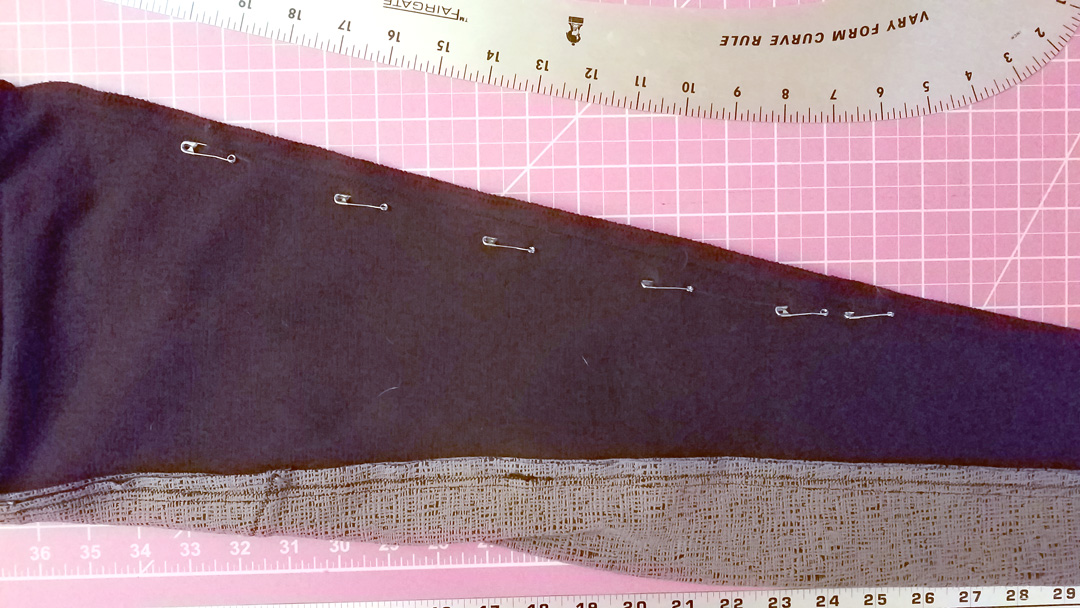
The good news: too large is definitely fixable compared to too small. So I broke out my vary form curve and roughed a gradual curve along the inseam to bring in the legs around my lower thigh and knee. I pinned the curve along the inside using some quilting pins so I could try it on for an idea of how that adjustment would work.
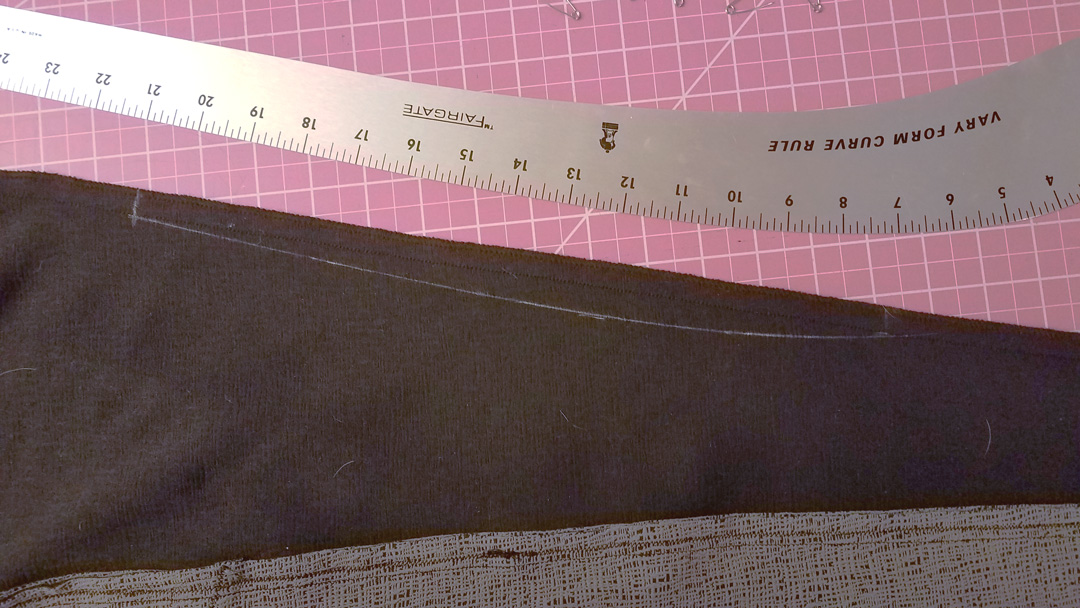
Seemed pretty good to me, so I measured where the curve started and ended so I could repeat it on the other leg, chalked in the line, and sewed, starting and ending from the original seam where my new seam crossed it.
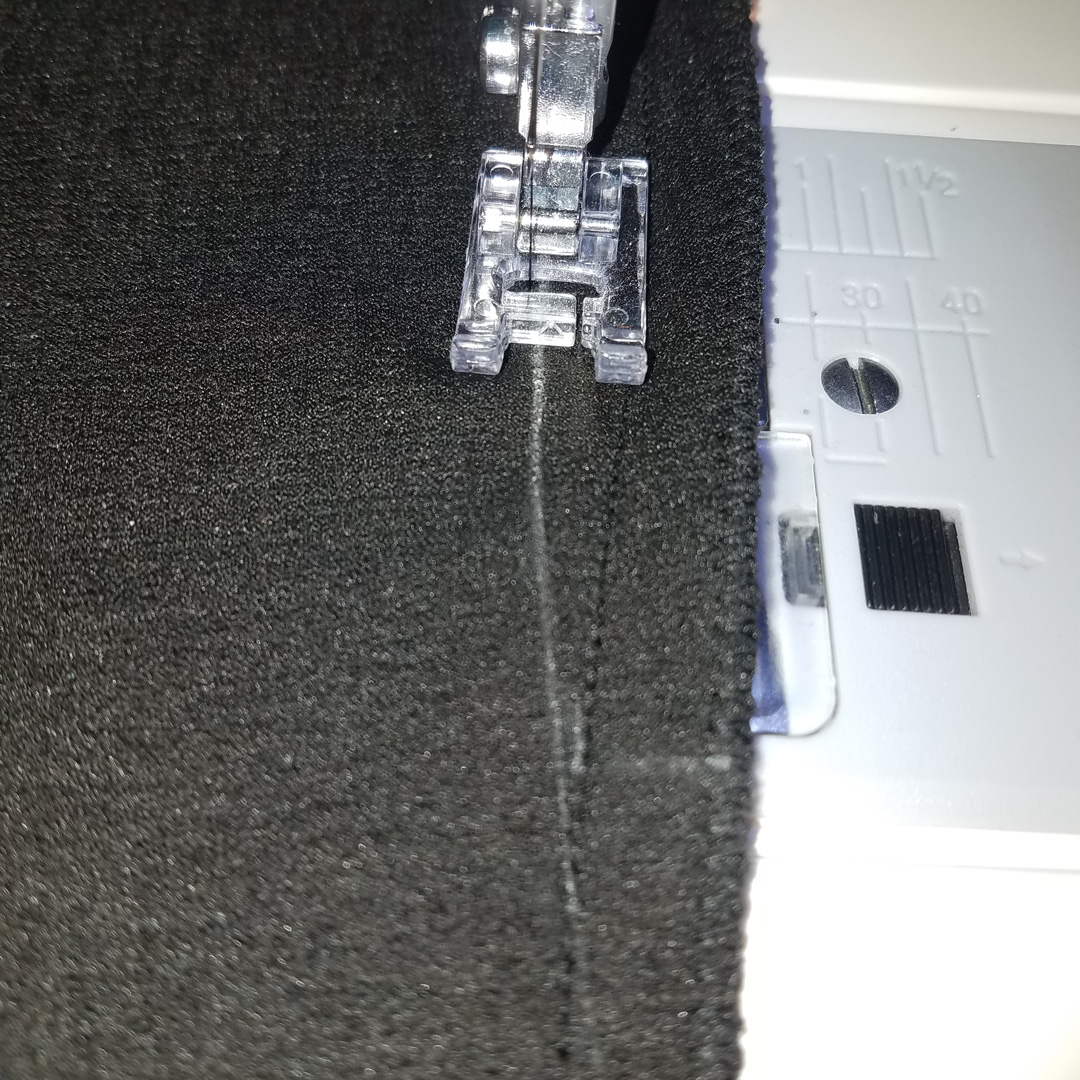
Tried on one leg before I did the other and liked the result, so I sewed the other leg the same way. Then I measured 0.5″ from the new seam and trimmed the excess fabric to even out the seam allowance, refinished the raw edges, and finished up with hemming and topstitching the waistband seam allowance.
Notes for Next Time
- It’s a weighty fabric, which I think–combined with a waist/pelvis area that’s just a tad too loose–contributes to them creeping down throughout the day. I’m actually beginning to wonder about reshaping the rises; stealing from the front to give to the back. I always have the same issue where there doesn’t seem to be enough rise in the back and too much in the front. I blame my butt.
Project Settings
Presser Foot |
Stitch# |
Width |
Length |
Needle |
Top Thread Tension |
Application |
|---|---|---|---|---|---|---|
standard zig-zag (A) |
5 |
1.0 |
4 |
blue tip |
4 |
seams |
overedge (C) |
6 |
5.5 |
3.5 |
blue tip |
4 |
edge finish |
standard zig-zag (A) |
2 |
3.5 |
3.5 |
double stretch |
4 |
topstitching |
applique (F) |
5 |
1.0 |
4 |
blue tip |
4 |
leg fix |
Leave a Reply