What is shirring?
Shirring is the name given to multiple rows of gathers. It’s a technique that adds stretch and texture to woven fabrics. See exhibit A.
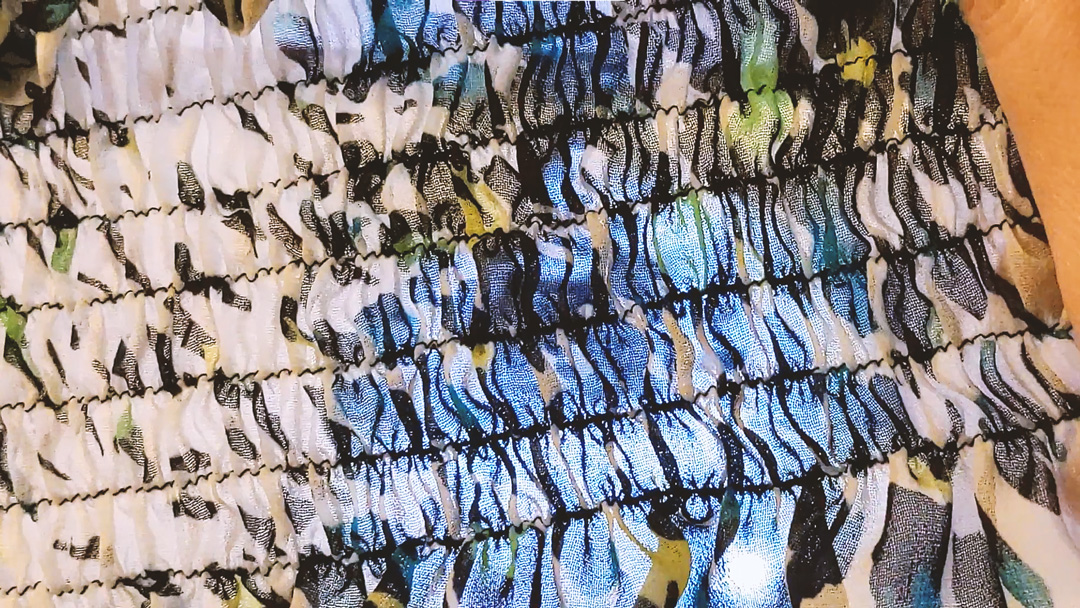
Exhibit A: an example of shirring.
Here’s what I learned about shirring.
- Test on scrap fabric. You will need to dial in various settings.
- Use regular thread in your needle. Use elastic thread in your bobbin.
- Find whatever way works for you to wind your bobbin—100% by hand, on your machine whilst bypassing the tension disc, whatever. The important thing is DO NOT STRETCH the elastic thread while winding the bobbin.
- I wound my bobbin by hand. I did try a hybrid technique I saw on Instagram first, but it failed miserably. Update: I’ve since refined this technique and found a quick and happy way to wind elastic thread on a bobbin.
- I loosened my bobbin tension by adjusting the screw 1/2 turn counter-clockwise. I arrived at that setting by testing a 1/4 turn first. I wasn’t happy with how the elastic thread was feeding through my machine, so I loosened another 1/4 turn for a total of 1/2 turn.
- I used a straight stitch at 4mm long.
- I backtacked the beginning and end of each row.
- I stretched the previous rows while sewing. I don’t know if this is proper or not, but I feel like if I hadn’t, the thing would’ve ended up too small.
- I eyeballed the spacing between rows, so while it’s not always perfectly parallel, it was a lot better than marking lines and trying to follow them. I wouldn’t begrudge anyone who wants to do that, but once you start, your fabric will contract more and more with each new row and it might be more of a pain to flatten it out just to follow your lines accurately.
Leave a Reply