So many mixed feelings about this one: from it’s finished ILOVEITSOMUCH to I both hate and love gathering to uhg, elastic everywherrre and I both hate and love eyelet fabric.
About the Fabric
Main: coral knit eyelet I bought before I knew what I was doing at Joann Fabrics. It was on sale and I remember the cashier commenting on how much she liked it.
Lining: rayon spandex jersey from Surge Fabrics
- Fabric Content: 96%Rayon/4%Spandex
- Fabric Width: 58/60″
- Fabric Weight: 200gsm
- Fabric Stretch: 50% horizontal/ 50% vertical
- Suggested Care: Machine wash cold, tumble dry low
I intended to make the entire dress out of this fabric, but I think it’s a good thing I didn’t. I think it would’ve been a little too fluid.
Notions: 3/8″ knit elastic, 1/2″ clear elastic, 1/4″ clear elastic
About This Make
- Size: purple because apparently numbers are too damaging to the fragile masses 🙄
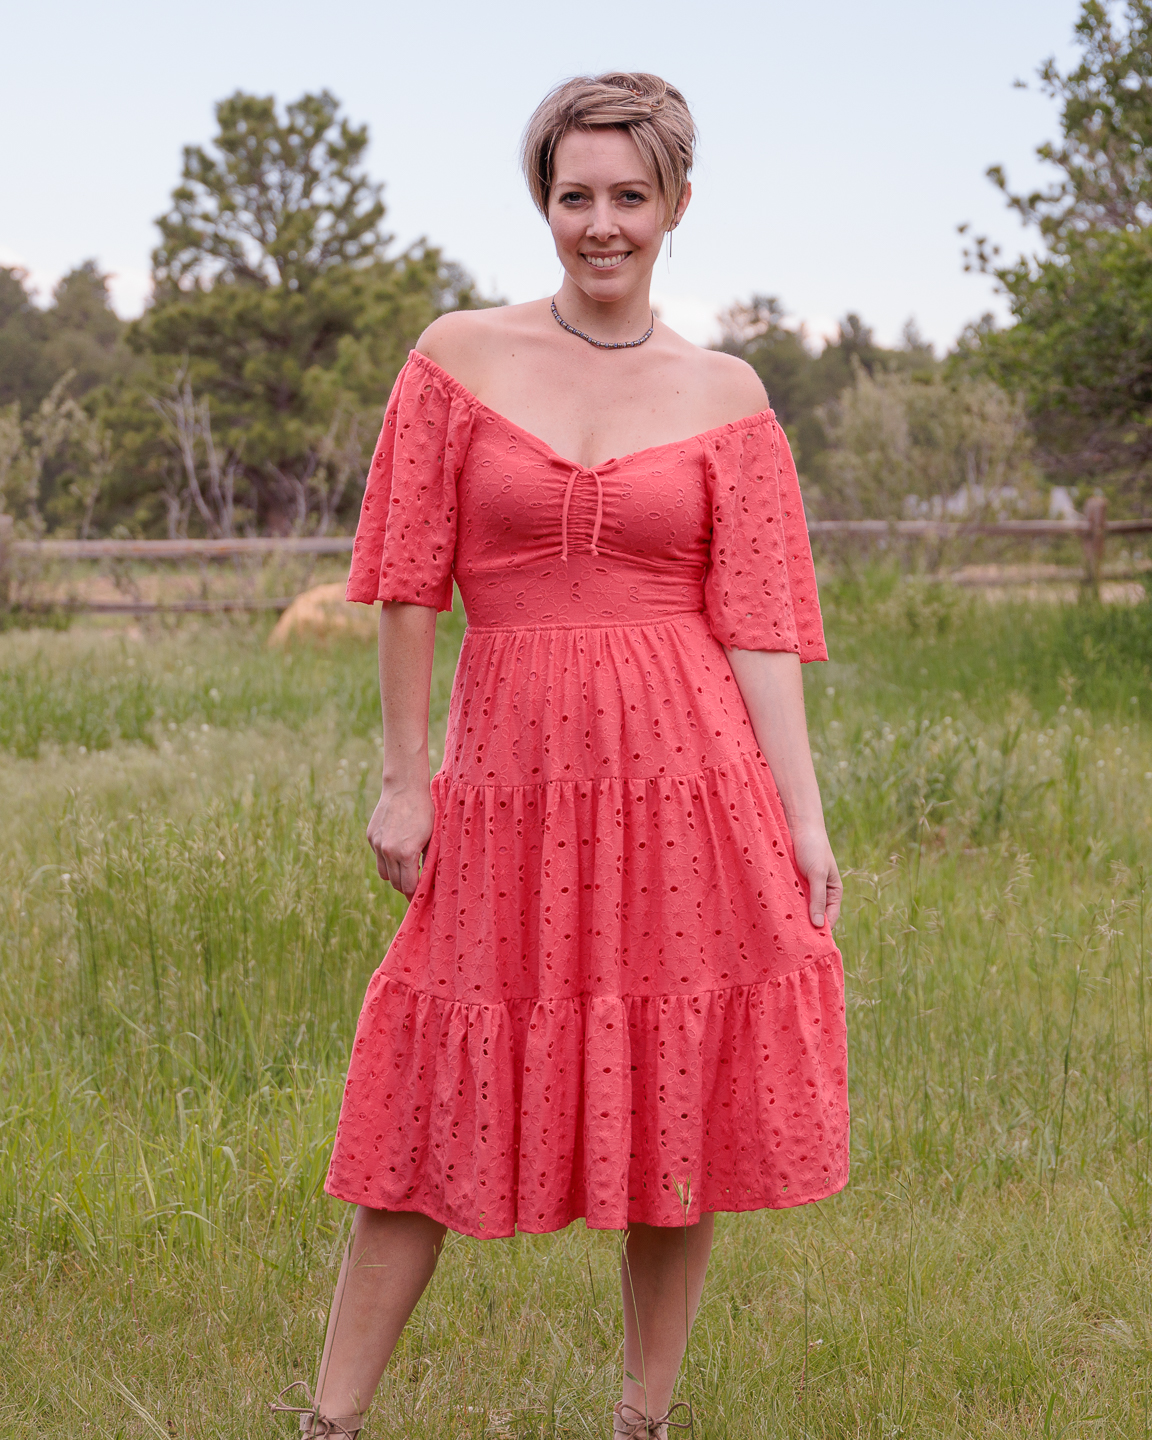
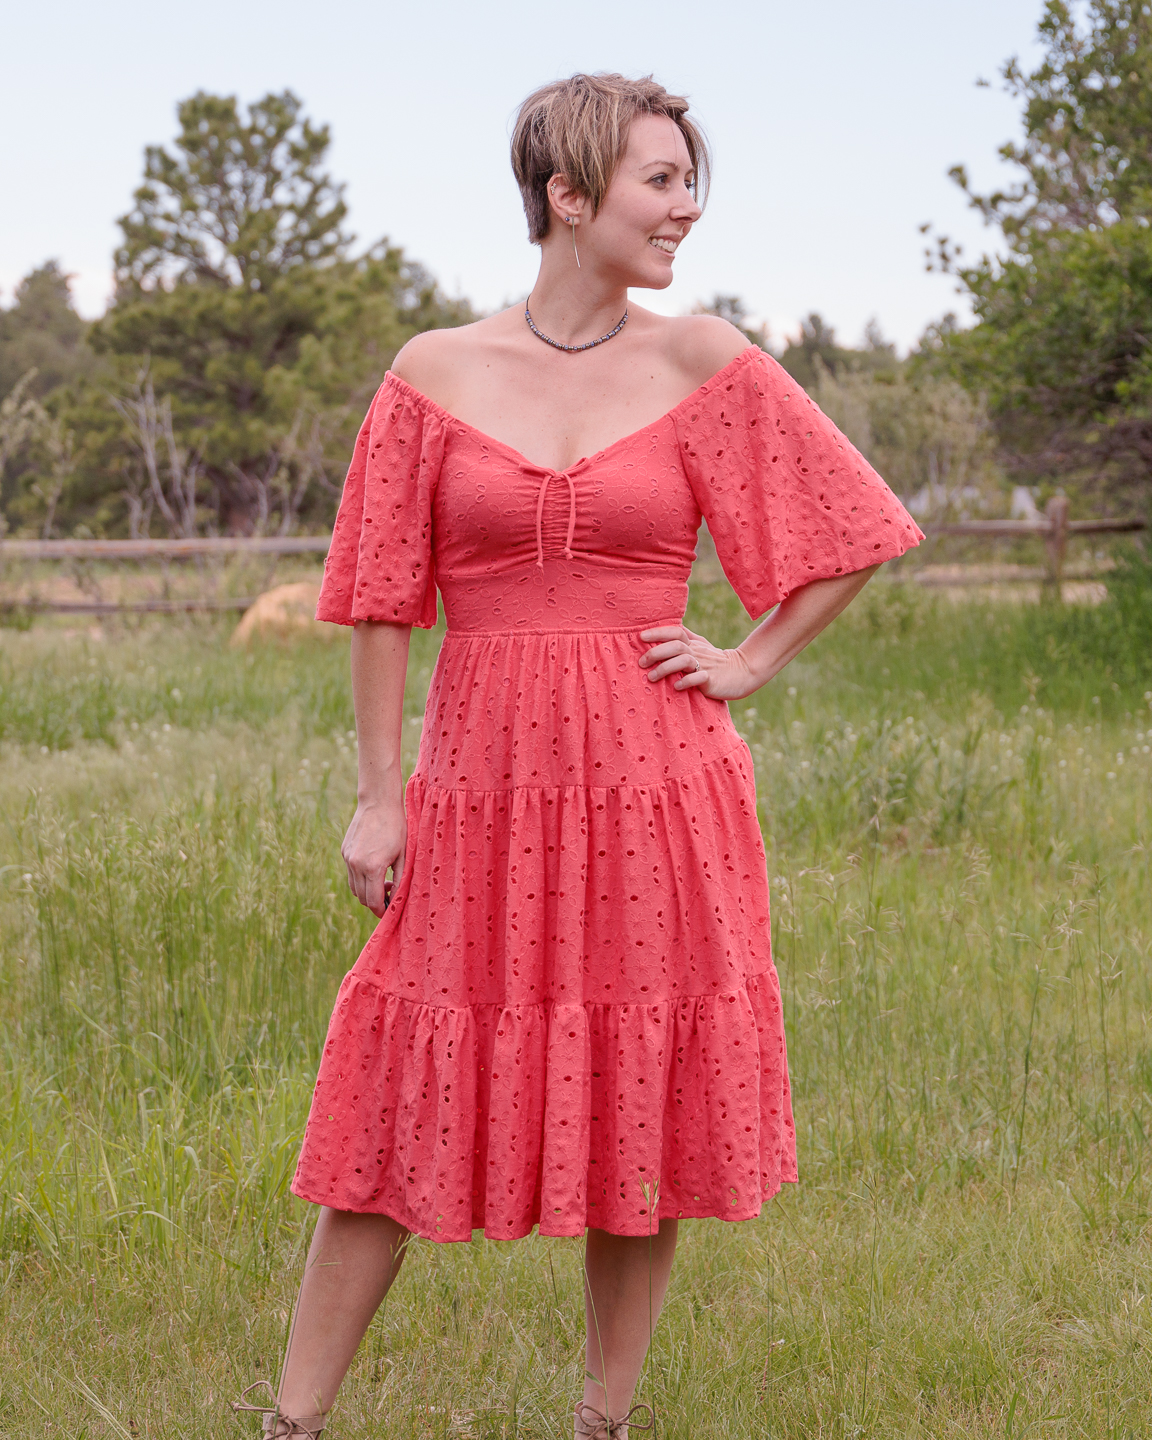
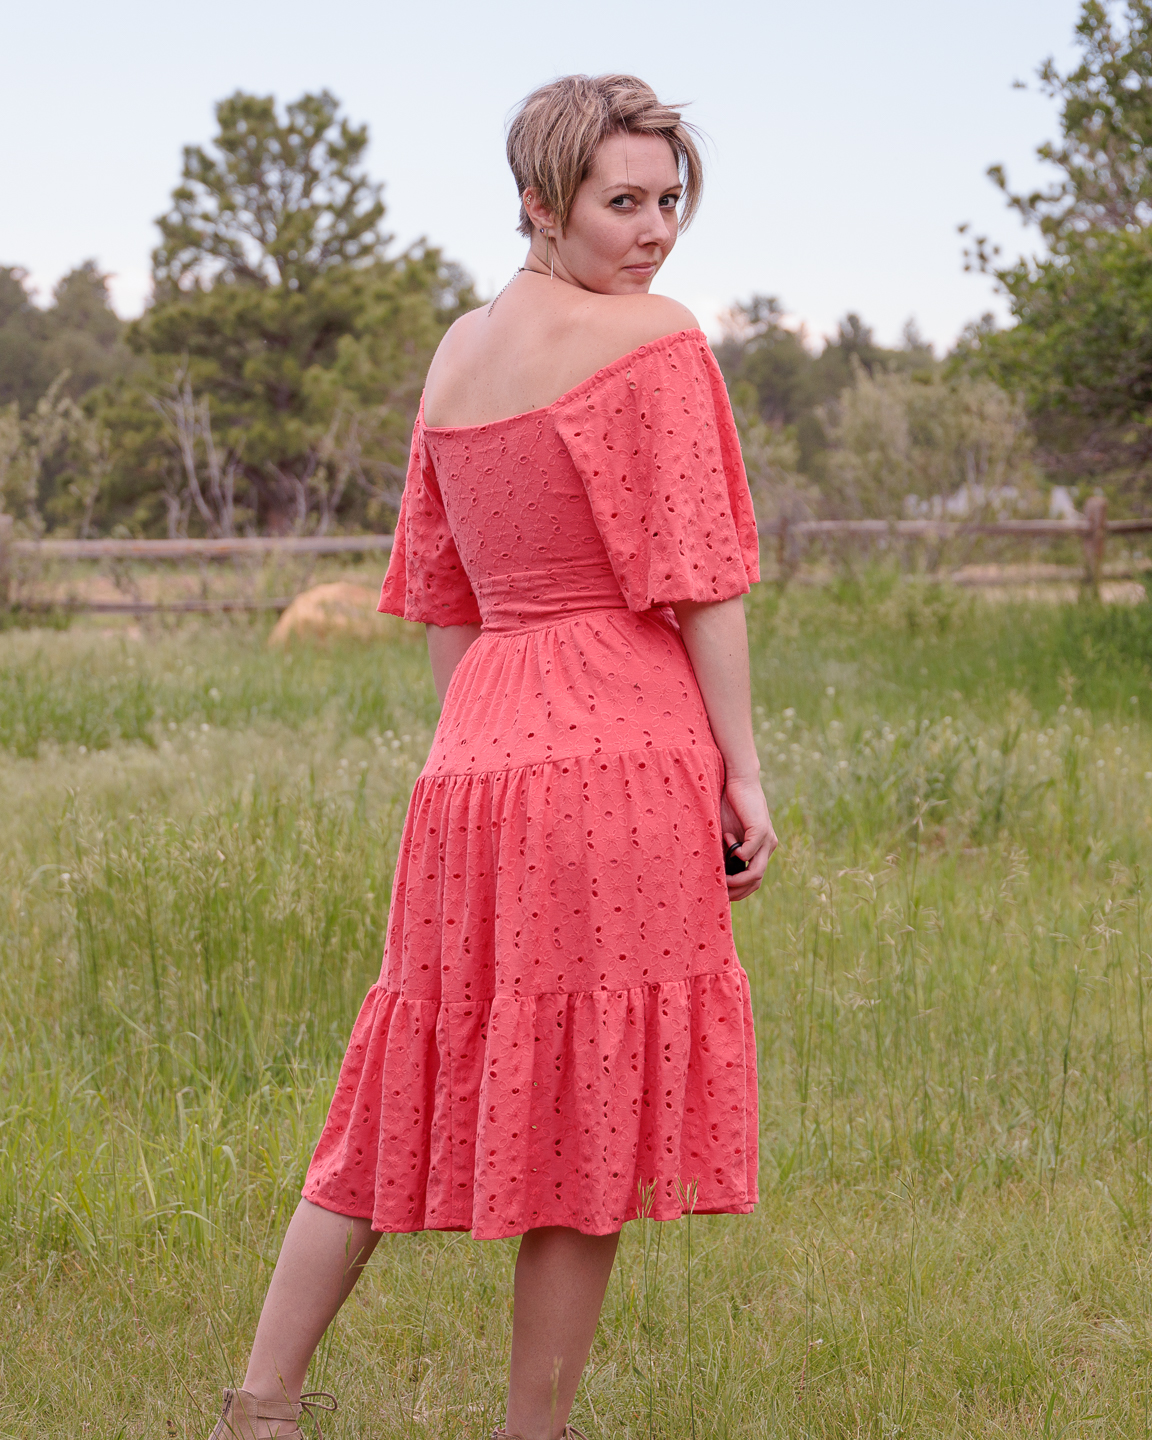
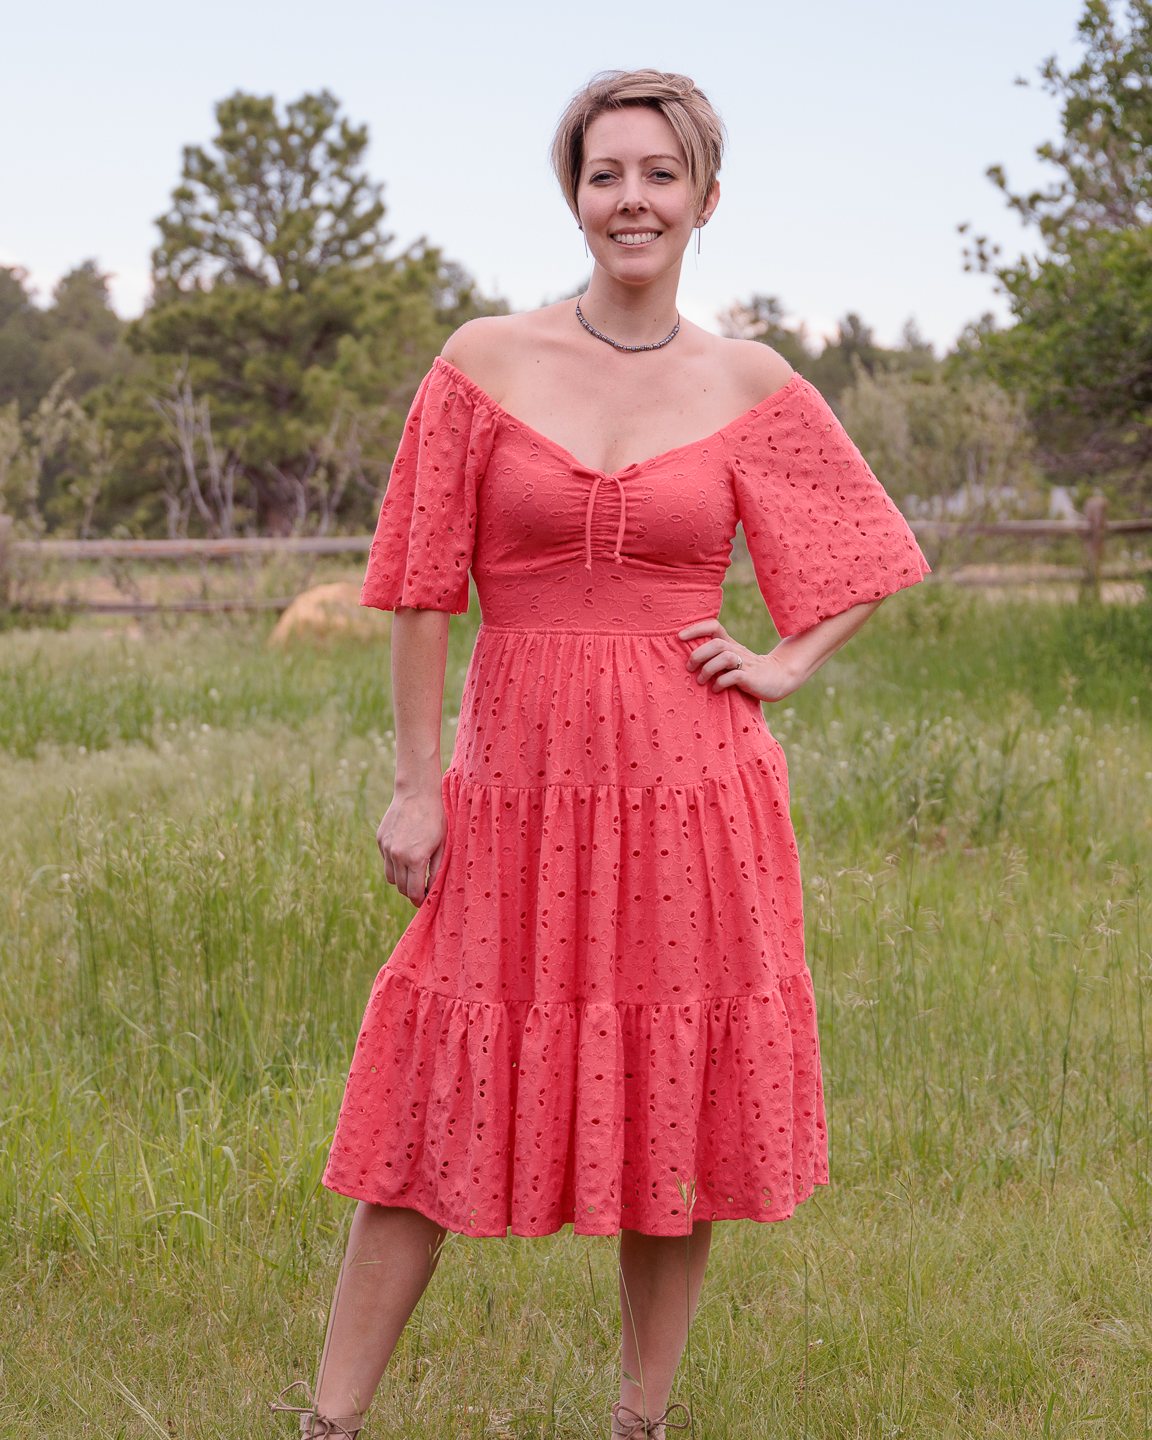
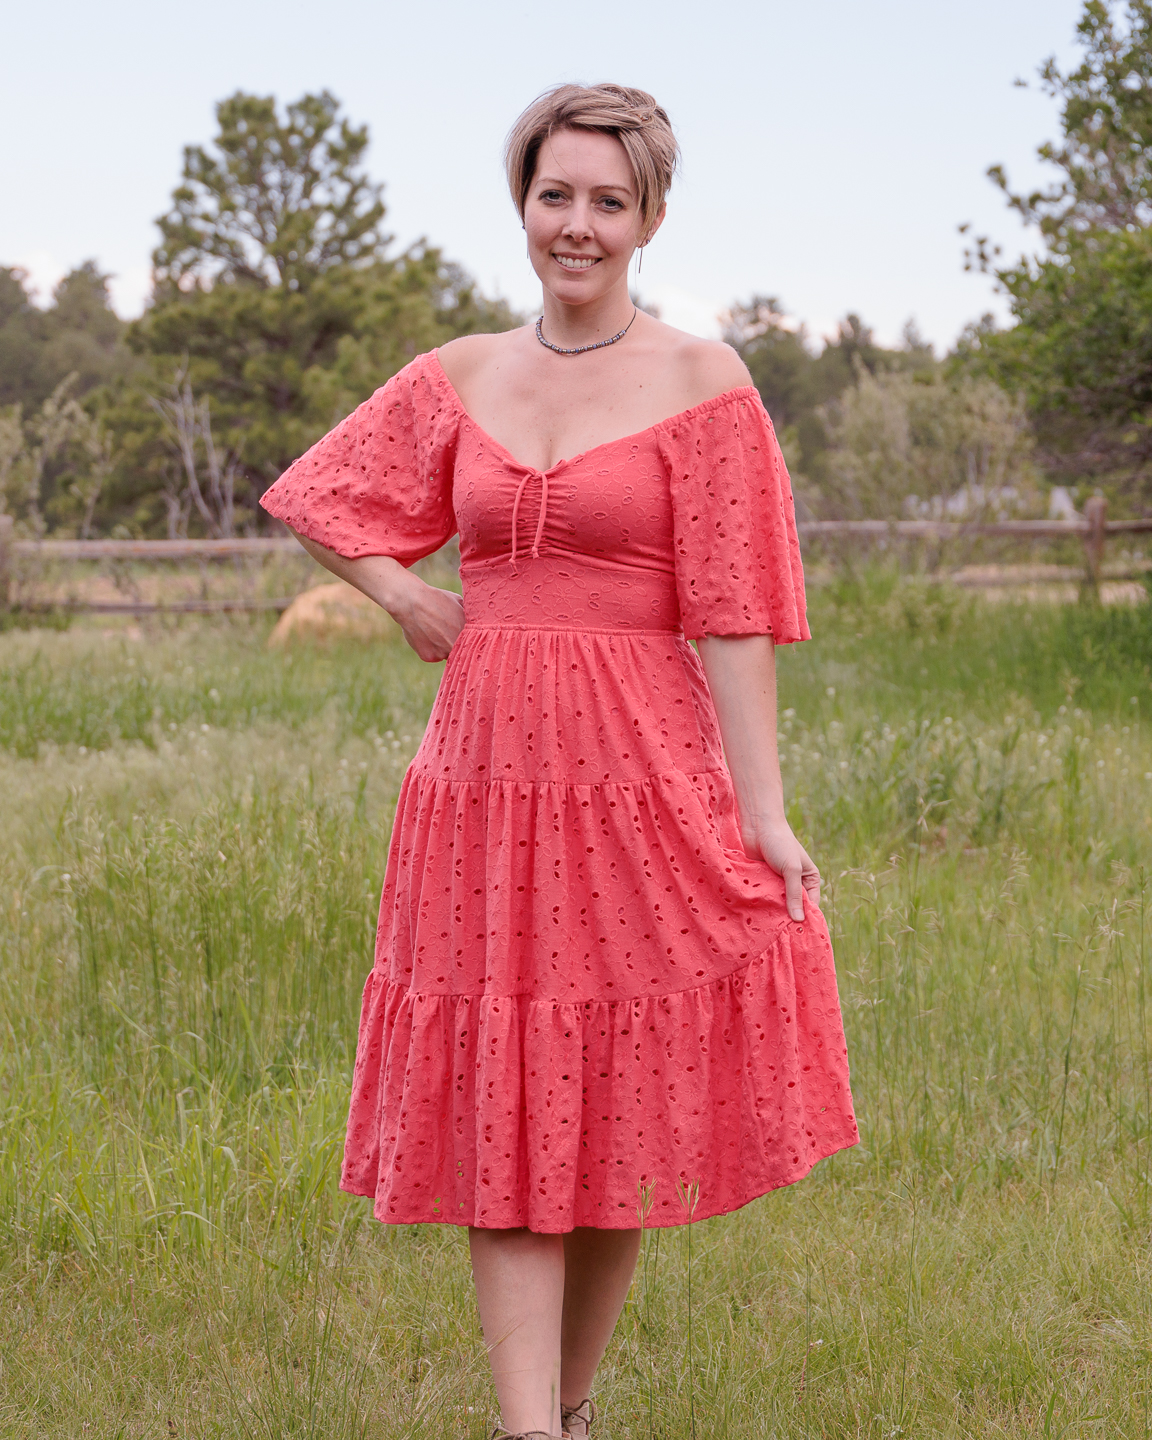
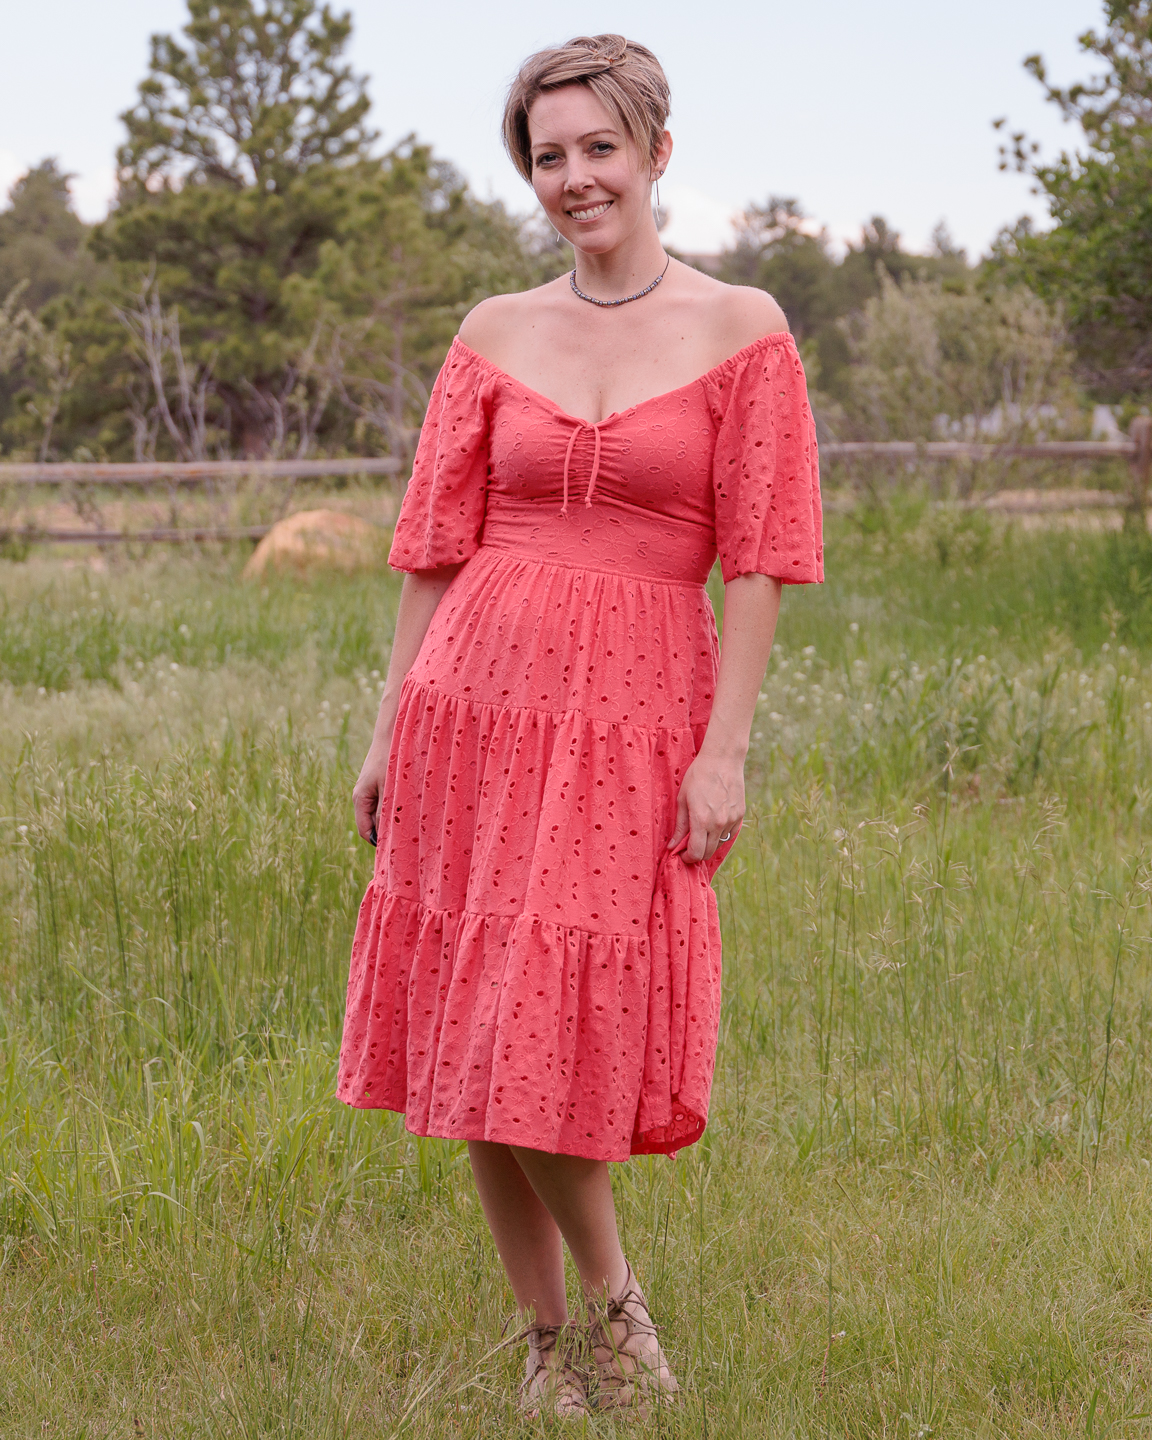
- Long flutter sleeves
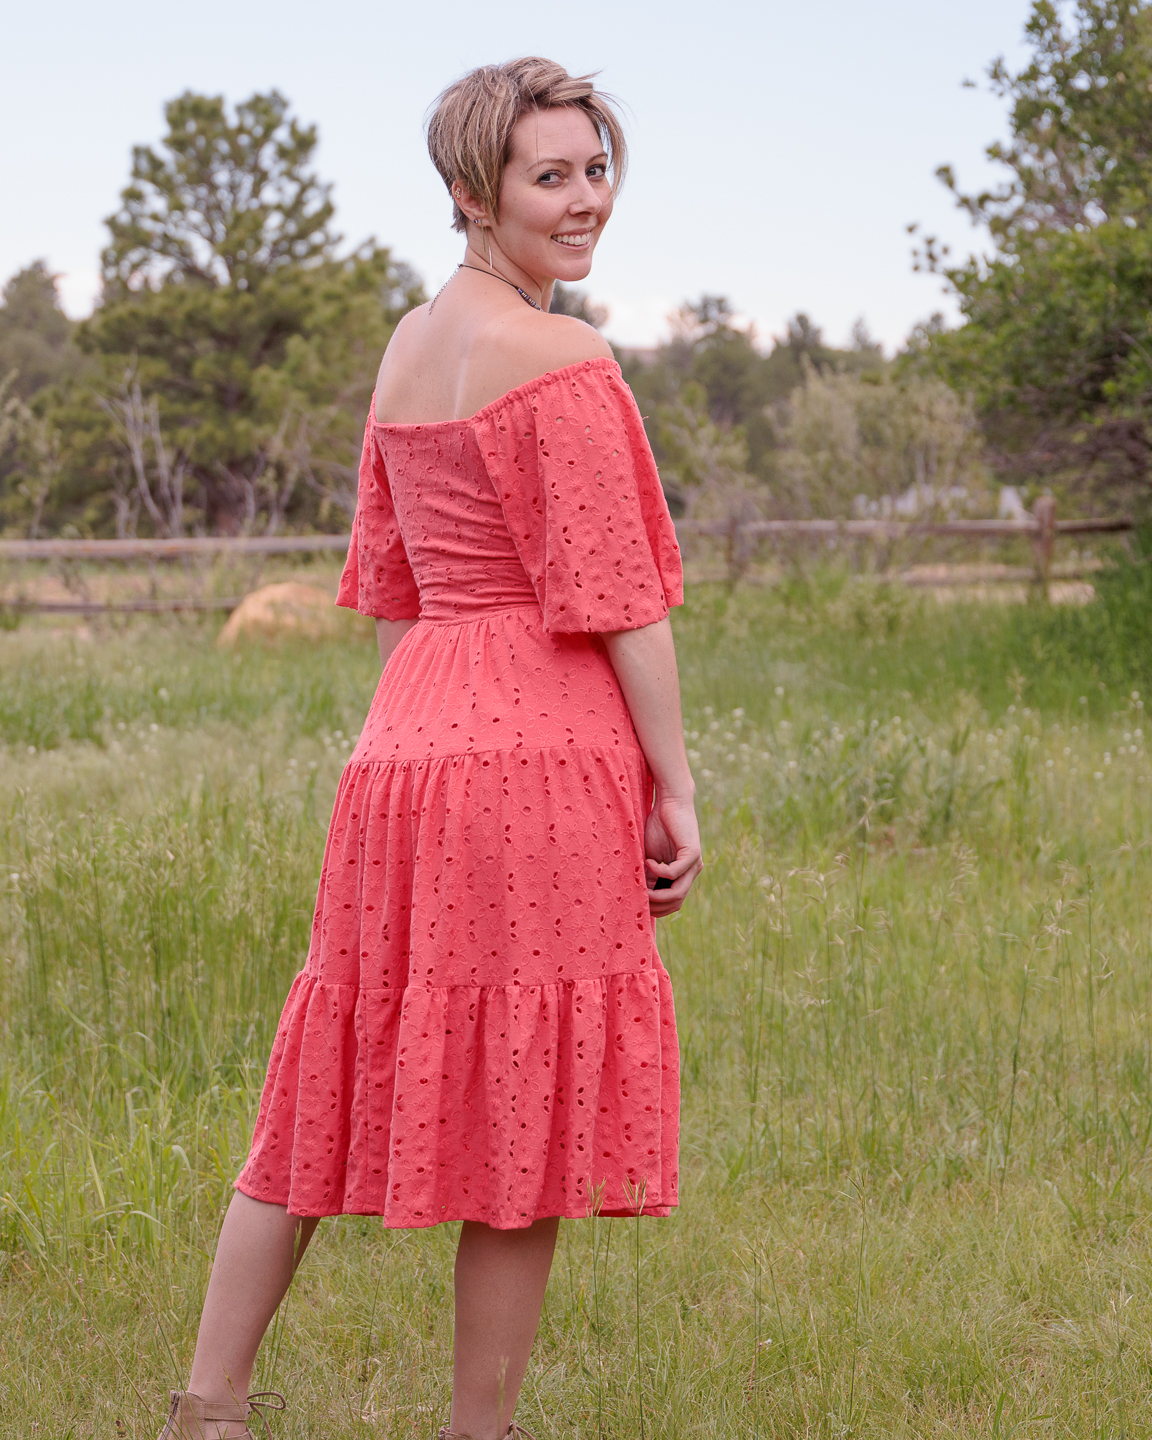
- midi length
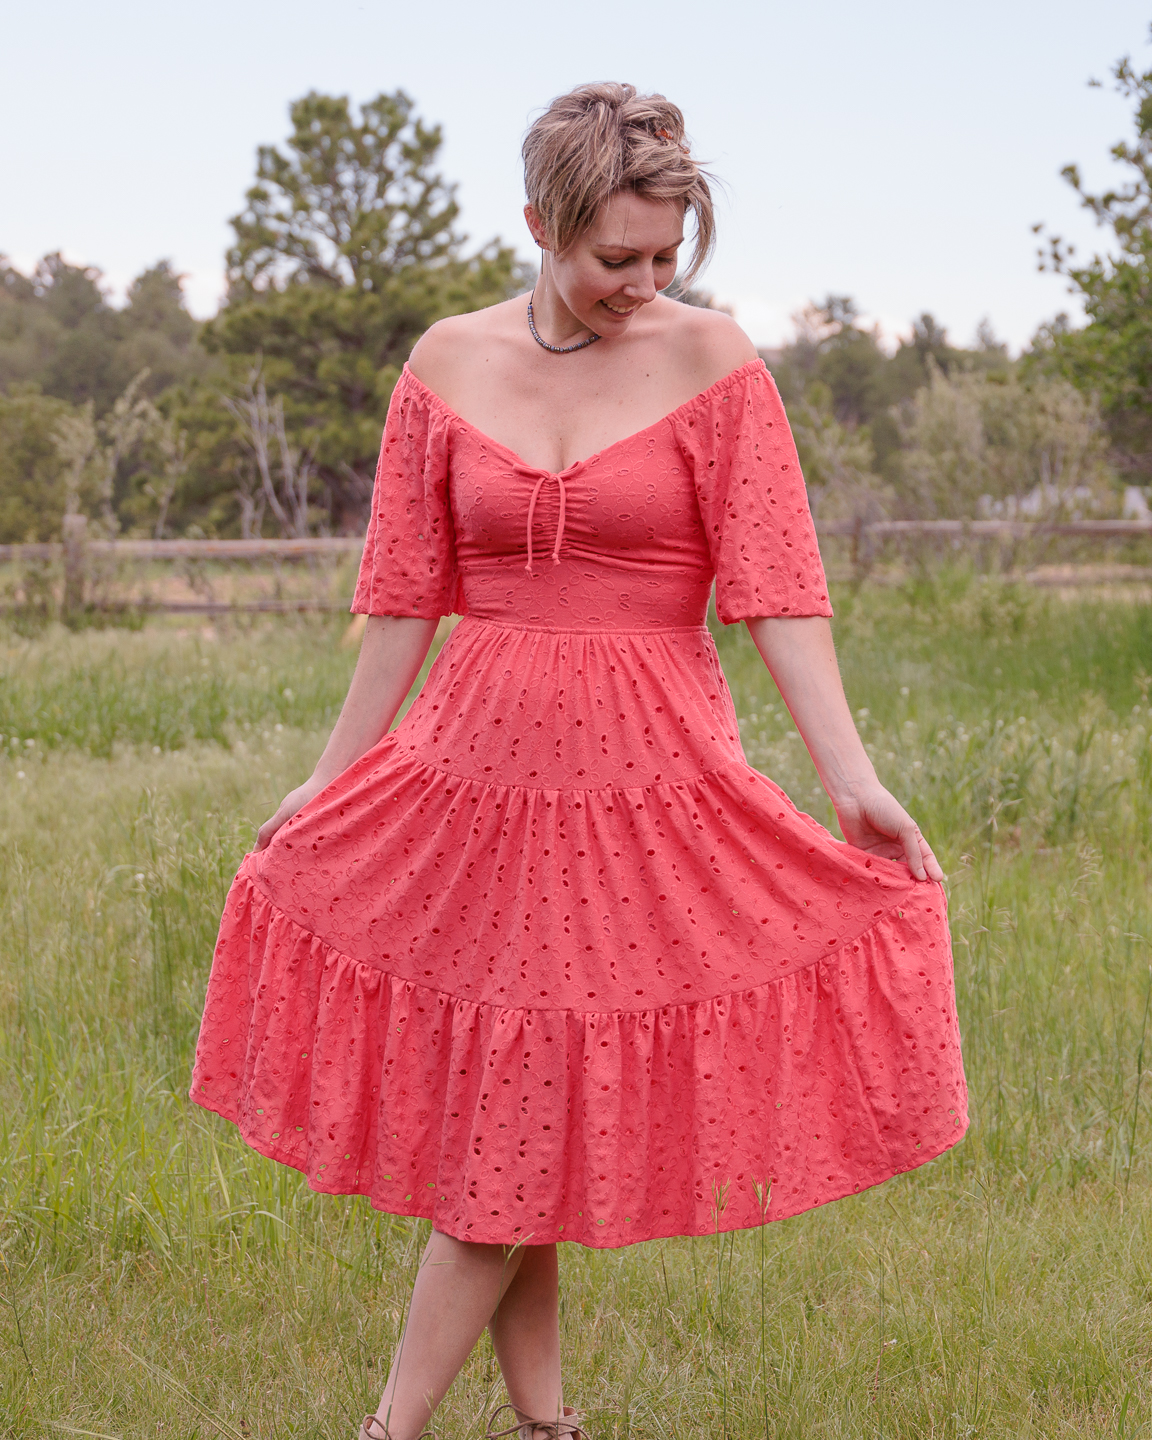
- tiered skirt
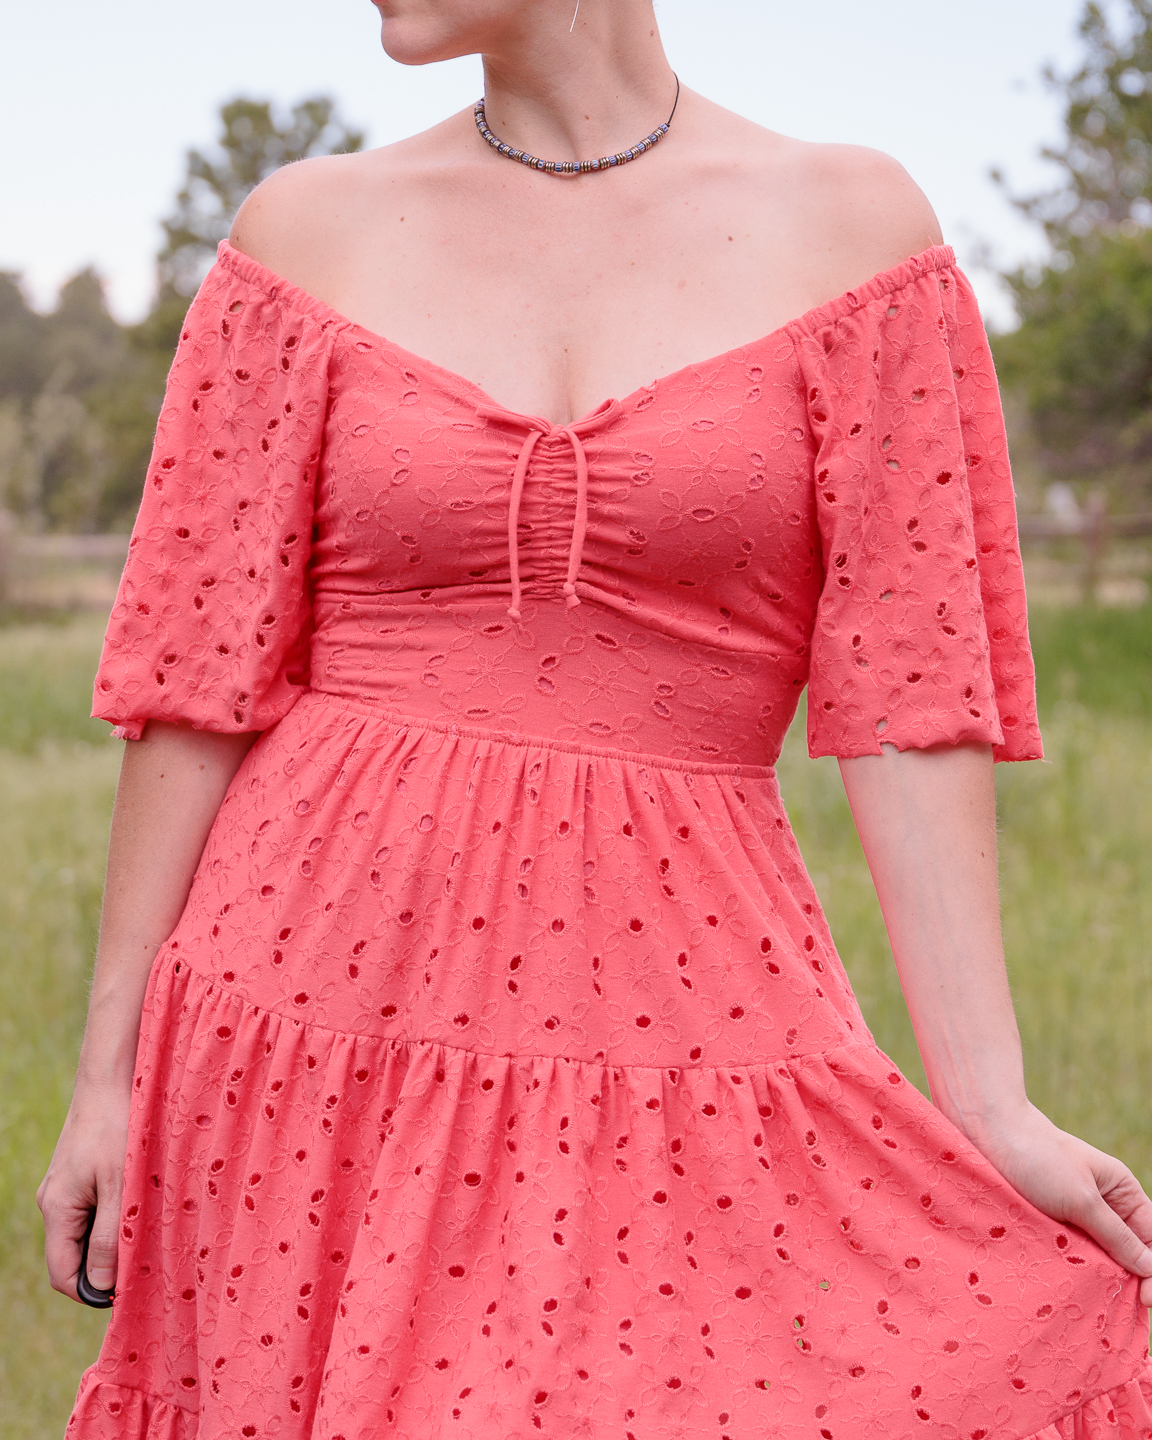
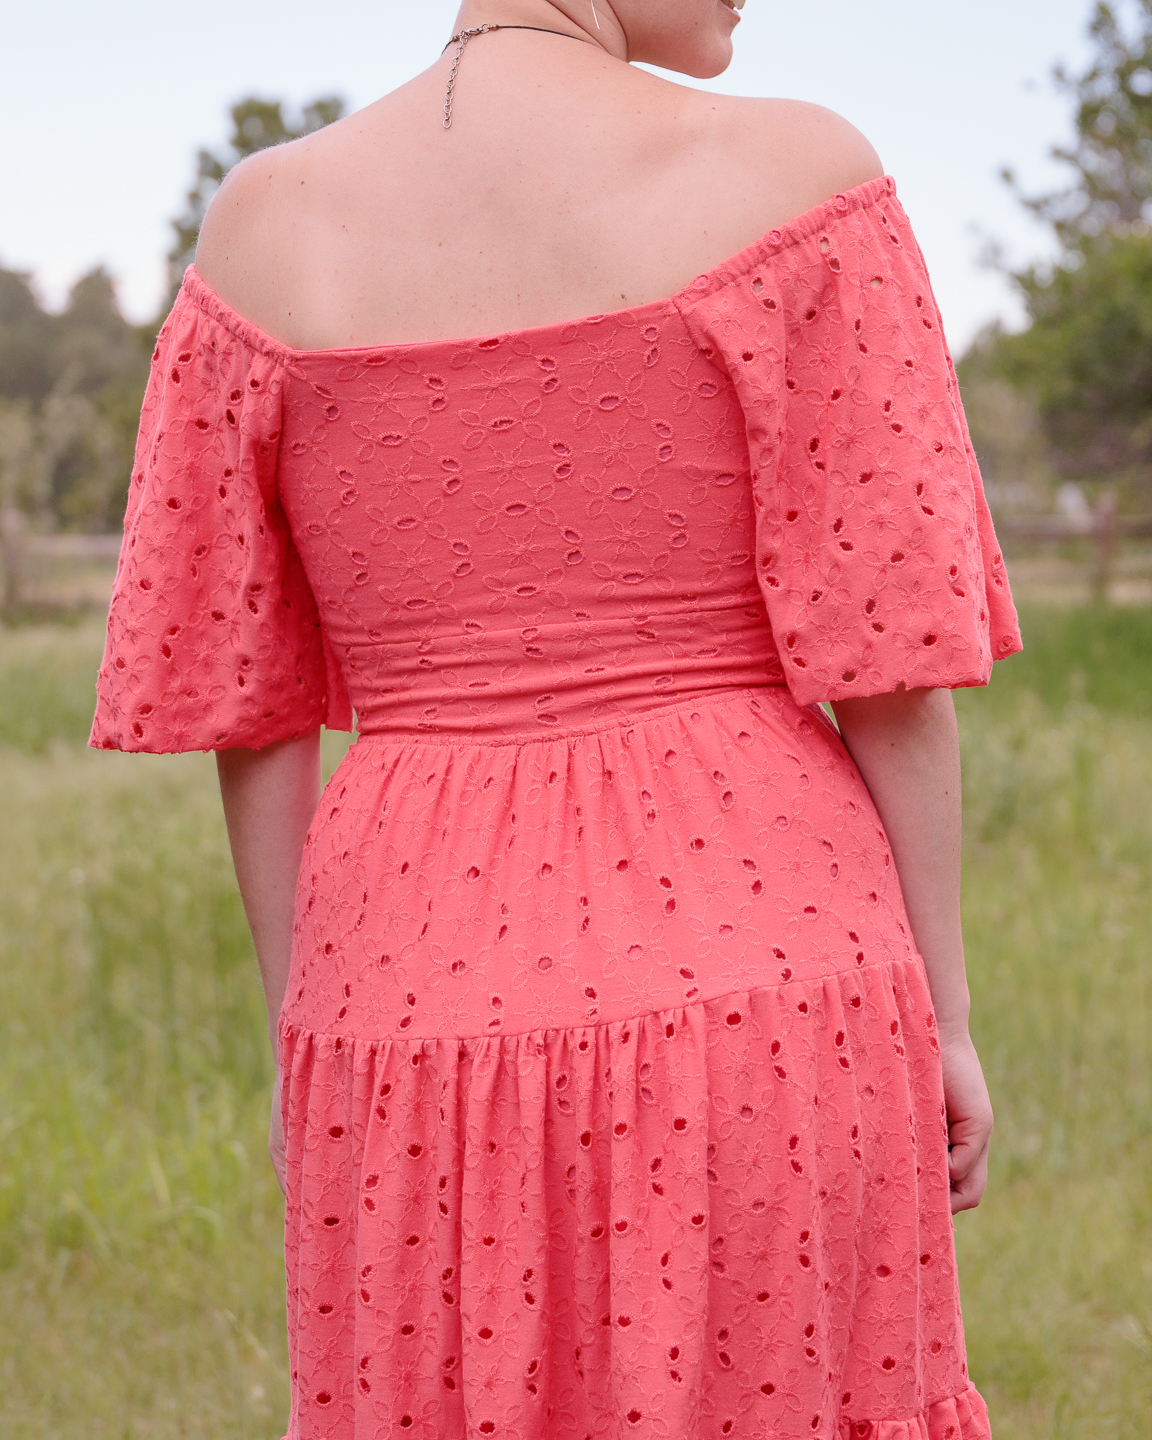
- ruched bodice +1″ length
The Length
I started out thinking I would make this a maxi dress because I love a maxi dress. I didn’t have enough of the eyelet for that, so I thought I’d have to block some pieces out using my rayon spandex. But I just couldn’t land where I wanted with that, so I decided to do a midi length; it’s a little cooler in warm weather and I won’t be trippin’ over skirt all day. Unexpectedly, I liked the look of the midi in my head better than the maxi.
Lining All the Things
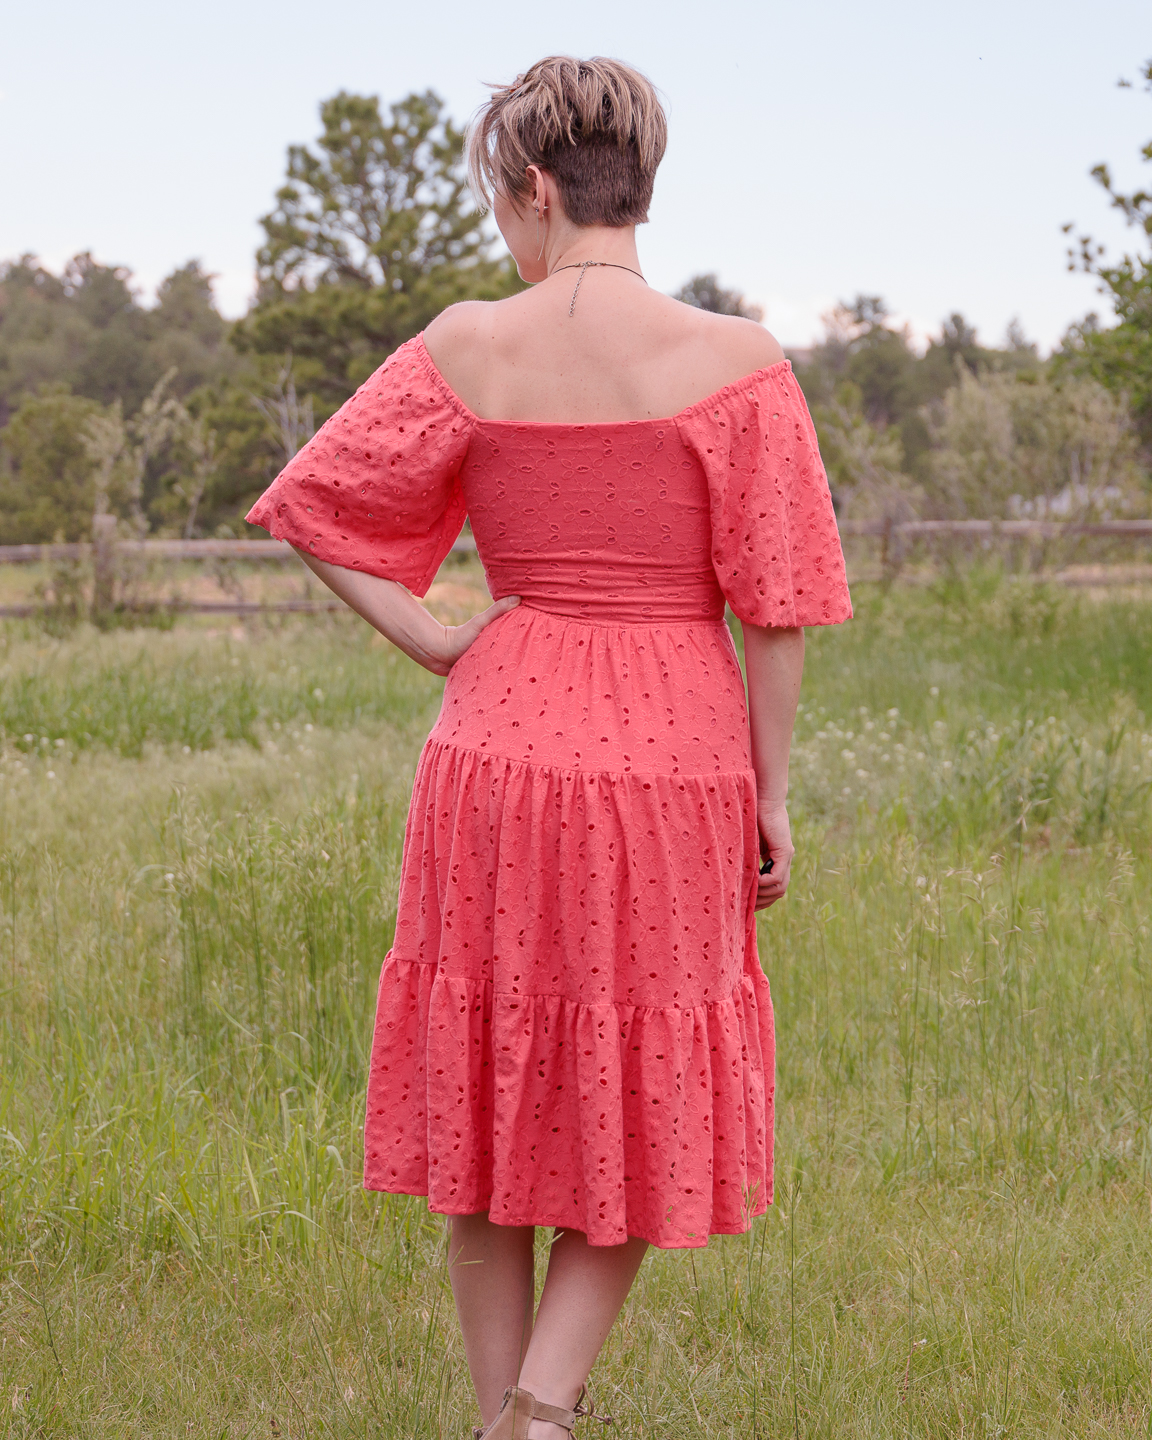
So, eyelet, ya’ll. I love how eyelet looks. But eyelet has holes in it. Meaning you must be lining the things. The pattern called for lining the bodice to begin with, but not the skirt.
So I cut a copy of the first tier of the skirt at the length of the second tier and basted it to the first tier of the main fabric with the gathering stitches. All of that was easy enough, but it does make for a bulky seam there with four layers of fabric plus elastic—a seam I had to topstitch when I didn’t really want to topstitch but I wanted even less to have that seam flip upward and put the elastic against my skin. No thanks.
I even had to line the casings for the sleeve elastic, which involved a 1″ wide strip of fabric the same length as the top of the sleeve and then I just pinned it inside that fold-over and sewed the casing. Otherwise, the white knit elastic would’ve shown through the eyelet.
Gather and Gather and Gather…
I mentioned I both hate and love gathering. It’s a weird relationship. There’s something very satisfying about creating gathers (if the fabric is well-behaved. It’s equally infuriating on evil fabric.) I think the hate part of this relationship is the time factor. Gathers are time-intensive, especially on tiered skirts. That bottom tier is several feet of fabric and you have to gather in sections for the best results and optimal maintenance of your sanity. There’s the basting, the gathering to the proper length, the sewing, the removing the basting…But there’s nothing like a lovely row of gathers!
Also, pro tip that just dawned on me:
Two rows of basting stitches works best: one inside the seamline and one outside of it. That way, when you go to serge the seam at the proper seam allowance, the gathers still hold while you chop off one of the basting rows. So if your seam allowance is 1/2″, do one row of basting stitches at 3/8″ or 1/4″ and another at 5/8″. Use a wildly mismatched bobbin thread for super easy removal after serging the seam. I didn’t follow this tip when I was making my self-drafted tiered maxi. I can’t remember if I just sewed one row of basting stitches, or two rows inside the seam allowance. Regardless, I was going a little insane trying to serge each tier together. As soon as the basting seam was cut by the serger, I lost all tension on the gathers which made matching the length of the larger tier to the smaller tier a nightmare. So don’t do that. Two rows of basting stitches straddling the seamline and you’ll be a happier hooman.
Elastic for Days
There was some hardcore recommending-elastic-to-stabilize-seams in this pattern. It’s on the front neckline, and the back neckline, and the bottom of the bodice, and the waistband. She recommended it for the side seams of the skirt tiers and each horizontal skirt seam too—which I think is literally every seam except the bodice side seams. I completely skipped it on the skirt. It felt like it would’ve been just too much (plus it would exponentially increase the chance of being visible through the holey eyelet fabric.)
No Serging
I had to make so many allowances because of this eyelet fabric, and yet another one is no serged seams. Mainly because I don’t buy serger thread in a zillion colors. I have black, white, and gray, plus a few small spools in random colors that came bundled with my serger. (None of those colors is coral.)
Serged seams on eyelet using a thread color that doesn’t match the fabric would’ve created some really visible seams. So I went sewing machine alllll the way, which added a lot of time to this project and put me in a good 5-minute trance at my sewing desk contemplating if I wanted to buy and wait for coral serger thread so I could—ha ha!—”save time.”
About the Pattern
Made for Mermaids Morgan Dress
Instructions are very thorough. Almost too thorough, as in walls of text. I hate walls of text. You lose your place in walls of text and it’s just too many words.
Other than that, I didn’t run into any trouble spots. The walls of text and all the elastic was the most annoying part.
Notes for Next Time
- I might lengthen the waistband by a half inch and skip the elastic in the skirt/waistband seam for a little more give in that area.
- Can’t think of anything else! It’s very nearly perfect.


Project Settings
Sewing Machine Settings
| Presser Foot | Stitch# | Stitch Width | Stitch Length | Needle | Top Thread Tension | Application |
|---|---|---|---|---|---|---|
| standard zig-zag (A) | 5 | 1.0 | 4 | blue tip | 4 | seams |
| overedge (C) | 6 | 7 | 3 | blue tip | 4 | edge finish |
| standard zig-zag (A) | 2 | 3.5 | 3 | blue tip | 4 | center bodice foldover |
| standard zig-zag (A) | 6 | 3 | 3.5 | blue tip | 4 | elastic attach on seam allowance |
| adjustable edge (SE#4) | 5 | 1.0 | 4 | blue tip | 4 | understitch |
| overedge (C) | 1 | 2.5 | 3 | blue tip | 4 | sleeve elastic casing |
| standard zig-zag (A) | 1 | 0 | 3.5 | blue tip | 4 | hem |
| standard zig-zag (A) | 0 | 3.5 | 5 | blue tip | 4 | baste/gathers |
| standard zig-zag (A) | 1 | 3.5 | 3.5 | blue tip | 4 | tier attach |
Leave a Reply