It’s taken me about 5 months to work up the courage to make something to wear from scratch: no pattern, no tutorial, just me and the knowledge I’ve amassed in 5 months from following patterns and tutorials and testing stitches and presser feet and tools with fabric. This post is going to be a general road map to hopefully help you conquer the intimidation and start experimenting.
How do you even start?
Think, measure, and sketch.
Think through what it is you’re wanting to make. (If this is your first time doing something like this, cut yourself some slack and start with something relatively simple. Don’t jump into making a wedding gown from scratch if you’ve never made anything else from scratch.) Think about how you want it to fit and the techniques you know that will help you accomplish different things. Think about the fabric you have and how much of it you have. Here’s what that looked like for me:
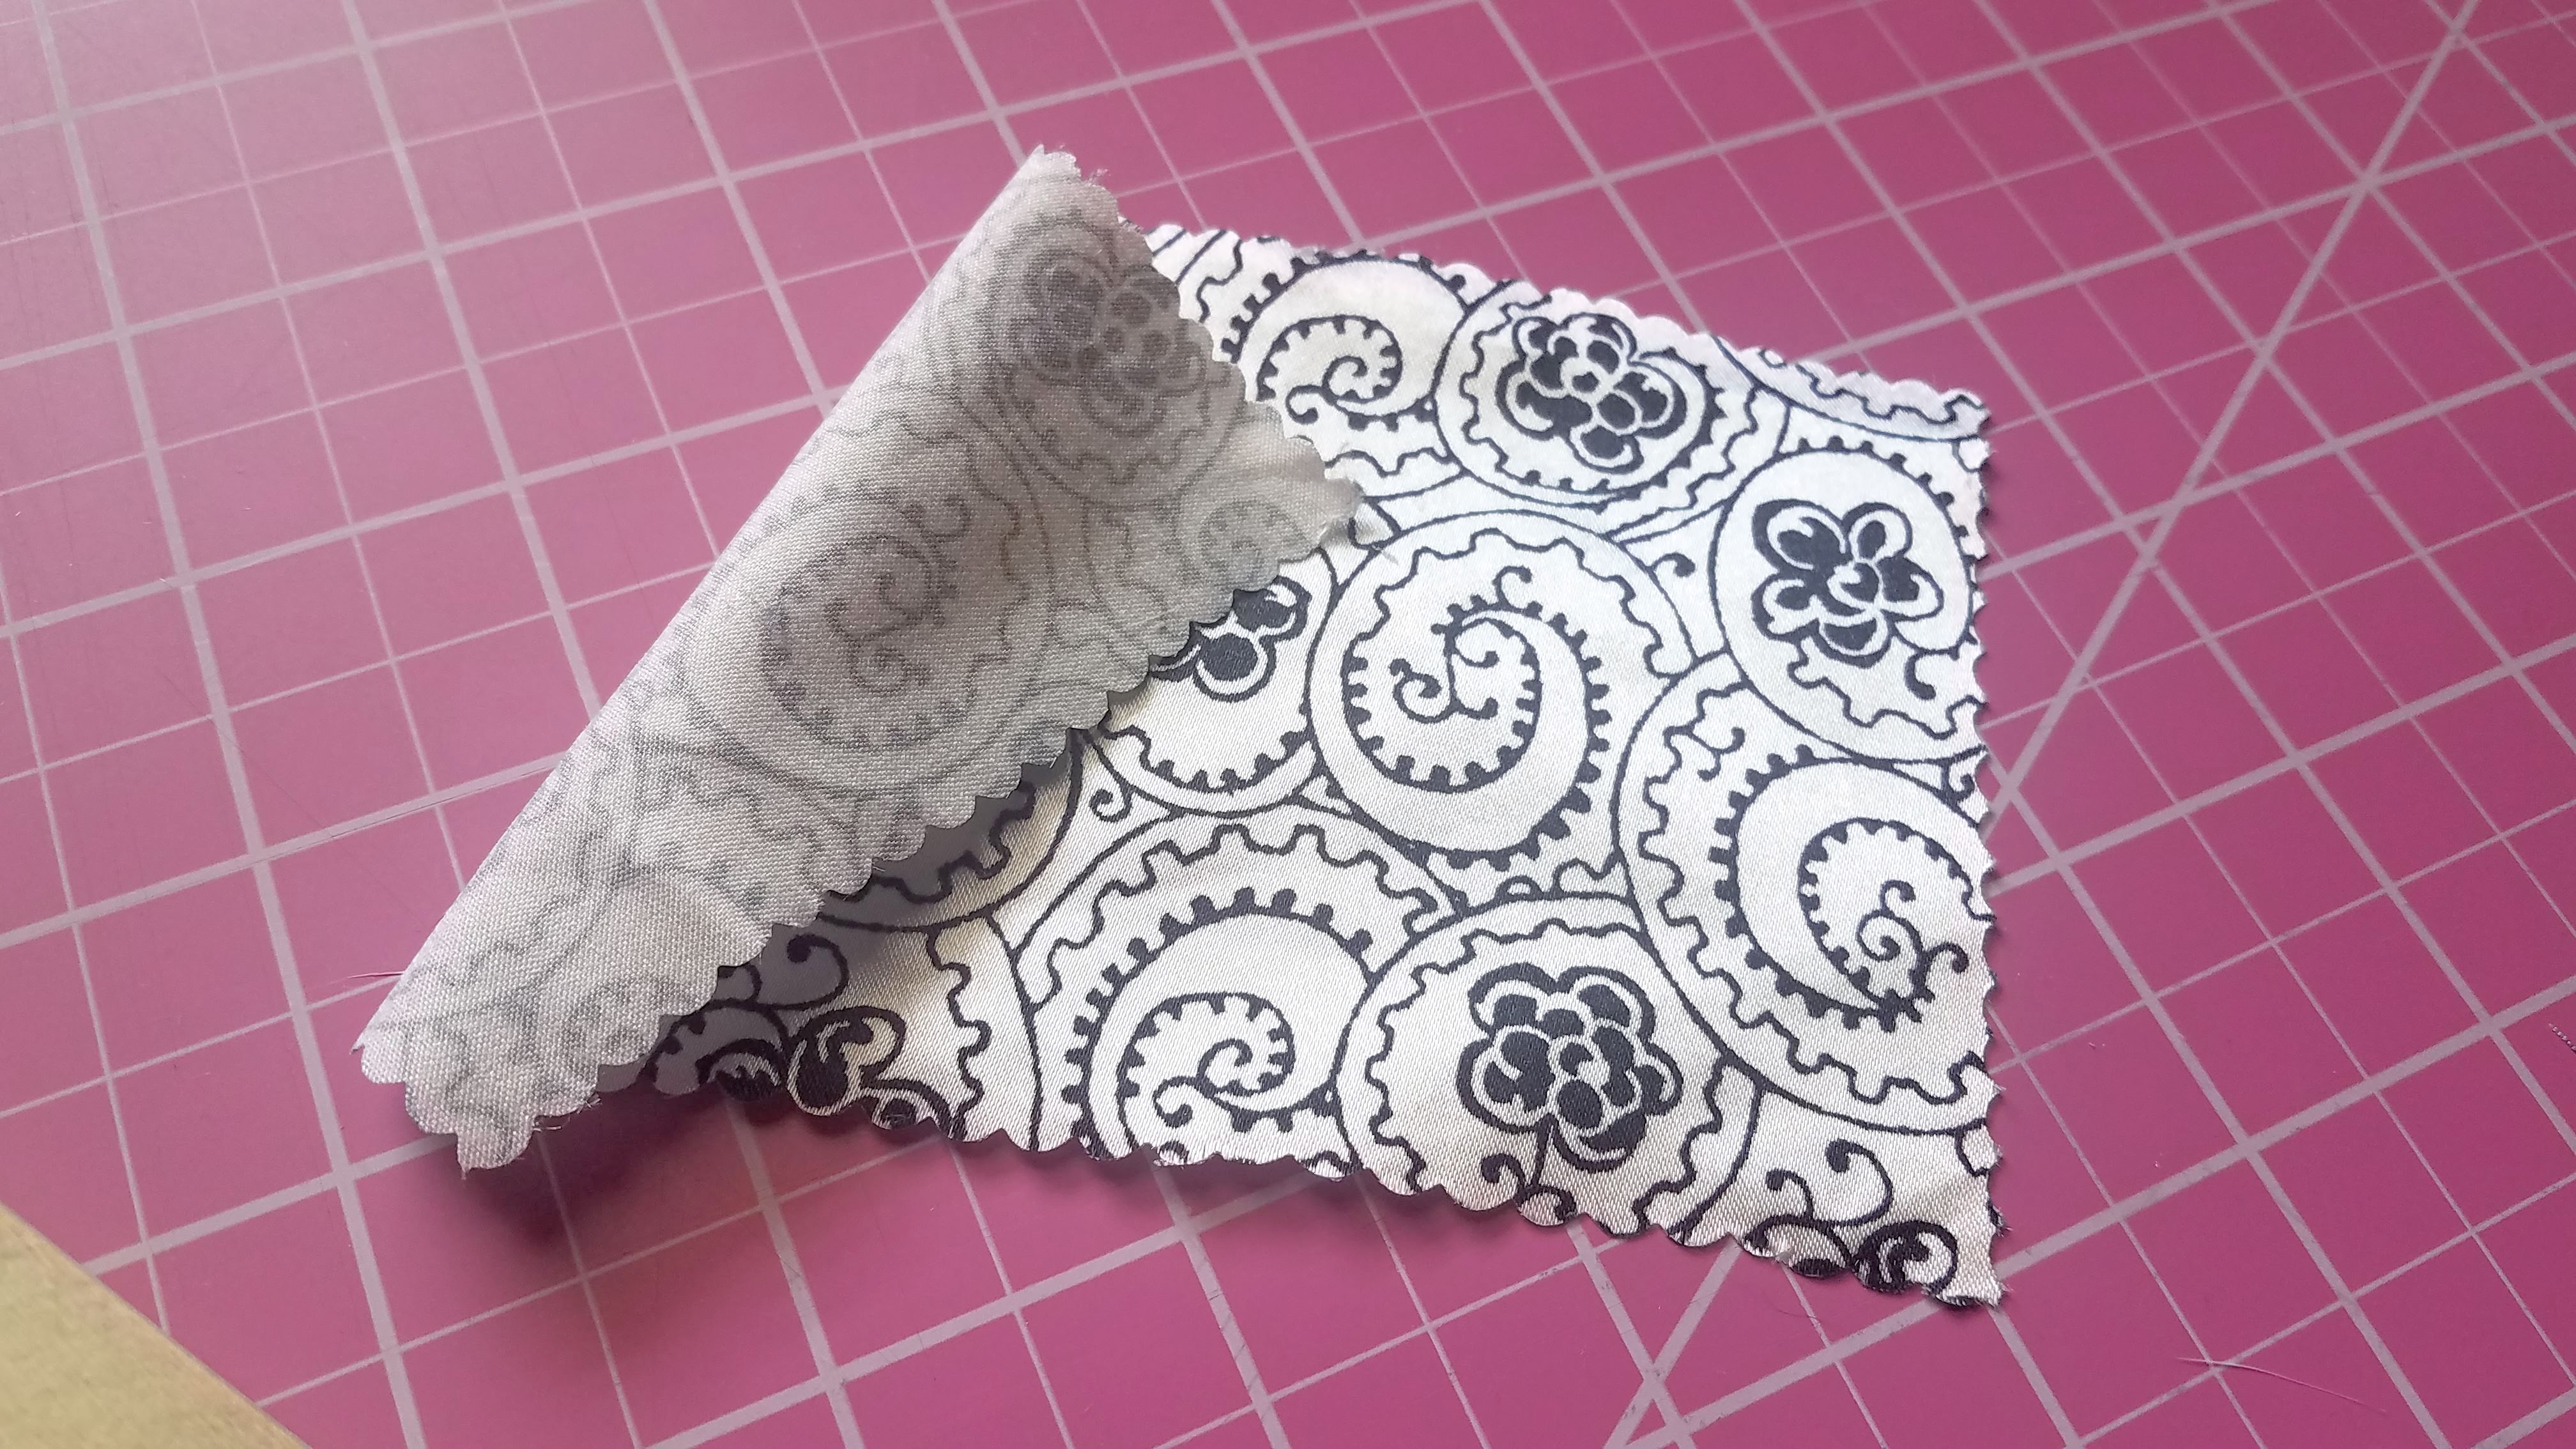
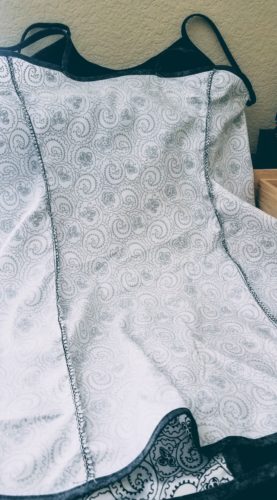
I wanted to make a nightie to sleep in. I tried following a project in my One-Yard Wonders book that called for knit fabric, but I wanted to try it with some satin-y fabric I’d found on sale. It’s a woven fabric with a little bit of two-way stretch. It didn’t turn out well; it was very uncomfortable. So with the left-over fabric, I thought I would try my own thing using the mistakes of the one I’d just made as a learning experience. I was a little short on the fabric, so I sketched out an idea that would use another type of fabric to supplement.
Measure your body and the fabric. I’d suggest even wrapping the fabric around you so you get an idea of how much you have to work with, how it drapes around you, how it feels when you adjust it to different lengths or if you add more easing. This will help you decide if you want a looser fit or a more snug fit and which areas you’ll want to taper in or flare out.
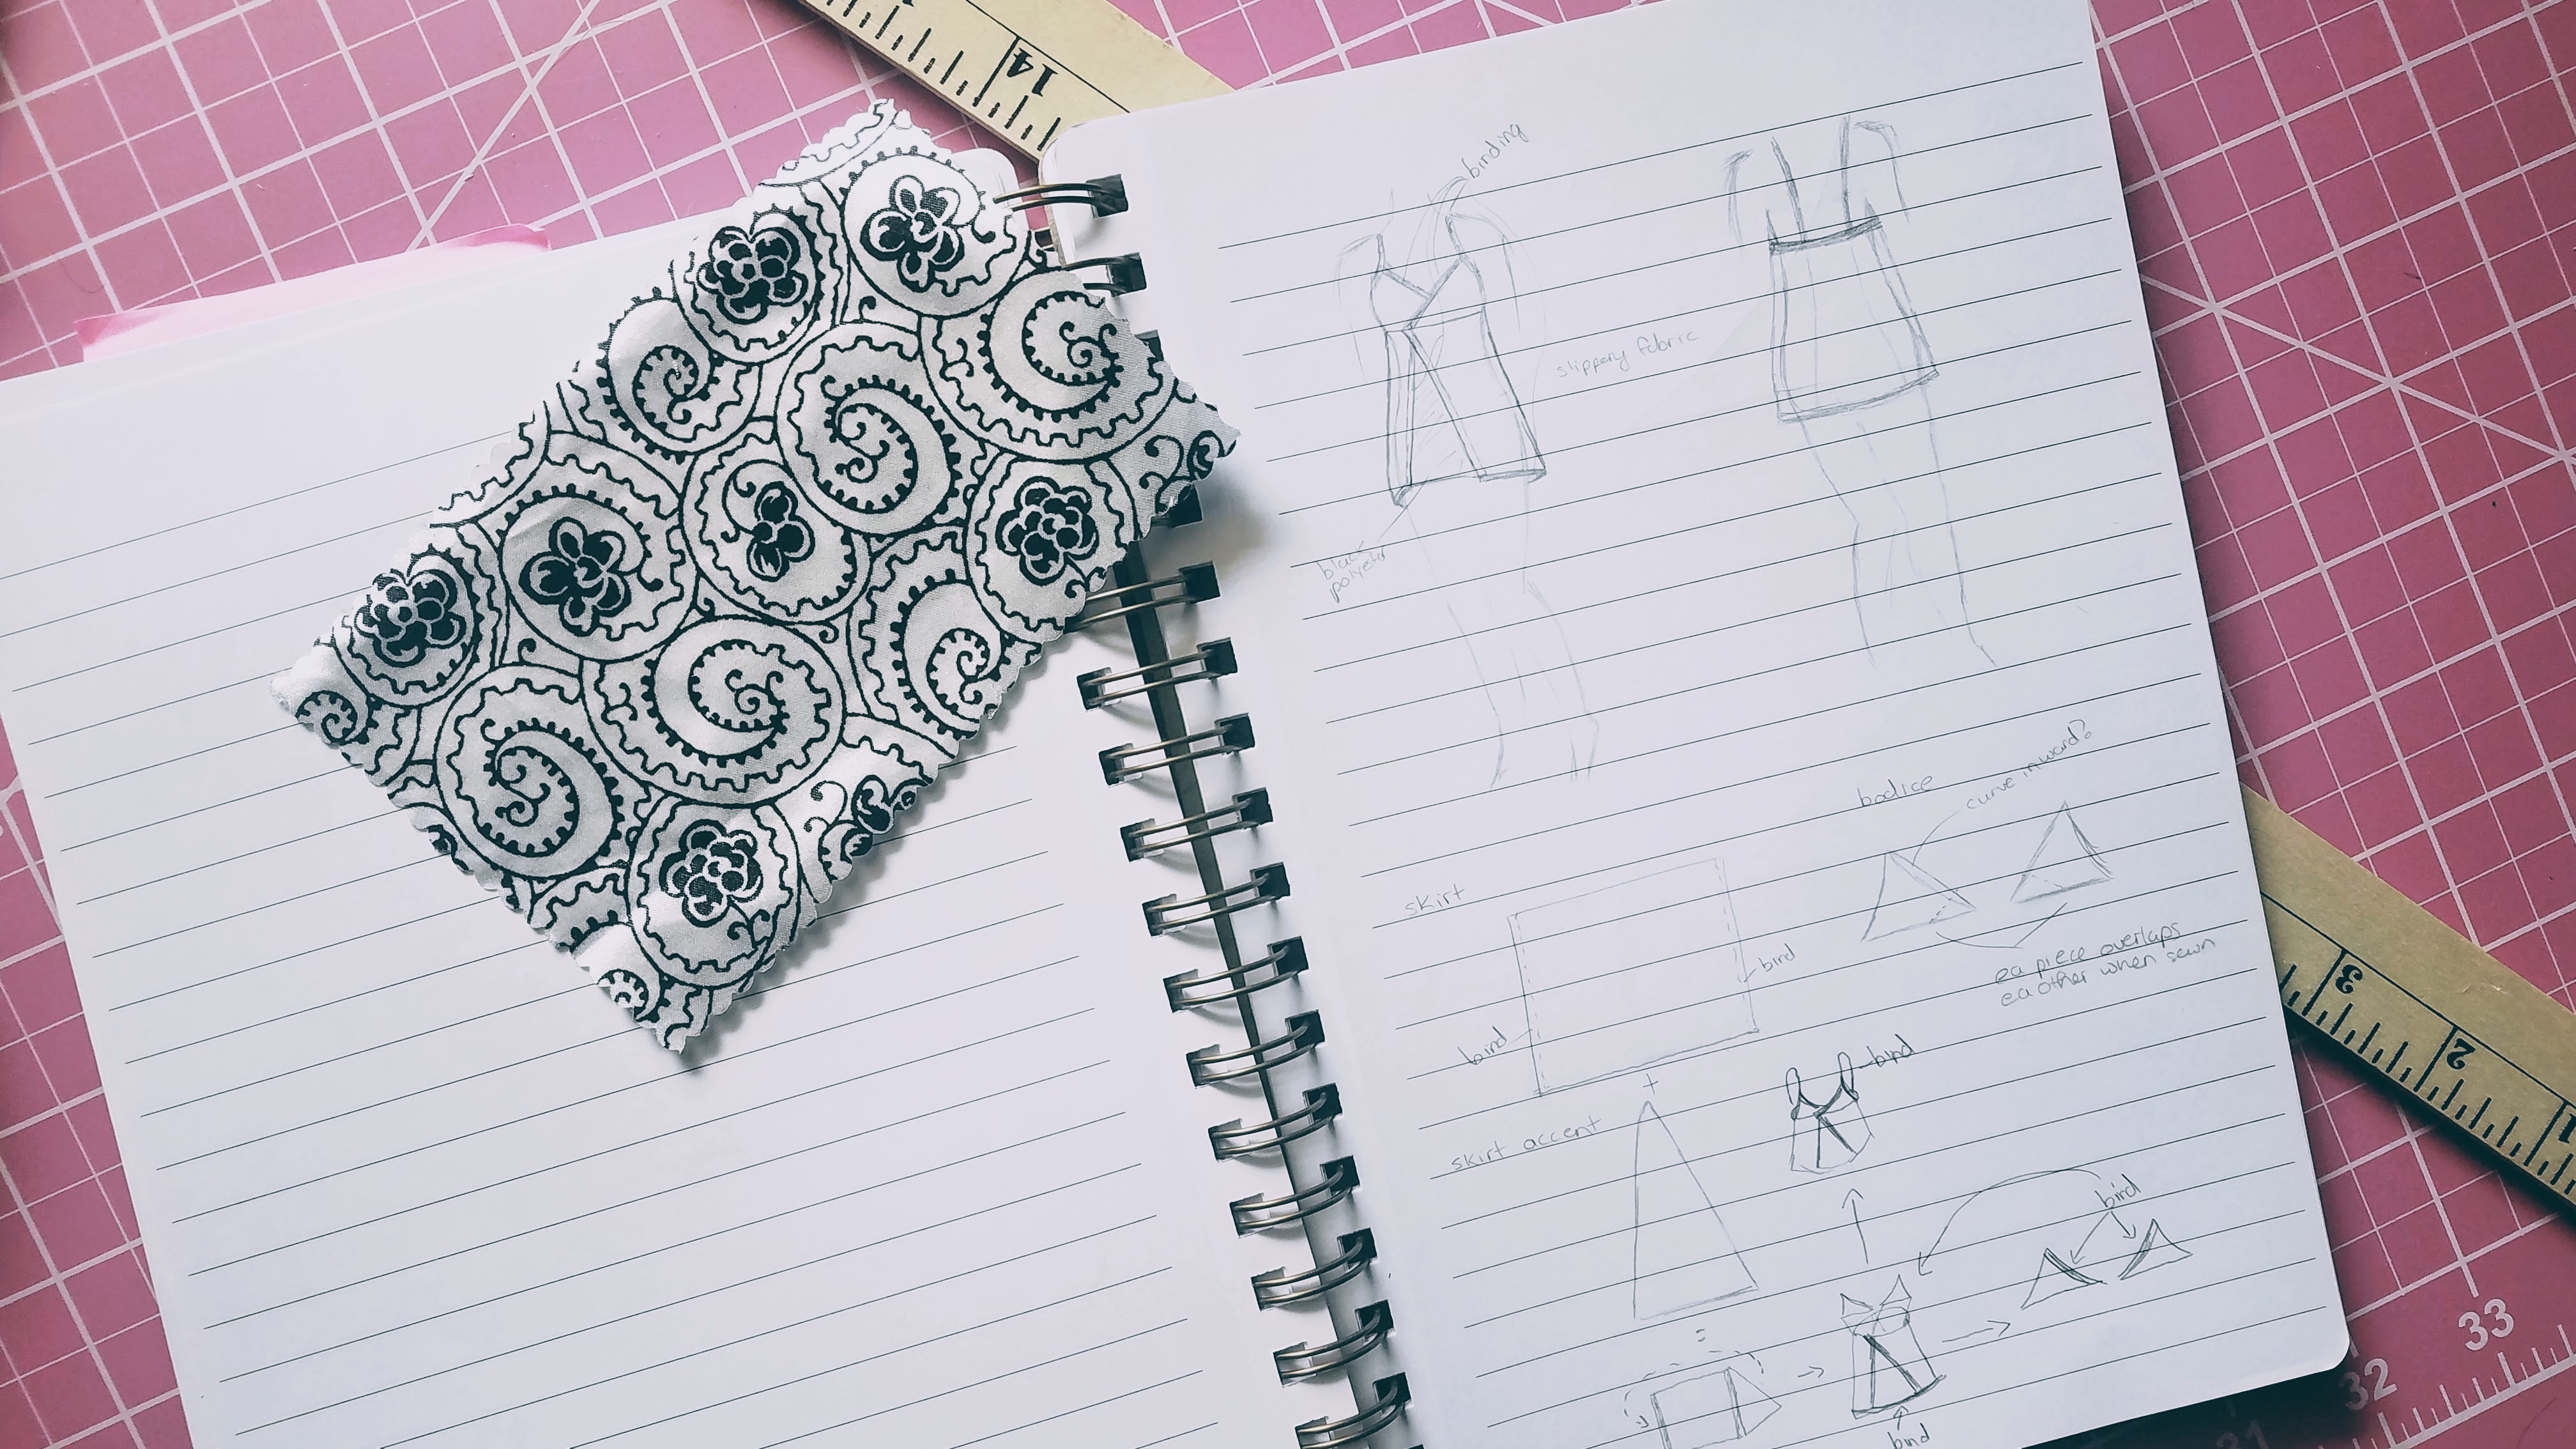 Sketch your ideas. You don’t have to be an artist to do this. Just work out the shapes on paper, sketch out how you envision the front, back, and sides to look on a human body. Do several sketches. Maybe you have different variations in mind. Sketching them out will help you get a feel for which variation to try. Make notes of the measurements you took around the different areas of your body. Make sure to add 1/2 to 5/8 inch seam allowance at each edge.
Now you should have a rough plan of where you’re headed with your garment. Maybe you wonder, Should I make a pattern? If you’re game for that, sure, but pattern-making is something of an art in itself. If you find yourself not quite comfortable with that but also not quite comfortable marking and cutting your fabric, then hop over to the fabric store and get some unbleached muslin. You can construct your garment out of that as a sort of prototype. (They call this “making a muslin.”)
When You’re Ready to Work with Your Fabric
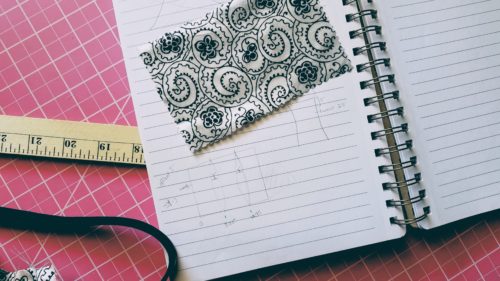
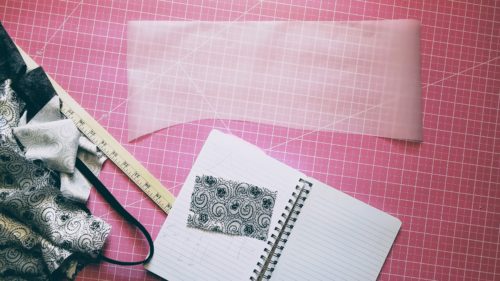
I chose not to make any patterns or a muslin. I just went right to my fabric and played with the fit before cutting. I decided I wanted it to taper in around my waist. Having seen the hourglass shape on patterns that accomplishes this, I did some math to figure out how far in to make the cuts around my waist. I played with a few small scraps of fabric to make sure what was in my head was going to work, kind of like a proof of concept. I was happy with how that turned out so I sketched out a smooth curve on tracing paper to use as a cutting template.
It’s an iterative process. Before I charged forward, I stopped to think about each next step ahead of me and the possible ways to accomplish it. For example, when I reached the bust, I had originally sketched out 2 triangles that would overlap each other. But the more I thought about it, the less confident I felt about that design. I hadn’t worked with darts yet and I knew the triangles would need some kind of shaping so they wouldn’t look awkward around the girls. I just wasn’t sure how to accomplish that shaping. I considered using elastic to create some gathers, or using my gathering foot to create some gathers. I went into my closet and studied some of the clothes I had, particularly a dress. It has pleating around the top of the bust, which creates a little fullness and also helps shape the fabric into a natural curve. So I changed my mind and decided to use a single piece of fabric around the bust with pleats along the top.
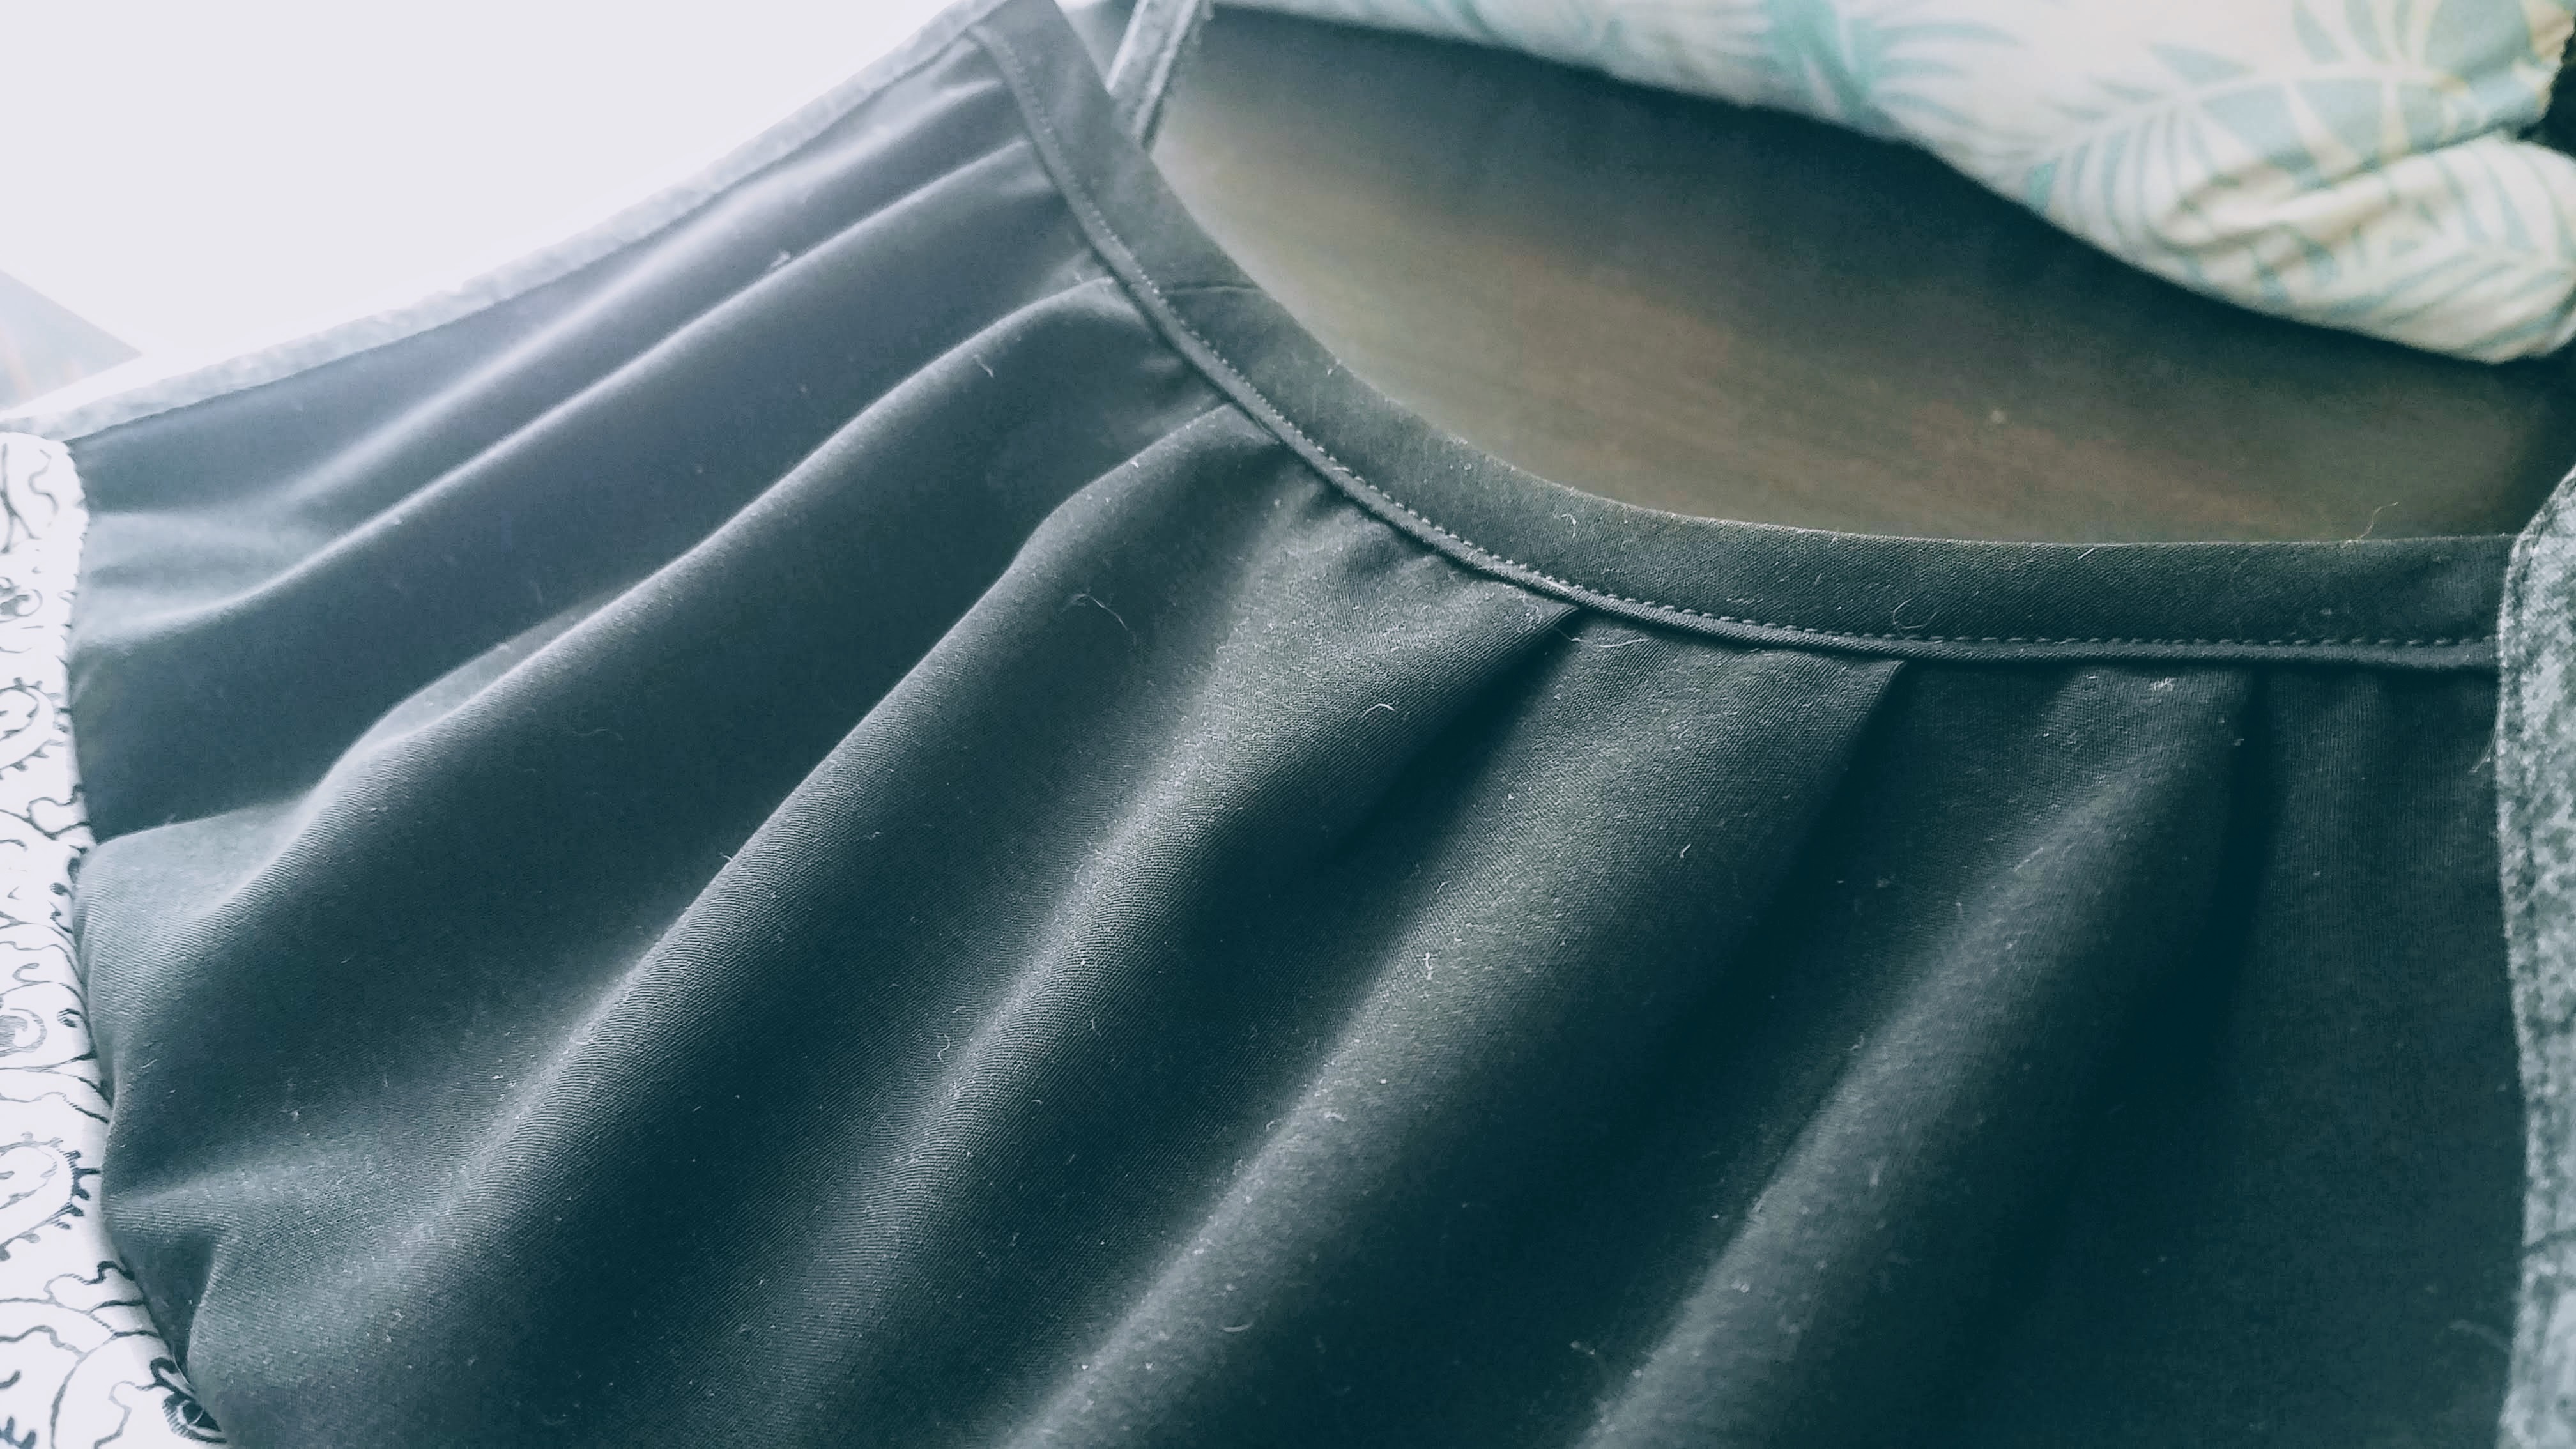
Pleating around the top of the bust piece helps shape the fabric to fit over curves. It also adds some fullness, and creates some ease for a more comfortable and forgiving fit.
You can also change your mind in the middle of a step. For the supplement black fabric I was using to complete the skirt of the bodice, I thought about using extra to create some drapey folds in that area. I measured out a triangle to fit in the gap I knew I was going to have, and made a nice even curve to run along the bottom. I hemmed the curve and sewed one side of the triangle to the bodice, and then did a fit to see if I would like how it was turning out. I didn’t.Since it was curved and the rest of the bodice was straight along the bottom, it ended up hanging further down than I wanted, and with the completed hem, it wasn’t draping the way I envisioned. So I laid it out on my cutting mat and cut off the curve.
Try it on, and try it on often. There’s no substitute for getting in front of the mirror with some pins and/or clips and seeing how the thing is fitting as you go. I did this a lot, and it was invaluable to helping me decide what to do.
What You End Up With
There’s no guarantee you’ll be successful. But you will definitely learn. If you’re lucky, you’ll even end up with something wearable, as I did. Unfortunately for me, while comfortable to wear, it gave me a wicked stiff neck while sleeping. I need to try making something different using some knit fabric with a lot more stretch.

Leave a Reply