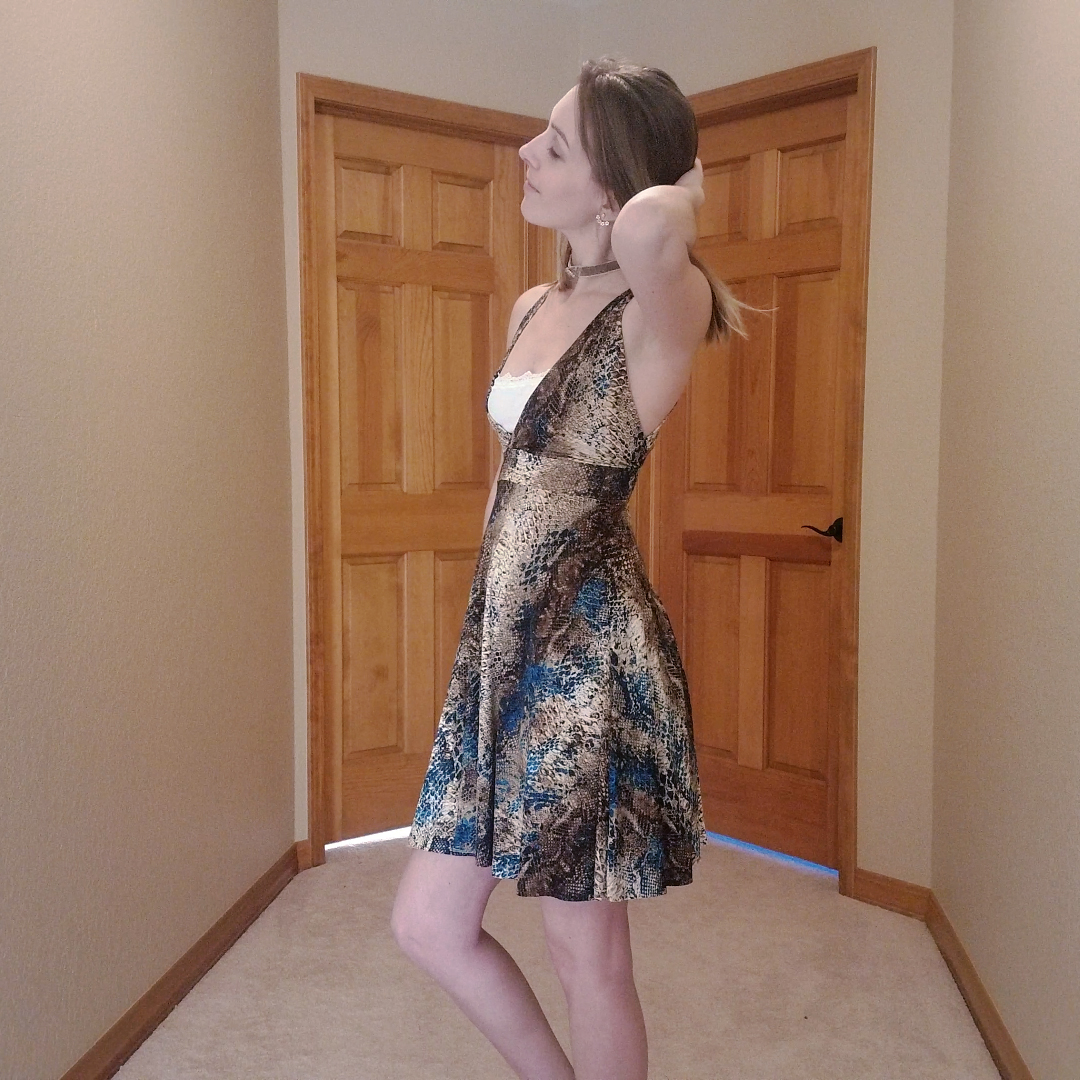
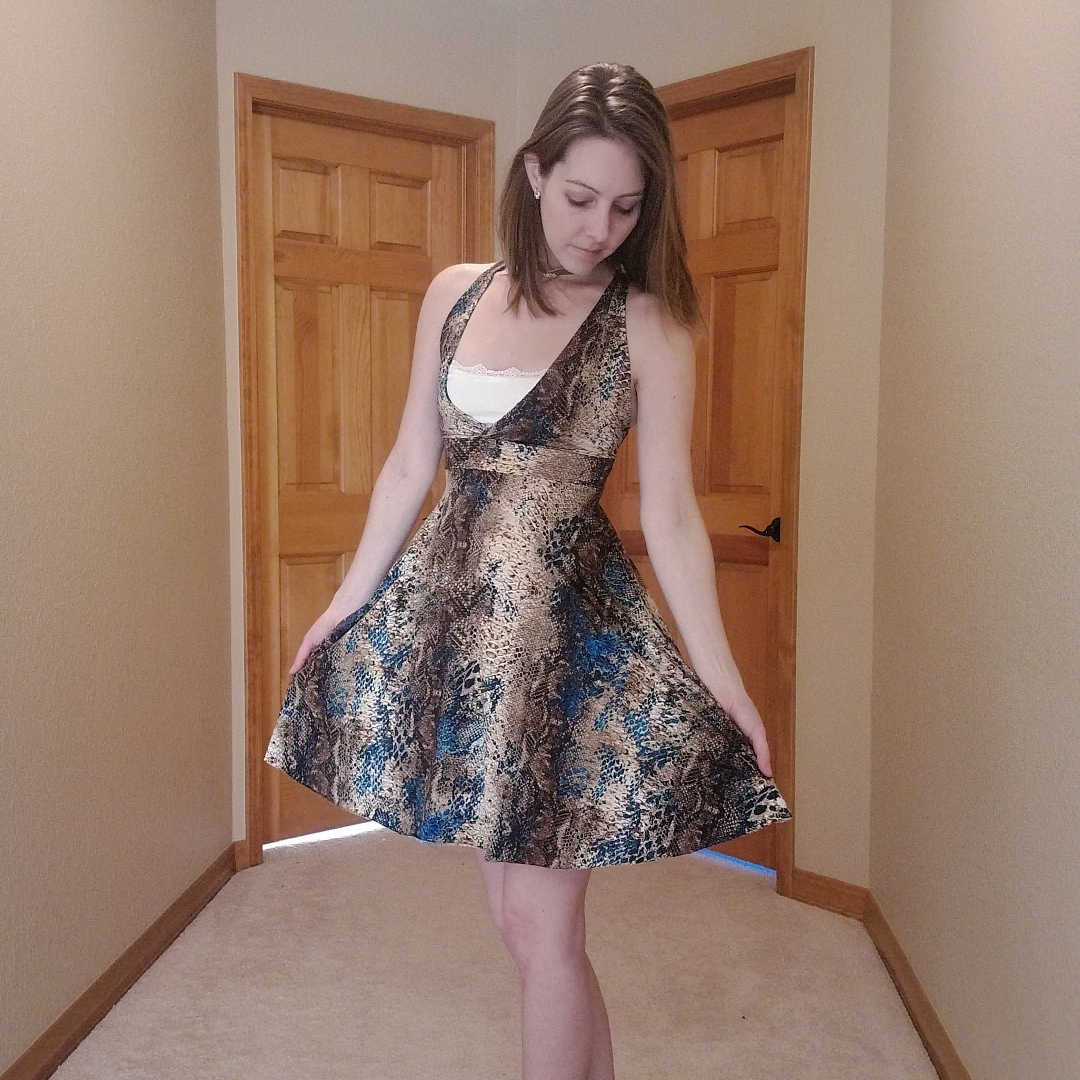
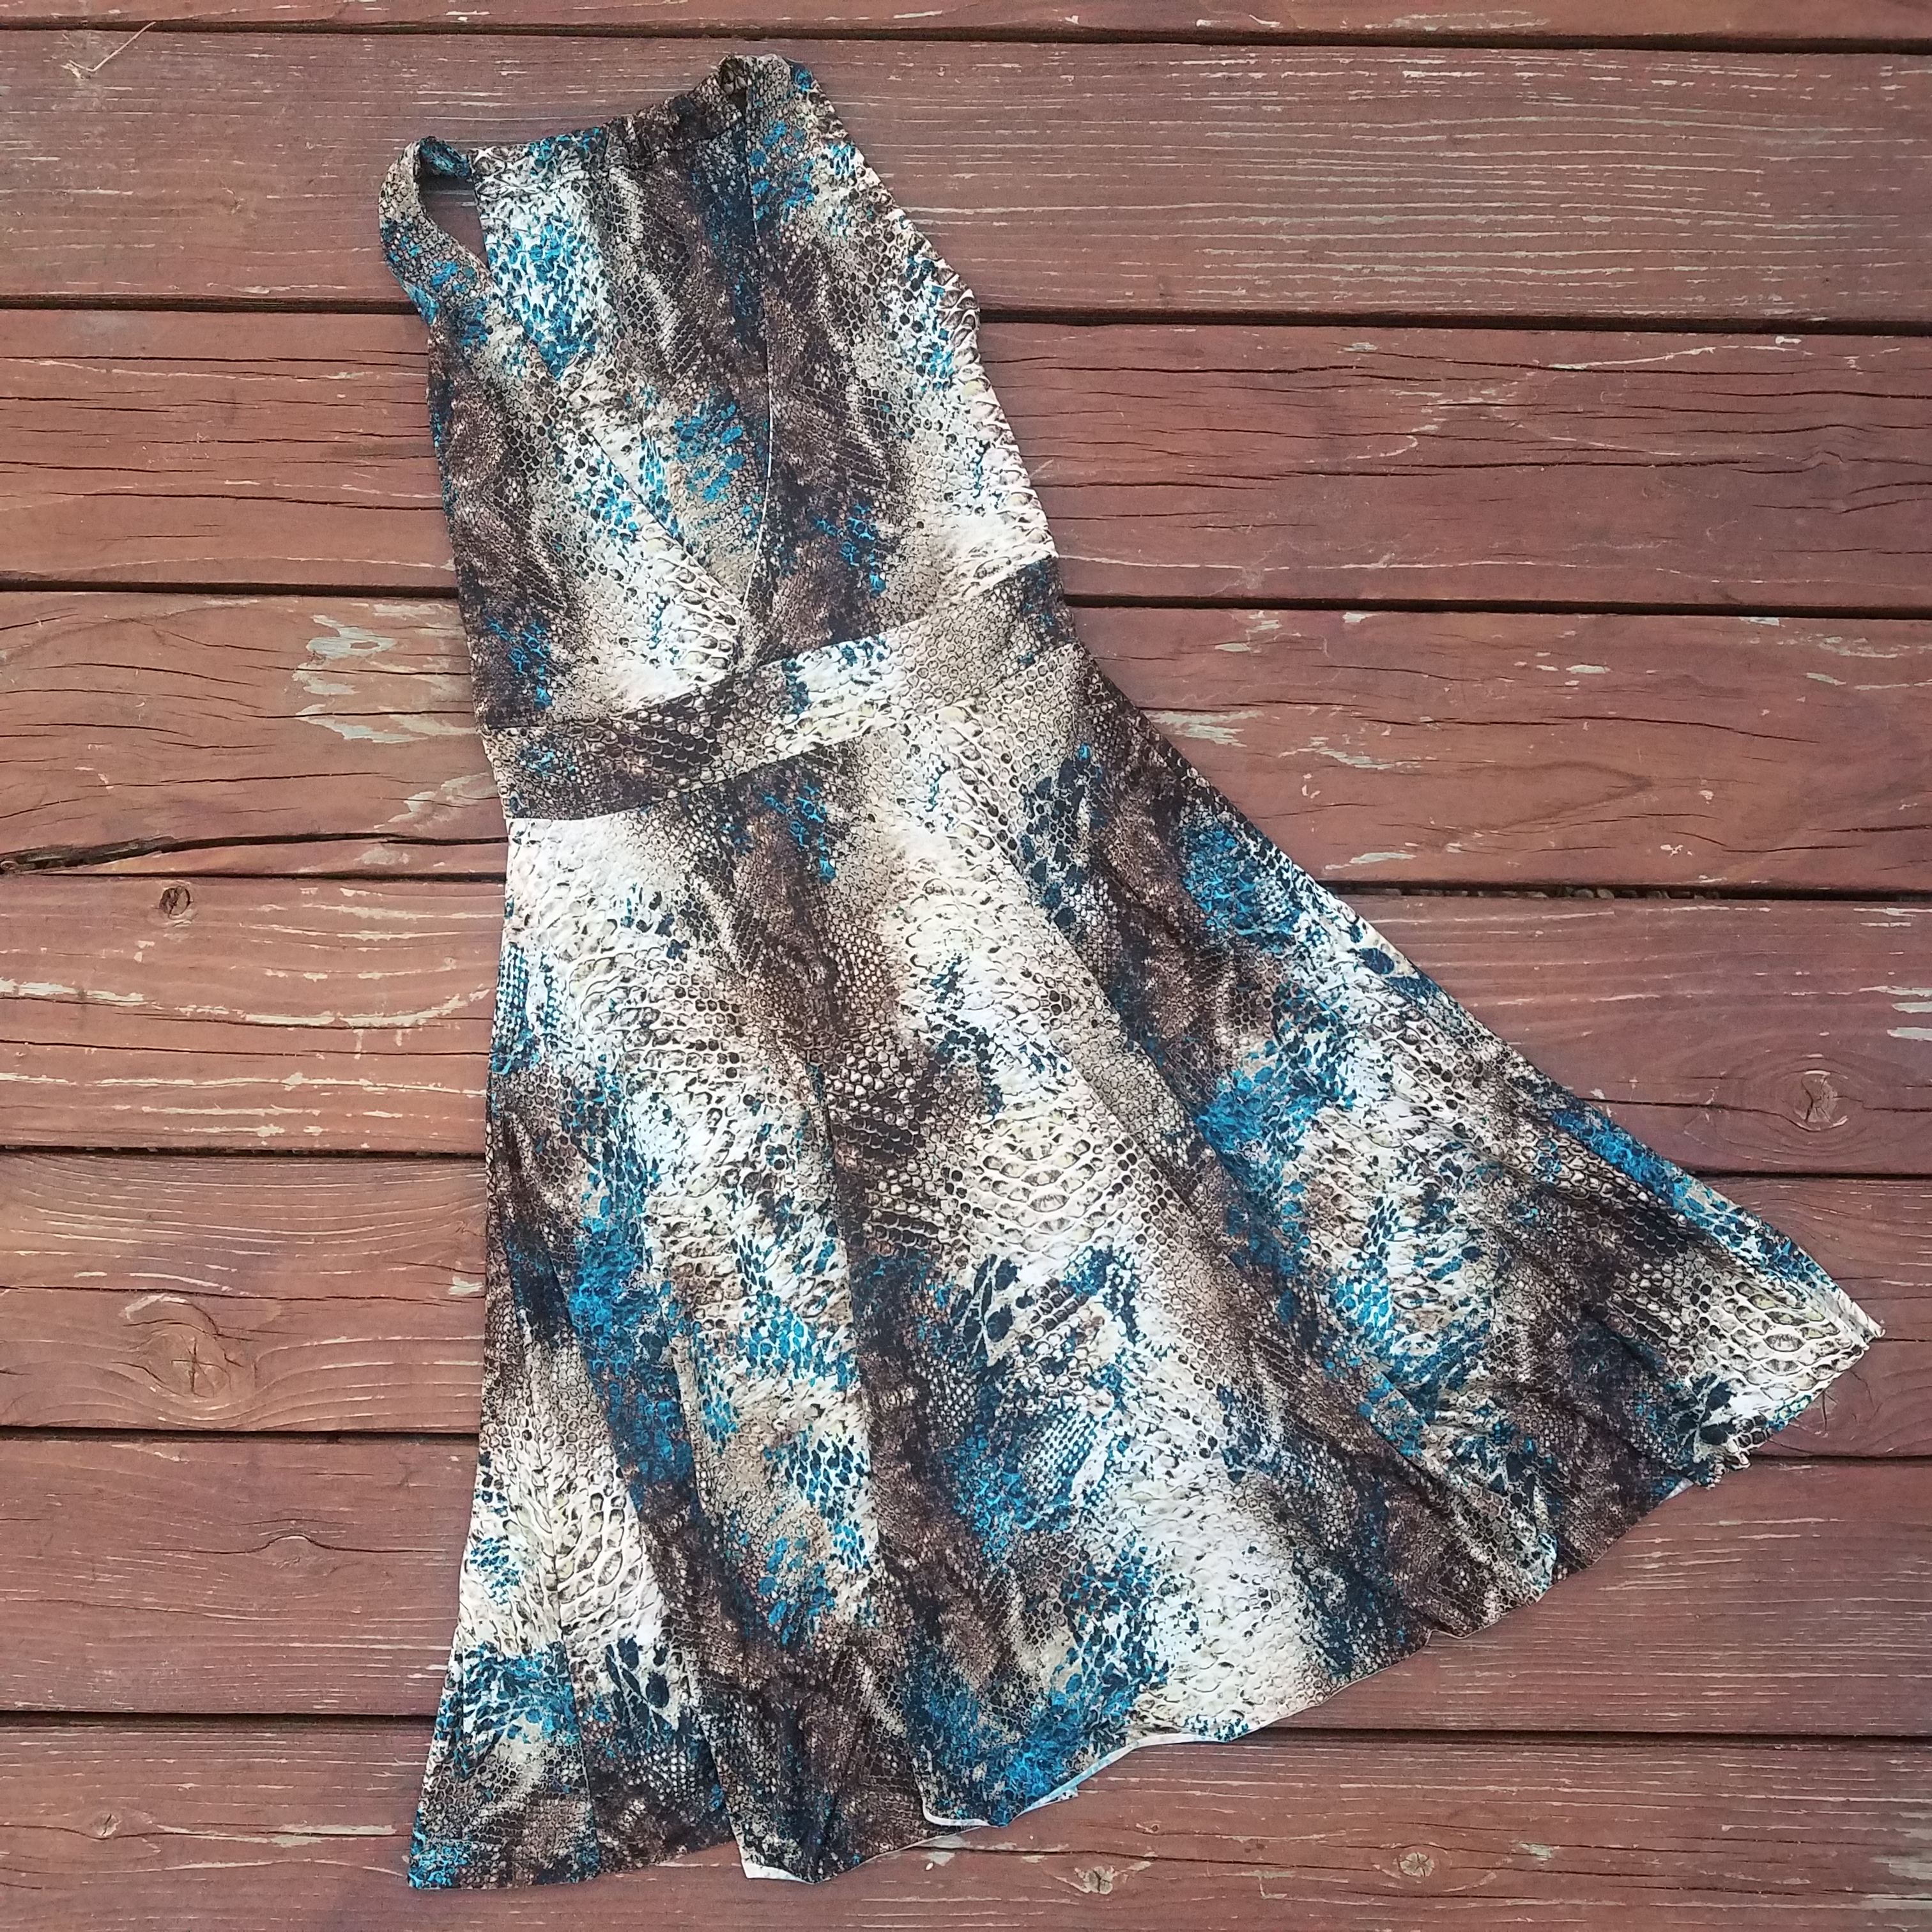
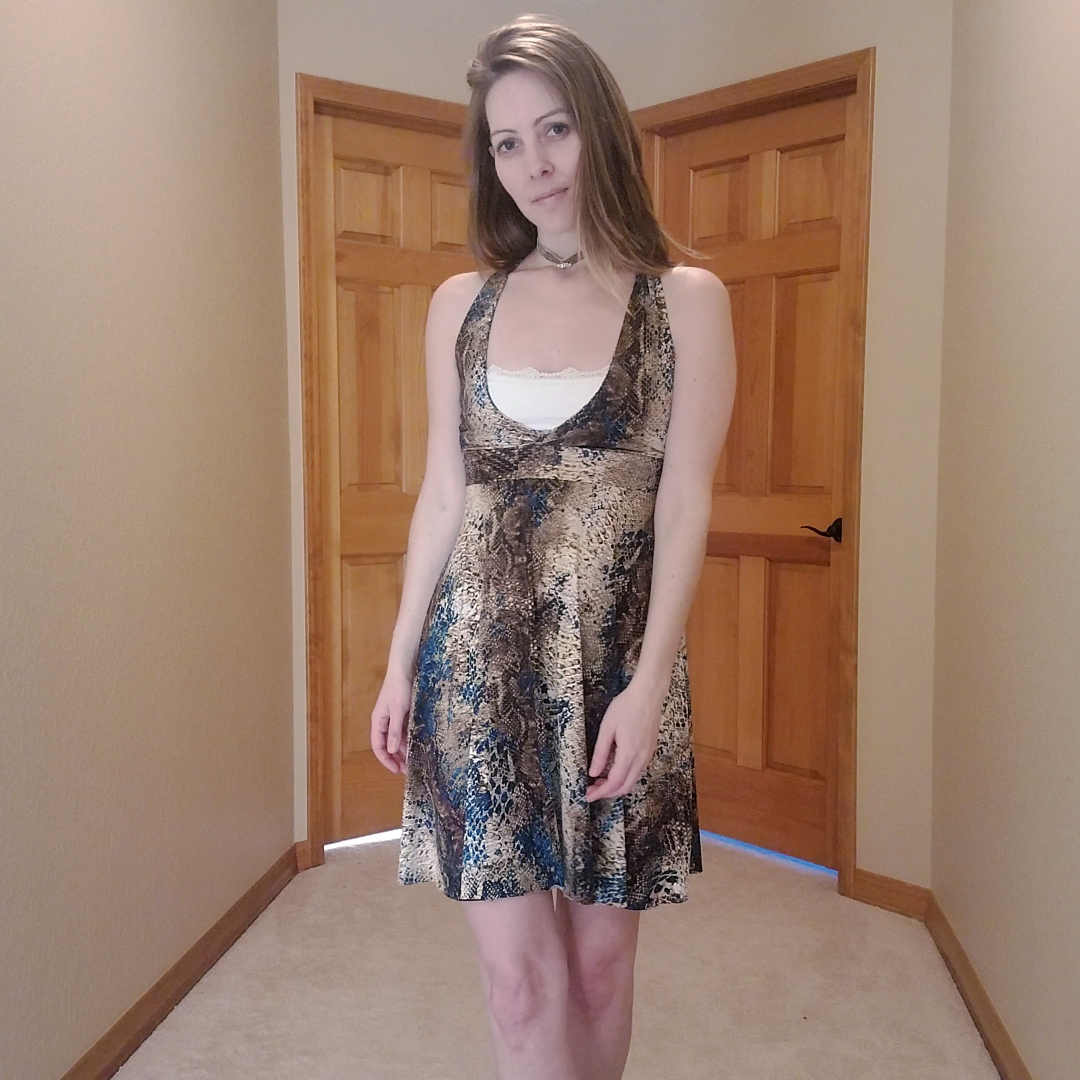
The free George + Ginger Lounge Gown has been begging me for a waistband hack. Why, you ask? One word: elastic.
I personally loathe elastic waistbands. No matter where they hit on my body. I don’t find them flattering, nor comfortable. There’s a little monster that rages in me whenever I’m shopping, find something cute, only to see the waistband is gathered and sewn to a little strip of elastic. It is the laziest form of waistband in my opinion, and I hate them.
So I was disappointed when I got to the end of this pattern on my first version to find the final step was attaching a band of elastic. I did it, even though I didn’t want to, but I wanted the stretched-out-looking waist even less.
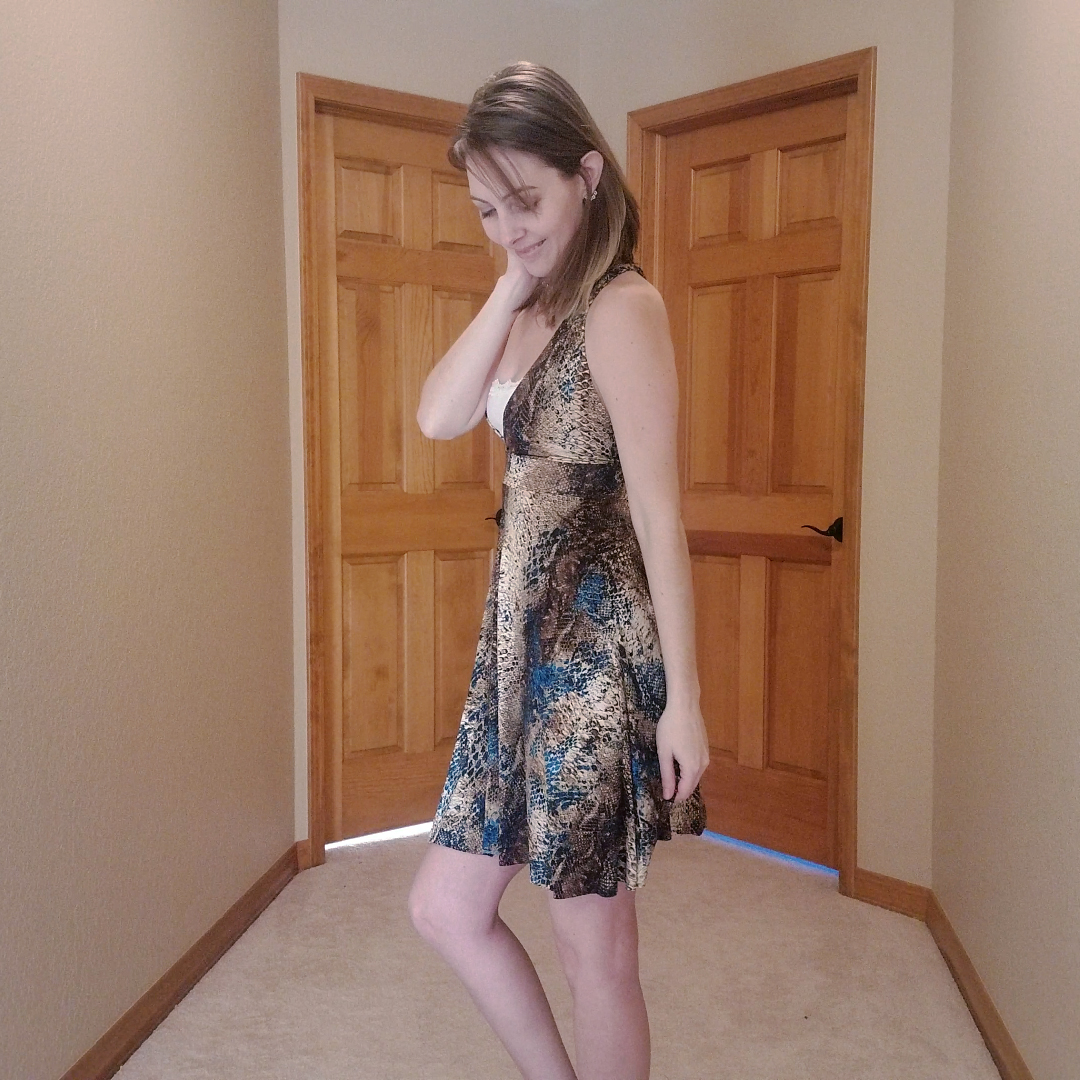
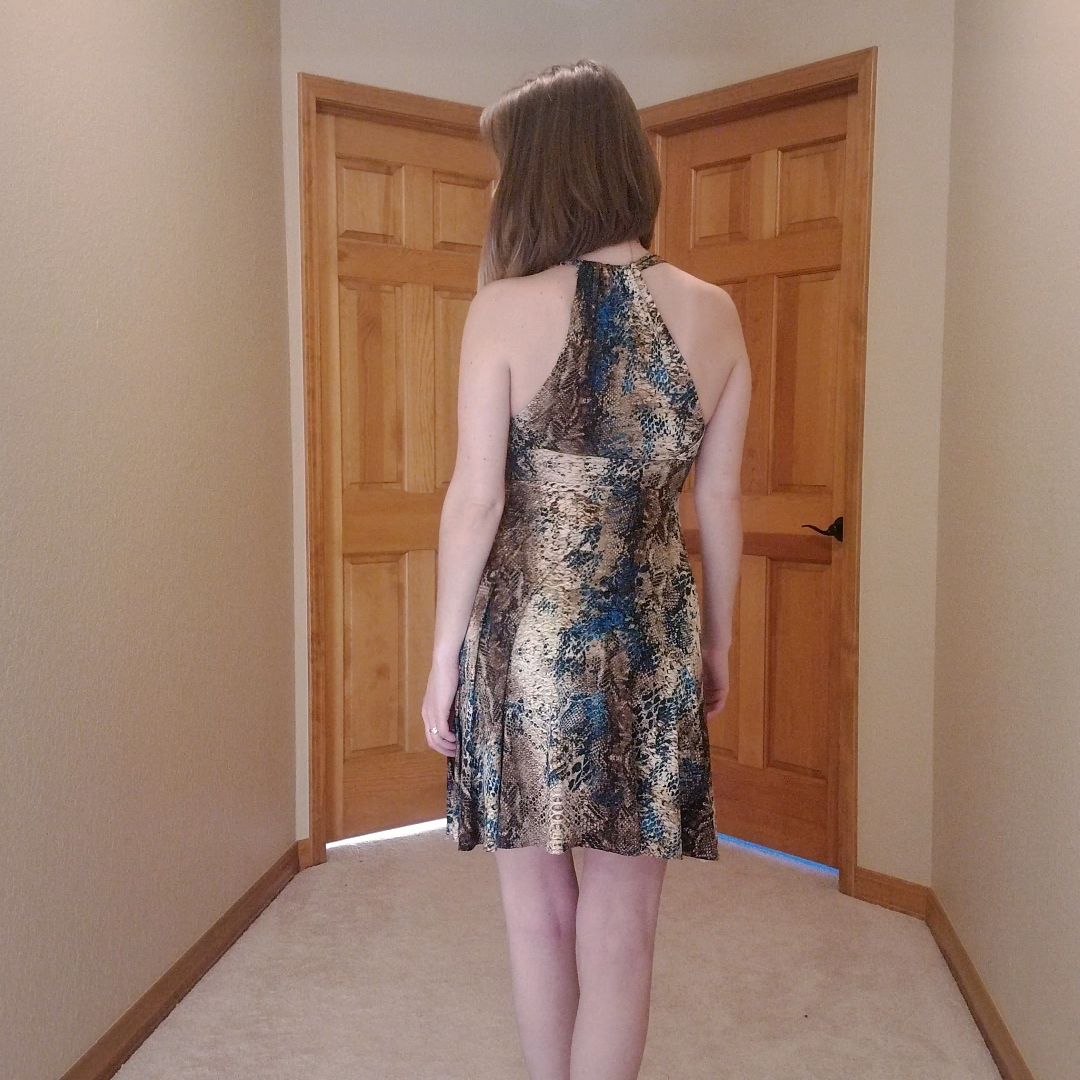
Thus, the desire was born to hack the pattern for a fabric waistband, because every other part of the pattern is great: the circle skirt, the bodice with the slide-through casing on the back, the comfort of the knit fabric, the overlapping details between the front and back bodice. Very flattering.
The How To
 Prep
Prep
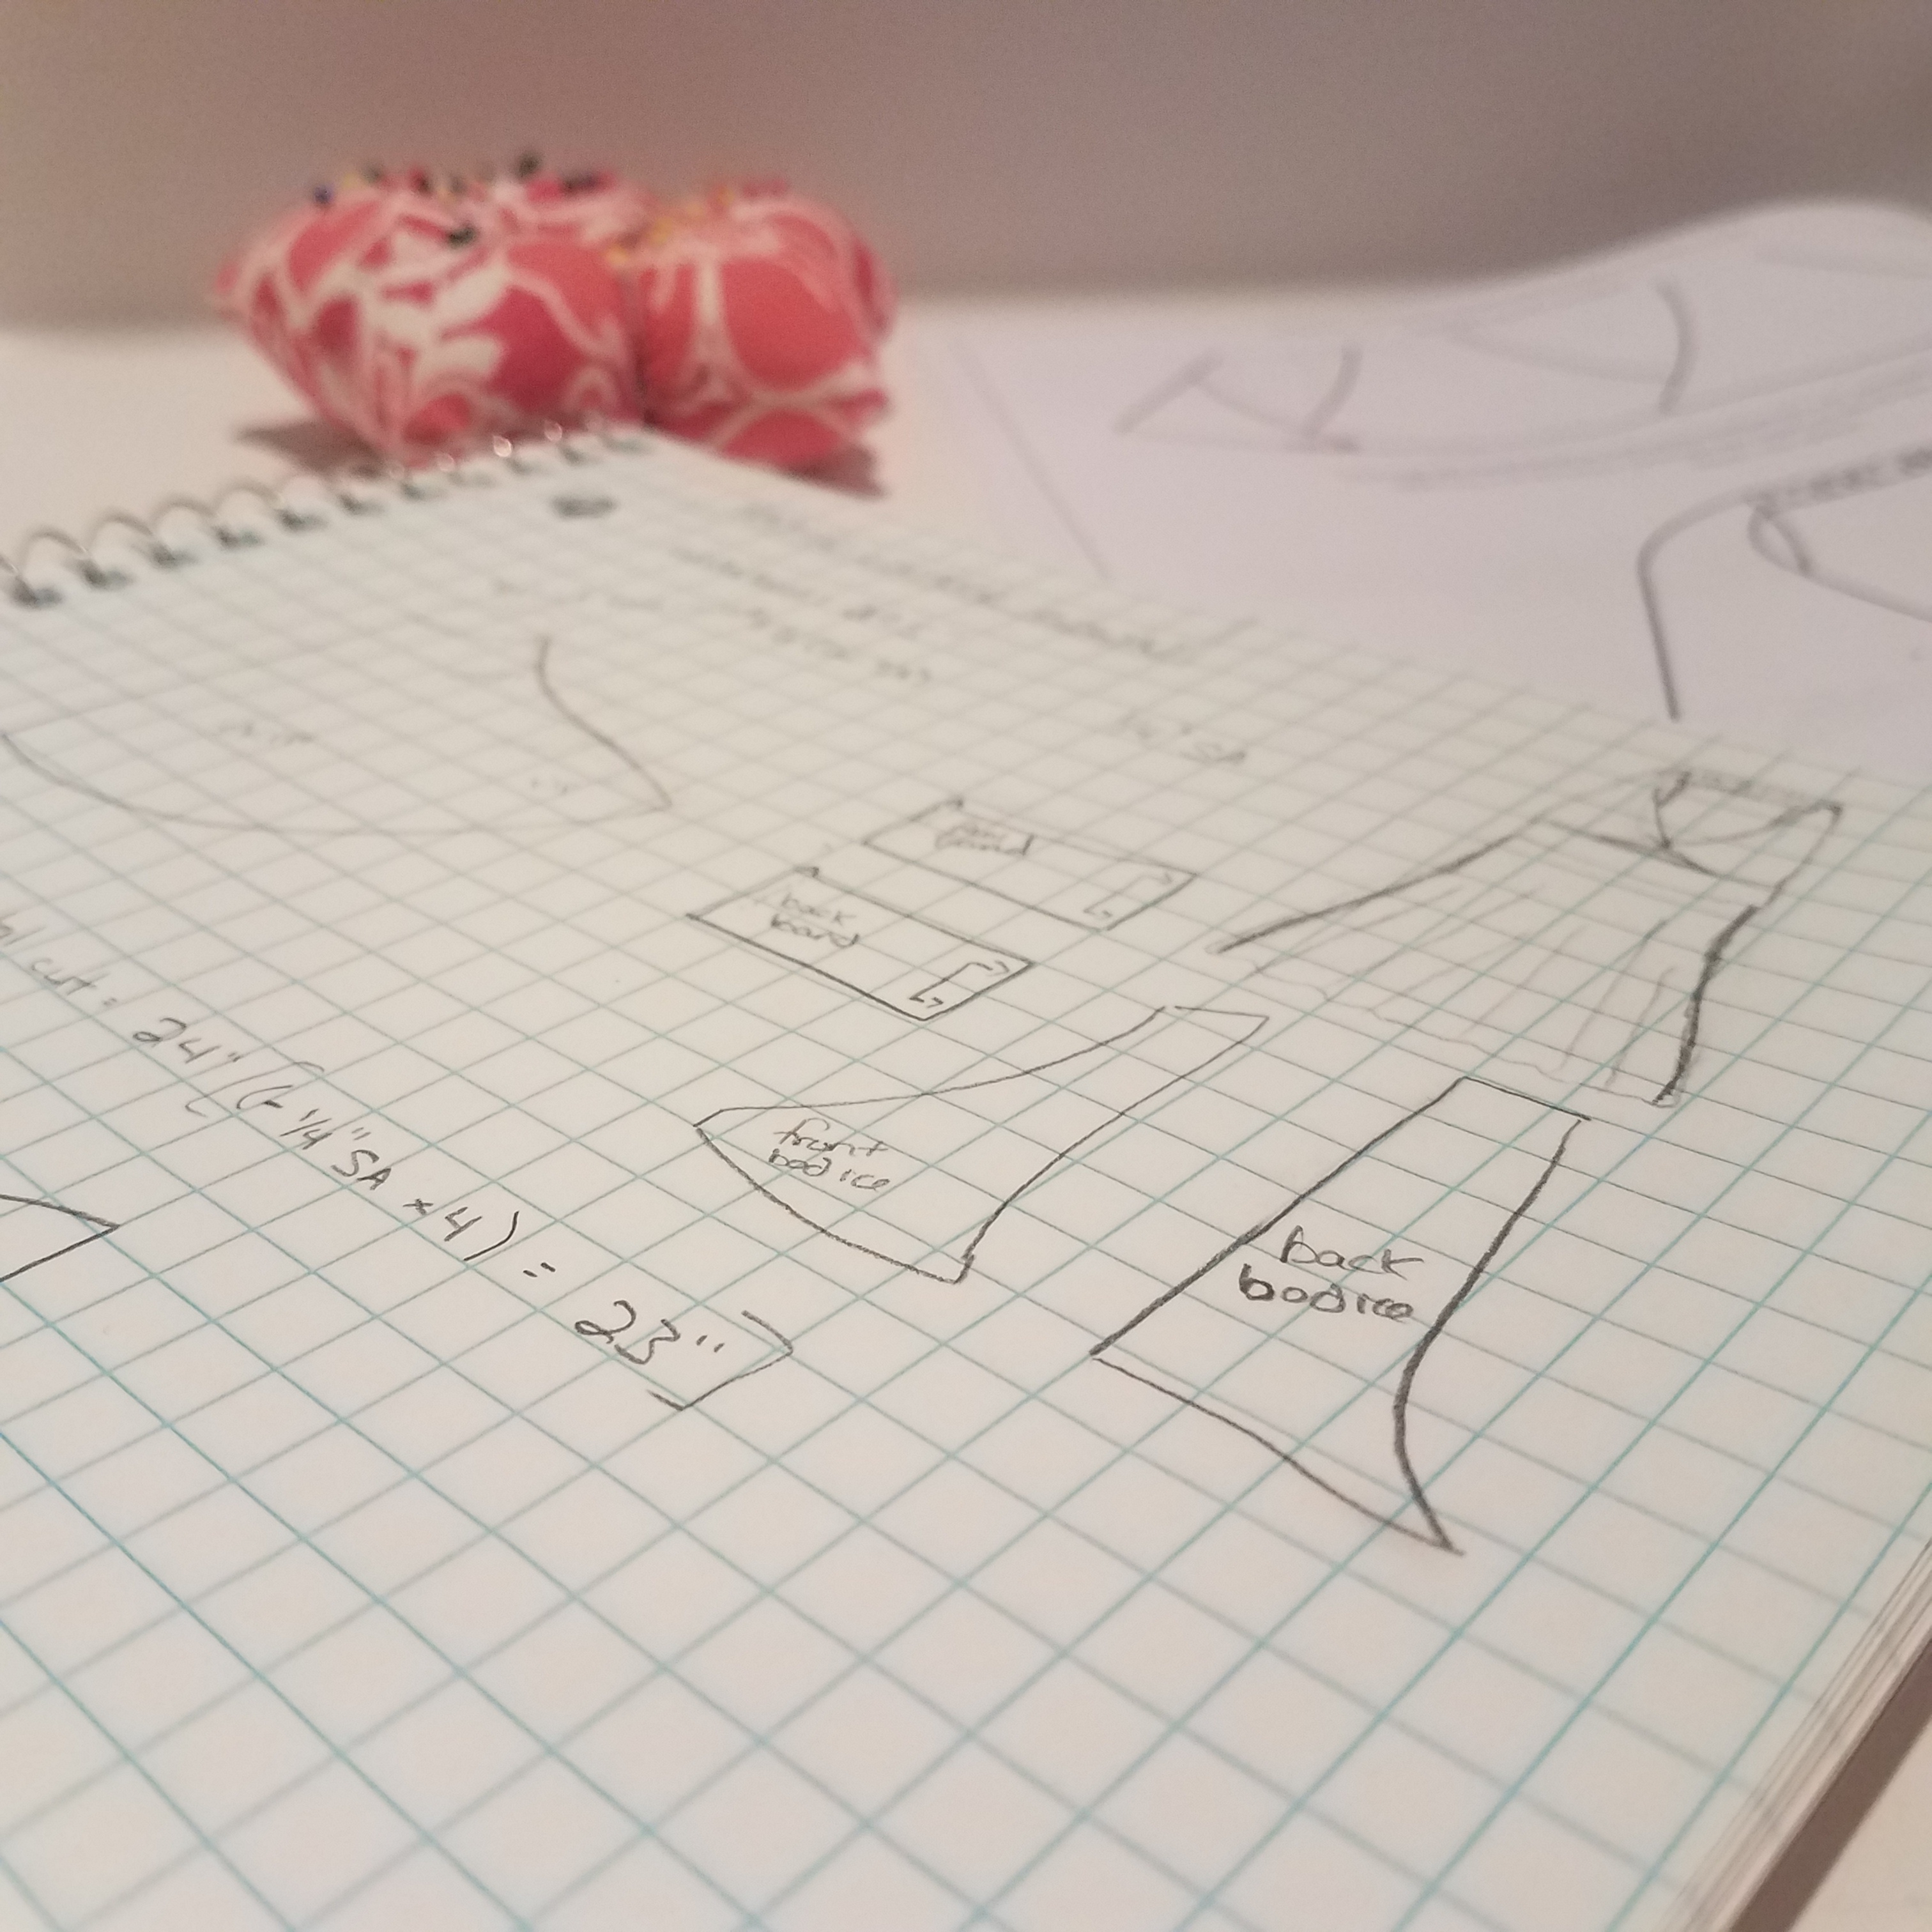
Mmm, sketches and math. I’m sure that sends a fair amount of people running for the hills, but it’s super helpful. Measure the top curve of the skirt piece at the size recommended for your measurements. For me, I was working off a size 4, which gave me a measurement of 6″ around the top curve of the skirt piece. That gave me the length of the waistband piece to cut on the fold.
The width of the waistband is personal preference. I chose a finished width of 2″. Adding a 0.25″ seam allowance to the top and bottom gave me a measurement of 2.5″ to cut.
So the final size of my waistband pieces was 6″ cut on the fold by 2.5″. I cut two of them.
Just for reference, the finished circumference of my waistband is 24″. My underbust measurement is about 29.5″, so the stretch of the fabric is making up for that 5.5″ difference.
Sewing
I followed the steps for constructing the bodice up until the step that called for overlapping the front and back bodice and basting together. I left the front and back detatched from each other and skipped to sewing the side seams of the skirt, and the side seams of the waistband. I used a 0.5″ seam allowance on these two pieces just to make sure it would be more fitted.
When I had the side seams done, I attached the waistband to the top of the skirt using a 0.25″ seam allowance. They should be the same size so you shouldn’t have to distribute any stretch, nor stretch the waistband while sewing.
With the waistband attached, I turned the skirt inside out, the bodice right side out, then slipped the bodice into the skirt, lining up the front center and back center marks I had made on the skirt and the bodice. This is where I overlapped the front and back bodice as I was pinning around the waistband, making sure there was no extra stretch to distribute.
Once pinned, I went through with my seam ripper and removed the basting stitches from around the bottom of the 3 bodice pieces, except for the small row of basting stitches holding the overlapped front pieces together. I did this to make sure the bodice would stretch when being pulled on over the body.
Finally, I sewed the bodice to the waistband with a 0.25″ seam allowance, being careful to catch all the layers in the seam and smoothing the fabric to avoid catching any ripples or puckers in the seam.
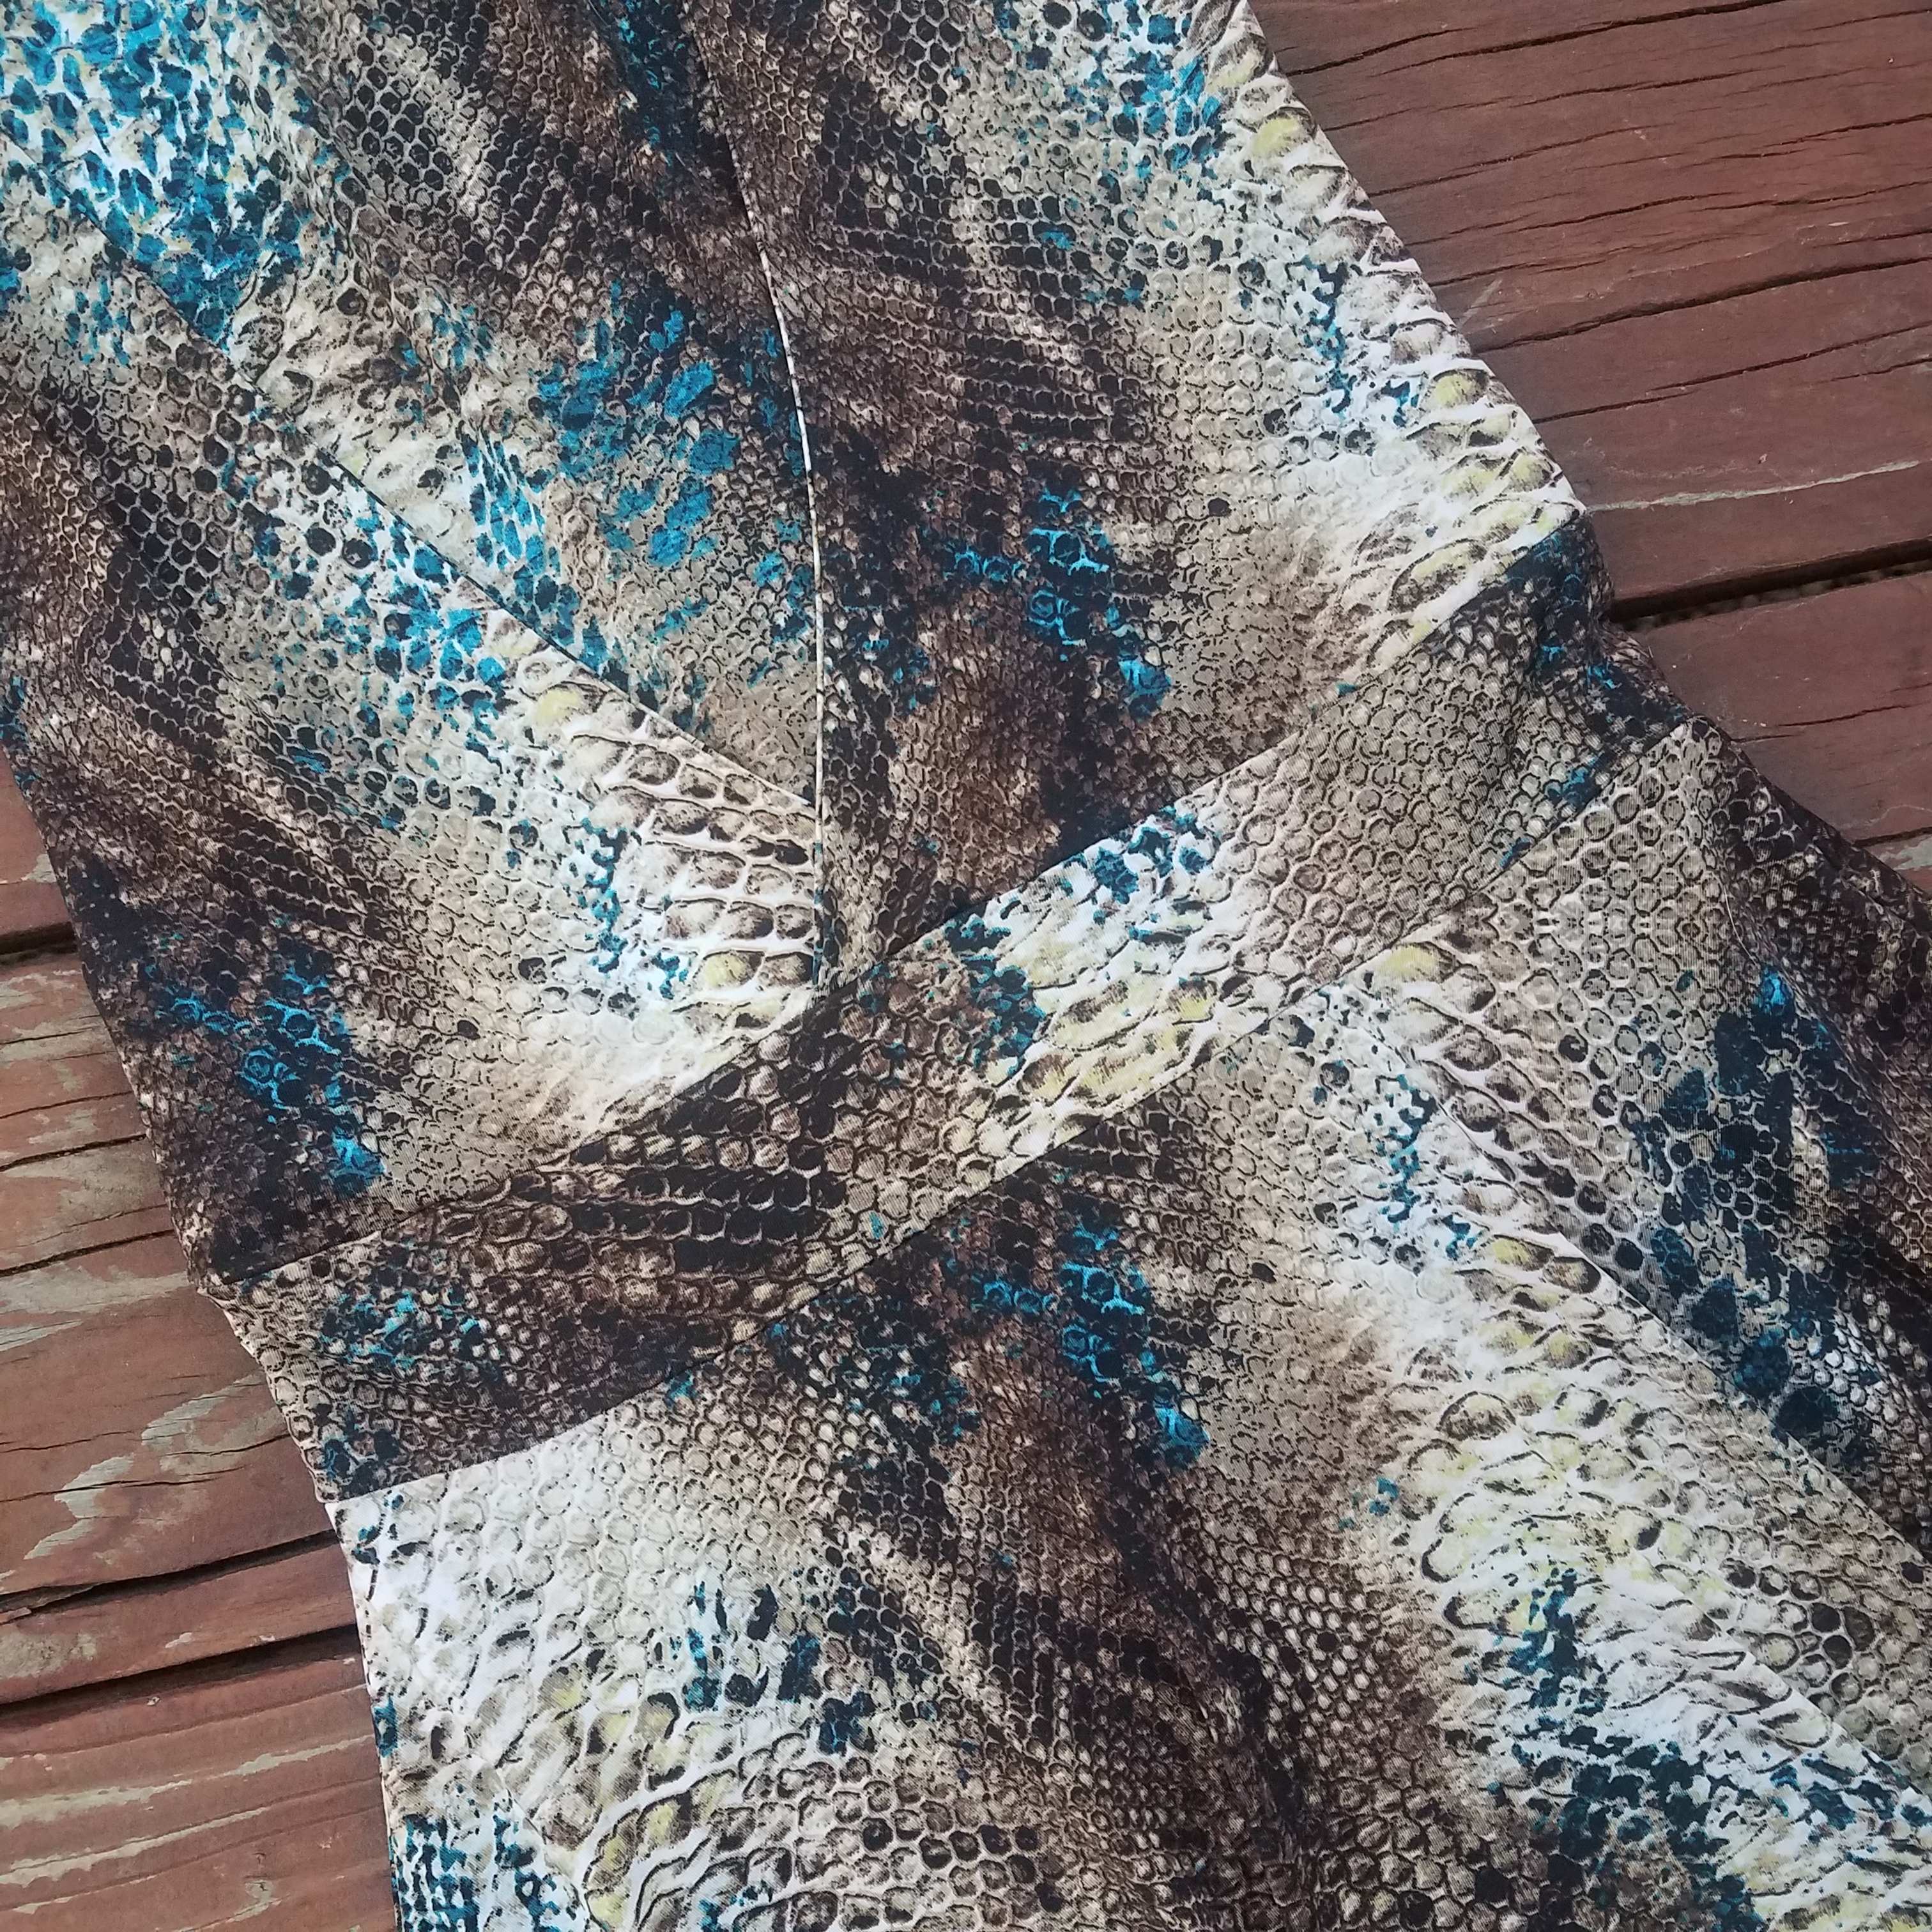
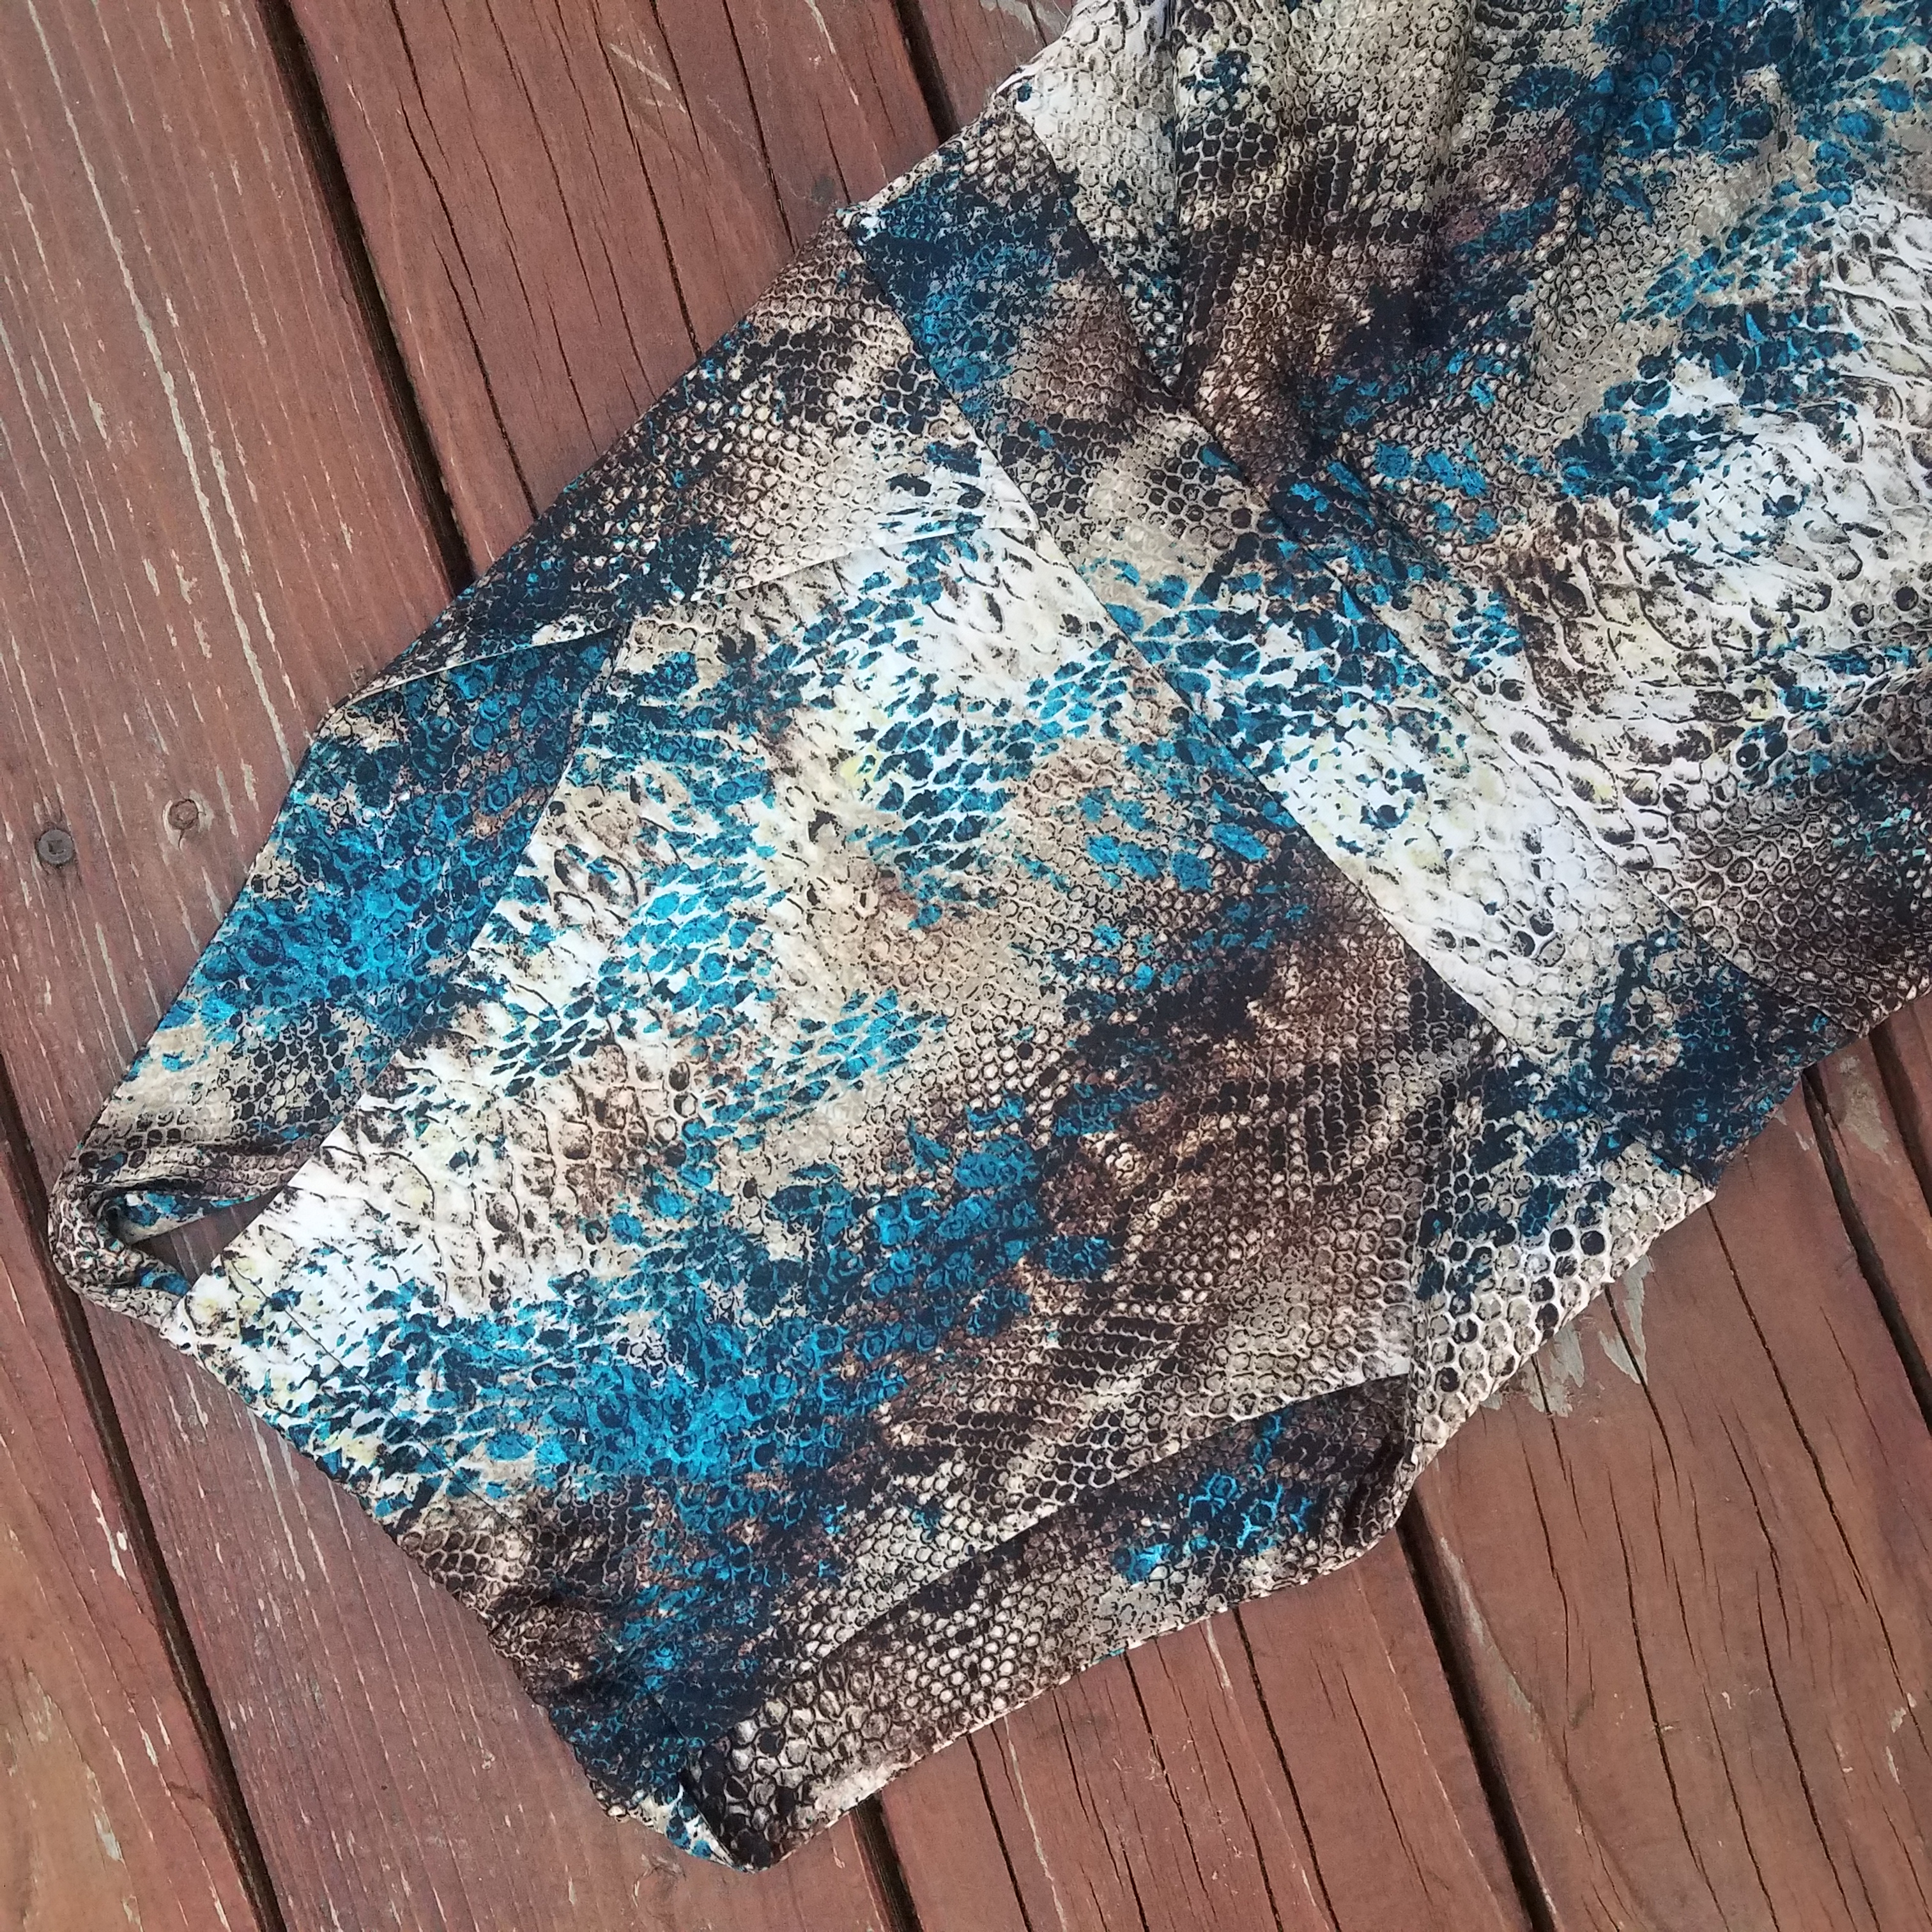
I left the bottom hem raw.
Notes for Next Time
- Increase the overlap of the front bodice pieces by about 1″ to help cover the girls a bit more.
Project Settings
Presser Foot |
Stitch# |
Width |
Length |
Needle |
Top Thread Tension |
Application |
|---|---|---|---|---|---|---|
standard zig-zag (A) |
5 |
1.0 |
4.0 |
blue tip |
4 |
seams |
standard zig-zag (A) |
0 |
3.5 |
5.0 |
blue tip |
4 |
basting |
Leave a Reply