Finished my latest project last night. I followed this tut, recommended courtesy of Creative Saturdays.
Previous entry, I said the next thing was a scarf for the hubby. That was a quick right-before-bed thing, which I laid out over his coat for the next morning, not sure if he would dig it or not. When I woke up, the scarf was gone with his coat. He wore it right away, and he loves it. Says it’s warm. Even wore it skiing. 😊
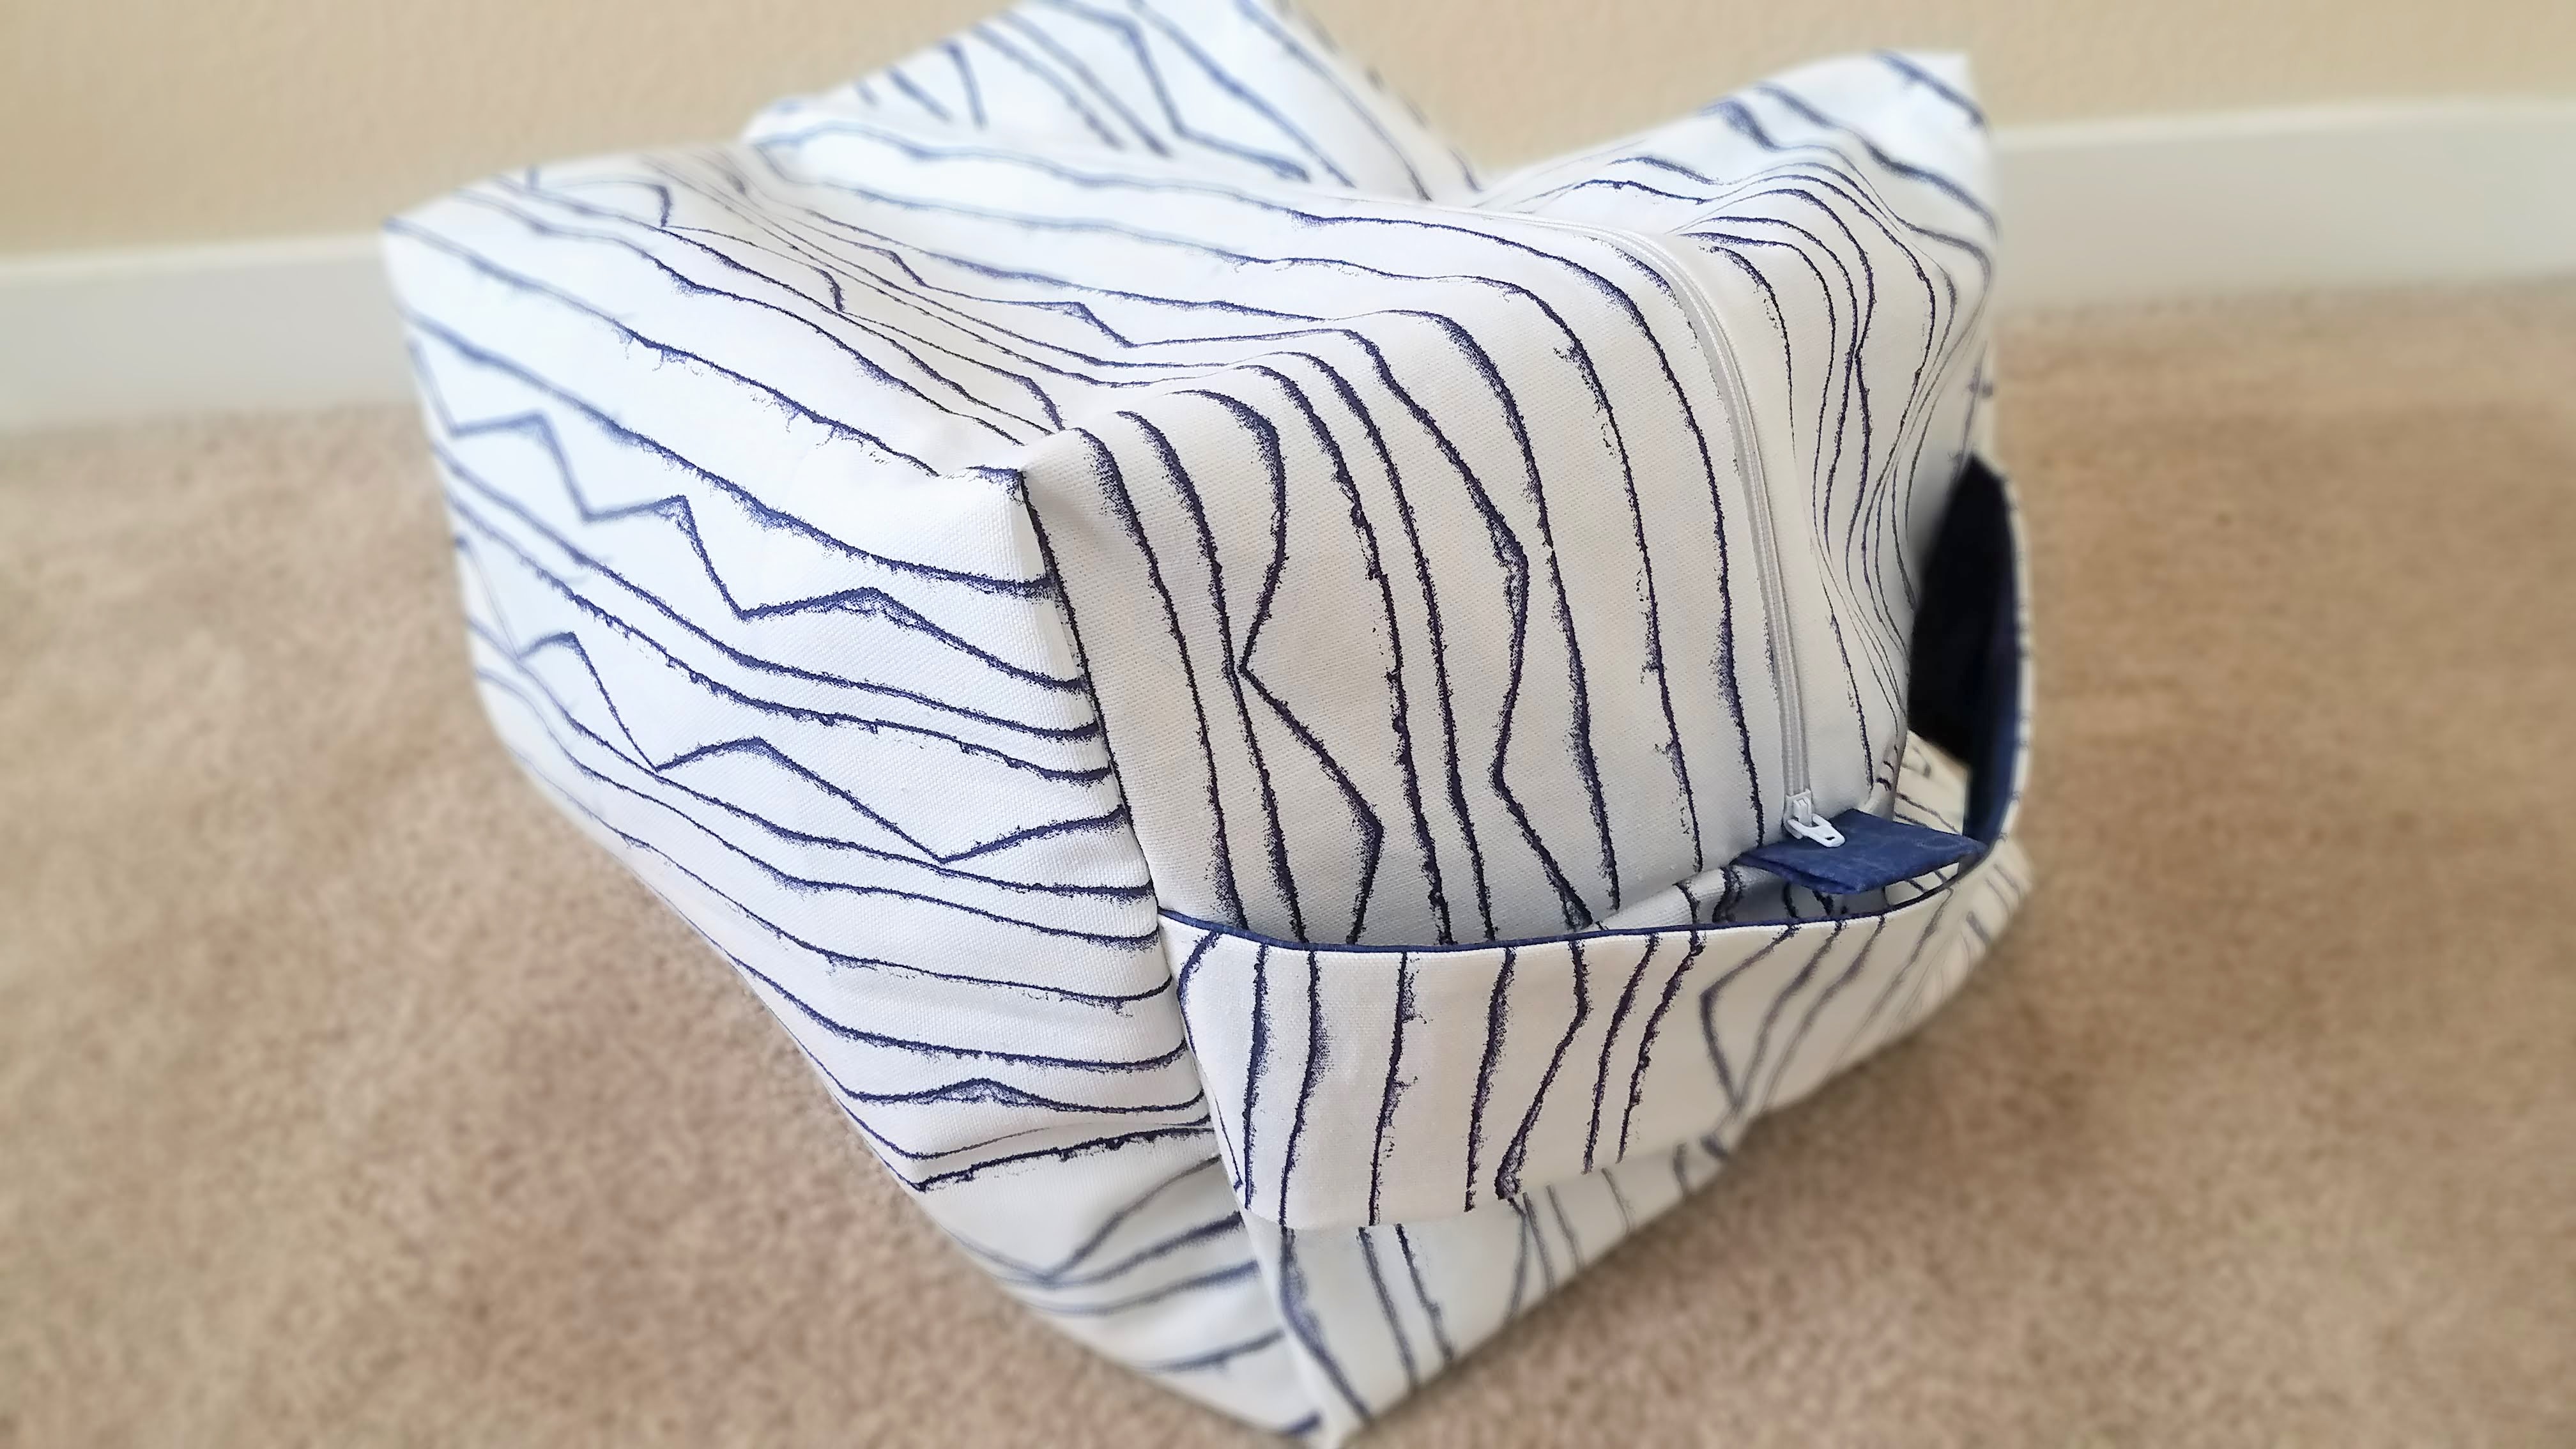
Back to the boxy bag: the tutorial made a rather small boxy bag. Me being me, I naturally had to do my own thing, so I made a considerably larger boxy bag (final size is somewhere around 11x10x13.) I wanted something that would hold the smaller skiing gear I’m accumulating (goggles, gloves, knee braces, and a hat so far) and the handle on this boxy bag looked extra useful. I considered some of the bags in my One-Yard Wonders book, but they either called for supplies I didn’t have, weren’t a sensible size or shape or didn’t have sensible features. So I did this instead.
I also had the notion to toss in a little inner zippered pocket, to hold lip balm or other even smaller things.
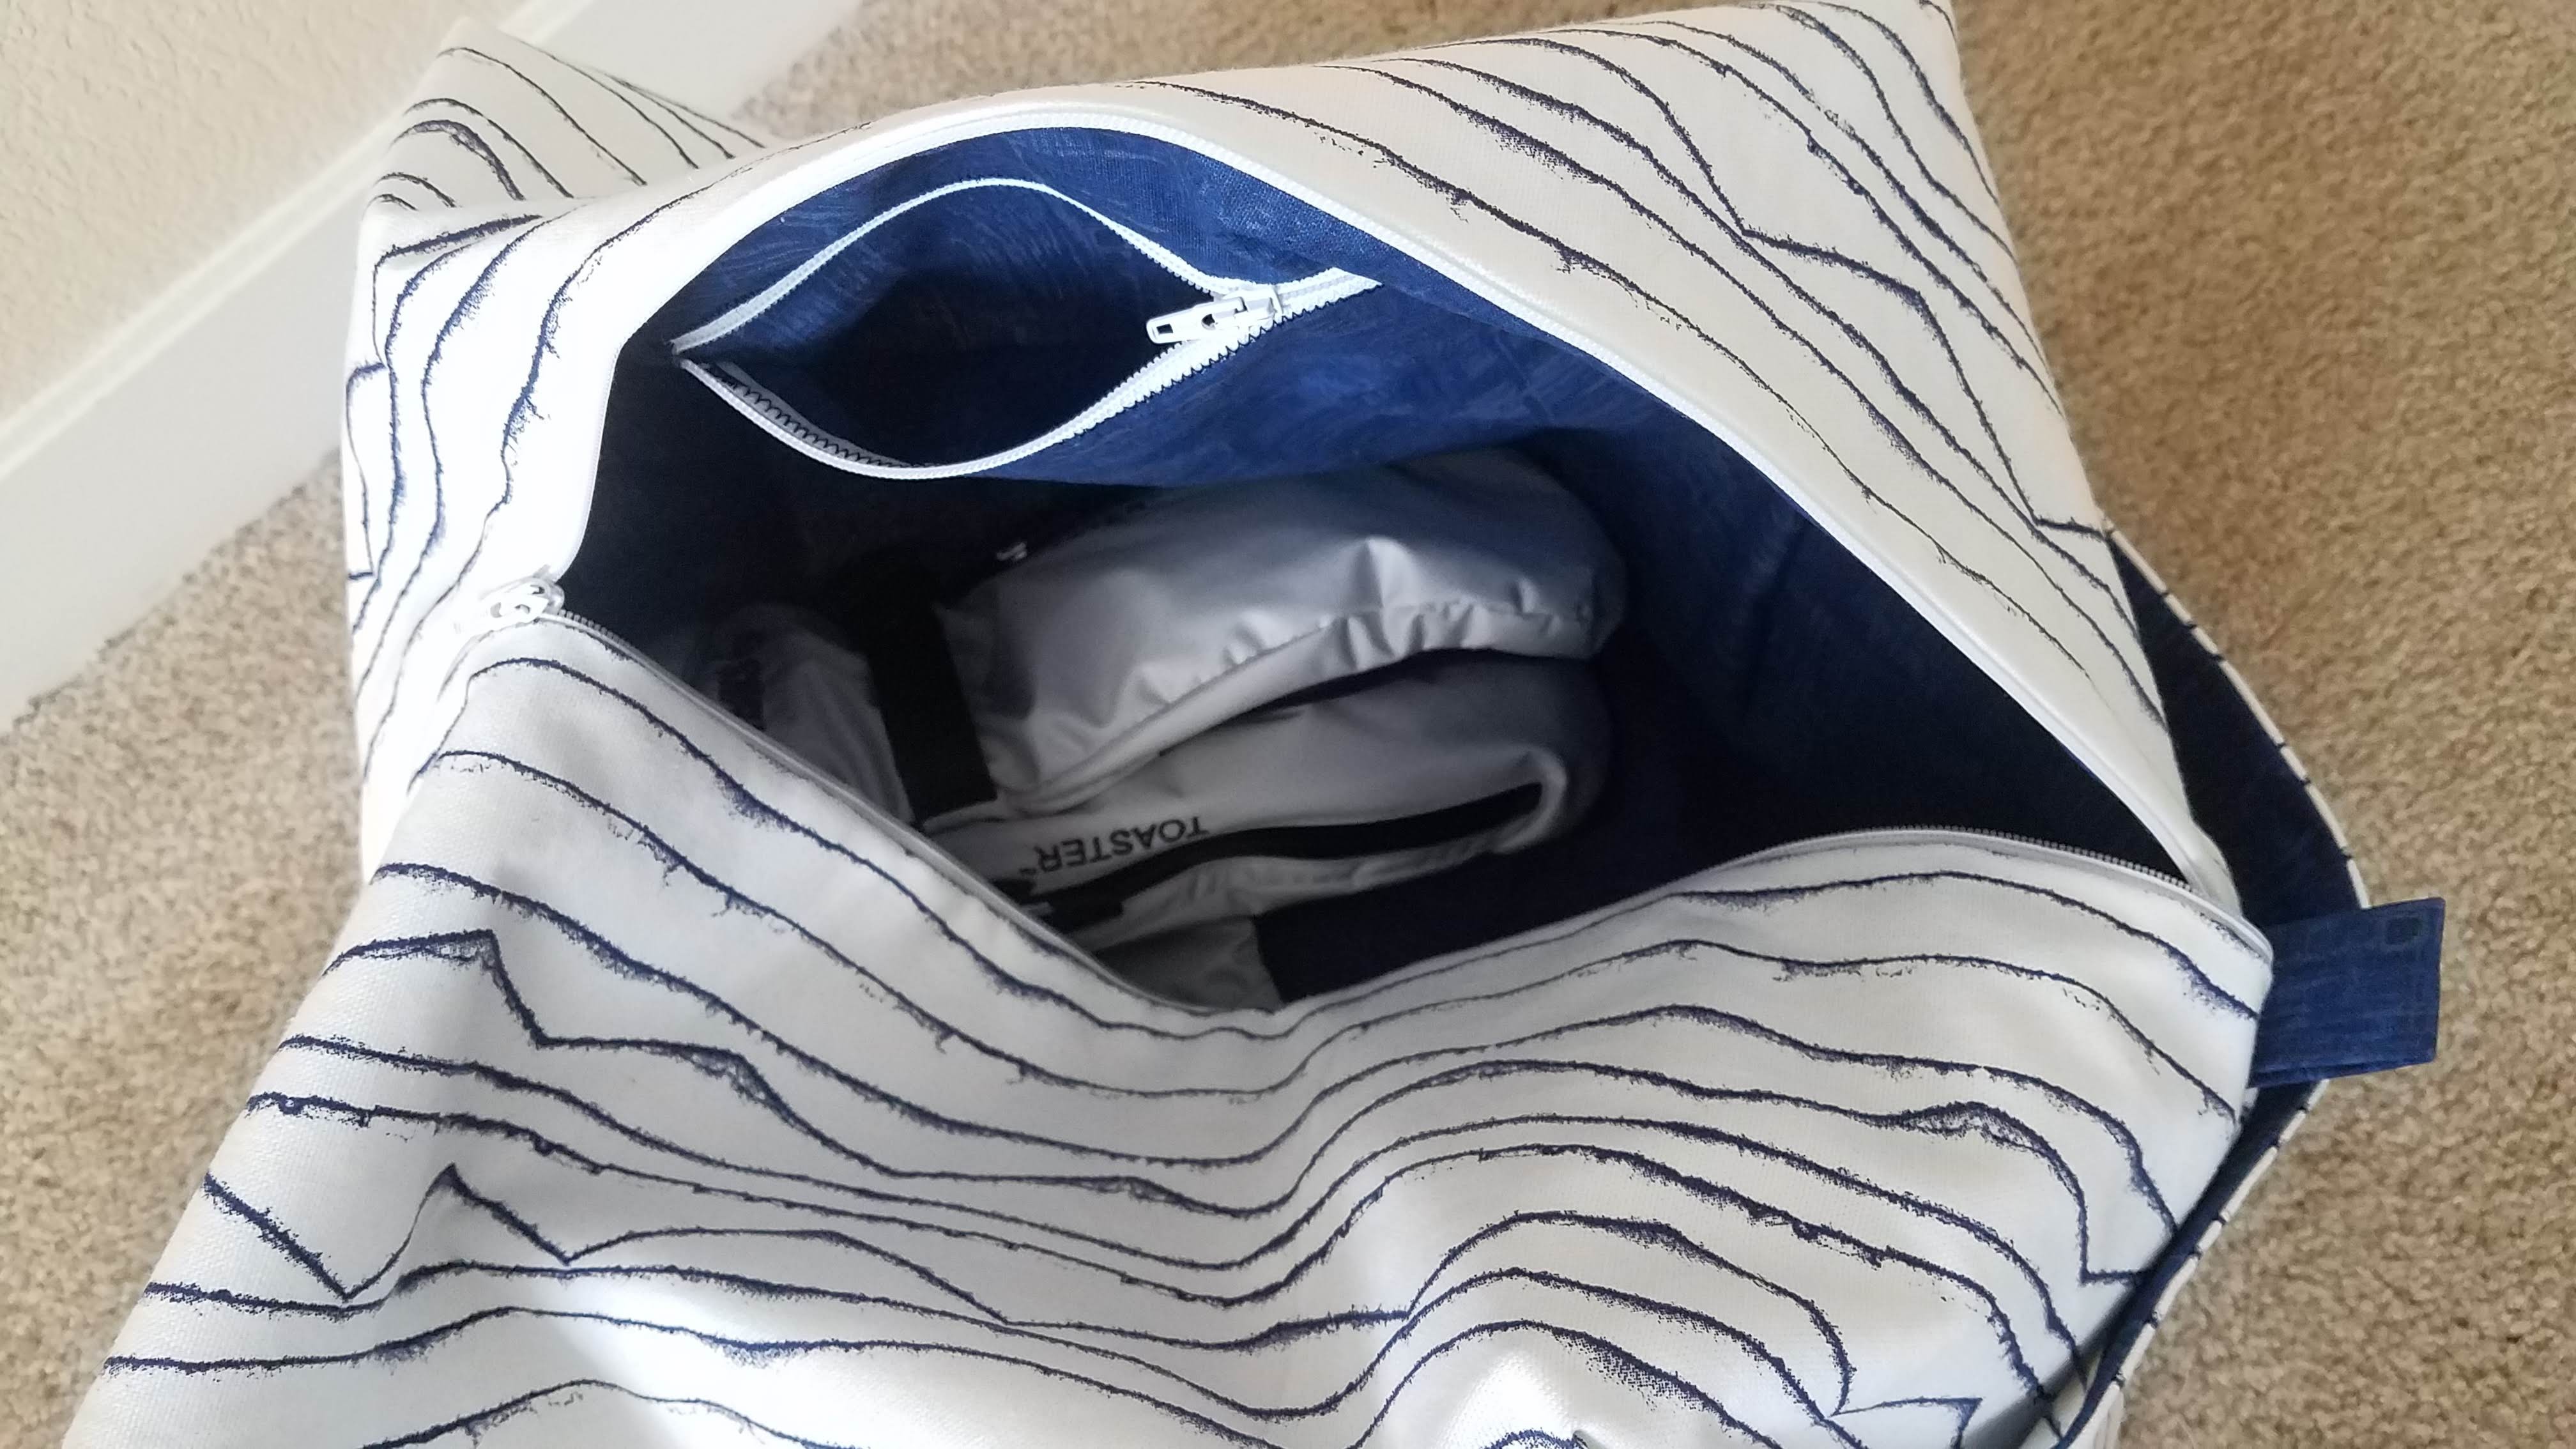
Had never done an inner pocket before, and didn’t really have instructions to follow on making one. So I just reverse engineered a pocket on my purse. Turns out, the most difficult part about it was that last seam under the zipper, because one must sew this seam without sewing the pocket shut. It would have been easier if I had left the bottom seam of the pocket itself open and then sewed that shut as the last step, because I could have then slipped the pocket over my free arm. But I was winging it. So that seam under the zipper looks mildly challenged. But it works. I successfully made an inner pocket. I could have also positioned it lower in the bag so it was along the side instead of along the top, but again, winging it, and the first time you make something is an exercise in understanding how the steps all come together. So now I know for the future.
The tut itself was passable. But as is frustratingly too common, the steps that “get weird” (making the boxed corners for this one) are the steps that seem to only get one photo and one confusing sentence to explain them. Also, she could have mentioned including a second pull tab at the point where it would have been included and not as an afterthought with the one she does include. I would have definitely added another pull tab on the side if it didn’t mean ripping out seams. 🙄 The good thing about the whole walk-through was she included the math to make a custom sized bag. So that was good.
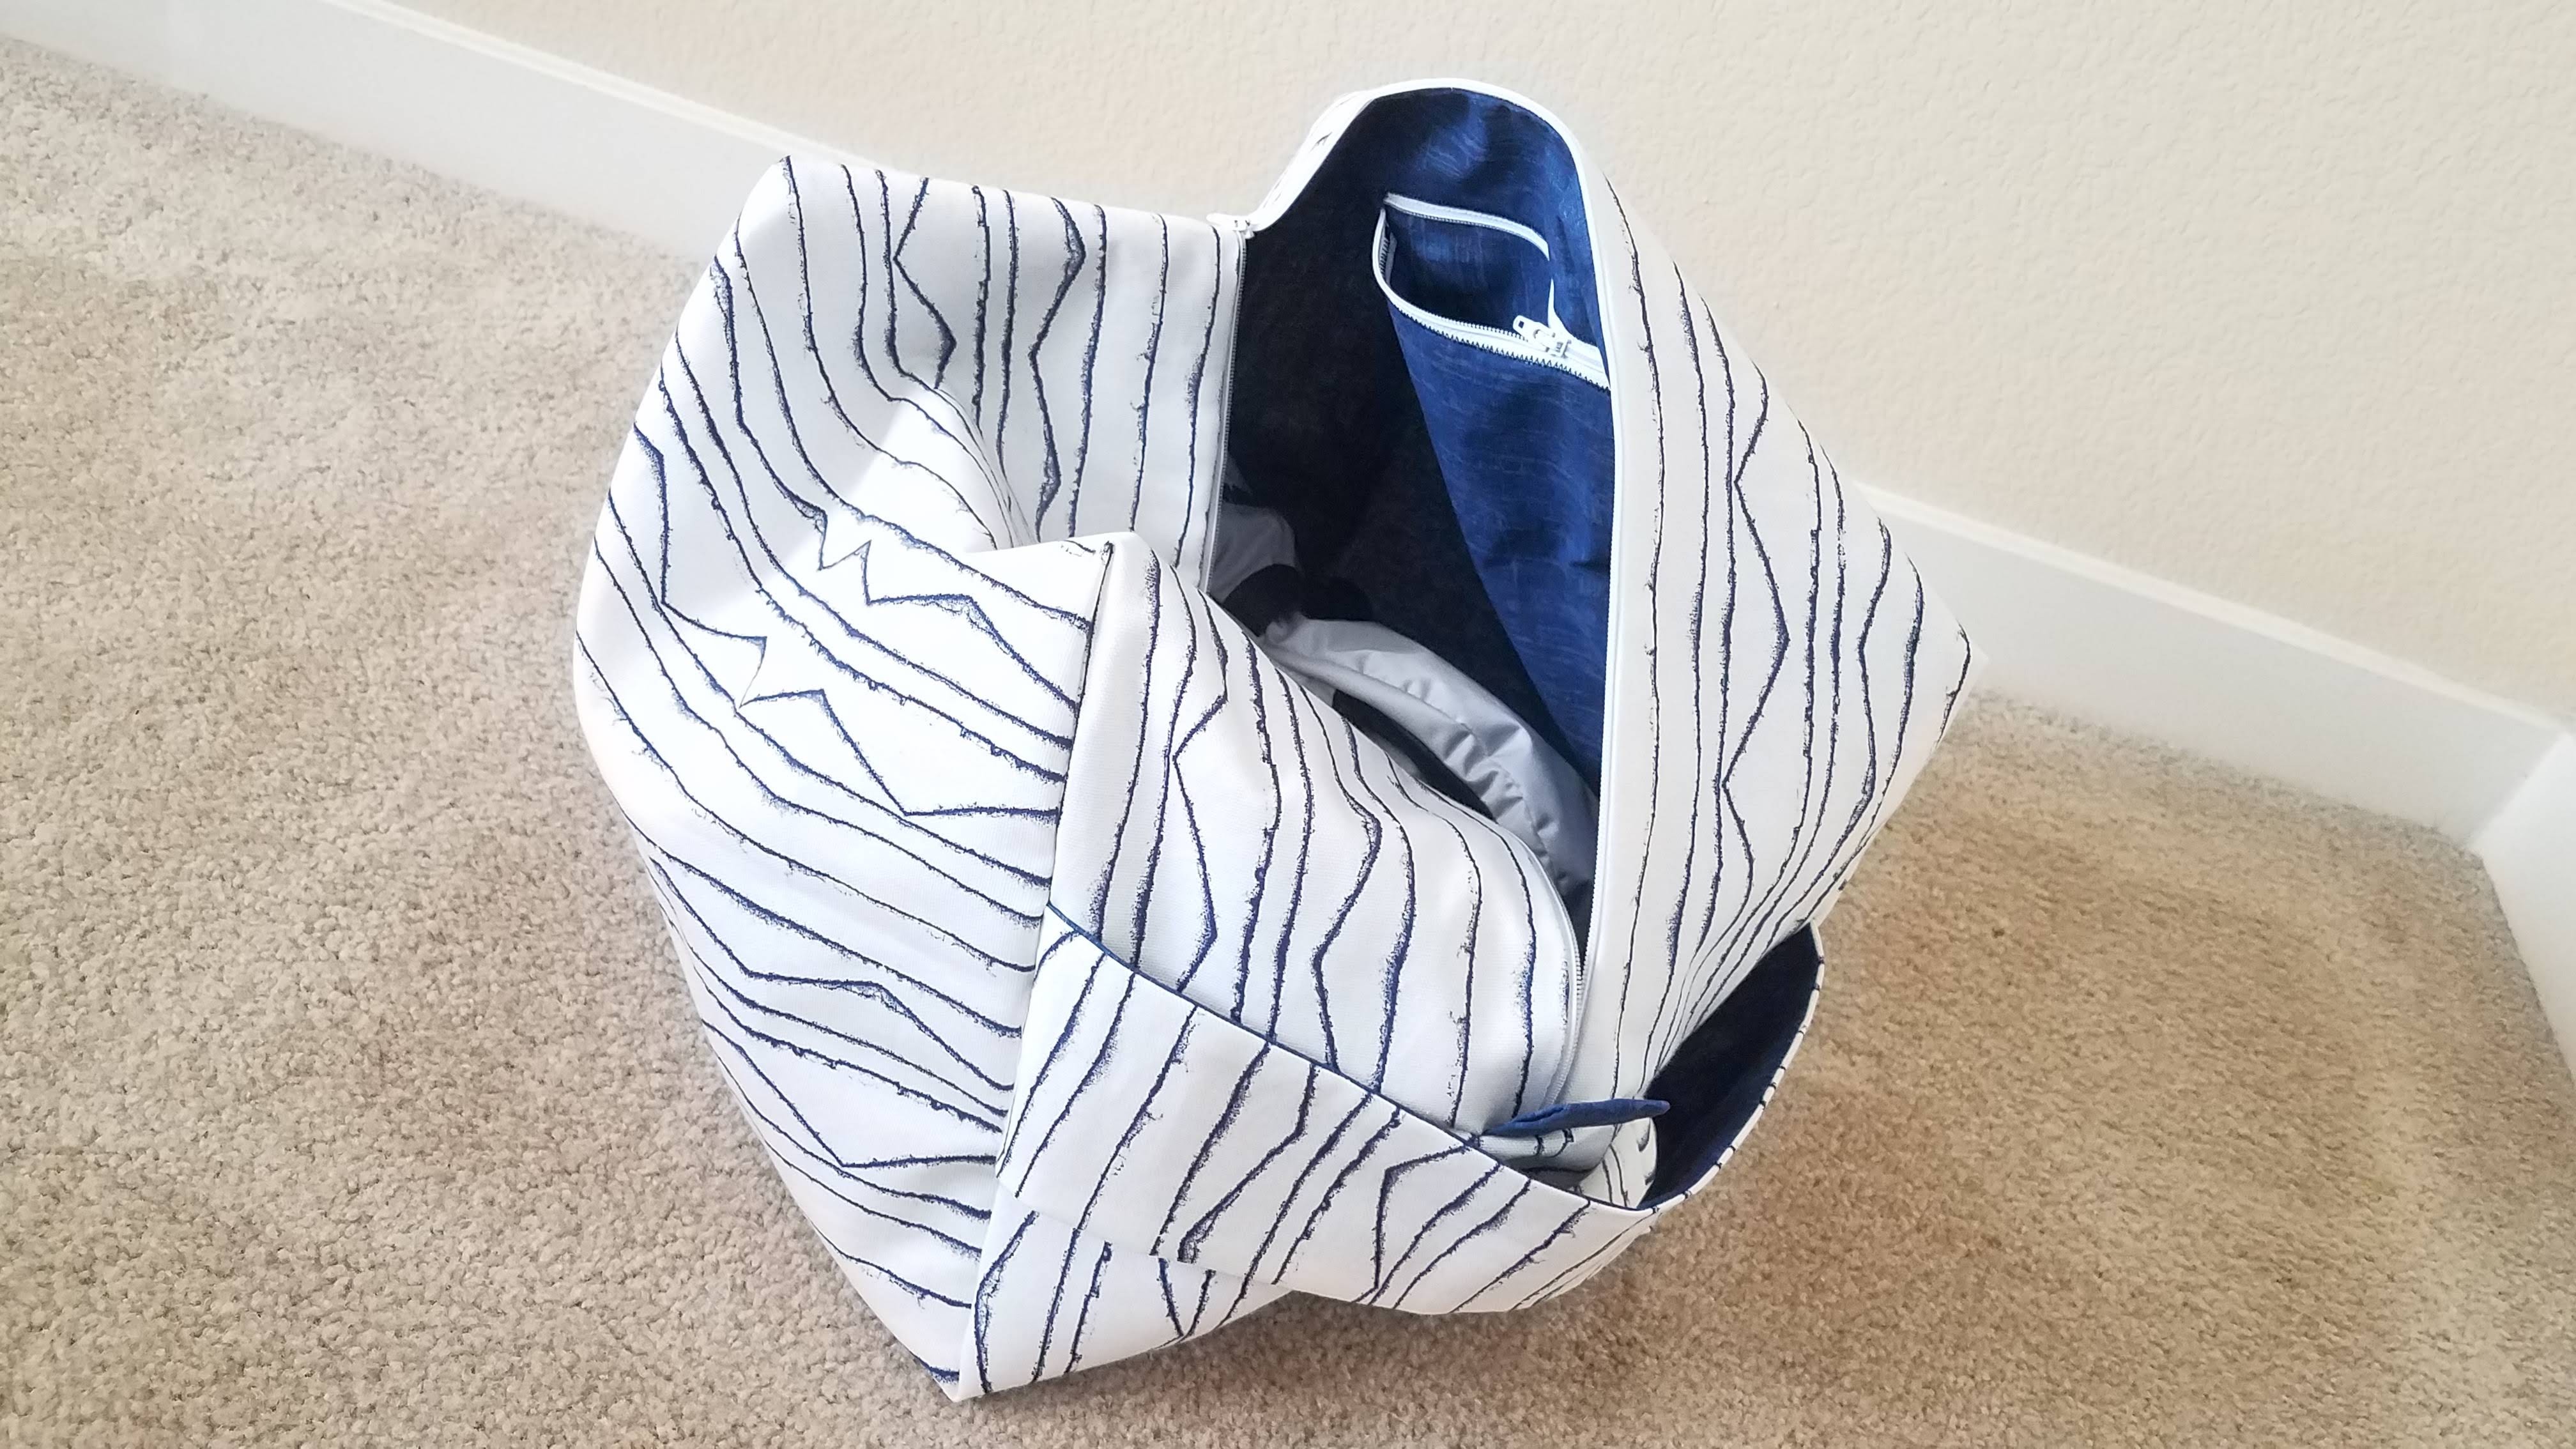
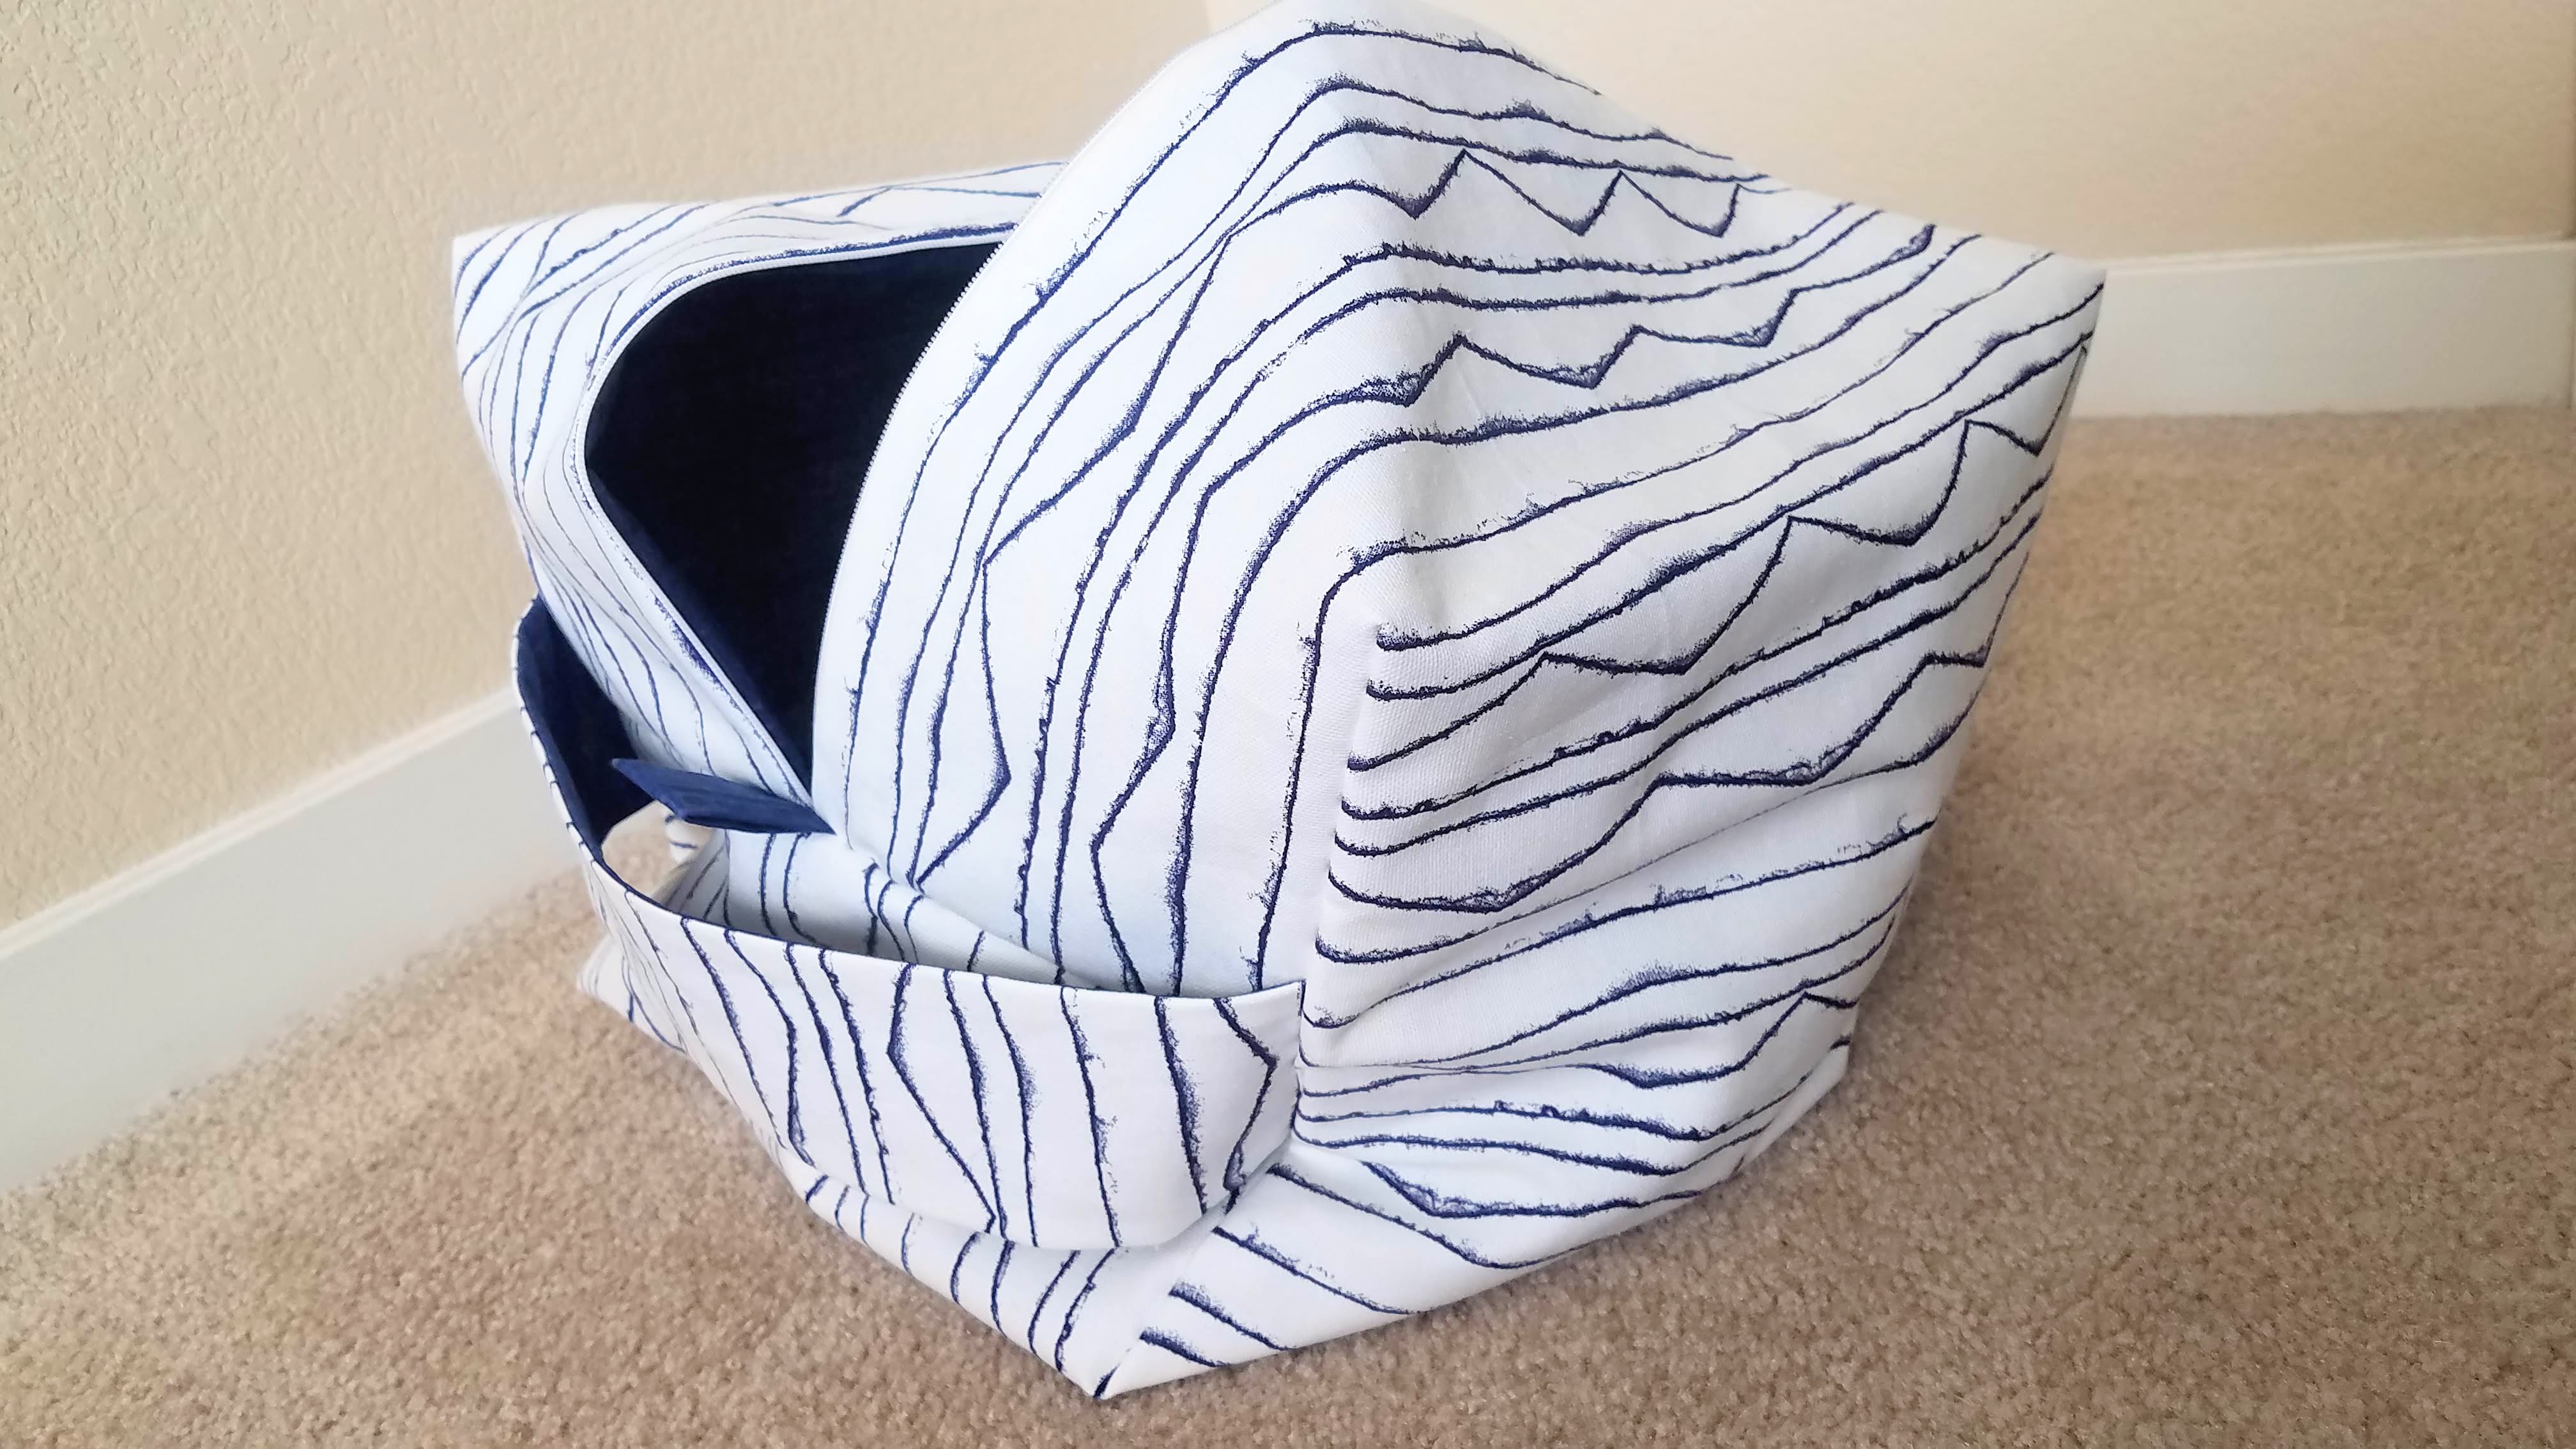
It’s a little floppy, being that my bag is so much larger, and I used a light interfacing because I could not fathom torturing myself by spending an entire day fusing a heavier weight interfacing to a 43×24 inch piece of fabric one iron-sized section at a time. (I did that before. It was not fun.)
So there it is. My floppy ski bag.
I haven’t decided what to make next. I’ve been brainstorming a new desk organizer, but that’s less sewing and more constructing things out of wood and covering them in fabric.
I have this really pretty jersey knit print that I’m wondering what to create with it. Been contemplating another skirt, or some kind of shirt instead. Which I think I’d need to find a pattern that I really like. Maybe my Not Your Grandma’s Sewing Guide that’s on the way can help out with that.
I love this bag! I’ve done the heavy interfacing on two of the four I’ve made and it was nice to speed through the two where I just used the light stuff – I was wondering if there was something wrong with me, taking so long to iron on heavier interfacing, but I feel a bit better now…
I see what you mean about the extra pull tab! I like to do all my project prepping at the start of a project so it was a bit fiddly to read through the whole thing to choose the “extras” (handle and pull tabs) before I started!
It looks like it turned out great though, and I love the idea of an inside pocket – I’ve been thinking of making one of these for bits and bobs when I travel, and a pocket would be the perfect place for my earplugs 🙂
Thanks!
Nope, you’re not crazy with the heavier interfacing. It makes me wish for an iron press! I’d love to use it more but after how long it took me to fuse it for a 12x12x12 box I made, I avoid it like the plague now.