The project in my Sew Me! book for learning buttons and buttonholes didn’t thrill me: some ugly hand-towels that, when finished, you could button over your oven handle or whatever. Sorry, but they look so old lady-ish. And the whole concept is a little stupid. Why wouldn’t I just drape a towel over the oven handle without sewing some weird crap to the middle of it? You think I want to button it on there, so if I need to grab it with one hand…oh wait. Can’t.
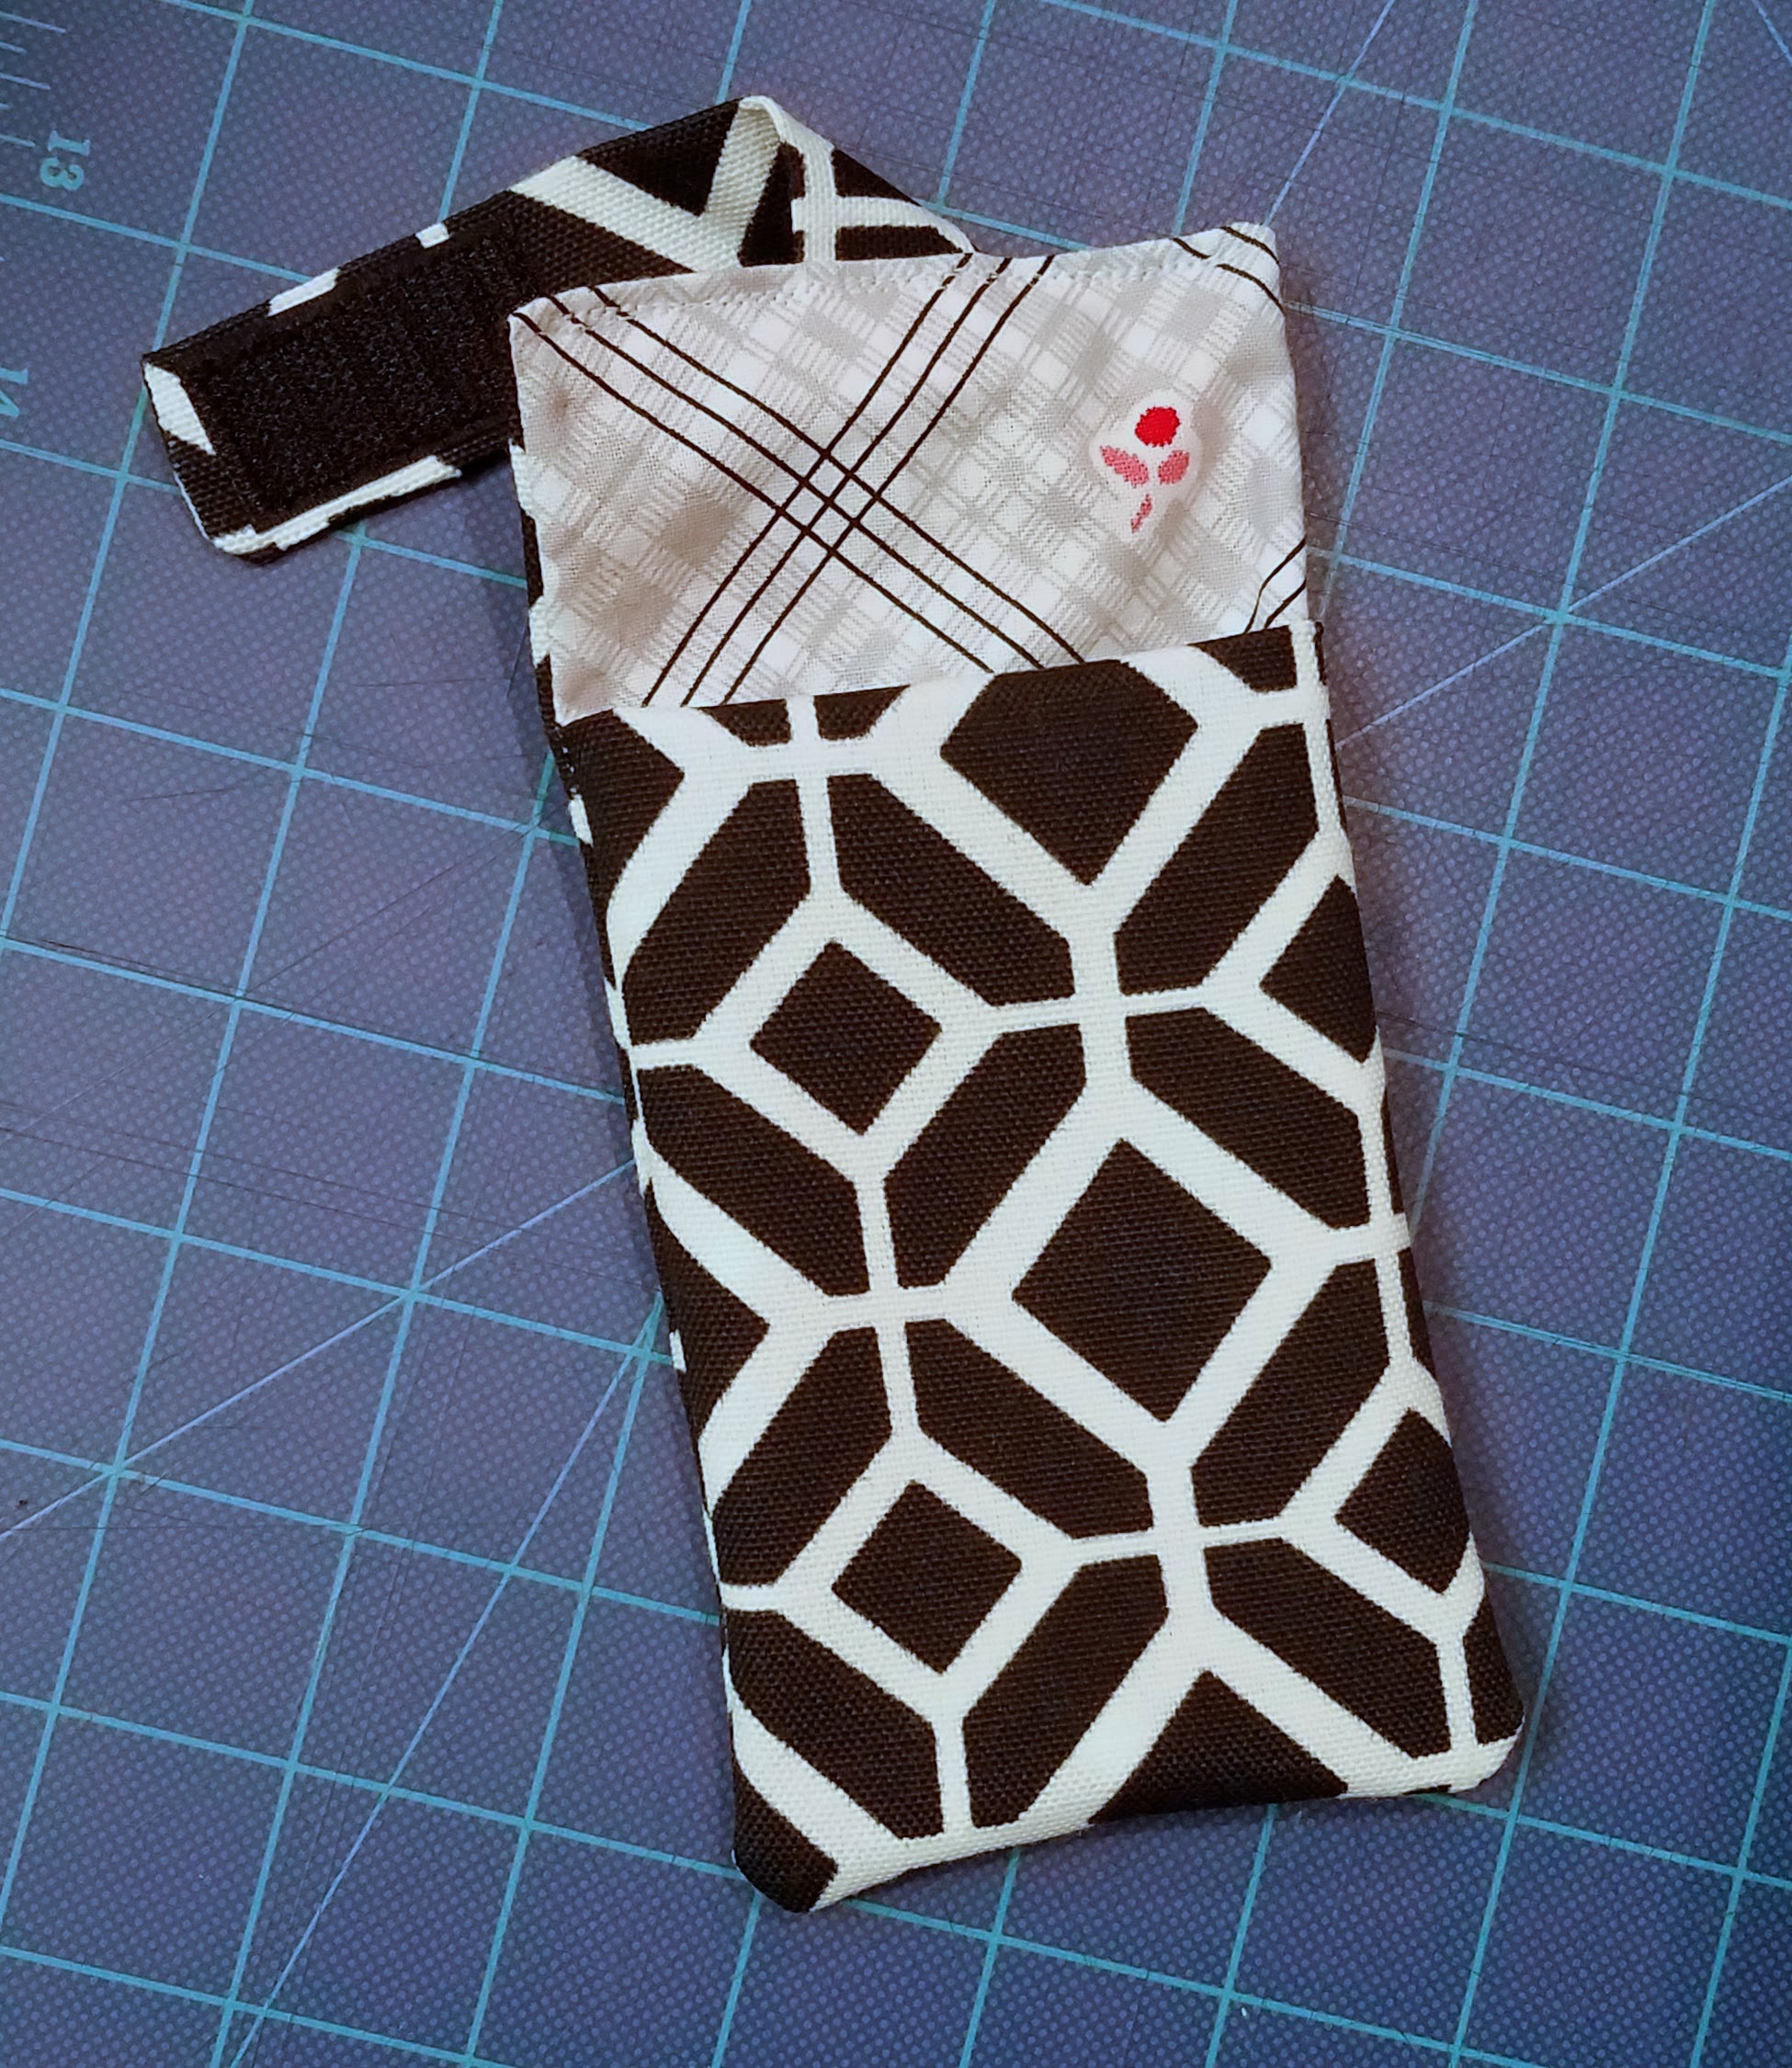
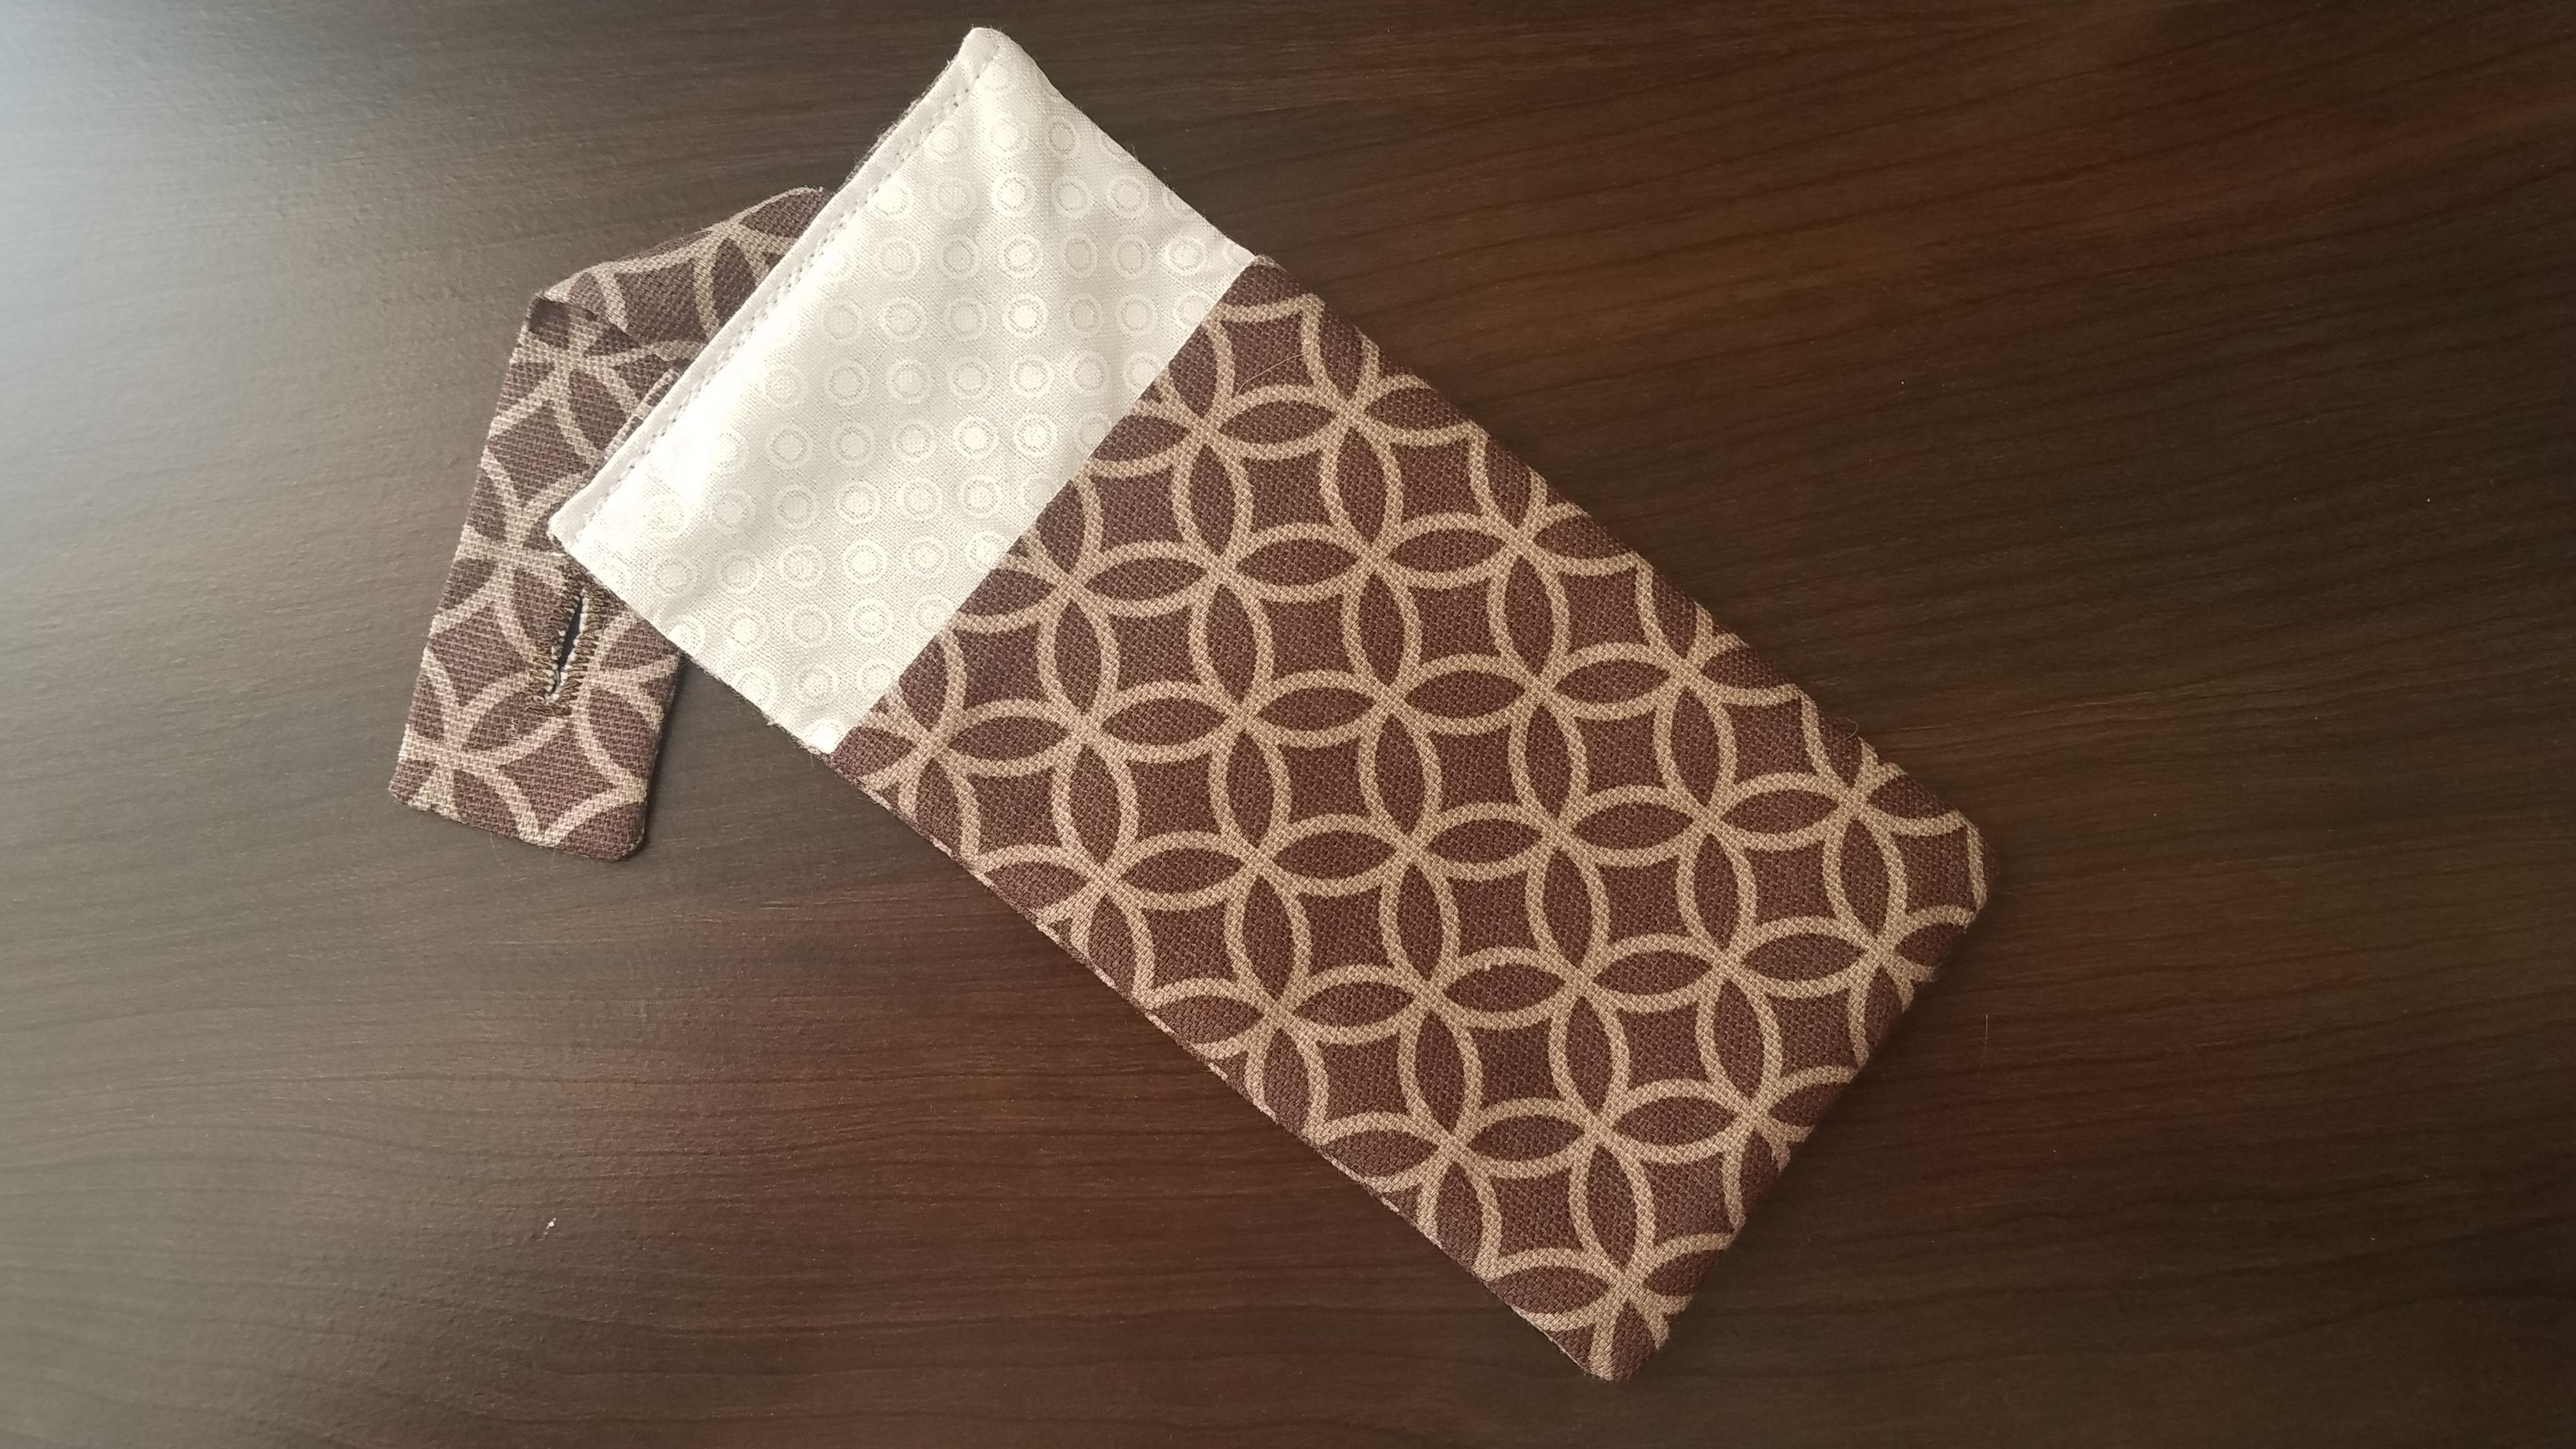
So I went back to my case-thing-to-hold-a-phone-thing-that-hooks-onto-a-belt-thing and thought, “A button would be so much better than velcro for securing this to your belt.” If I’m tucking some $600+ phone into it, you bet I want it attached to me with something better than velcro.
So I made another case. This time, I used interfacing on all the fabric (minus the closure strap.) Interfacing makes such a difference. It takes the “frumpy” look out of your fabric. This 2nd case is so much more crisp and looks more finished.

And then I learned me the glory of the 1-step buttonhole function on my machine. Here’s a few important notes:
- The buttonhole cycle does not automatically stop sewing when it finishes. It simply ends near the bottom bar tack and keeps on sewing back and forth until you stop.

A: width set to 3 (if I remember correctly.)
B: width set to 5(ish)
Arrow: what happens when you keep your foot on the pedal and wait for the machine to stop itself at the end of the one-step buttonhole cycle. (It doesn’t. So you get a giant waddy bar tack.) - The width setting on your machine adjusts how wide the inside of the button hole is and how wide your zig-zag stitches are.
- A buttonhole presser foot is kind of super awesome. You pop your button into it, and your machine uses that to figure out how long the button hole needs to be all on its own. (A note about this: you can’t just pop this foot on and suddenly do a one-step buttonhole. Your machine has to support a one-step buttonhole cycle.)

- The machine does not attach the button for you as part of the 1-step cycle. (My husband was expecting that, hence the discovery we made in #1.)
- Cut the hole AFTER you sew the stitches around it.
- A seam ripper is great for cutting the buttonhole in between the stitches.
- Once you experience a 1-step buttonhole, I think you’ll be ruined for life. It’s so easy, and it’s just fun to watch.
In conclusion:
I now love buttons.
Leave a Reply