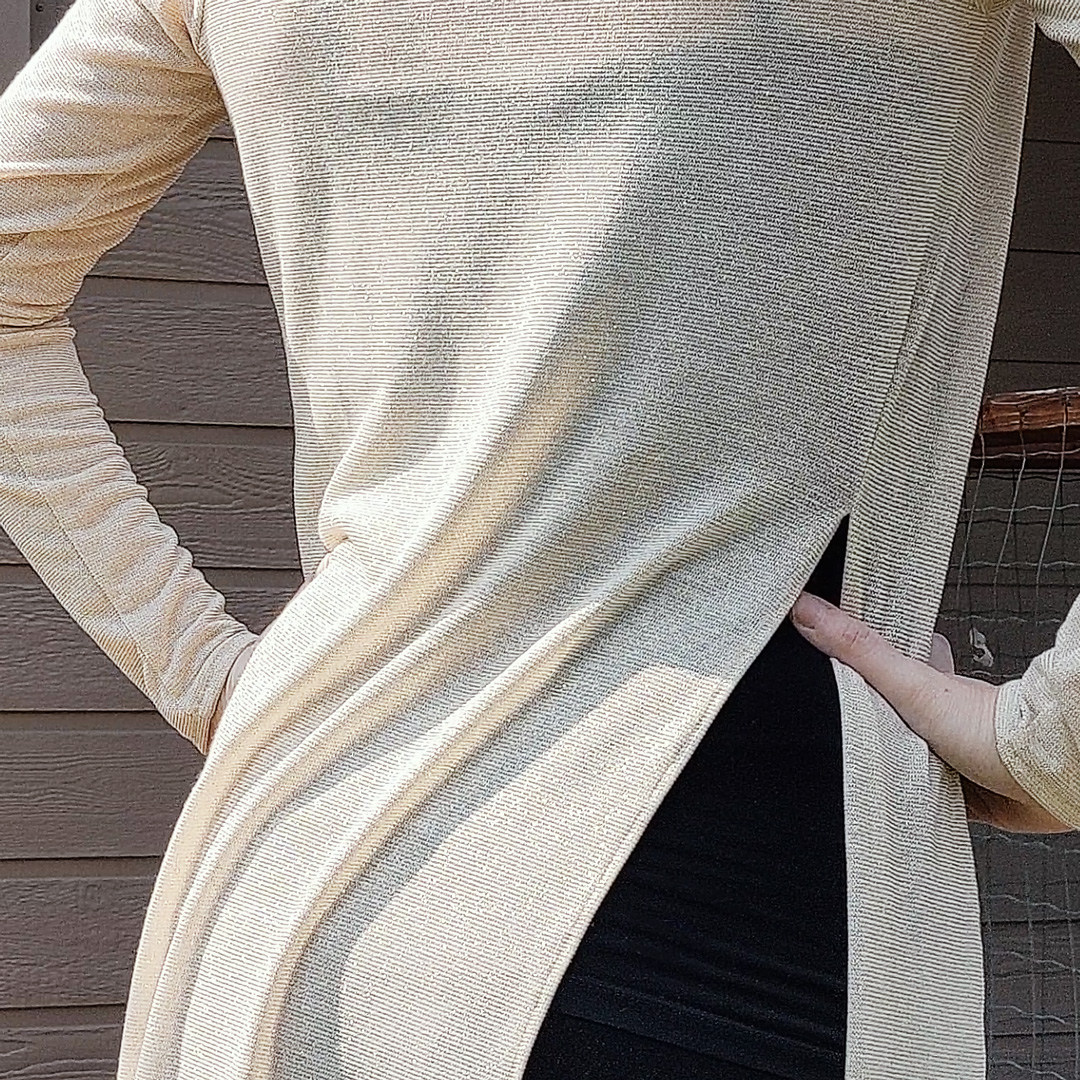
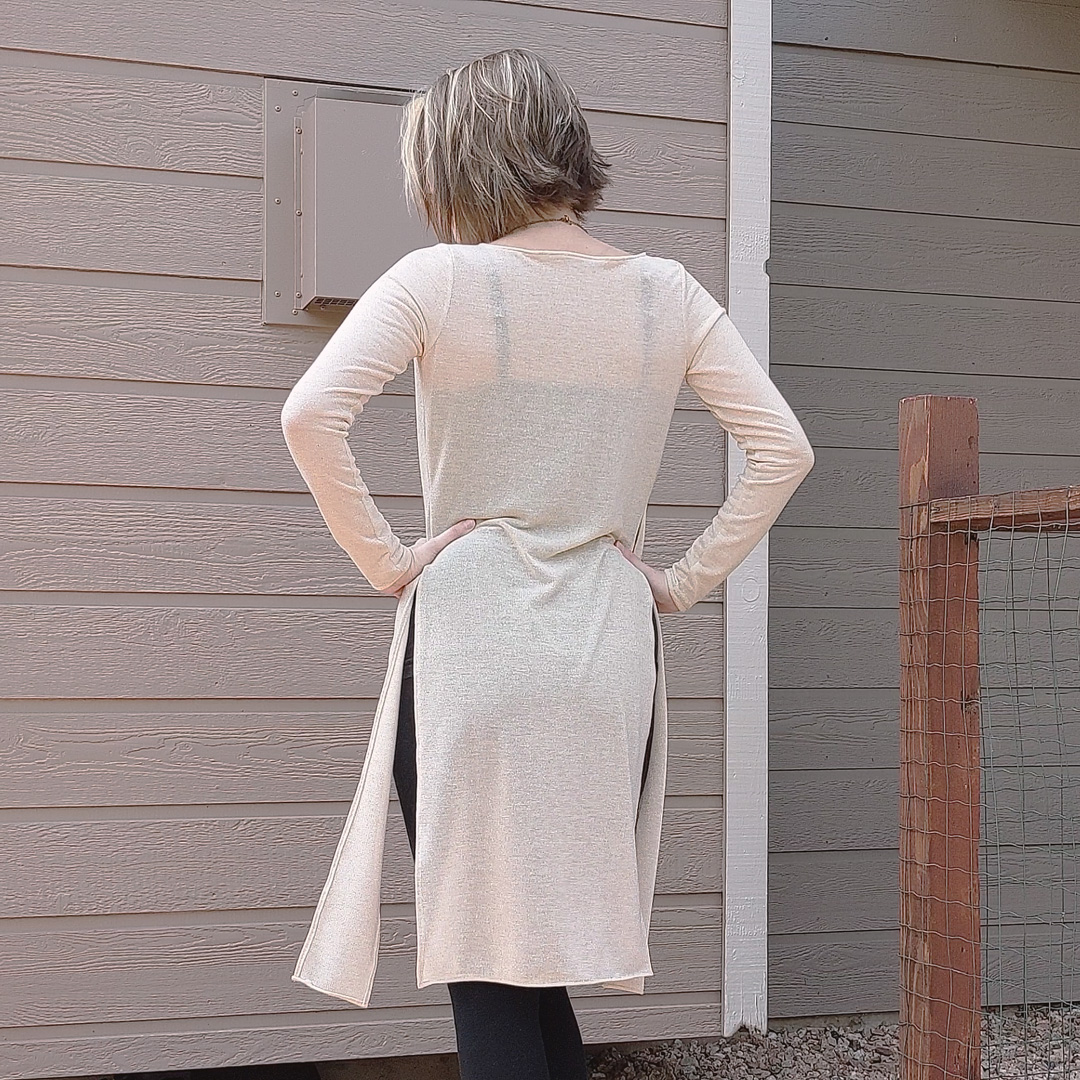
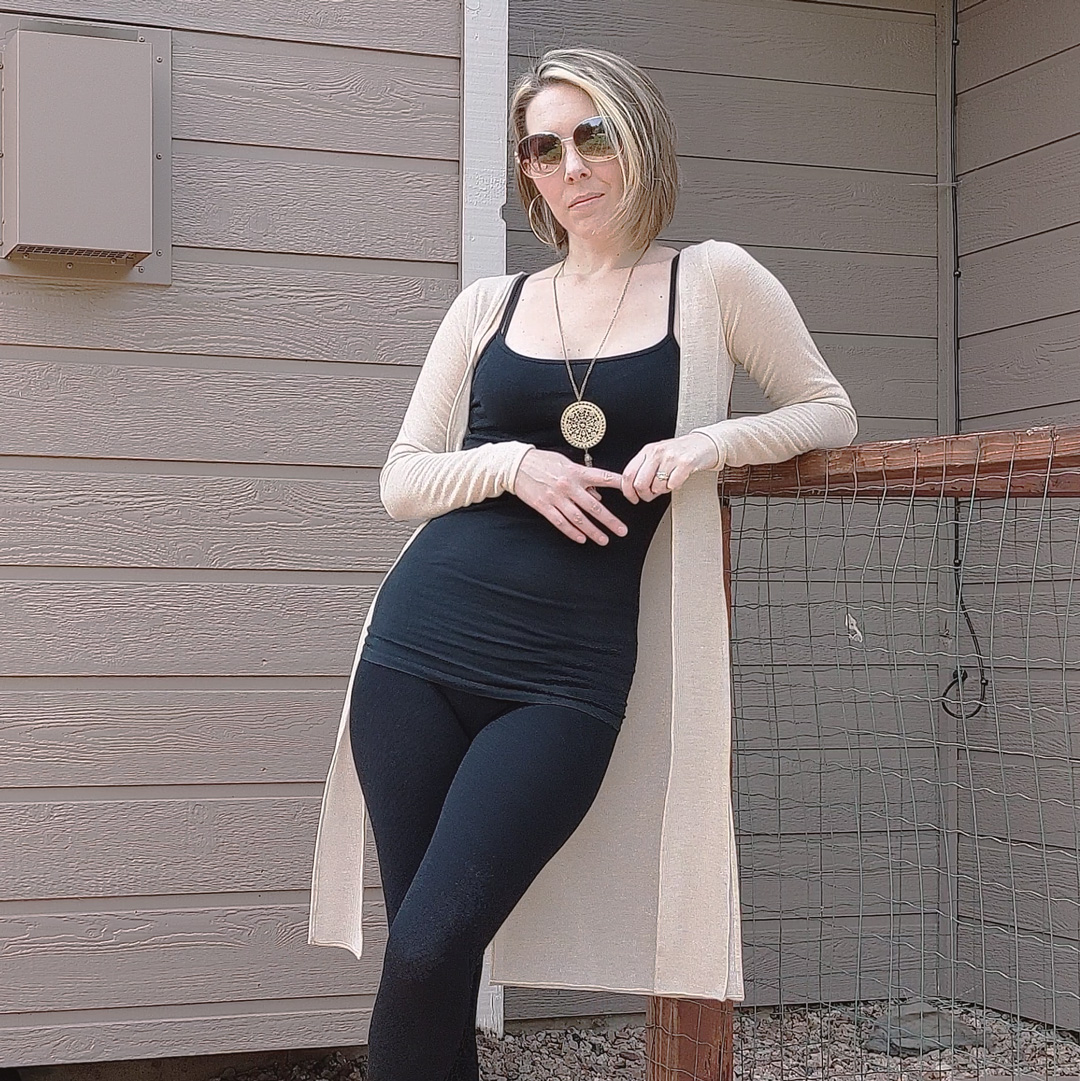
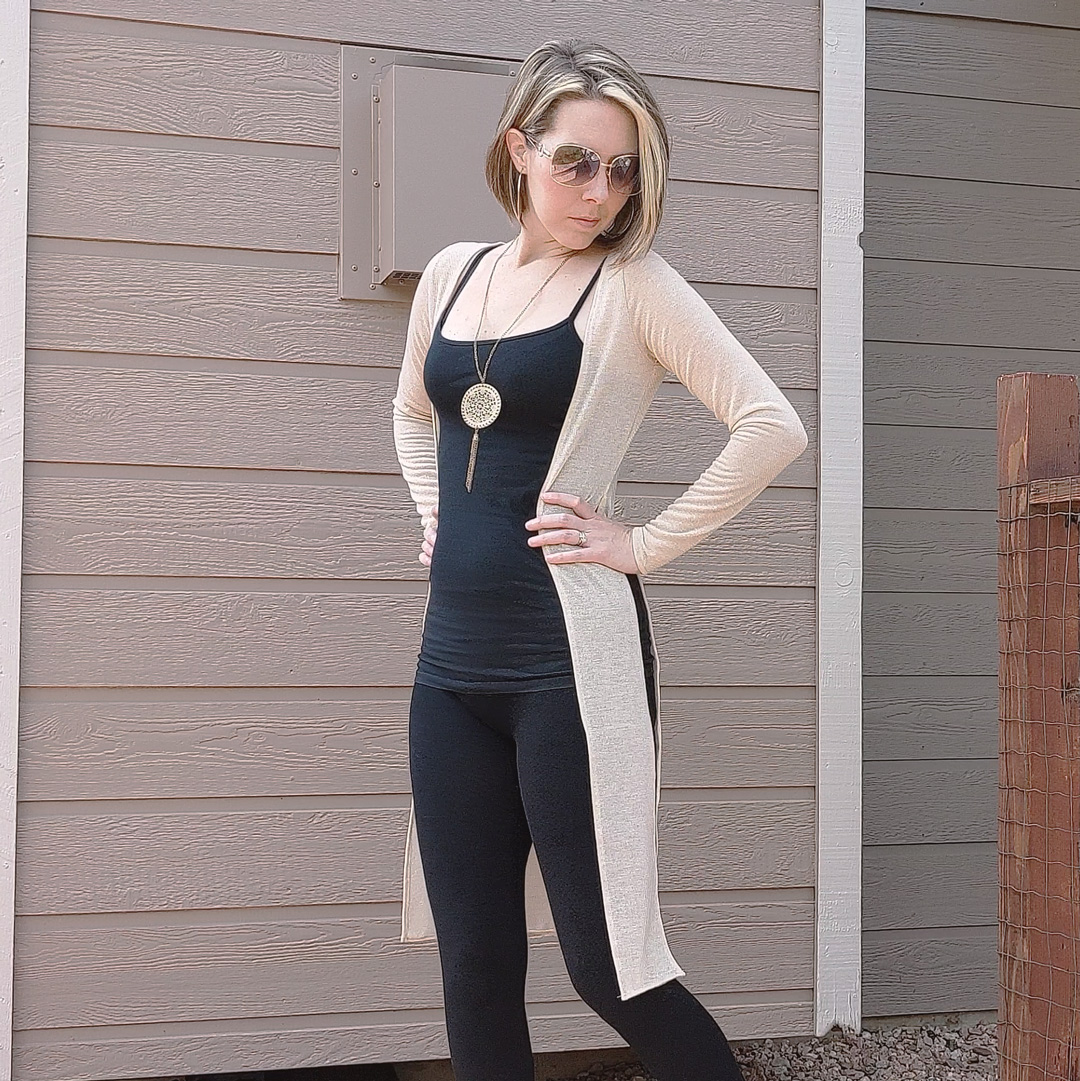
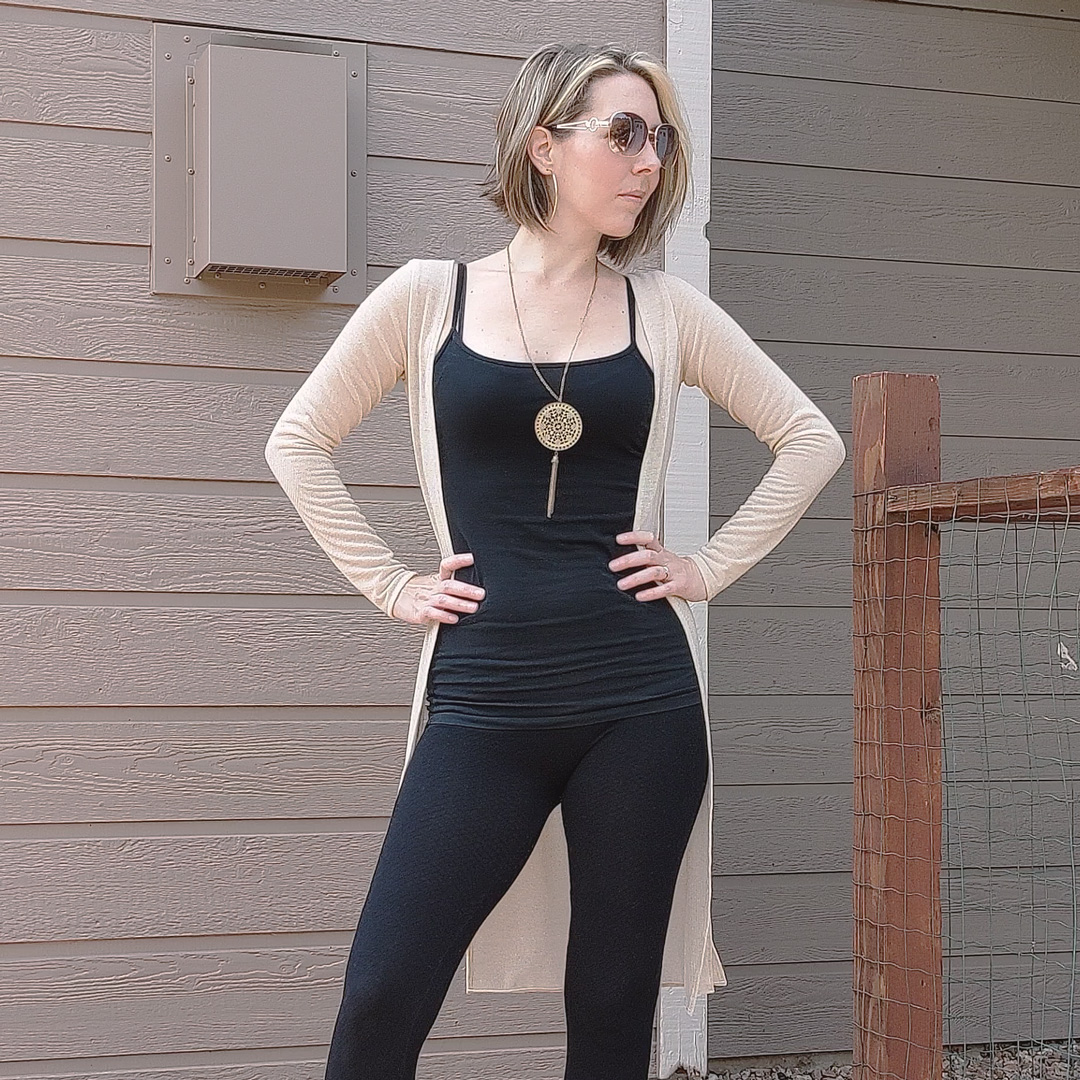
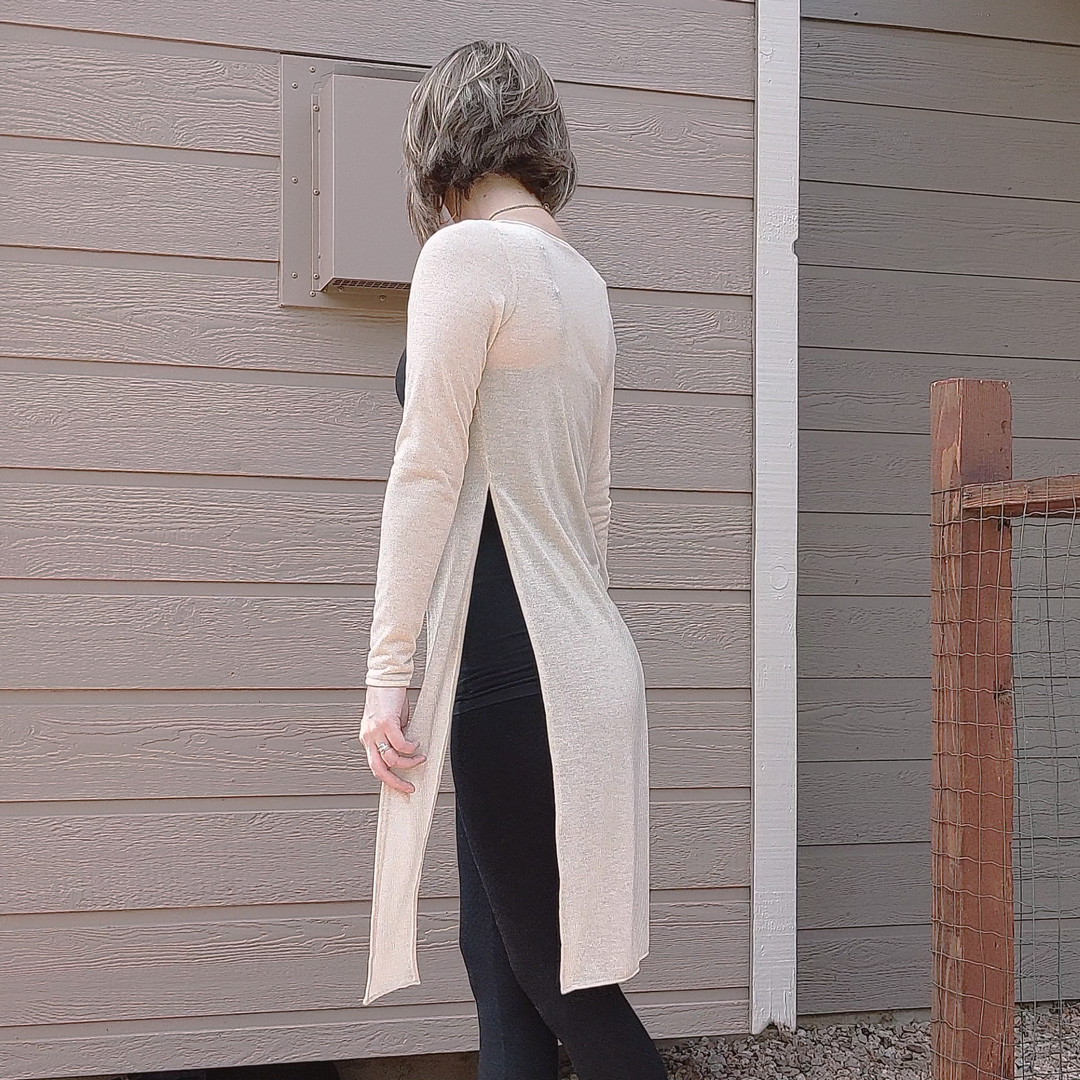
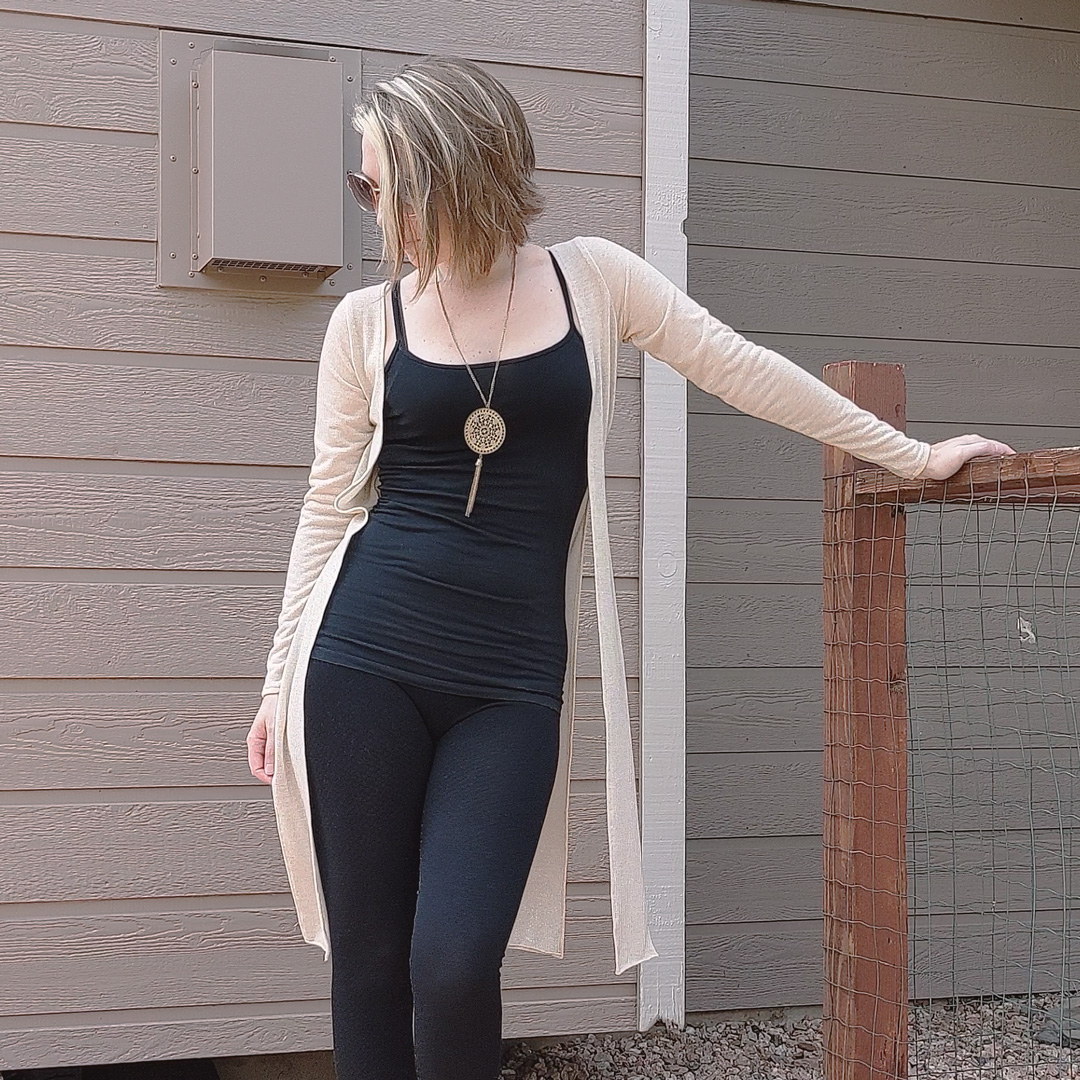
A long time ago in a Kohl’s store far, far away… I purchased a flimsy gray Rock & Republic sweater. It was a strange sweater, but its strangeness is what caught my eye. Long sleeved—as sweaters should be—and long to the knees, but split at the sides from knee to waist, adding just enough je ne sais quois to make it way more interesting than your typical long cardigan.
I wear that flimsy sweater a lot. It’s a great layering piece, especially when you want to conceal your backside a bit in a fitted pair of pants or leggings, or when you need just a little bit of coverage over a tank top without a lot of added warmth.
I finally got around to replicating it before it fully disintegrates.

About the Fabric
3 yards of Metallic Gold & Ivory Dreamland Light Weight Sweater Knit from Boho Fabrics at 40% off (about $4/yard)
- Weight: 6.5 oz.
- Horizontal Stretch: 125%
- Vertical Stretch: 75%
- Contents: Poly/Spandex/Metallic Blend
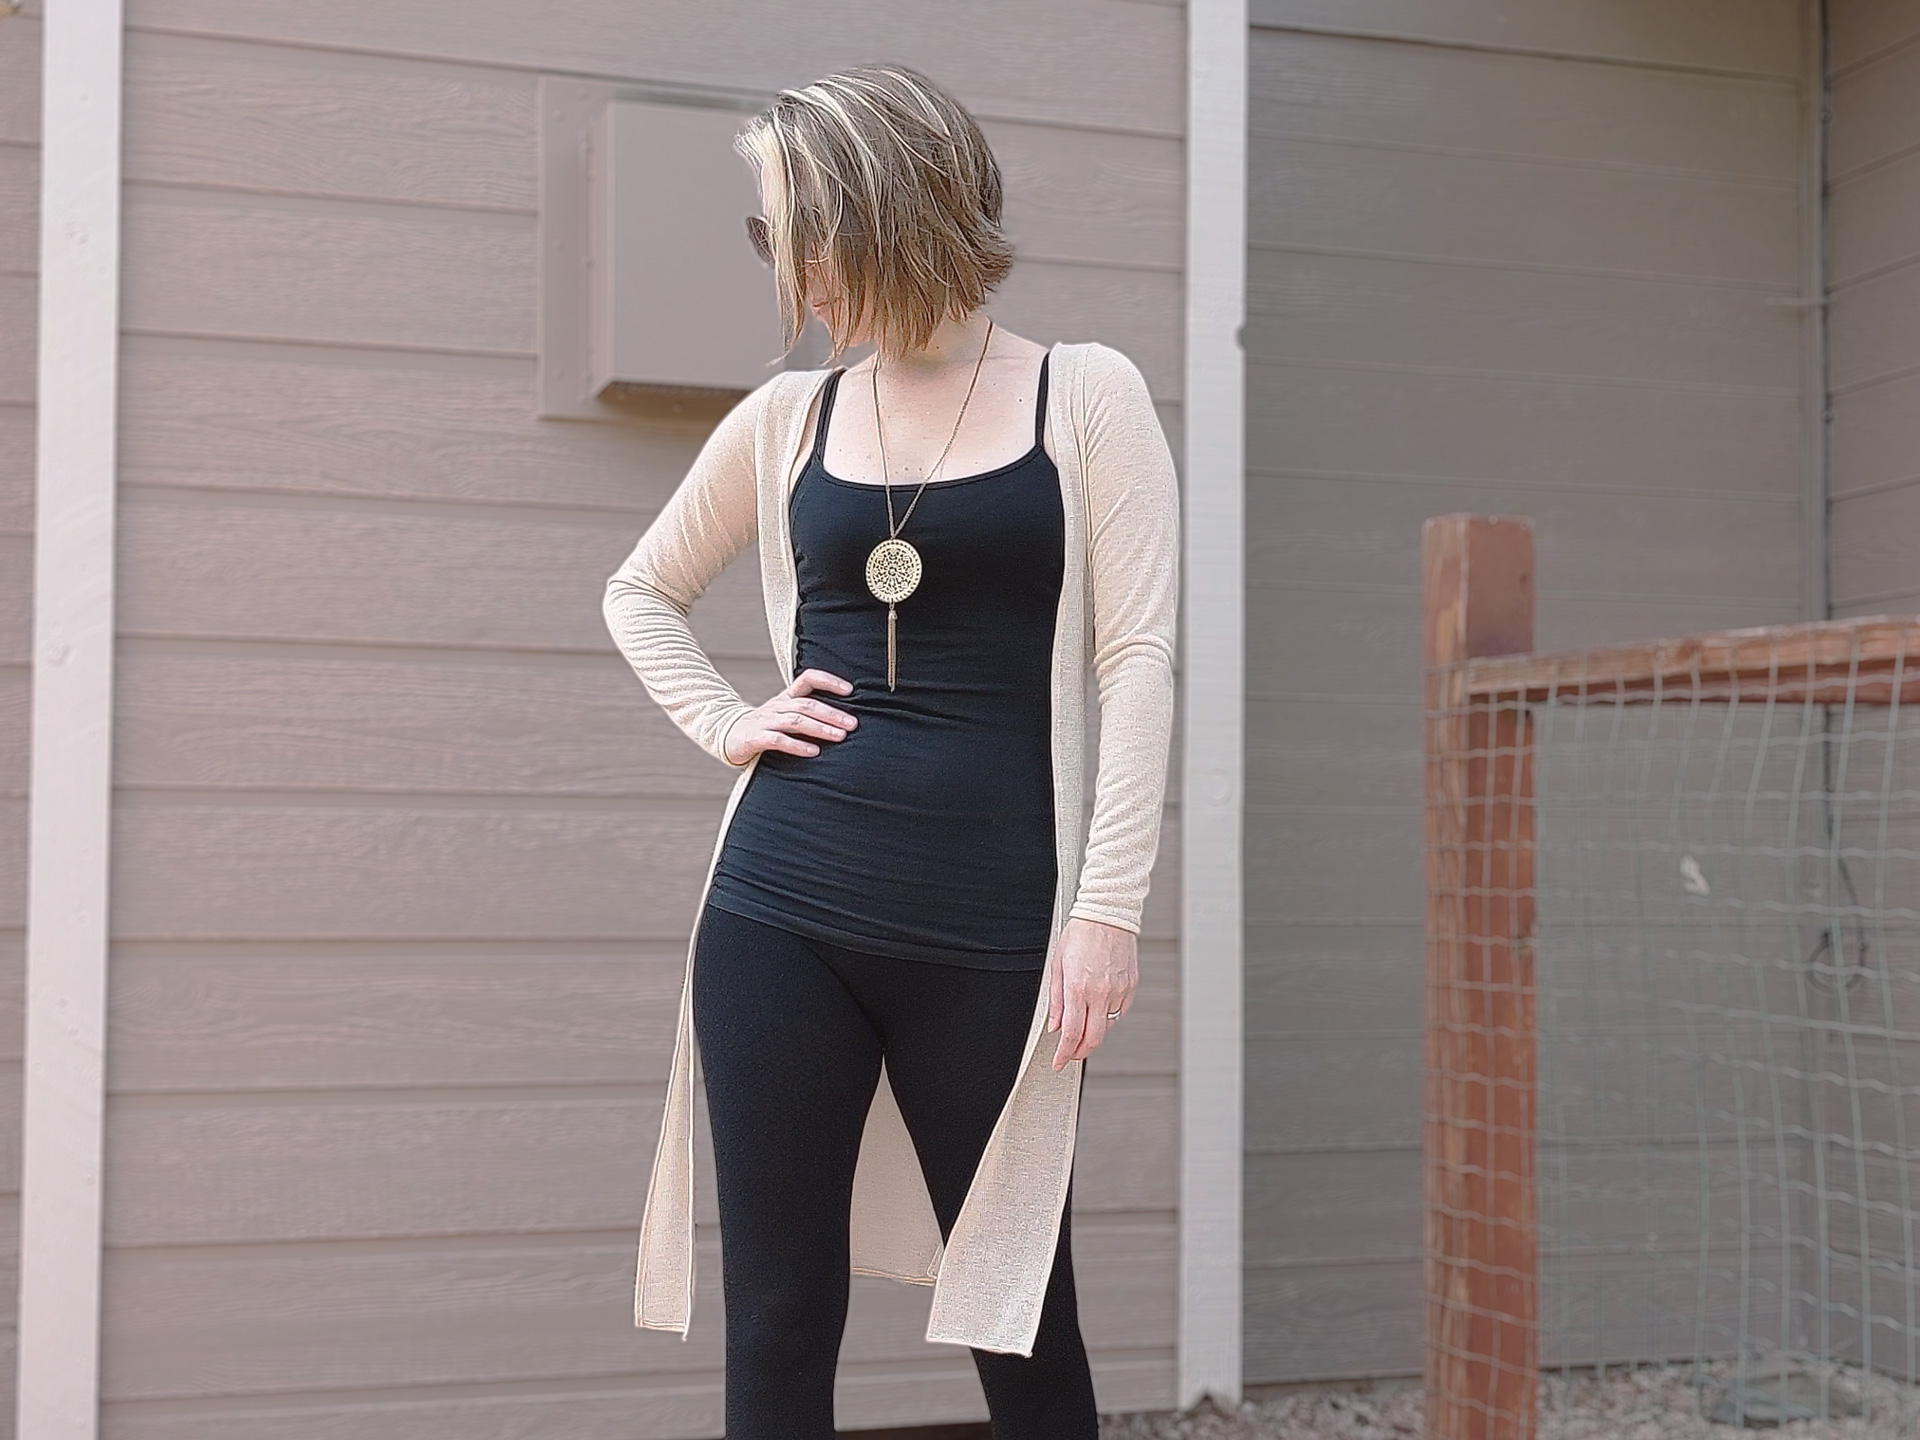
A nice, lightweight, semi-sheer sweater knit with bits of metallic gold flecks throughout, this knit has a beautiful drape and sews well. It’s not the softest sweater knit, probably owing to the metallic bits, but it’s still comfortable.
How I Replicated It
Step 1: Trace the Original
I laid my original sweater on my cutting table and started with the back panel. I laid it as flat and straight as I could, laid some tracing paper over it, and roughed out the shape of one half of that panel, making sure to mark where the side splits began.
I repeated those steps with the front panel.
I didn’t bother with the sleeves since I knew I would have to rip them apart in order to trace them out on the flat, so I decided to just cannibalize another pattern for sleeves and the armscye. That pattern turned out to be the Laura Cardigan // Sinclair Patterns. It has set-in sleeves—which is what I needed—with minimal ease.
Step 2: Mash the Tracing with the Laura Pattern
Next, I found my size on the Laura pattern. I laid out the back bodice piece and layered my tracing of the back panel of the original sweater on top of that. I lined up the bottom of the armscye on my tracing with the bottom of the armscye on the pattern, made sure the grainlines on each were parallel, and traced the Laura bodice down to where the side splits began on my original tracing. Then I just extended straight lines down to the bottom of my original tracing. I marked where the side splits began with circles.
I repeated that process with the front panel.
Finally, I traced out the Laura sleeves, and slashed them to add 2″ to the length.
Step 3: Cut and Sew
I roughed out another copy of my original tracing in case I’d have to refer to it again. Easier to do that than lay the sweater out again.
Then I cut out my pattern pieces, used the seam allowance from the Laura pattern, and sewed:
- Hem bottom and circle-marked edges on front and back pieces from bottom to circle.
- Sew front panels to back, right sides together, at shoulder seams. Stabilize the seam.
- Attach the sleeves on the flat, right sides together.
- Sew side of sleeve and bodice in one seam, stopping at the circles.
- Hem the sleeves.
- Hem the raw edge of the front panels and neckline. Stabilize the center of the neckline.
Et voila. Sounds easier than it was only because I stupidly attached one front panel the wrong way and proceeded to attach the sleeve before realizing what I did. So I attempted to rip the seams but my thread blended in so stinking well it would’ve taken eons, so I just sliced the sleeve and front panel apart and dealt with the missing 0.5″. This was a prototype anyway and I have three other kinds of fabric earmarked for three more versions of this.
I also stupidly sandwiched my shoulder seam tape between the front and back bodice pieces the first time. Don’t do that. When you’re sewing right sides together, you want the seam tape layered against one of the wrong/back sides of the fabric.
So yeah. As long as you don’t make these kind of mistakes, it’s a pretty simple sew!
Notes for Next Time
- Add around 1″ to the back neckline and the front opening.
- Add another 1″ to the sleeve length.
- Don’t sew the panels on the wrong way again. Clearly marking the back of the fabric would’ve helped prevent this.
- I’d like to play with the pattern and make a version that’s either shorter or does something interesting with the shape of the back panel. Gathers? Another split to create four loose panels? Or create another seam at the waistline at attach a sheer, flowy fabric to the bottom?
Project Settings
Presser Foot |
Stitch# |
Width |
Length |
Needle |
Top Thread Tension |
Application |
|---|---|---|---|---|---|---|
standard zig-zag (A) |
5 |
1.0 |
4 |
blue tip |
4 |
seams |
overedge (C) |
6 |
5 |
3.5 |
blue tip |
4 |
edge finish |
overedge (C) |
2 |
0.5 |
3.5 |
blue tip |
4 |
hems |
1/4″ foot |
1 |
3.5 |
3.5 |
blue tip |
4 |
shoulder seams |
adjustable edge (SE) #10 |
5 |
1 |
4 |
blue tip |
4 |
sleeve hem |
Leave a Reply