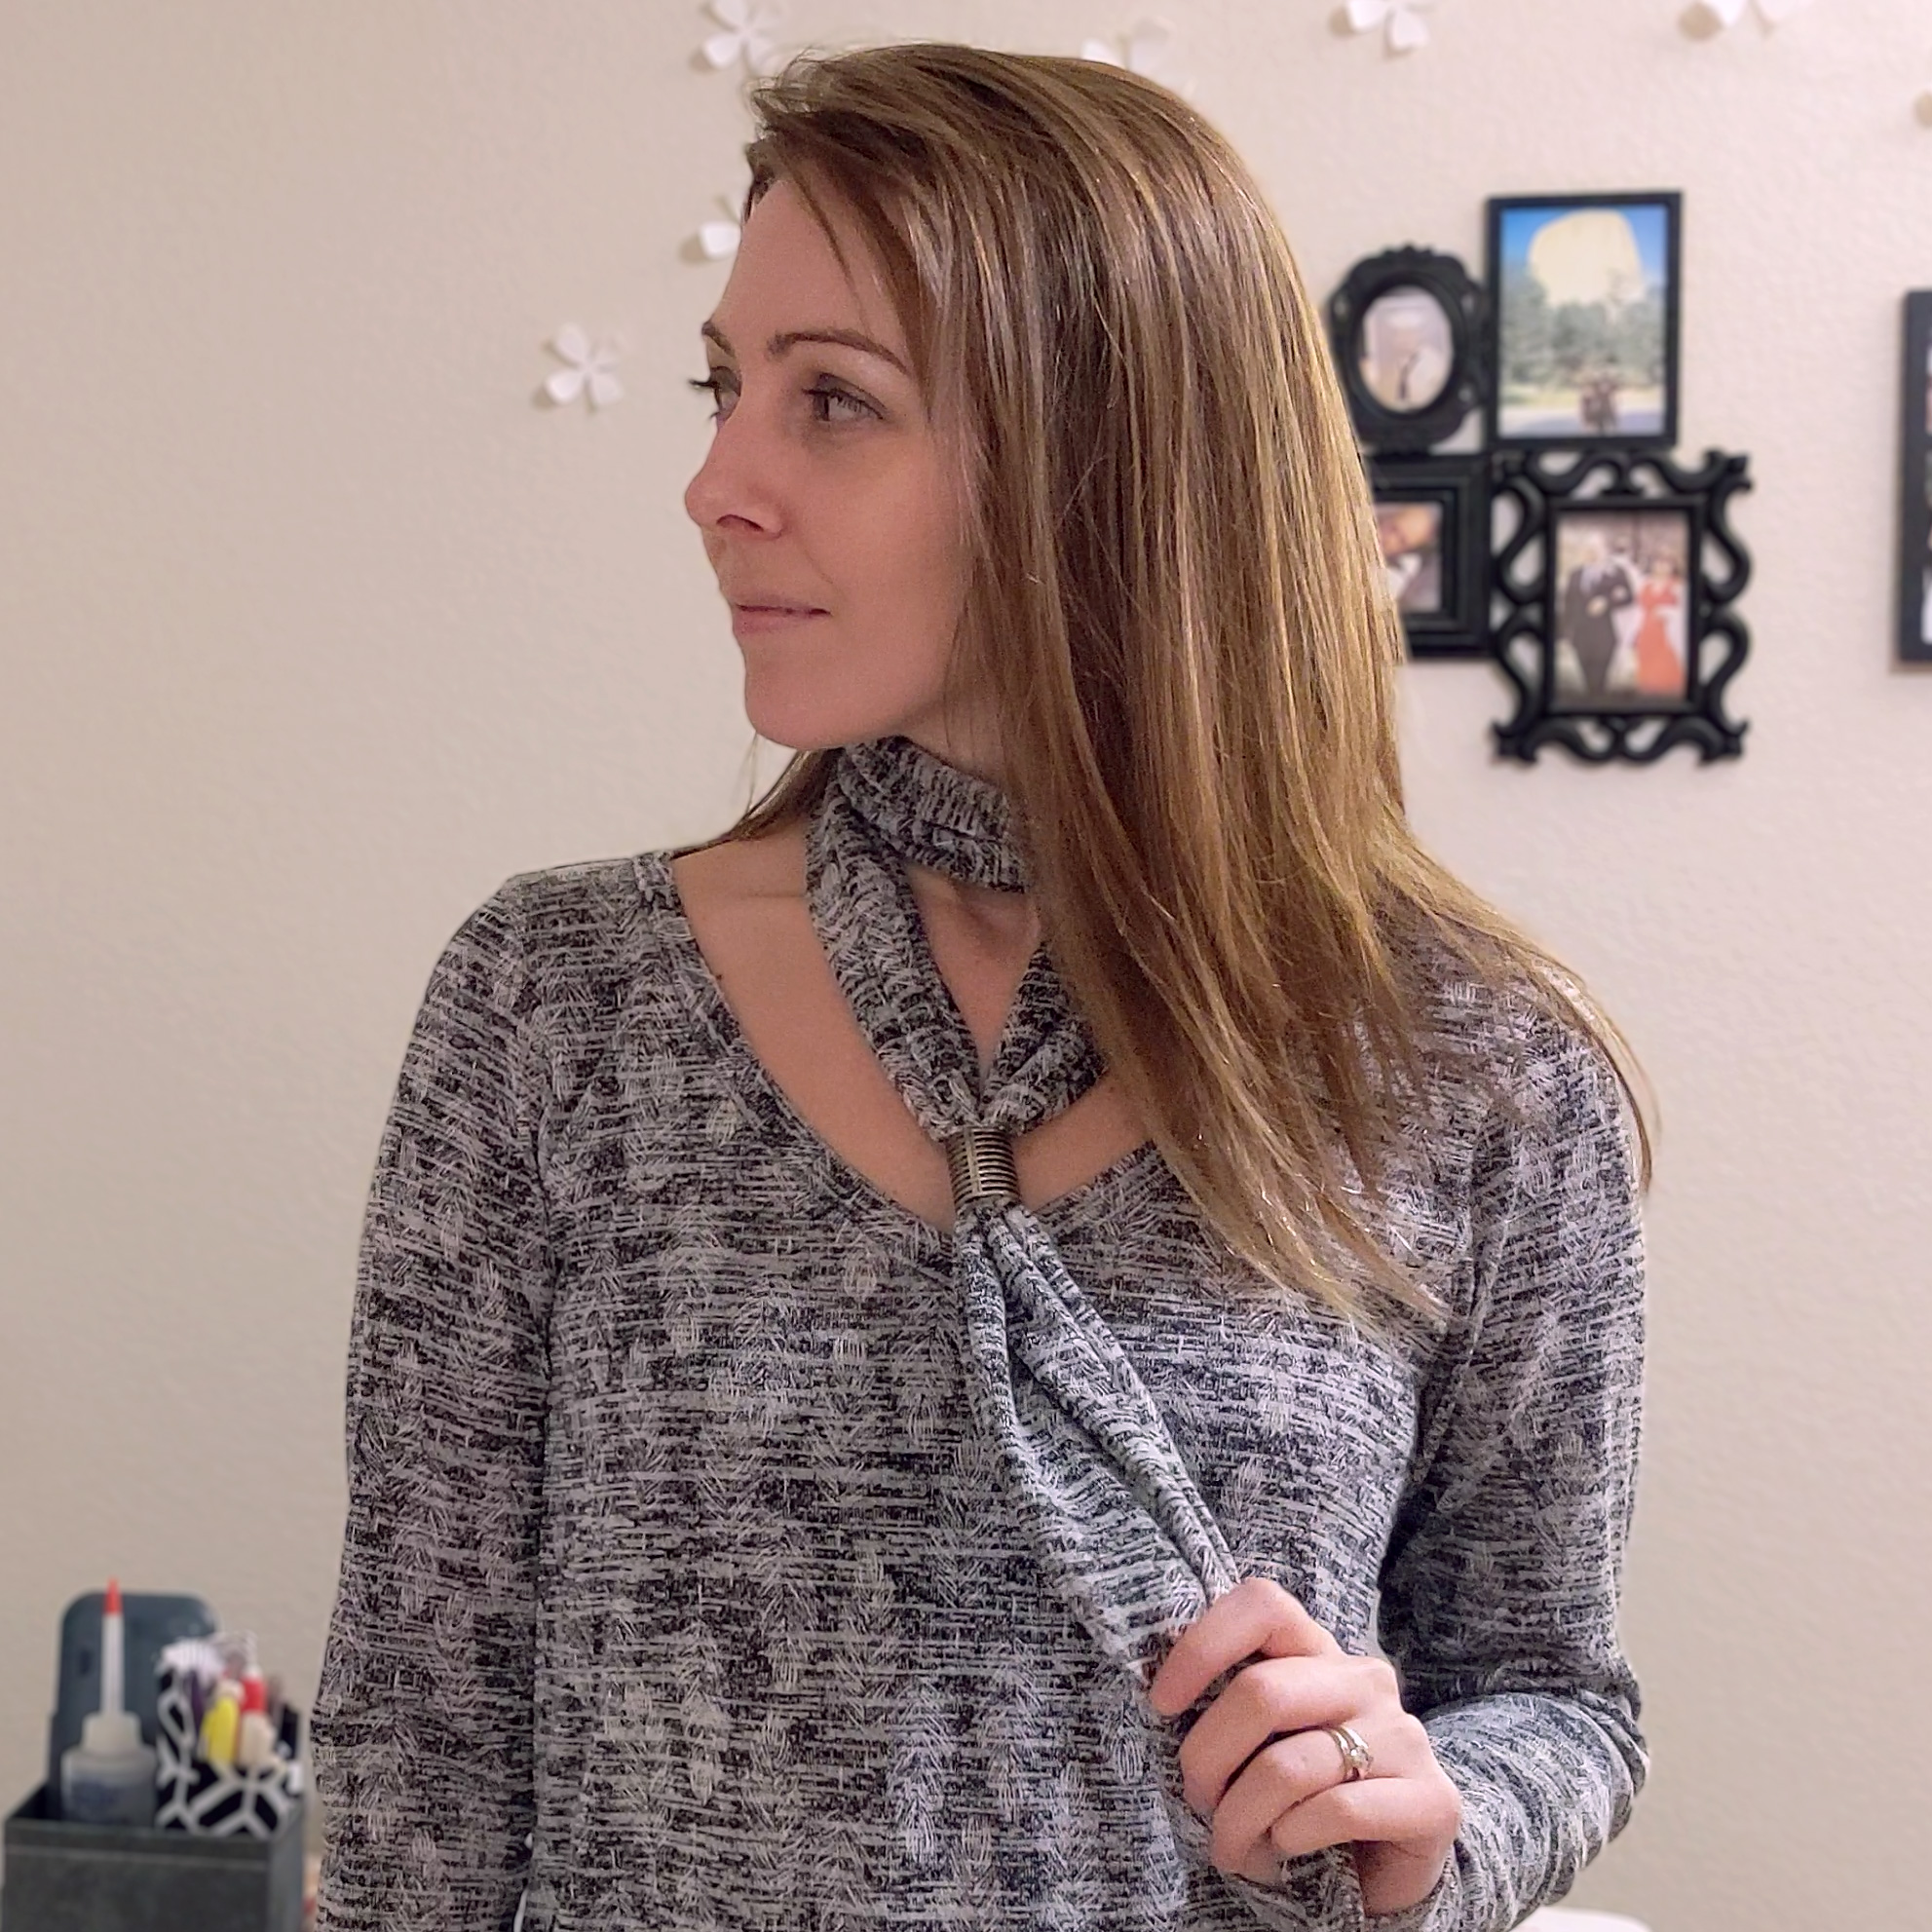
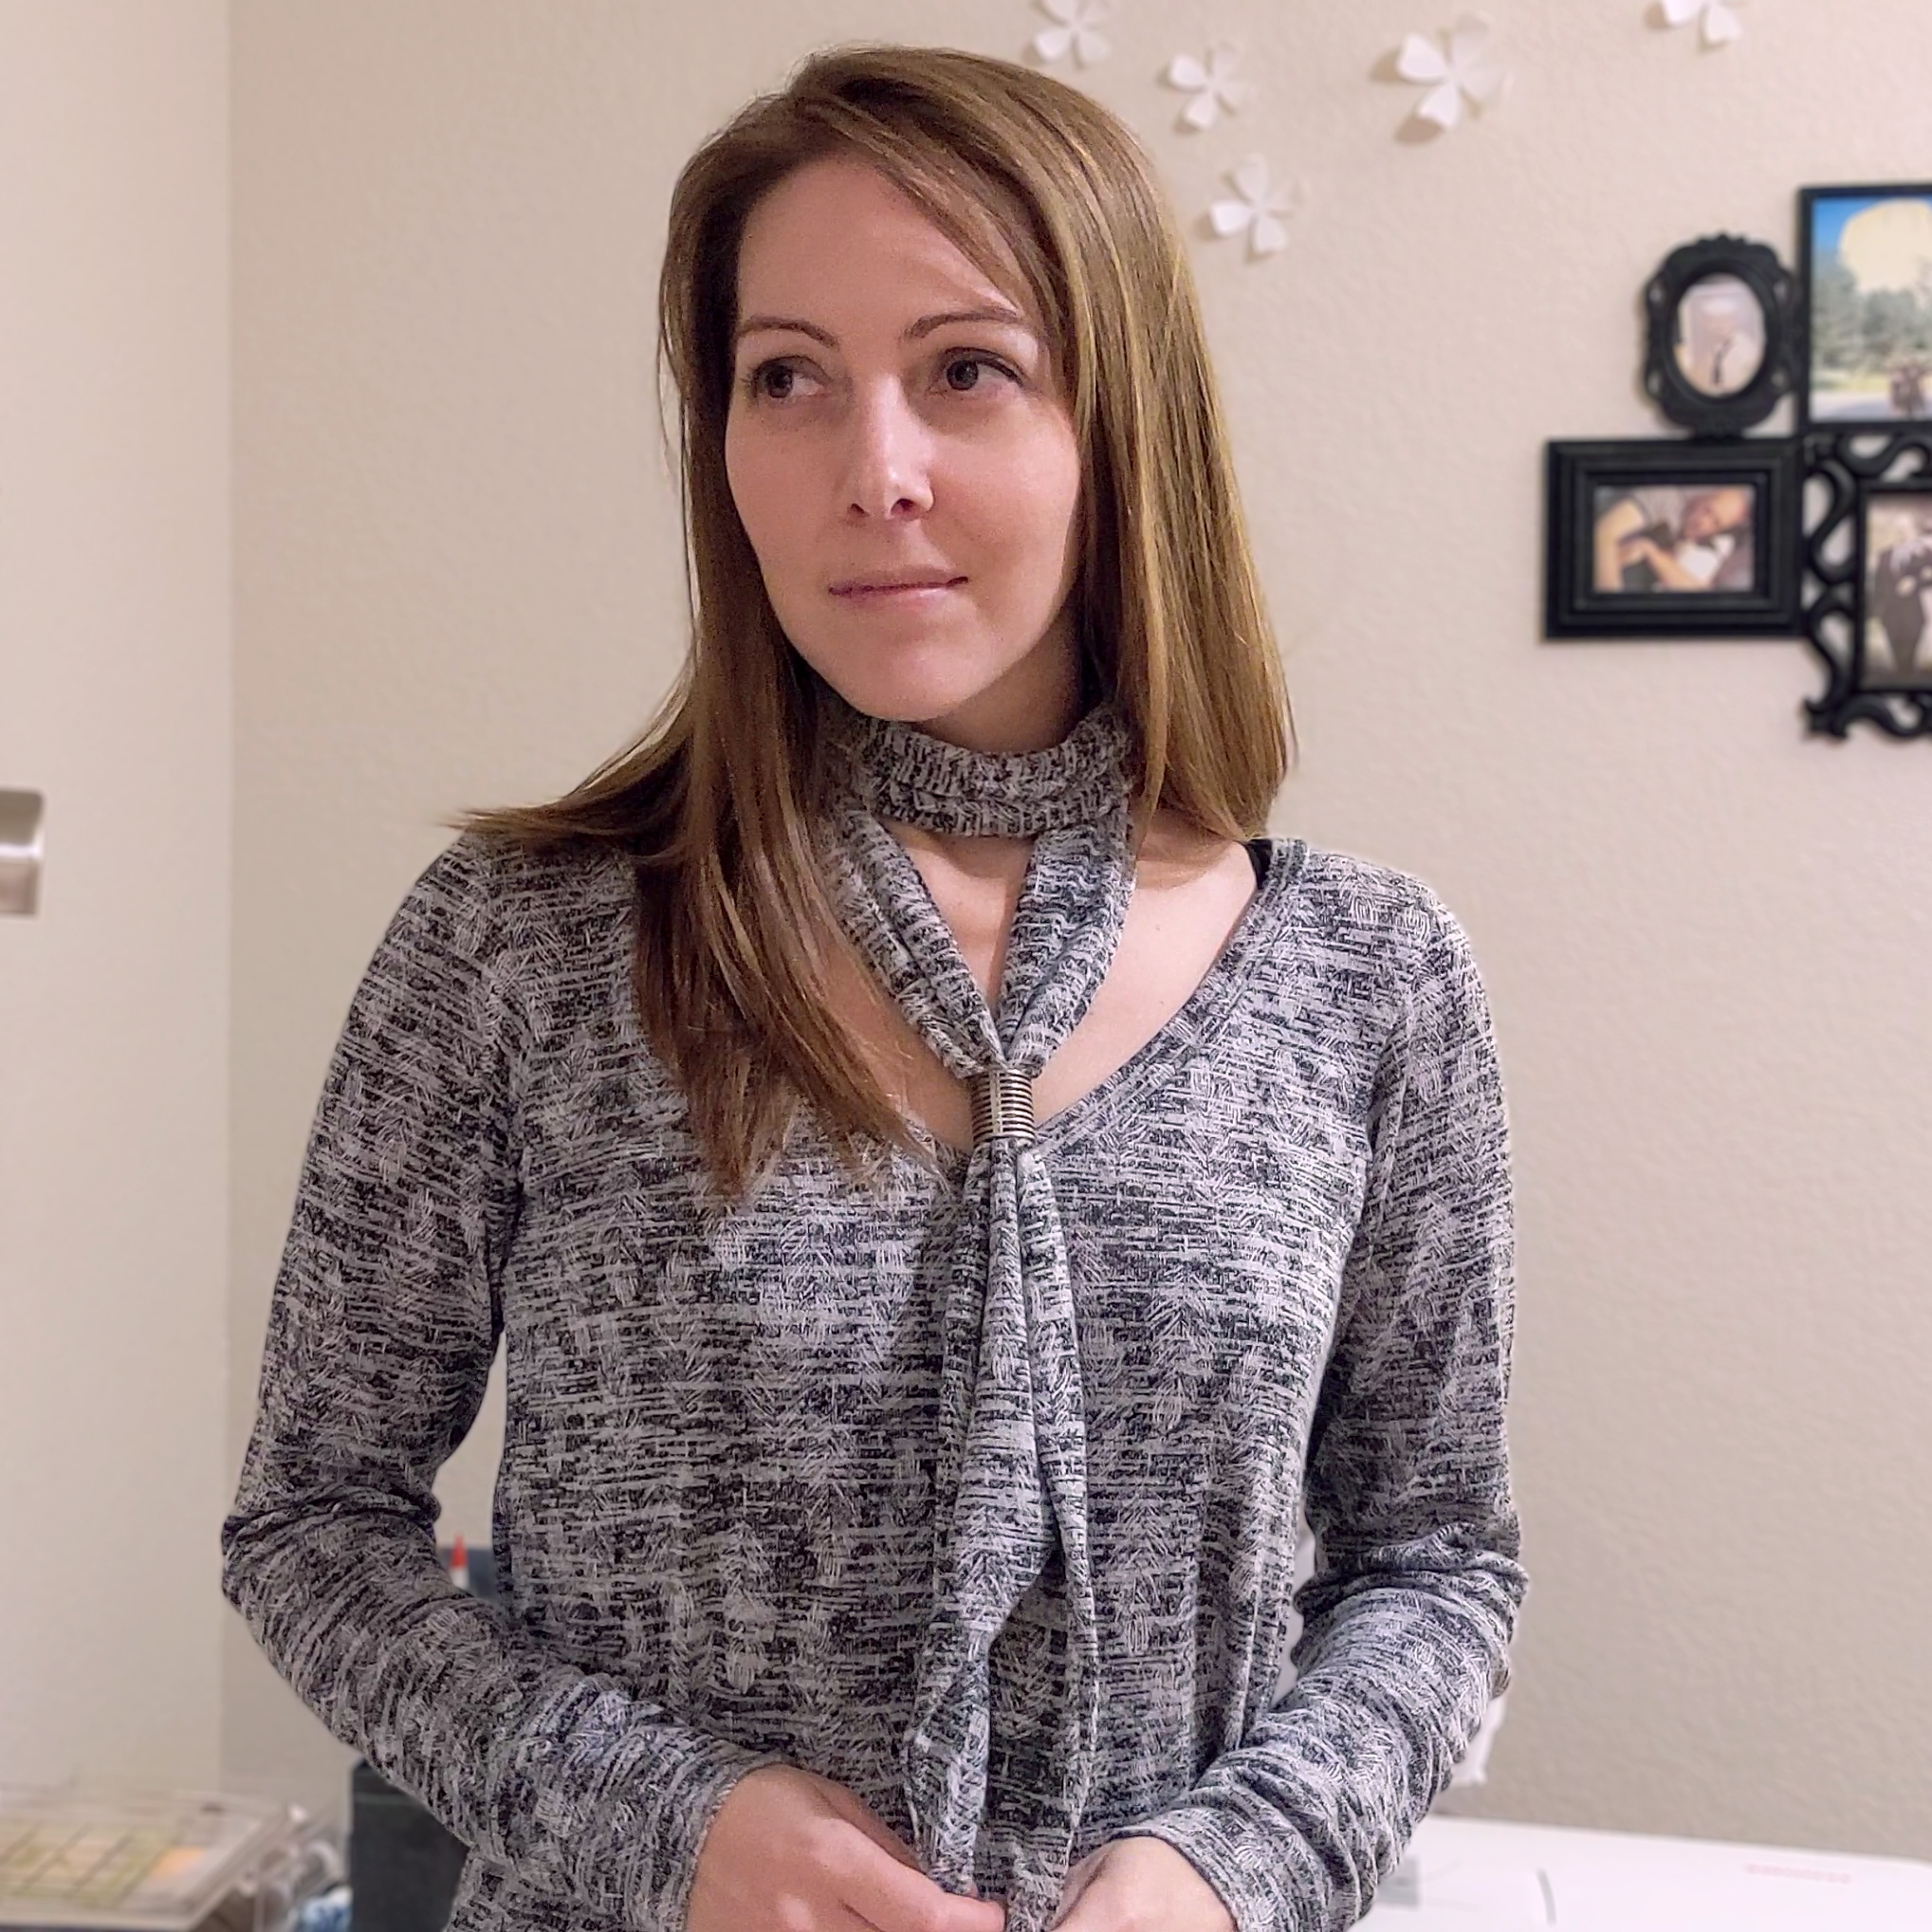
A scarf is a simple and useful project to use up leftover fabric. I personally love scarves, and if you’ve never sewn anything before, a scarf is a great way to get your feet wet. They’re next to impossible to mess up beyond recognition. A scarf was actually one of the very first garments I ever sewed, and I still love that scarf today in spite of its many flaws. I thought for sure it was going to be a disaster, but it’s an incredibly forgiving accessory and you can’t even tell all the slop baked into its construction.
Seriously, you can be fearless when sewing a scarf.
How to Sew a Simple Scarf
1 Decide on a length.
You can either grab a scarf you already own and love and measure it, or drape a fabric tape measure around your neck (or a string, or literally anything you can measure.)
Mine is 60″.
2 Decide on a width.
The wider your scarf, the more full it will be. That can be a great look on some people, and a not so great look on other people. This is totally up to your personal preference.
For mine, I kept it relatively narrow, mostly due to a limited fabric supply. It’s roughly 5″ wide.
3 Decide on a style for your scarf ends.
This can be anything from simple, squared ends, to angled ends, to more involved embellishments like fringe or lace or knots, etc.
I went with simple 45° angles. Many cutting mats have various angled lines marked on them, which makes cutting these angles a breeze.
4 Choose your fabric.
You can use literally anything. If you’re feeling adventurous, you could cobble together all kinds of leftover fabric for a really scrappy-looking scarf. You can use knits, wovens, sheer fabric, lightweight, medium weight, heavy weight, furry, fleece… Literally anything. You could probably even get away with mixing the direction of your grain (as long as you’re not using fabric with a directional print.) Meaning, in order to fit your scarf onto the leftover fabric you have, maybe you have to cut one piece along the stretch of the fabric, and the other piece along the grain (no stretch.) It’s just a scarf; it might be weird but I’m convinced you can get away with it.
For mine, I used some leftover sweater knit from my George + Ginger V-neck. I had enough to cut both my pieces along the grain, so the fabric stretches along the width of the scarf.
5 Measure and cut.
For something similar to mine, you need to cut two pieces at the same size. For example, two 60″ x 5″ pieces. If you’re angling your ends, make sure one of those pieces is mirrored. An easy to way to accomplish that (if you have enough fabric) is to fold the fabric and then cut once through both layers of fabric.
6 Sew.
Pin your two pieces right sides together, and then sew around the perimeter making sure to leave a few inches unsewn for turning right side out. Your seam allowance is up to you. If you want more room for error, a larger seam allowance (like 1/2″ or 3/8″) would be best. If you’re feeling pretty confident, you can try 1/4″. Just keep in mind whatever seam allowance you choose will take away from the final width of your scarf. So if you cut a 5″ width and sew with a 1/2″ seam allowance, your finished scarf will be 4″ wide.
After sewing the perimeter, if your fabric can tolerate it, press the seams open. This will help give a cleaner finish and make topstitching easier.
Turn the scarf right side out. You can choose to hand-sew the gap closed, or topstitch around the entire perimeter of the scarf with about 1/4″ seam allowance.
Leave a Reply