I shared my pencil case on my Facebook page and it spurred a friend to say “I need one!” So I offered to make her one. I finished it today and I kind of like it better than mine (not that I don’t like mine, but one learns and tweaks as one goes and so one ended up with a second case that is better than …one’s.)
What makes this case better? Behold:
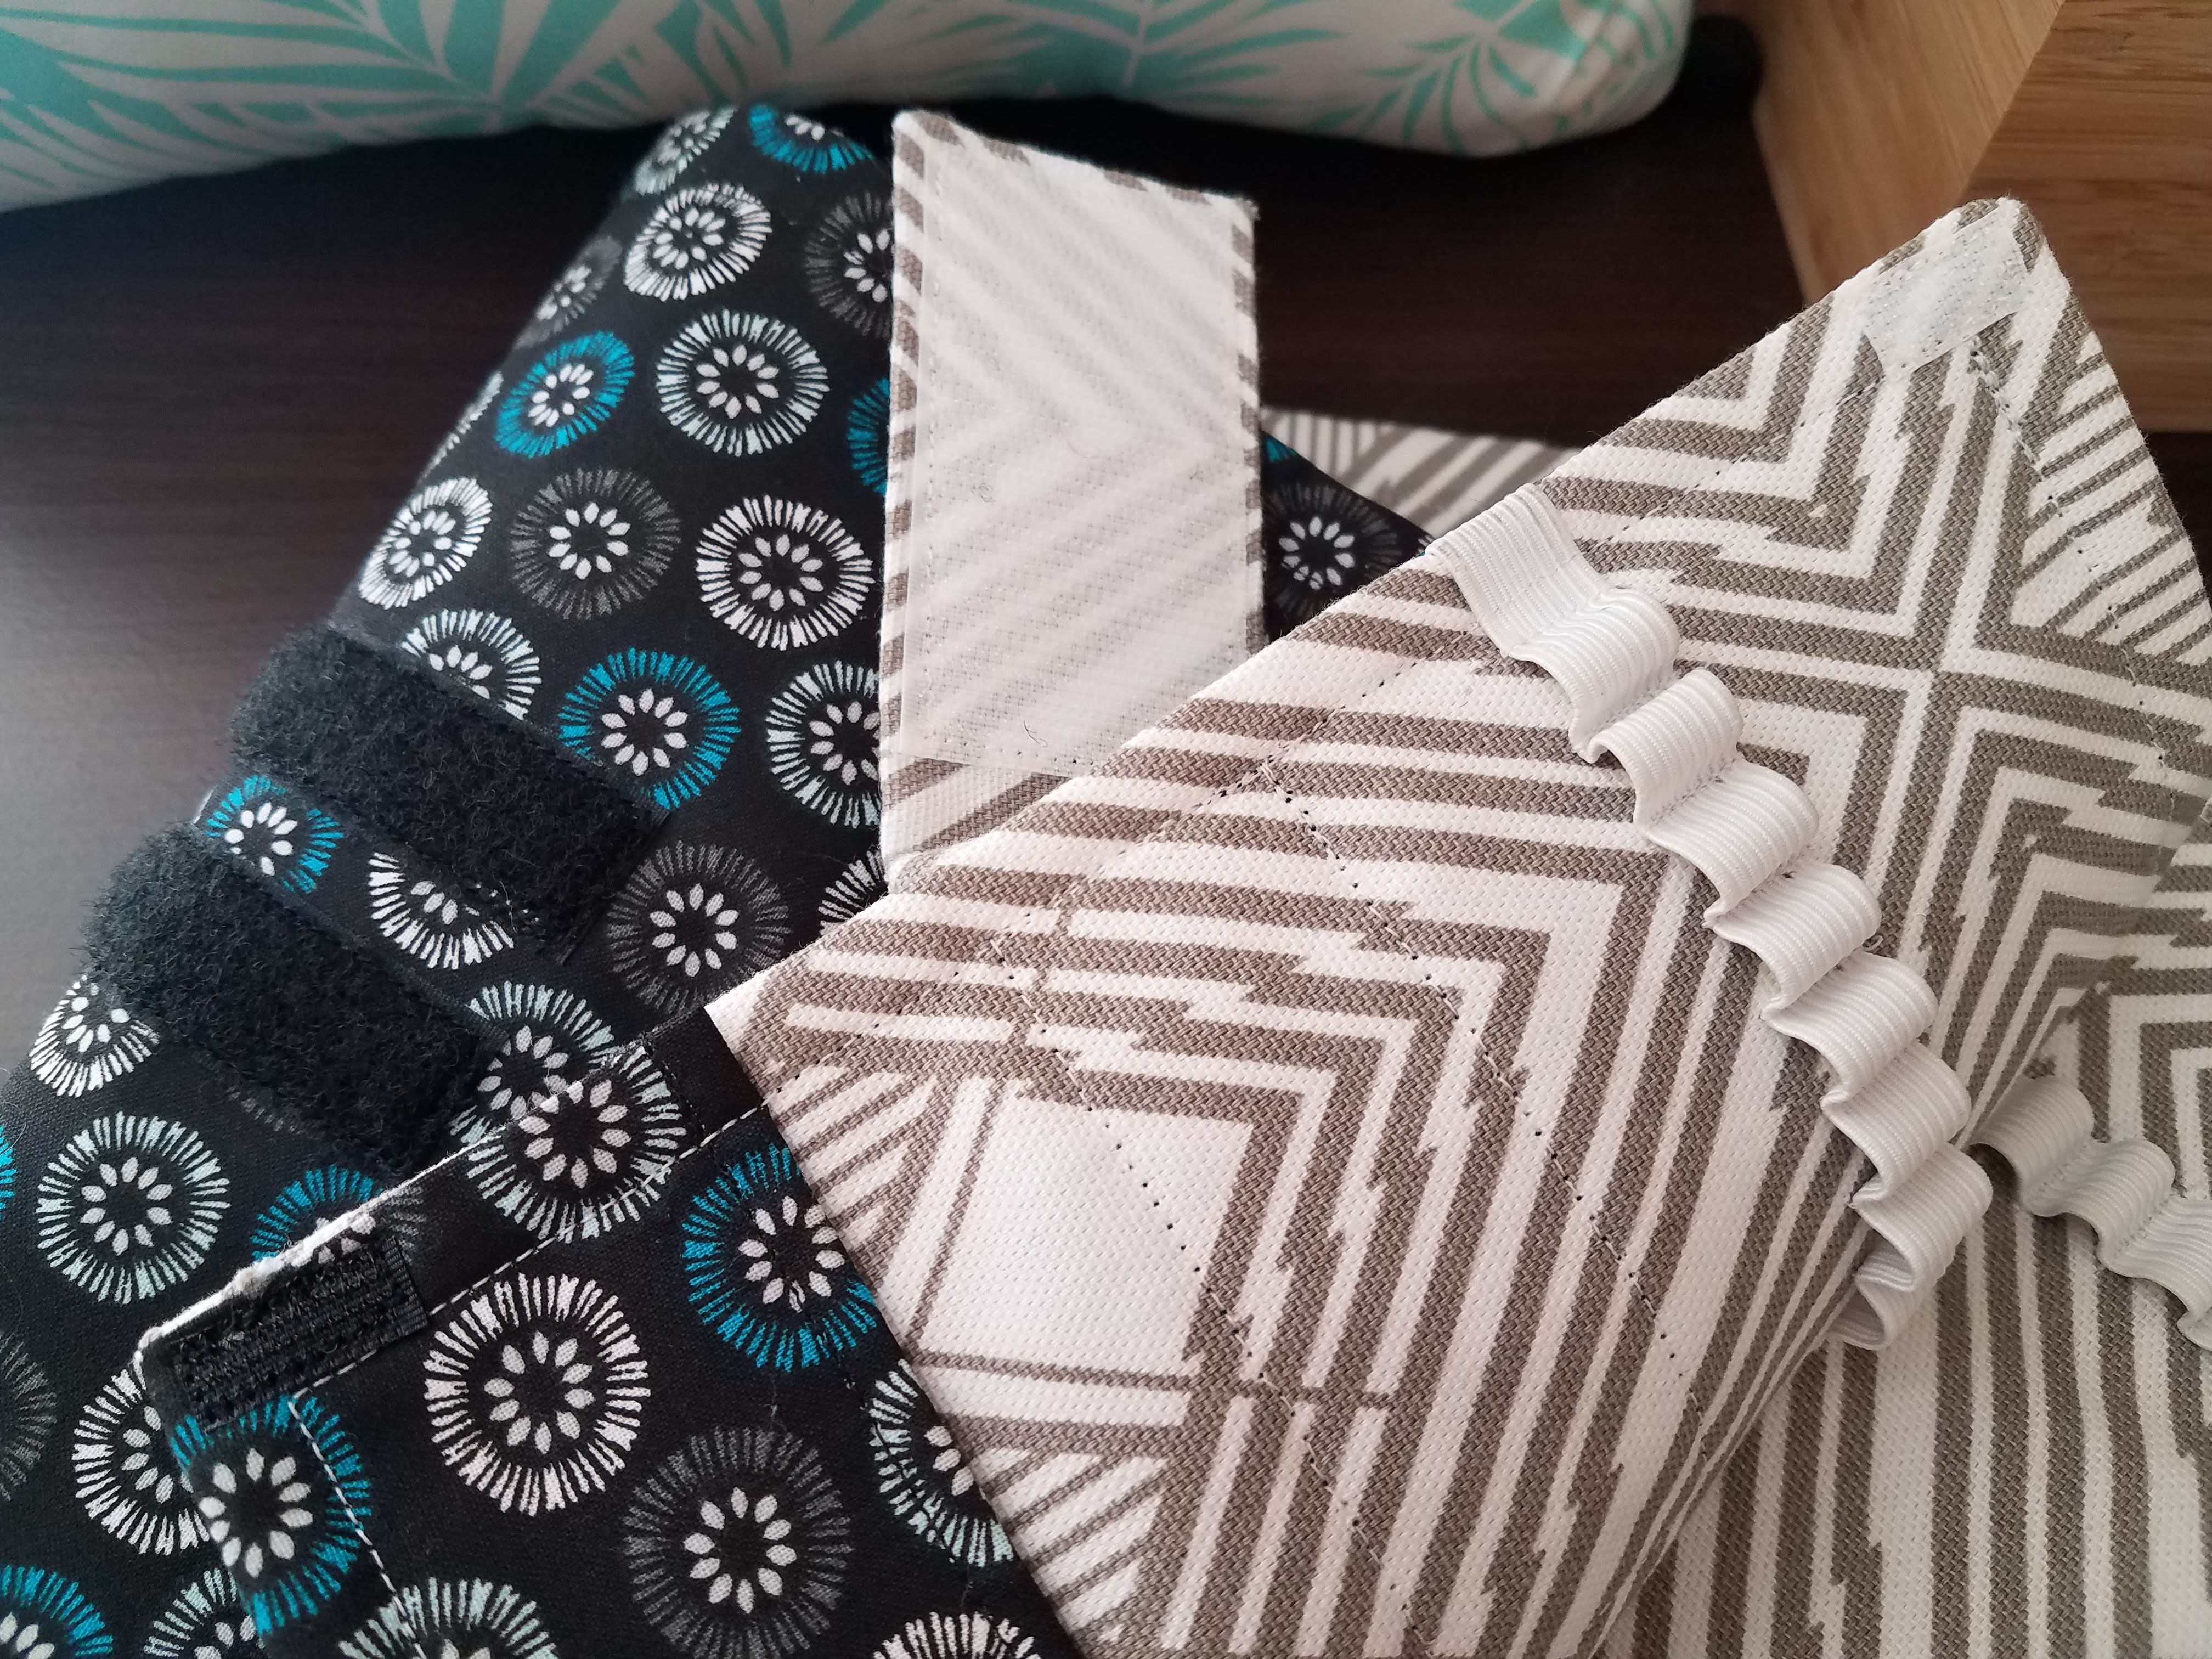
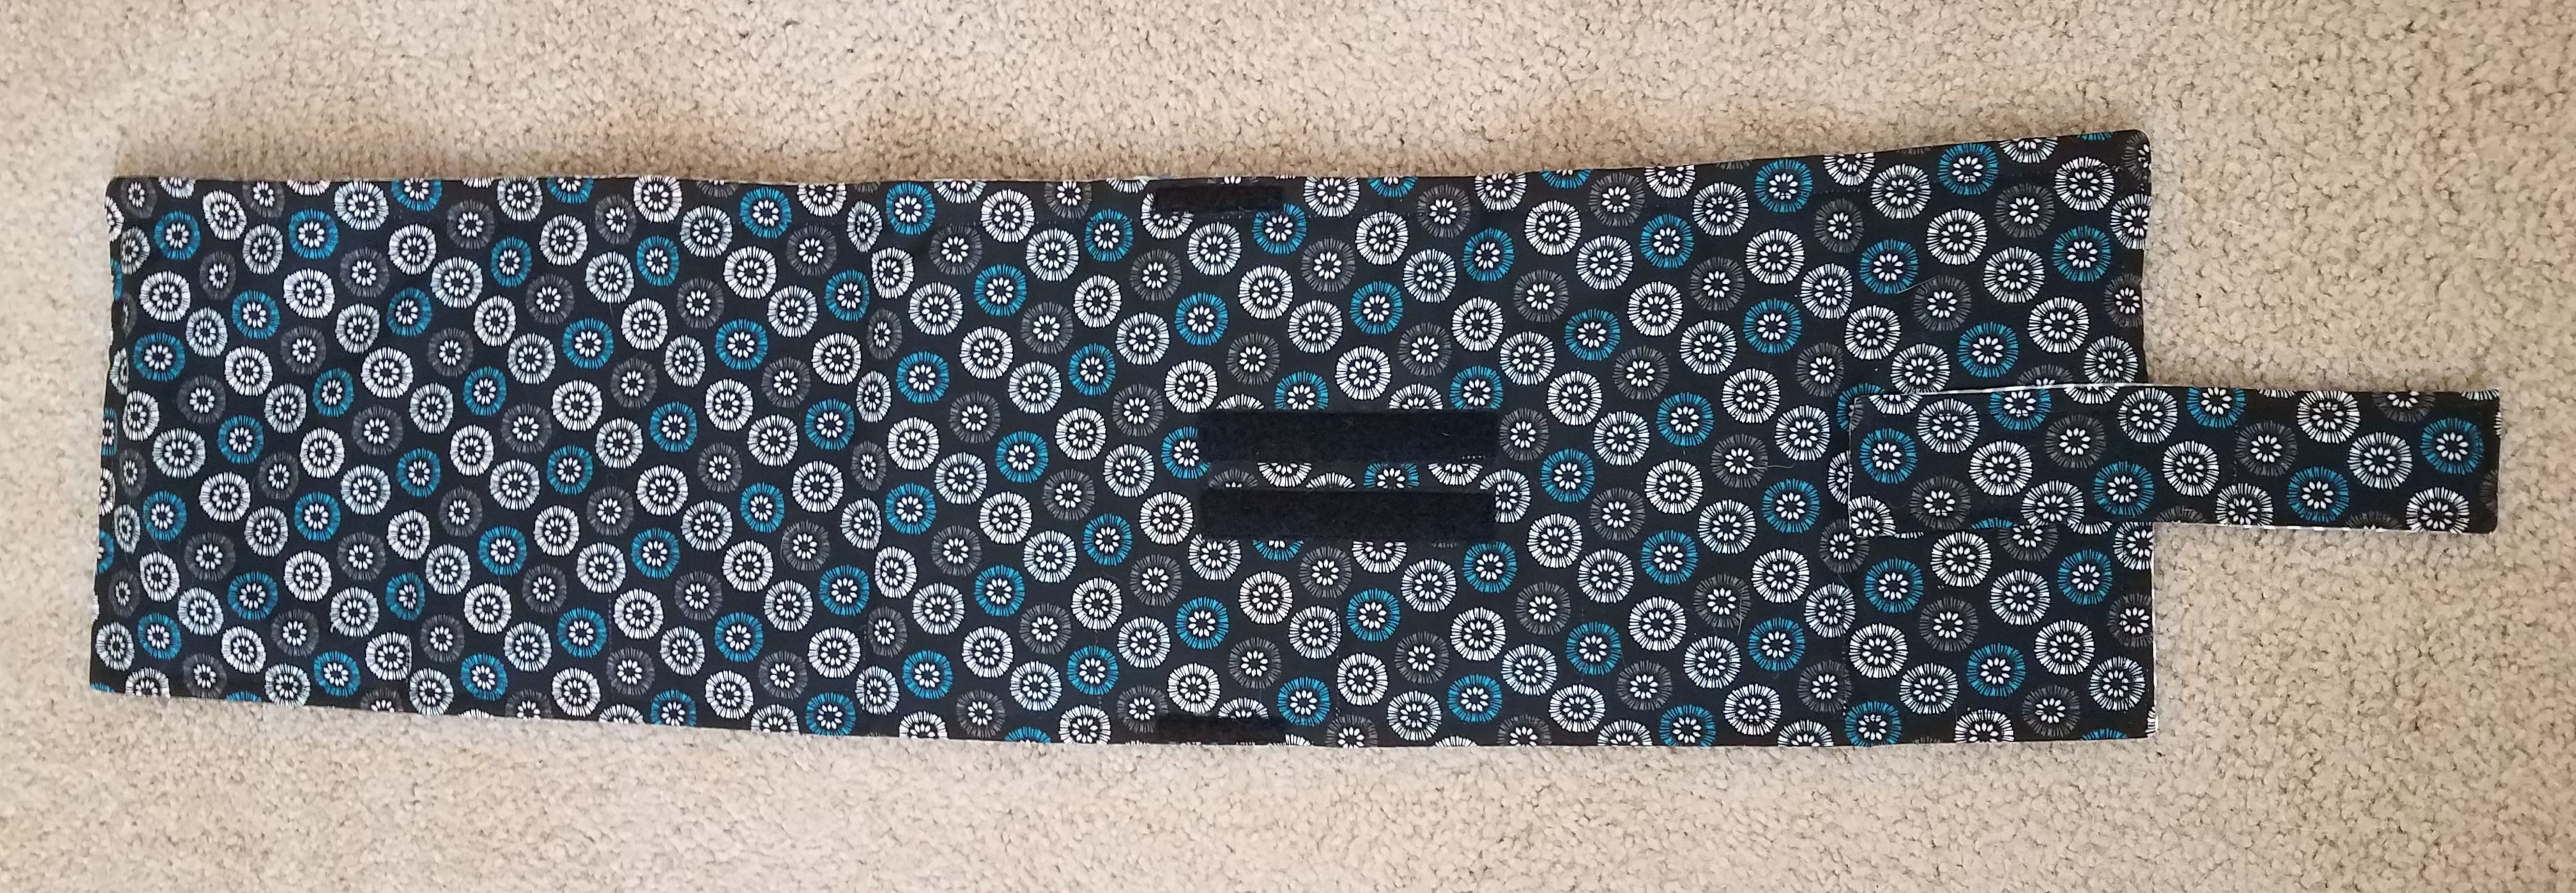
- I used a sheer interfacing on both fabrics so it feels sturdier, almost like canvas.
- I found some sew-on velcro at Walmart, so the velcro is sewn on this one rather than stuck on like mine. So much better.
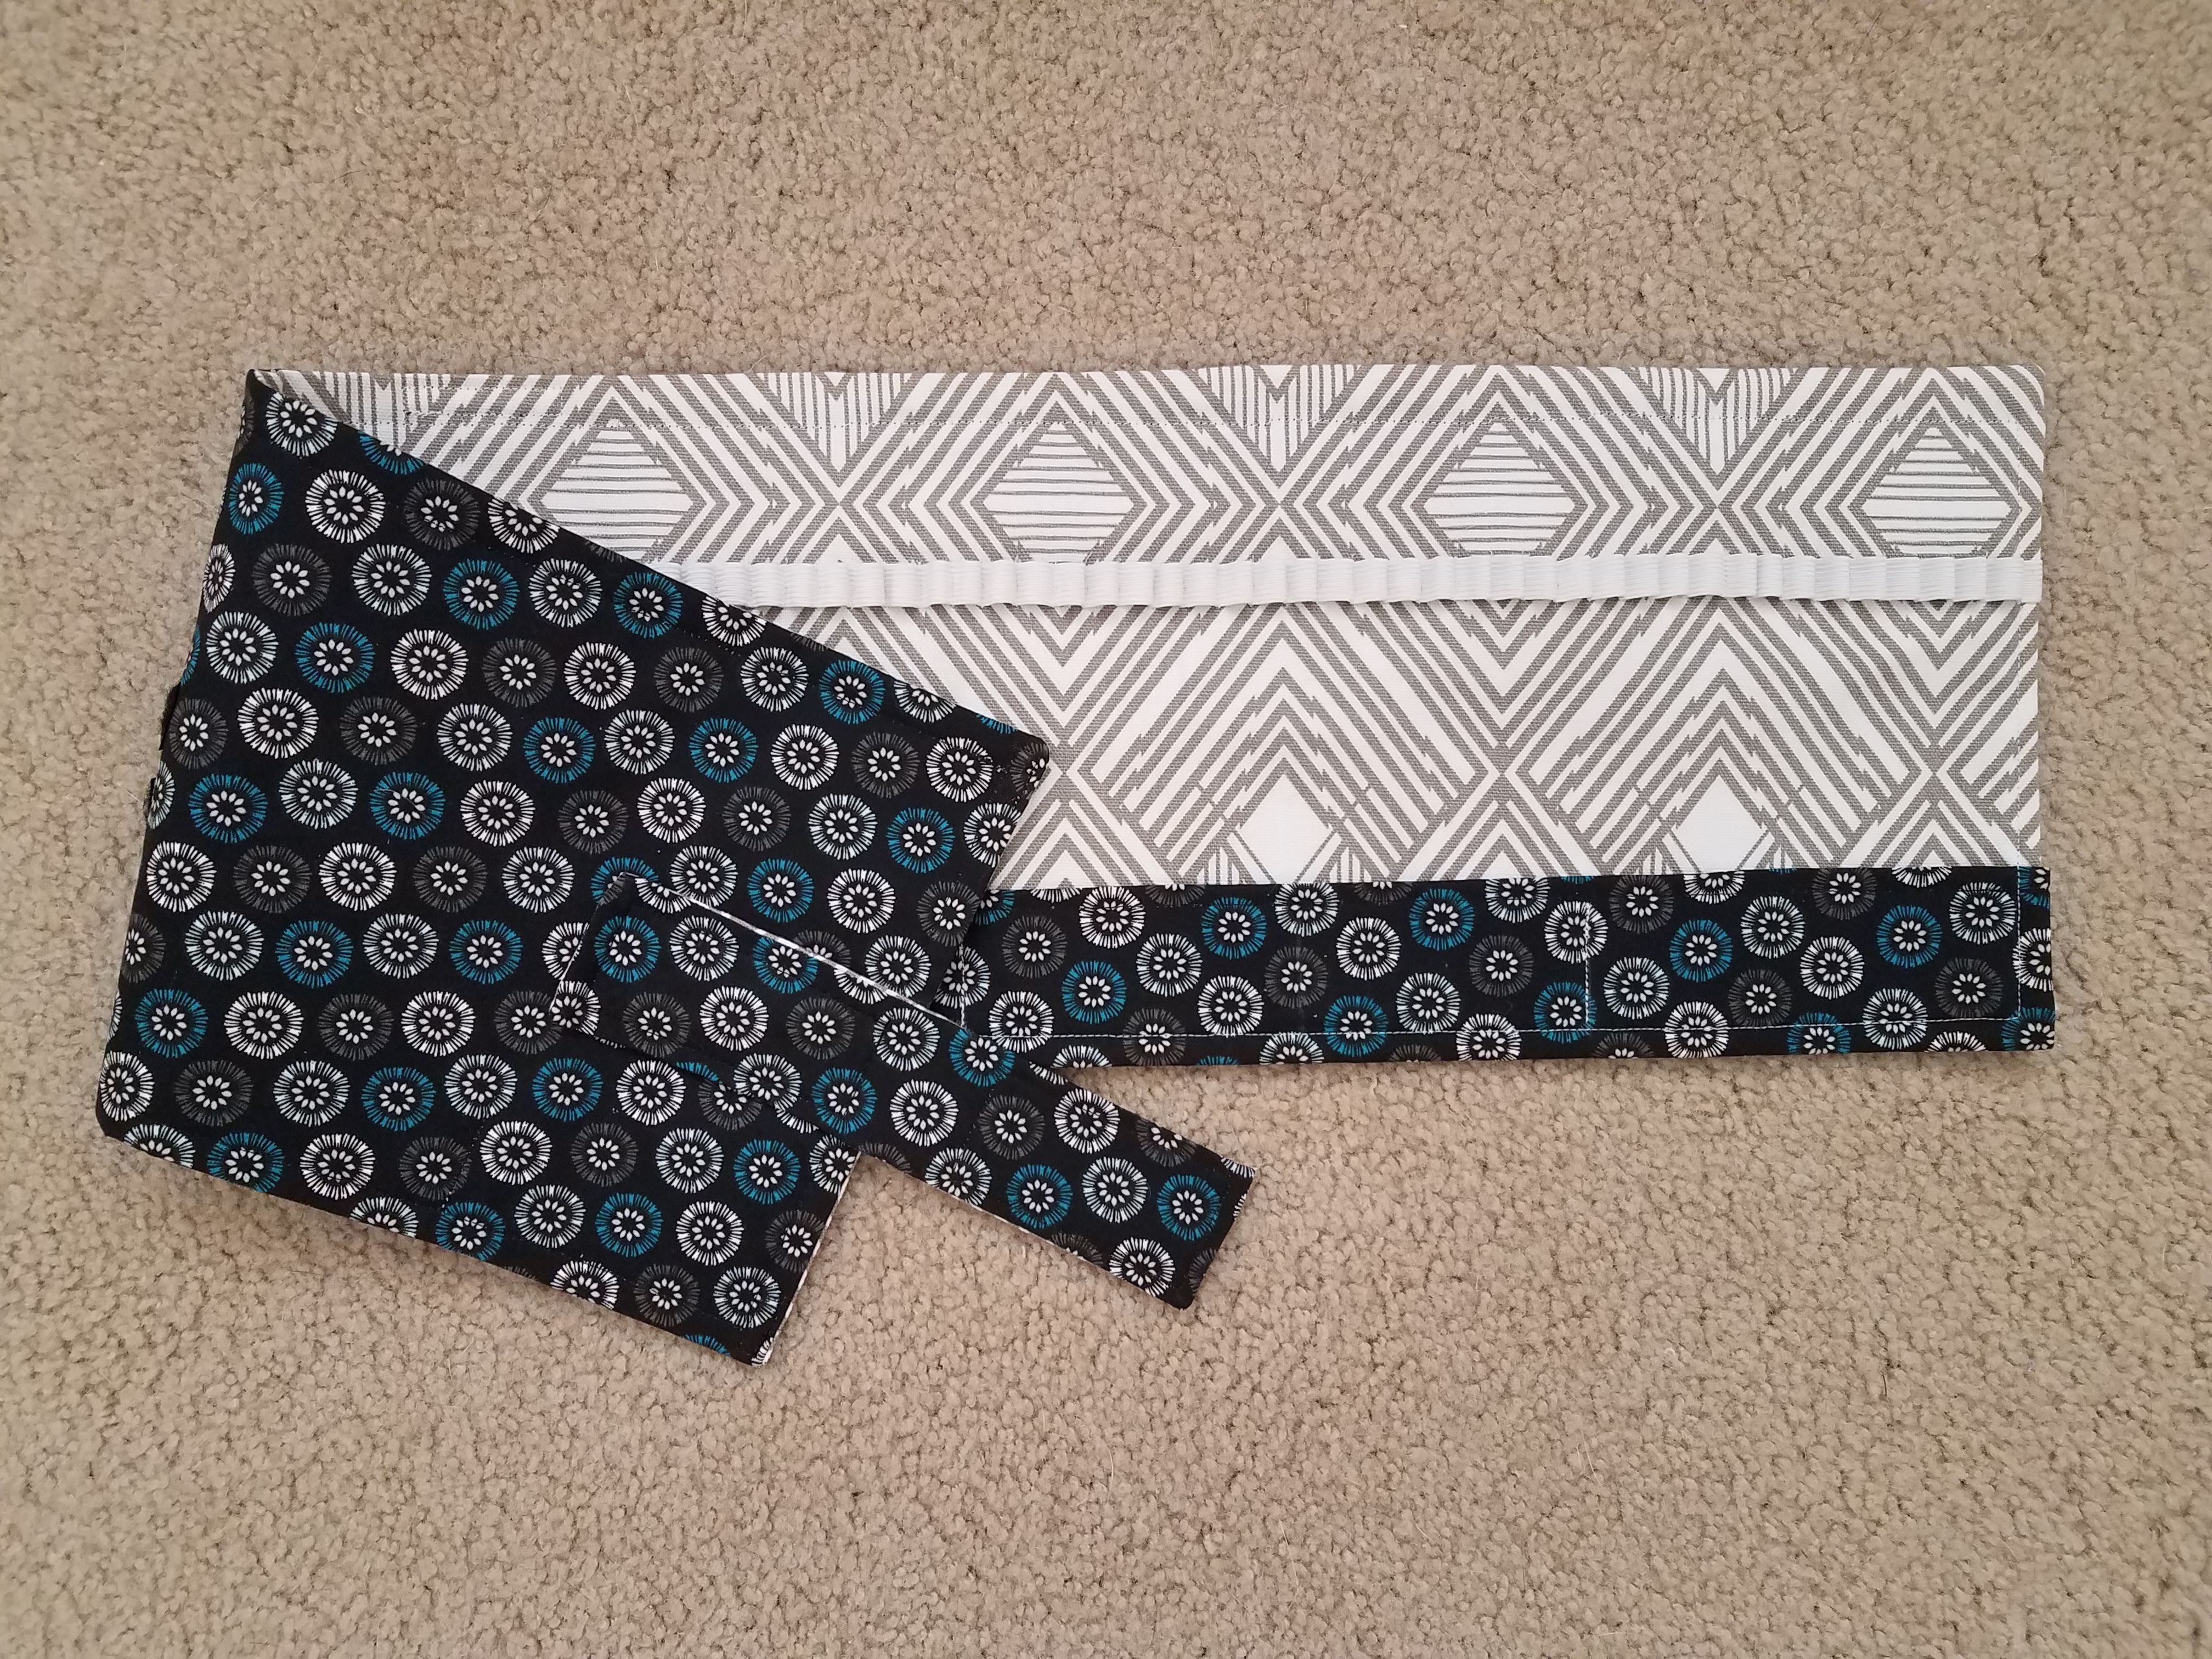
- I added like 1/4 or 1/2 (can’t recall exactly right now) inch to the height.
- The corner fasteners are a little smaller, and the loop tape they fasten to is longer to make it more adjustable. (I think case 3.0 will expound on this to make it even more adjustable if you’re not cramming every elastic space with a pencil.)
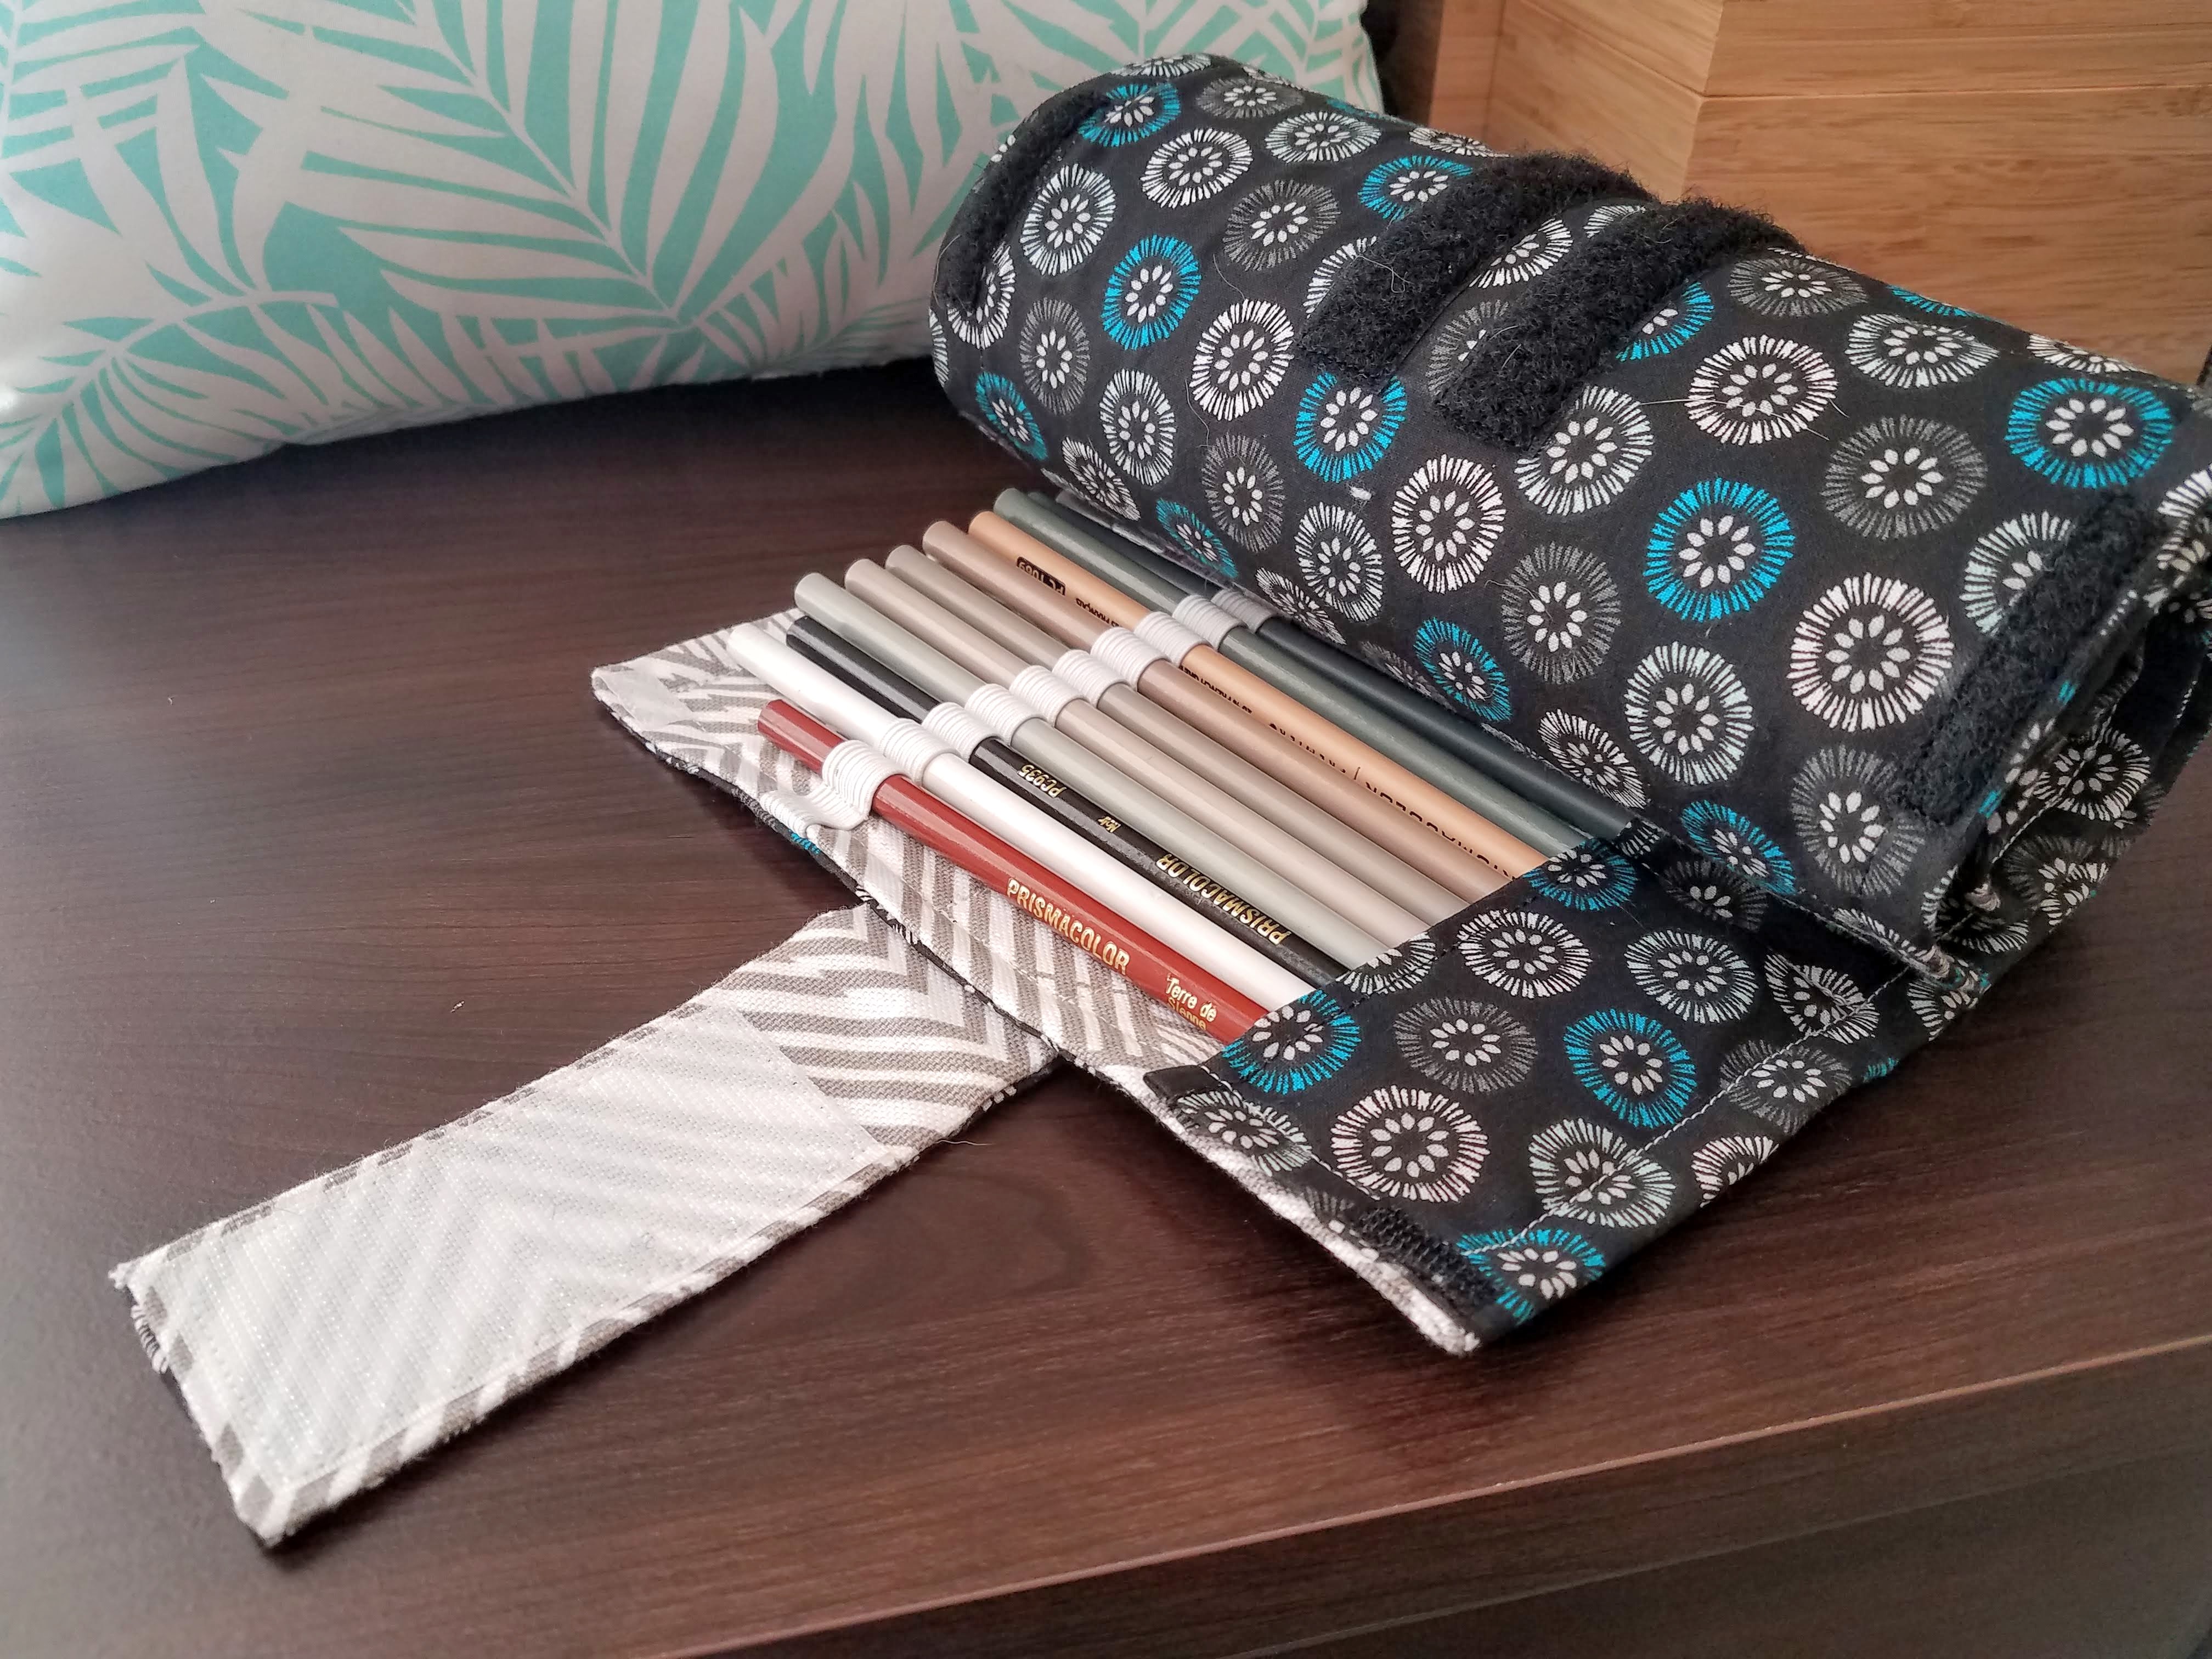
- I love the fabric patterns, especially together. Honestly, I think half the joy I find in sewing is all the fabric patterns out there. I ventured beyond the remnant bins to the back of the store a day or two ago… Oh my word, it calls to me. So. Many. Textiles. It rouses this little creative monster in me and all I can hear it say is “Minne! Alllll mine!!!”
- I mixed my threads, so one side sewed with white and one side with black, so the seams blend in better on this one.
Tips For All When It Comes to Sewing
- Measure, and measure again. It takes time to be precise, but do it. Be precise in the beginning. Measure, then measure again. Use rulers and a rotary blade to cut straight lines. Precise measuring and cutting in the beginning makes everything so much easier later on during the project. Especially if you have a pattern that’s confusing your eye. (The diagonal pattern kept messing with me while sewing the elastic on this one.)
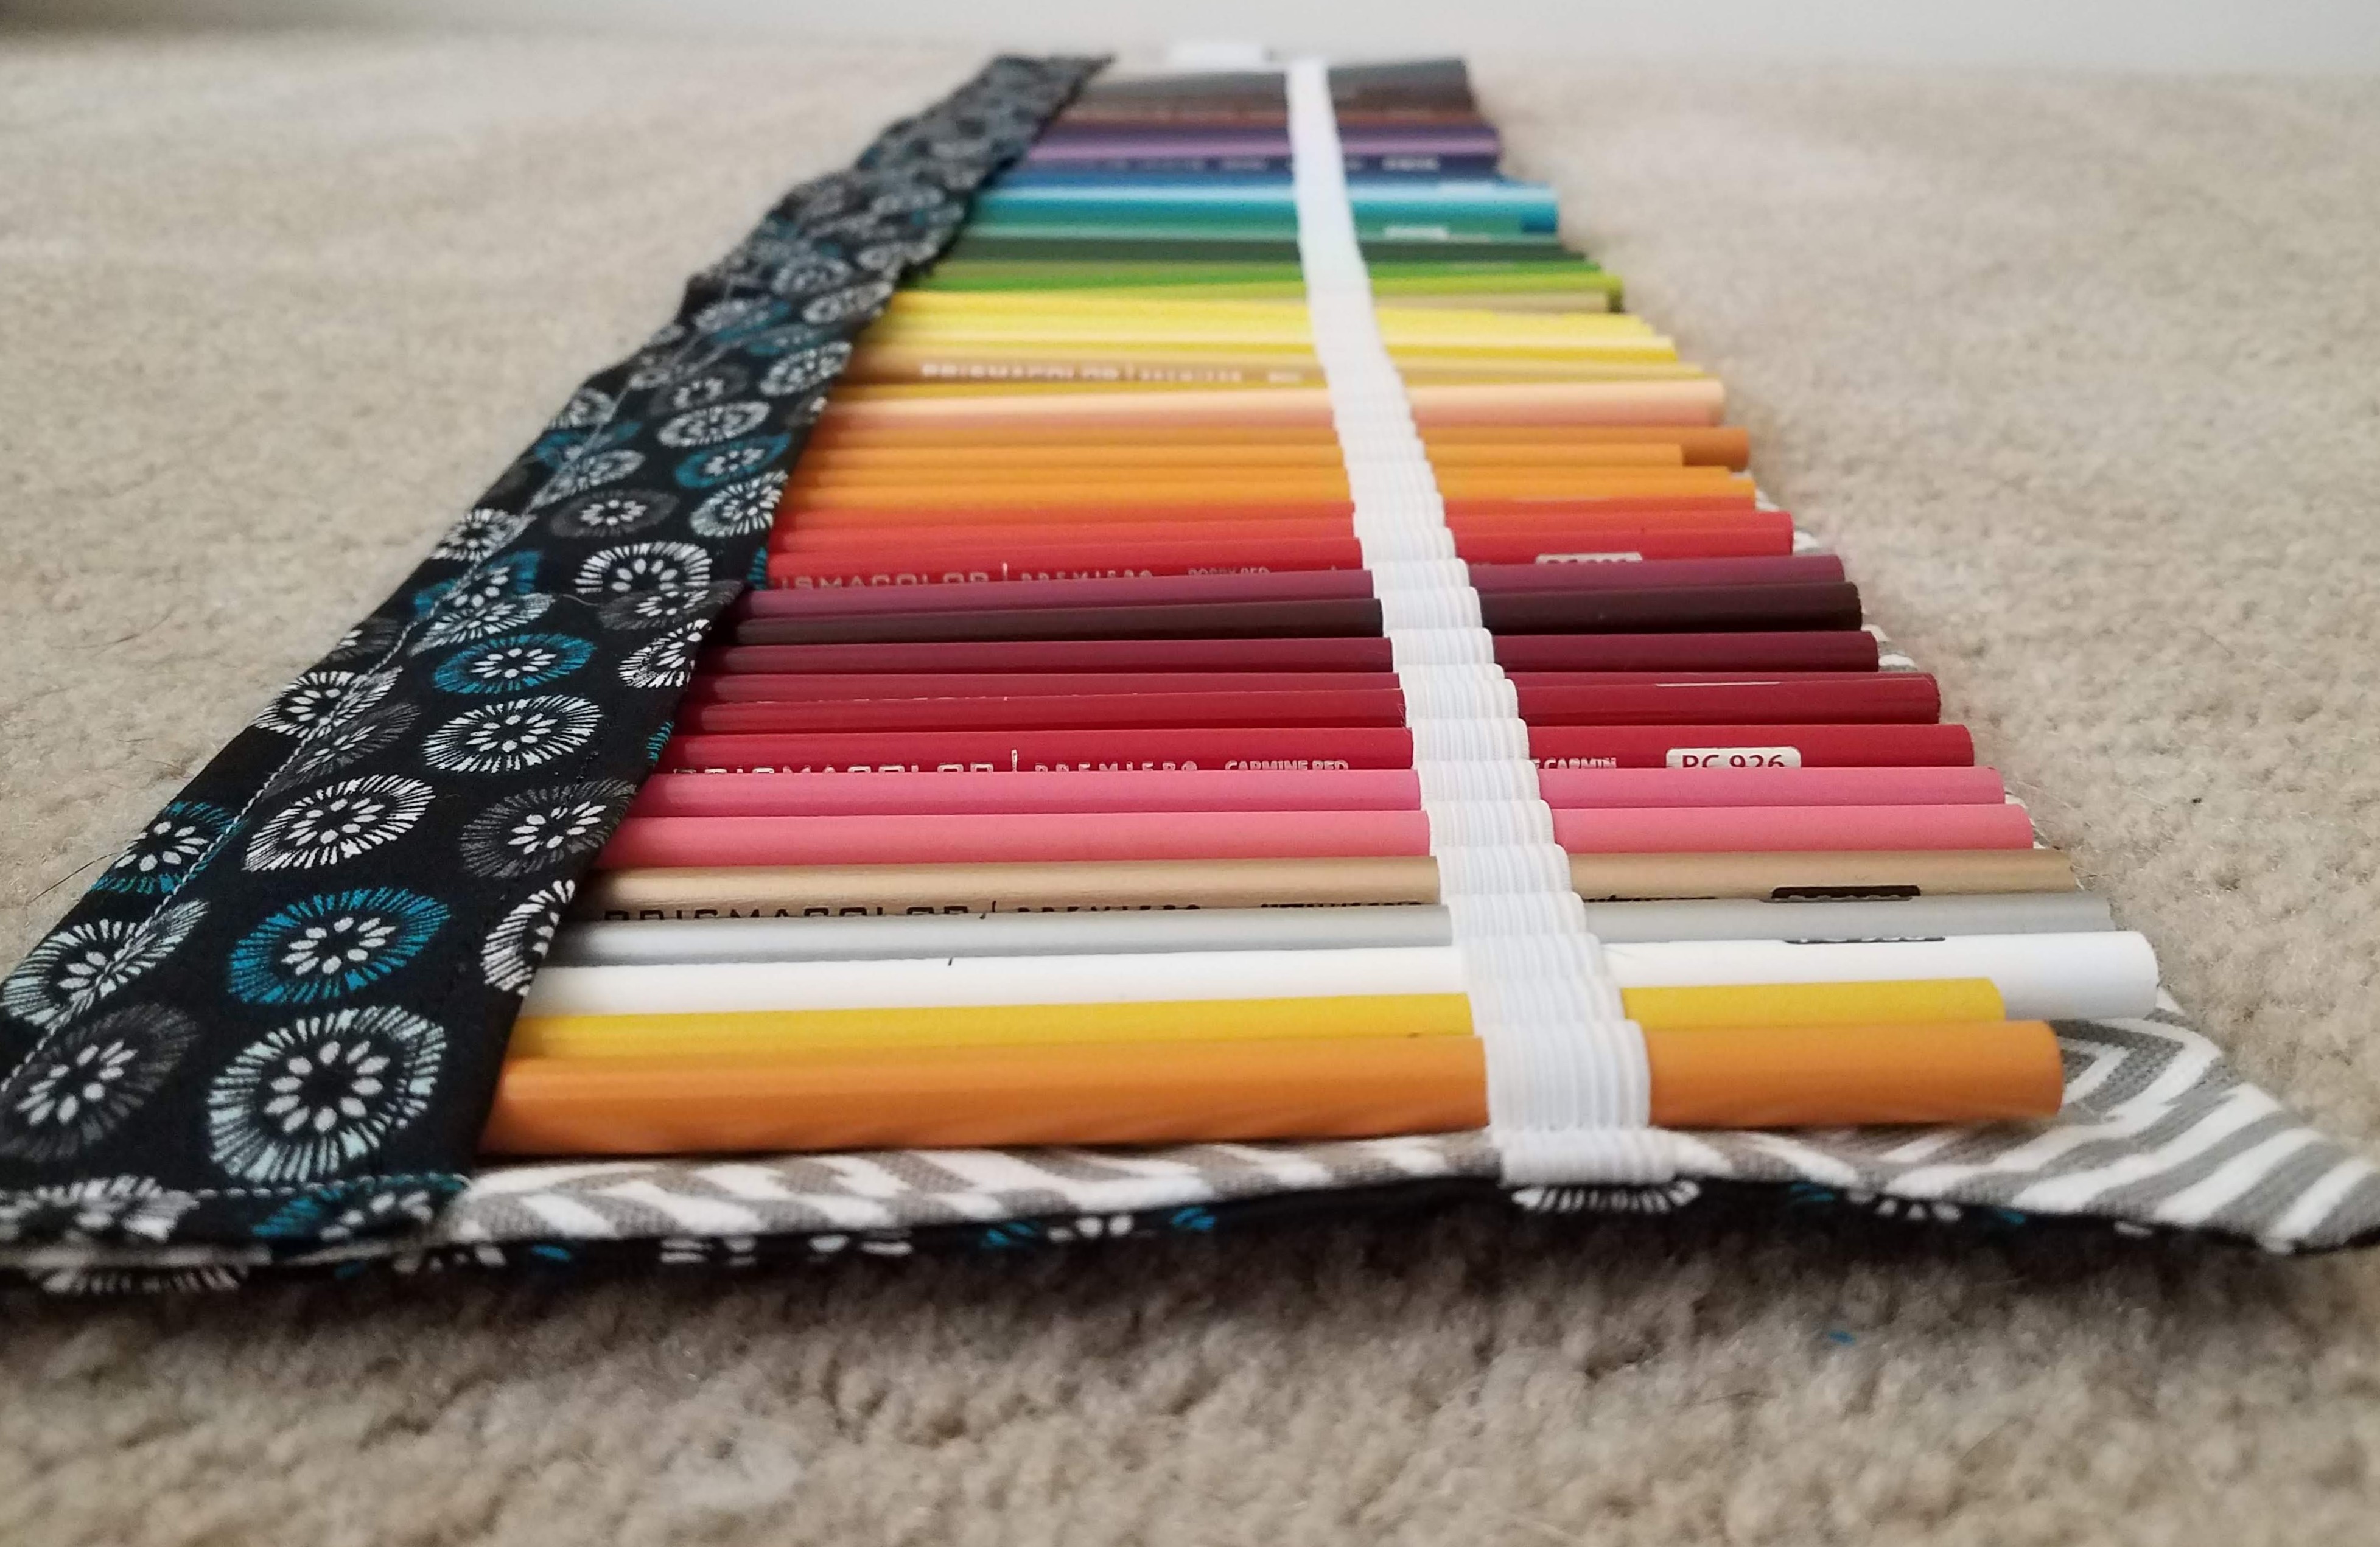
- Be generous with your marks. Whether it’s chalk or disappearing ink, don’t be afraid to mark things. On these pencil cases, I mark every seam on the elastic and every place it fastens to the fabric, along with an overall horizontal line to make sure my elastic is tracking straight. Without these marks, my case would turn out like the Chinese case I bought that had a stroke.
- Anchor things. Whether it’s pins or temporary fusible web tape, anchor everything before you sew it, because sewing will make it shift (I refer you to the previous entry and the lopsided owl.) This also takes extra time, but do it. It takes a lot of time for me to pin and unpin the elastic at least 72 times for each loop I sew, but I do it every single time.
- Don’t be married to your seams. If you don’t like how a seam turned out, rip it out and do it over. If you don’t like how it’s going while you’re sewing it, stop and rip it out and start over. No one says you have to finish a seam if it’s not going the way you want. There were several on this case that I could have passed with, but I just wasn’t happy with them, so I ripped them out and did them over.
- Iron. Iron before you cut your pieces. Iron your seams after sewing them. Pin and iron folds (for hems, etc) before sewing them. Ironing stuff helps you be more precise and makes your fabric easier to control.
- Invest the time in prep. Basically that’s what all this comes down to. All of this precision and prep takes time and maybe it’s not as much fun as the nitty gritty of stabbing fabric with your sewing machine. But in the end, when your stuff turns out the way you want, you’ll be so thankful you took the time to prep, and the whole experience will be positive rather than an exercise in frustration and failure.
Next project: placemats.
Followed by: boxes. Oh yes, one can sew boxes.
Leave a Reply