I fell for another Big Four pattern (thanks to this lovely make from kbb_couture) and I am unsurprisingly overflowing with critiques.
First off, what’s with the meaningless names for all these patterns? B6713. M7254. V1807. What human can even remember the right number AND associate it with a top? Or was it a jacket? Or a jumpsuit?
Then there’s the consistently atrocious instructions with the deeply confounding illustrations.
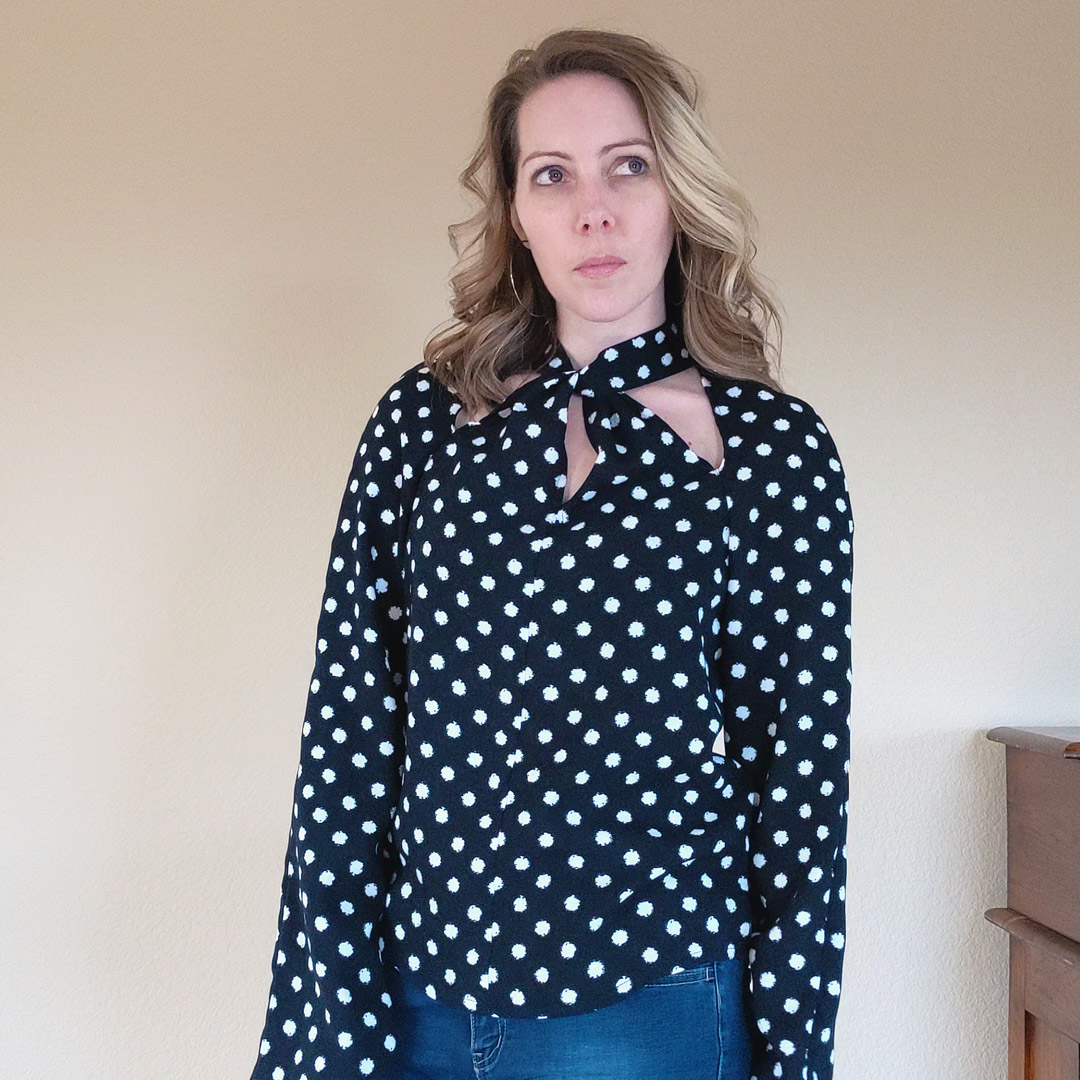
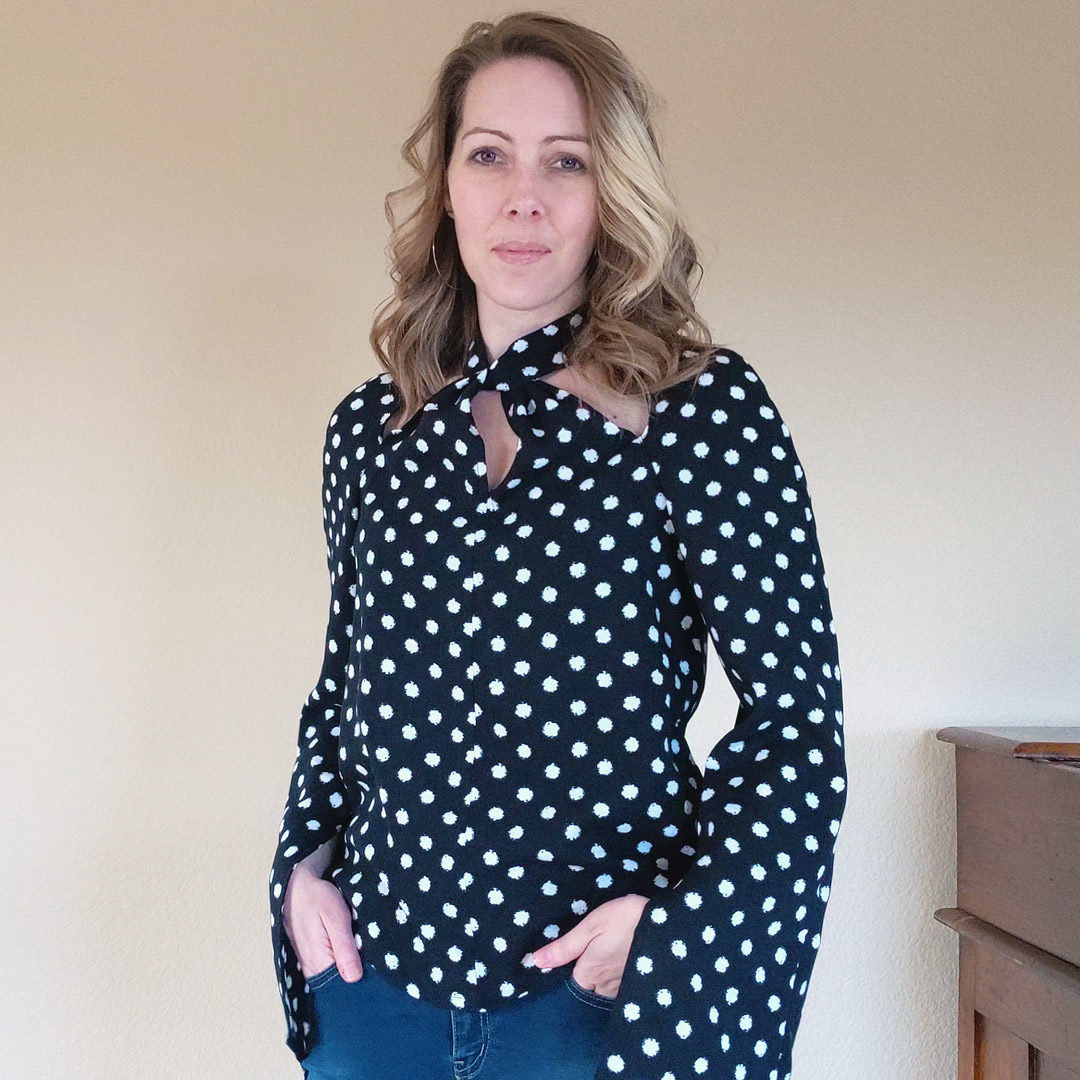
Finally, there’s the end product which—out of the three Big Four patterns I’ve fallen for—only the M7254 jacket lived up to the vision in my head. My Vogue Jumpsuits took a lot of tweaking, and now this Butterick top feels off just enough to leave me dismayed.
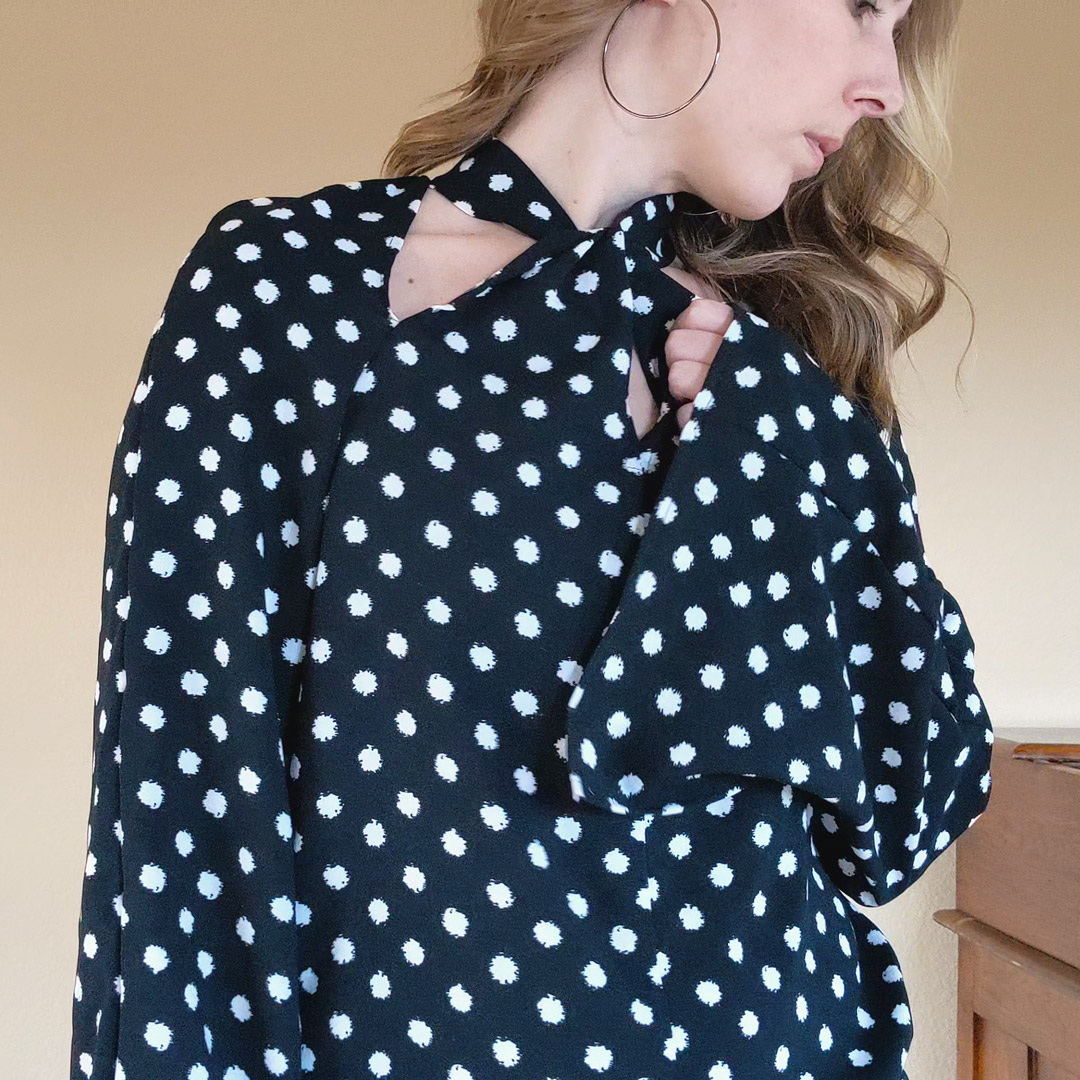
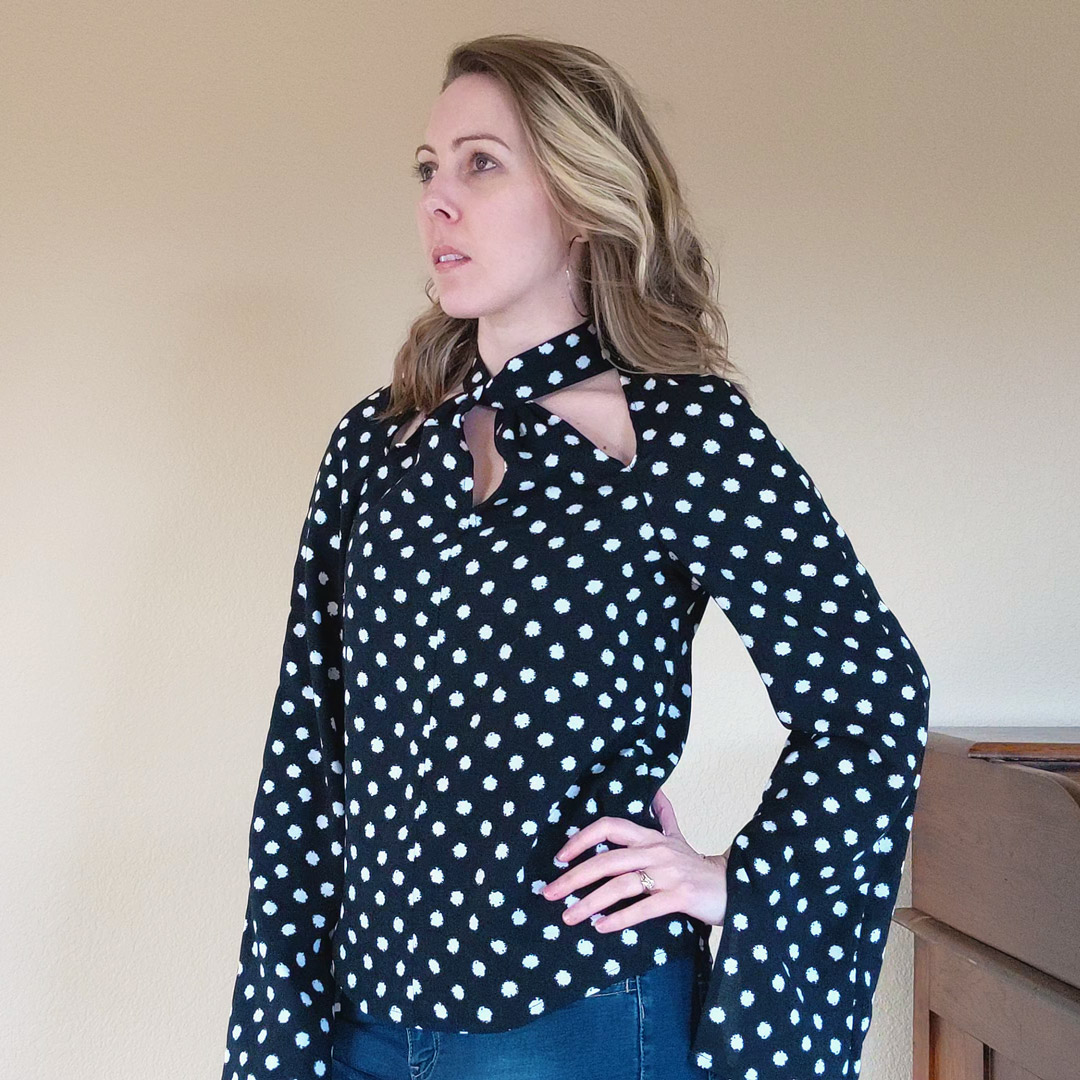
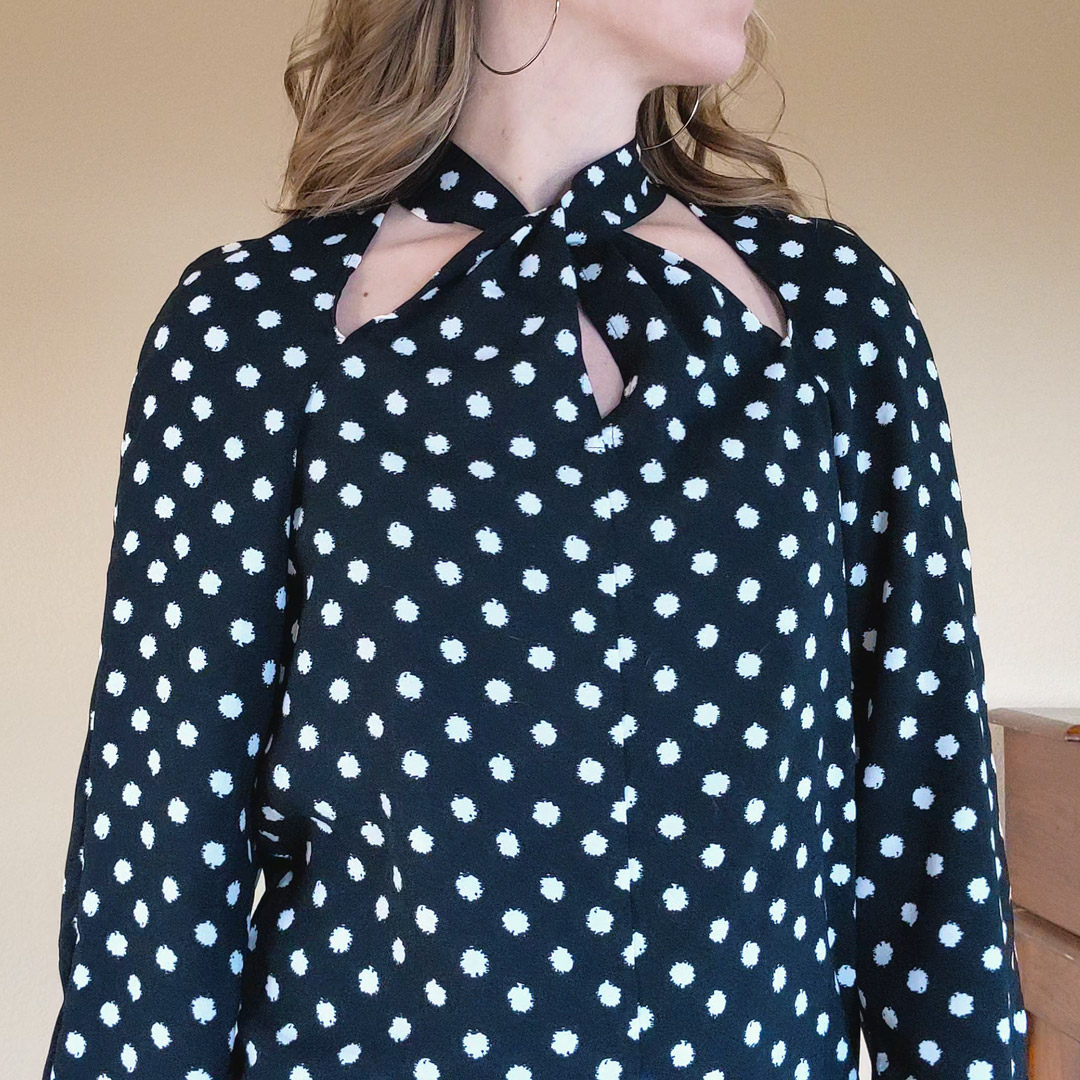
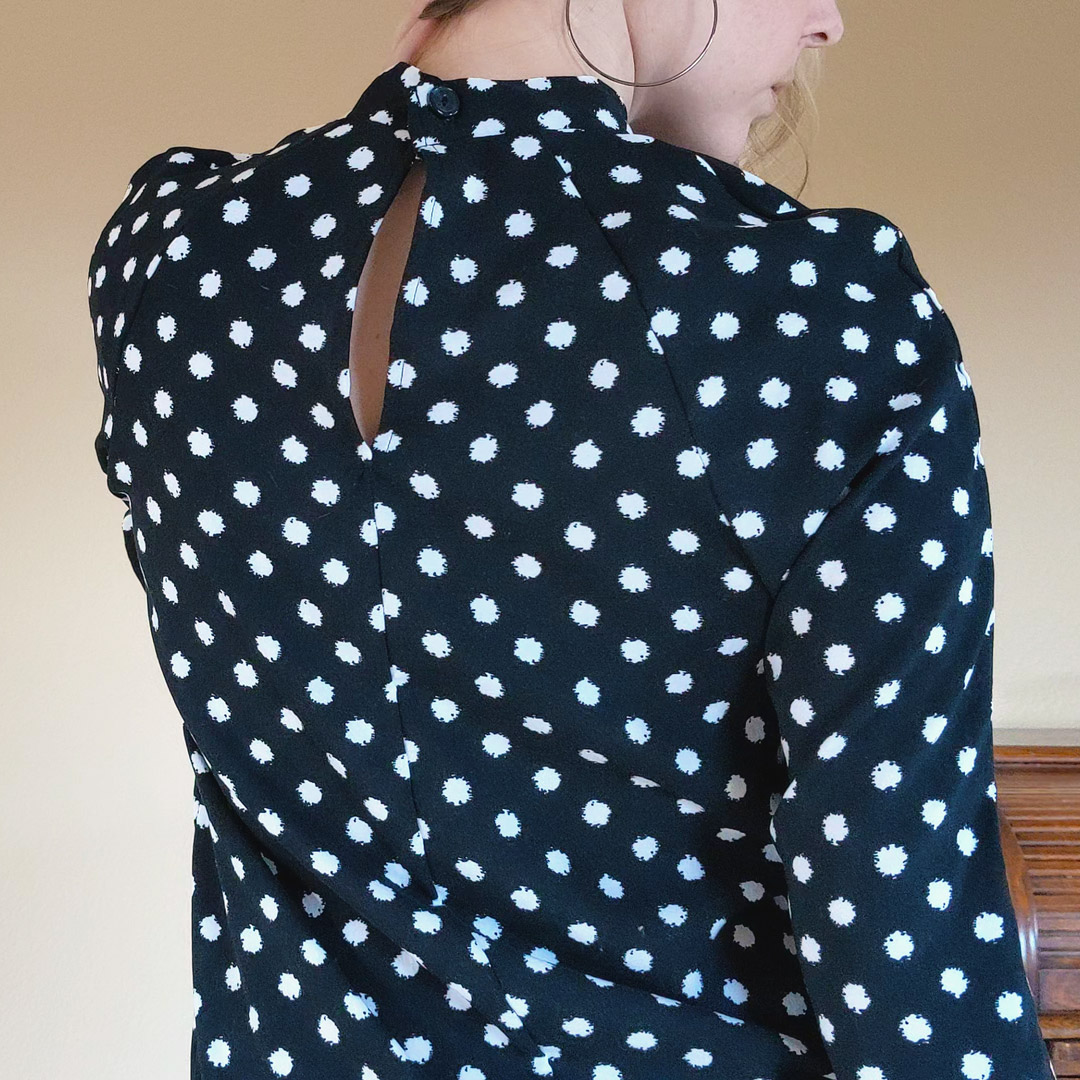
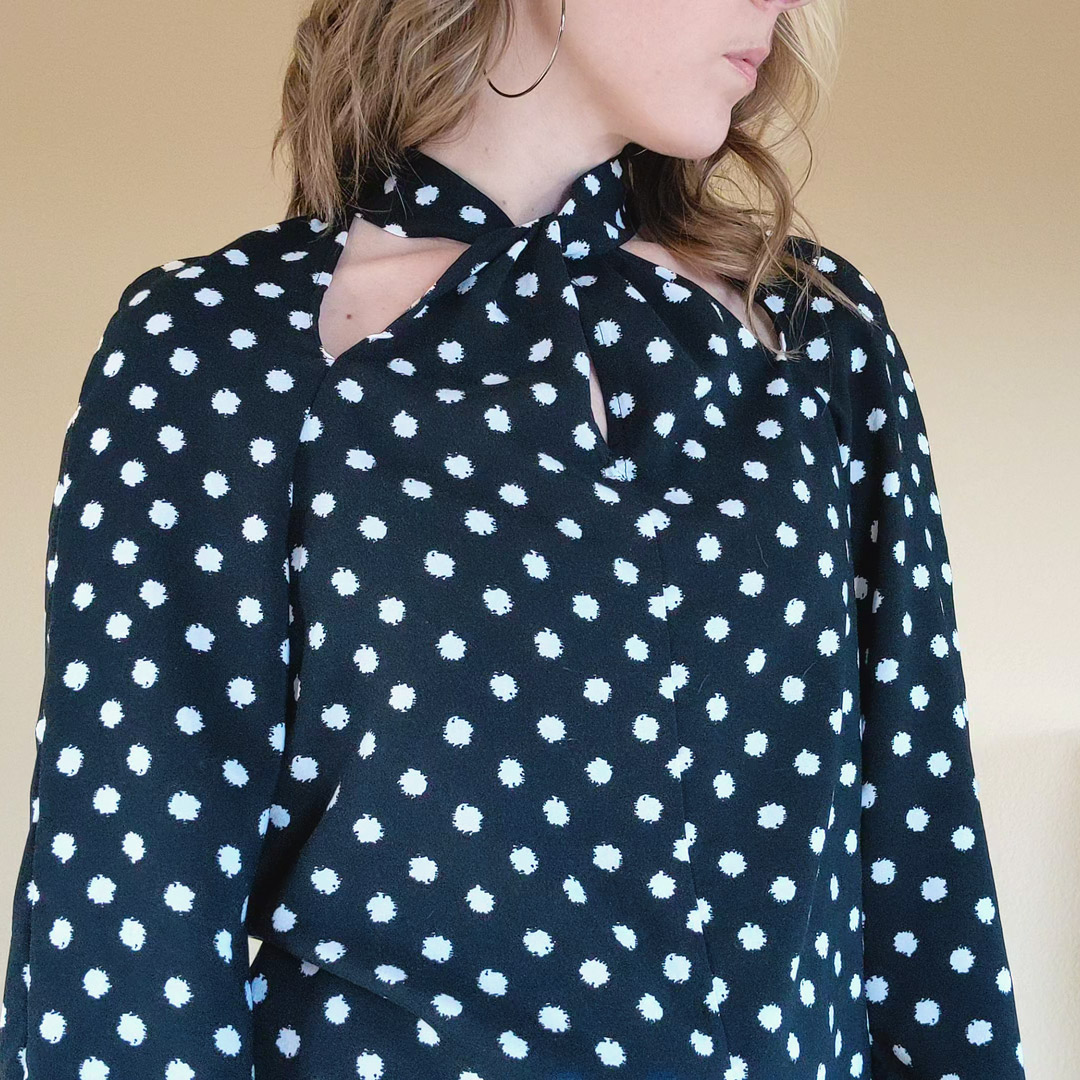
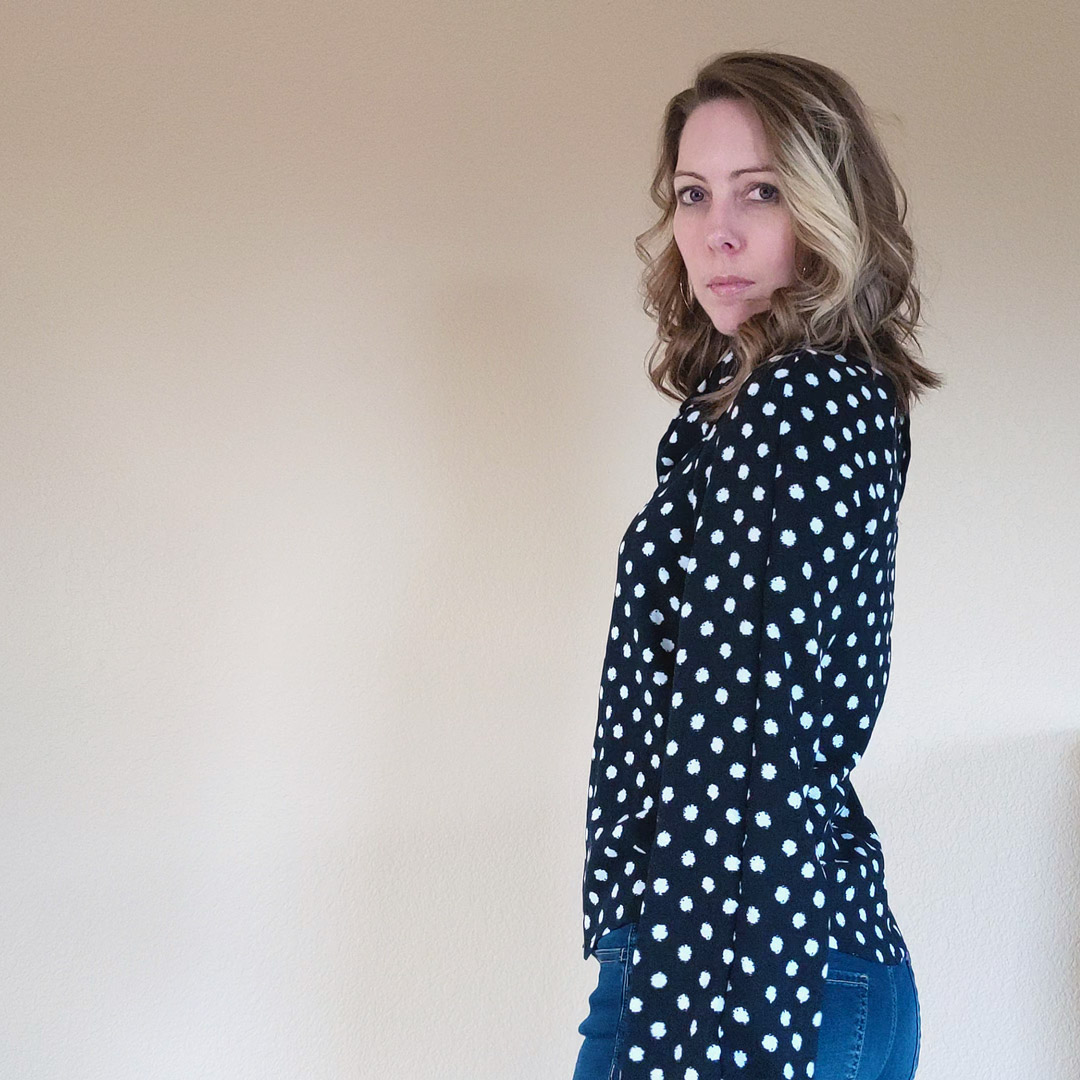
I’m not saying I don’t like it or won’t wear it; I do like it—the fabric, the neckline, the overall fit. What bothers me is the pleated front where the collar feeds through. It’s way too reminiscent of the Vogue front neckline that I had to edit in order to make it lay correctly. I feel like I need to do something to this pleated neckline to fix it, but I’m not sure what at the moment.
Let’s focus on something satisfying for a bit: the fabric.
About the Fabric
2 yards Casper Polka Dots, Rayon Challis Woven from Boho Fabrics
- Weight: 6 oz
- Horizontal Stretch: 10%
- Vertical Stretch: 0%
- Contents: Rayon
Rayon challis is one of my favorite fabrics. Compared to my other rayon challis purchases from Cali Fabrics, this particular fabric feels weightier. The fluid drape and lightweight airiness of rayon challis makes it so comfortable to wear. It can be a little shifty to work with, but nowhere near the headache that a fabric like chiffon is. (Which I “conveniently” chose to use for my muslin. Why do I do these things to myself?)
I used the gift card I won to purchase this fabric (along with two other cuts I plan to use on a George + Ginger Bedight Bolero.) Free fabric? Mmyesplease.
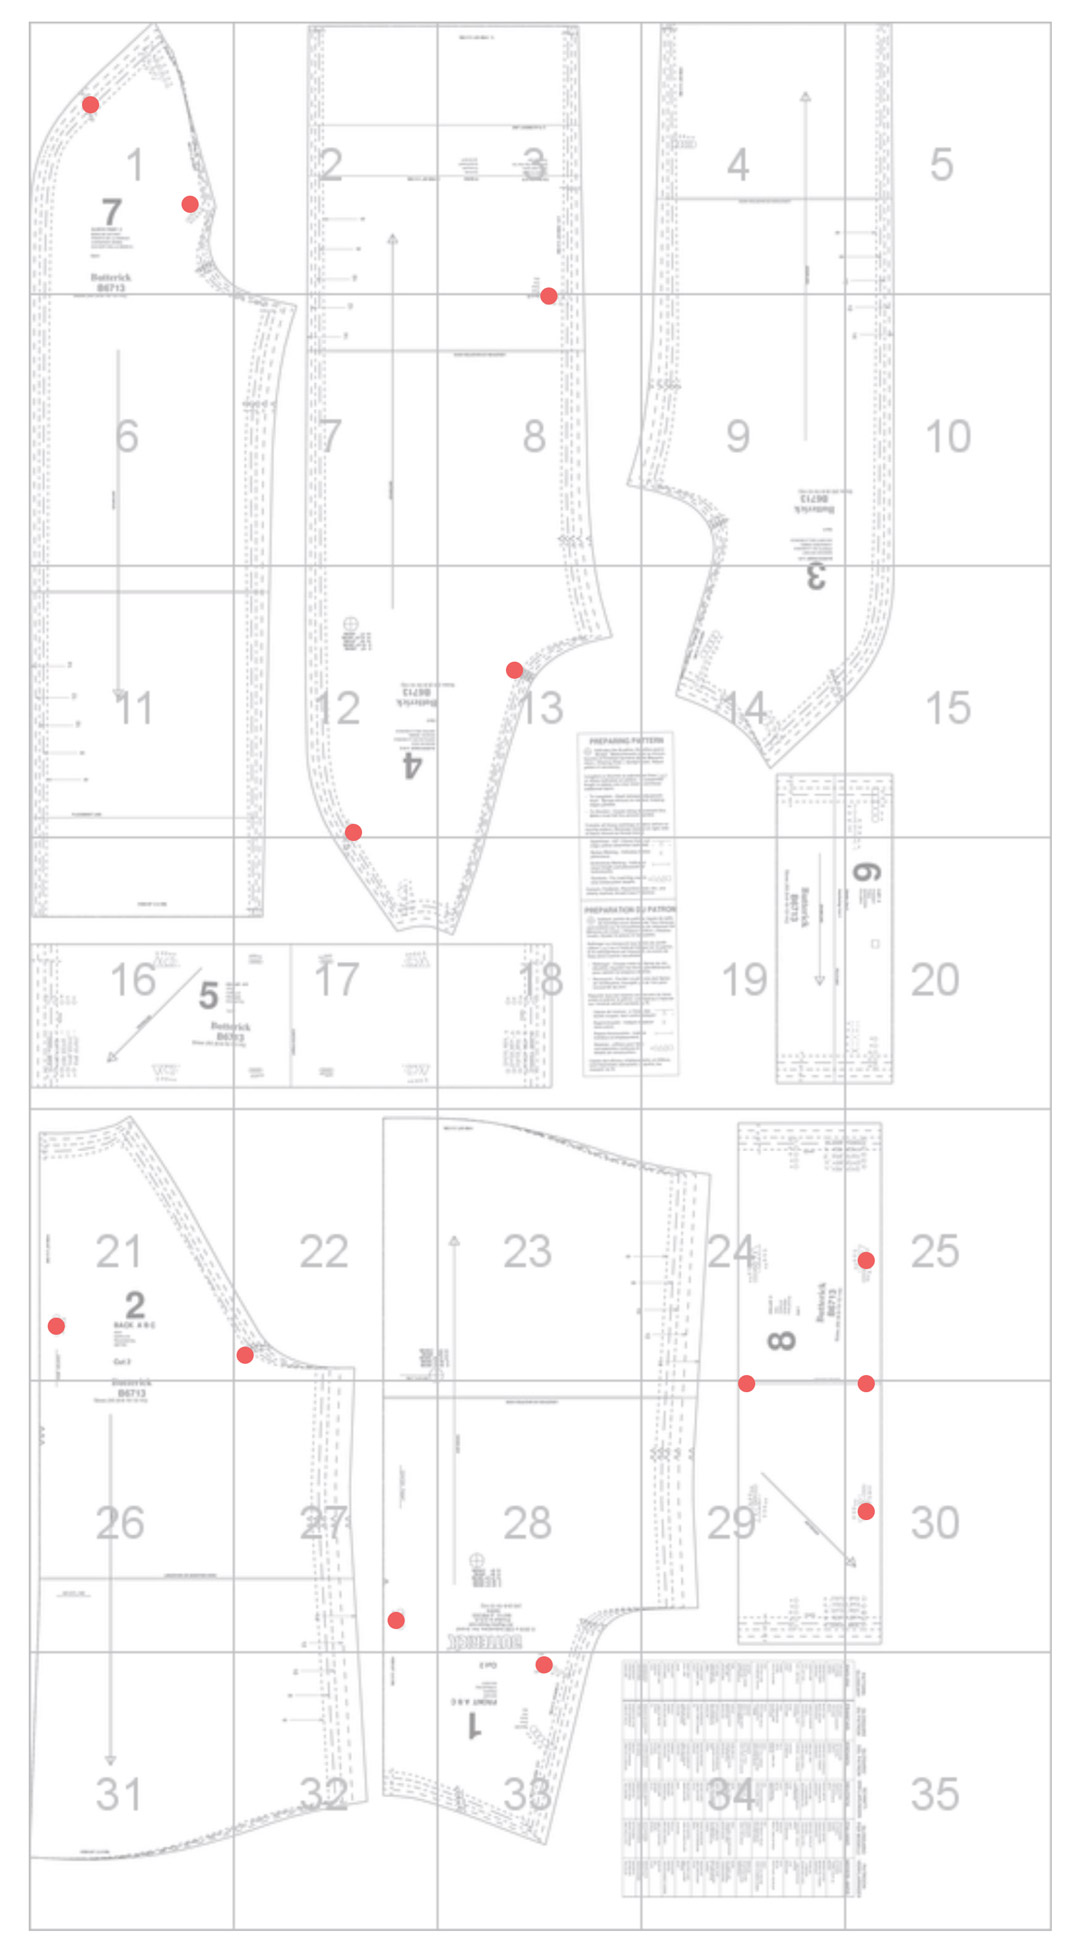
About the Pattern
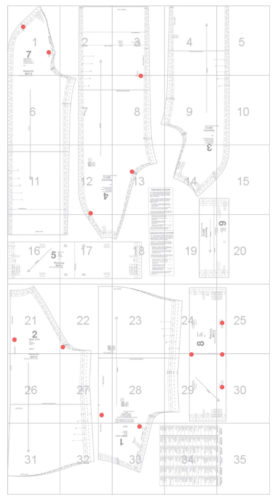
I’m just going to sum it up with this graphic right here:

Which—even with the written instructions—I can only interpret as:
- Stitch partial seam.
- Paper airplane?
- Origami fortune cookie.
- Smoosh.
- Straightjacket.
Needless to say, it was at this point I rewrote the entire list of instructions and did whatever the ham I wanted with the collar. There was no help to be found in translating this abomination.
One wonders, do these pattern companies actually make money? Thank God for indie pattern designers injecting some sanity into the world of sewing. These snobby, extra-extra pattern instructions must end.
Elected Options
- View C w/ View A sleeves
- Size 12
- No grading, no lengthening
What I Did Differently
Oh, can I even remember it all?
- Attached collar with a 1/4″ seam allowance.
- Every single thing pertaining to the collar. I did the gathers but they were pointless with my improvised execution.
- Serged the raw edges left by the partial seam.
- Folded the raw edge of the short ends in once, then folded the long edges into the center crease, and folded in half lengthwise to encase all raw edges. This ate the gathers but I couldn’t have cared less after trying to understand that clown show in the instructions.
- Ignored every single direction to baste/stitch/stitch again/reinforce/blahblahblah.
- Out of a bajillion notches, triangles, and circles, I found most of them unnecessary and I marked only a select few.
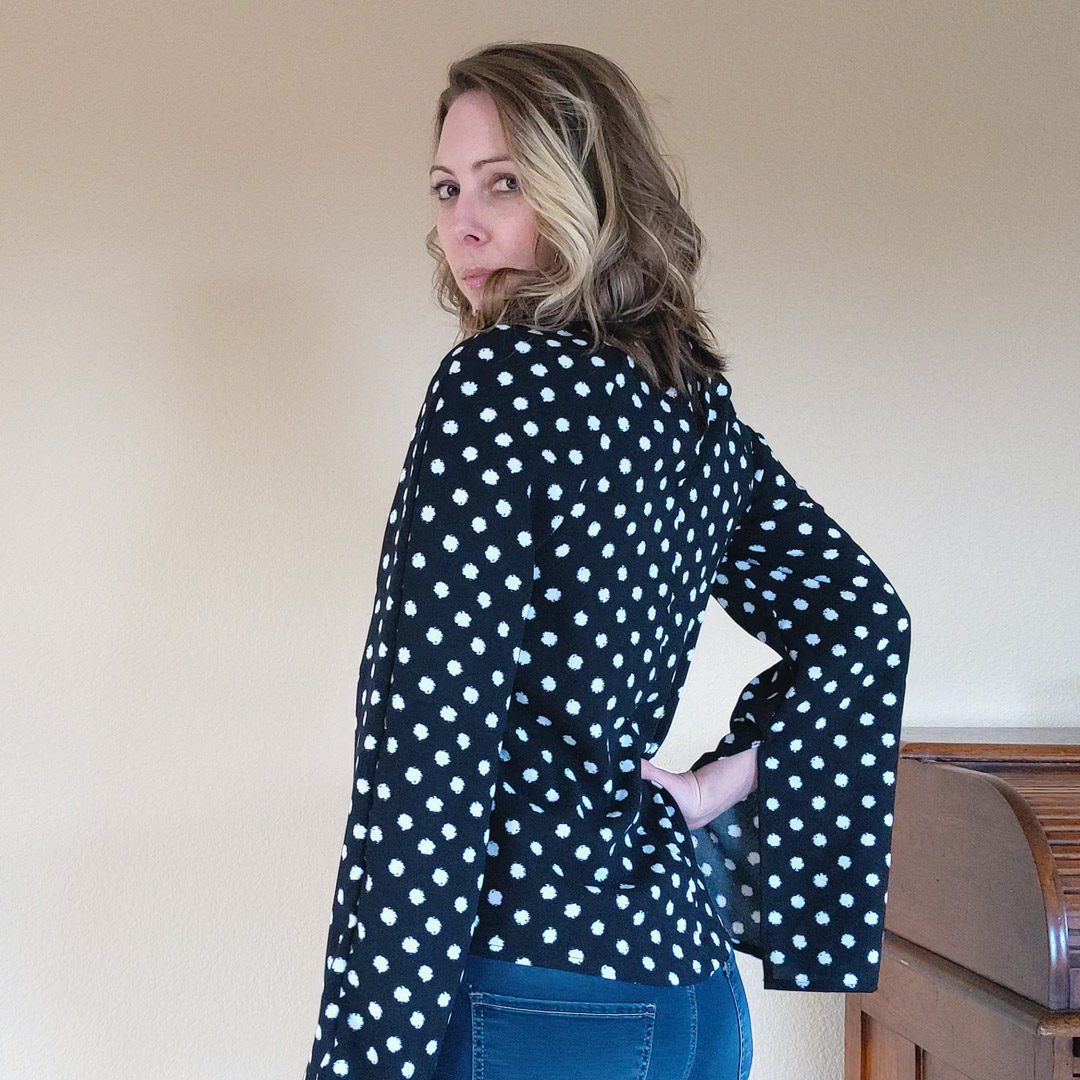
- Used a single button for the back of the collar instead of hooks and eyes; they had way too much potential to become unhooked while wearing, which would translate into a very revealing day at work. And who needs that?
Rewritten Instructions, Now With Less Eye-Gouging!
- Sew center fronts RST from circle to hem
- Sew top front RST
- Narrow hem front opening, square stitch below circle
- Sew center backs RST from circle to hem
- Narrow hem back opening, square stitch below circle
- Sew one sleeve front to one sleeve back:
- overarm seam from top to bottom
- underarm seam from armscye to circle (This is for View A sleeves)
- Narrow hem sleeve slit, square stitch below circle
- Mirror and repeat for other sleeve
- Sew sleeves RST to armscye from front circle to back
- Narrow hem from shoulder seam around front to opposite shoulder seam (This was highly annoying to do around the angles of the cutout openings. I feel like there’s a better time to do this; possible before attaching the sleeves to the bodice [step 9].)
- Accordion pleat top of center front opening and stitch at center front to secure
Gather short ends of collar to some width…I gave up on their method for the collar. I feel like there’s a MUCH easier way to do this; like how one would usually construct a band, and THEN gathering the ends.- Feed collar through pleated front opening.
- Sew collar to back bodice and back sleeve with 1/4″ seam allowance, stopping at shoulder seams.
- Sew button hole and button (or hook and eyes if you prefer their way. Button is WAY more secure and looks pretty nice.)
Project Settings
Serger |
Sewing Machine |
|---|---|
|
|
*For the seams that stopped at circles, I cut out a little 1″x 5/8″ square of fabric in order to neatly start the serged seams without angling inward.
Sewing Machine Settings
Presser Foot |
Stitch# |
Width |
Length |
Needle |
Top Thread Tension |
Application |
|---|---|---|---|---|---|---|
standard zig-zag (A) |
1 |
3.5 |
3.5 |
75/11 sharp |
4 |
seams |
standard zig-zag (A) |
6 |
6 |
0.9 |
75/11 sharp |
4 |
slit tacks |
standard zig-zag (A) |
0 |
3.5 |
5 |
75/11 sharp |
4 |
gathers |
button (T) |
6 |
4.5 |
drop feed dogs |
75/11 sharp |
4 |
button |
button hole (R) |
18 |
5 |
0.4 |
75/11 sharp |
4 |
button hole |
Serger Settings
Stitch |
Needles |
Finger |
Threads |
Tension LN |
Tension RN |
Tension UL |
Tension LL |
Cut Width |
Stitch Length |
Differential |
|---|---|---|---|---|---|---|---|---|---|---|
4-thread overlock |
R, L |
A |
4 |
2.5 |
2.5 |
3 |
3 |
6 |
3 |
1 |
Leave a Reply