Well, fabric (I used some kind of polyester that felt heavier to me than the usual quilting cotton), fusible midweight interfacing, bias tape, and some ultra stiff plastic canvas (I bought the 12×18 size in store at Joann’s but oddly they don’t seem to really have it on their website. Anyhoo, the key here is the ultra stiff part. Says it right on the sticker. Every one of them was warped when I bought them, but tucking them underneath something heavy for a while will flatten them out. A while for me turned into like 2 weeks.)
What an experience this was.
Here’s the tutorial I was following.
Here’s my review of that tutorial: Overall, it gave me a good starting point, but as I seem to find with most things, people don’t explain themselves, or they explain things really poorly, especially the things that really matter. Now, maybe most people don’t really care about how a person arrived at the fabric sizes they’re telling you to cut, but I care, because suppose I don’t want my box to be 9.5 x 11 x 8.5. Maybe I want mine to be 4.5 x 3.5 x 3 so it can fit in a drawer. Or maybe I want to go nuts and make an army of fabric boxes that can take over my entire world, and who knows what sizes I will want. So I had to spend some time reverse engineering the thing to decipher the how, and now I share it with whoever cares enough to end up reading this:
Determining Your Fabric Size
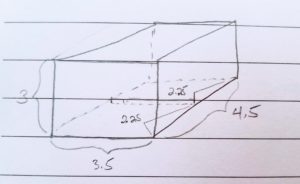
For those who like diagrams, here’s my little sketch.
Pick whatever dimensions your little heart desires. You’ll have a width, height, and depth. Write them down and then do some simple math.
Width: _____
Depth: _____
Height: _____ **
**We have to add to the height in order to have the fabric that makes the bottom of the box. How much do you add, you ask? Simple: divide your depth in half, and add that to the height.
So let’s say your depth is X and your height is Y. Your total height will be Y + (X / 2) + seam allowance.
Here are my numbers for my little drawer box:
Width: 3.5
Depth: 4.5
Height: 3
Here’s the math that gave me what size to cut my fabric:
(width x2) + (depth x2) + seam allowance (1″)
My numbers for my little 3.5×4.5×3 drawer box: (3.5 x 2) + (4.5 x 2) + 1 = 17″
height + (depth / 2) + seam allowance (1″)
My numbers for my little 3.5×4.5×3 drawer box: 3 + (4.5 / 2) + 1 = 6.25″
When you get to this point in the tutorial “…measure up ____ inches from the bottom and mark with pins. Draw another chalk line (if you want) all the way around the bottom…”, plug in the number for half your custom depth. Or, even easier, just measure down from the top the height of your box. (I just discovered this after making my 3rd box; why the tutorial decided to convolute that step is beyond me.)
There you go. I just empowered you to make a box of any size. You’re welcome.
The WTF Point(s) of the Tutorial
- Marking the exact middles of each side. I don’t know what the heck I was doing wrong, but I tried multiple times to do this with a ruler and math, and every time, the seams that were going to be the corners of the box were not lining up evenly. I thought I was losing my mind. I would end up with two 3.5″ sides, one 4″ side and one 4.5″ side. It didn’t help that my measurements were getting skewed because of WTF point #2. Solution: ditched the math. Flattened the tubes and marked the middle of the side opposite the only seam I had so far. Then I used a ruler and math to mark a 3.5″ section with that middle mark in the middle. Then I visually marked the 3.5″ section on the other side of the tube, lining up the marks with the front side. Finally, my seams would line up, meaning I would end up with a box instead of some weird 3-d trapezoid.
- Sewing the compartments that will hold the plastic canvas. Because I chose to make a box considerably smaller than the one in the tutorial, sewing the seams that would become the corners and thus divide the box into four pockets to hold the canvas became a little impossible. Sure, my outside and lining tubes were large enough to fit around the arm of my sewing machine…if I were sewing seams parallel to the raw edges. But I was not sewing parallel. I had to sew perpendicular seams, seams that ran from one raw edge (the top of the box) to the other raw edge (the bottom of the box.) And my sewing machine doesn’t really rotate to accommodate that. I thought I would have to hand sew. Le sigh. Solution: I highly recommend ignoring how the tutorial wants you to sew these stupid compartments and do it this way instead. This is way more user-friendly especially on boxes of a smaller size. I ripped out the seams that sewed the outer fabric and lining fabric into individual tubes, essentially going back to step 1 with my two pieces of 6.25×17 fabric (minus some seam allowance since I had already trimmed it at this point.) I still had my marks on each piece for the seams that would become the corners, so I lined those up, pinned the fabric together, and then started sewing those seams first, leaving the seams that would turn it into a tube for last. Turned out to be so much easier than sliding one tube inside another tube and trying to get them to lay nicely against each other and somehow wrestling around the machine to sew the compartments. For the final seams that turn the whole thing into a tube, I used my machine to sew the ends of the lining piece together first (don’t sew the lining and outer fabric together here! This needs to be a pocket for the canvas.) Then I ironed that seam so it would be flat and open. Then I ironed the outside fabric to create folds that I would hand sew closed using a ladder stitch so that seam would be “invisible.” Worked like a charm.
- Every word that described the part where it becomes a box. I still have no idea what she was trying to say with this part of the write-up. When words won’t do, use pictures. Jeez. I still don’t know if I did it right, but I have a box so I could only have been so wrong. I took photos of my own to spare you this extended WTF moment:
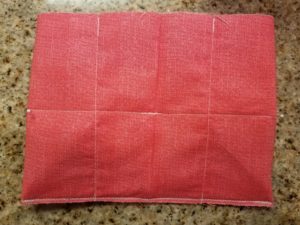
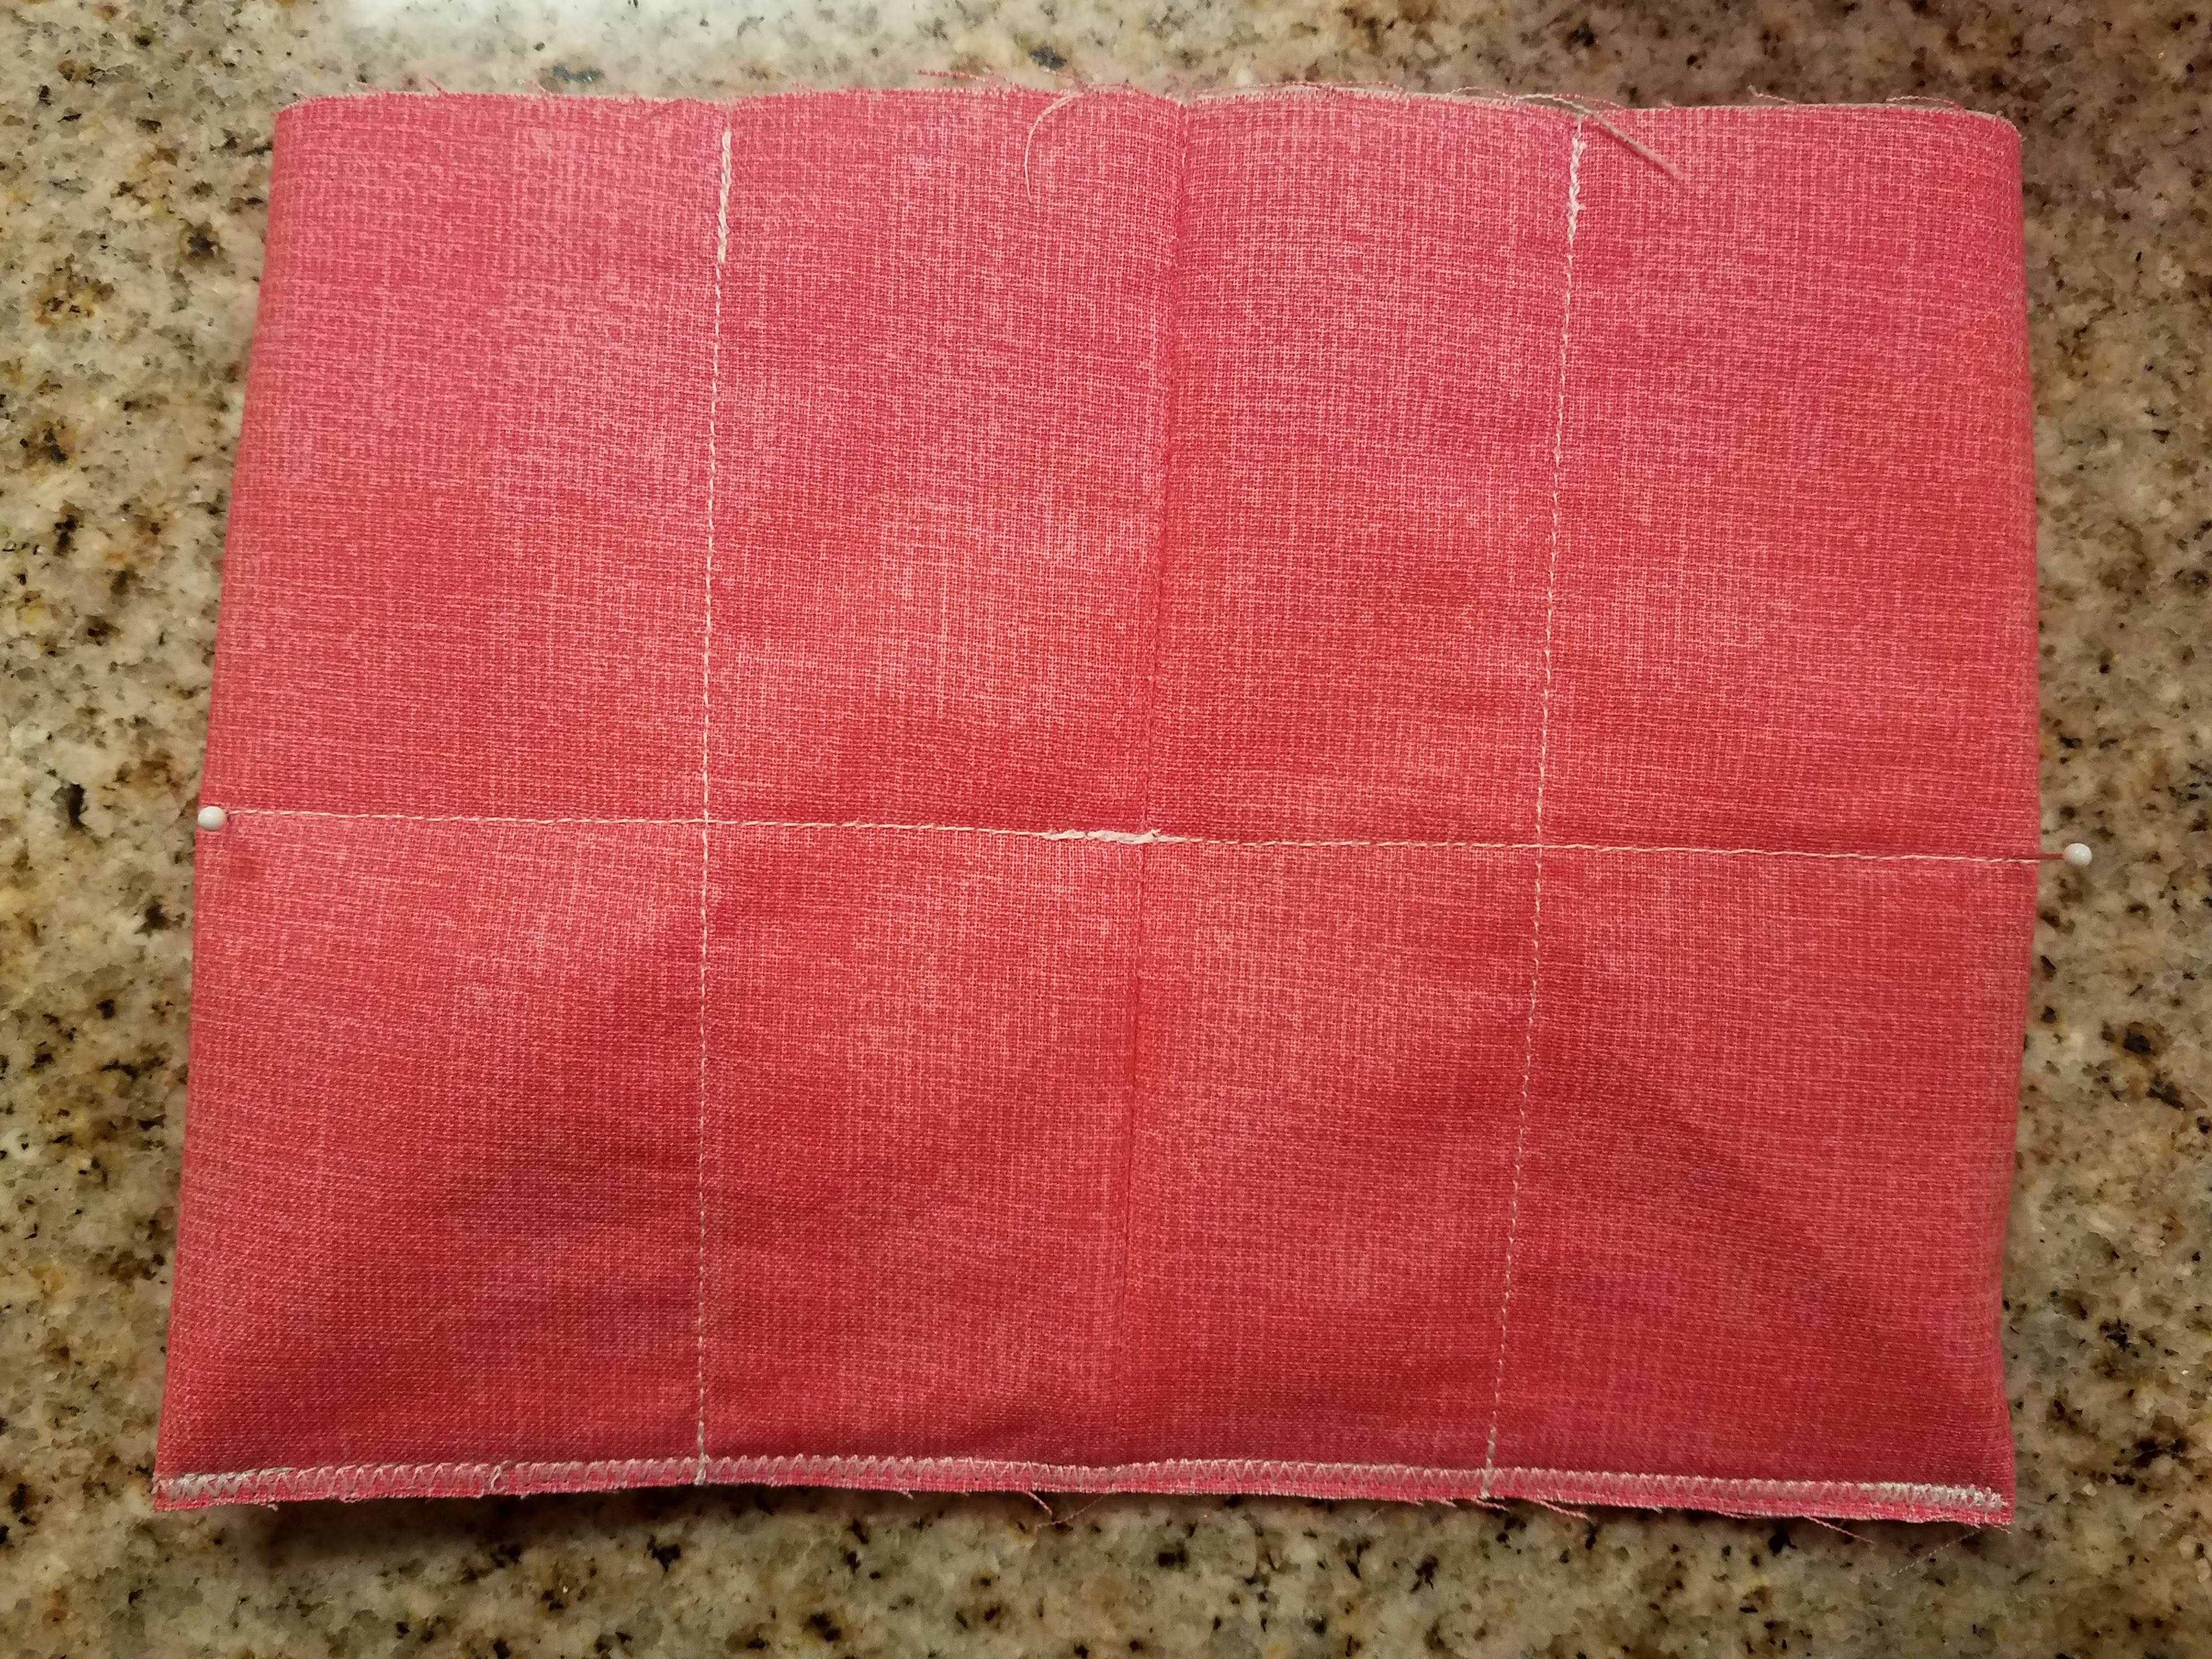
1. Note the white pins at the edges of the middle horizontal seam. They are marking what will become bottom edges of the box. You don’t have to put pins here; they serve no function other than marking the seam for the next step. 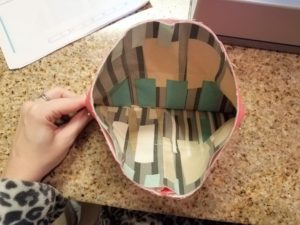
2. I tilted the pouch up so it would fall open. 
3. Then I pressed the seams marked by the white pins downward, creating a triangle of fabric on each side. The box begins to take shape. 
6. Here’s how it looks from the top after you’ve pinned the triangles flat. - Sewing bias tape on a tiny box. The curse of the small box: how am I going to sew the bias tape to finish the edge? Solution: don’t. Use that double-sided perma-stick tape you bought! Maybe not as elegant, but totally worth sparing myself the headache that would have ensued trying to wrangle this box through my sewing machine.


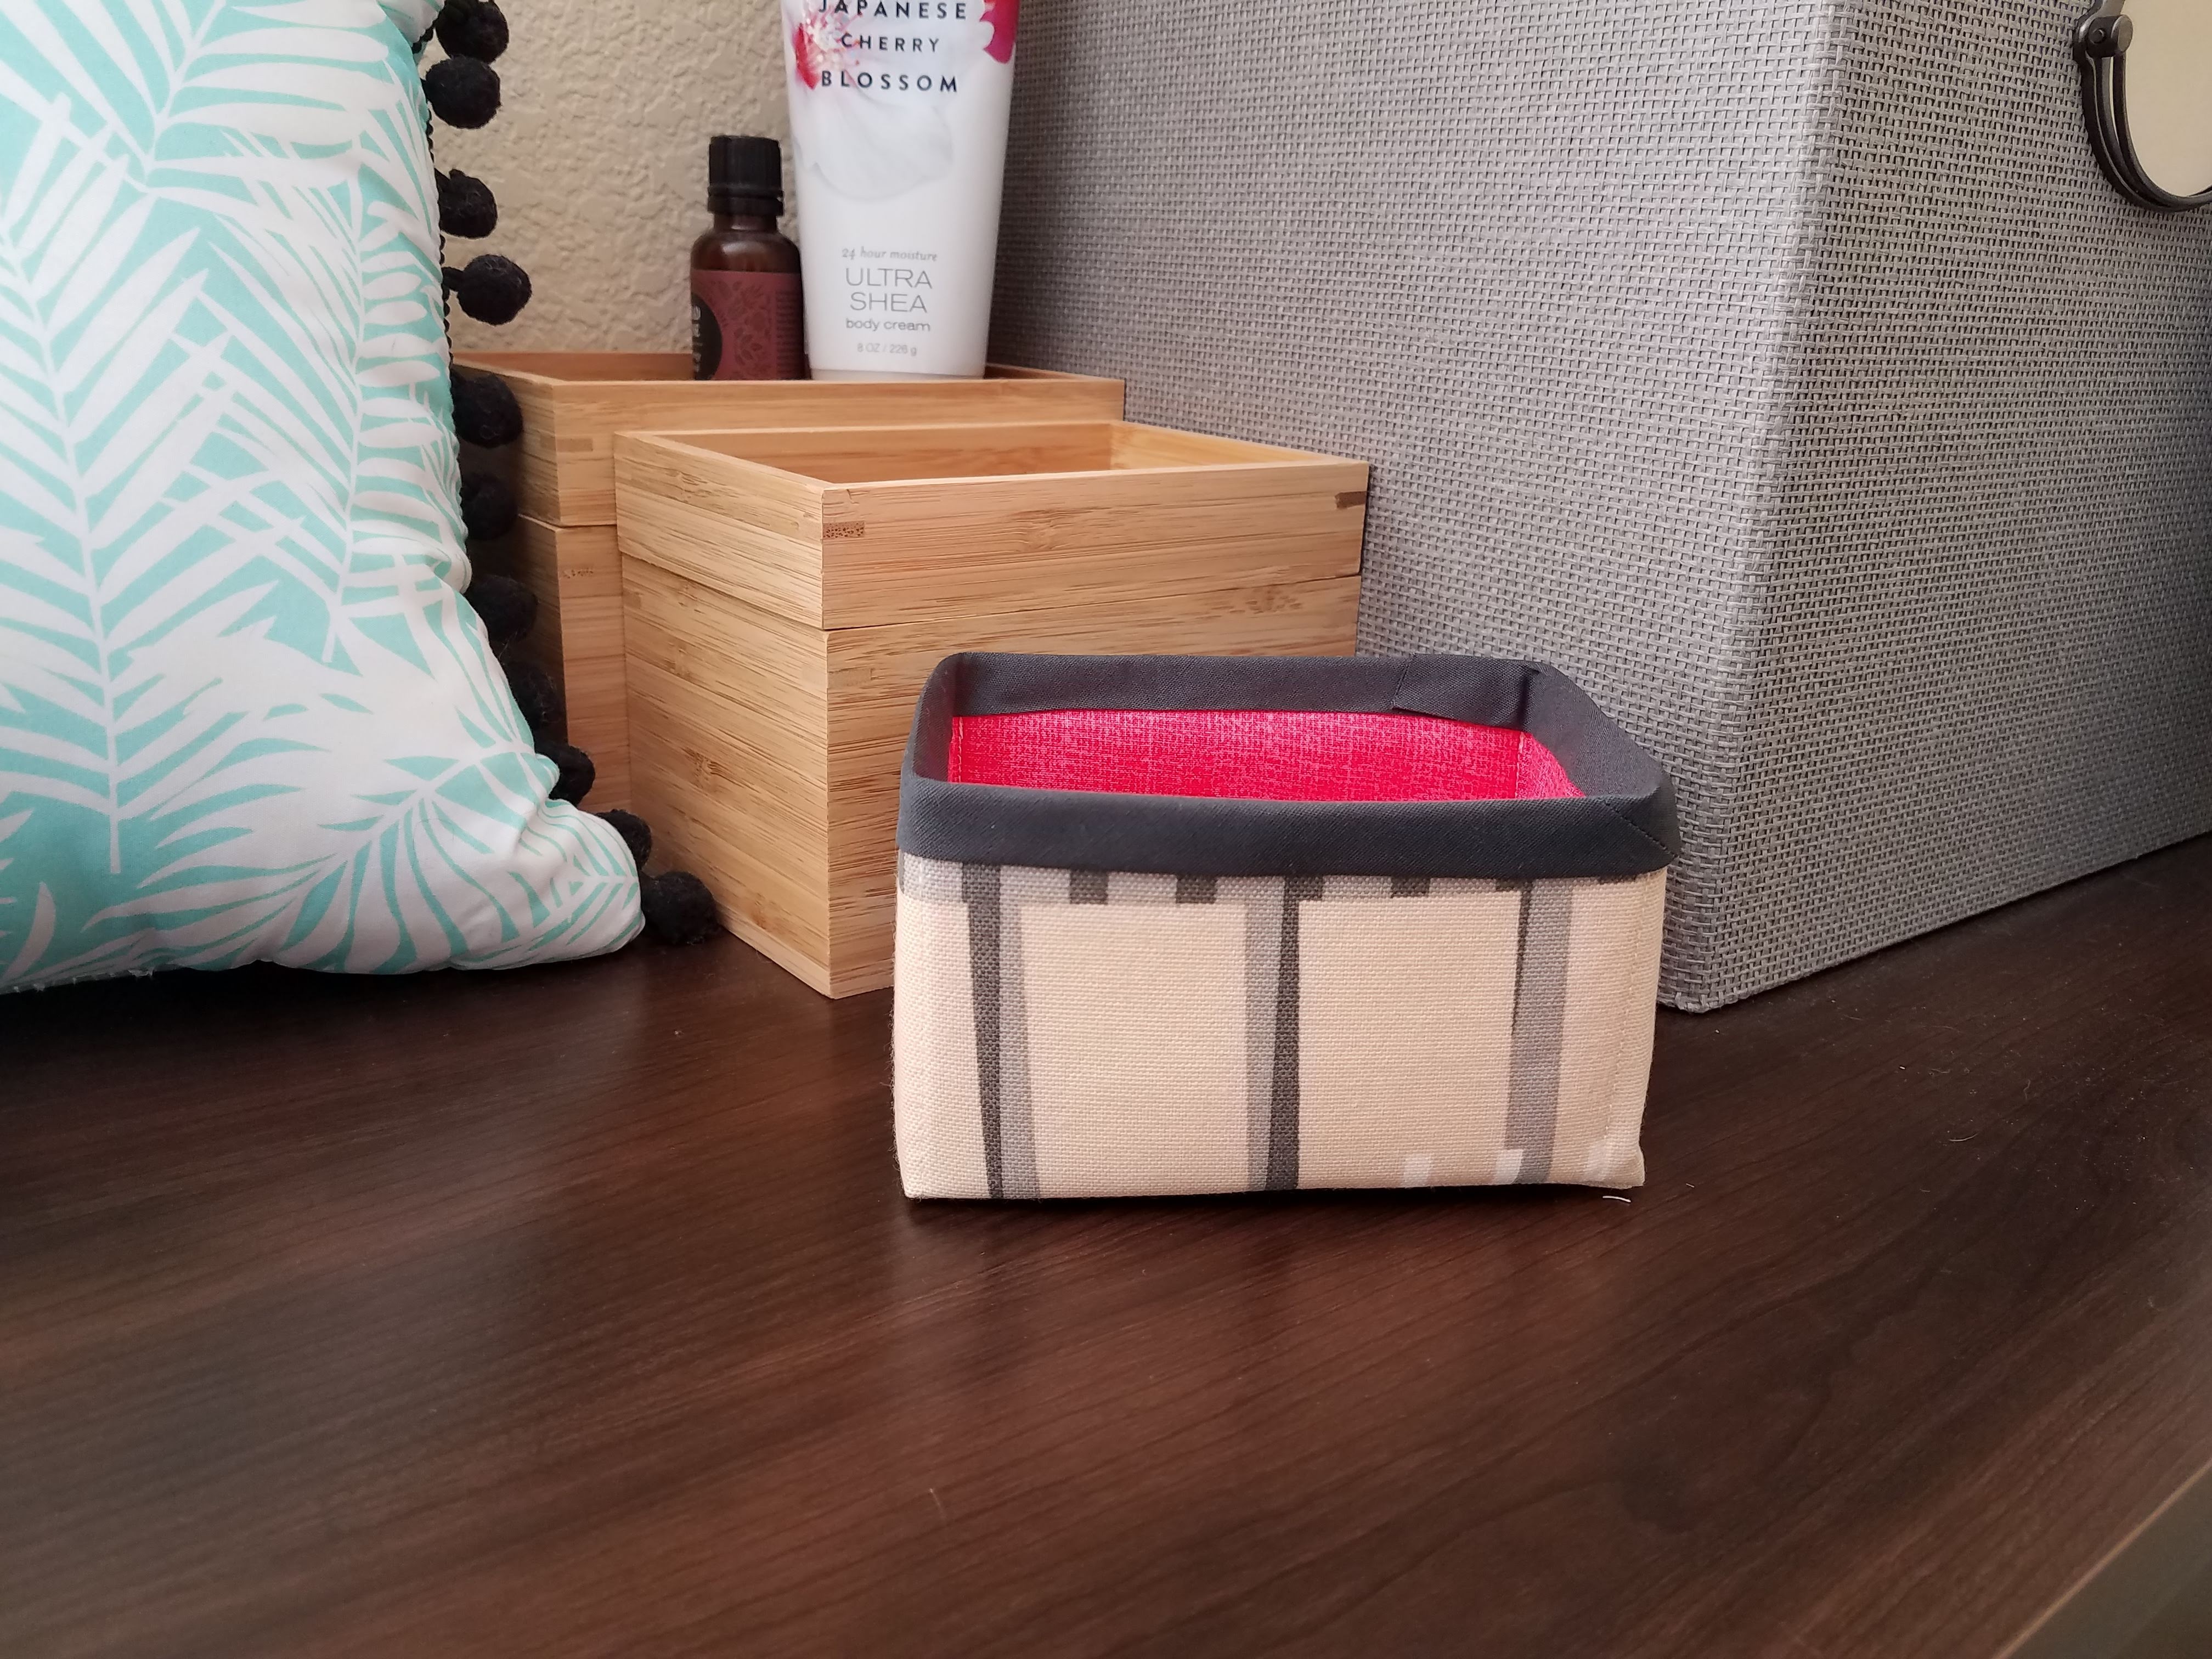
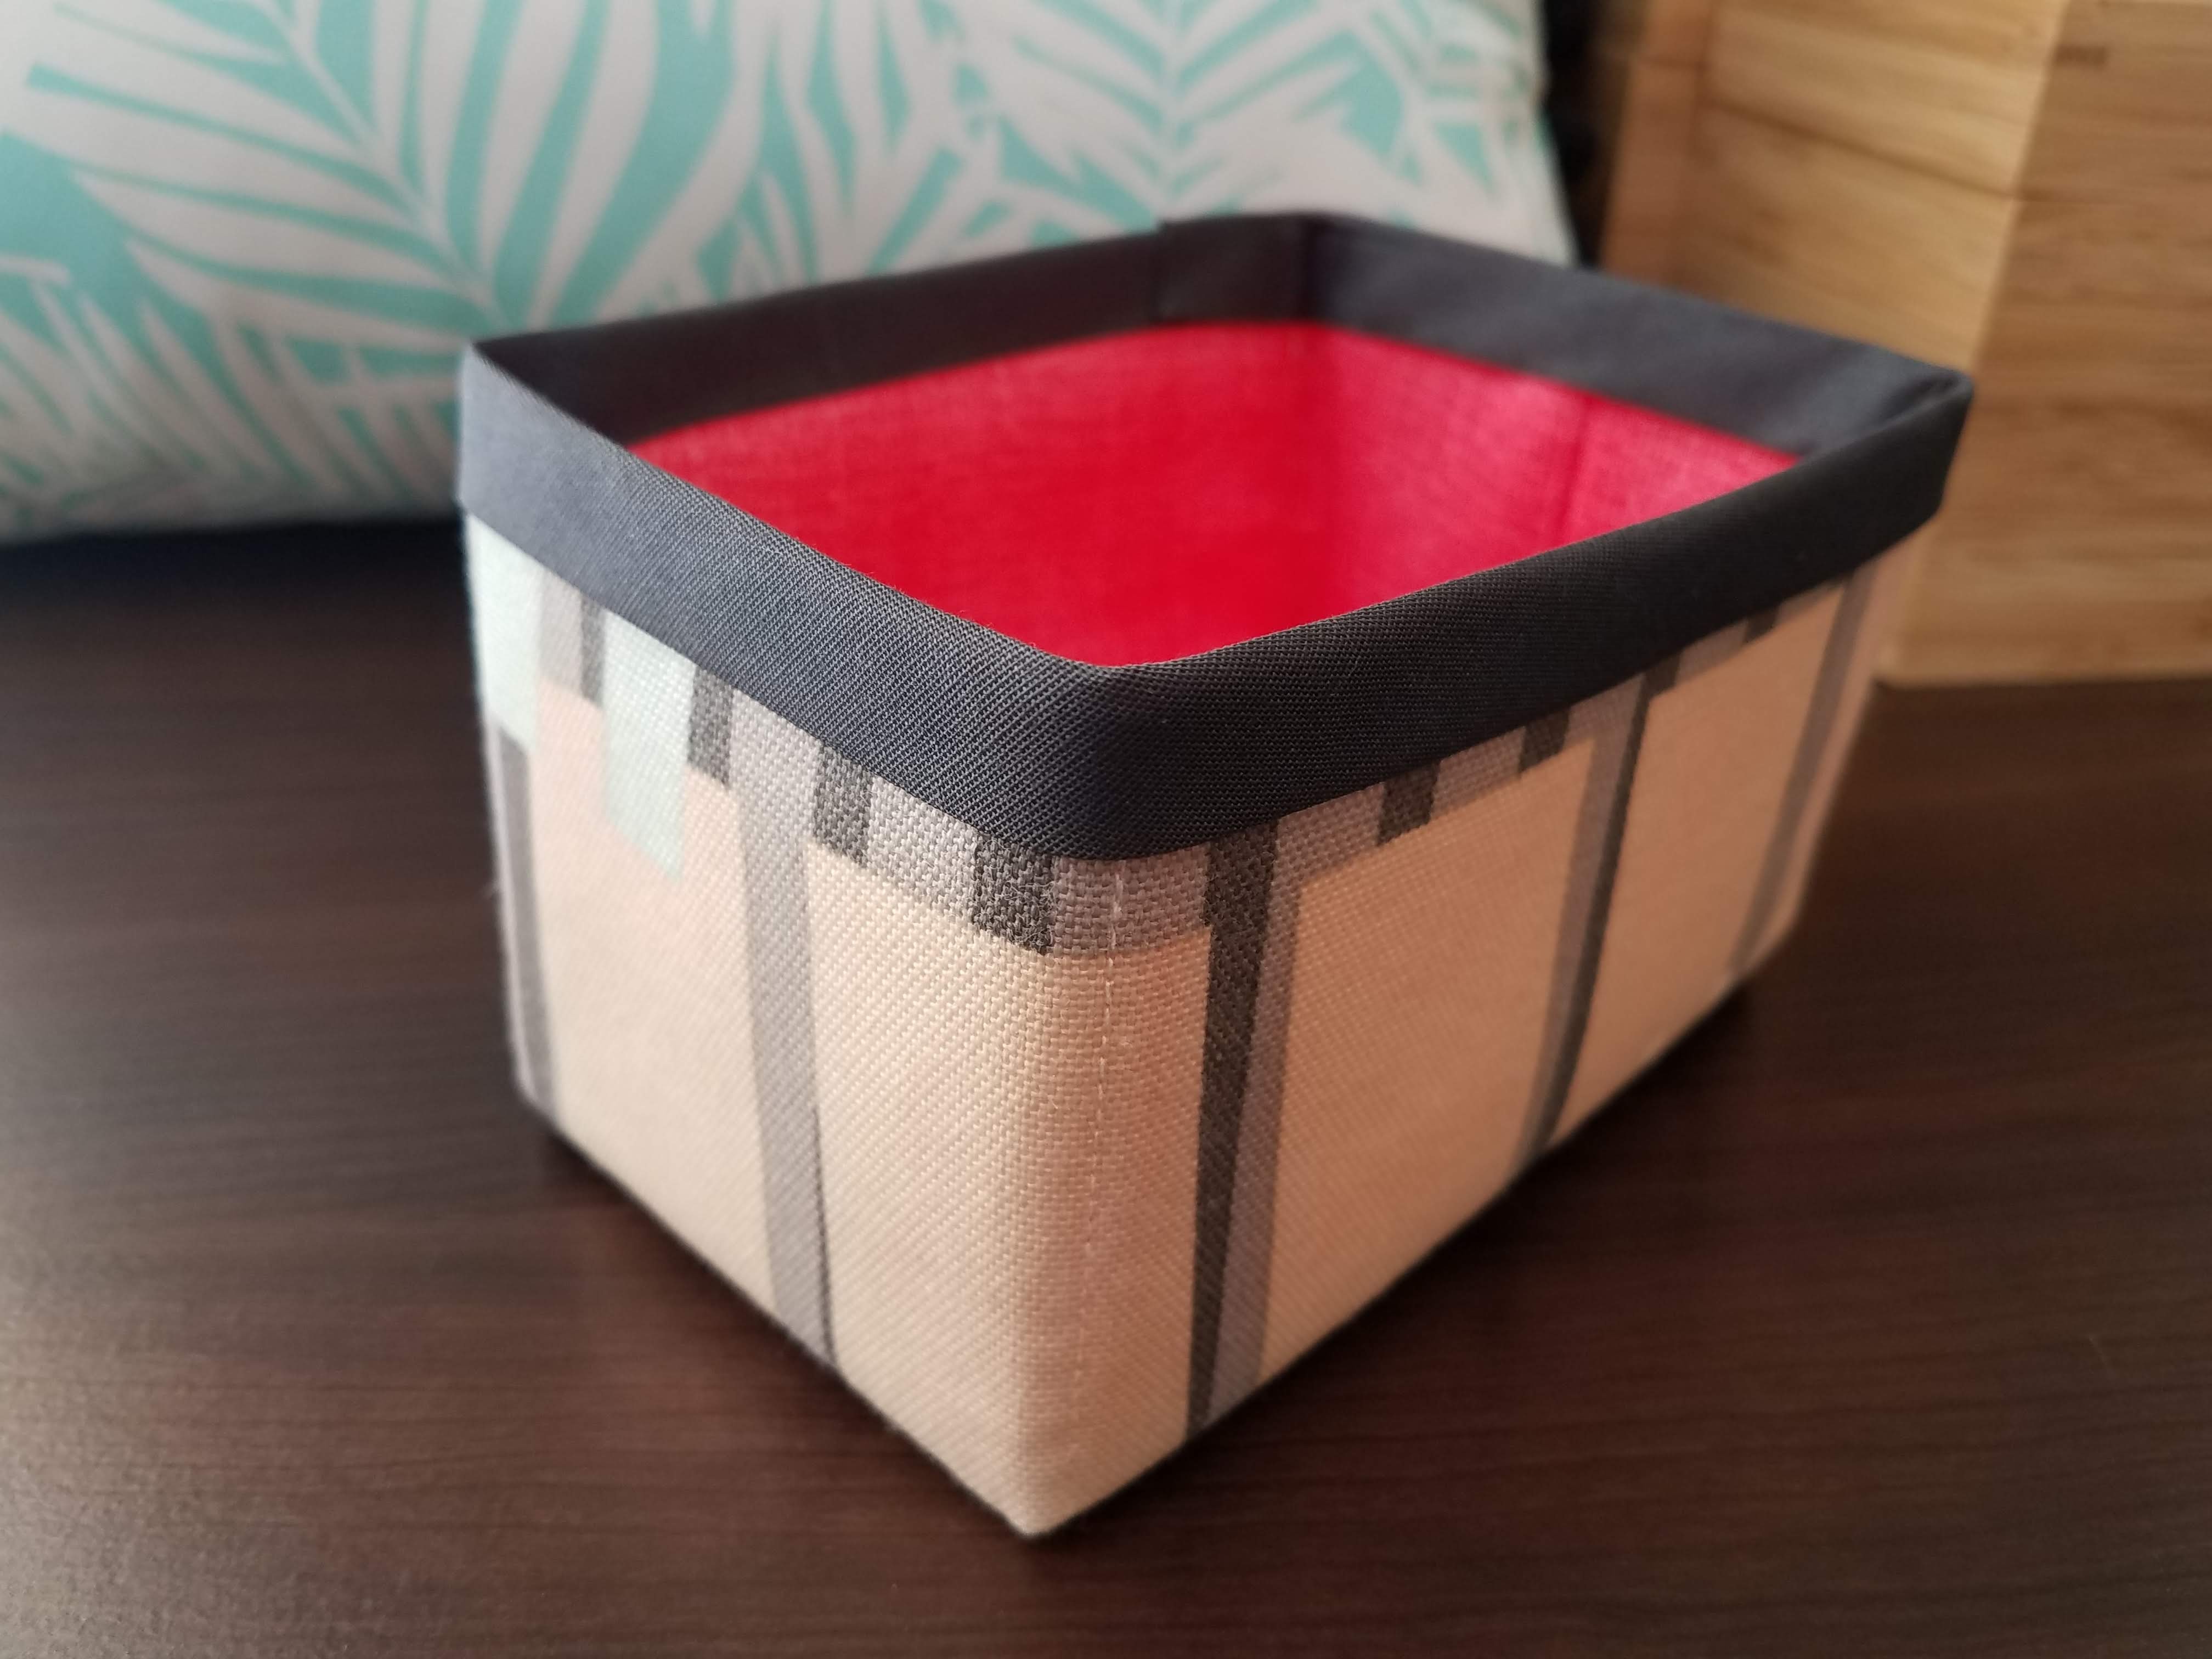
And at last, I ended up with a box. Is it perfect? Not even close. Will it function? For sure. Was it fun? WTF points aside, yes! My husband said it took me a long time, but it didn’t feel that long. The pencil cases take me way longer. I started this box yesterday, and I plan to make 7 more, plus a large one to hold my fabric collection that’s growing. Now, I skipped the handle and label part of the tutorial so I can’t say anything about those, but I’m sure I’ll comment after I make the large box.

Leave a Reply