After a year+ working with patterns, this is the technique I use exclusively now. By all means, read the rest of the post if you’re curious about other tools and techniques.
Tracing patterns on fabric has been intimidating the mess out of me. It’s been something of an enigma no matter how many different articles I read or mostly useless YouTube videos I watch. Actually, that’s probably WHY it’s been such an enigma. No one is freaking consistent.
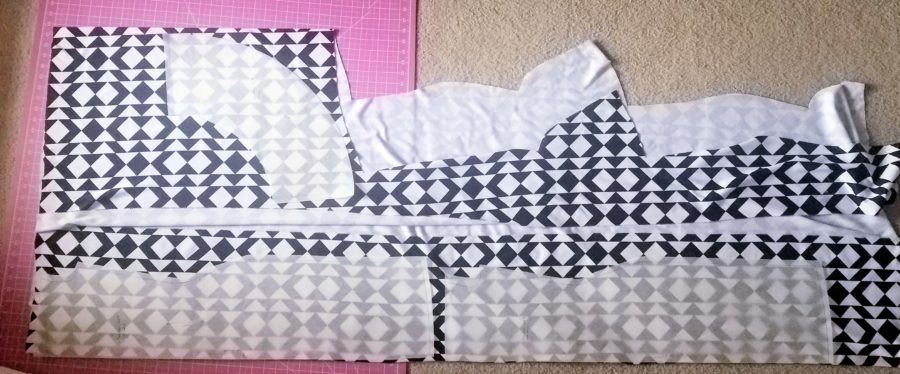
Tonight, I finally sucked it up and dove in, pulling out the patterns that came with my One Yard Wonders book to make the “Retro Bag”: an 11ishx13ish messenger-type bag with pleats on the front. (Nothing sewn yet; tonight was all about the patterns.)
Here’s what I’ve learned.
The Tools
This isn’t an exhaustive list. I’m just going to hit on the things I used tonight that turned out to work pretty well.
- Tracing Paper – That translucent stuff that does nothing fancy other than let you see whatever you’re tracing underneath it. I had a roll of this left over from art school, and I don’t know what brand it is or even where I got it. Must have been some art supply store, and I imagine it was something along these lines. It’s definitely a nice ample roll of smooth, translucent paper, and even permanent marker doesn’t soak through.
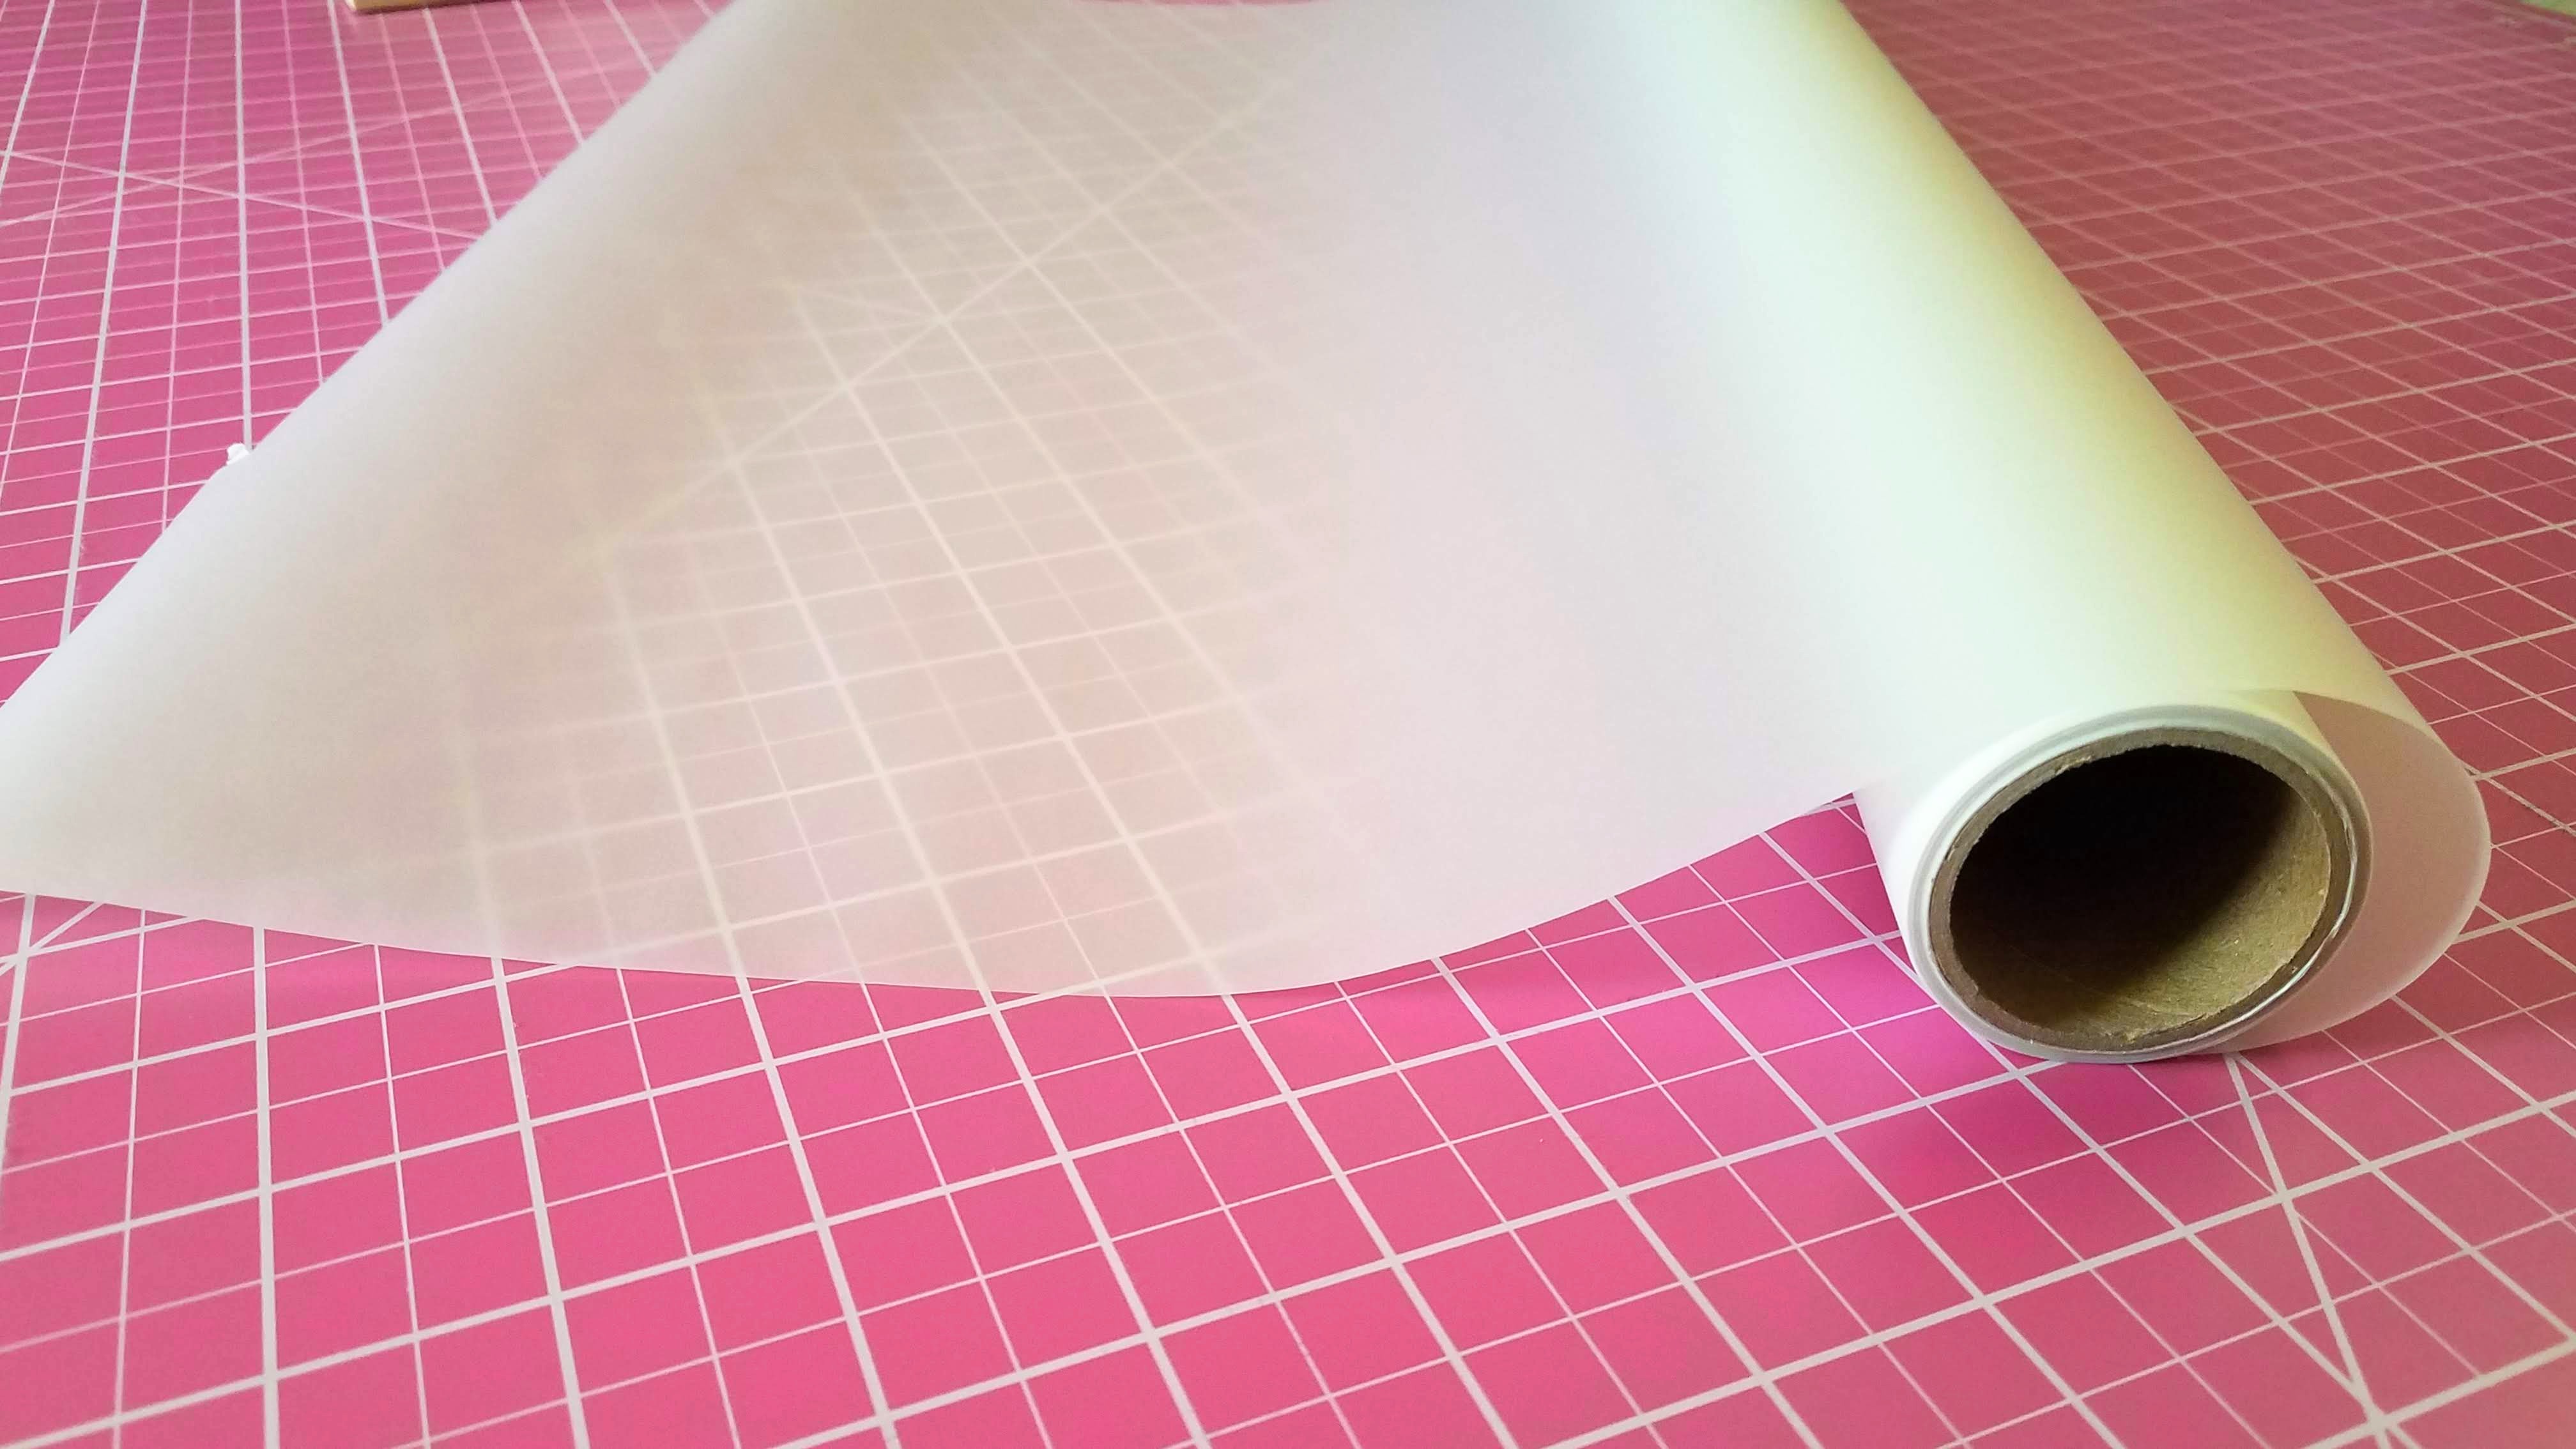
Tracing Paper
- A pencil or micron pen or whatever regular writing utensil to trace with.
- Transfer Paper – I learned that no one has settled on a universal term to describe this stuff. I’ve seen it called tracing paper, dressmaker’s carbon paper, transfer paper (as I’m choosing to call it because I personally think it’s the most accurate term for it), pattern paper, and whatever other random phrase random people want to tack to it. Let’s end the madness: it’s freaking transfer paper, because it transfers onto another medium. I got this sampler (also available at Joann’s) to test out, hoping that it would work well because it’s also available in rolls. Apparently rolls of transfer paper are not as abundant as one would think. Sheets, yes. Rolls, not so much.
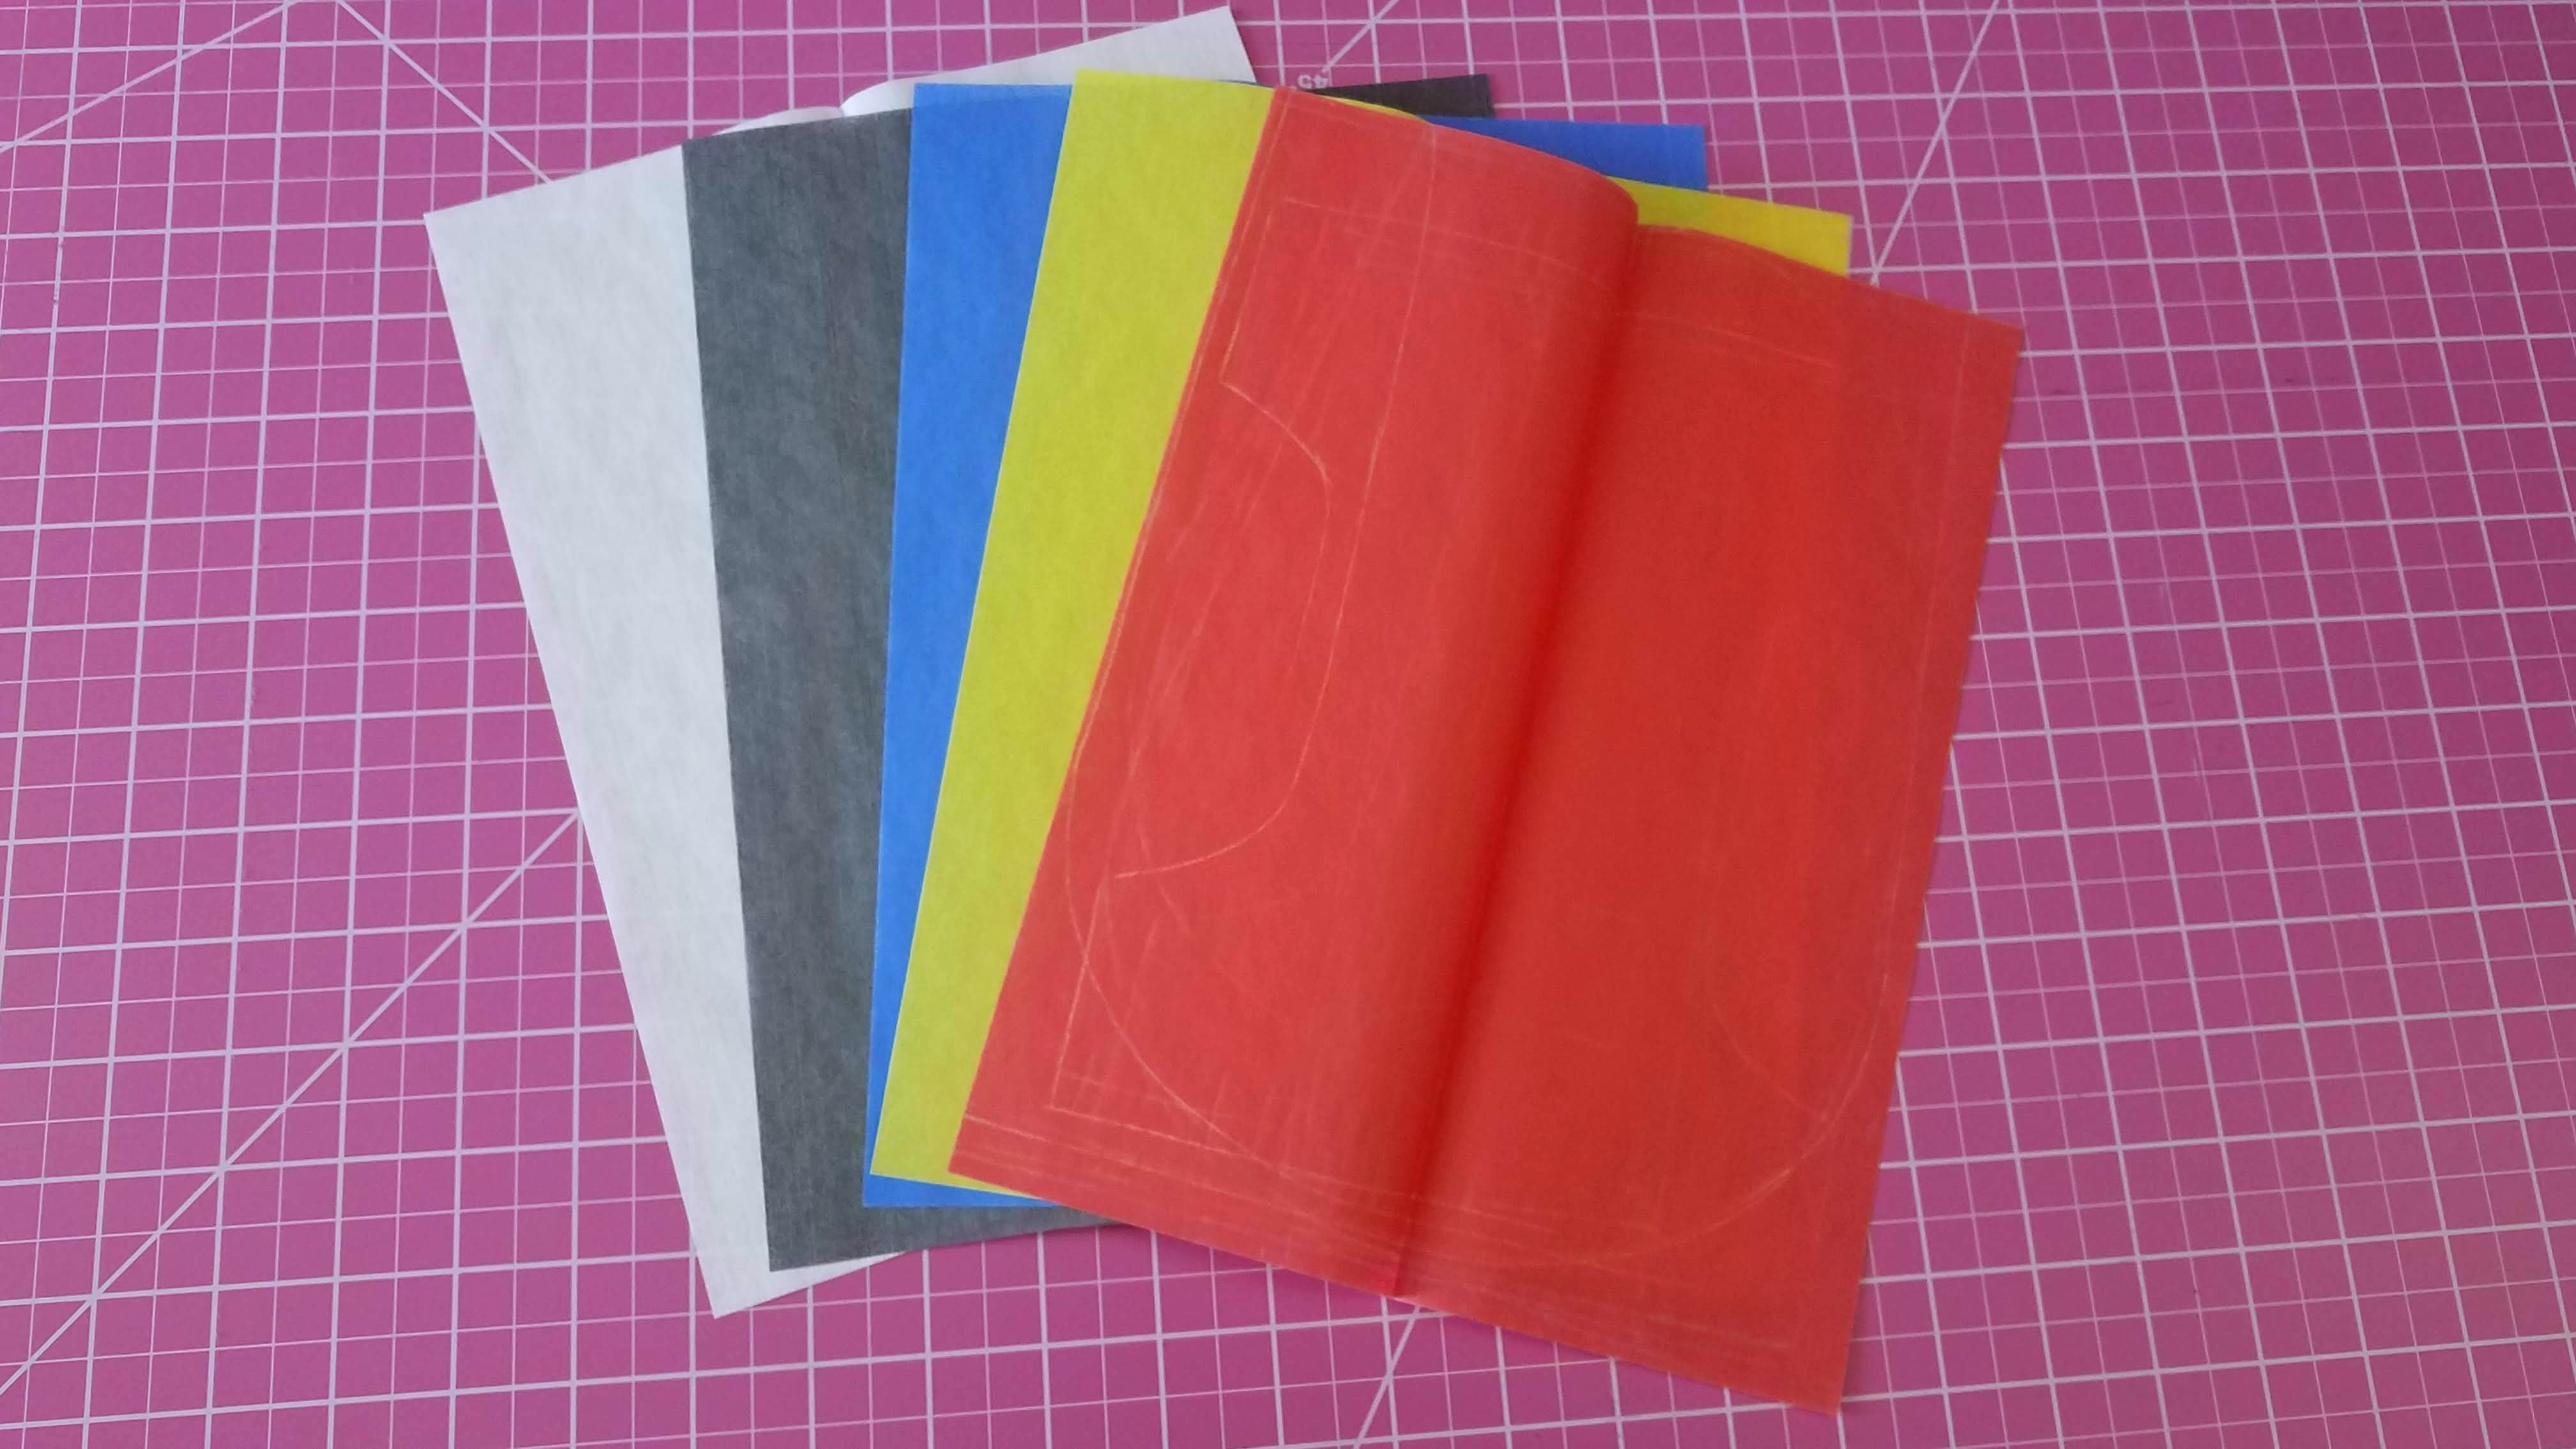
Transfer Paper
- Tracing Wheel – I got this little doohickey because it conveniently has a smooth and serrated wheel in one and I had no idea which kind I would be happy with. It feels flimsy, but it got the job done. And I like the smooth wheel.
- Good ol’ Rotary Cutter
- Ruler
- Scissors – I’ve come to not be a fan of my peacock Fiskar’s. Why? Because they don’t cut all the way to the tip. You know when that happens. You use the full length of the scissors to cut, but when you get to the end of the scissors, instead of a nice clean SNIP, it just bends whatever you’re cutting instead. I’ve taken to using the scissors from our utility drawer, which ironically do not have this problem even after being used to cut all manner of things under the sun. They’re Westcott Titanium scissors. Kind of mind-numbing that you get two for like one-third the price of the Fiskars and they work better.
- Pins
The Technique
I’m not going to talk about all the things you could do. That just gets confusing. I’m just going to talk about what I did.
- Trace the pattern pieces. My patterns came all nested inside other patterns for all the crap in that One-Yard Wonders book. Meaning smaller pattern pieces were drawn inside larger pattern pieces and if I were to just start cutting up the patterns I would have destroyed some other patterns blah blah blah. It just makes sense to trace no matter what, because then the original is always intact. Time consuming? Sure. Didn’t bother me though; there’s something I find fun about tracing.So…
- lay out your original pattern piece(s)
- cut a piece of tracing paper to fit over it/them (do a separate piece of tracing paper per pattern piece; it makes it easier to arrange later)
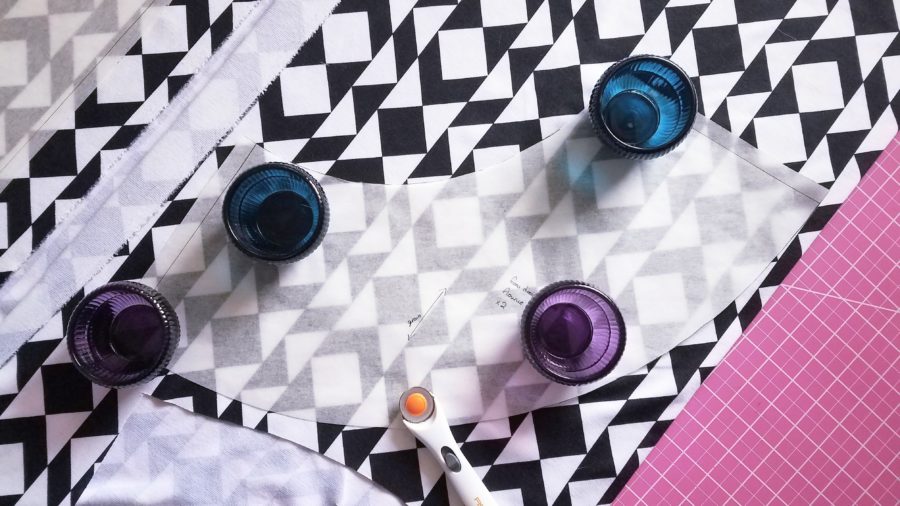
- anchor your tracing paper so it doesn’t shift; whether that’s taping it, or pinning it, whatever. I just used some candles to hold mine in place.
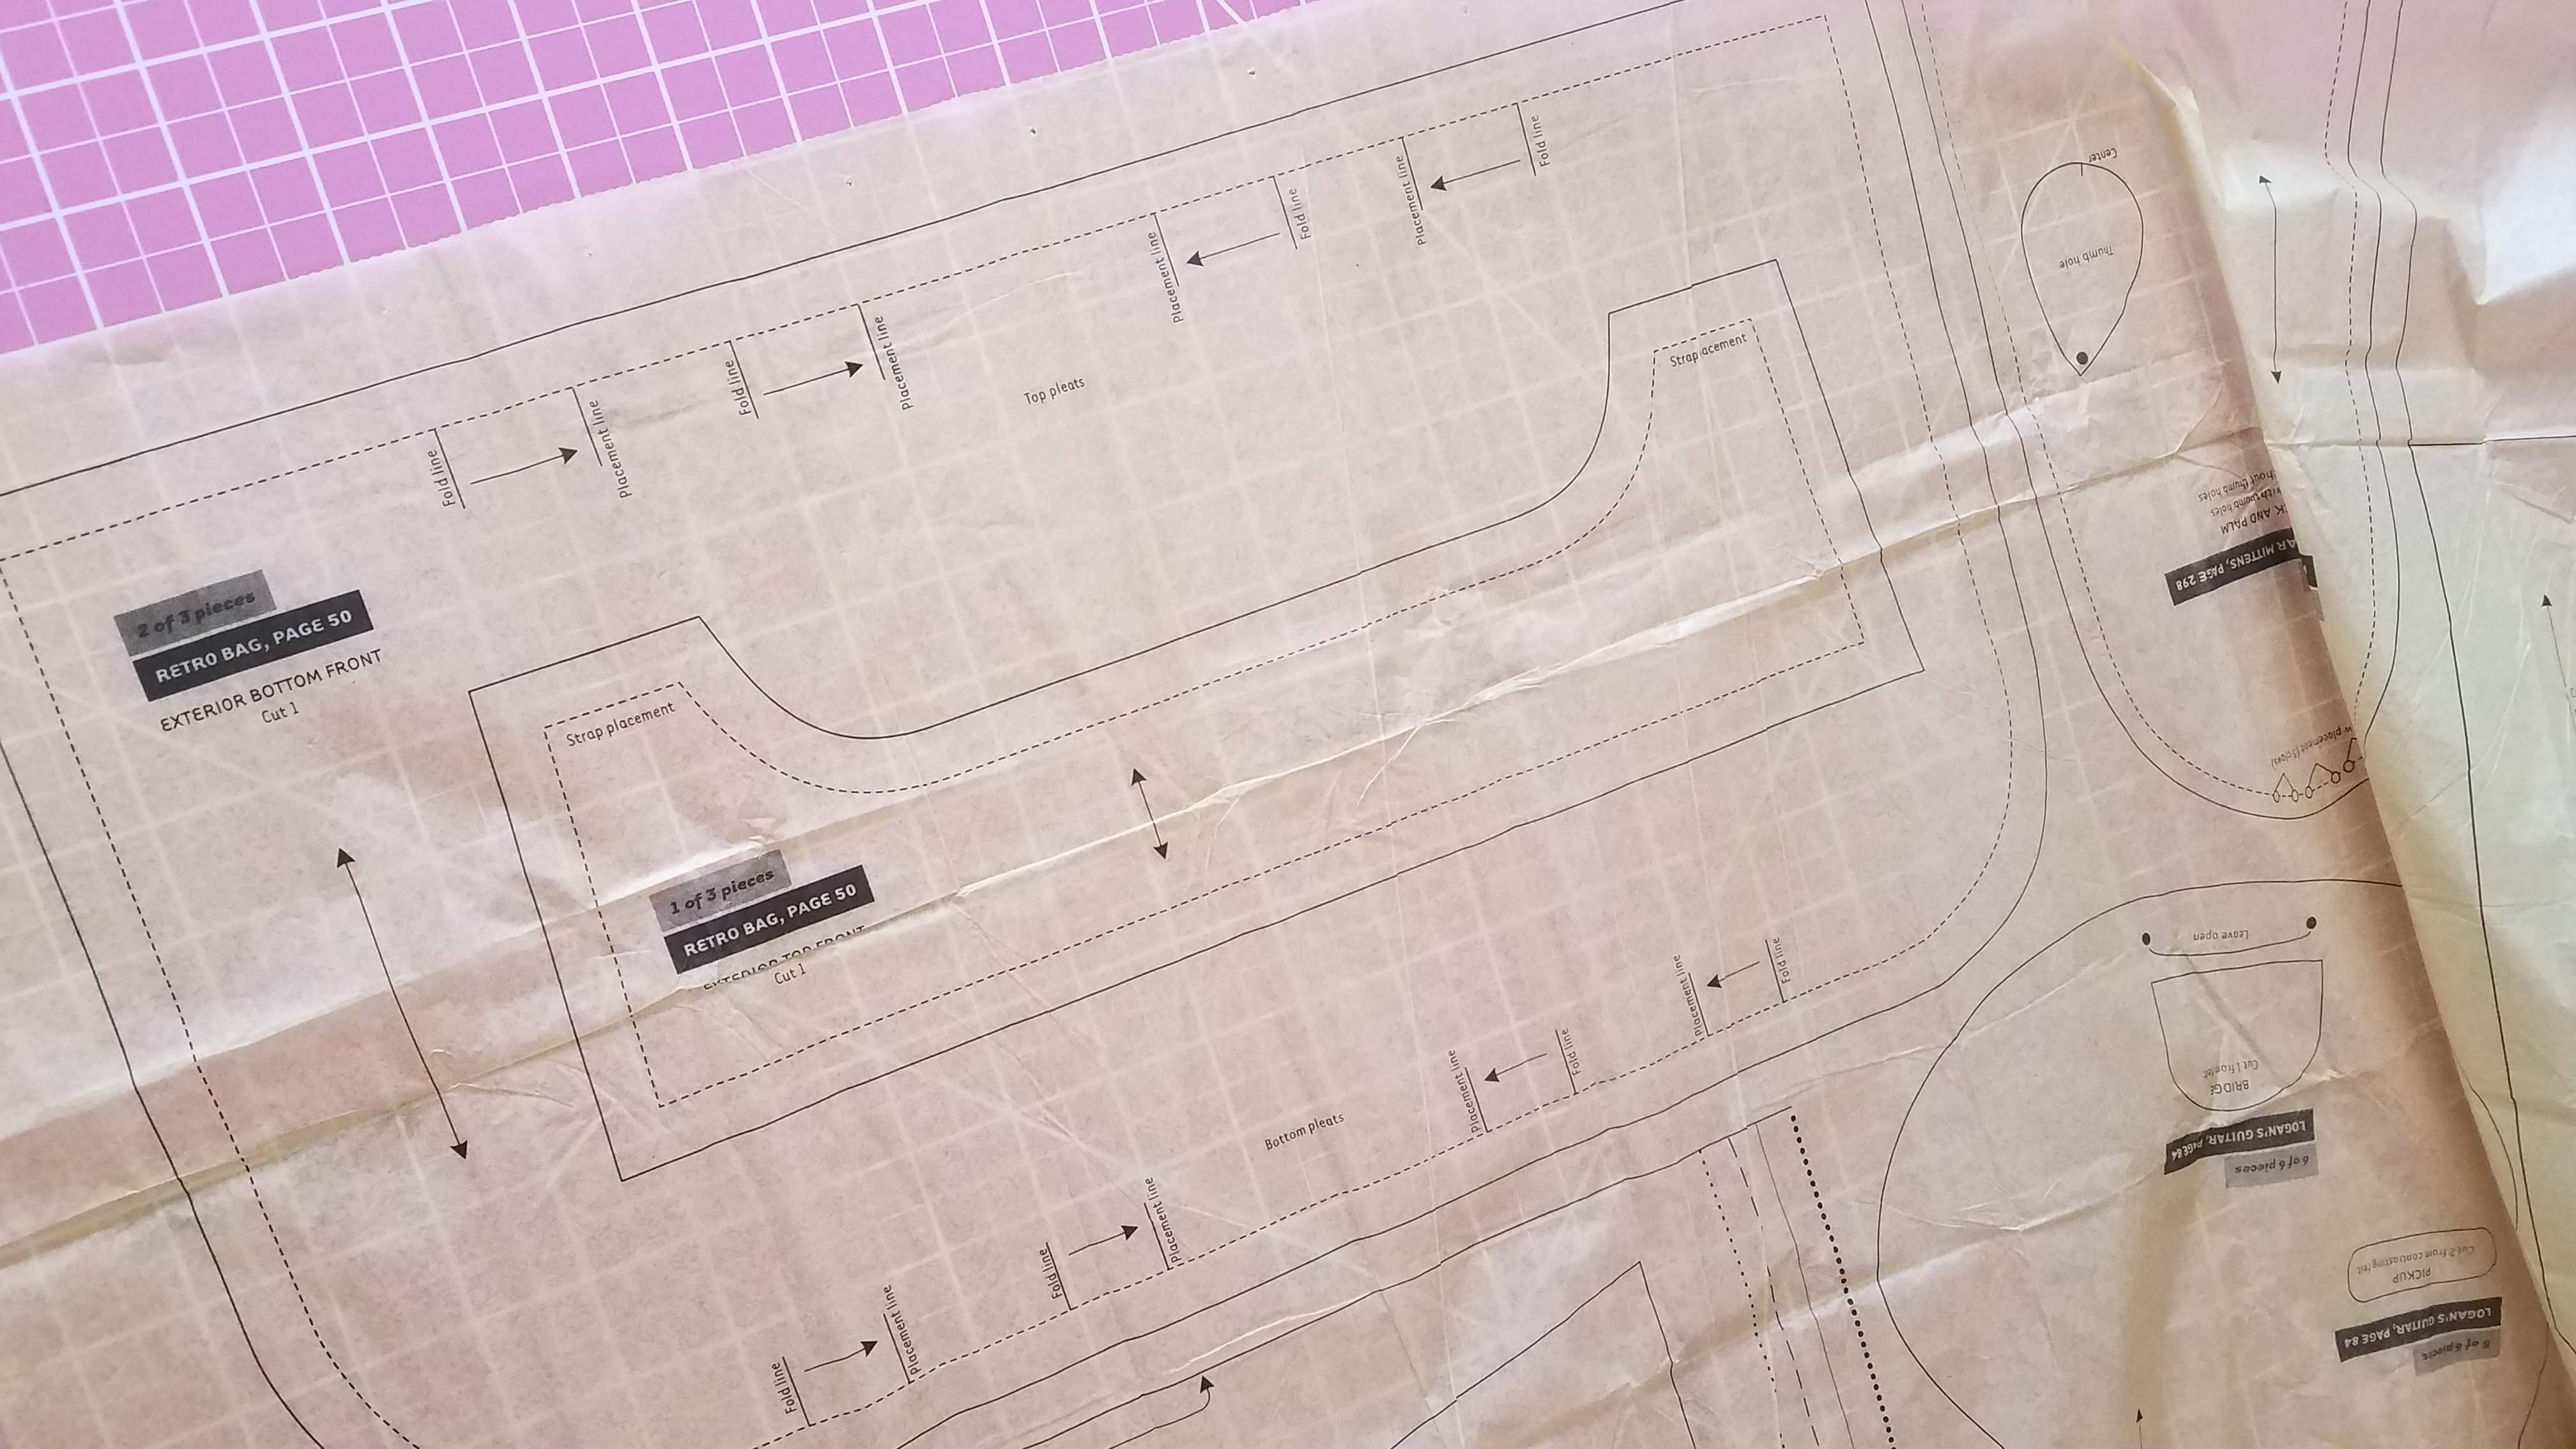
- trace all the markings (although I suppose you could skip the dotted seam allowance line)

- make sure you write the pattern name, piece number, and instructions too. For example:
- Retro Bag
- 2 of 3 (this is pattern piece 2 out of 3)
- x1 exterior (this just means you cut one of this shape out of your exterior fabric)
- x2 interior (this just means you cut two of this shape out of your interior/lining fabric)
- x2 interfacing (means you cut two of this shape out of your interfacing)
- lay out your original pattern piece(s)
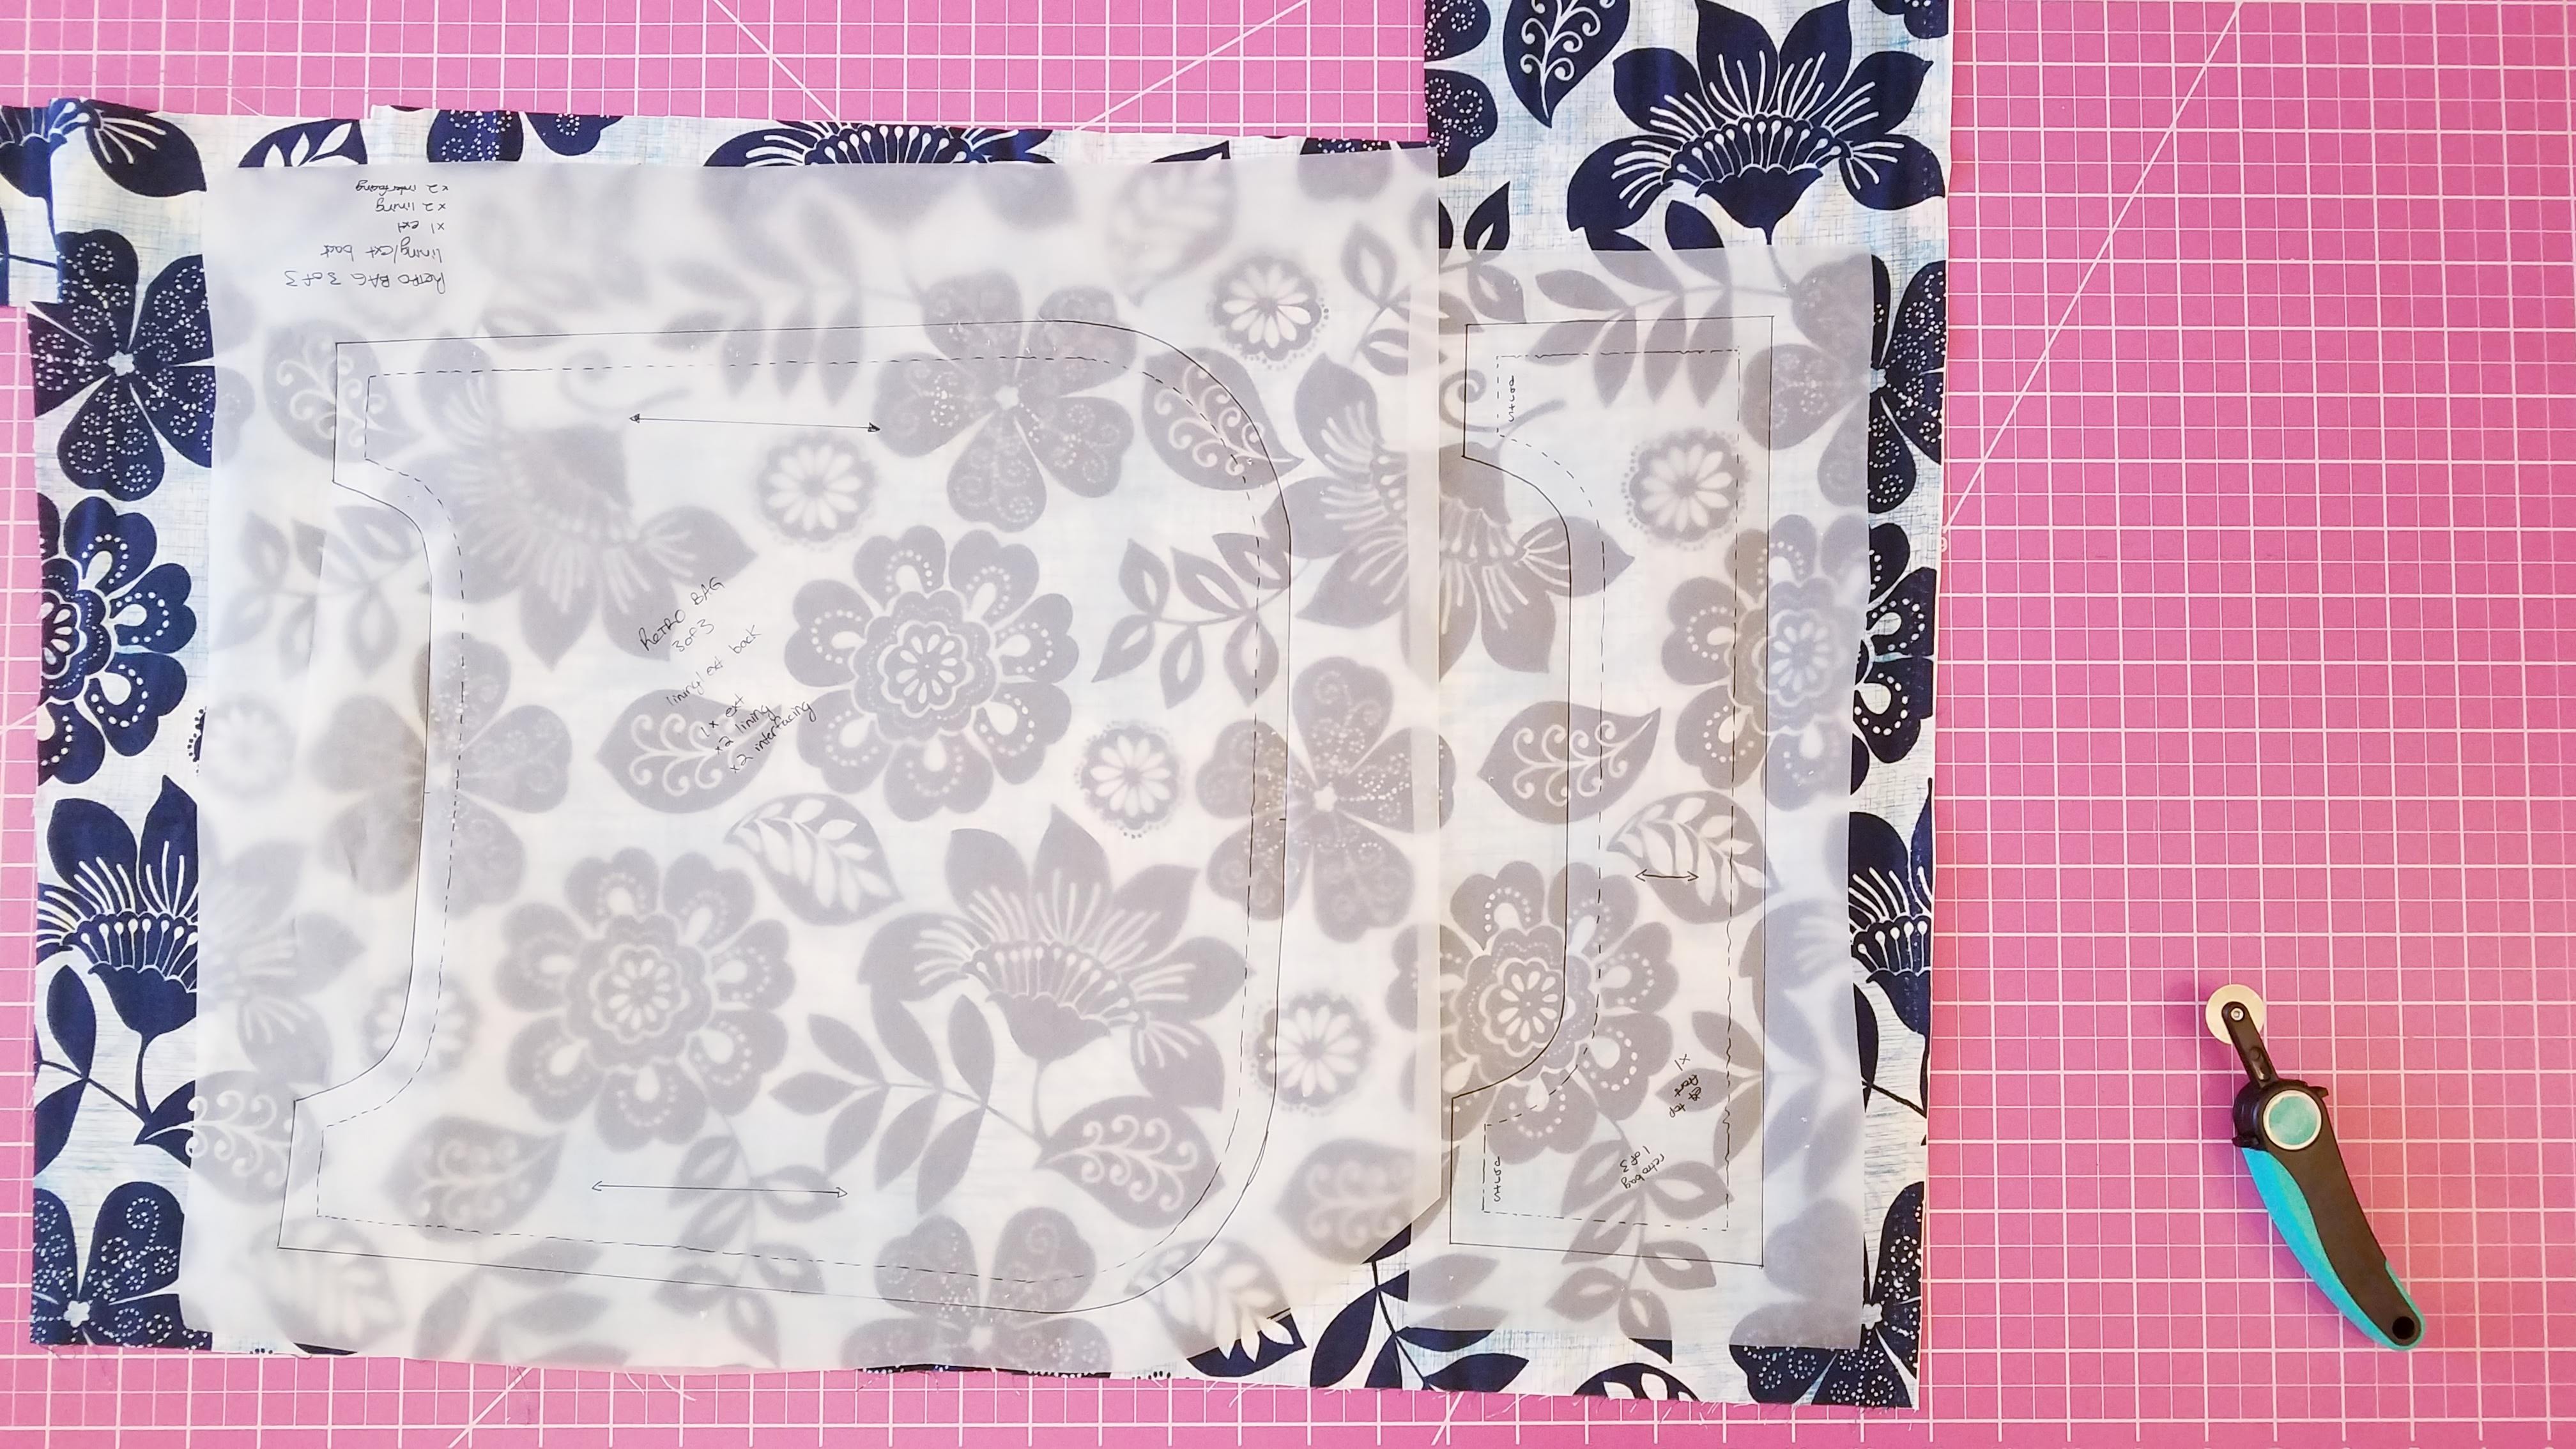
- Get the pattern onto your fabric. Enter transfer paper.
- Lay your fabric face up.
- Lay your traced pattern pieces on top. Follow any pattern instructions on what direction to lay your pattern pieces out on your fabric.
- Pin the traced pattern pieces to your fabric.
- Lay your transfer paper with the colored side up (could be red, gray, white, yellow, blue, etc) underneath everything. Your transfer paper might be too small. Not a big deal. You don’t have to anchor it. You can reuse it and move it to whatever section you’re tracing. My sampler sheets were only 8.5×11 so I had to shift it underneath everything pretty often. As long as your pattern pieces are pinned to your fabric, you shouldn’t run into any problems.
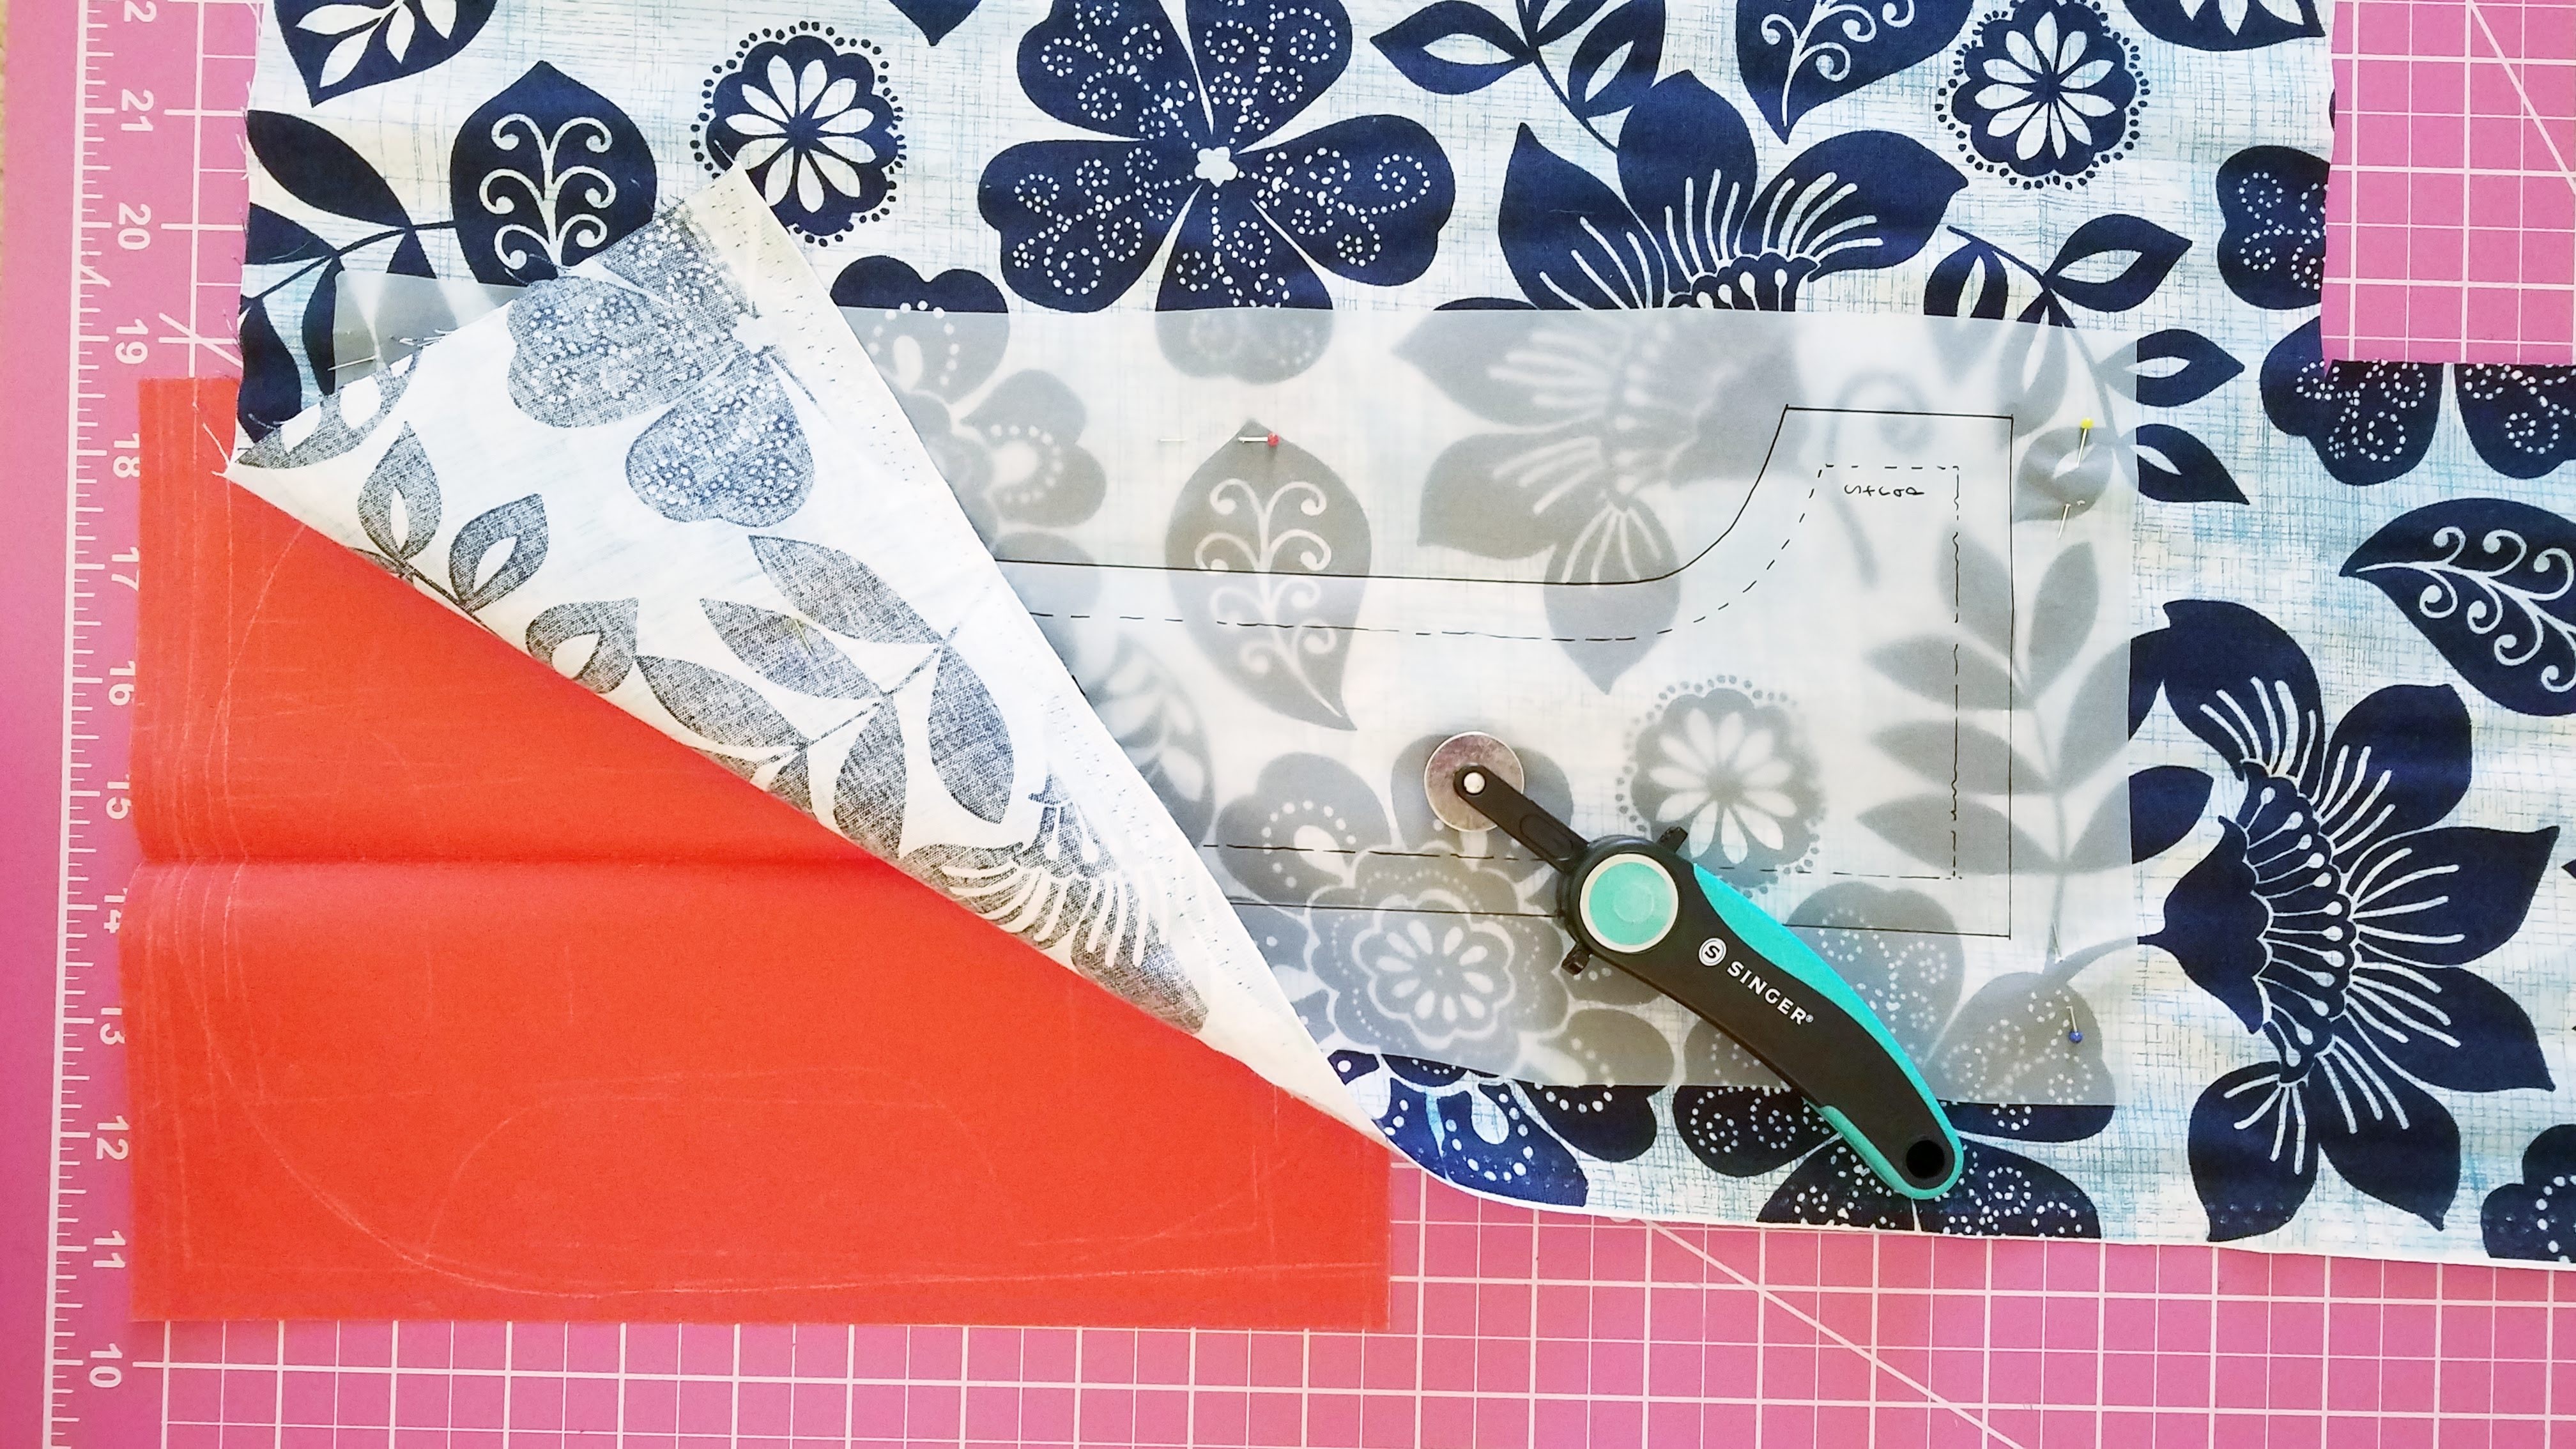
- Use your smooth tracing wheel and go over all the lines you traced onto your tracing paper. (I say all, but I didn’t trace the dotted seam allowance lines, or the arrows since they just note the direction to lay the pattern on the fabric. I did everything else though.) Press firmly, move the wheel back and forth as you go. Feel free to lift the fabric often to check that the transfer paper is marking the back side of your fabric.
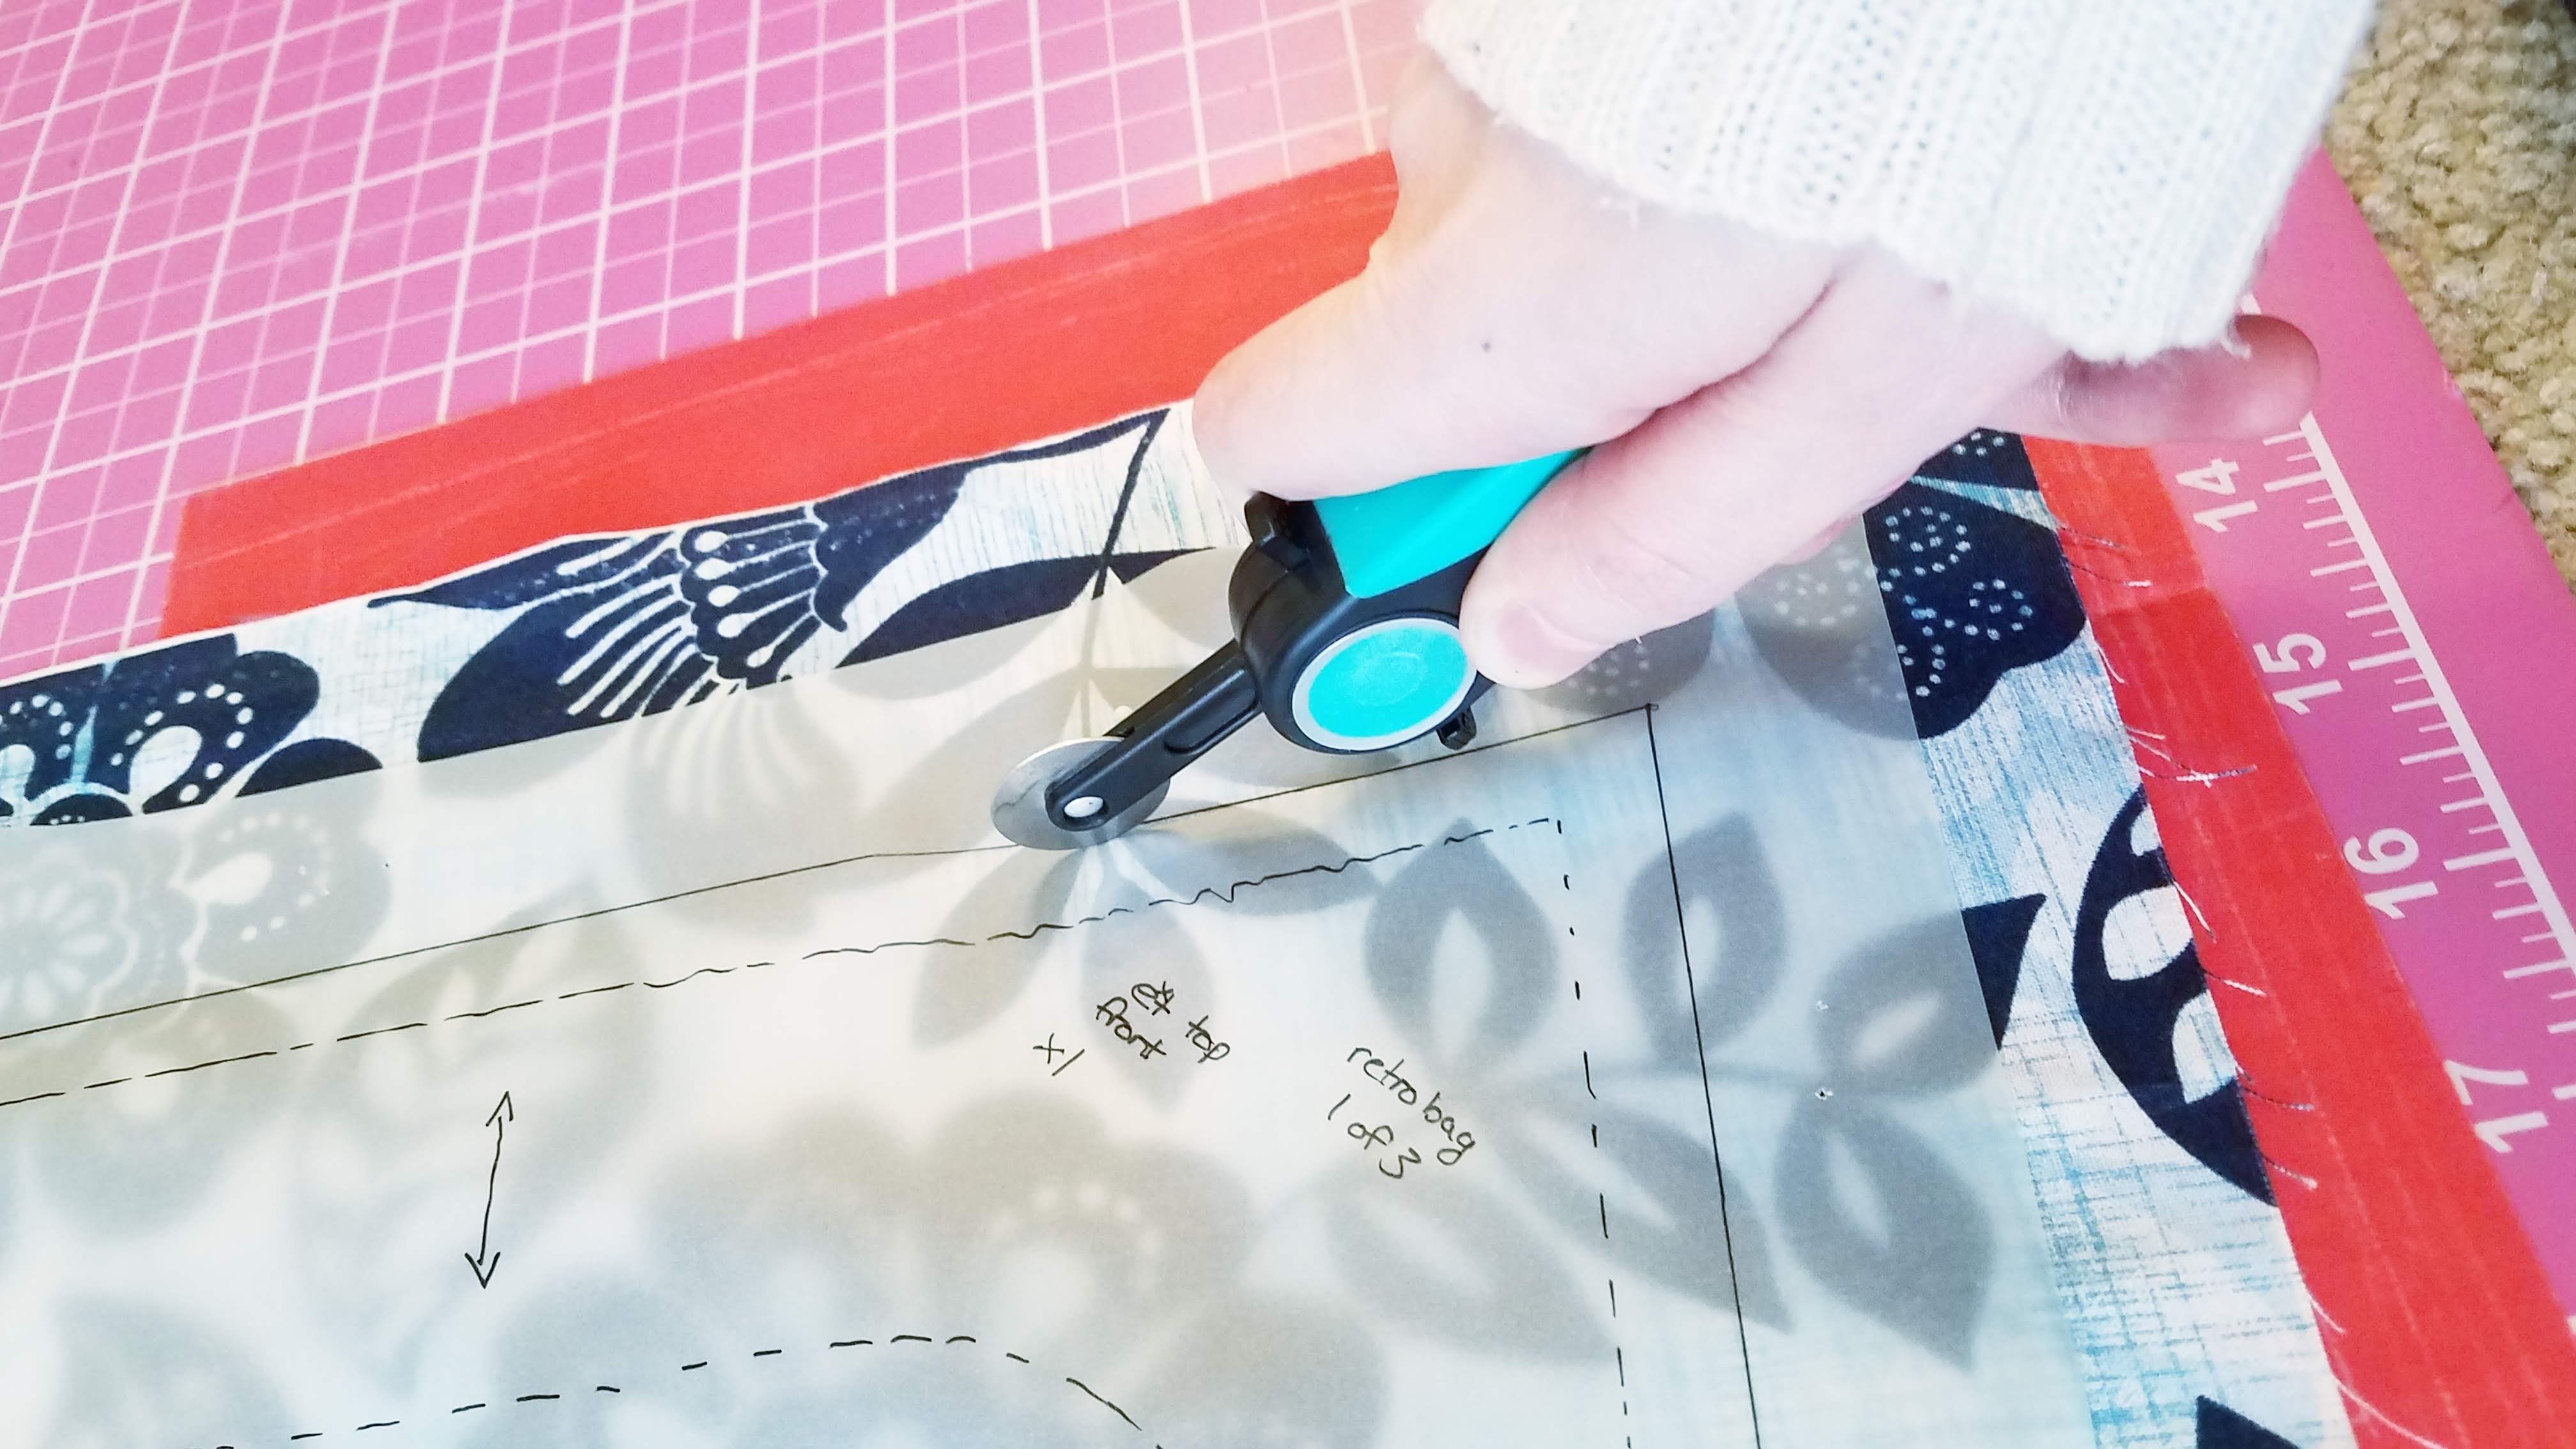
The transfer paper should leave marks wherever you’re rolling over with your tracing wheel. If not, press harder, move the wheel back and forth, or try a different color transfer paper.
- Repeat as needed for all pattern pieces and fabrics and interfacings.
- Cut the fabric.
- Once you have all the markings on the back side of your fabric, set aside the transfer paper. Save it; you can use it over and over until it gives up the ghost.
- Unpin the pattern pieces. If you don’t care about saving the pattern pieces you just traced, you could just leave them pinned and cut the fabric and paper all at once. In which case you don’t have to do the transfer paper bit at all. Just pin and cut. I didn’t do that. I wanted to keep what I traced.
- Follow the marks on the back side of the fabric to cut out your fabric shapes.
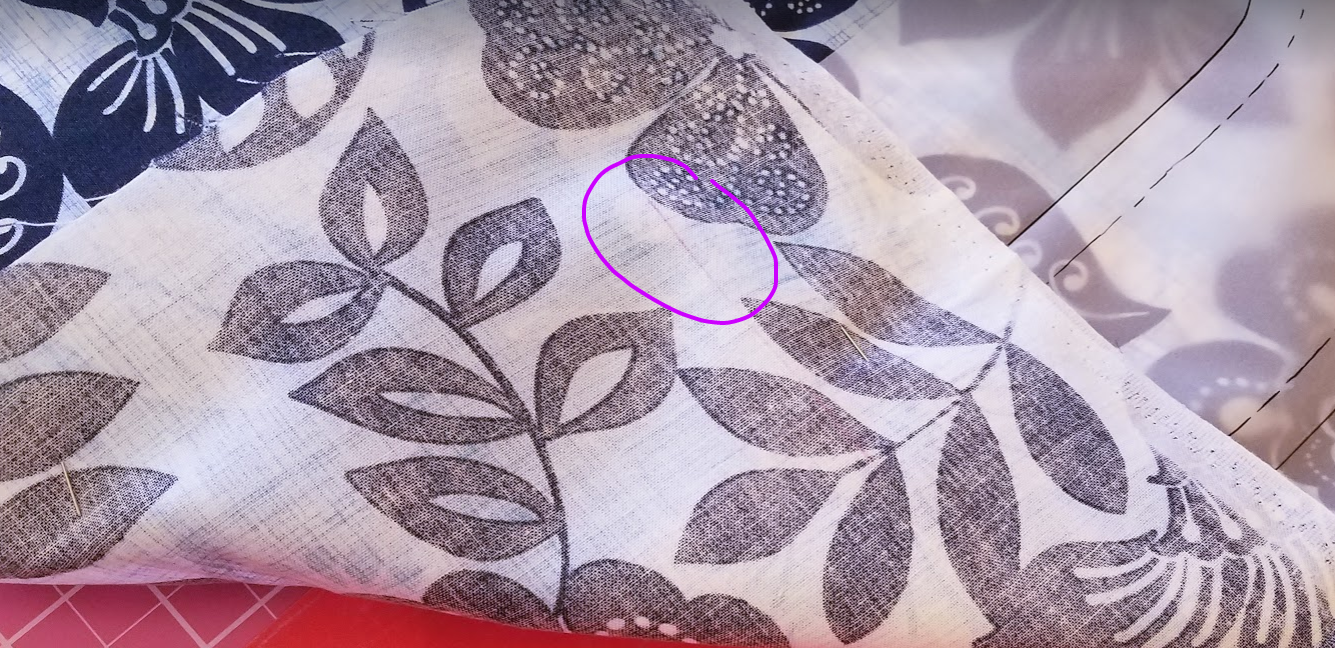
- If you want, you can darken some of the markings (folds, darts, etc) with chalk or something. I did.
That’s it. You just transferred a pattern.
An Alternate Technique, Sans Transfer Paper
Does that first technique sound like a lot of headache? Convinced there must be a quicker way? Fear not; there is another way, and I find myself doing this more often. In fact, I only ever used that transfer paper for that Retro Bag I made.
This technique is best used if you have a lot of space to work with and a large cutting area to accommodate any large pattern pieces. Also, cutting knit/stretchy/slippery fabrics with this technique is better since we’re minimizing the amount we shift the fabric (no pins, and no lifting to cut with scissors.)
- Trace the pattern pieces. We start off the same as above.
- lay out your original pattern piece(s)
- cut a piece of tracing paper to fit over it/them (do a separate piece of tracing paper per pattern piece; it makes it easier to arrange later)
- anchor your tracing paper so it doesn’t shift; whether that’s taping it, or pinning it, whatever. I just used some candles to hold mine in place.
- trace all the markings (although I suppose you could skip the dotted seam allowance line)
- make sure you write the pattern name, piece number, and instructions too. For example:
- Retro Bag
- 2 of 3 (this is pattern piece 2 out of 3)
- x1 exterior (this just means you cut one of this shape out of your exterior fabric (sometimes called “self”))
- x2 interior (this just means you cut two of this shape out of your interior fabric (often called “lining”))
- x2 interfacing (means you cut two of this shape out of your interfacing)
- lay out your original pattern piece(s)
- Cut out the pattern pieces from your tracing paper. Here’s where we do something a little different. Maybe you’ll find cutting out the pattern pieces quicker than messing with transfer paper, or maybe you won’t. You can follow whatever technique you prefer.
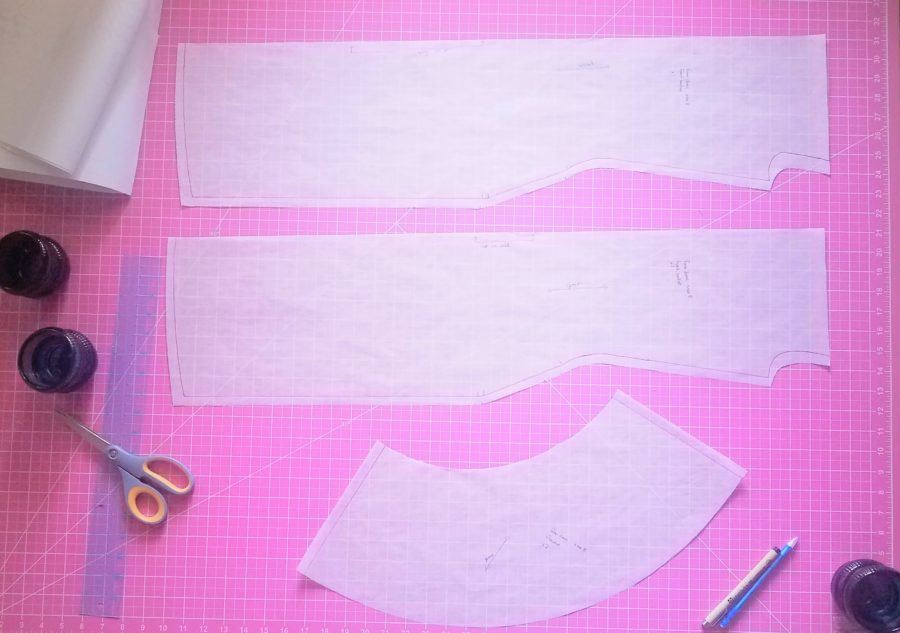
- Arrange your pattern pieces on your fabric. Again, follow any pattern instructions on what direction to lay your pattern pieces out on your fabric. Make sure you can get everything to fit before cutting. Once you’ve made sure of that, anchor one pattern piece at a time using weights, and then cut around the the perimeter of your paper pattern with a rotary cutter. Transfer any additional markings and cut any notches with scissors before removing the pattern piece.
- Repeat #3 for each pattern piece.
Innit funny how no one really warns you how much time goes into prep and a bunch of things that don’t even involve sewing when you’re learning how to sew?
Thank you so much for this. I haven’t used a pattern to sew since I was in jr high and I couldn’t remember how to get the pattern to the fabric.