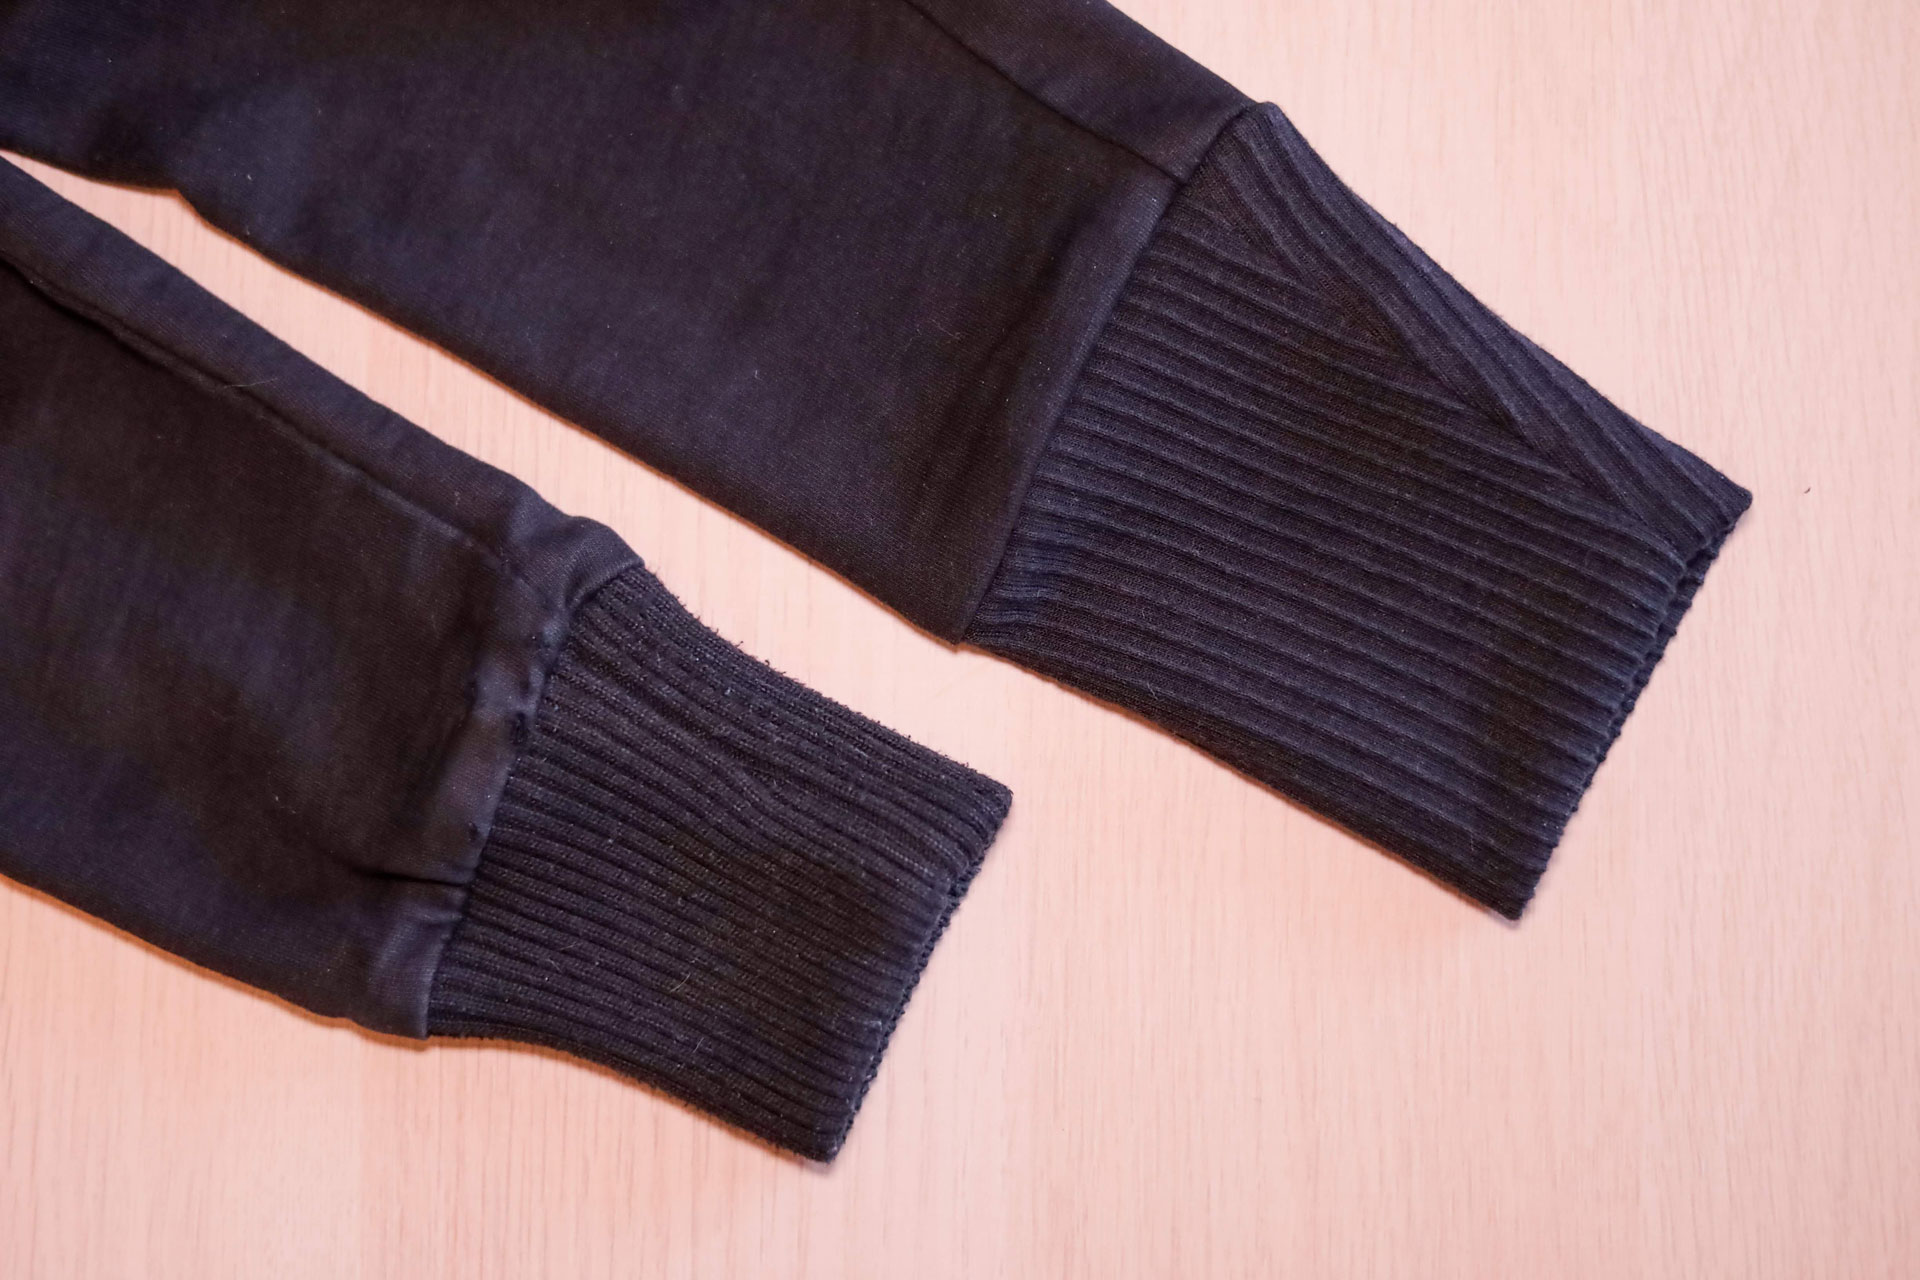
I have a favorite ready-to-wear black moto jacket, and I’ve had it for many moons. Moons I cannot count. It has some pretty aggressive ribbed knit cuffs that have always kind of annoyed me. They made it a little difficult to get on and felt too constricting and rigid. Because of that, I eventually wore holes in the fabric where the sleeves meet the cuffs, both from friction and the extra effort it took to yank the cuffs over my hands.
Well, today was the day to repair those worn cuffs and salvage this jacket.
How to Repair Worn Cuffs on a Jacket
- Figure out what size the cuffs should be. I always like my sleeves on the longer side, so I decided to make a 4″ cuff to replace the original 3″ cuff.
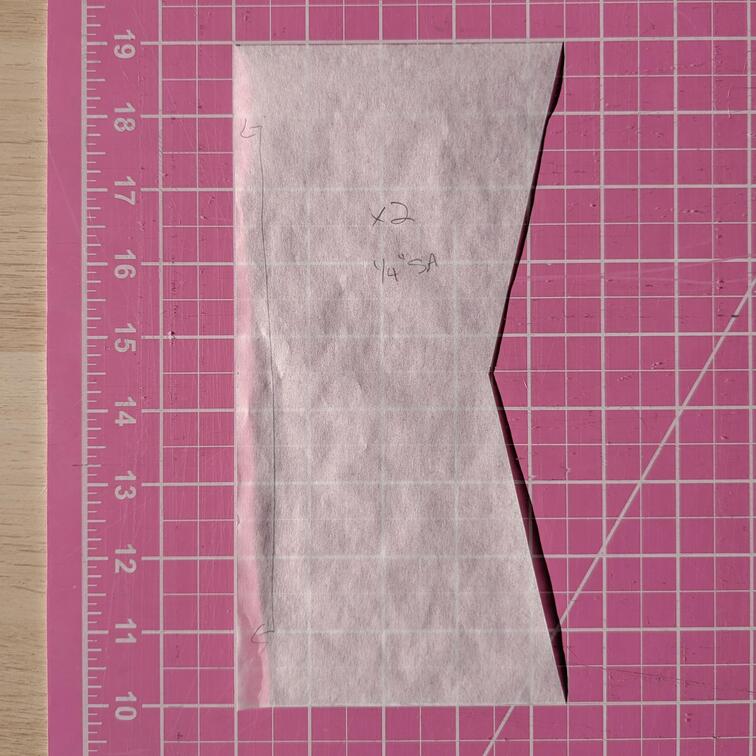
- Draft the new cuff. Mine tapers from a 9″ circumference where it meets the sleeve to 6″ at the end of the cuff. So I drafted the following pattern to cut on the fold and added a 0.25″ seam allowance.
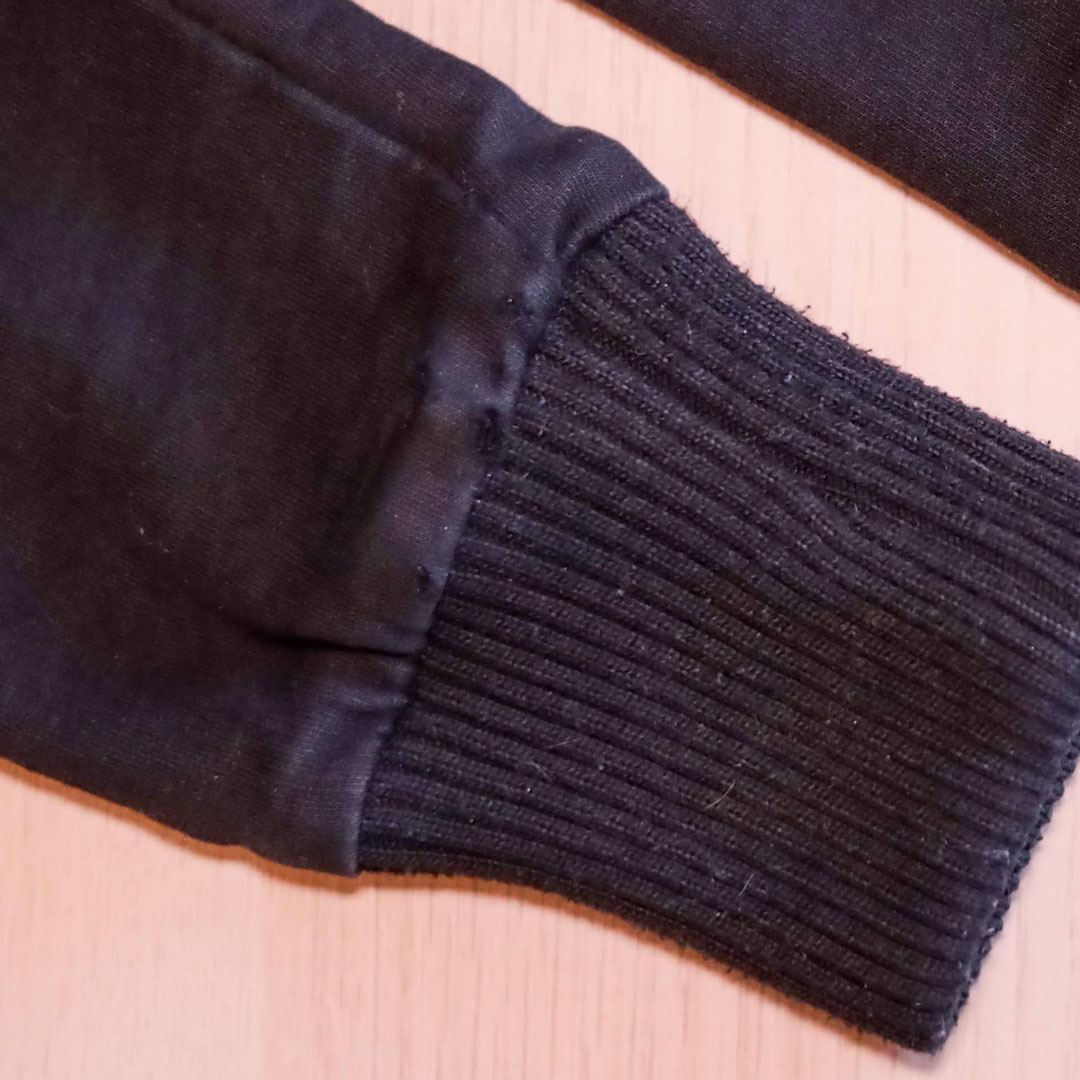
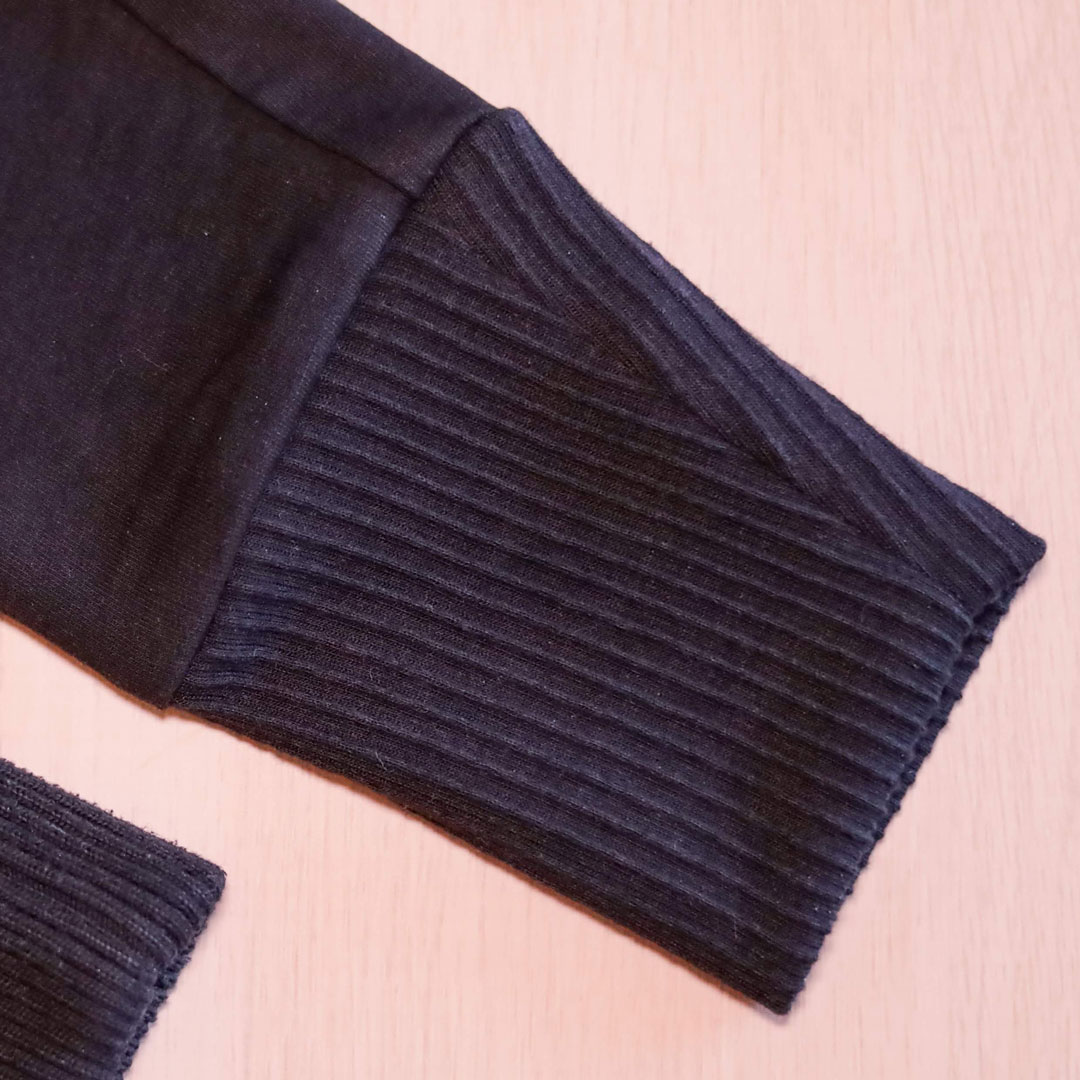
- Sew the new cuffs. You sew along the angled edge, right sides together, and then fold the tube over on itself so the raw edges meet.
- Slice off the old cuffs.
- Attach the new cuffs. Slide the folded narrow end of the cuff over the sleeve until the raw edges of the cuff and the sleeve align. Line up the side seams and stretch to distribute extra fabric evenly if needed. Pin and sew.
That’s it. Super easy.
Leave a Reply