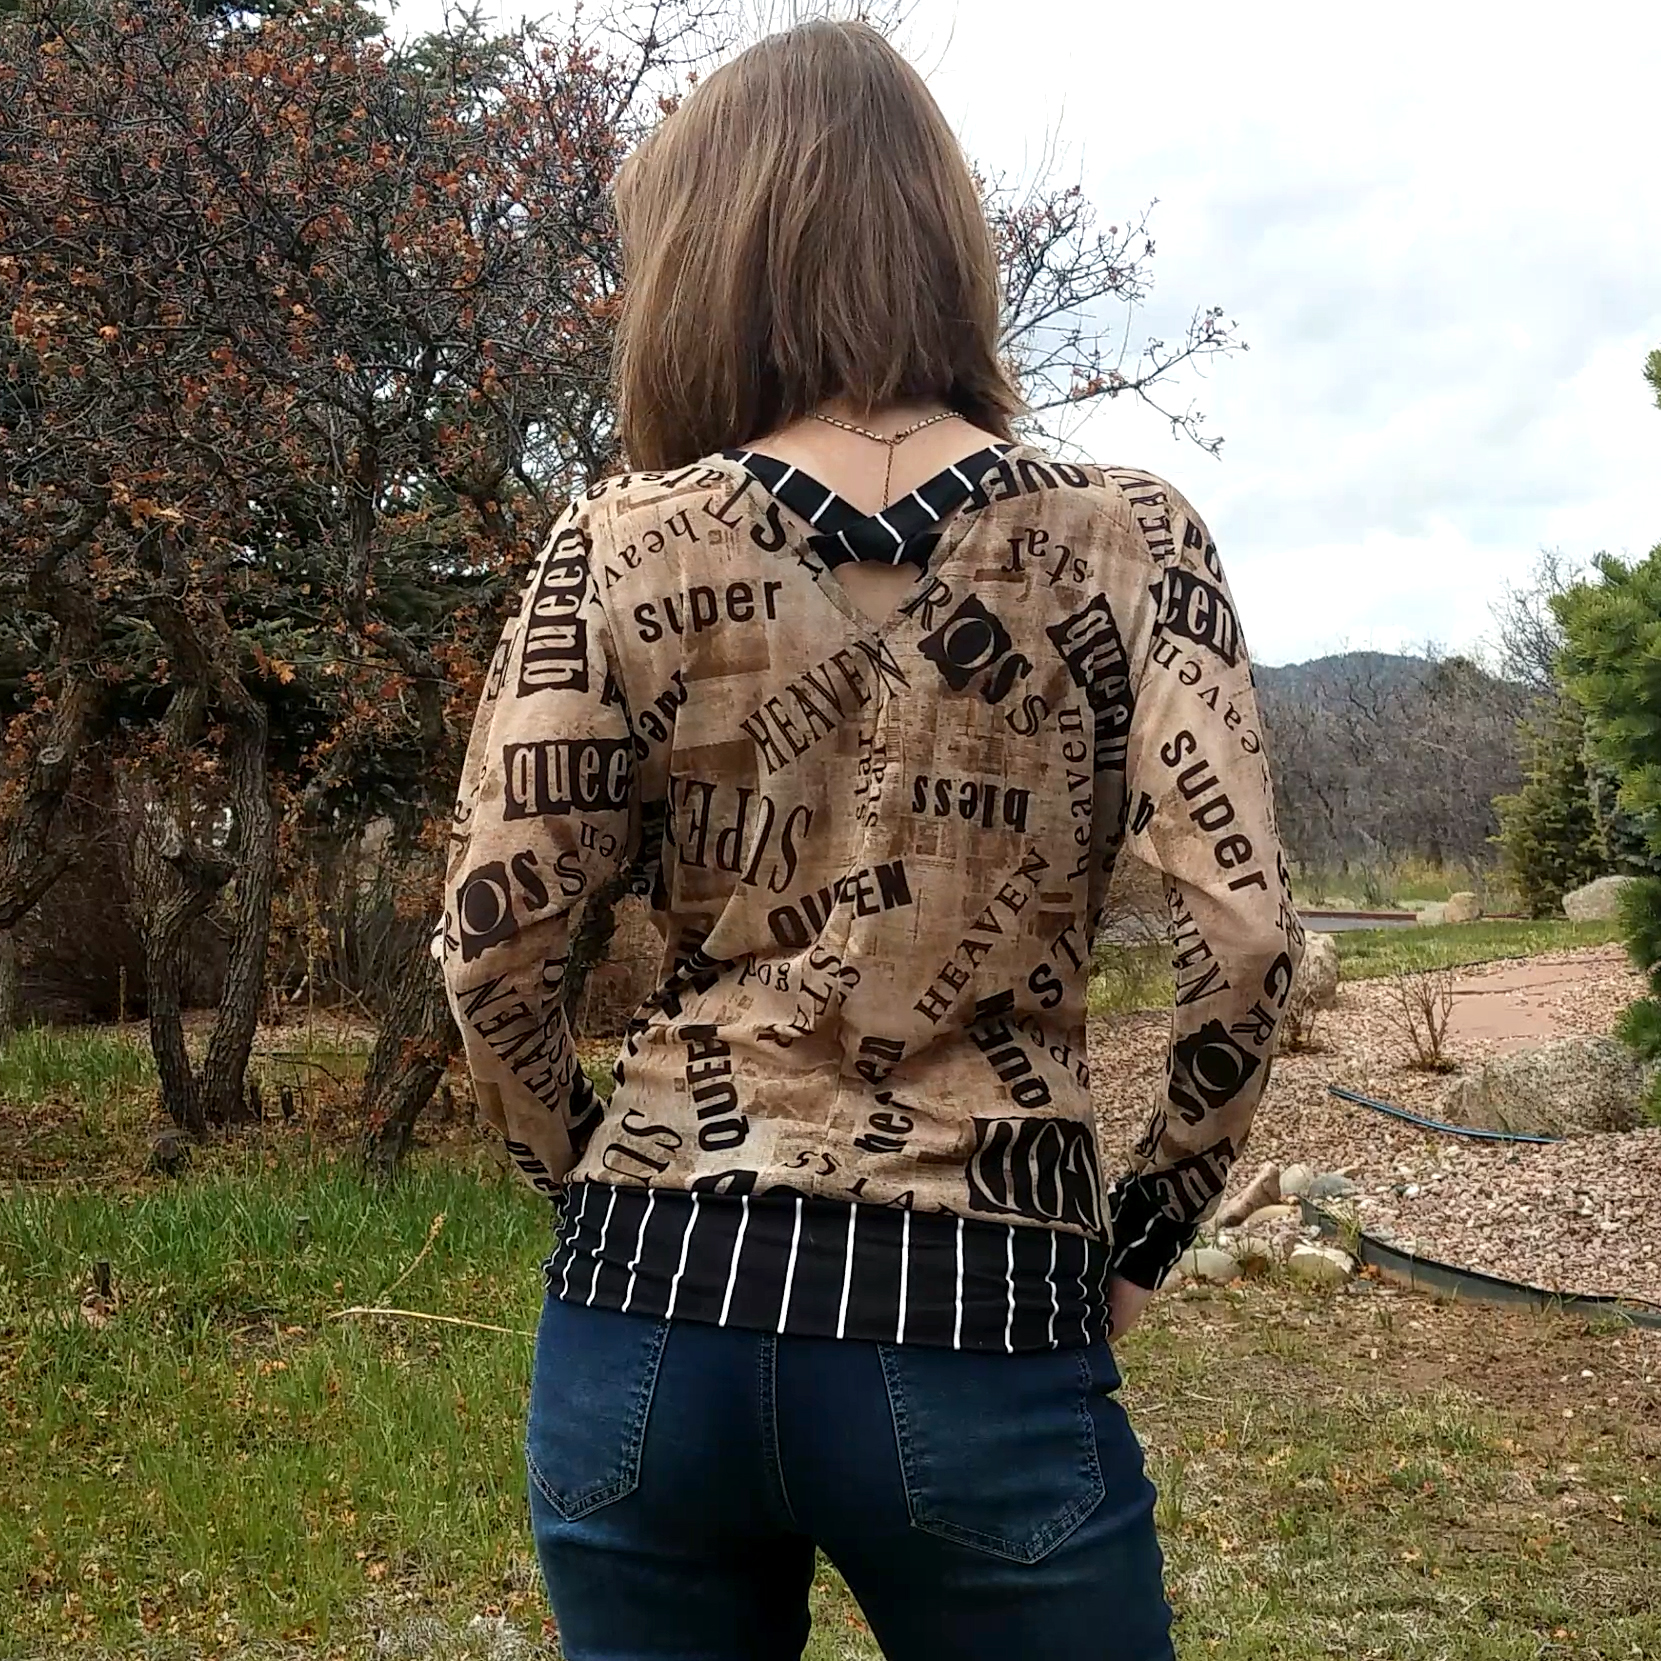
There I was with something like half a yard (probably less) of this vertical white stripe on black double brushed poly, which was so close to being enough, but definitely not enough to eke out a second Danielle top. This was my vision though; there was no other fabric I was remotely happy about pairing with this one-of-a-kind mesh fabric. So there was only one thing to do.
Sometimes, you just have to edit the pattern.
Step 1: Lay out the fabric and the pattern pieces and figure out what you need to change.
In my case, I had to shorten the wrist cuffs and the hem band. I also had to construct the hem band differently than instructed since I didn’t have nearly enough fabric to cut 2 pieces on the fold.
Step 2: Math and draw.
The Cuffs I was shortening them by half. So I went back to my original pattern piece, marked the center of the cuff (where it folds over itself) and measured outward from the center on each side an equal distance until I hit the length of the cuff I could manage with my pathetic yardage. I then traced out a new pattern piece. This changed the length of the side that attaches to the sleeve. So then the end of the sleeve would have to be adjusted.
The Sleeves Since I was shortening the cuffs, I would have to lengthen the sleeves to achieve a comfortable long sleeve. I laid out my original pattern piece and layered some blank tracing paper over the end portion of the sleeve. I traced out the original shape, and then I added the length I took off of the cuff to the original sleeve. I added it along the straight line and drew that out.
Then I did some reverse mathing to find out the new length of the end of the sleeve. The side of the cuff that attaches to the sleeve (4″) is 85% of the length of the end of the sleeve (x). So 0.85 * x = 4″. That means x=4.7″. So I drew the new 4.7″ sleeve end perpendicular to the straight line I’d just extended. Then, using my vary form curve, I reshaped the side seem to blend from the original to the new sleeve length. Next, I drew a few reference lines for lining up the new sleeve extension on the original pattern pieces
Finally, I copied the new pattern piece on my copier so I had a duplicate for the back bodice. And that was it.
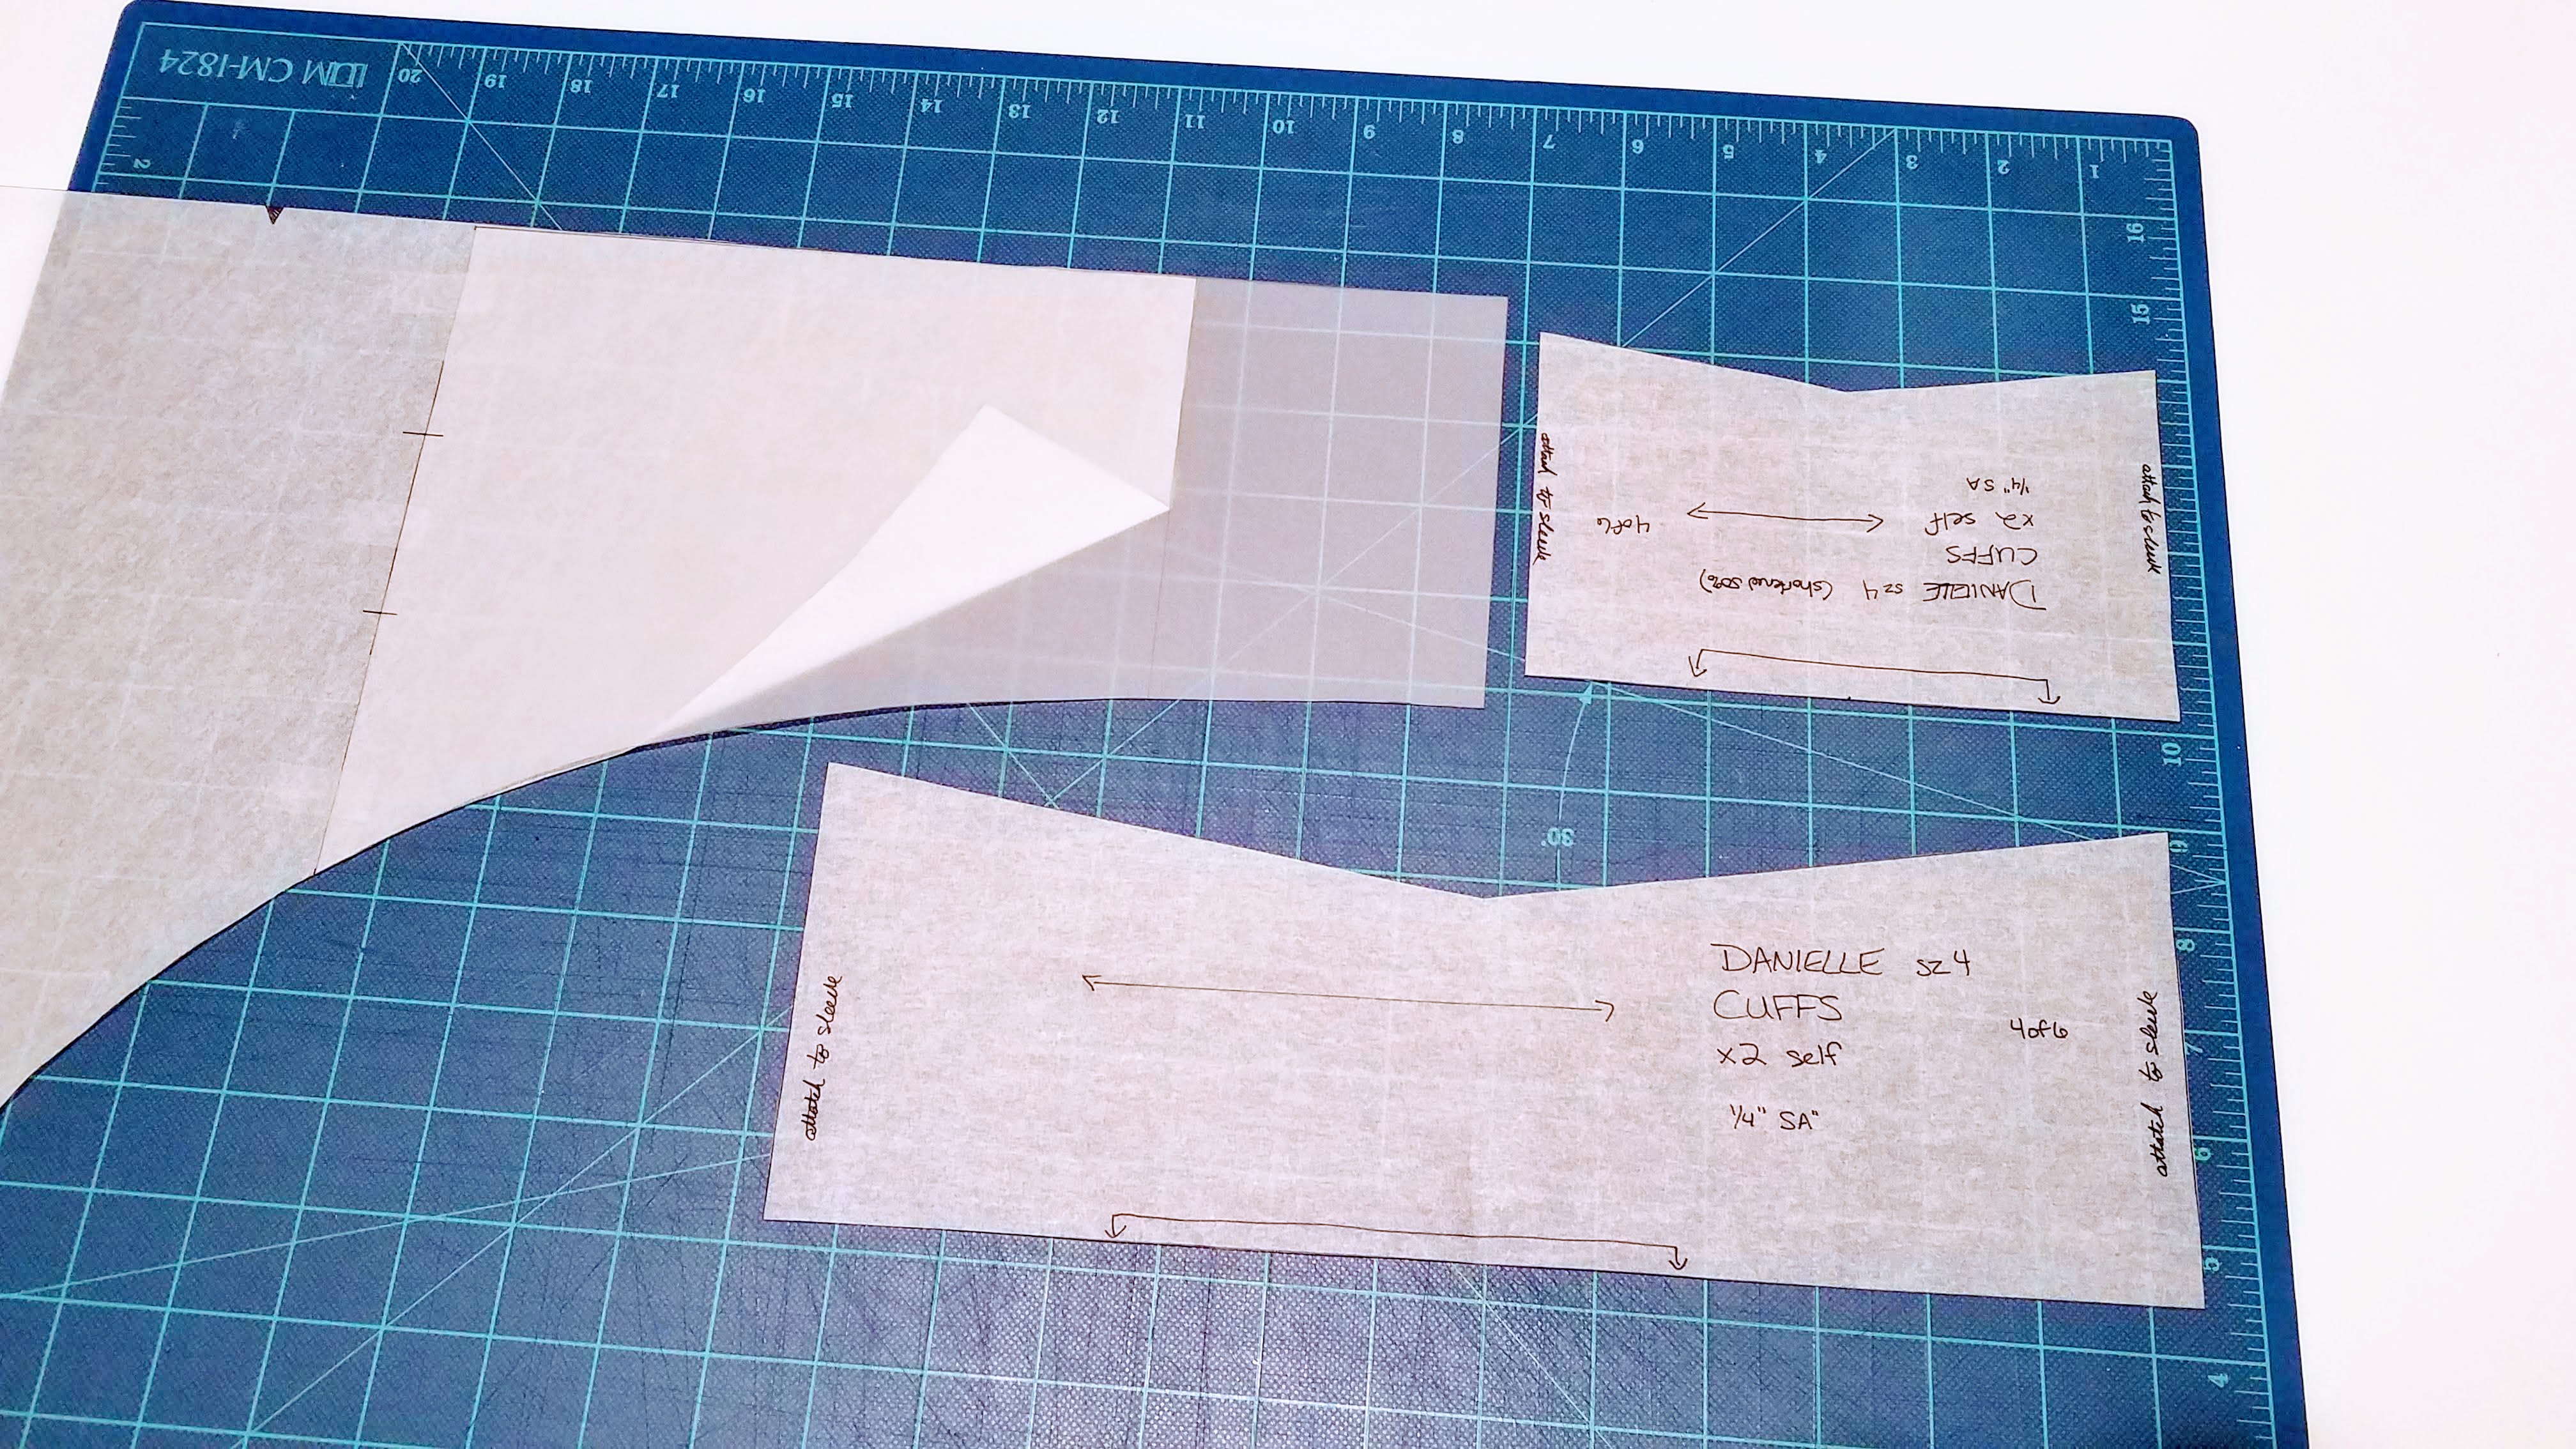
The original bodice piece shown with the new sleeve extension on the left, the new cuff piece in the top right corner, and the original cuff piece along the bottom.
The Hem Band I just folded the original pattern piece so it was a half inch shorter. Then I cut it out once over 2 layers of fabric, so I ended up with 2 rectangles. I sewed the short ends together, then folded it over wrong sides together to get a more standard hem band (versus the extra long band included in this pattern.)
Other Things I Did on This Version
- I used DBP for the neck binding (and it worked just great.)
- I did NOT use interfacing for the back straps, but I kind of wish I had so they would’ve maintained a better shape. They seem a tad stretched out without the interfacing.
- I marked notches with a water soluble marker instead of actually notching. Cuz this pattern designer loves the minuscule 1/4″ seam allowance.
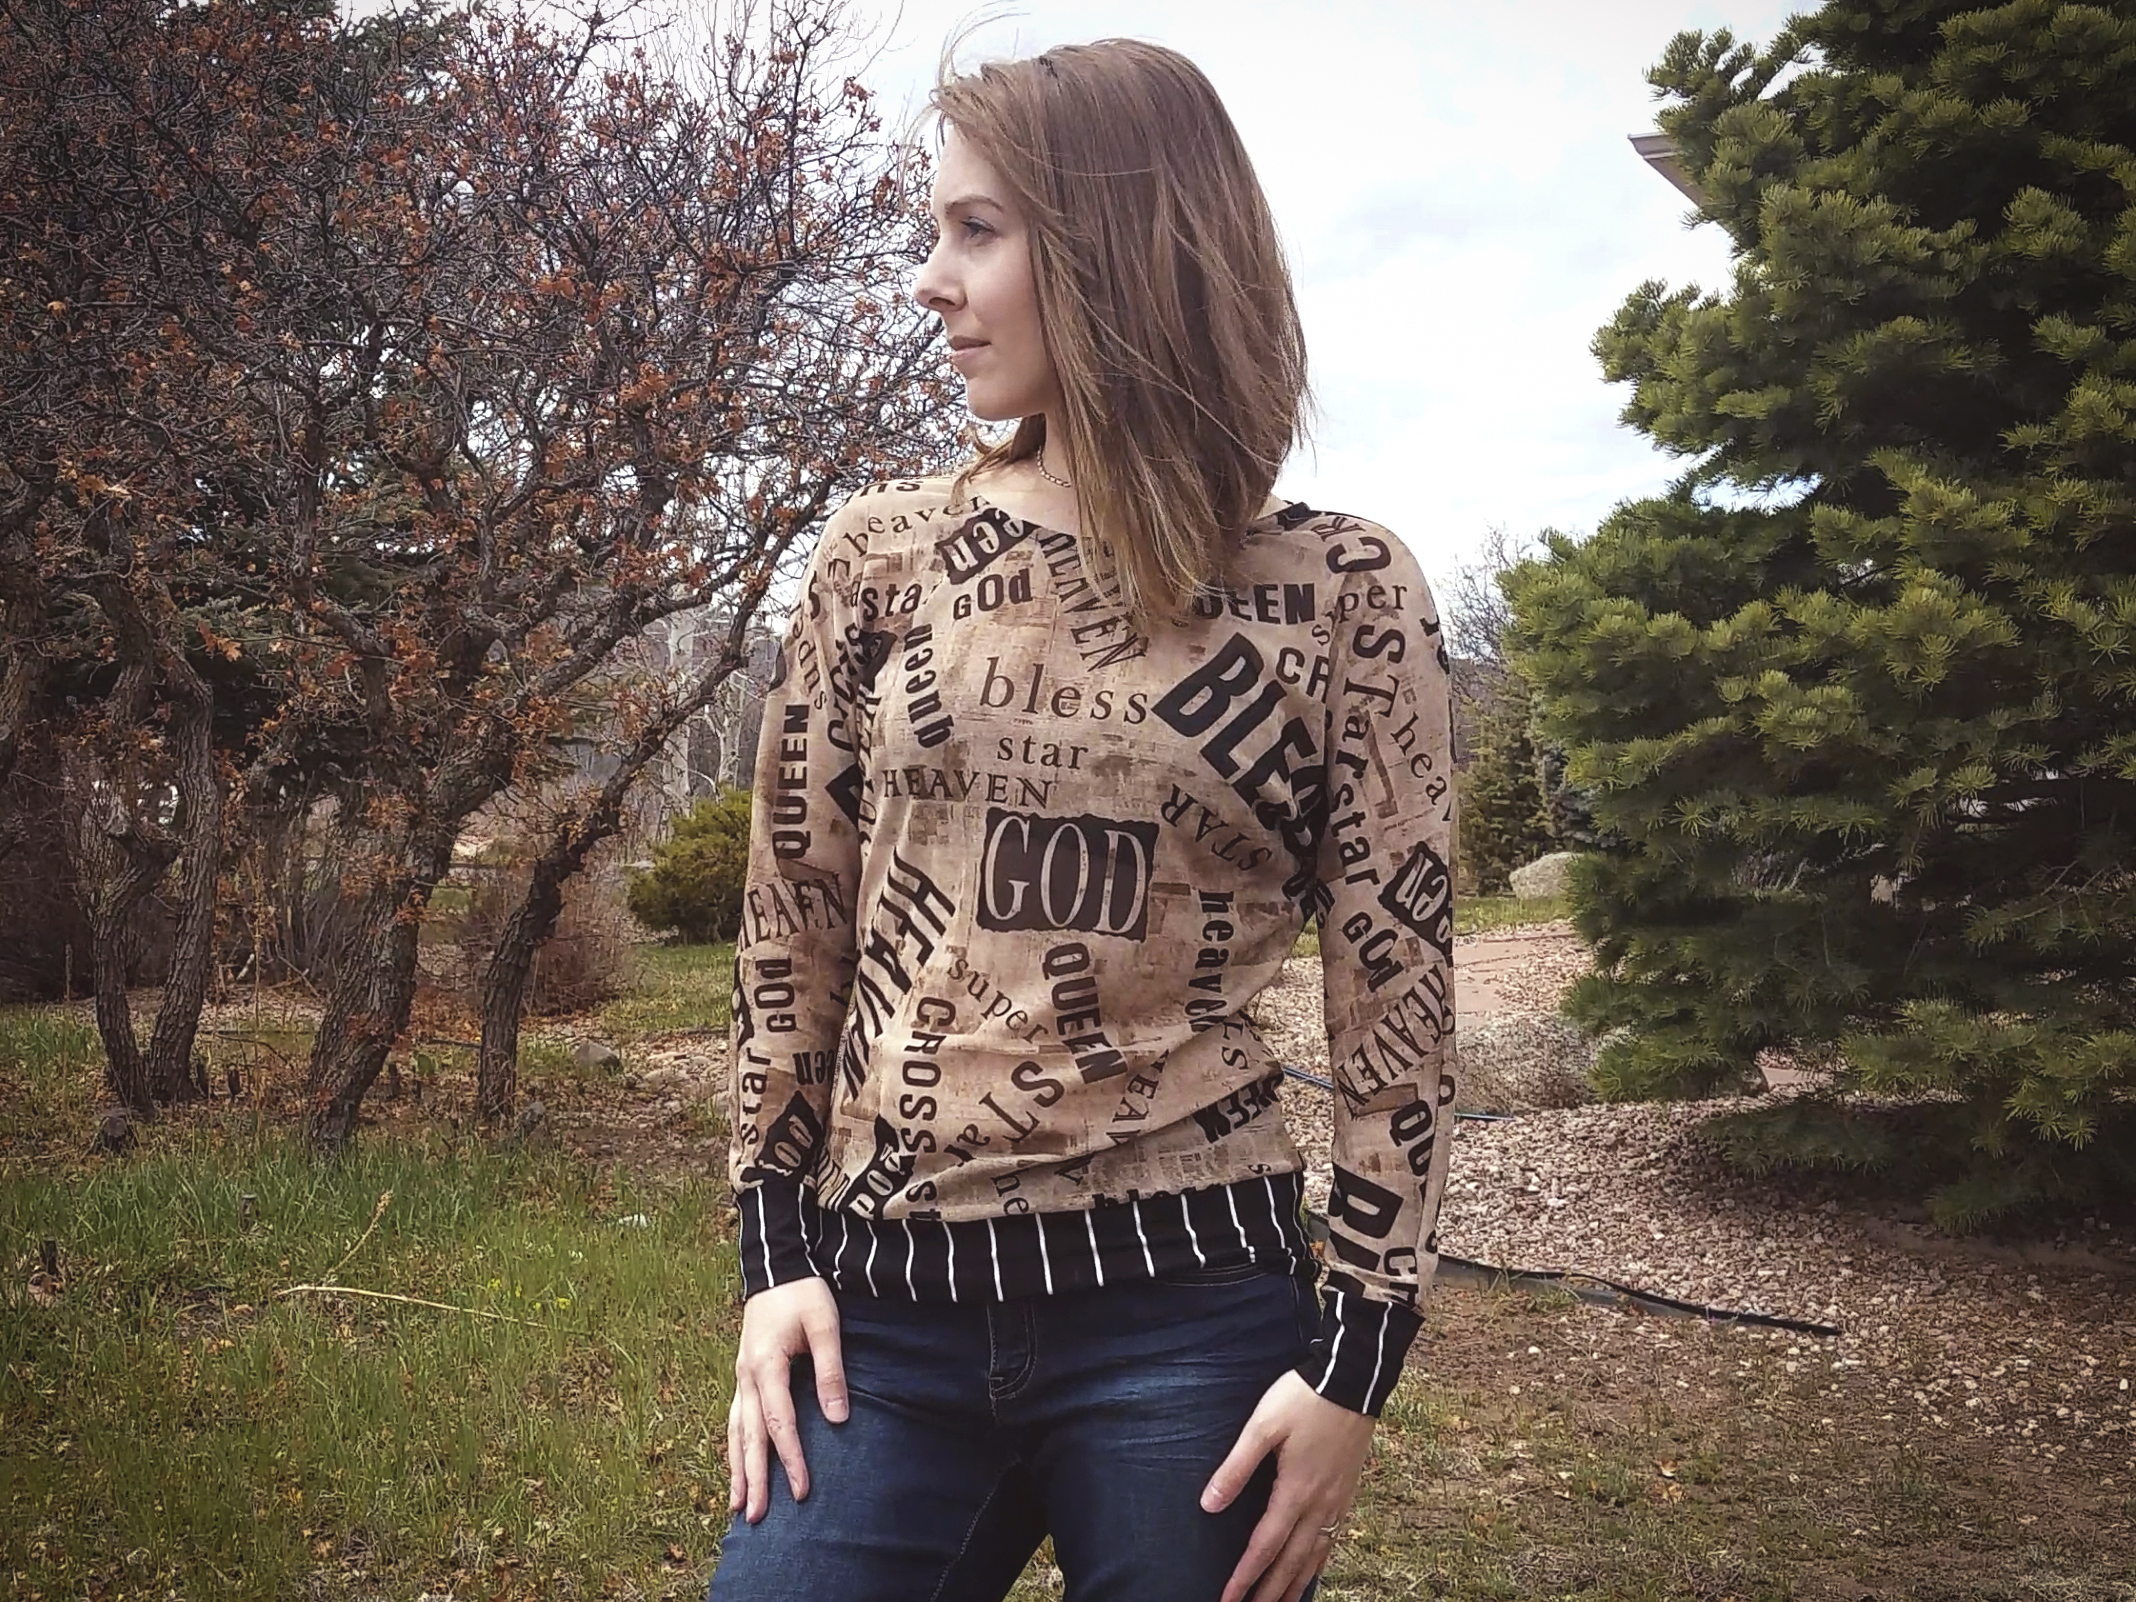
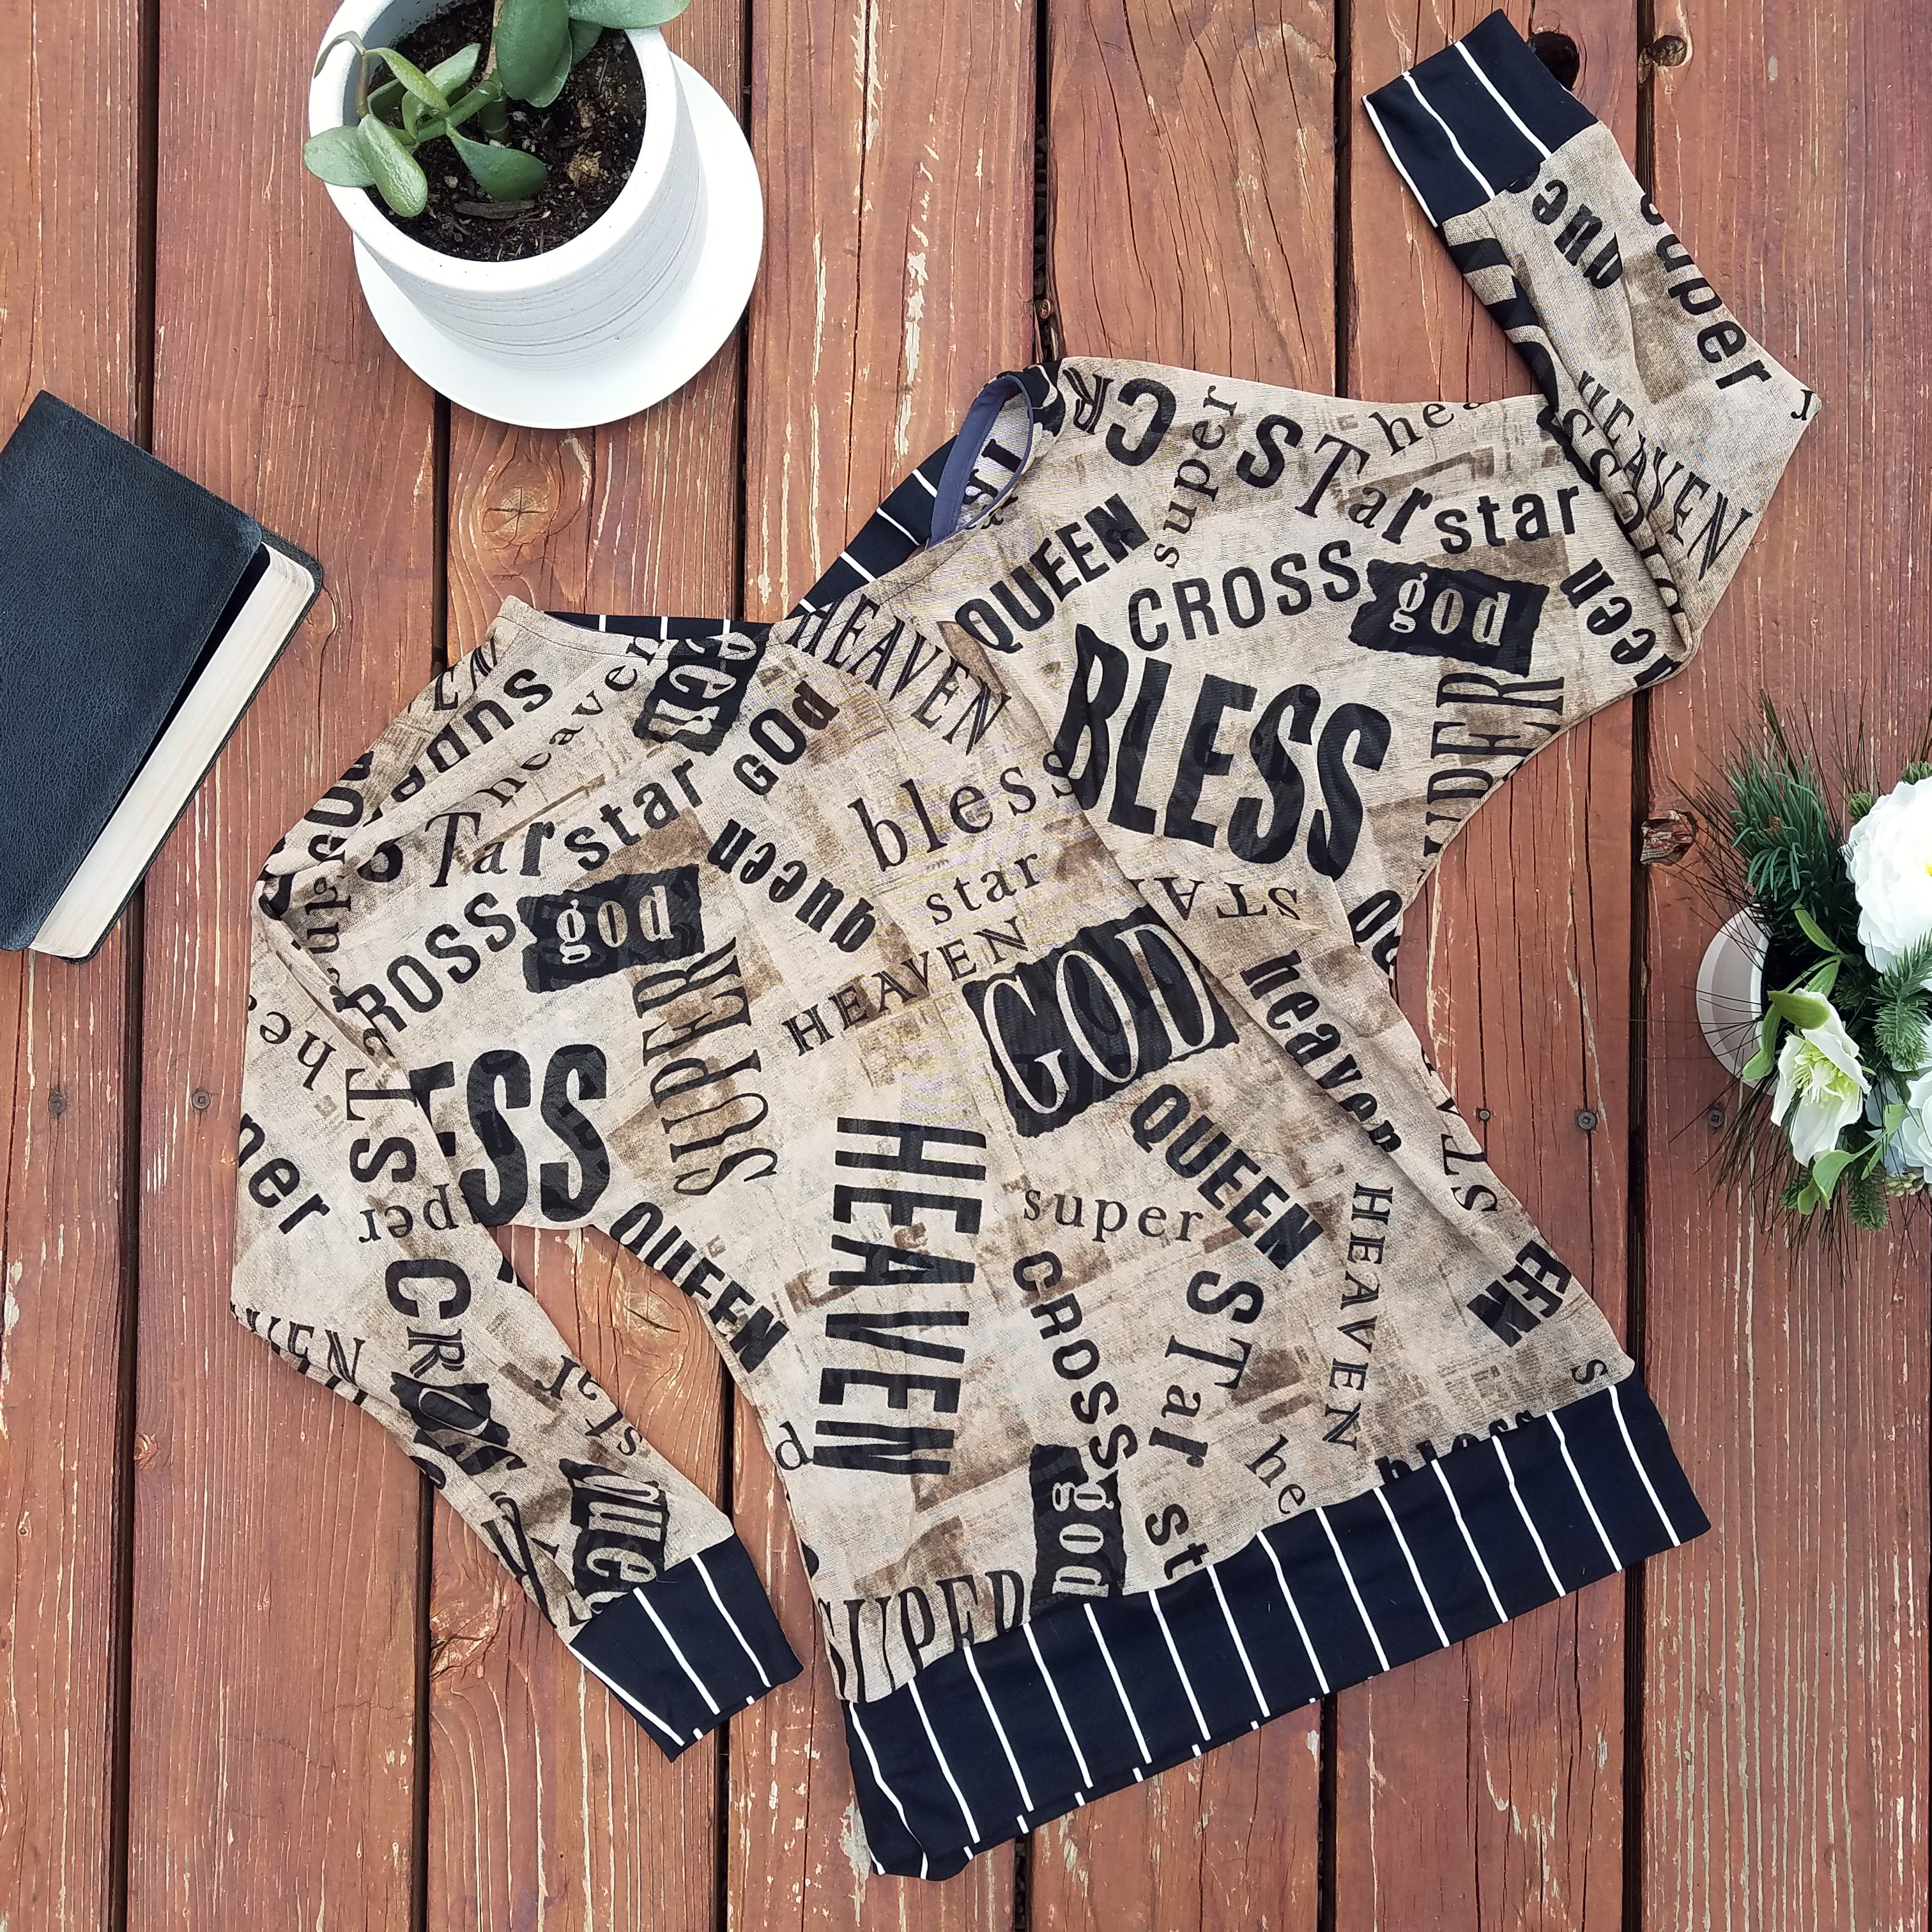
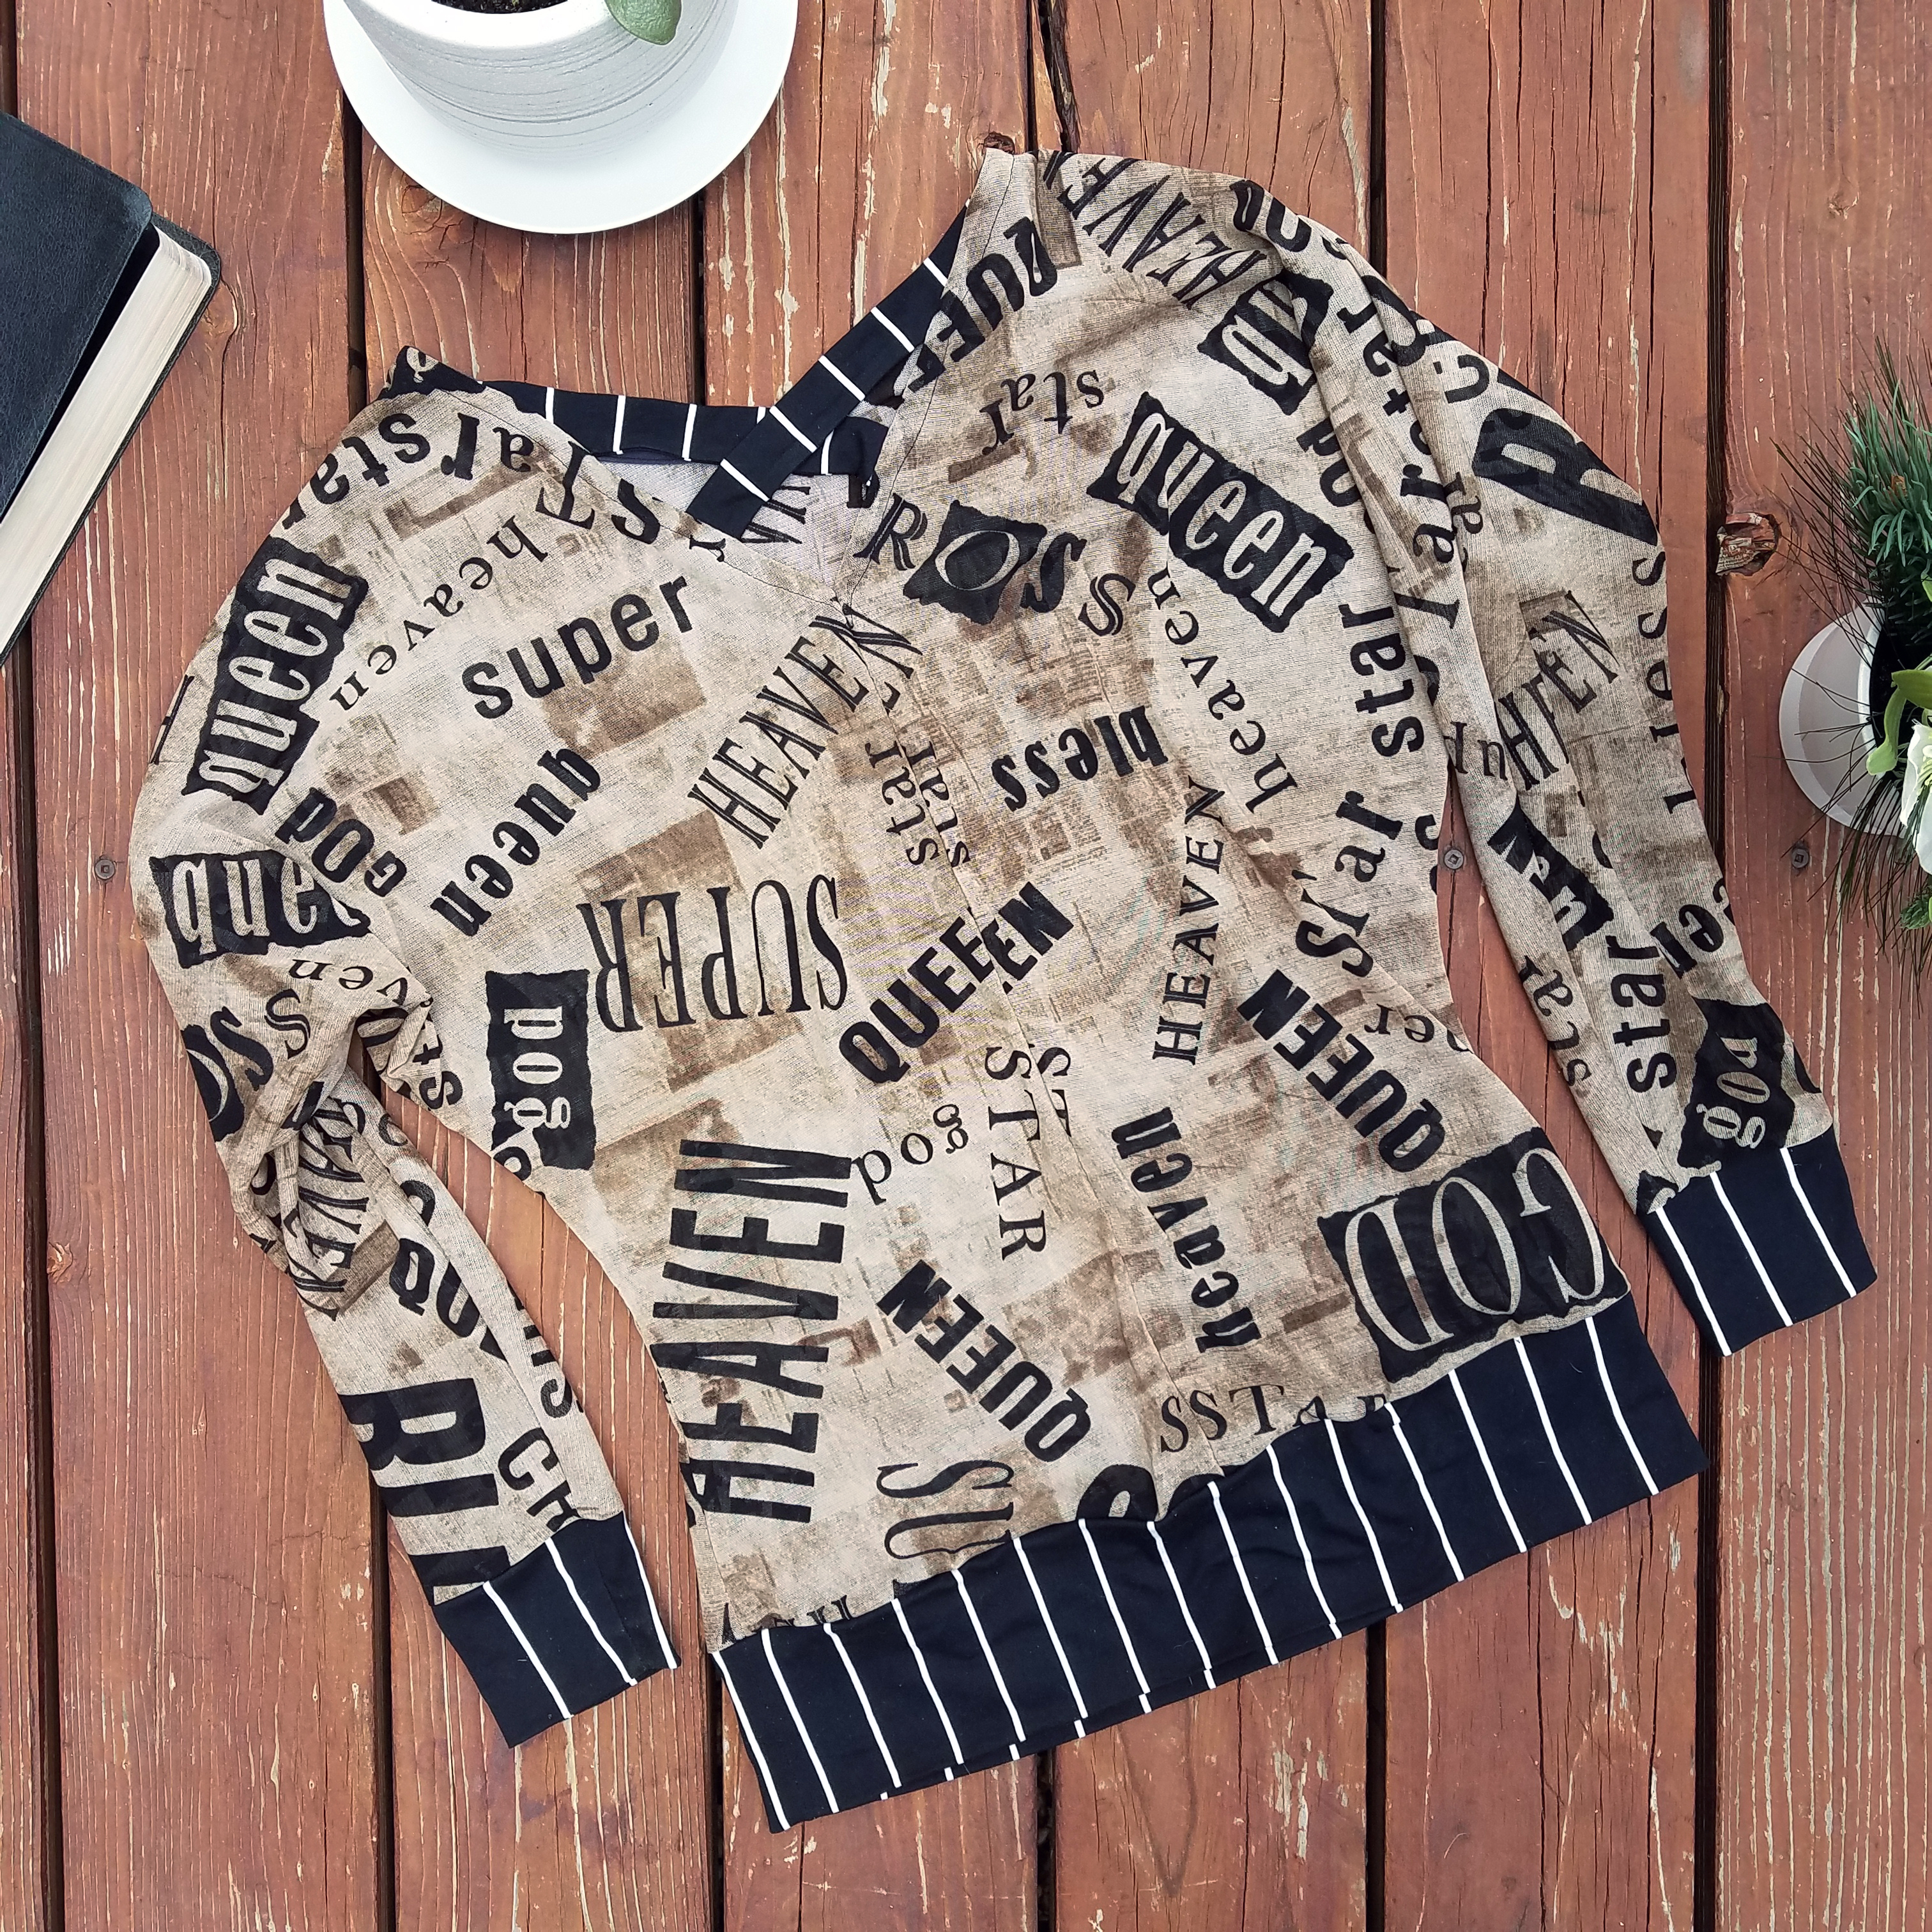
About the Mesh Fabric
This was a “build your own box” cut from Made of Love Fabrics. It was listed as a 1 yard cut, but I got quite a lot extra. I think they only measure the yardage that’s complete from selvage to selvage. “Build your own box” fabrics are “unique and are very unlikely to ever restock again.”
It’s a stretch mesh, which is less sheer than I expected it to be when worn, which is great. I wanted this to be a summer-friendly top even though it’s long sleeve. I love the colors, the words, and the overall style of it; it definitely speaks to my style. I even have enough left for another make. I’m not quite sure what it’ll be, but I’m envisioning some sort of sleeveless top.

Project Settings
Presser Foot |
Stitch# |
Width |
Length |
Needle |
Top Thread Tension |
Application |
|---|---|---|---|---|---|---|
standard zig-zag (A) |
5 |
1.0 |
4 |
blue tip |
4 |
seams |
standard zig-zag (A) |
0 |
3.5 |
5 |
blue tip |
4 |
basting |
overedge (C) |
6 |
5.5 |
3.5 |
blue tip |
4 |
edge finish |
standard zig-zag (A) |
2 |
3.5 |
4 |
blue tip |
4 |
neck binding topstitch |
Leave a Reply