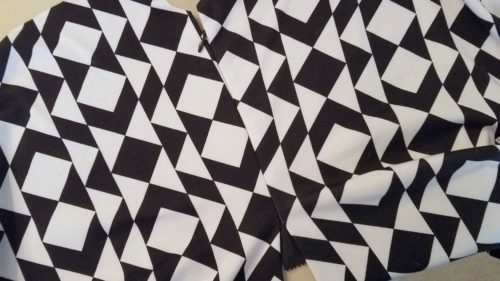
I’m off to a great #MeMadeMay start with the free Fiona Dress pattern from On The Cutting Floor which I found via AllFreeSewing.com.


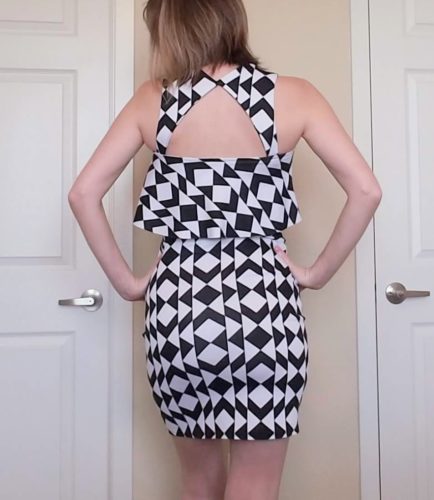
I do love a free pattern. Unfortunately, the instructions for this dress are confusing, there’s no seam allowance built into it, and most of the images are broken. So I had to kind of wing it. I also decided to add straps for a few reasons:
- While the fit around the top was nice, it wasn’t snug enough to keep it from creeping down as I would go about a day.
- The shape of one of my fabric scraps caught my eye after cutting and I thought it would make for some really interesting straps.
This is where I attempt to reconstruct the instructions.
*
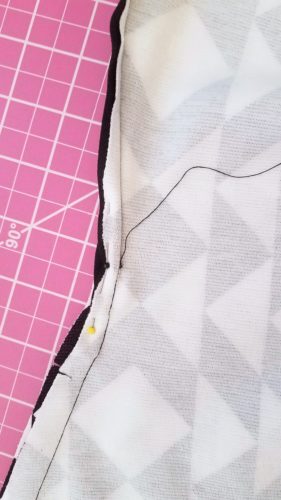
I ended up cutting the top part of the dress that tapers inward completely off. It was just not working while I was fitting it: the zipper was all wavy and I couldn’t make sense of that extra fabric at the top. Maybe if you’re considerably more well-endowed than I am, it makes more sense, but it wasn’t working for me. Mine turned out well enough without it.
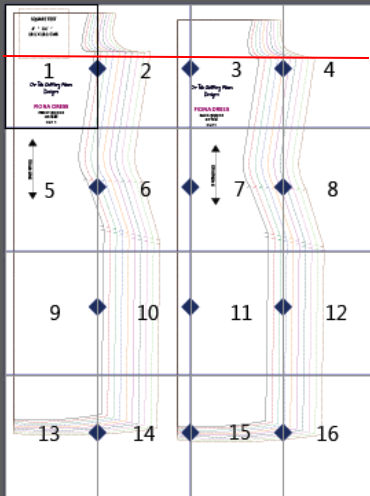
I ended up trimming off everything above the red line.
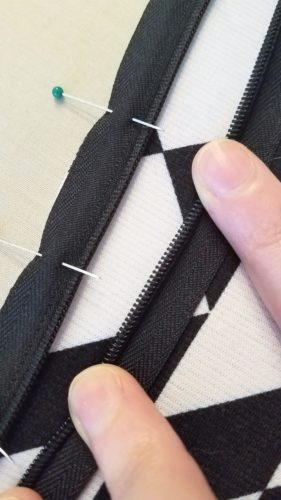
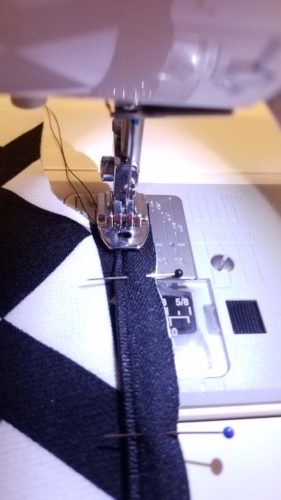
1 She says… Add the zipper to the other side of the upper dress.
I think it means… Start with bodice pieces RST (right sides together). Iron the coils on the invisible zipper so they face toward the right side of the zipper. Attach the invisible zipper along one side seam of the upper dress. [Never done an invisible zipper before? Check out this tut to help wrap your head around it. They’re pretty clever. You’ll also find a free clutch project at that link. However, when they say “Observe that the needle should always stitch to the right of the coils”, I’m not sure if you should take that as gospel. It didn’t make much sense to me when I was sewing the right side of the zipper because the needle was on the left side of the coils then.]
2
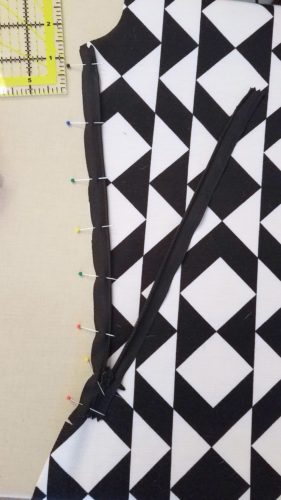
She says… Now fold the rest of the fabric from that side and sew along the side seam.
I think it means… Finish sewing the rest of the side seam that extends below the zipper. I picked up right where the zipper seam ended and sewed through my fabric layers only. If you catch the bottom part of the zipper in that seam, it won’t lay flat against your body.
3
She says… Press the seams opened and top stitch the side seam on both sides.
I think it means… Press the seam open and top stitch the seam allowance along both sides of the seam. *Note: I did not top stitch. Because my fabric pattern has pretty much the highest contrast between two colors possible, there would be no thread I could possibly use to make that seam blend in. Black would be too visible against the white areas, and white would be too visible against the black areas. So I skipped this and simply pressed my seam open.
4
She says… Repeat on the other side.
Pretty sure that means… With right sides still together, sew the other side seam. Press it open when finished.
5
She says… Turn the dress to the right side and press.
That’s pretty self-explanatory. Turn the dress right side out and press the seams from the right side. This will neaten them up and take care of any rogue stretching that may have happened while sewing.
6
She says… Bring the flounce top and place both pieces together, right sides facing.
I think it means… Set aside the bodice for now. Time to work on the flounce. Lay the 2 flounce pieces RST.
7
She says… Sew along the sides of the flounce.
I think it means… Sew both side seams of the flounce, creating a tube.
8
She says… Press the seams opened and top stitch the sides.
I think it means… Press the seams open and top stitch the seam allowance along both sides of each seam. *Note: I didn’t do this for the same reason mentioned in #3.
9
She says… Insert the flounce into the dress top, right side of the flounce facing the wrong side of the dress.
I think it means… With the dress still right side out, slip the flounce into the top of the bodice tube, right side of the flounce facing the wrong side of the dress. Match the side seams of the flounce with the side seams of the bodice and pin in place. Make sure to distribute any stretch evenly.
10
She says… Sew along the top 3/8 inch from the edge. Remember to fold the fabric in at the zipper area.
I think it means… Sew along the top with a ⅜” seam allowance, making sure the raw edge of the bodice lines up with the raw edge of the flounce. I have no idea what fold the fabric in at the zipper means. I started my seam at the edge of the coils on one side of the zipper and sewed all the way around, stopping just before the other coil on the other side of the zipper.
11
She says… Sew along the side seam of the flounce.
I say: I already did that in #7.
12
She says… Now, turn the dress to the right side and place the flounce to the right side as well. Press the seams so the wrong side of the dress does not shows on the top of the flounce.
I say… The dress is already right side out. Flip the flounce to the outside of the dress (so the wrong side of the flounce is now against the right side of the dress. This is how it’ll look when finished.) Press along the top seam so the flounce doesn’t pull against the wrong side of the dress to make it visible.
13
She says… Sew along the top of the dress 1/4 to 3/8 inches from the edge.
I say… That works. Topstitch around the top of the dress 1/4 to 3/8 inch from the edge. This will secure the flounce around the top and keep it from pulling the wrong side of the dress outward.
14
She says… Hemline: finish the dress by folding the bottom 1/2 inch and sewing along with a twin needle.
I say… Fold the bottom under 1/2 inch (or whatever length you want to hem), press, and pin. Then stitch down. I used a narrow zigzag instead of a twin needle, but that was just a matter of preference.
And that was it! After that, I made and added the straps. It involved drawing out the pattern, cutting 4 pieces (2 of them mirrored), sewing each set RST and turning right side out, totally forgetting to ladder stitch the gaps I left which I’m realizing just now, pressing, and then sewing them to the front and back of the dress. I also left the bottom of my flounce unfinished. It’s knit, so it won’t unravel, and I didn’t want the weight/bulk of a hem to interfere with the drape. Again, personal preference.

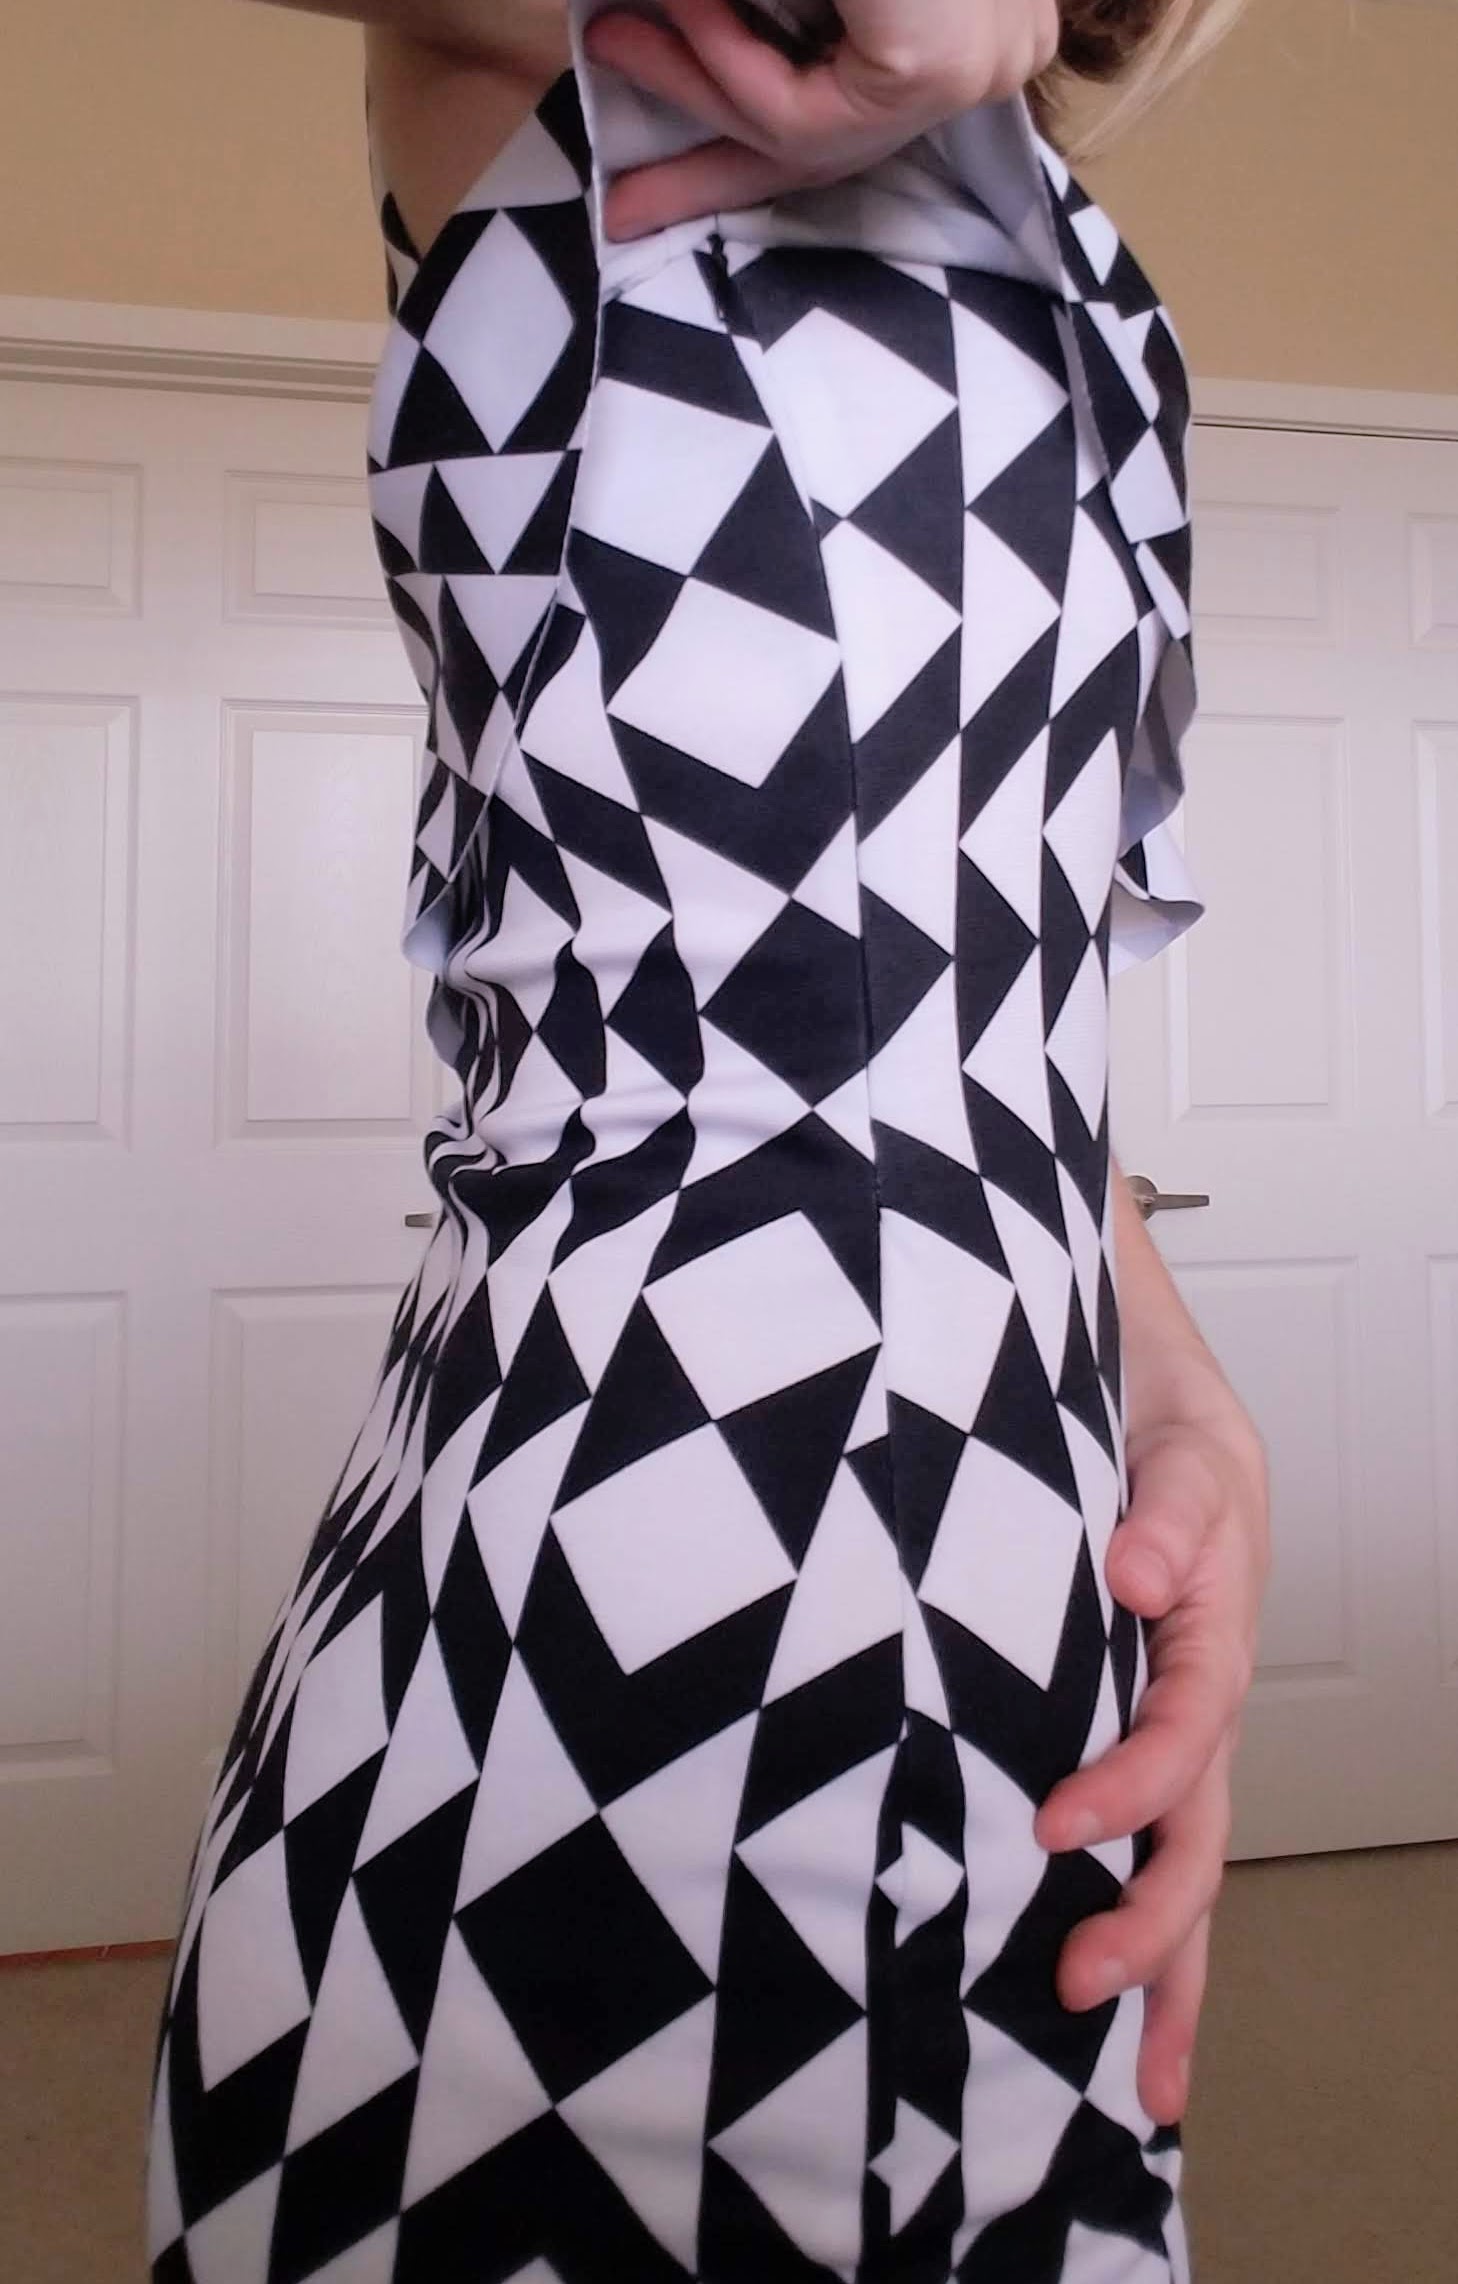
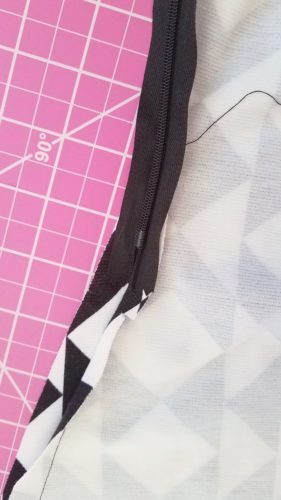
The invisible invisible zipper.
Leave a Reply