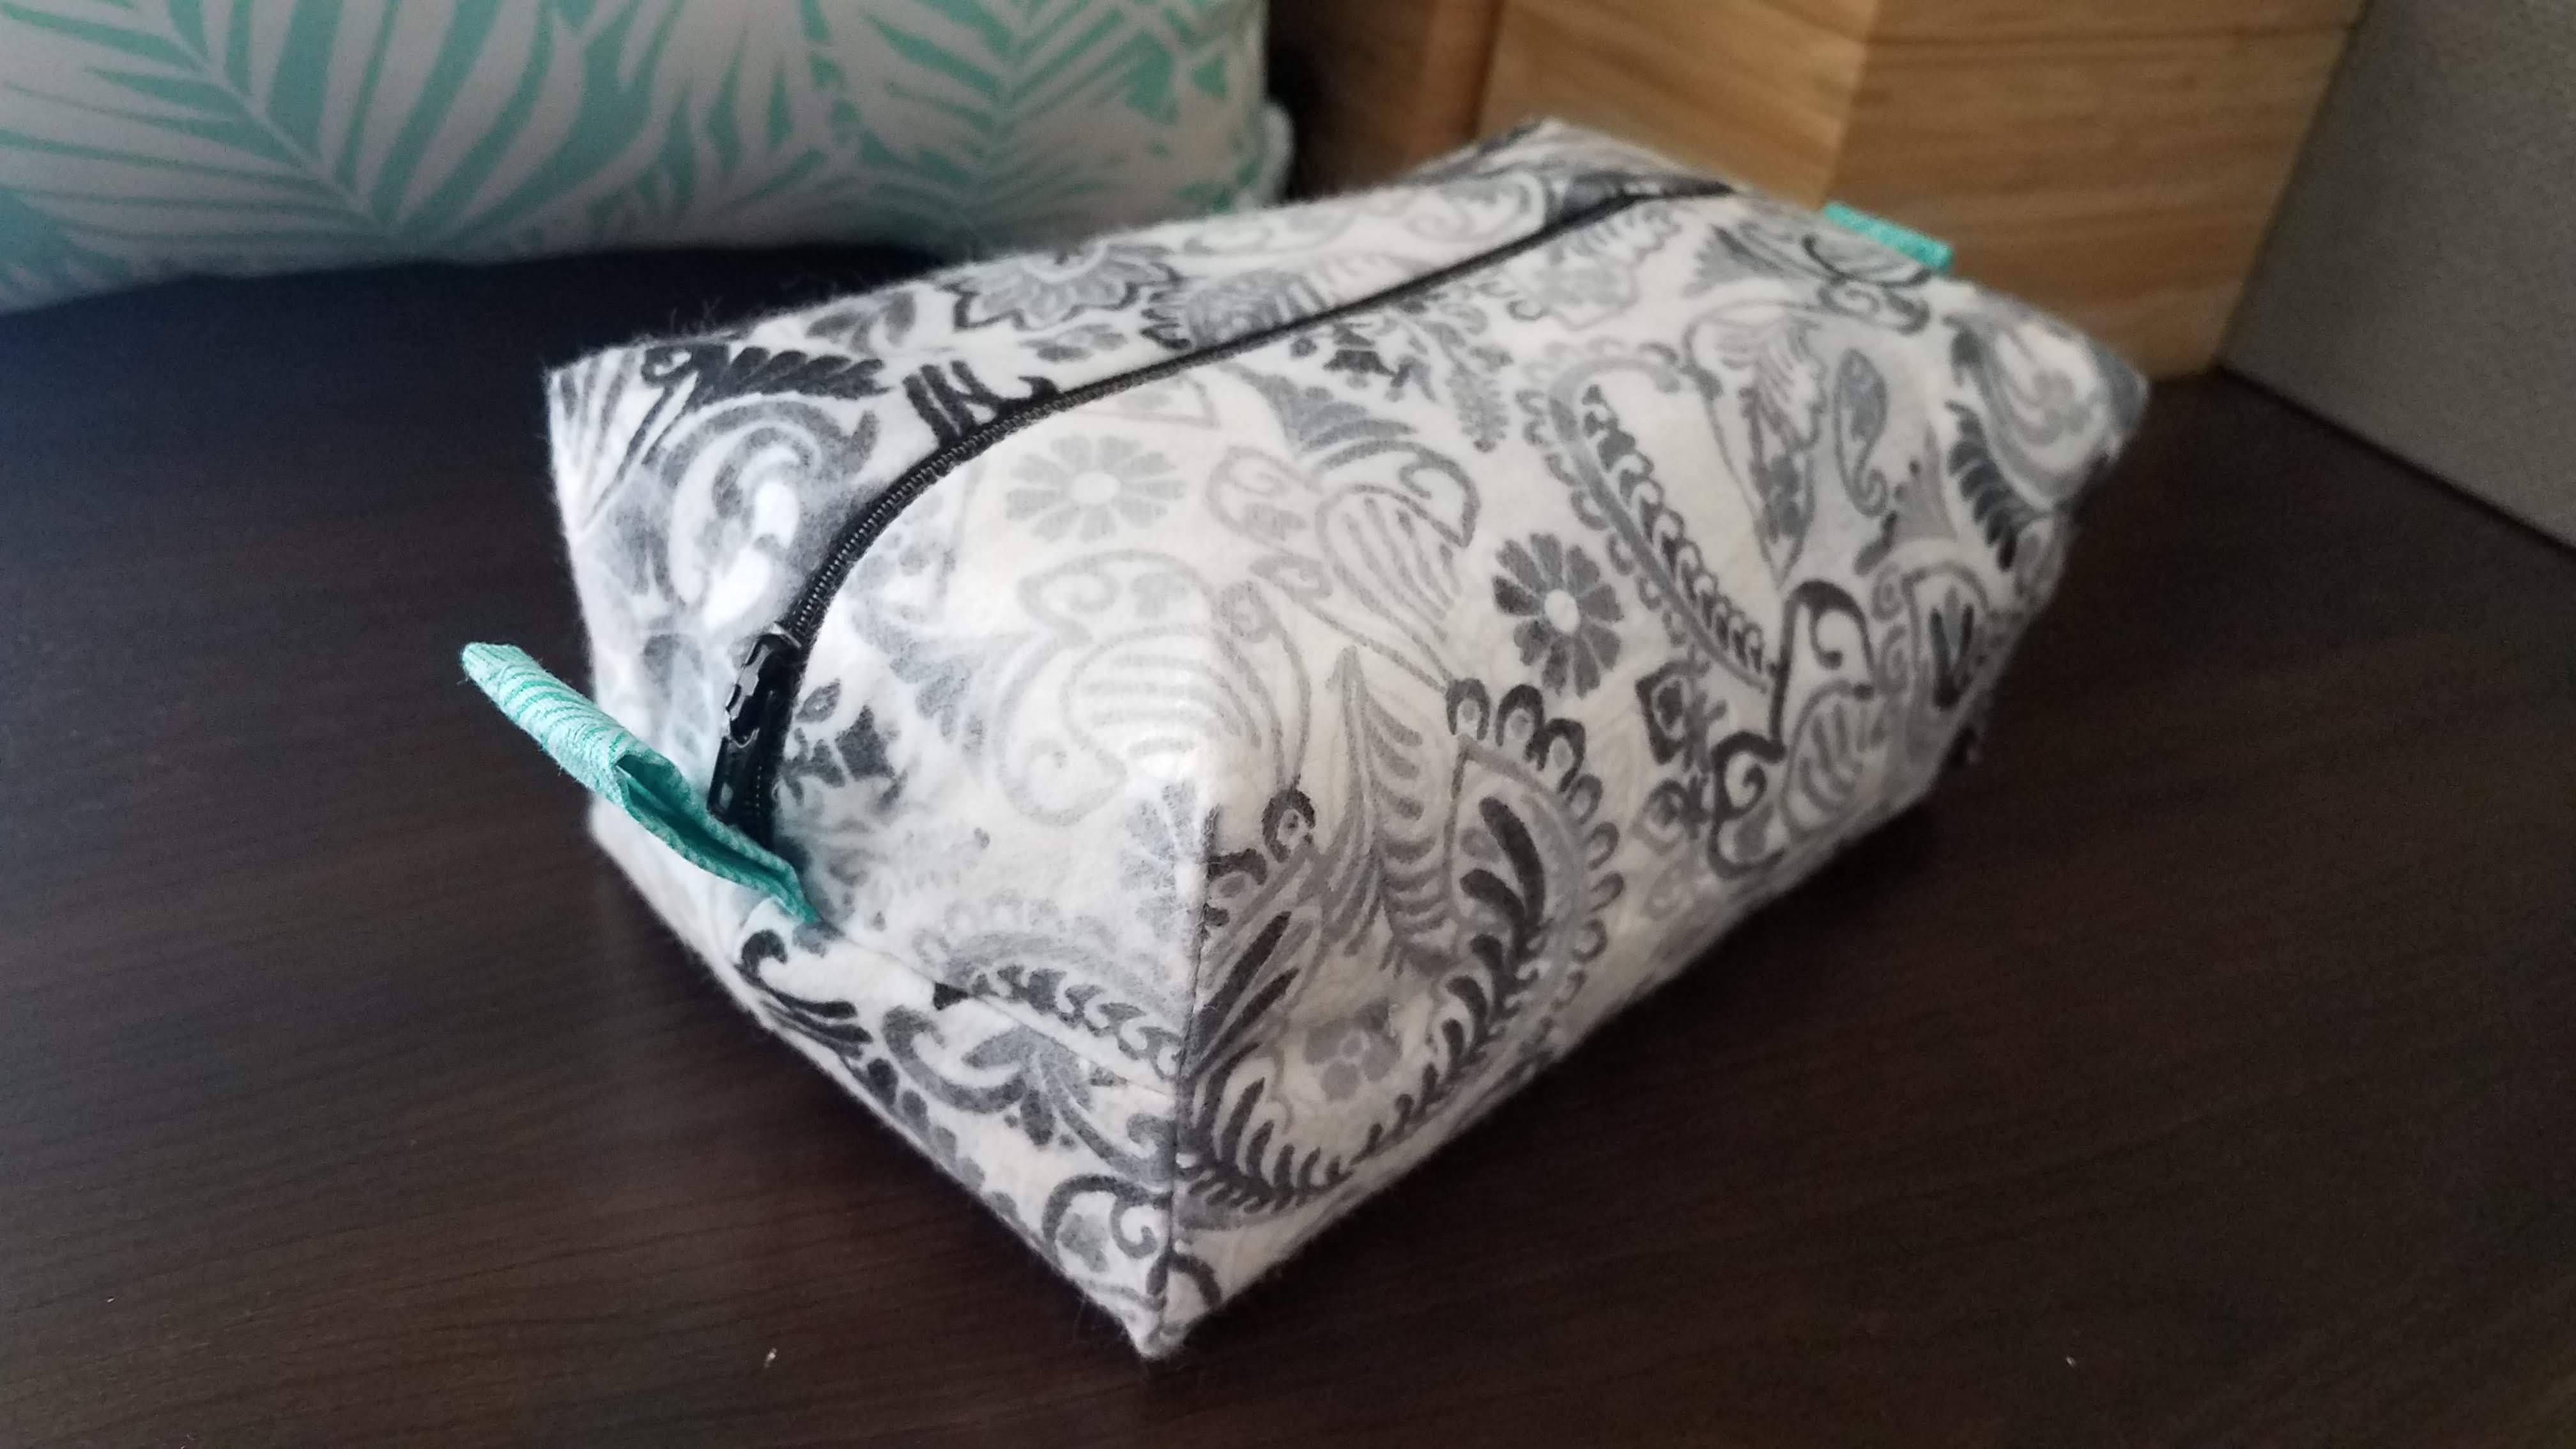
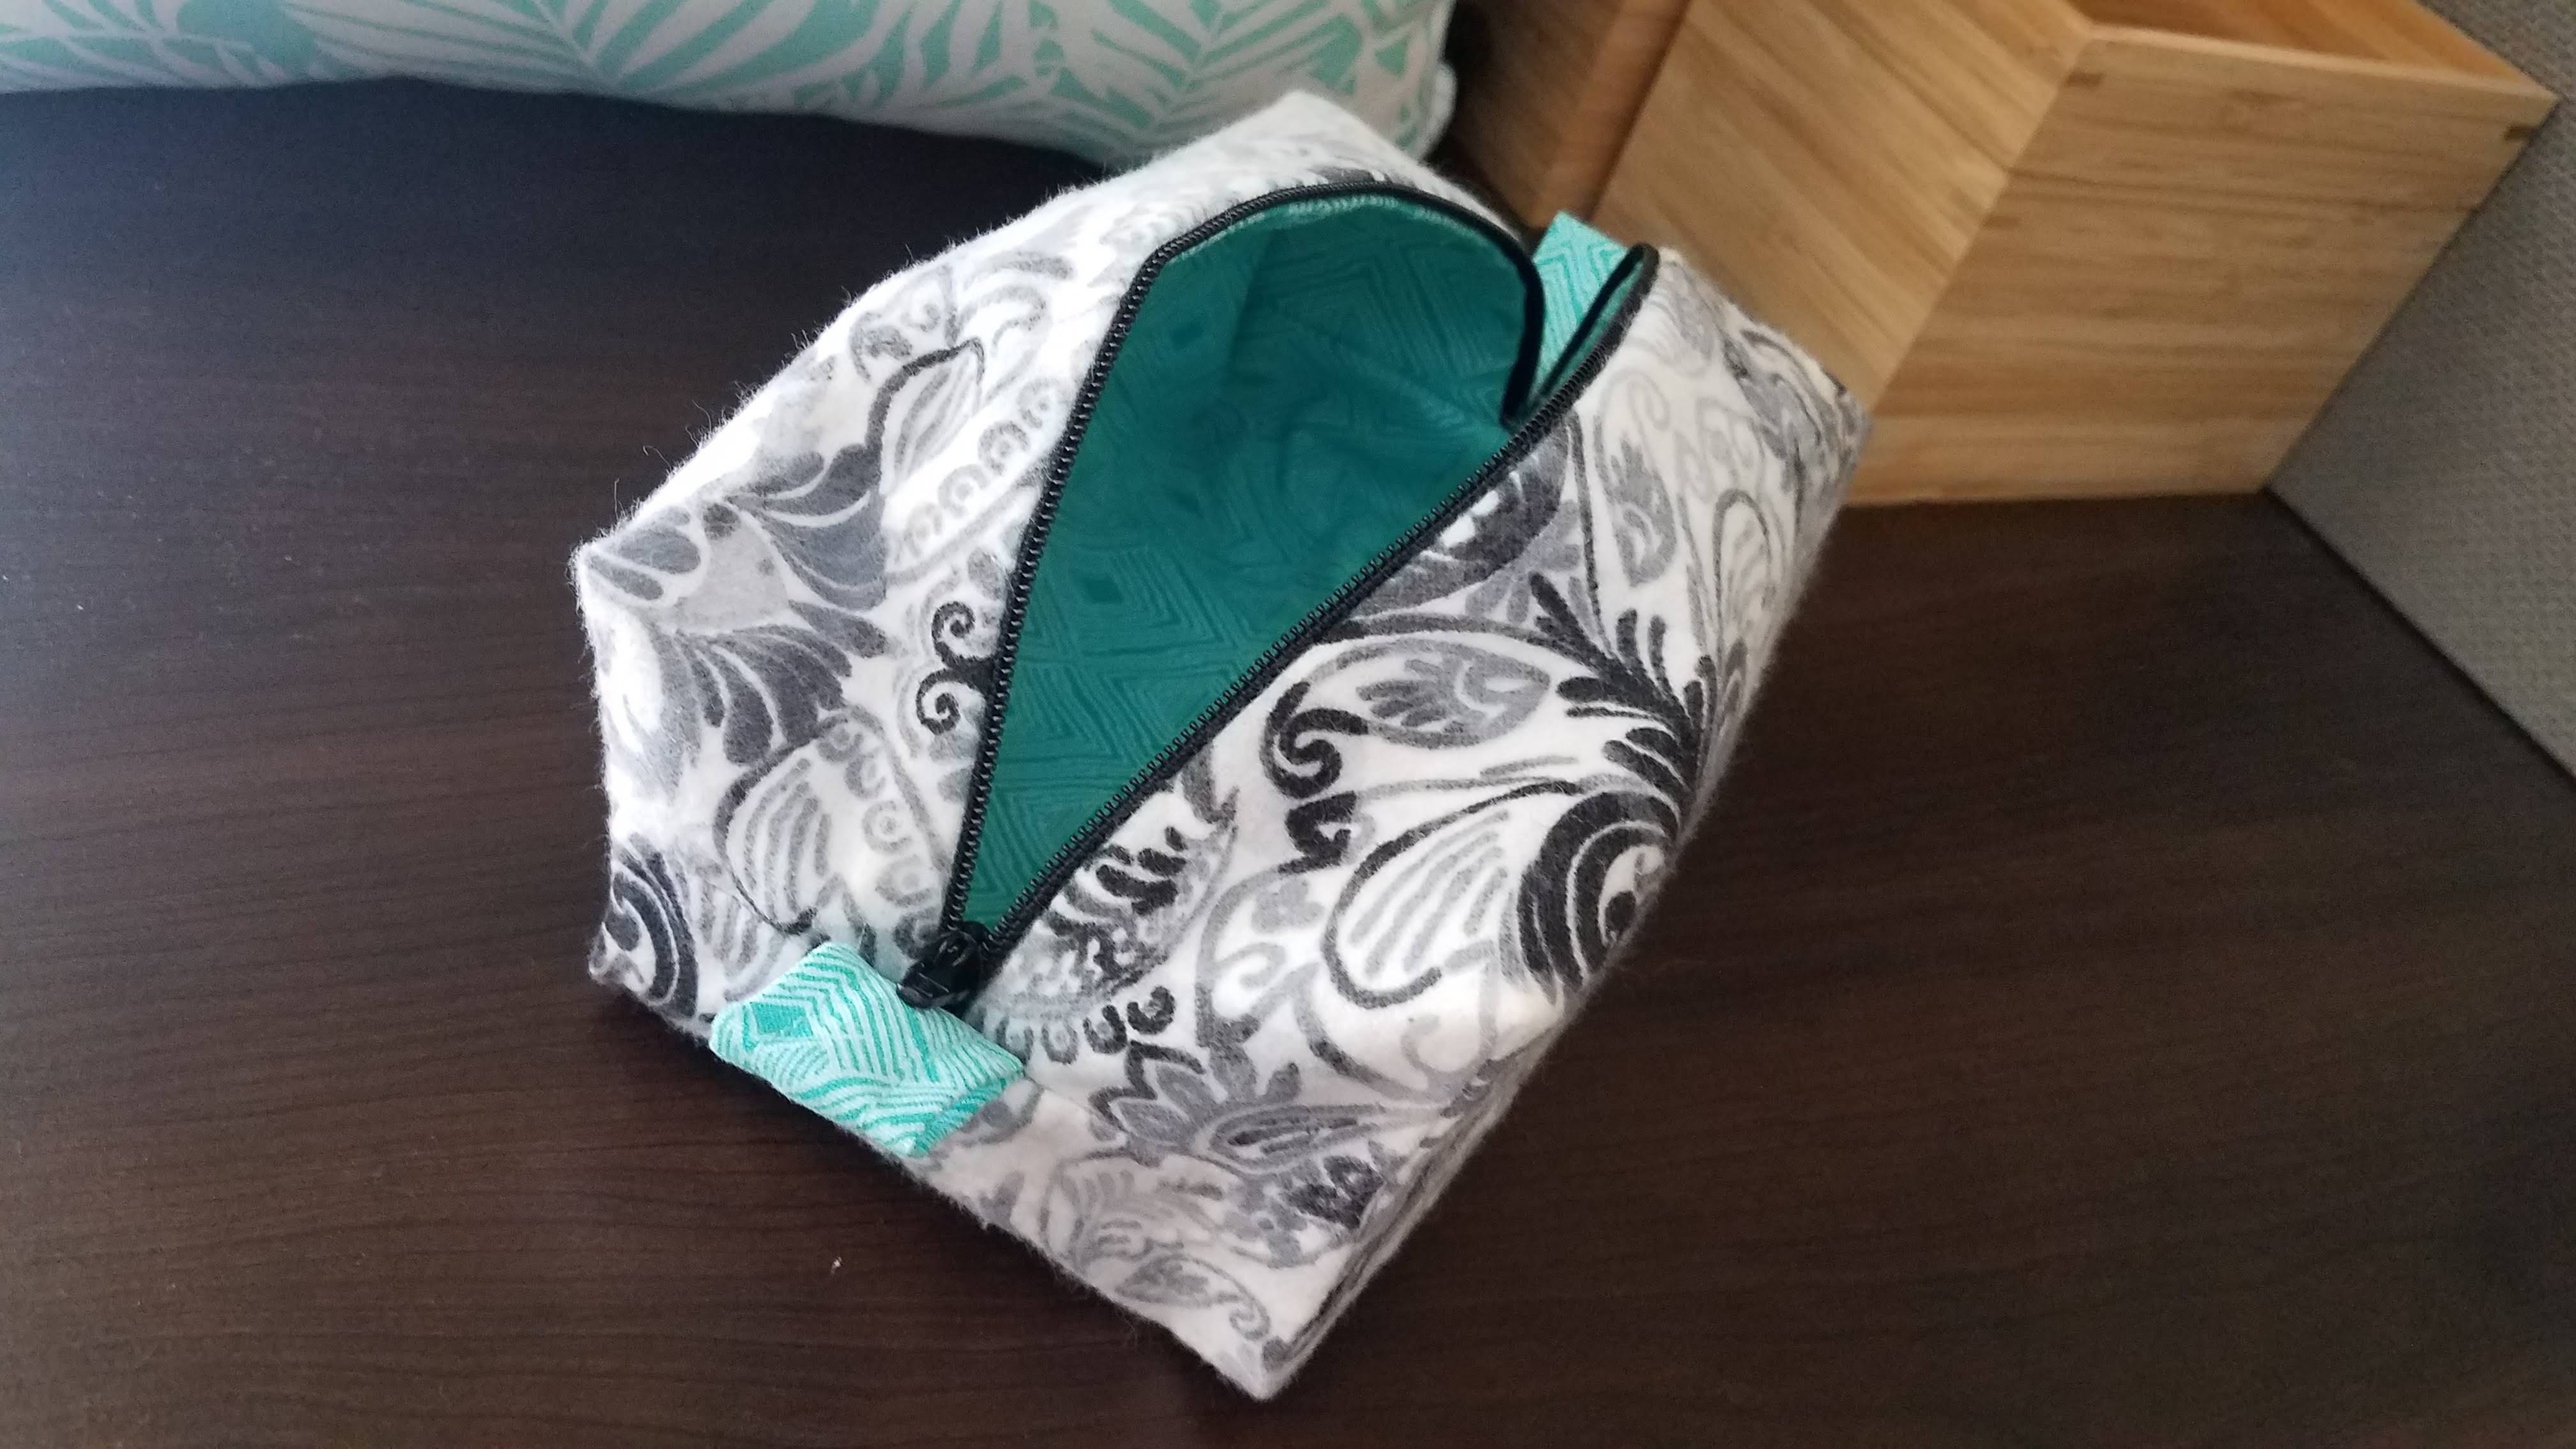
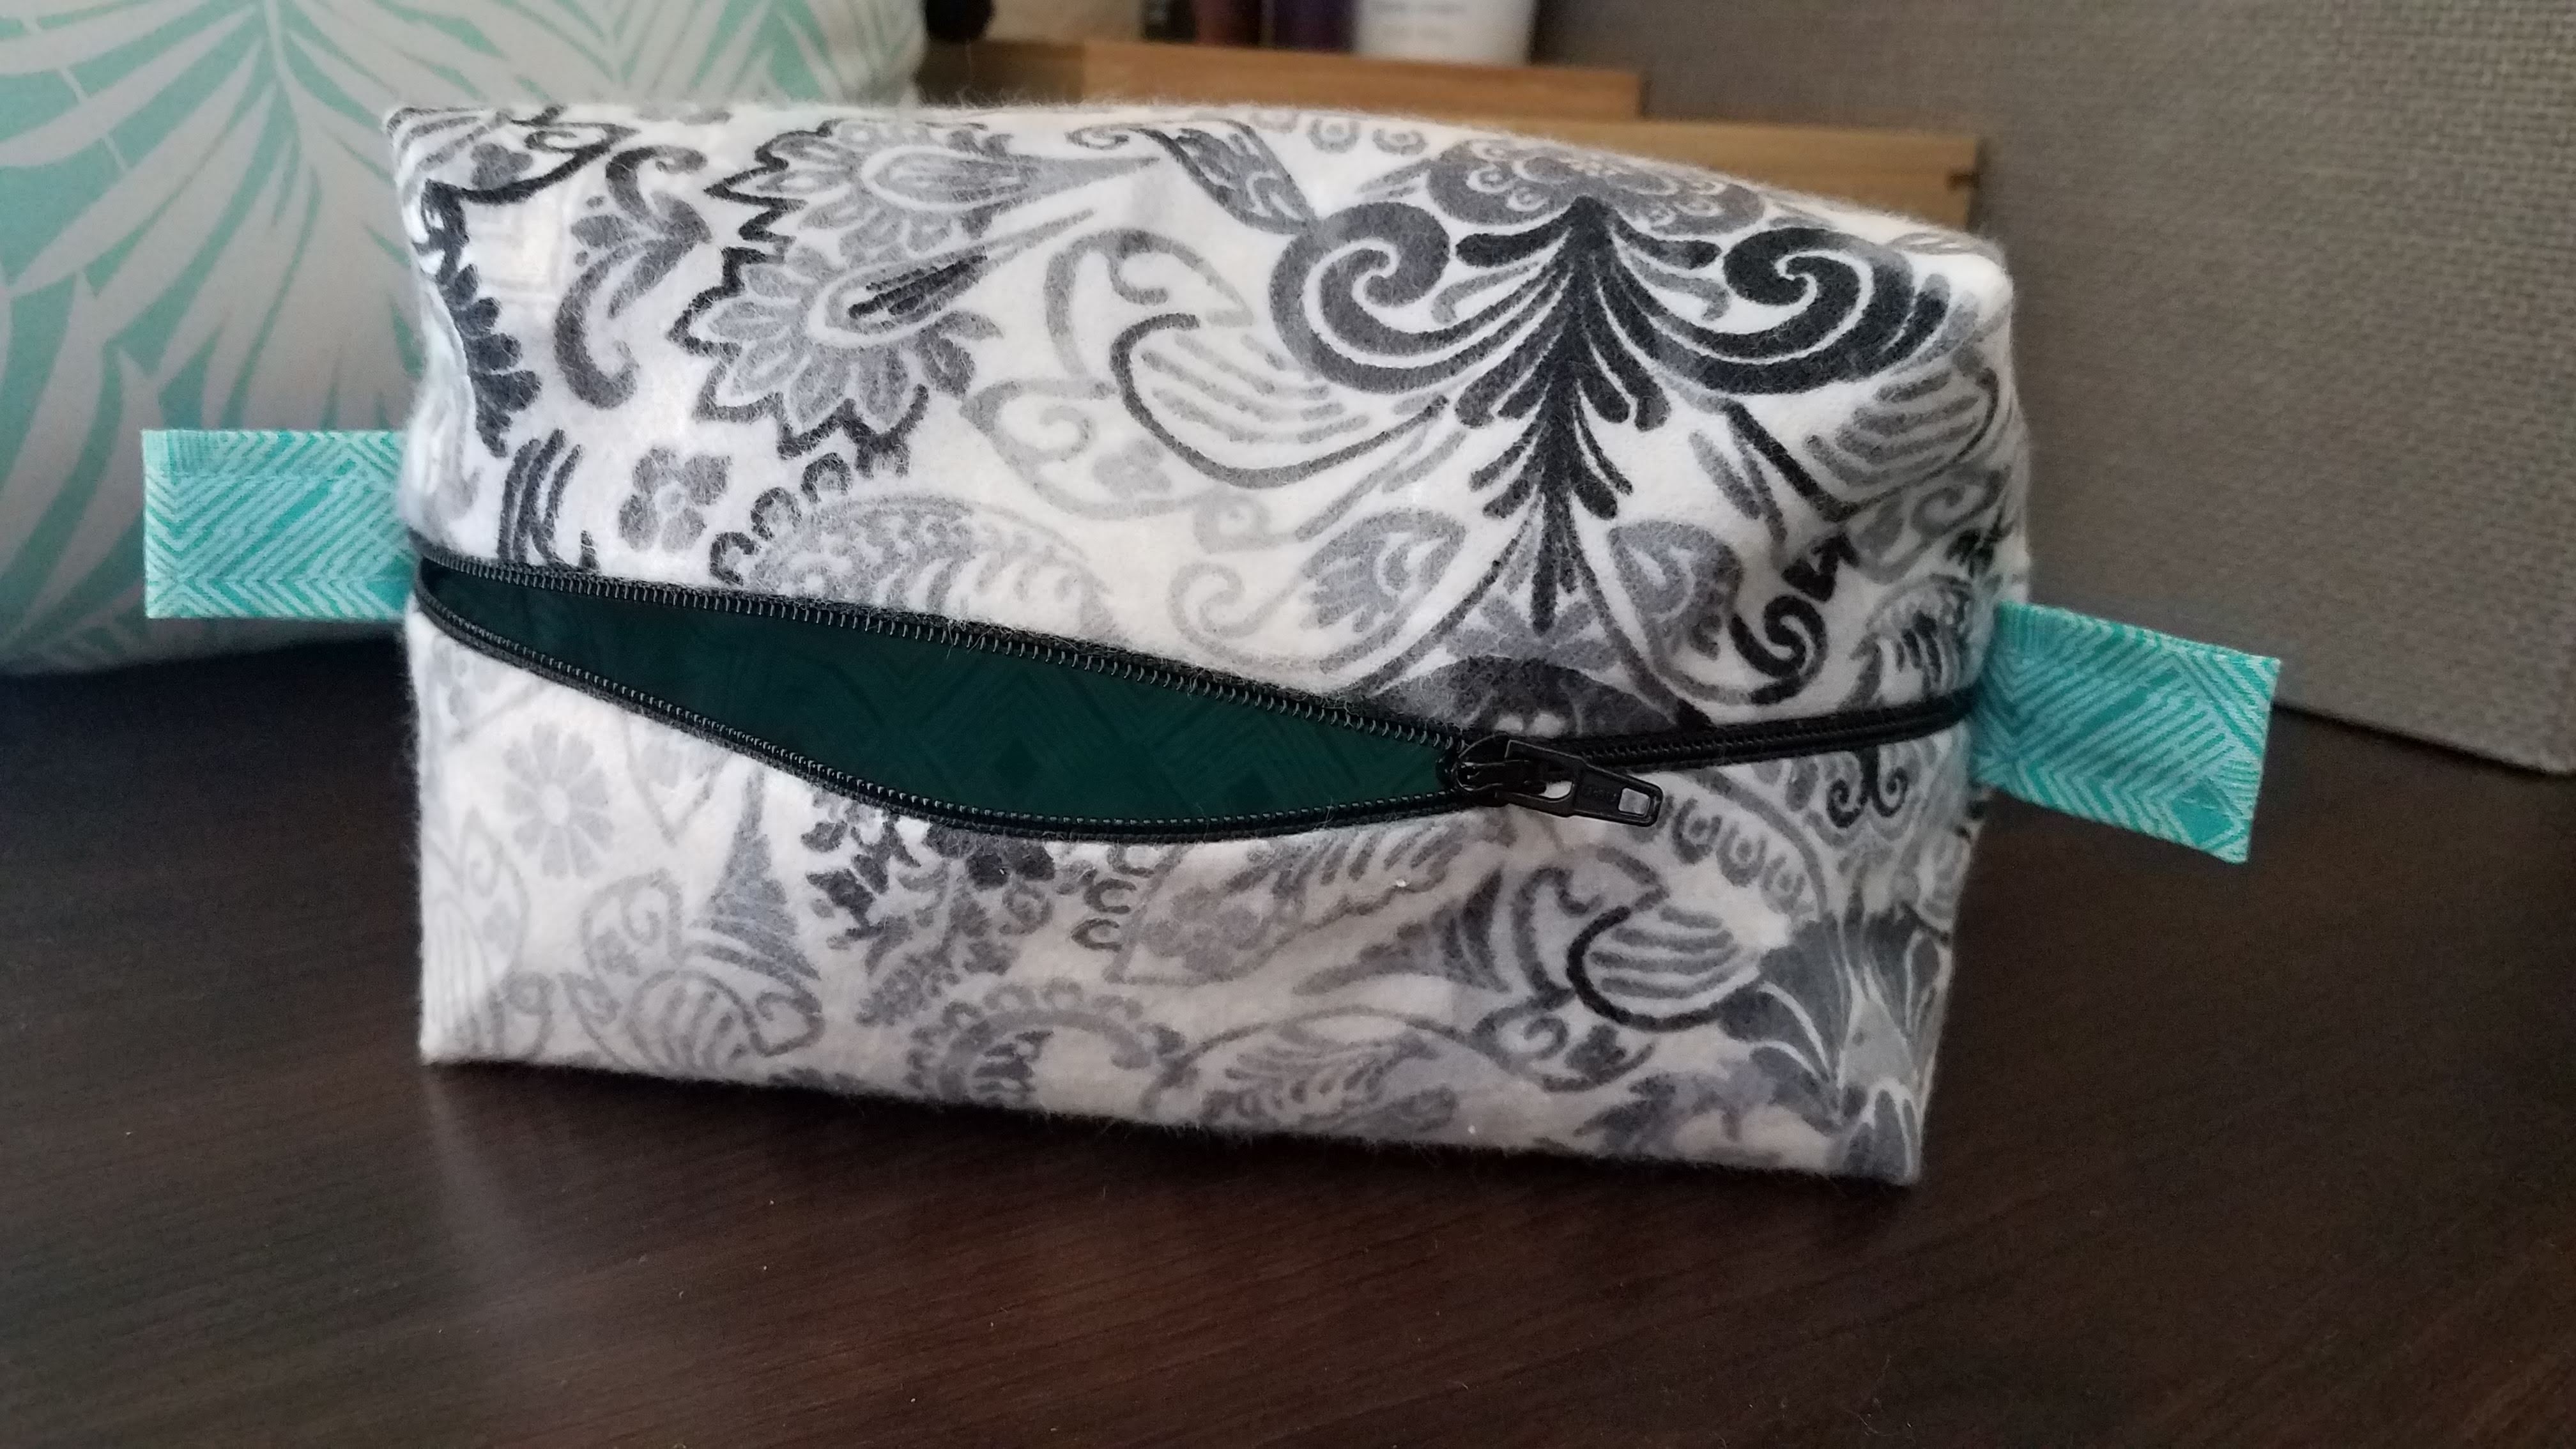
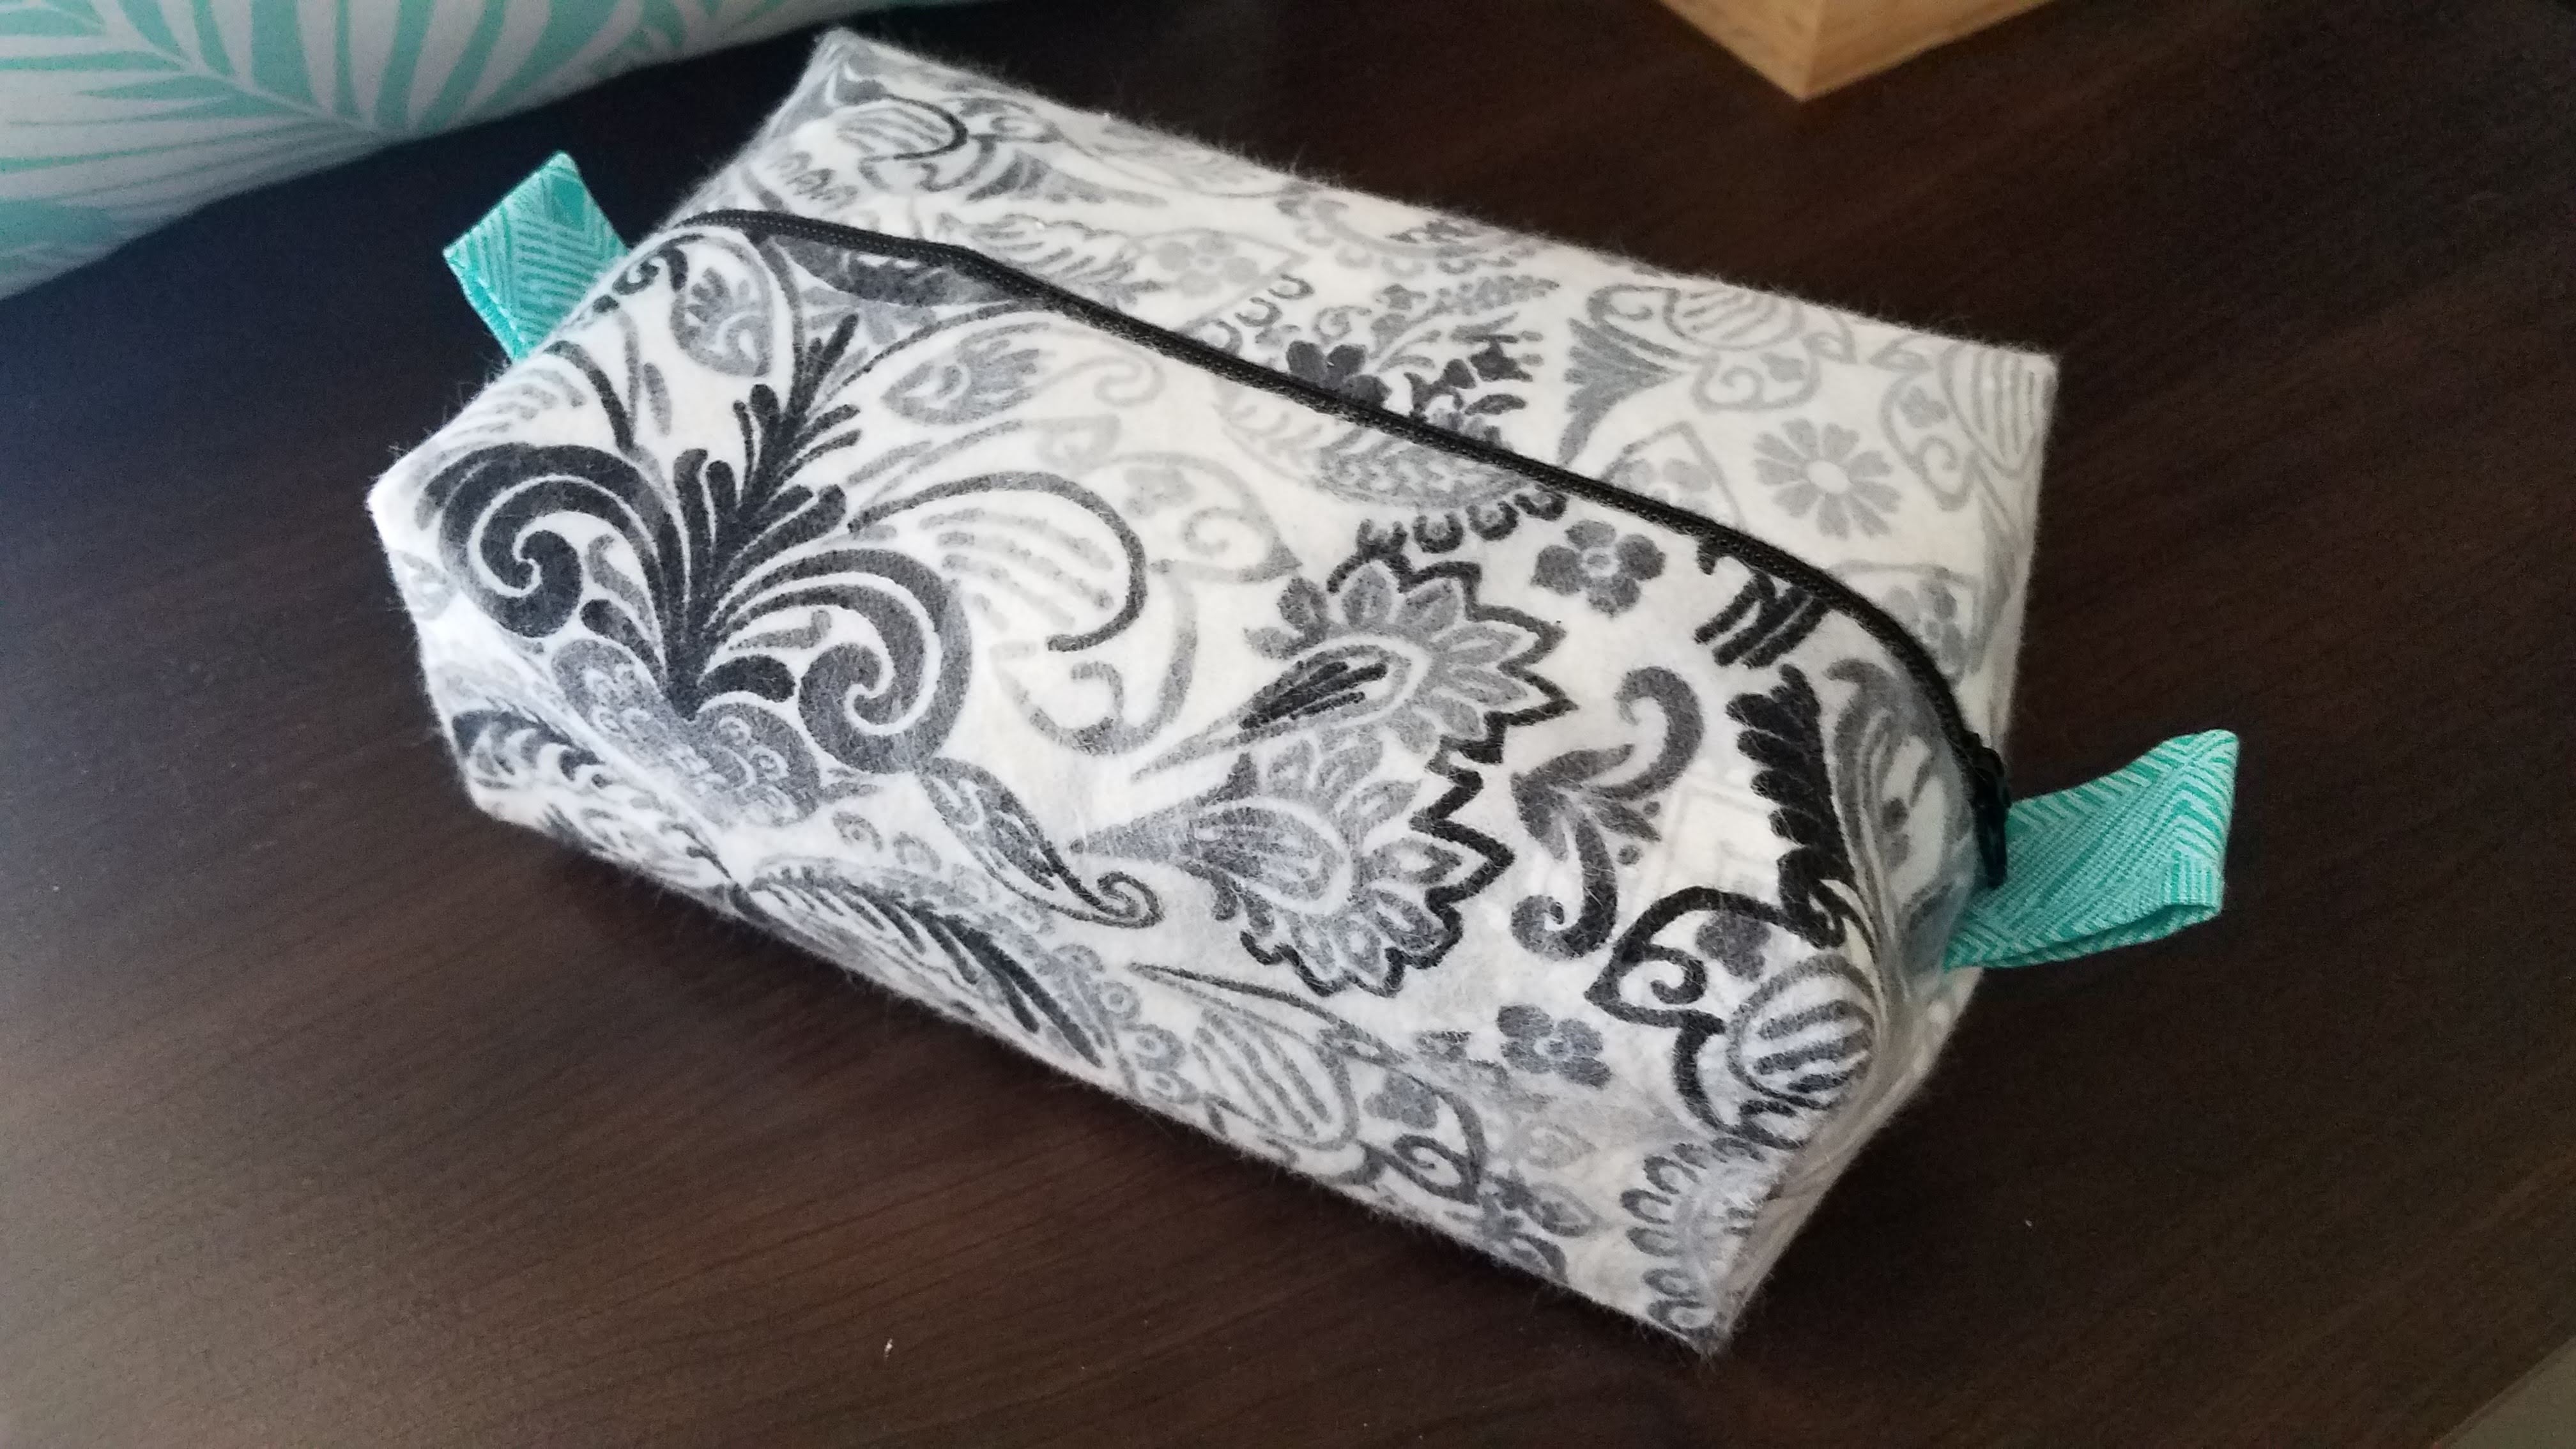
As a follow-up to my appliqued zippered pouches from my Sew Me! book, I inserted this online tutorial to tackle a pouch with a lining.
The result looks pretty nice. I can see improvement in my overall ability to make decent-looking things.
As per usual, the tutorial was lackluster. People are just so bad at explaining things and anticipating questions.
It all started to get annoying on Step 3:
- “Lay the zipper right side up on top of the right side of the lining fabric.” Would have helped to mention the top edge of the zipper should line up with the top edge of the fabric.
- “Mark a 3/8″ line from the fabric’s raw edge…you will need this small amount of space when you’re attaching the zipper pull tabs and sewing the bag side seams.” Maybe I’m still pretty new at this, but I thought standard seam allowance for “decor” type stuff is 1/2″. Having finished, I know that 3/8″ is barely enough space to work with along the side seams and especially the zipper which gets really bulky in that area with the pull tabs.
Annoying things continued in Step 4:
- “Rather than pinning, I prefer Wonder clips because of the zipper’s raised edge…” I’m sure these wonder clips I’ve seen several rave about have their place, but for me they seem to make my fabric shift more than if I use pins. So I use pins. Pinning a zipper isn’t difficult enough to warrant needing clips.
Step 5 crossed into the realm of stupid:
- “Stitch the three layers together starting at the second line 3/8″ from the fabric’s raw edge…” Why don’t you just call this a seam allowance?
- “This is what it looks like with the zipper-side up…” What the heck side is the “zipper-side”? Why not tell me “this is what it looks like with the right sides of your fabric facing up”? “Zipper-side” is arbitrary.
Step 6 continued the stupid wording:
- “Lay the other piece of Lining Fabric flat…” Versus rolled up? How else would I lay fabric? Why not “face up” or “right side up”?
- “Place the outer fabric on top of the zipper….” Or, if you want to make more sense, place the outer fabric wrong side up on top of everything.
- “Clip to hold…” No reason to mess with bulky clips. Just pin.
- “Stitch together using a zipper foot…” Seam allowance, anyone?
Step 7 was plain unnecessary, and actually problematic:
- “You want to top stitch next to the zipper. This prevents the fabric from getting caught in the zipper once you’re using the bag.” Nope. All it did was prevent my zipper from opening at all… because you failed to mention any kind of seam allowance in step 6, so my stitches were really close to the zipper.
My Sew Me! book has a really simple technique for installing zippers. And I think, if I were to make another one of these box pouch things, I would adapt that technique to this walk-through in order to make the lining. This walk-through seemed overly convoluted.
Step 10 had dumb wording:
- “Refold your bag…” I’m sorry, at what point had I initially folded it? “…so your seams and the zipper teeth align.” What seams? Why not qualify that a bit more? “…Press open the seams on one side, flip over and press open the seams on the other side. Don’t forget about the opening on the lining fabric. Be sure to line up these seams when pressing.” Erm, was that not what you meant by “flip over and press seams on other side”? How many seams and sides do you think are on this thing? You make it sound like way more than 2.
Step 11 was in keeping with the other missing information thus far:
- “Top stitch on both outer edges…” Yet again, how far in from the edge?
Step 15 continued the trend:
- “We will now sew the lining fabric together in a similar manner…” Would be great if you mentioned the zipper isn’t sewn into the side seams on the lining.
It all culminates in this giant wad of WTF:
- “Creating the boxed ends is easier than you think.” Not the way you explain it.
- “Starting with one corner of the Outer fabric, fold the bottom corner of your bag so it creates a triangle in the corner. Match up the seam with he crease on the opposite side and it will line up perfectly.” W-h-a-t? What’s the “bottom corner”? How am I “folding” it? What “crease” on what “opposite side”? You saying it’s easy isn’t permission to be lazy in explaining it. And why did you choose this particular step to skimp on the photos?
So.
Irritating.
But, with much re-reading and eyerolly moments and just random mushing of corners until I discovered the box shape, I think I nailed it.
I also knocked out my coin pouch with the incorrectly described “1-inch grommet” that is actually a 1/2″ grommet. I have to finish pounding it tomorrow when no one is here to scold me about being loud.
And then I’ll be in the final chapter of my Sew Me! book, making a wristy-cuff, scarf, and definitely NOT making that retarded looking cat hat thing.
After that, new challenges to be had in Fabric-by-Fabric One-Yard Wonders: 101 Sewing Projects Using Cottons, Knits, Voiles, Corduroy, Fleece, Flannel, Home Dec, Oilcloth, Wool, and Beyond
I’m not sure if you’re interested in seeing as other tutorial, as it sounds and looks like you figured it out well and made a gorgeous bag (well done!) – this one from Truly Myrtle has worked well for me a couple of times. She even tries to give you info on how to make a different size. https://www.trulymyrtle.com/blog//2012/03/box-bag-tutorial.html
Thanks for sharing! I’ll definitely give this one a try too! Looks really cute with the handle on it, and one can never have too many boxes/bags. 😉