My exploding collection of Peg Legs are in desperate need of tops to pair with; specifically cool-weather tunics. I have a handful of tunics but weirdly they all seem to be sleeveless. A sweater knit sale at Cali Fabrics and the Nyoka release at Sinclair Patterns created the perfect storm to solve my winter-friendly tunic needs.
Cali Fabrics
This was my first time ordering from Cali Fabrics even though they’ve been on my shop list for a long time. I’m not sure what took me so long; their prices and selection have always looked amazing, and I apparently made an account with them a year ago for whatever reason. Then along came an email for 25% off sweater knits. Sweater knits are my kryptonite.
Well played, Cali.
I ordered some ribbed sweater knit (pictured above), brushed sweater knits, and some double knit, and they’re all beautiful. Cali Fabrics has easily moved to my list of favorite shops. Their prices are awesome, their selection is right up my alley, their website and shopping experience is great, and it’s always nice to support family-owned business. I was struck by how perfectly folded the cuts were, even after being stuffed in the flat rate shipping box, and I always appreciate when shops place the fabric in a plastic bag to protect them; those boxes can get pretty mangled during shipping.
Envisioning a Tunic
As I shopped the sweater knits at Cali, I formulated the design for my ideal tunic in my head:
- long sleeve
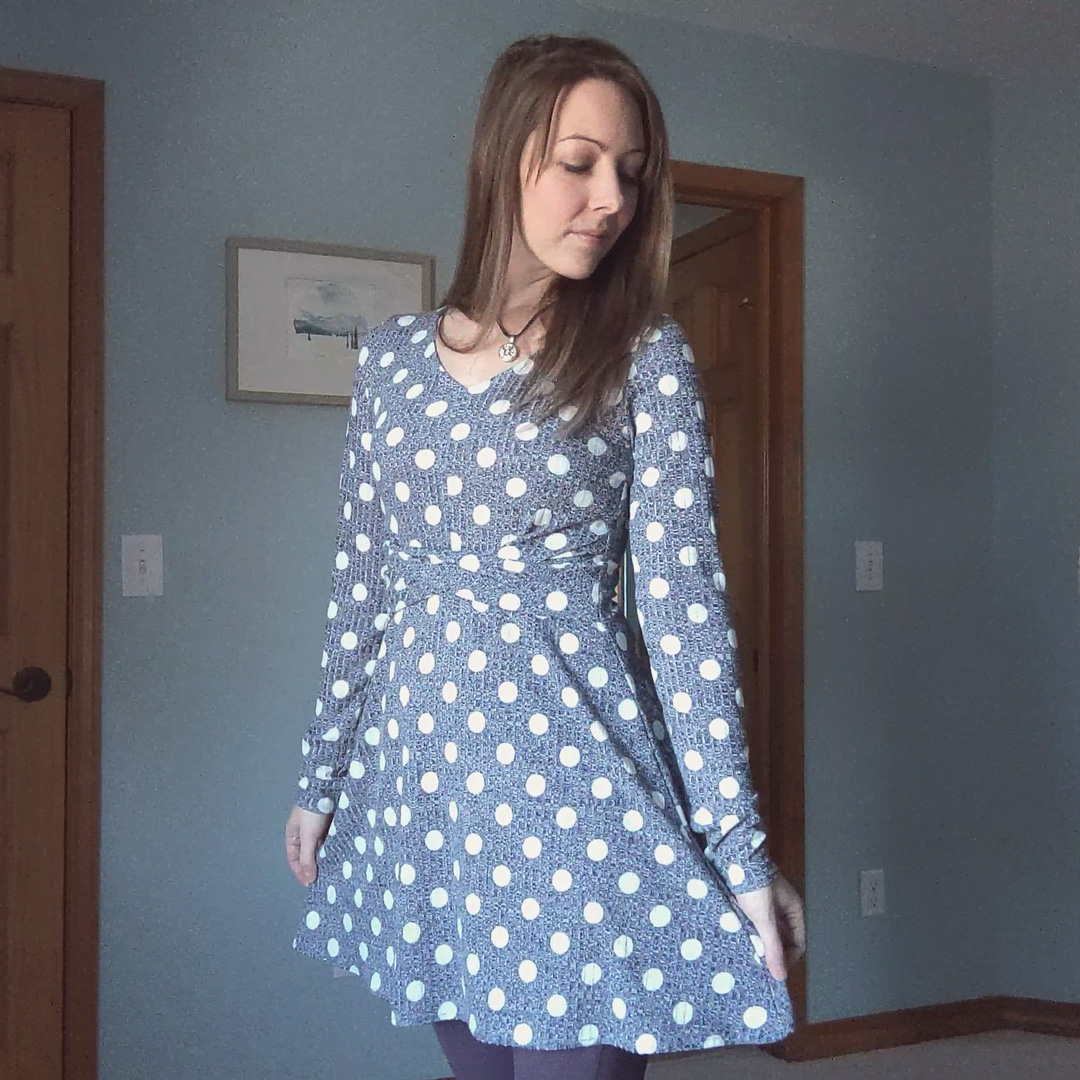
- v-neck
- fitted through the waist
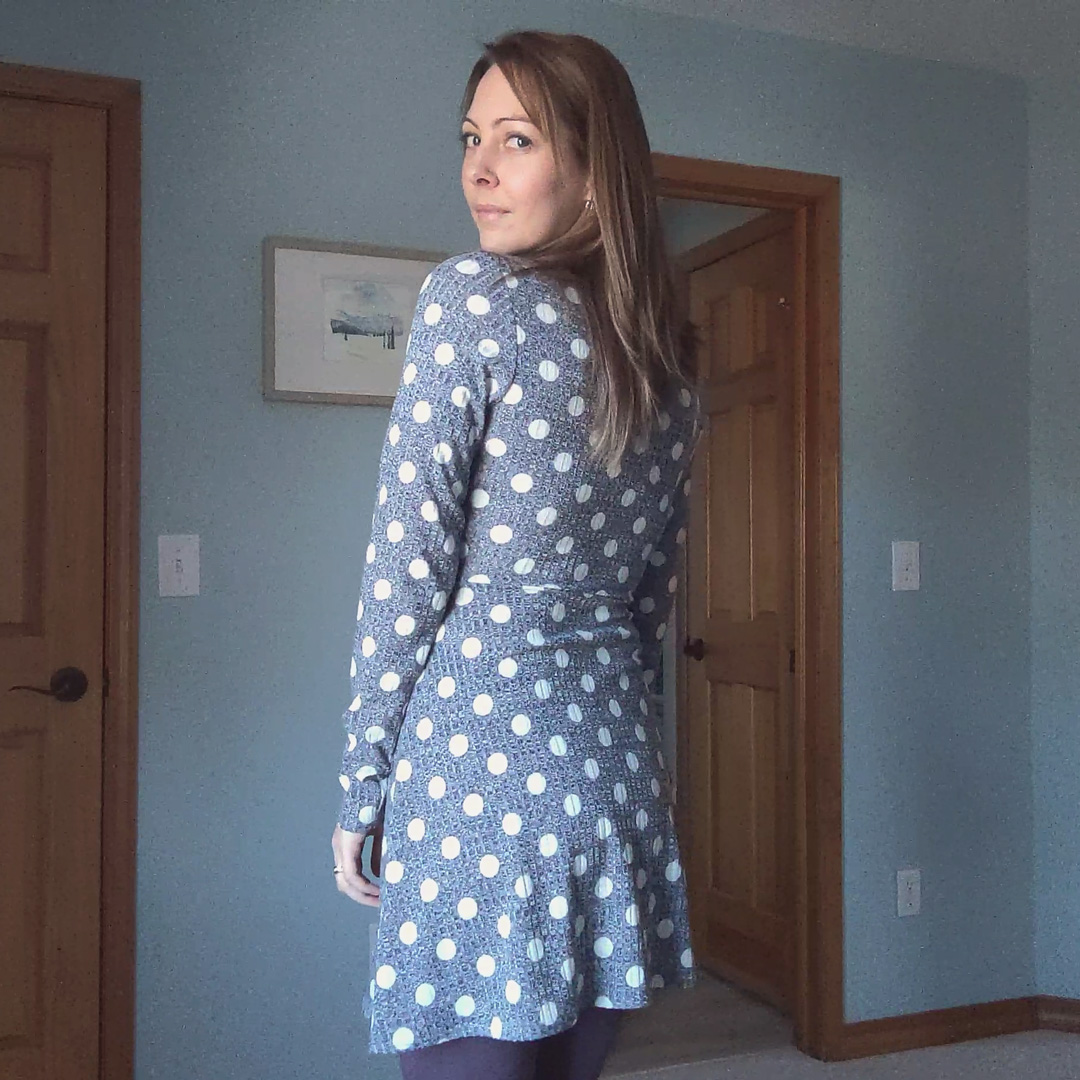
- flared at the hips / a-line or circle skirt
- maybe some thumbhole cuffs
- tunic length—something good to pair with leggings
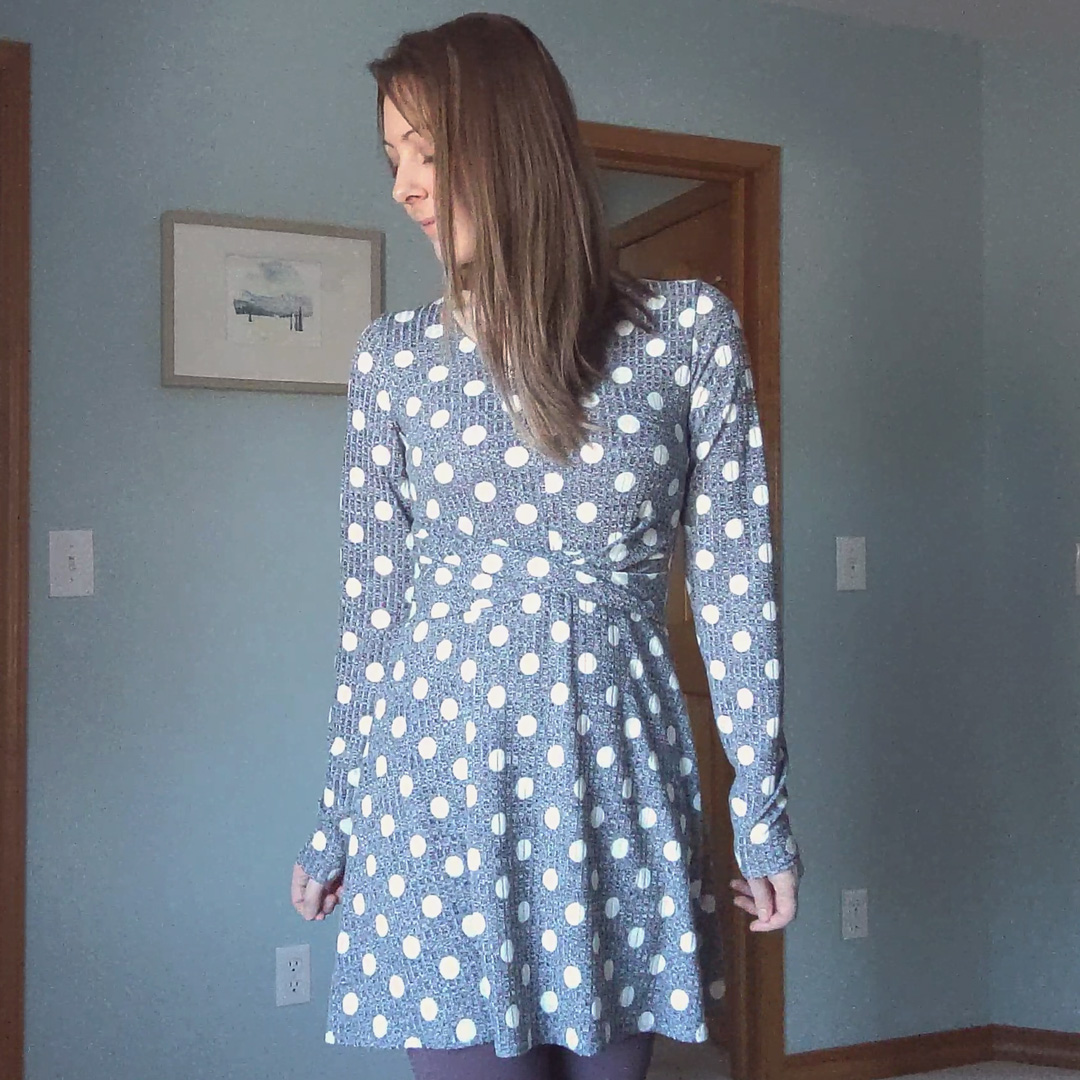
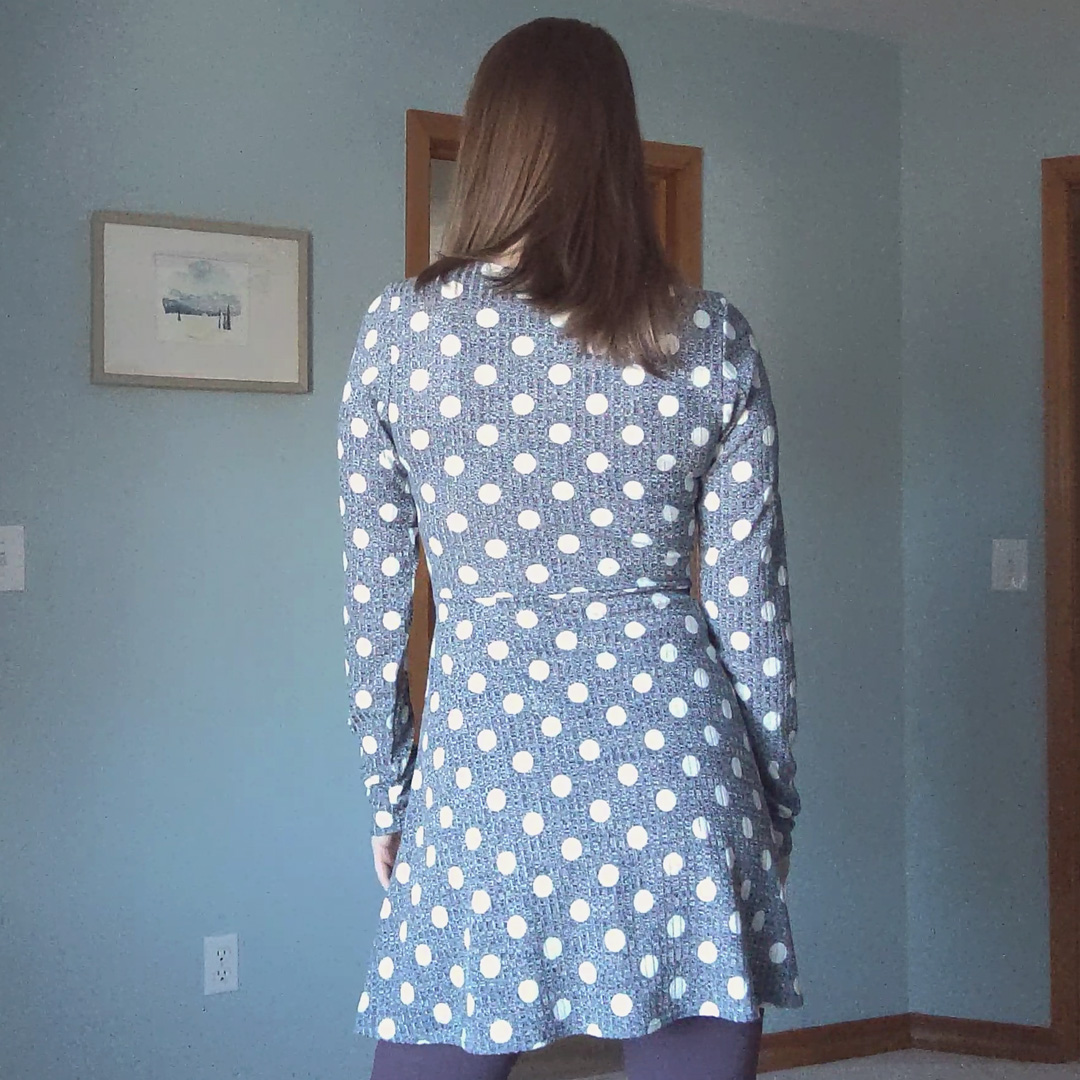
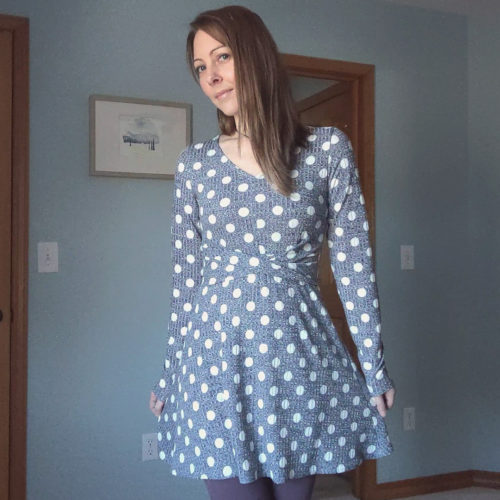
Then serendipity stepped in with another marketing email, this time from Sinclair Patterns with a BOGO deal and new pattern release: the Nyoka Crossover Dress. Wouldn’t you know it was basically everything I envisioned, plus that catchy crossover detail on the front.
About The Pattern
Sinclair is one of my least favorite in terms of pattern instructions. They’re unnecessarily verbose and confusing, and while I appreciate the photos that are included, they often confuse the situation for me because they’re taken at a point in the construction process which makes it unclear how they got there from the previous step, or there’s no clear wrong/right side of the fabric so trying to dissect what I’m looking at is more difficult than it needs to be, and the quality isn’t high enough to be able to zoom in on detailed areas.
I went into this pattern a little more optimistic because I know the designer had overhauled her patterns recently. The layout is better, but the content hasn’t improved over what I’ve come to expect. In hindsight, it’s a really simple pattern to construct, but there were several instances that gave me quite a bit of pause:
- The armscye has multiple cut lines. Only the sleeveless lines are labeled. Which makes you wonder if you should be looking for lines marked for sleeves. There is no marking for that, and based on past experience with this pattern designer, it took me longer than it should have to realize the unmarked lines were for the sleeved version. I thought it was for the seam allowance, since her previous patterns always included cut lines AND stitch lines. The stitch lines were dotted on the PDF, but they always printed solid, which caused tons of confusion for lots of people—I’ve read many a post in the Facebook group about that.
- In the very first section, it says “One side of the extension might be few mm longer than the other. Ease it at the curved segment (where the double notch is).” For me, that wasn’t the area that didn’t line up. There’s a little hook shape on either side that’s supposed to match up, and one was like 2mm shorter than the other.
- Another point in the first section instructs you to “Match the line markings.” Which are on opposite sides of the fabric. And they only match at the inward points. Forcing them to match makes the whole thing really wonky. So I didn’t force them.
Other Things I Did Differently
- I didn’t stabilize the shoulder seams. I sewed the shoulder seams, finished the edges, and then topstitched the seam allowance. That’s my lazy way of stabilizing.
- I did not include any elastic around the waist. I loathe elastic, especially around the waist. LOATHE!
- Where is says “DO NOT STRETCH THE NECK BINDING”, well, I stretched it anyway as needed to make it fit. And it turned out fine. Better than fine. My neckline looks pretty darn good.
- I added an inch to the sleeves.
- I shortened the above-knee skirt by 7″ and redrew the sides so it would still flare out as much as the intended above-knee length would’ve.
- I did not grade between sizes. I did size 4.
As I typically do with this pattern designer, I read through the instructions in [mild] detail to get an idea of what’s involved. And then when I work through it, I look at them from 1,000 feet. Time to attach the sleeve? I know how to do sleeves, so I’ll just do it the way I always do it. And that always makes these instructions more bearable.
Summing It Up
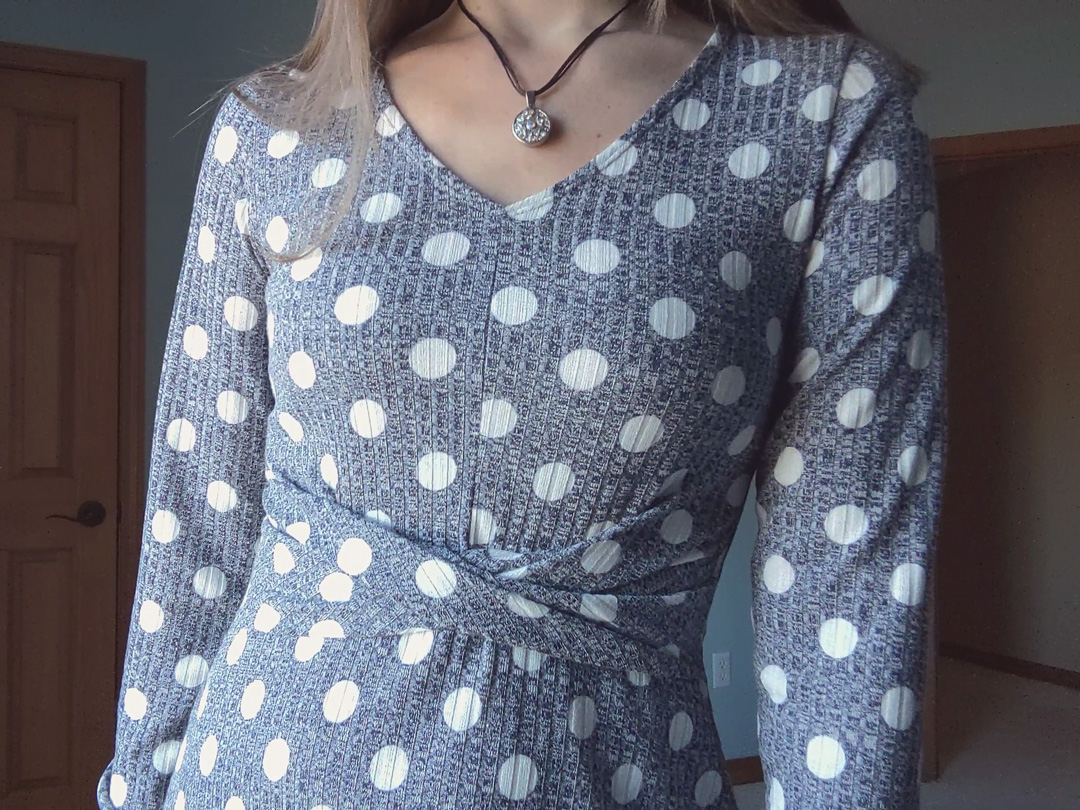
All annoyances aside, it’s actually a really easy sew. The neck binding is probably the most challenging and time-consuming part, but with patience, prep, and pressing, it comes together painlessly. I’m actually quite proud of how my binding turned out. Beyond that and the crossover detail, it’s your typical top, construction-wise.
About the Fabric
- 2 yards of White Dots on Heather Navy Ribbed Sweater Knit
- 125% 2-way stretch
- light midweight
- fluid drape
- polyester / rayon / spandex
- sews beautifully
Notes for Next Time
- The sleeves aren’t as fitted as I expected. I might need to taper them in just a bit.
- Take advantage of color blocking potential. It’d be cool to have one half of the front bodice, the back bodice, and the back skirt (and maybe one sleeve) as one block, and the other half of the front bodice, the front skirt and the other sleeve as another block. I think it could give a fun effect of wrapping around the body.
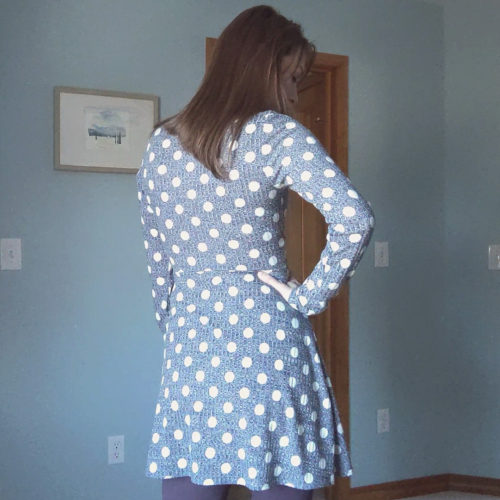
And that’s it. I was floored when I slipped it on and saw how absolutely perfect the silhouette was. The waist contours at just the right spot and flares out flawlessly. The crossover detail lays perfectly. Some tester photos looked awkward to me as the crossover seemed to grow out of their boobs. No thanks. Sometimes being an A cup works out.
Project Settings
Presser Foot |
Stitch# |
Width |
Length |
Needle |
Top Thread Tension |
Application |
|---|---|---|---|---|---|---|
standard zig-zag (A) |
5 |
1.0 |
4 |
blue tip |
4 |
seams |
overedge (C) |
6 |
5.5 |
3 |
blue tip |
4 |
edge finish |
standard zig-zag (A) |
2 |
4 |
3.5 |
blue tip |
4 |
shoulder topstitch |
standard zig-zag (A) |
2 |
3.5 |
3.5 |
twin stretch |
4 |
neck binding topstitch / hems |
Leave a Reply