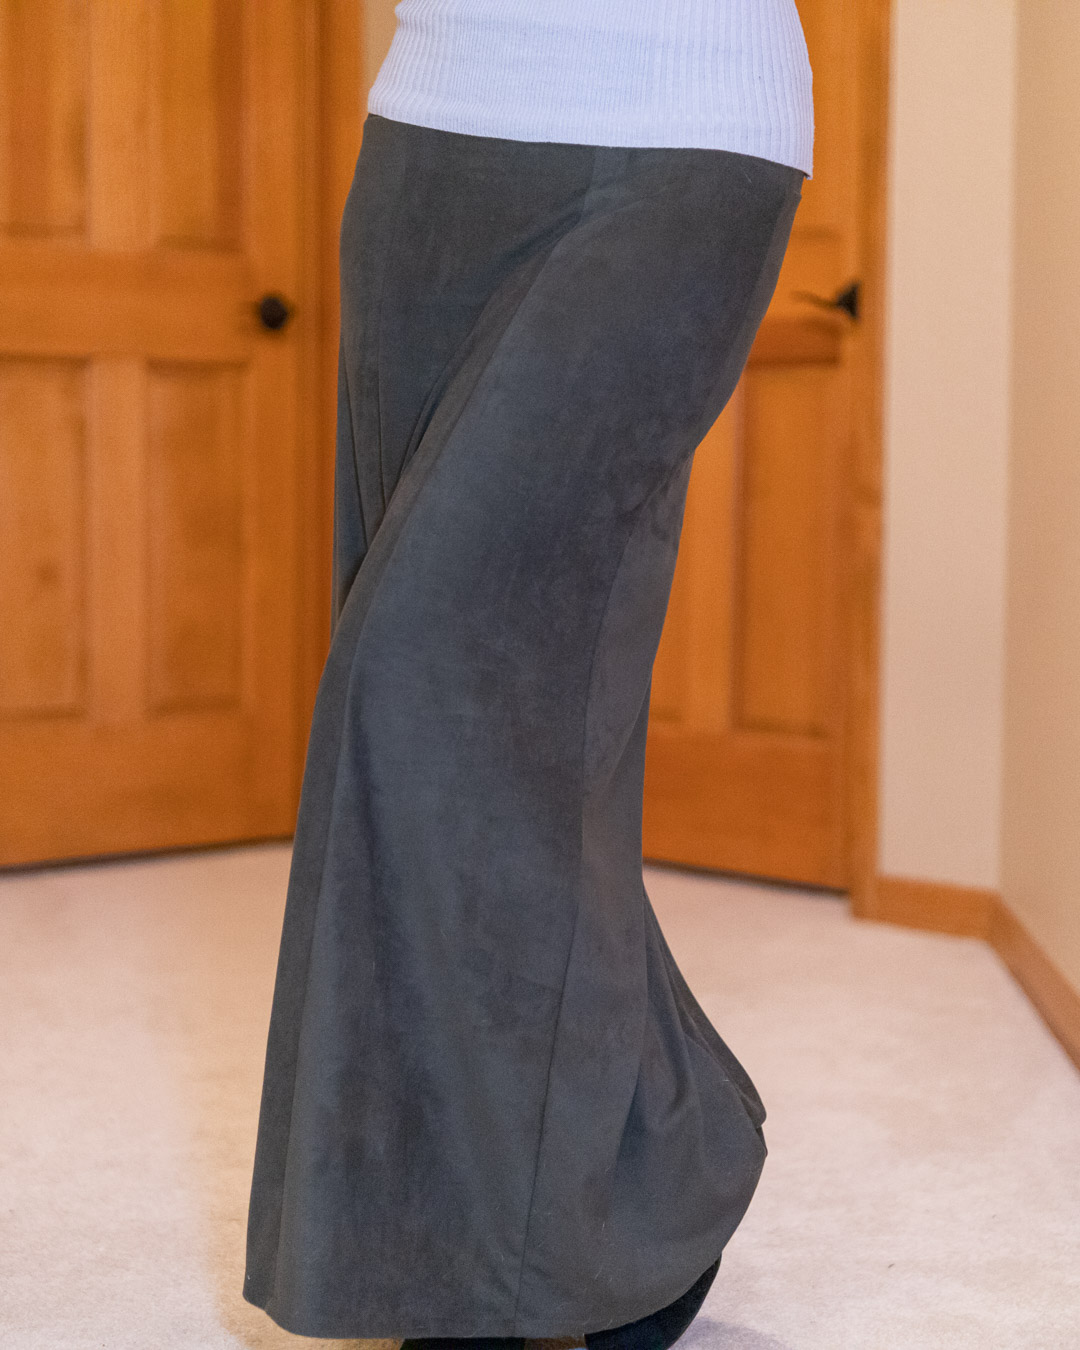
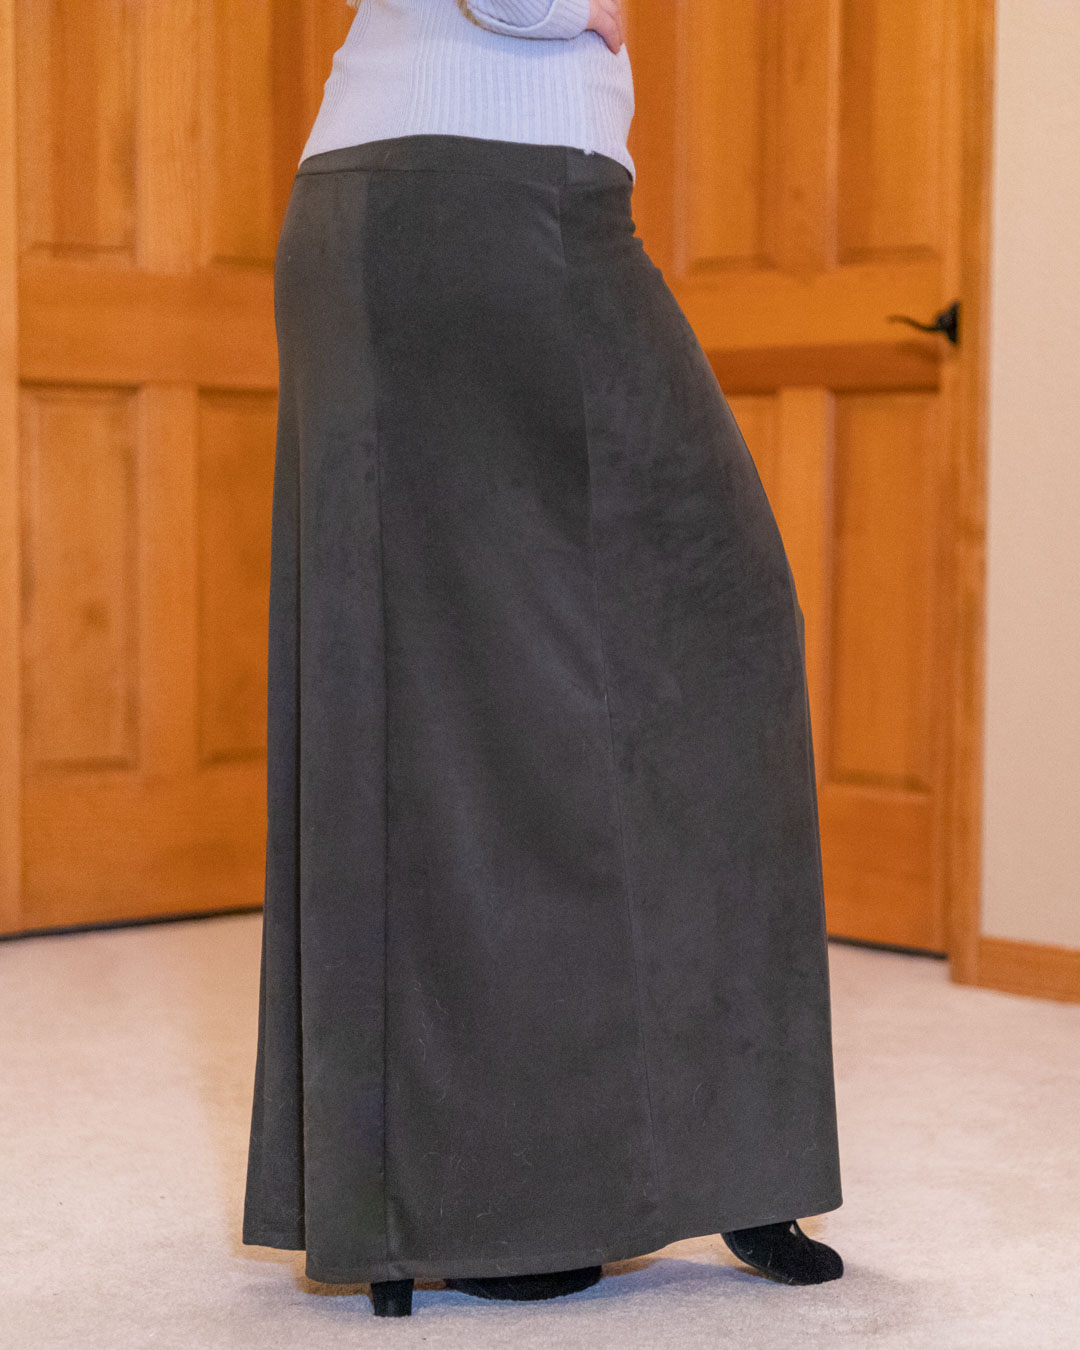
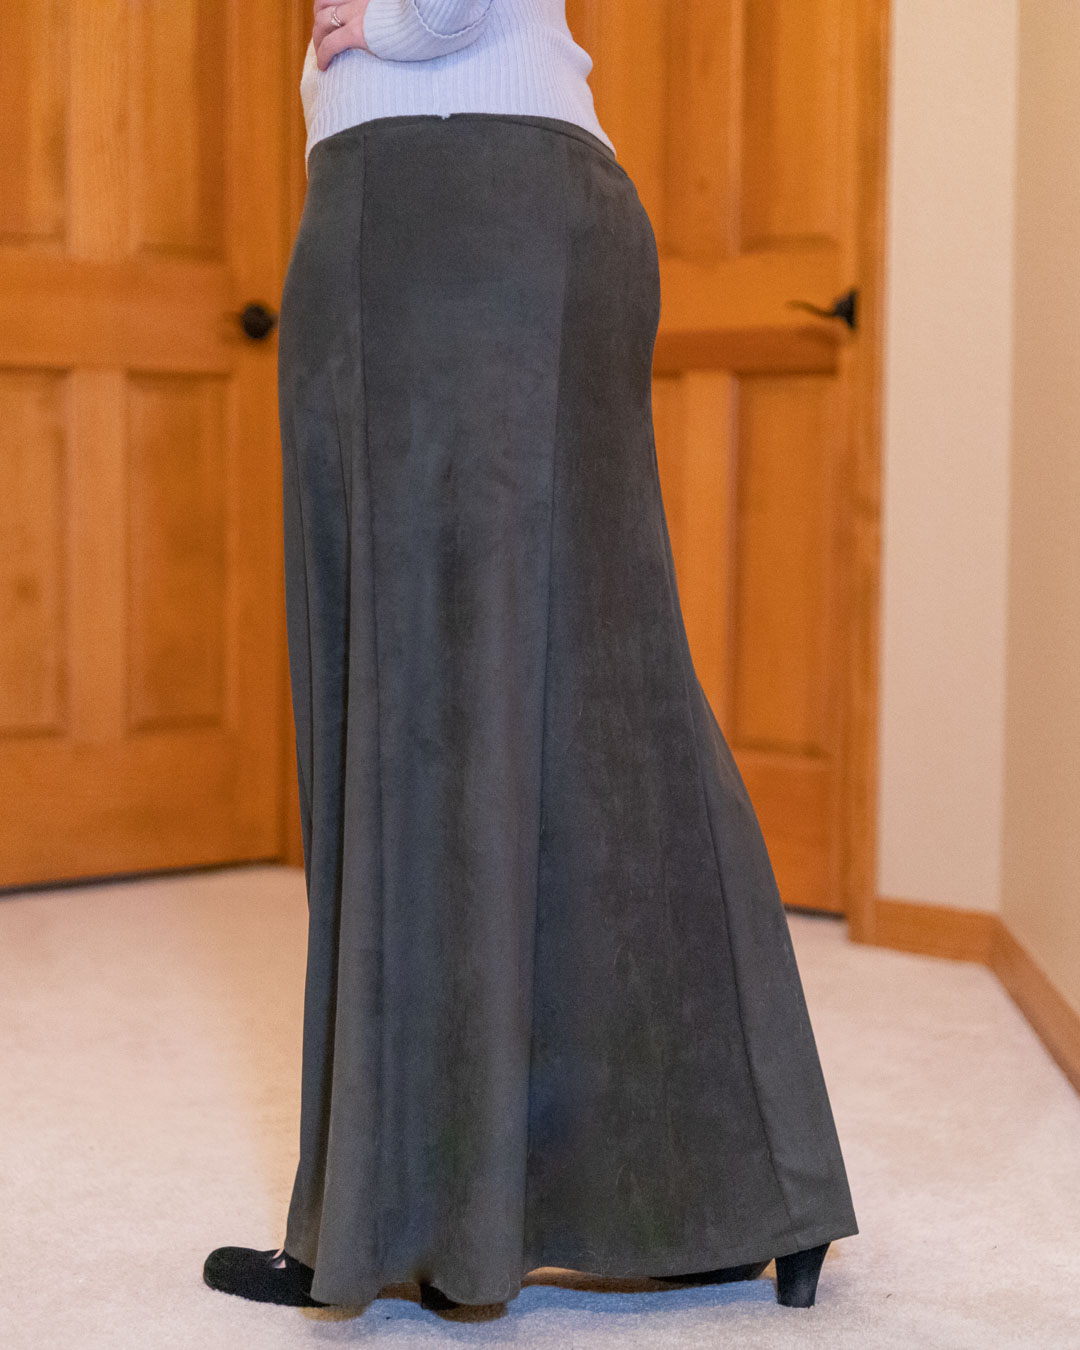
9 seams and a hem. That’s all this skirt takes.
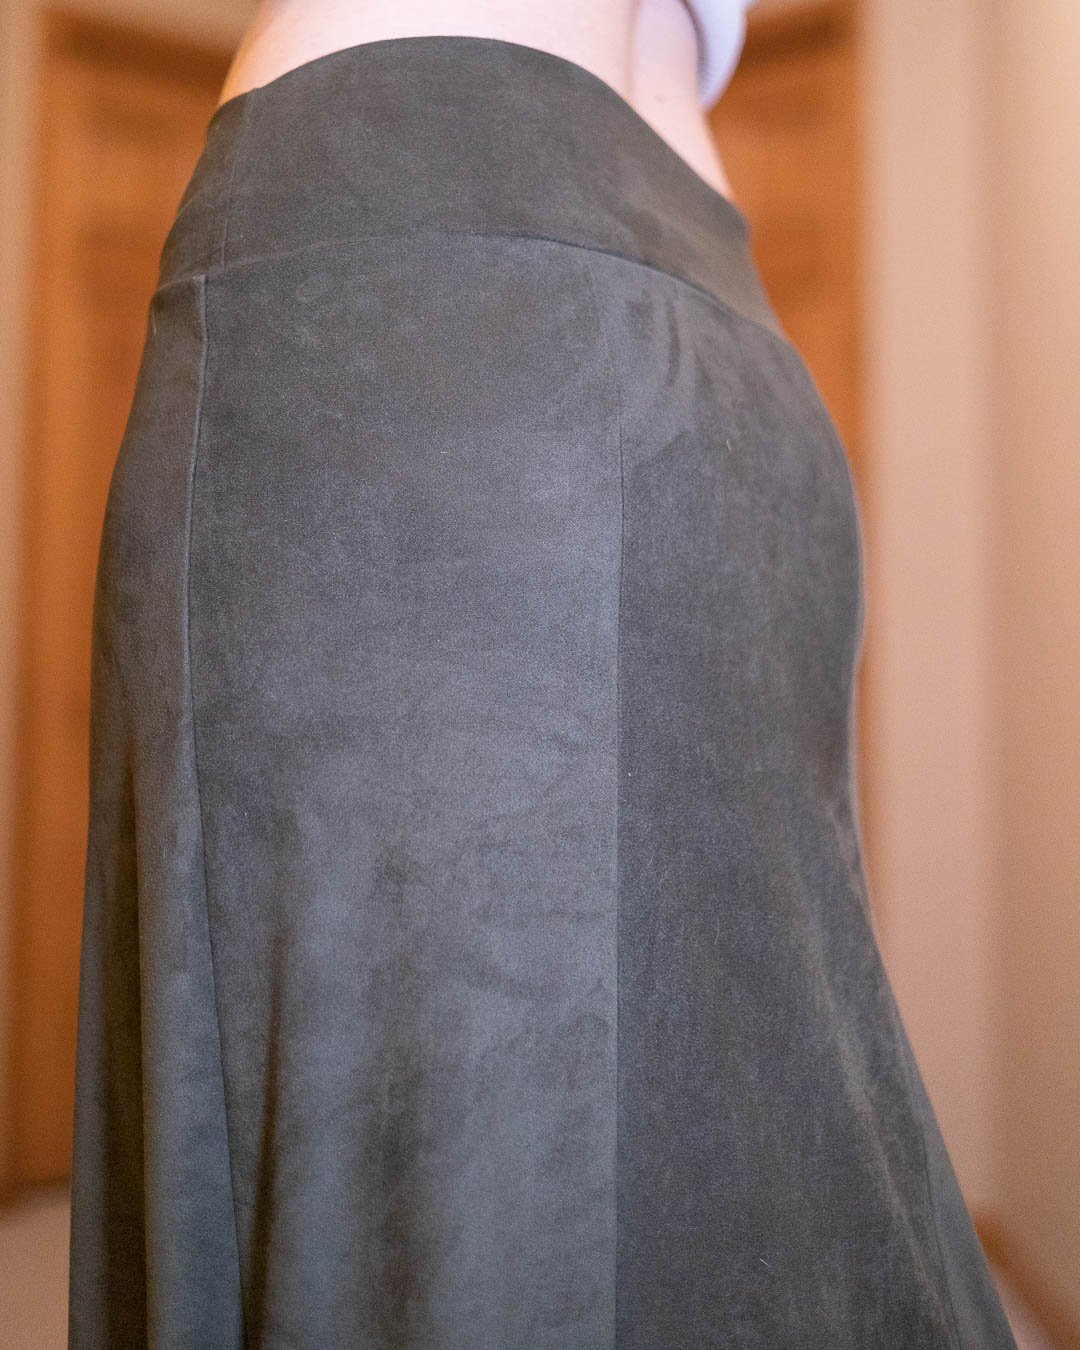
This project began when I found and bought several faux suede knits from Boho Fabrics. For the black and brown, I clearly saw more McCall’s blazers. But for some reason, when I saw the green, a skirt popped into my mind. When the fabric arrived and I felt its incredible fluidity, the plan solidified. This had to be a winter maxi skirt.
Inspiration:
About the Fabric
Norwegian Spruce Green, Faux Suede Knit from Boho Fabrics
- Contents: Polyester/Spandex
- Weight: 14 oz
- Width of Fabric: 60″
- Horizontal Stretch: 75%
- Vertical Stretch: 50%
Faux suede knits have got to be one of my all-time faves. They are so…delicious? Divine? Worthy of mega cheesy adjectives, for sure. They are so supple and touchable, and this particular fabric was the same on the face and the back. The other faux suedes I got in this order were like the faux suede I used on my last McCall’s blazer: more structured with an untextured back. Still incredible fabrics, but not ideal for something that needs to flow and drape well like a skirt.
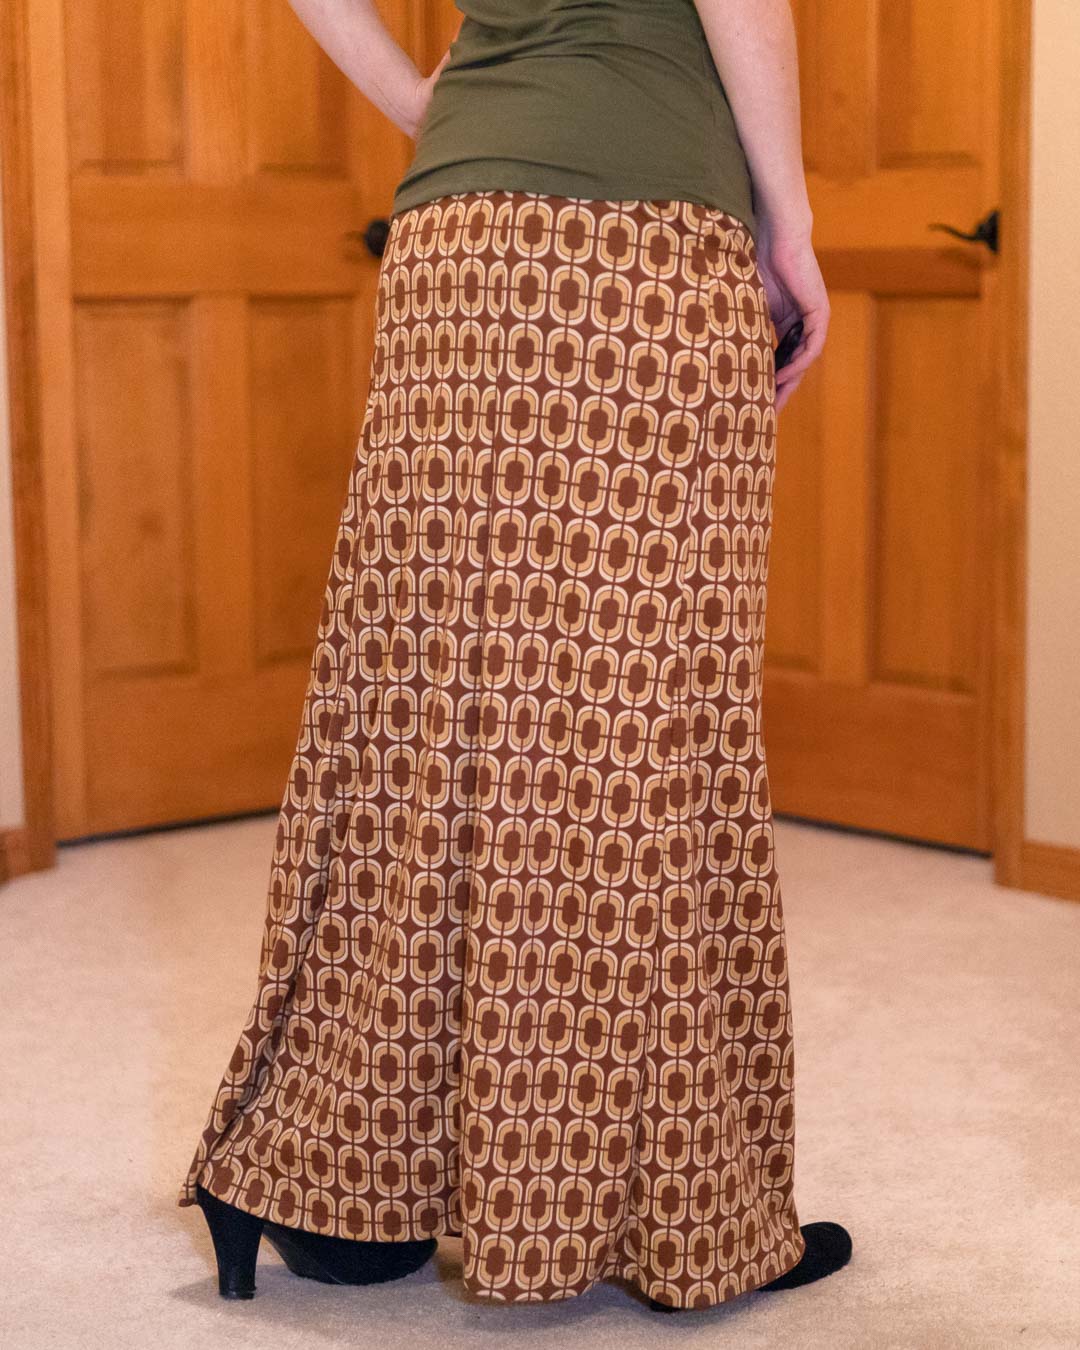
The Toile
Boho Fabrics accidentally combined someone else’s order with mine. When I let them know about it, they told me to keep the fabric, which was 2 yards of a geometric print ponte, and 1 yard of brown rib knit. Even though I love a geometric print, the colors of the ponte just aren’t my vibe. It screams “old 1970’s kitchen tile” to me. But it turned out great for testing.
Retro Gold, Ponte Print, Double Knit from Boho Fabrics
- Contents: Polyester Spandex Blend
- Weight: 12 oz
- Width of Fabric: 61″
- Horizontal Stretch: 125%
- Vertical Stretch: 25%
I nailed the panels on the first try. The waistband took about 5 iterations.
How I Drafted the Skirt
I googled “paneled maxi skirt” and gave this blog about panel skirts a read. Sounded simple enough!
- Took my measurements while wearing a favorite pair of leggings. I measured where the leggings fit at the waist, hip, and the waistband height because they’re super comfortable. Then I let my tape measure fall from the hip seam to the length I wanted the skirt. Finally, I clipped my tape measure together to create a circle and stood in the middle of it to gauge the circumference of the hemline. My tape measure only goes up to 60″, so that’s what I went with. I probably would have done more if I had more than 2 yards of fabric, but I wasn’t even sure I could get a 60″ hem out of the fabric I had.
- Did a quick line drawing in Illustrator based on the above linked blog’s instructions for a basic panel. I also used Illustrator to visualize the pattern layout on the size of the fabric I had. It juuuust fit, so I could proceed.
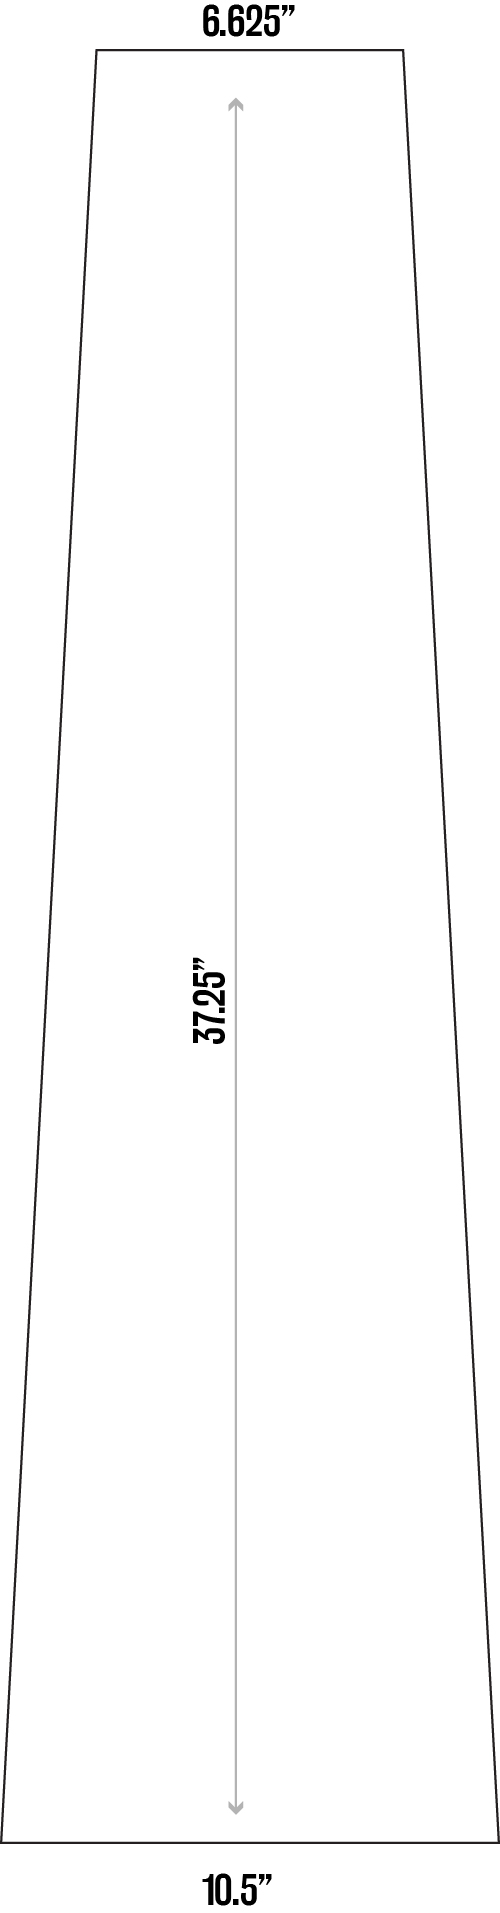
- Drafted the panel at size on tracing paper.
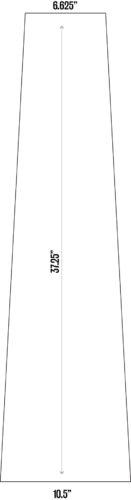
Pattern piece for skirt panel
- Cut out the panels from my ponte test fabric and basted them together with a long zig-zag stitch.
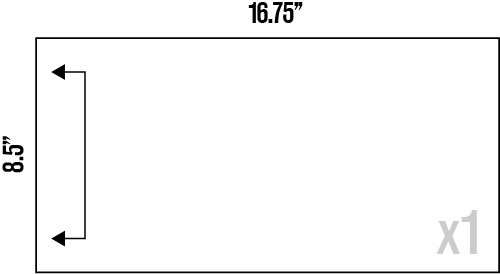
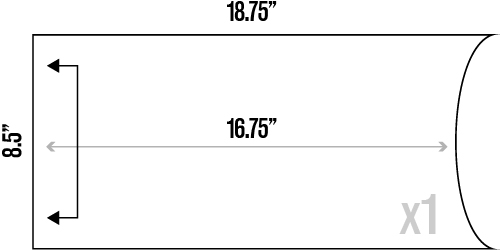
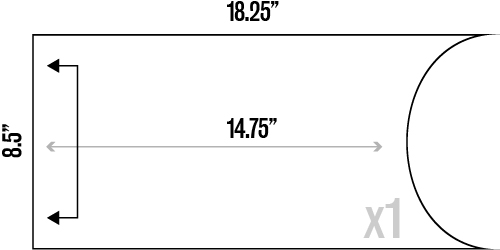
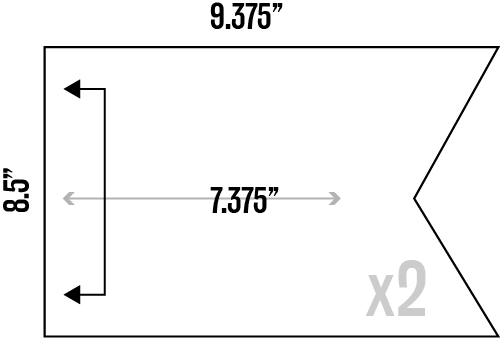
- Drafted the waistband on tracing paper. It took multiple attempts, unpicking seams, resizing, and testing a few seam contours. The iterations are below:

Ideas for Future Versions
- Add buttons. (Maybe I’ll do that to this one.)
- Widen the hem for a fuller silhouette—ideally with lighter fabric.
- Add pockets (may need to add ease beneath the waistband for that.)
- Angle the panels for a twisty effect.
- Play with overlapping panels.
- Color blocking.
- Flat felled panel seams.
- Color-blocked godets.
- Side slit?
Project Settings
Sewing Machine vs. Serger
| Sewing Machine | Serger |
|---|---|
|
|
Sewing Machine Settings
| Presser Foot | Stitch# | Stitch Width | Stitch Length | Needle | Top Thread Tension | Application |
|---|---|---|---|---|---|---|
| standard zig-zag (A) | 5 | 1.0 | 4 | blue tip | 4 | waistband side seams |
| standard zig-zag (A) | 6 | 3.5 | 4 | blue tip | 4 | basting |
Serger Settings
| Stitch Name | superstretch |
|---|---|
| Needles | R, L |
| Finger | B |
| Threads | 3 |
| Tension Left Needle | 3 |
| Tension Right Needle | 2.5 |
| Tension Upper Looper | — |
| Tension Lower Looper | 0.5 |
| Cut Width | 6 |
| Stitch Length | 3.5 |
| Differential | 1.0 |
| Application | seams |
Leave a Reply