Every sewist has their stash of fabric, and every sewist has their scrap bin. Those little pieces of fabric that aren’t little enough to justify tossing. I think every sewist probably has the same Voice in their head, too: Don’t throw that out. You can totally use that in another project. The Voice is even more adamant when it’s a fabric you love.
While The Voice isn’t totally wrong – you can use these bits in another project – it seems those projects aren’t as plentiful as one would hope. I’ve seen a handful of scrap-busting ideas over the last few months:
- scraps are always handy for applique
- make some fabric twine (Cute idea, but I haven’t been able to think of how/where/when I would use said twine.)
- sew some pieces together to make a quilted glasses case (Did this! Love it, but hardly makes a dent in the scrap bin.)
- make some reusable pads for facial cleansers or nail polish remover
- quick-piece tiny squares to make some fun, scrappy fabric <–This is what I’ll be waxing poetic on in this post.
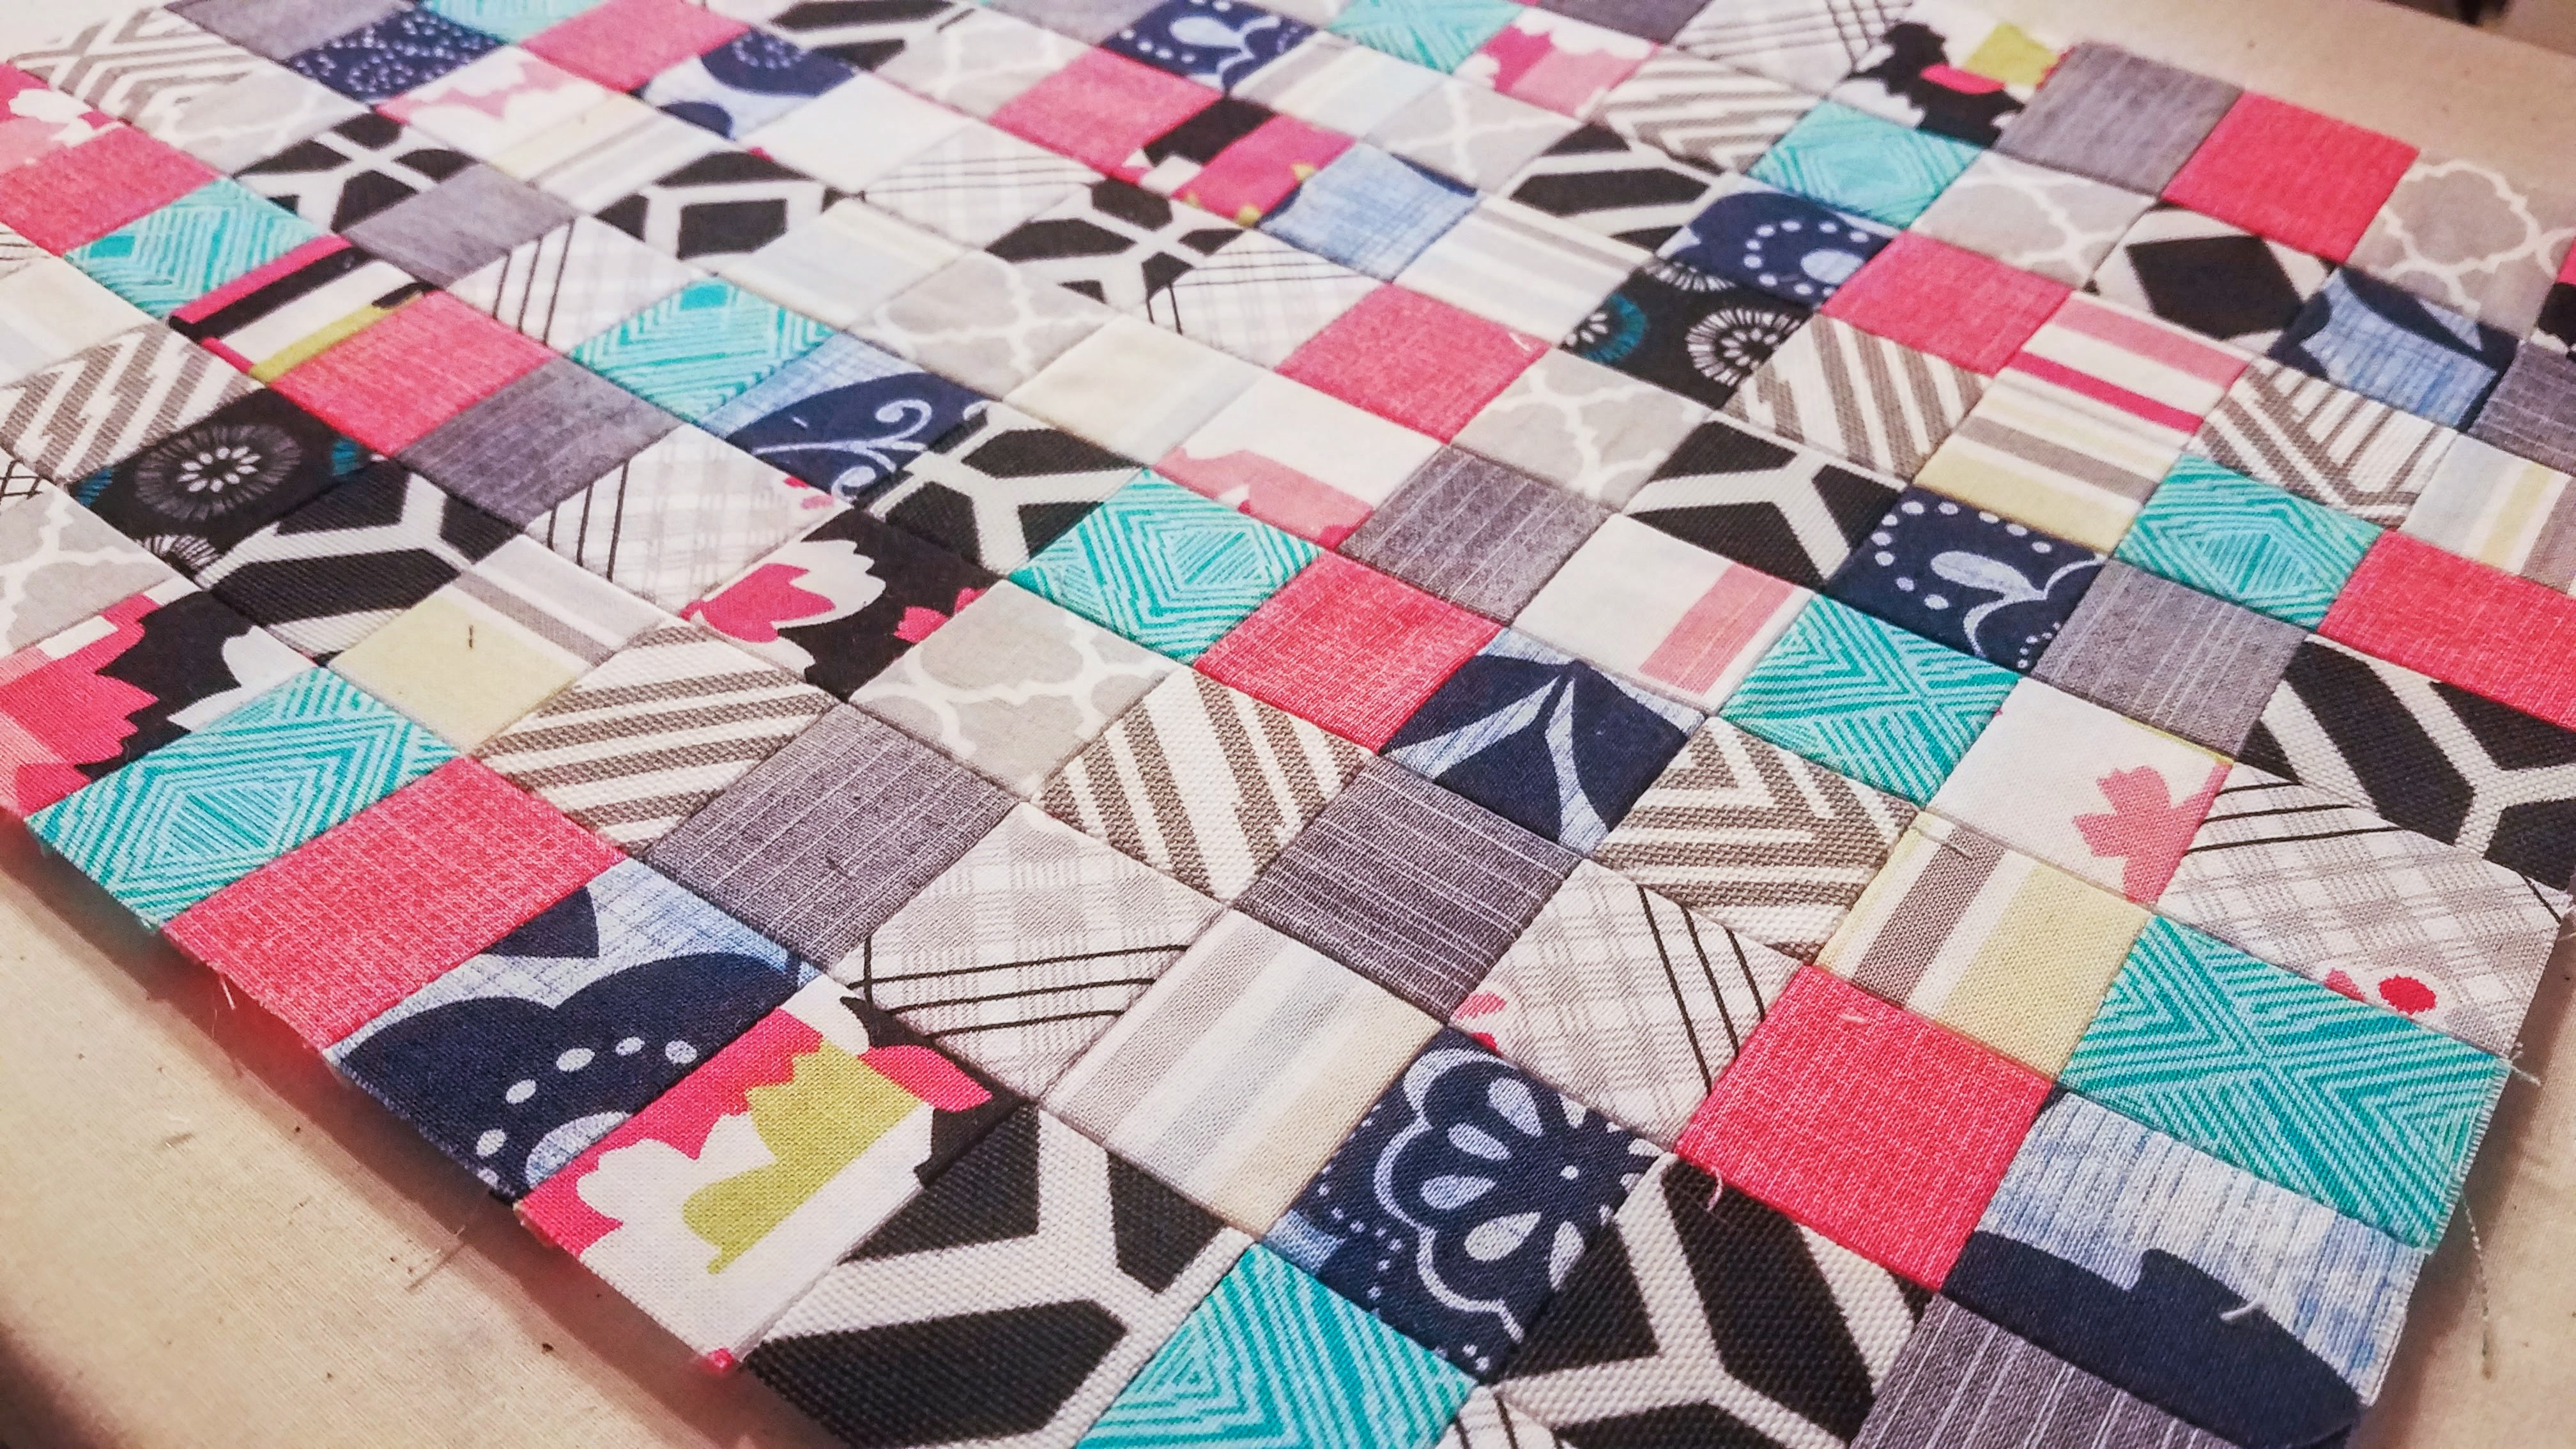
I stumbled across the tiny squares thing when I saw a Sew Together bag on Pinterest made by Three Owls Handmade. I am the furthest thing from a quilter, but this was actually eye-catching, AND it has the added appeal of wiping out a bunch of scraps in one fell swoop.
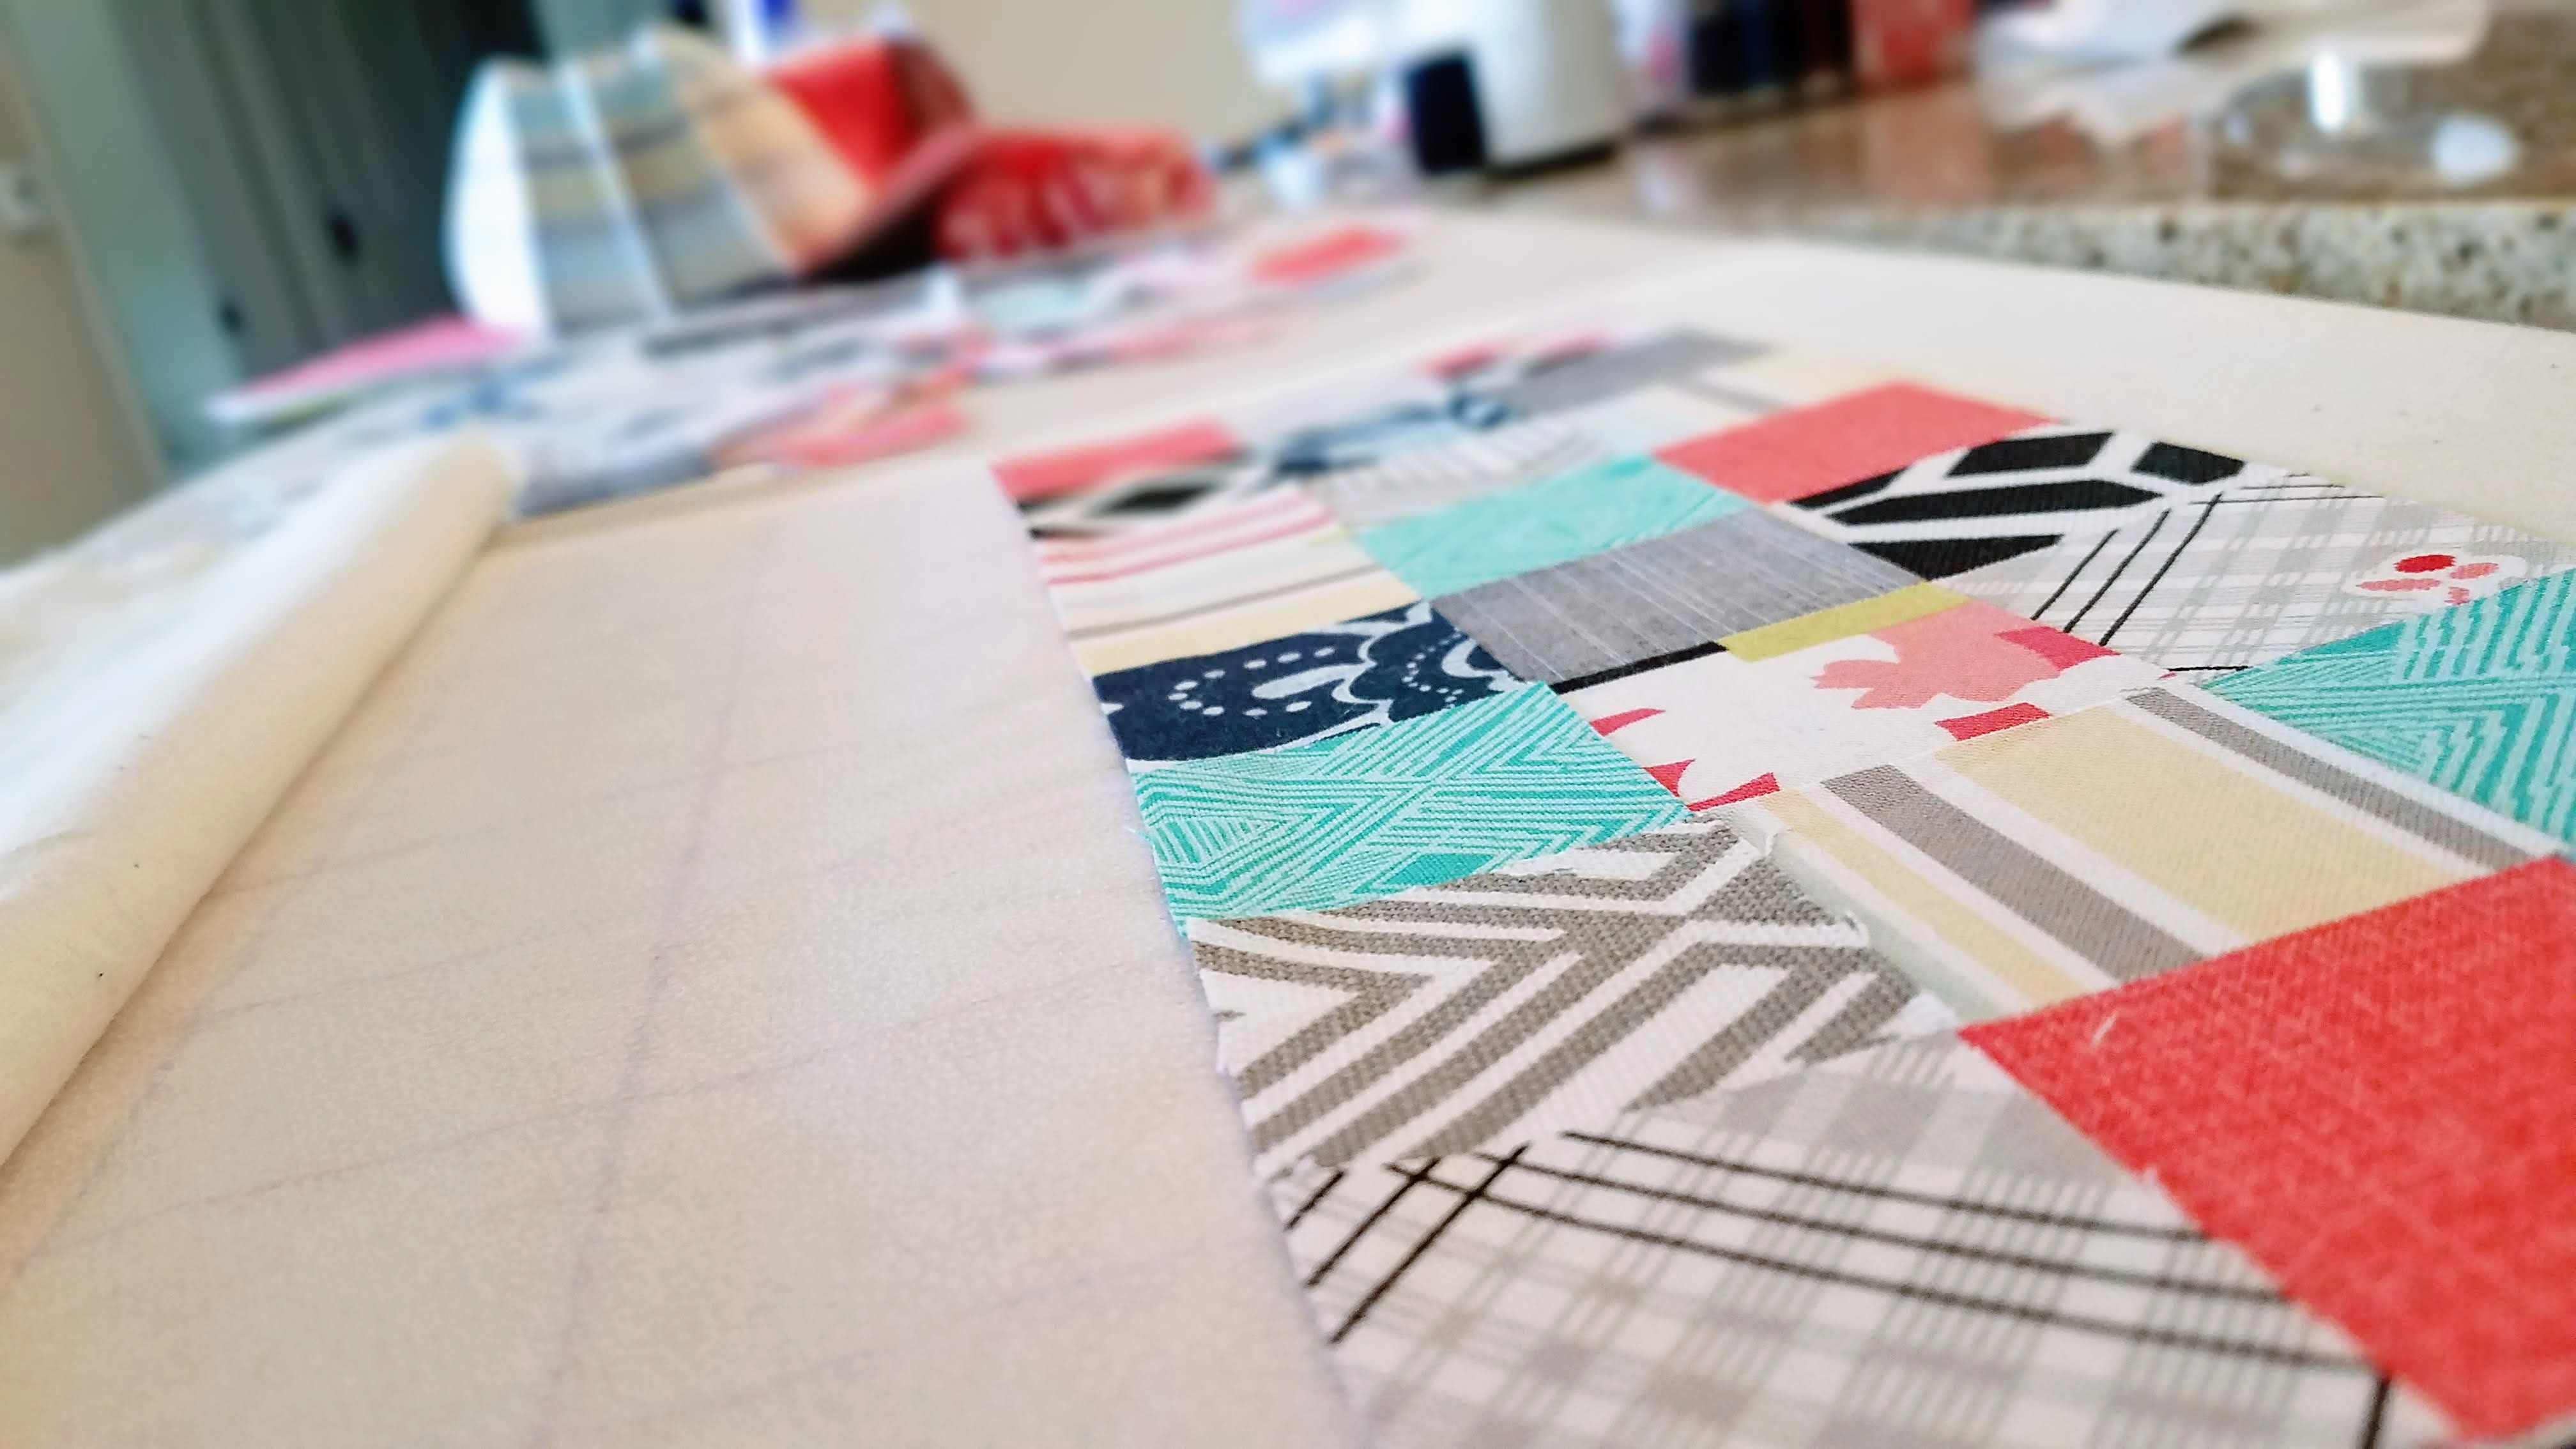
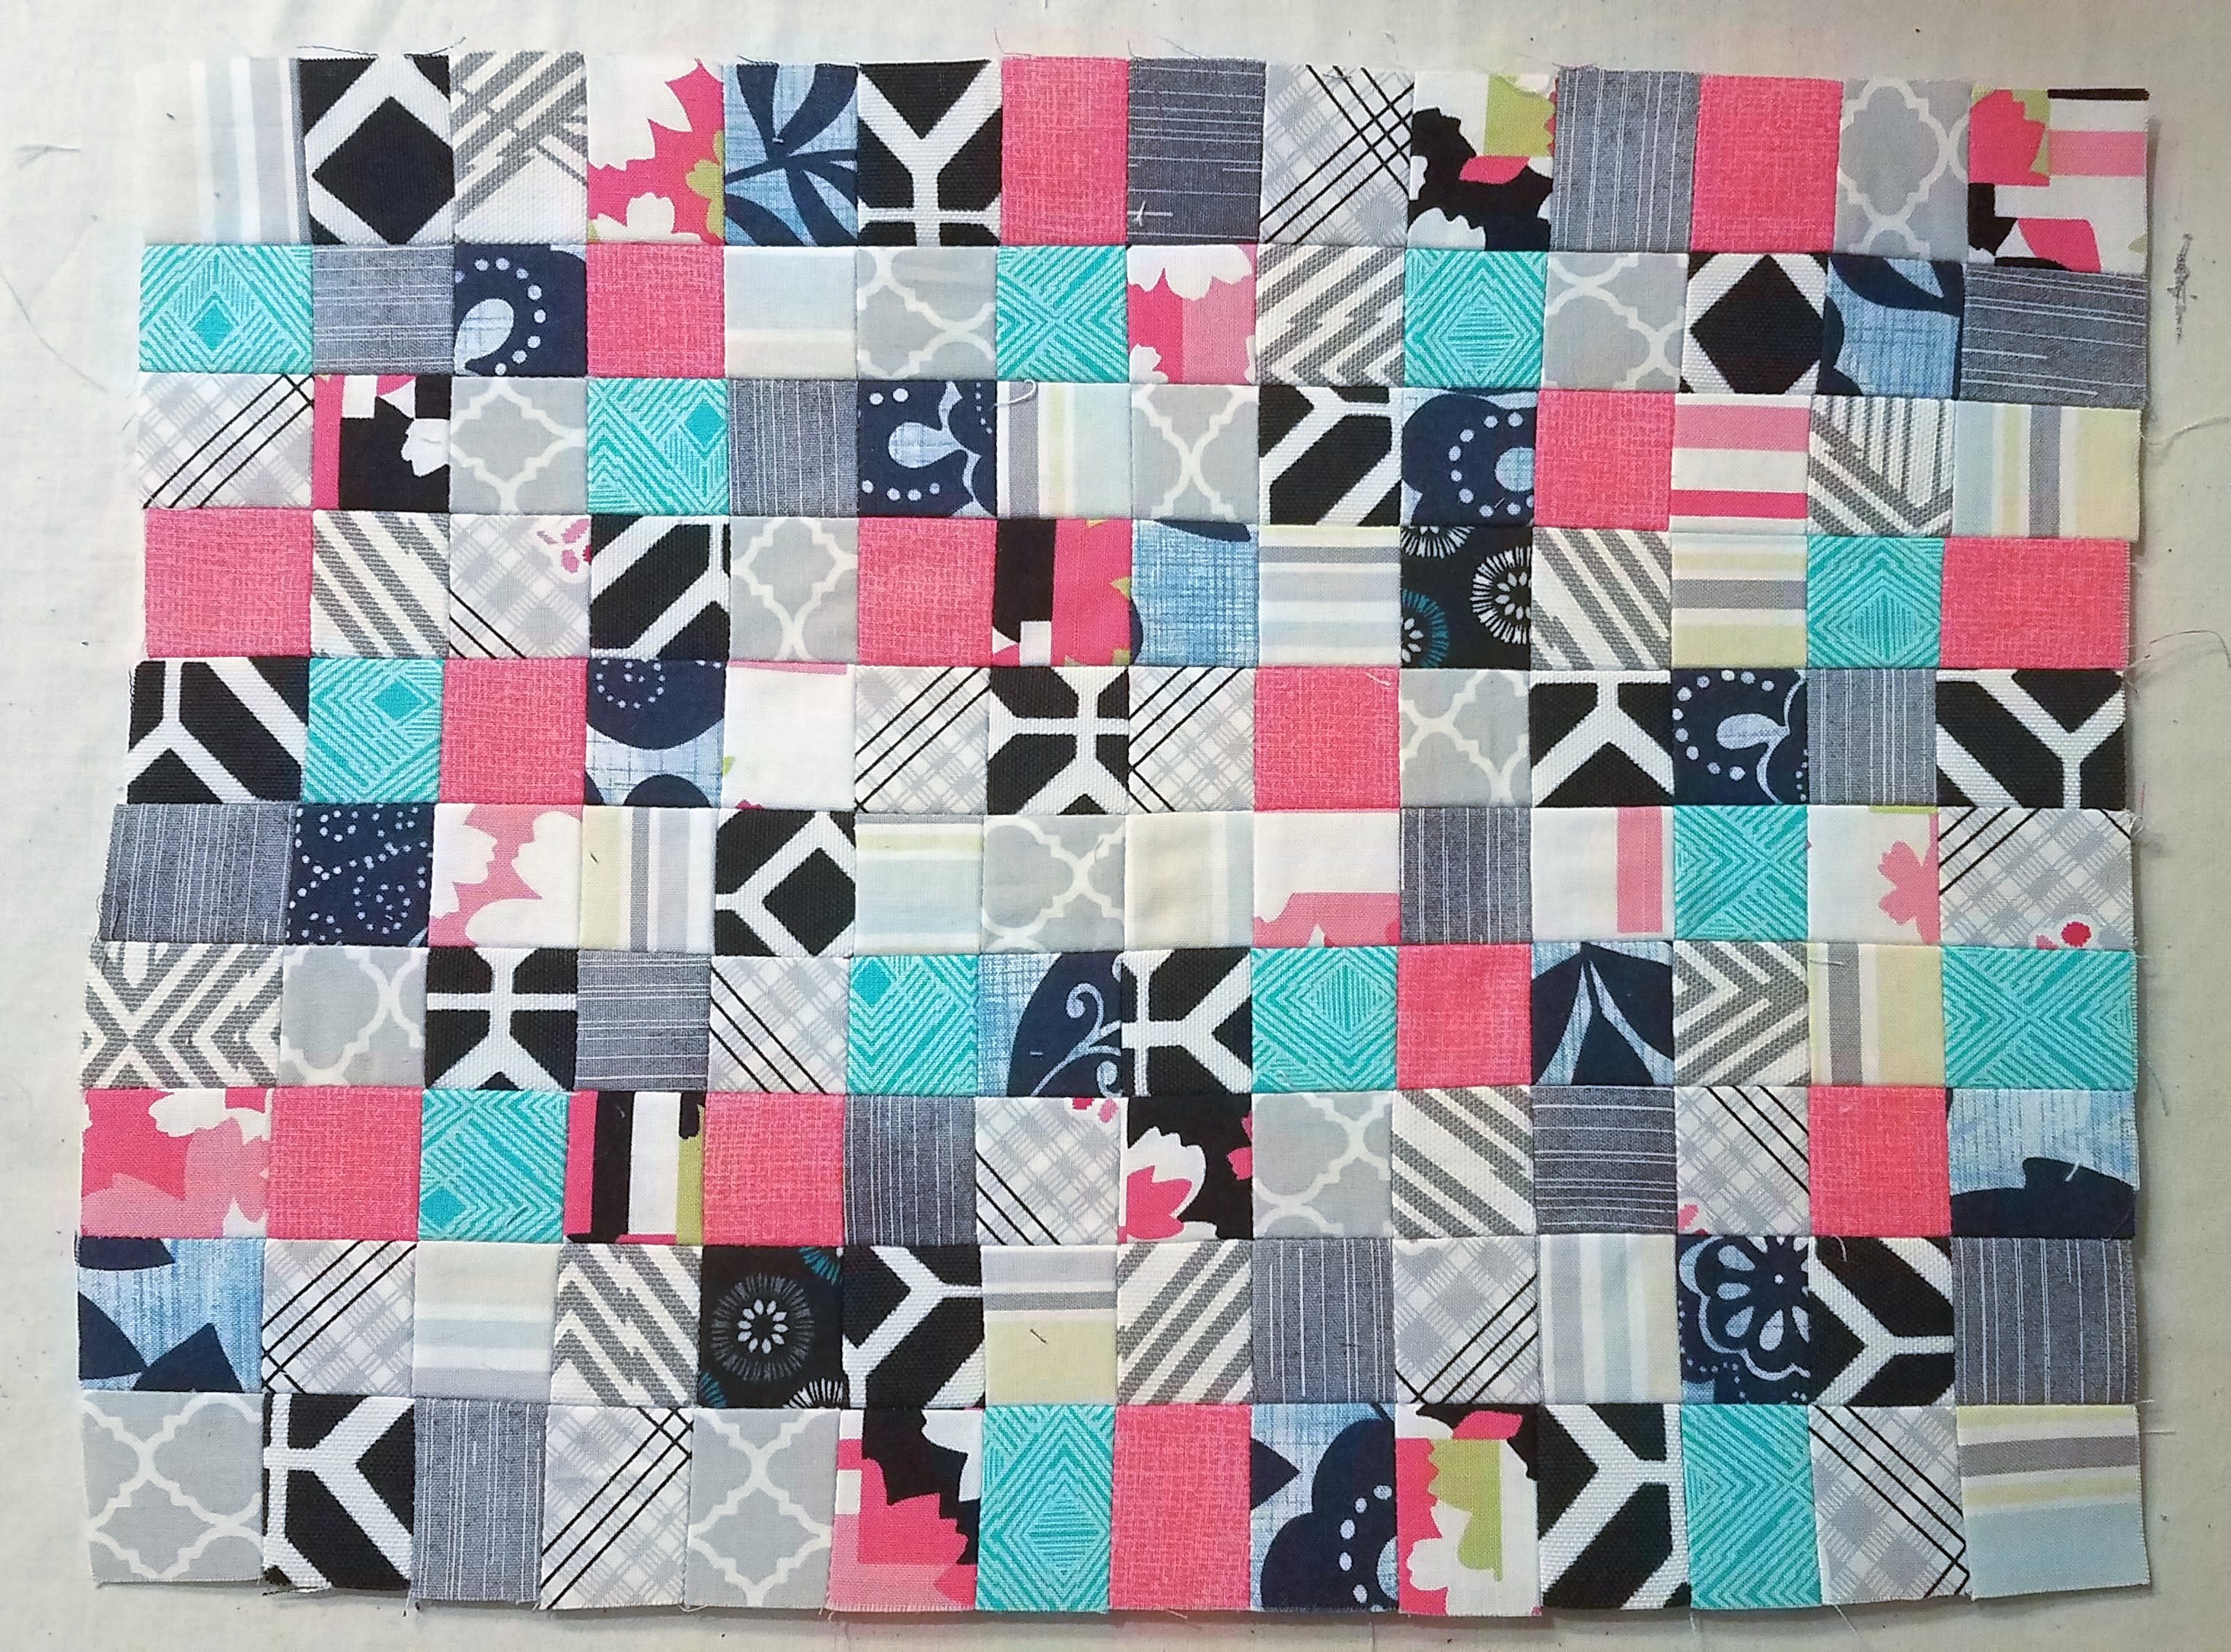
So I dove in to make my own Sew Together bag mirroring this technique. Tonight, I finished the tiny squares and it’s all set to go to finish up the bag.
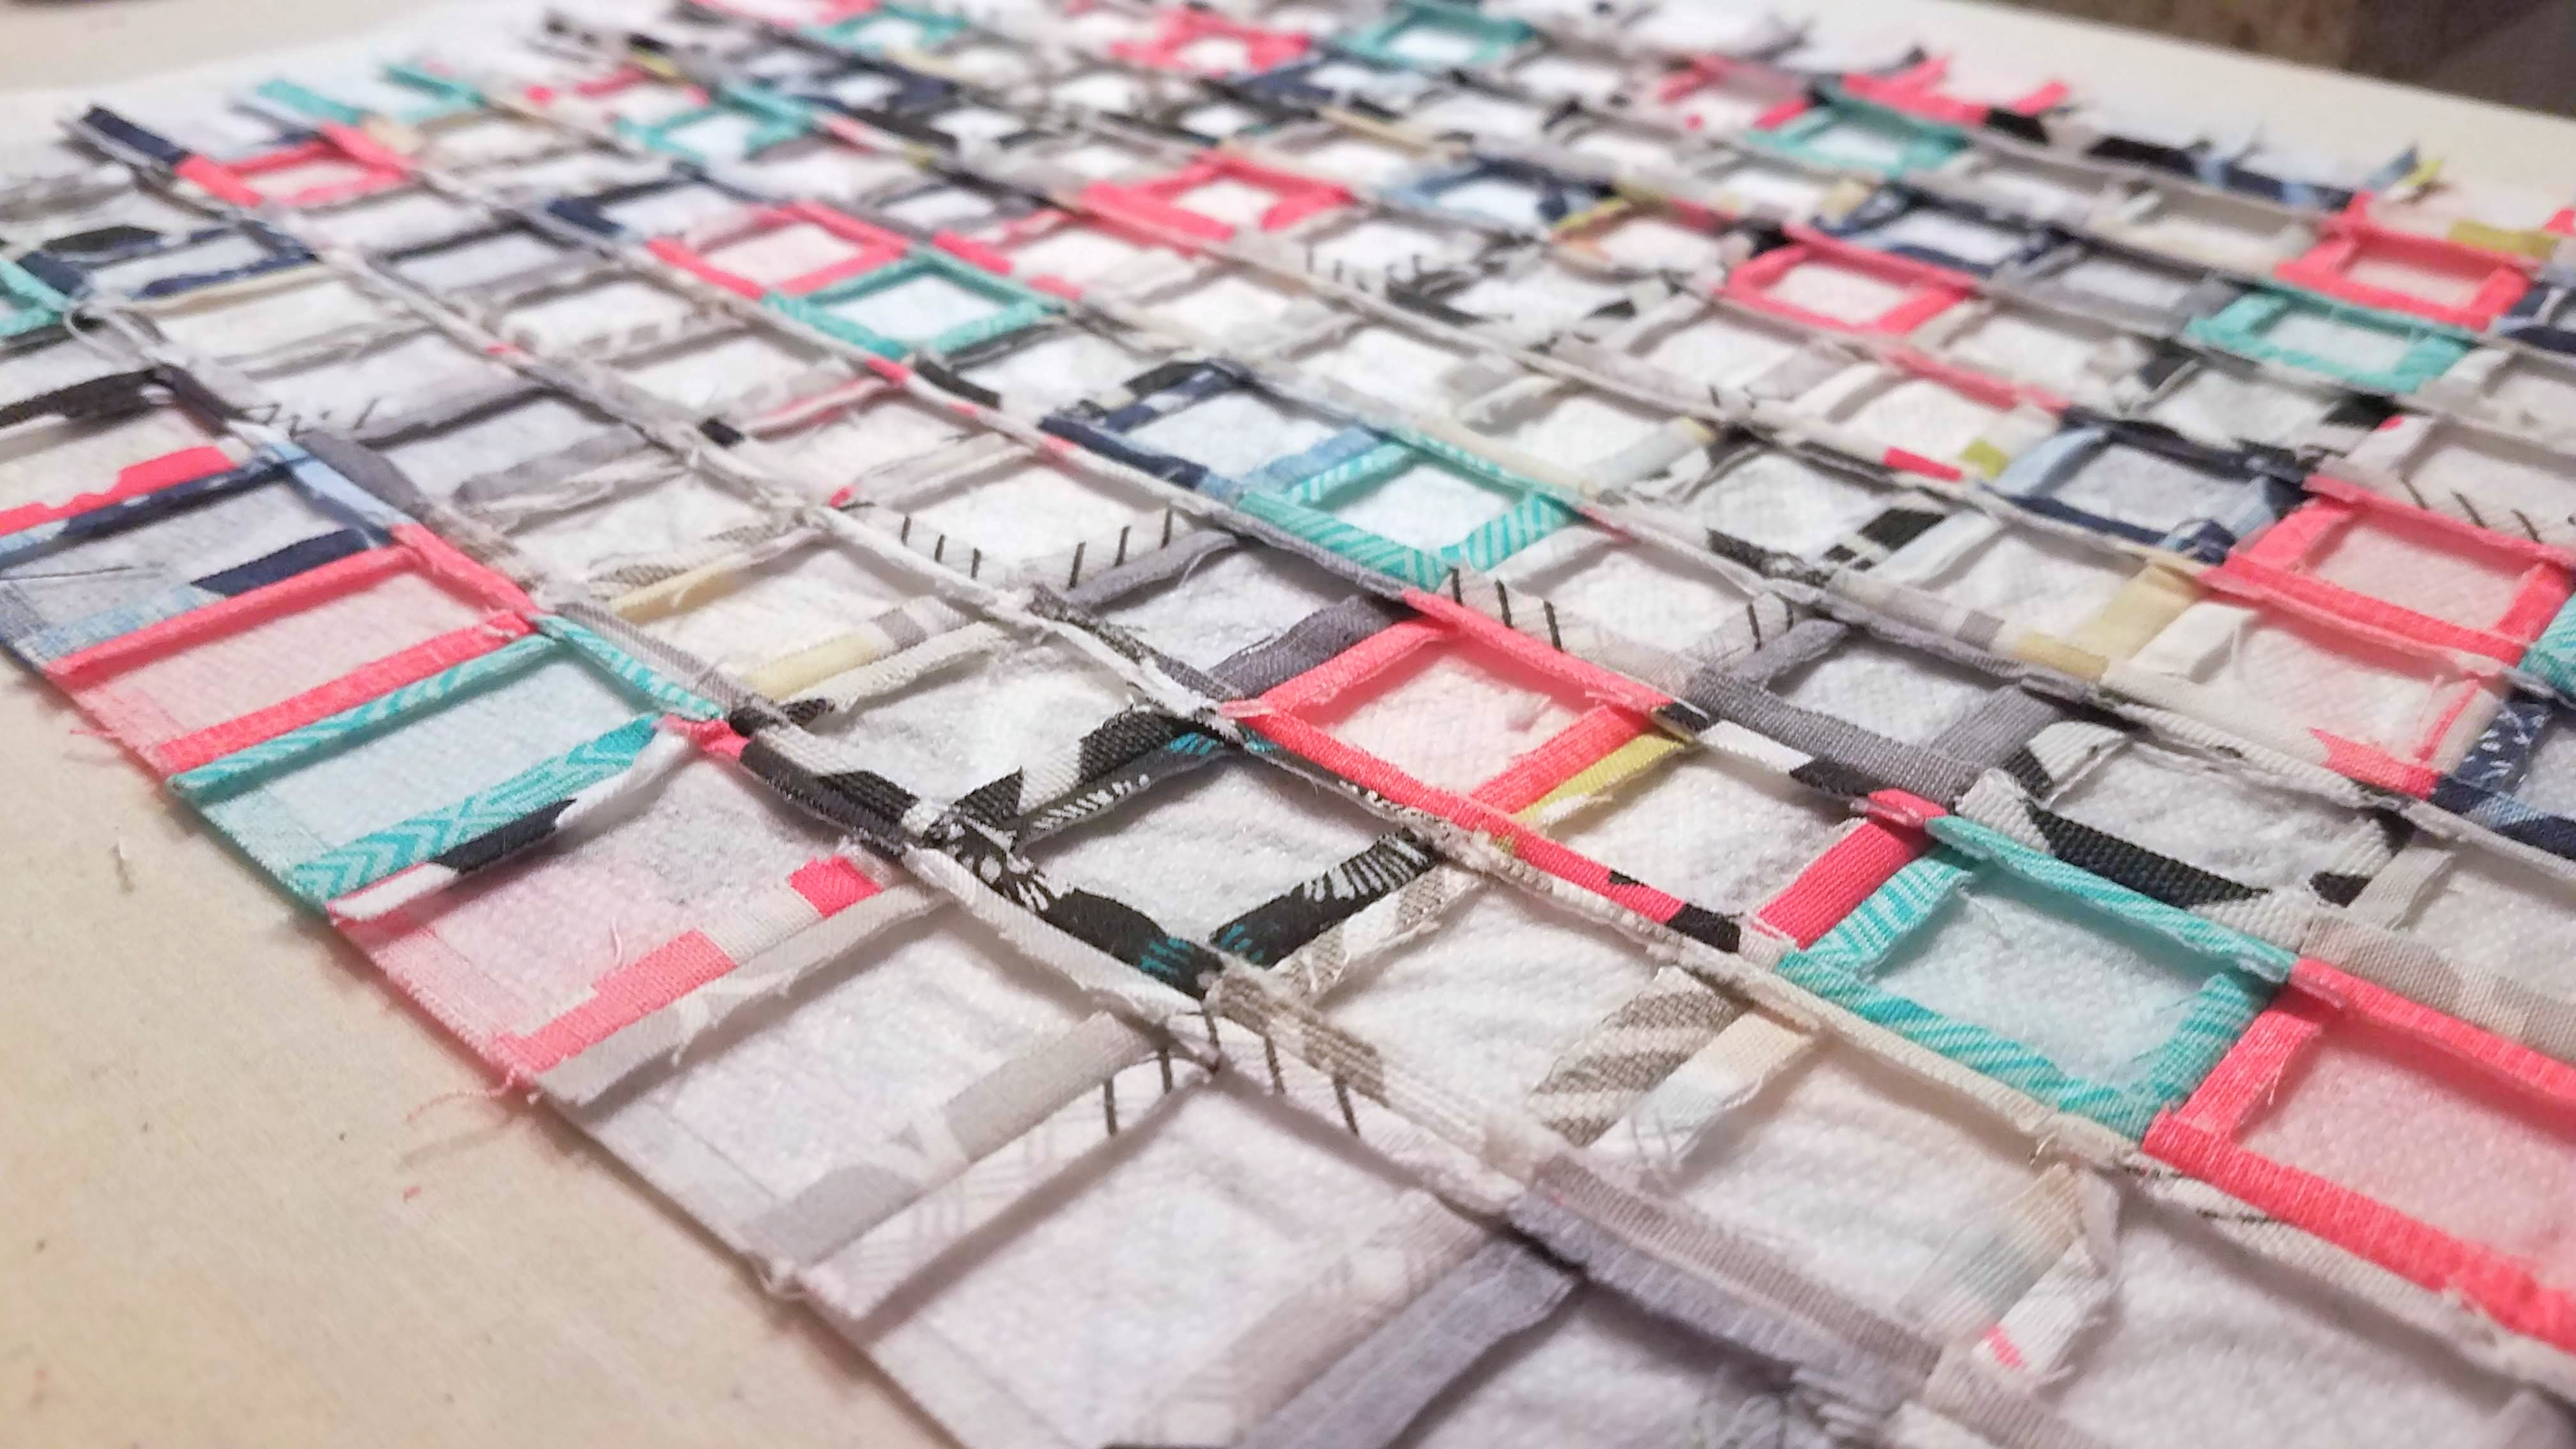
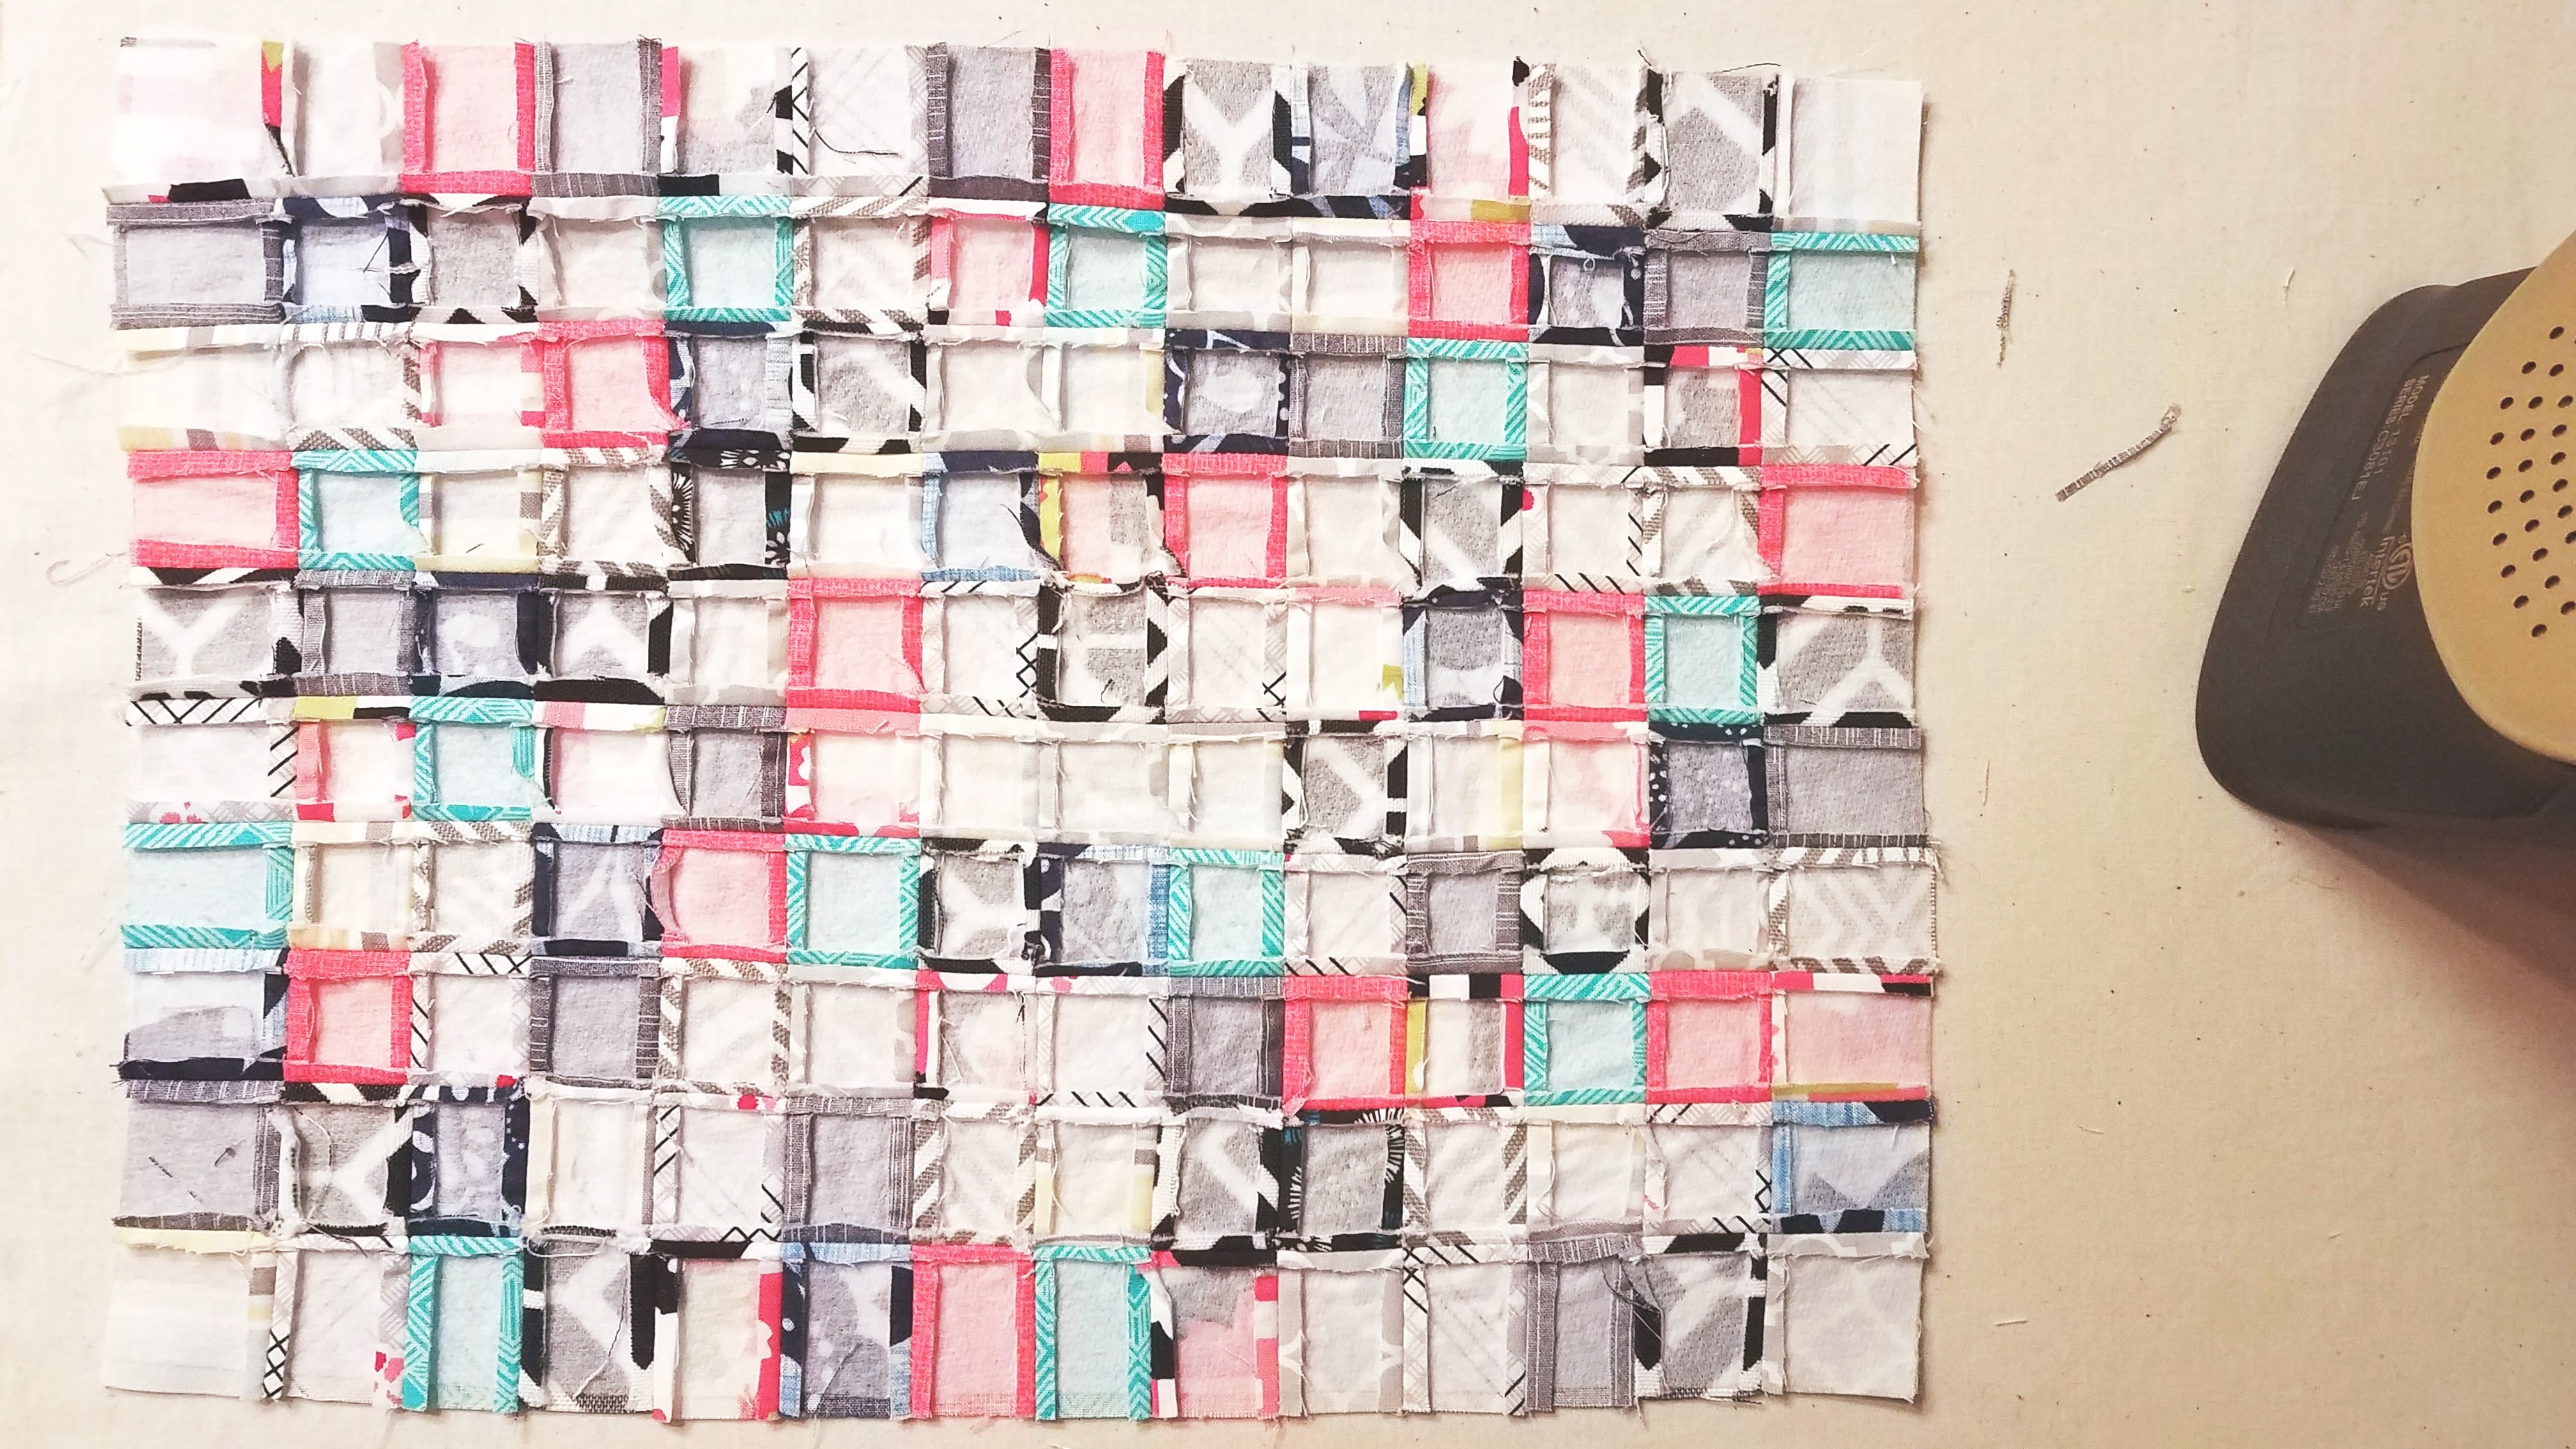
Why, Deb, all those seams look like a frightful pain.
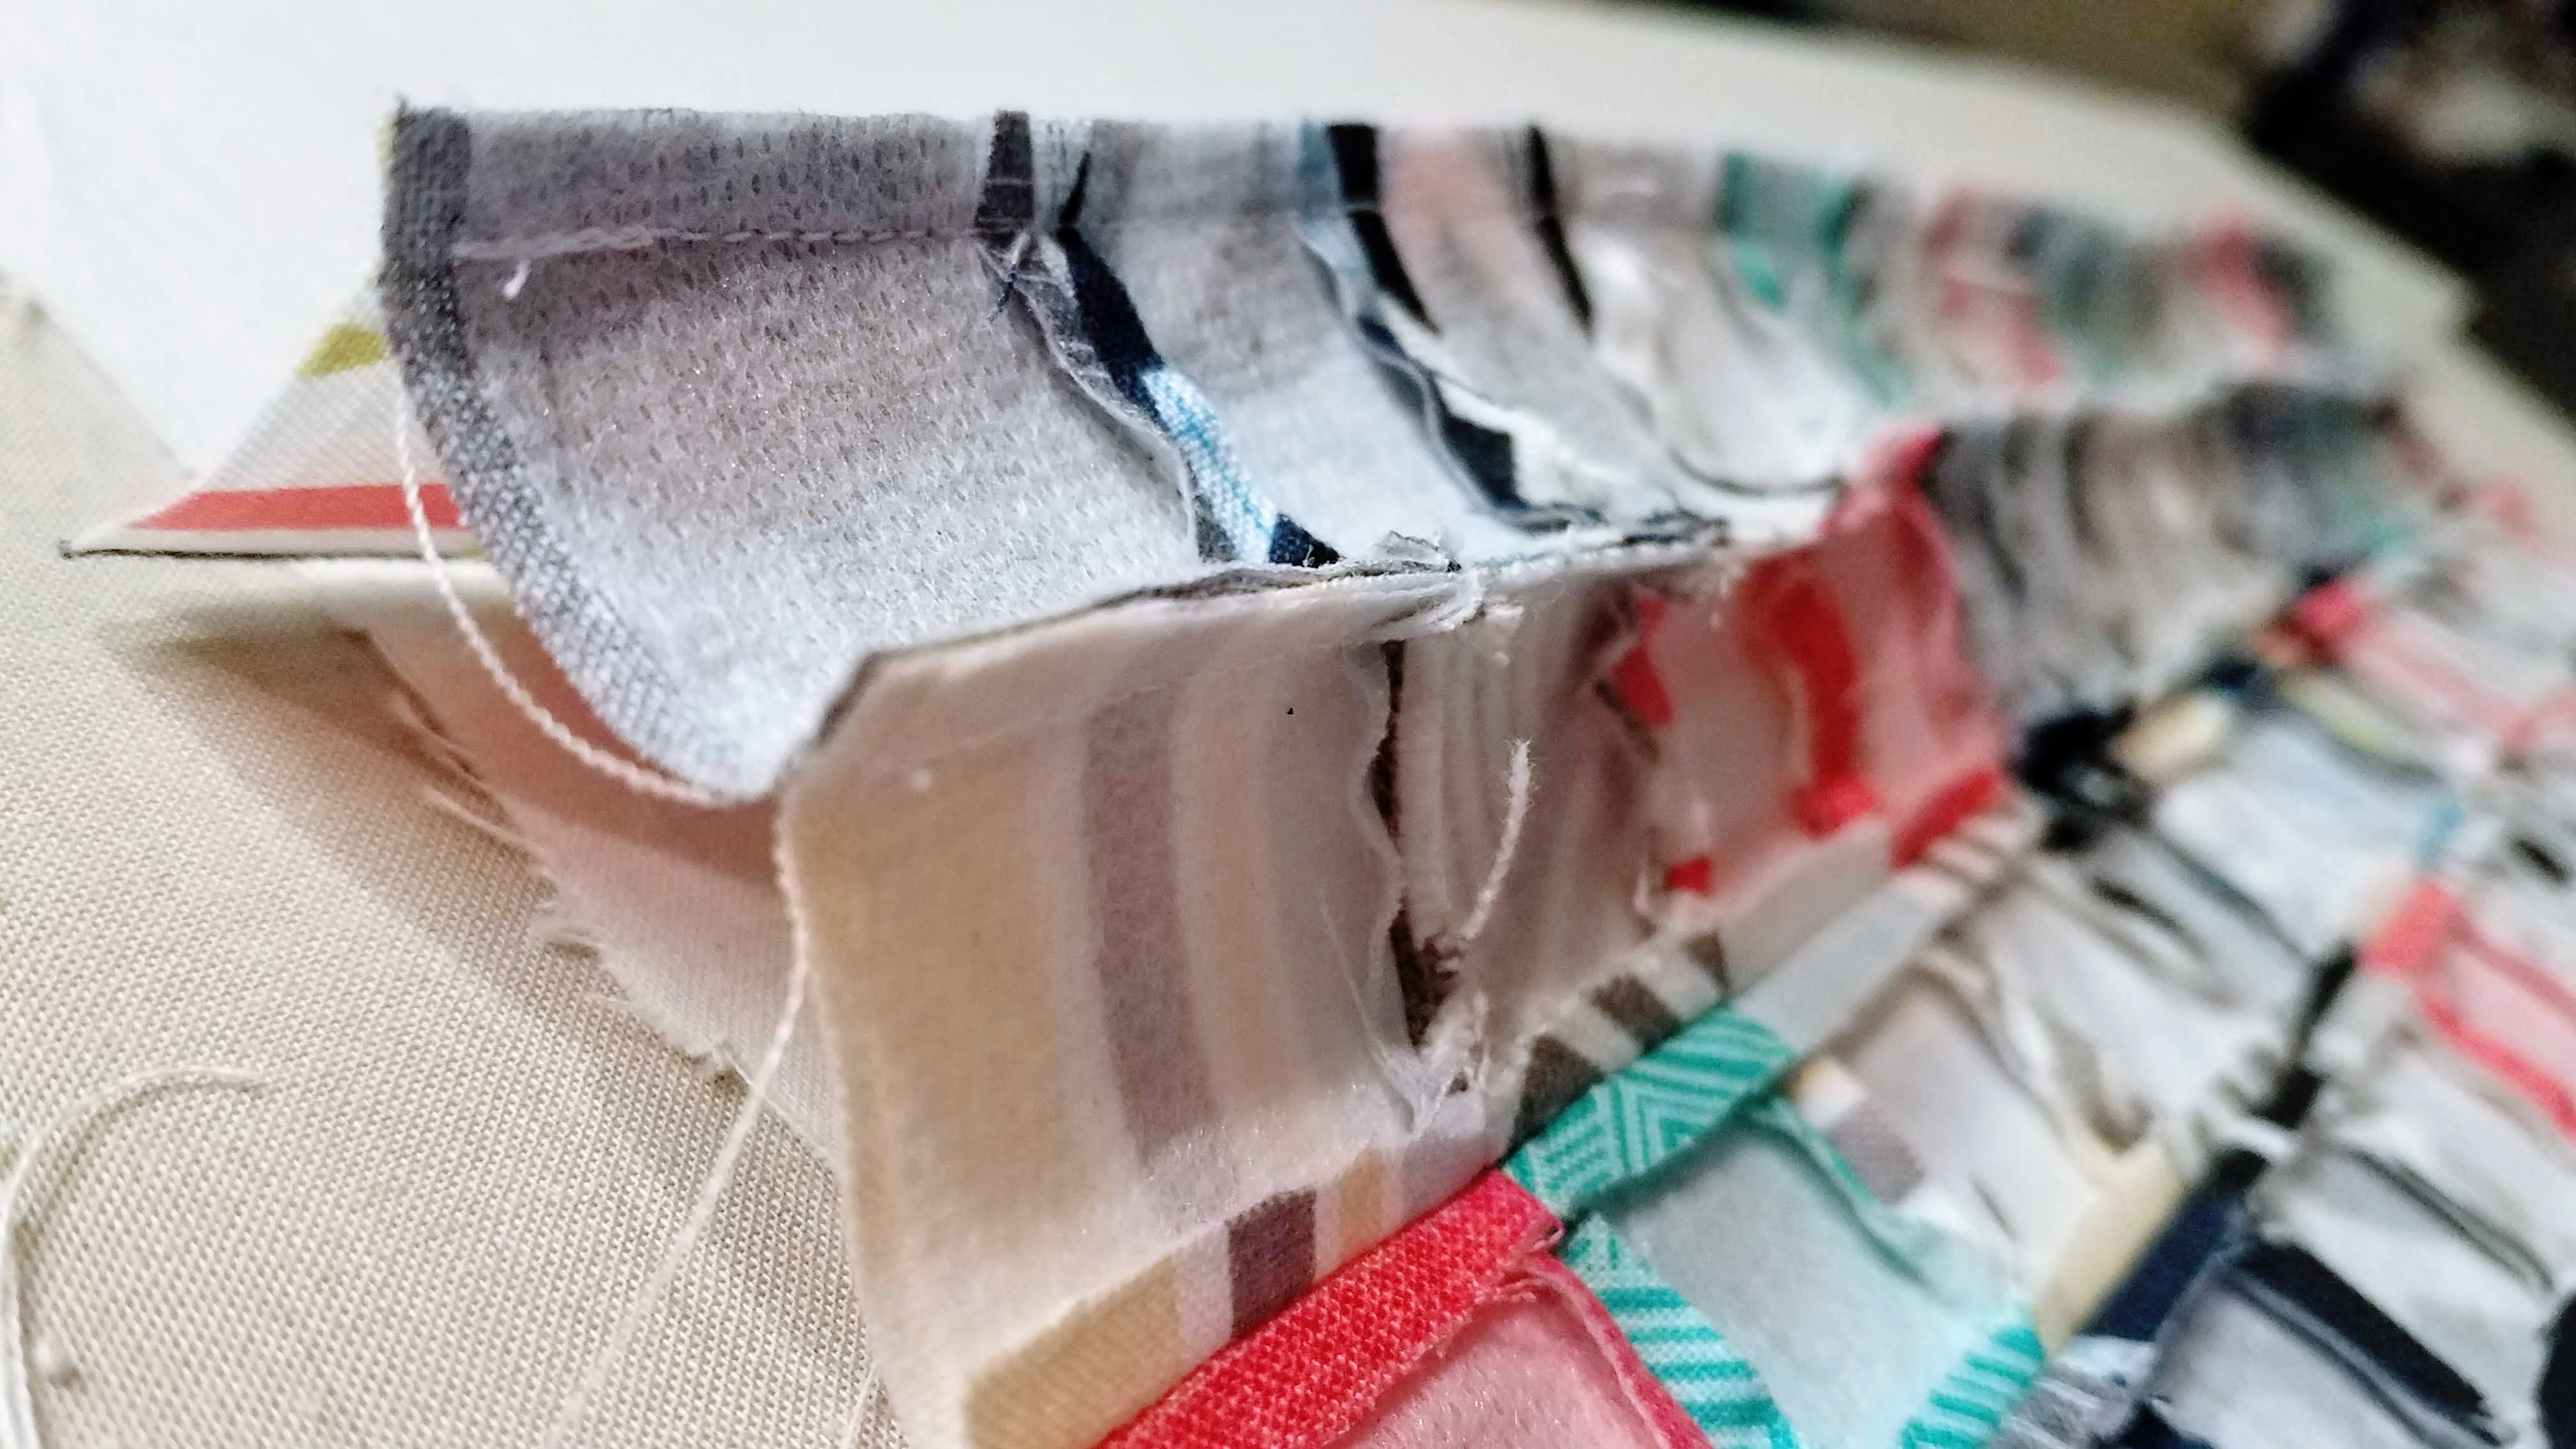
When it came to pressing them, well yes, they were every bit the pain they look. And you definitely want to press them; otherwise you end up with this funky, boxy roll of fabric. Pro tip for pressing: leave as much fabric as possible when trimming the seam allowances.
Arranging them and sewing them, however, was a blast.
Ignoring the undisclosed amount of time spent hunched over my ironing board, it was actually pretty fun and I think I would gladly do this again. I might be mildly insane, but even cutting out 140 1.5″x1.5″ squares was fun. It must have been the knowledge that I was busting scraps left and right. And just steadily working with my hands. And the process of creating something.
A Little Formula for Doing This Yourself
The tutorial is pretty decent, except for the mathing. I’ll try to save you some trouble and walk you through it so you can plug in your own custom numbers.
- Decide on a finished square size (example: 1″ x 1″)
- What is the finished size of the large piece you’re going to make? (example: 13.5″ x 9.75″)
- Rounding up, how many finished squares will fit along the length and width of your finished large piece? (example: 14 one-inch squares will fit along the 13.5″ edge; 10 one-inch squares will fit along the 9.75″ edge. We round up so you will have excess instead of not enough. Not enough is always worse.)
- What is the seam allowance for your squares? (example: 0.25″. Seems the tutorial used a total seam allowance of 0.25″, which meant only 1/8″ around each edge. I decided that was definitely not enough fabric to work with, so I did 0.25″ around each edge, making my total seam allowance 0.5″. You might even bump that up more to make pressing all those seams a lot easier.)
- Add your total seam allowance to the finished square size. This is the cut size of your squares. (example: 1″ + 0.5″ = 1.5″ So my squares were 1.5″ x 1.5″)
- Math out the dimensions of the piece of fusible interfacing you’ll need for laying out your grid.
- Multiply the number of finished squares that fit along each edge by the cut size of your squares.
(example: 14 x 1.5 = 21
& 10 x 1.5 = 15
So the dimensions of my fusible interfacing were 21 x 15 with a 1.5″ grid drawn on it.)
- Multiply the number of finished squares that fit along each edge by the cut size of your squares.
- Math out how many squares you’ll need to cut.
- Multiply the number of finished squares that will fit along one edge by the number of finished squares that will fit along the other edge. (example: 14 x 10 = 140)
And there you have it. After you lay out your scraps, fuse them to your grid, and sew your seams, you’ll end up with a nice scrappy piece of new fabric at whatever size your little heart desires.
Happy scrap-busting!
Leave a Reply