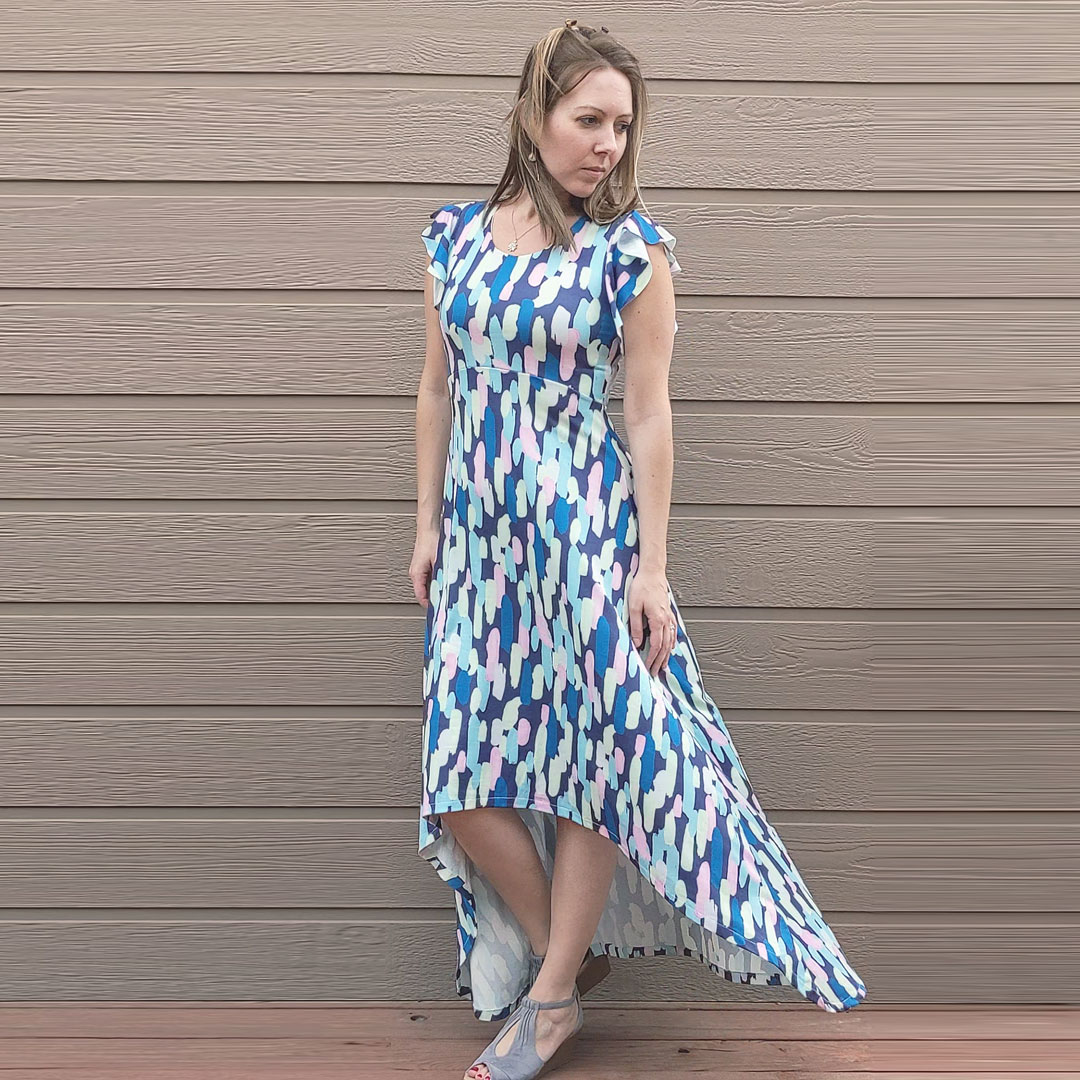
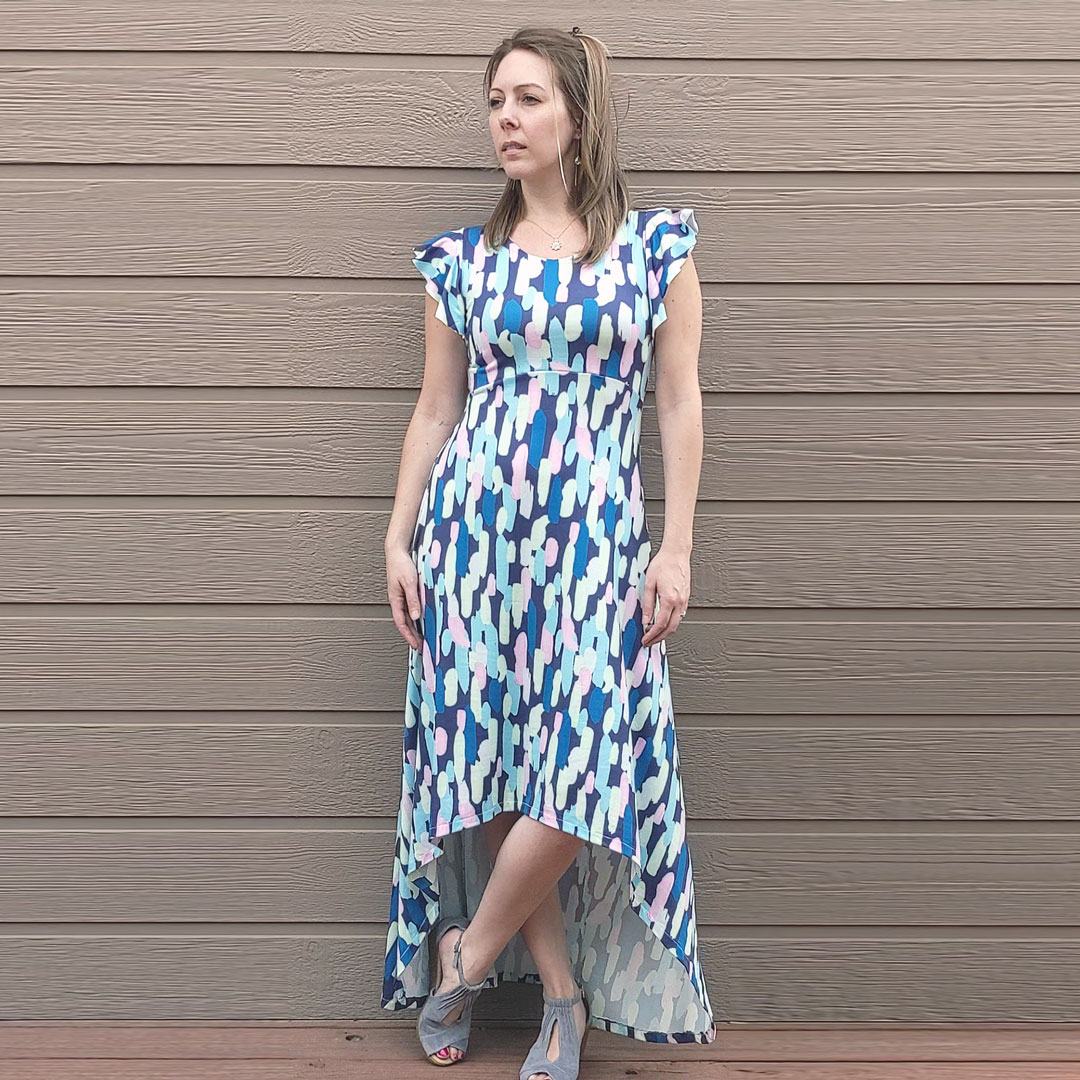
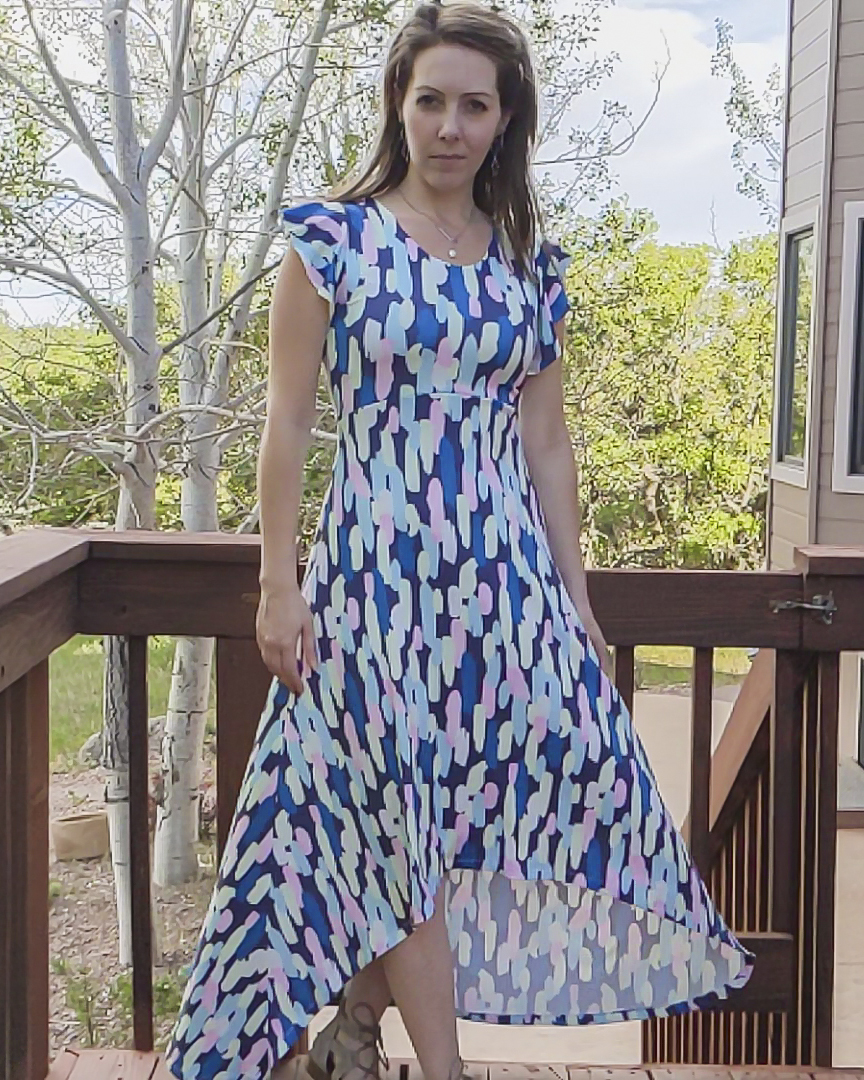
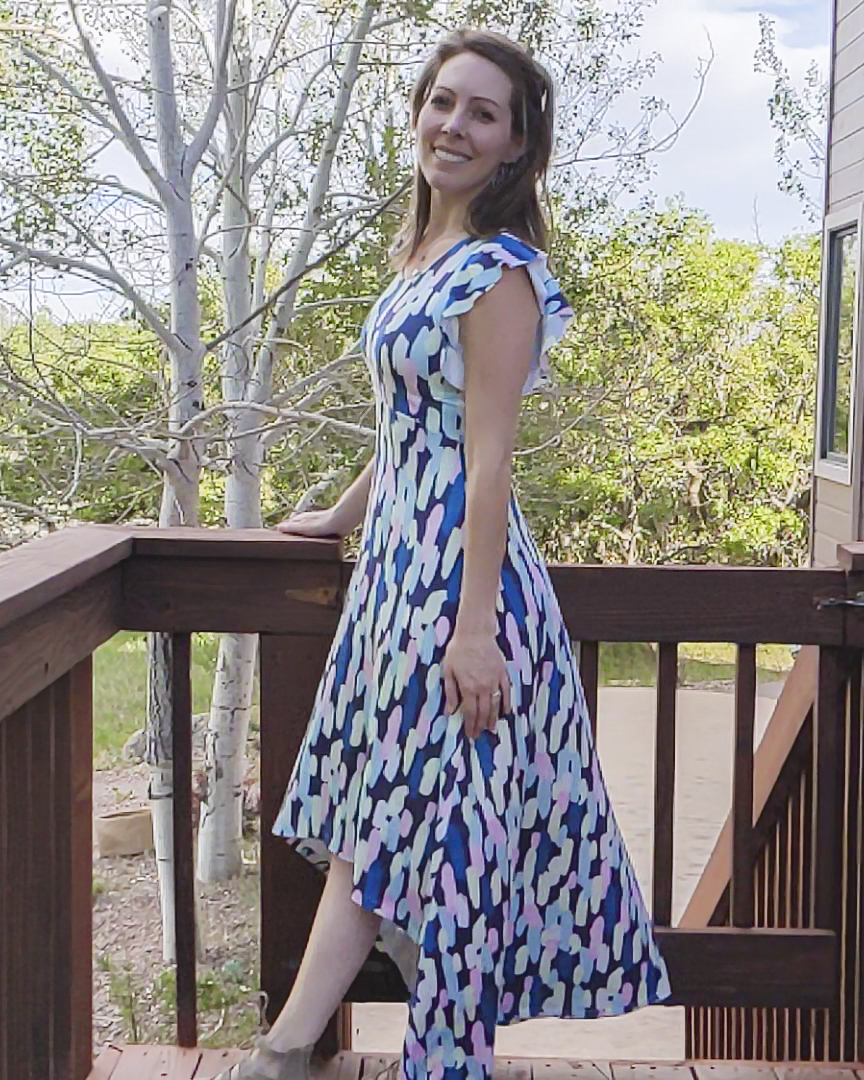
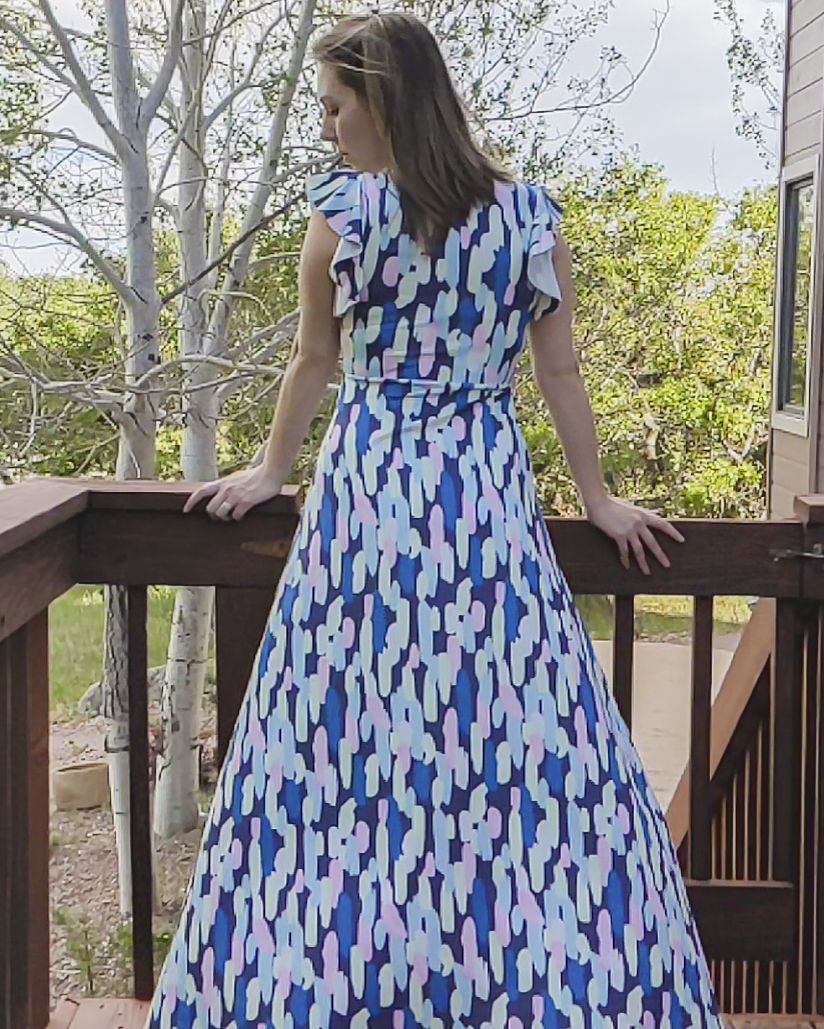
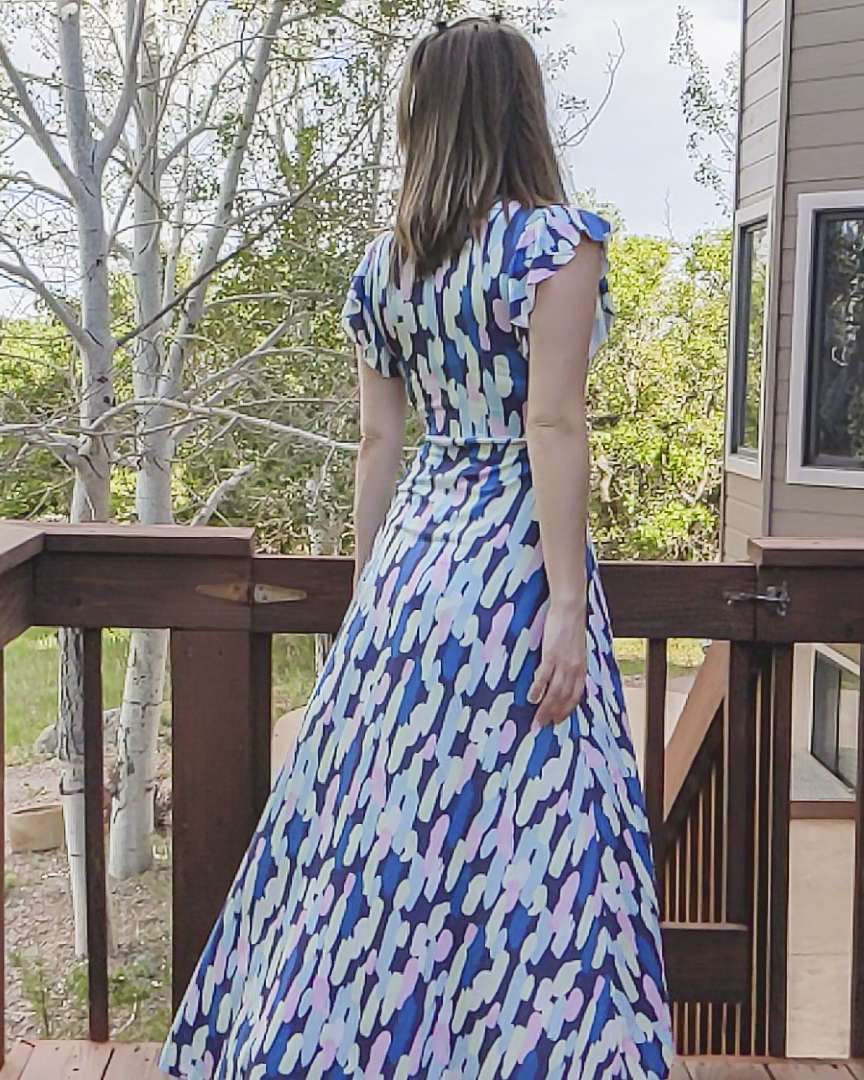
Oh, this fabric makes my heart sing. From the moment I saw it online, I knew I was going to adore it, especially in the flowy, high-low maxi dress silhouette offered by the Be Dreamy Dress.
This is version four of five, and even though I am very excited about the fabric for version five, I think this one just might be my favorite.
About the Fabric
Navy/Multi Smudge Double Brushed Poly from So Sew English
- 96% POLYESTER / 4% SPANDEX
- Medium weight
- 4 – WAY stretch – 80% Horizontal / 40% Vertical
I ordered three yards of this, but they mis-measured and only sent me a little over two yards. I wrote their support department and they said they “no longer had continuous yardage to replace the fabric” and will “will be updating our inventory shortly to reflect this on our site”—although at this moment almost two months after that message, their site says 13 yards available so…/shrug. They refunded me for the entire cut, so what was normally more expensive than I usually go for turned out to be free. Can’t complain about that!
Because of the reduced yardage, I had to use the short flounce sleeve instead of the long flounce, but that doesn’t really bother me.
I already had the lining cut from a plain, off-white double brushed poly I ordered from Cali Fabrics, so that helps save on yardage for the main fabric.

About This Make
- Size XS
- +1″ to skirt
- +1″ to bodice
- short flounce sleeve
- high-low hemline
What I Did Differently
I’ve taken to rounding the edges of the skirt where the back meets the front. It helps immensely with hemming. The sharp points on the front skirt piece are also difficult to align evenly, so doing this little extra trim helps to balance everything out.
After sewing the skirt side seams, I fold the skirt in half, right sides together, and line up those seams and the raw edges of the front piece. You can see how the edges of the back piece don’t align when doing this, so I trim both layers together so they are even.
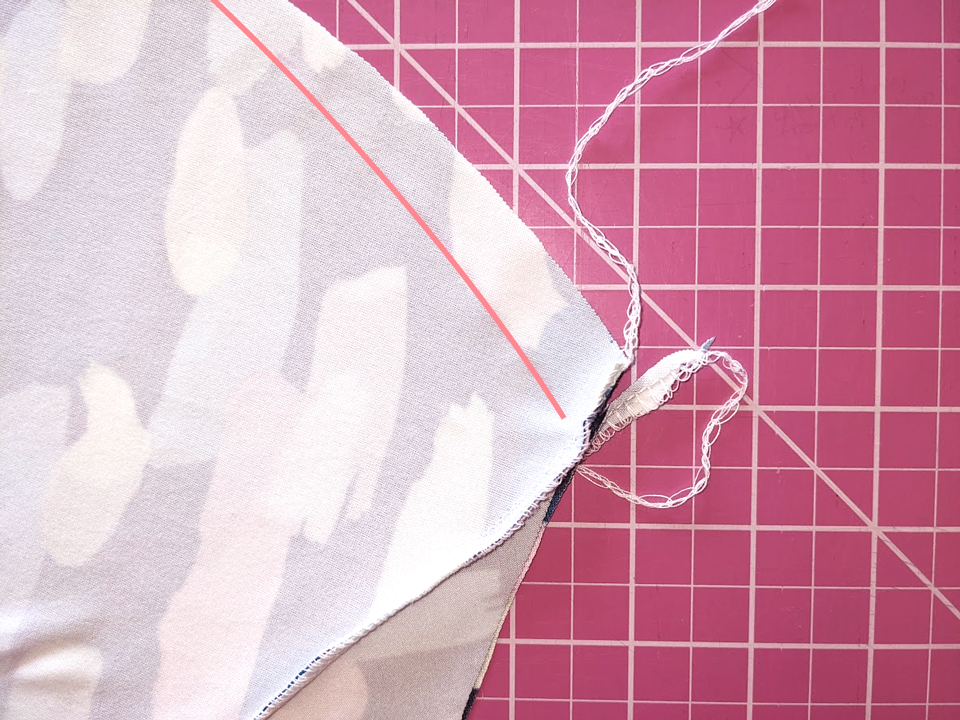
Line shows contour of bottom layer.
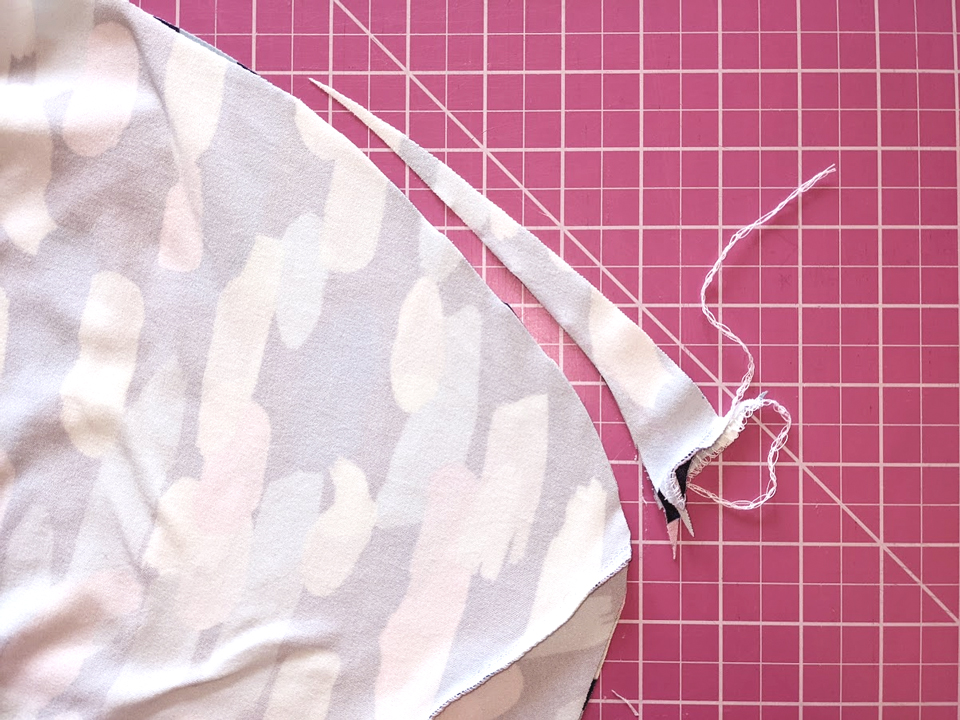
Trimmed and trued hemline.
Project Settings
Serge vs. Sewing Machine
Serger |
Sewing Machine |
|---|---|
|
|
Sewing Machine Settings
Presser Foot |
Stitch# |
Width |
Length |
Needle |
Top Thread Tension |
Application |
|---|---|---|---|---|---|---|
standard zig-zag (A) |
5 |
1.0 |
4 |
blue tip |
4 |
seams / hem |
Serger Settings
Stitch |
Needles |
Finger |
Threads |
Tension LN |
Tension RN |
Tension UL |
Tension LL |
Cut Width |
Stitch Length |
Differential |
|---|---|---|---|---|---|---|---|---|---|---|
super stretch |
R, L |
B |
3 |
2.5 |
2.5 |
— |
0.5 |
6 |
3.5 |
1 |
Leave a Reply