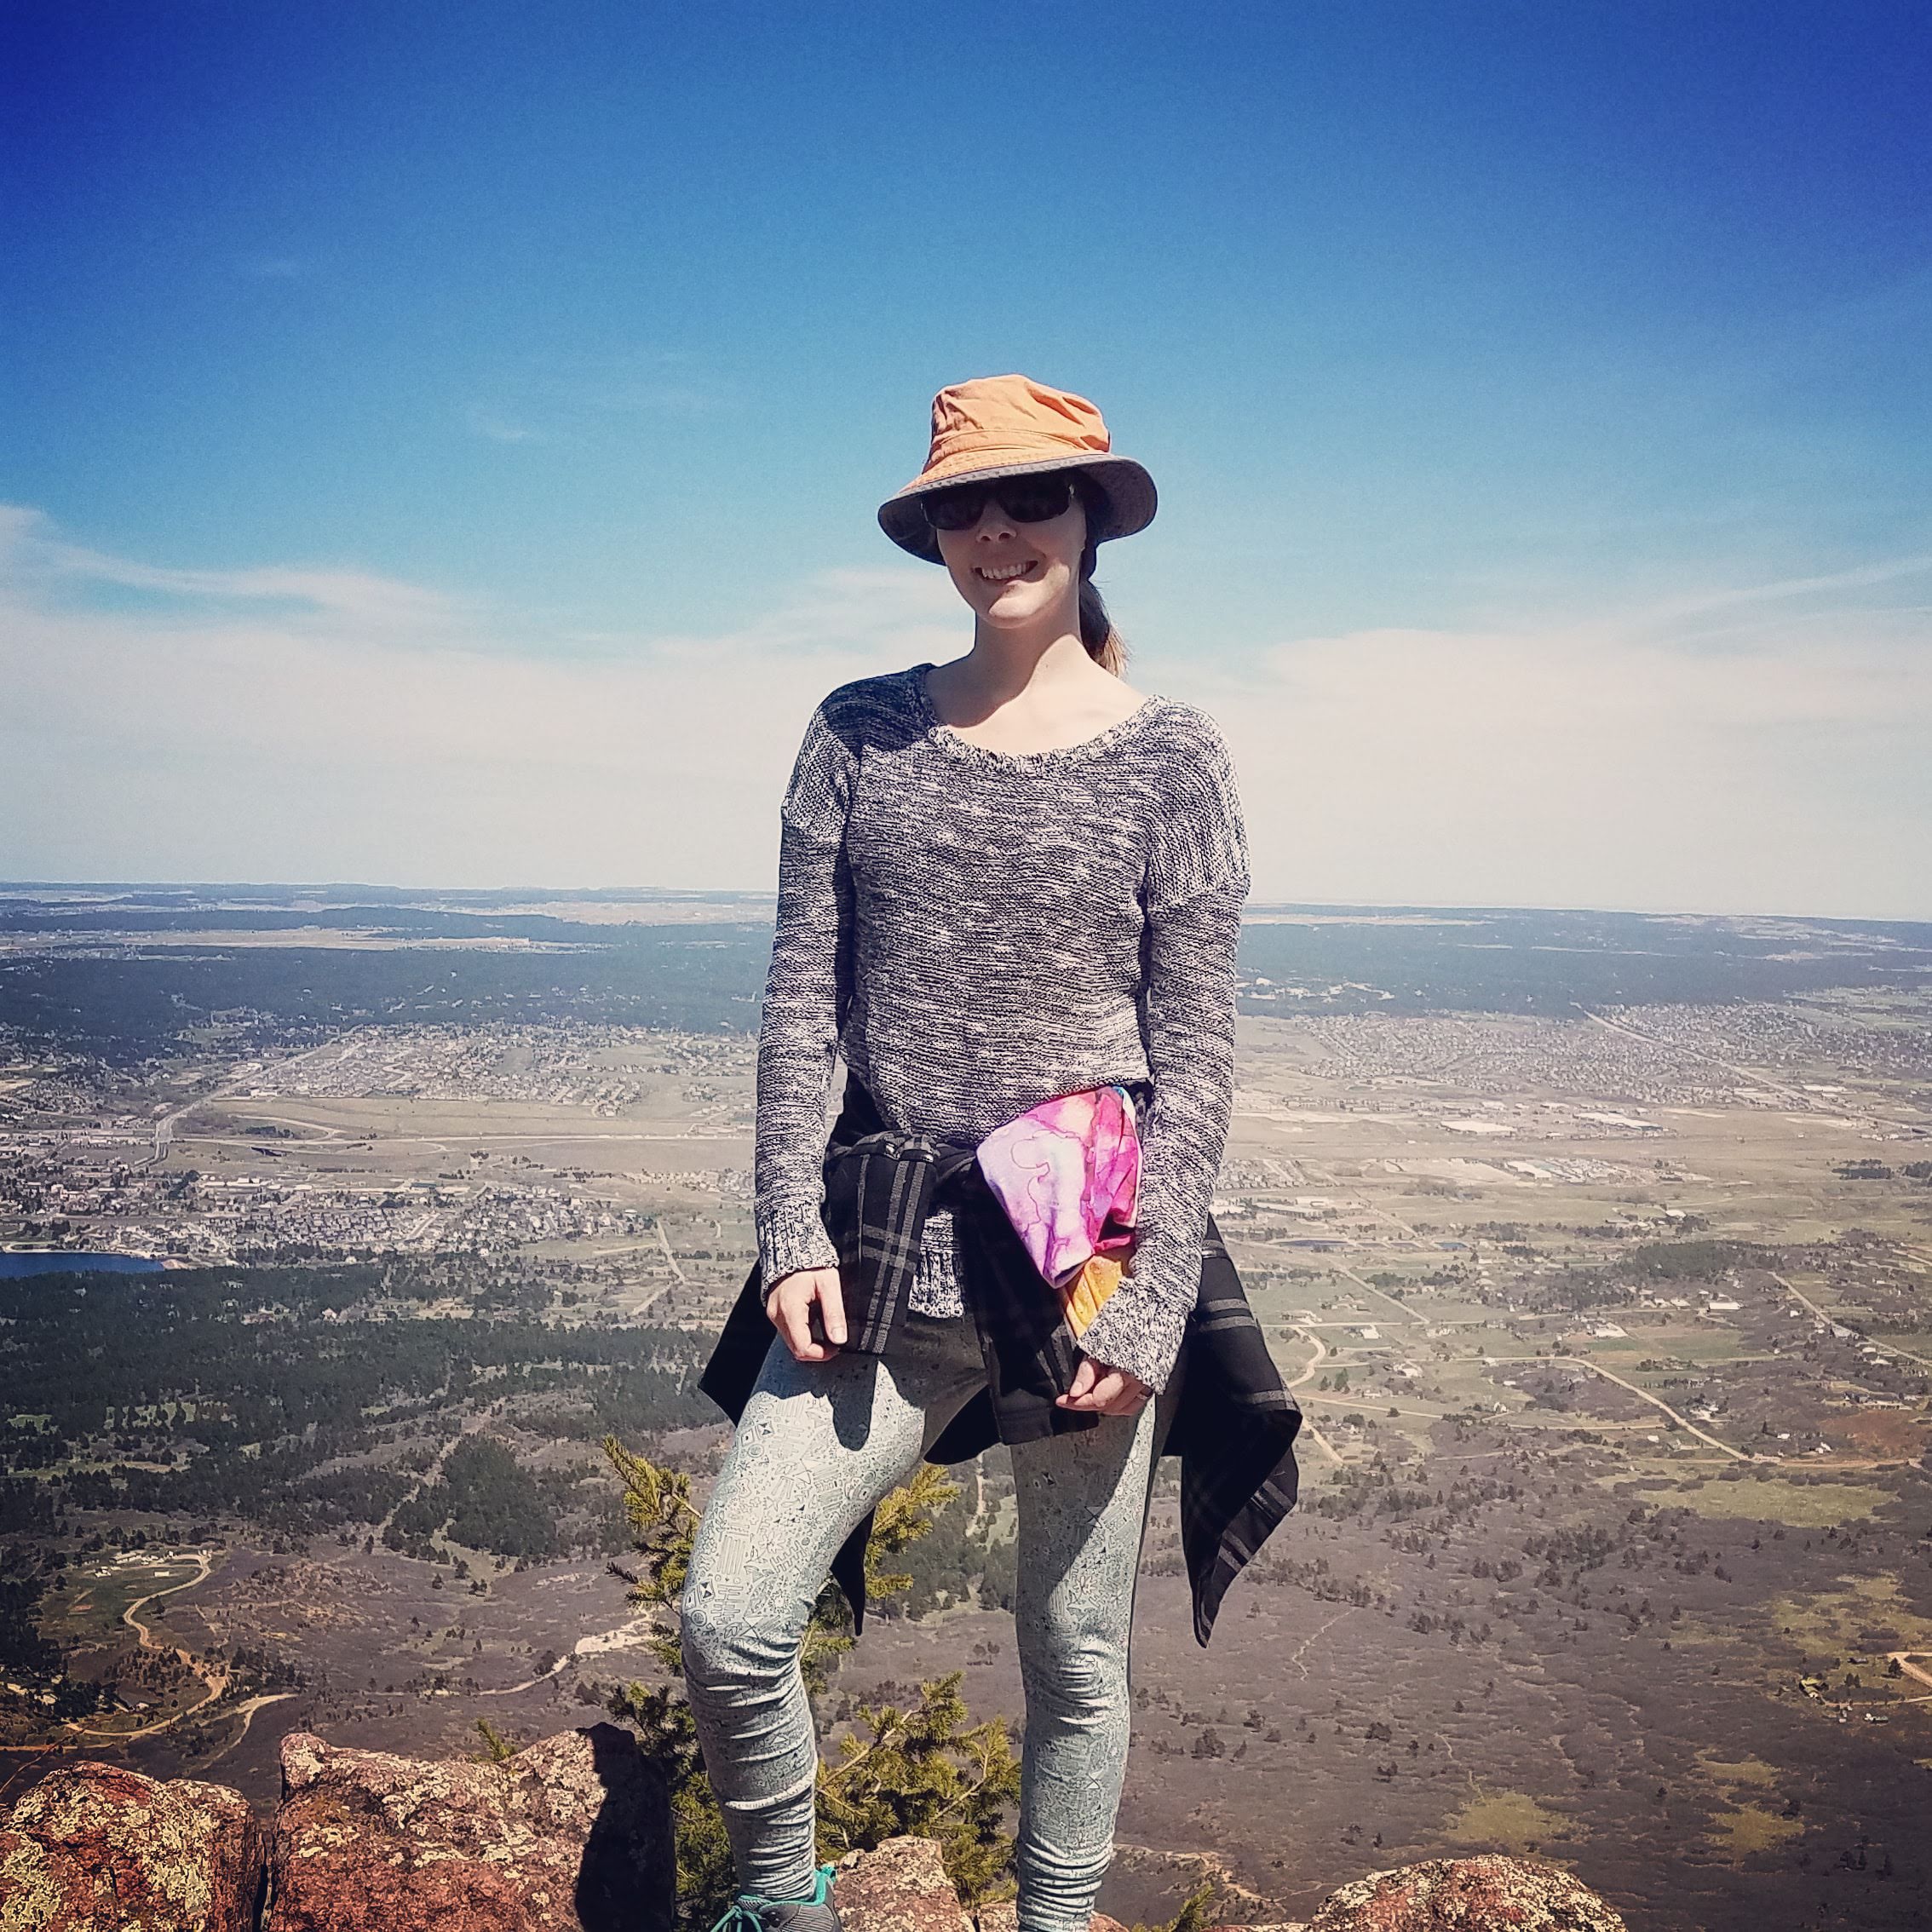
I inherited a wonky bucket hat. It’s orange, which is the ideal color for screaming “look at me! I’m a wonky hat!” But I wore that wonky hat because it was what I had. Perpetual attention-grabbing color aside, it served its purpose pretty well–kept the sun out of my eyes, gave me hat hair… All the things you expect from a hat.
But it was wonky. It was misshapen by time, it was ugly, it flew off my head on more than one occasion, and I’m not even sure it was my size.
Here it is on top of my head on top of a mountain, its enduring cry only slightly muted by the rest of my wardrobe choice that cries, “I really didn’t care how I looked for this hike.”
Then I remembered I can sew…
Begin the hunt for a bucket hat pattern. I toyed with the idea of reverse engineering Wonks, but I wasn’t up for the trial and error, especially after I found the Sorrento. I will gladly pay $2 to circumvent any obstacle to creating the hat of my dreams. Plus, it’s reversible. Score!
Hat #1 belongs to me.
The first foray into a new pattern always takes the longest, especially if it’s a thing you’ve never made before. I never made a hat before, so interpreting the concise directions correctly took some extra time, plus the wrangling of flat woven pattern pieces into curves. That’s always something of a challenge.
But then…success.


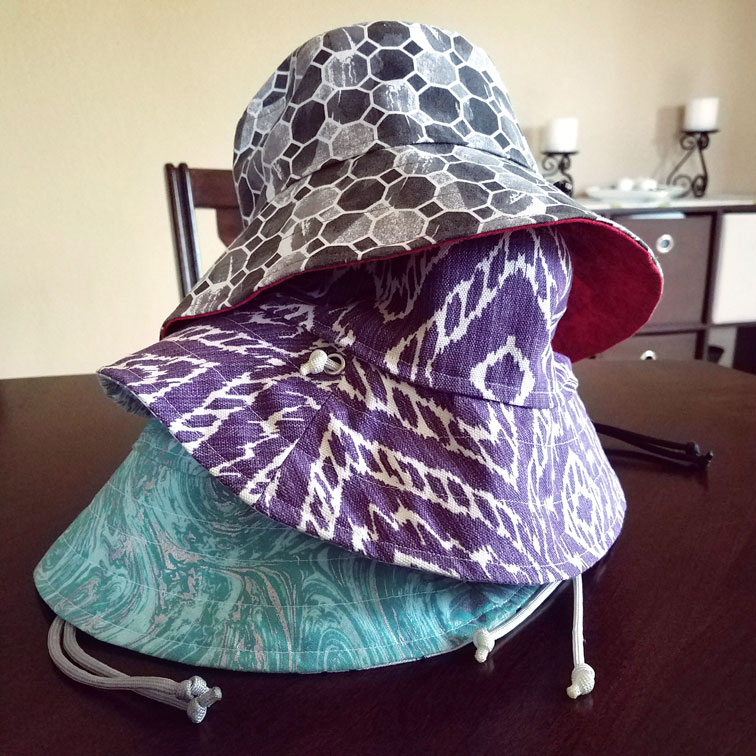
Shared it, and Mom and sister asked for one too. But of course I will make more for my favorite people!
Hats for my favorite people
With each make, I got faster and faster. (This was also a great opportunity to use my steam press. I love using my steam press for fusible interfacing. It makes it so easy. Even heavy interfacing is no match for the steam press! 8 seconds and BAM! Completely and flawlessly fused.)
One important feature missing from this lovely hat pattern was the ability to anchor it to one’s head so one would not have to scale cliffs and mountains when the wind decides to evict said hat from one’s head.
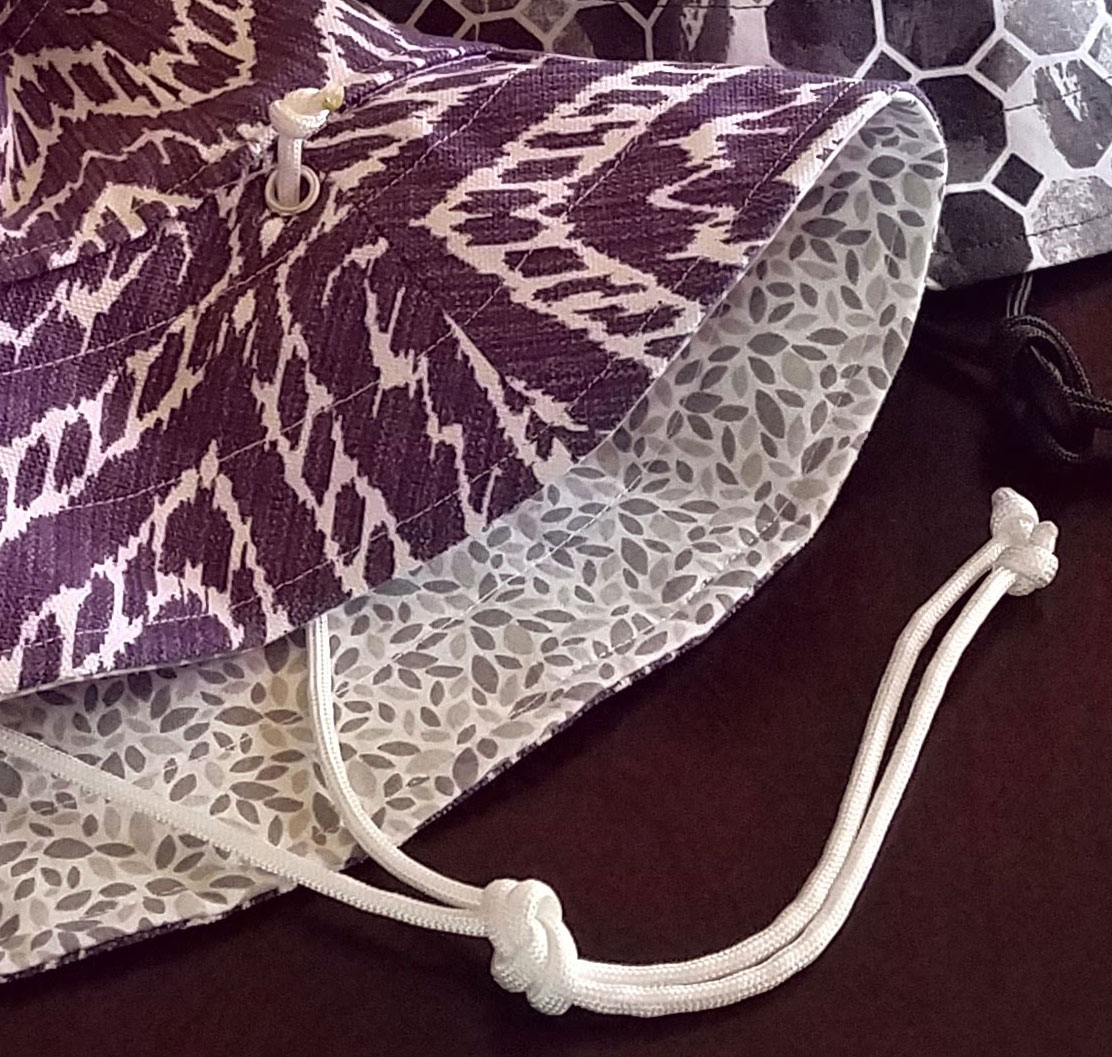
So I hacked, and Behold
Being reversible threw a slight wrench into just attaching some ties to it. So I thought, Grommets! I’ve done grommets before, and I had grommets already, and I have this awesome leather punch that works really well on fabric too. All I needed was some decent ties.
I googled for some soft round cord, dug through about a billion covid-induced listings for mask elastic, and eventually uncovered the world of macrame cord. That led me to Hobby Lobby to look at this cord in person, and next to it I found this paracord: perfect. While the macrame cord was super soft, I wasn’t convinced it would hold up to wear and tear and the great outdoors–my sister will be adventuring through the wilds of Spain, after all. I can’t have her hat ties disintegrating around her face. So this paracord seemed like a reasonable compromise: still soft, but way more durable. (I can even put this to use on future hoodies. Huzzah!)
Took my treasure home and tested it on my hat to resounding [self-]approval. It’s a super simple hack:
- Punch a hole on each side of the hat where the brim meets the band. I used a 4.5mm setting on my leather punch.
- Attach the grommets. I used 1/4″ grommets.
- Cut 2 pieces of paracord (I used size #550) at the desired length (I did about 14.”)
- Melt the ends to prevent fraying.
- Feed one cord through one grommet and knot each end. Repeat with the other side.
Voila. That’s it. Soft, durable ties that can be used no matter which side of the hat is facing outward.
And then there were three
I’ve already mailed them off, and Mom already got hers and is super happy with it. Hopefully my sister’s will perform epically in Spain and keep her head happy.
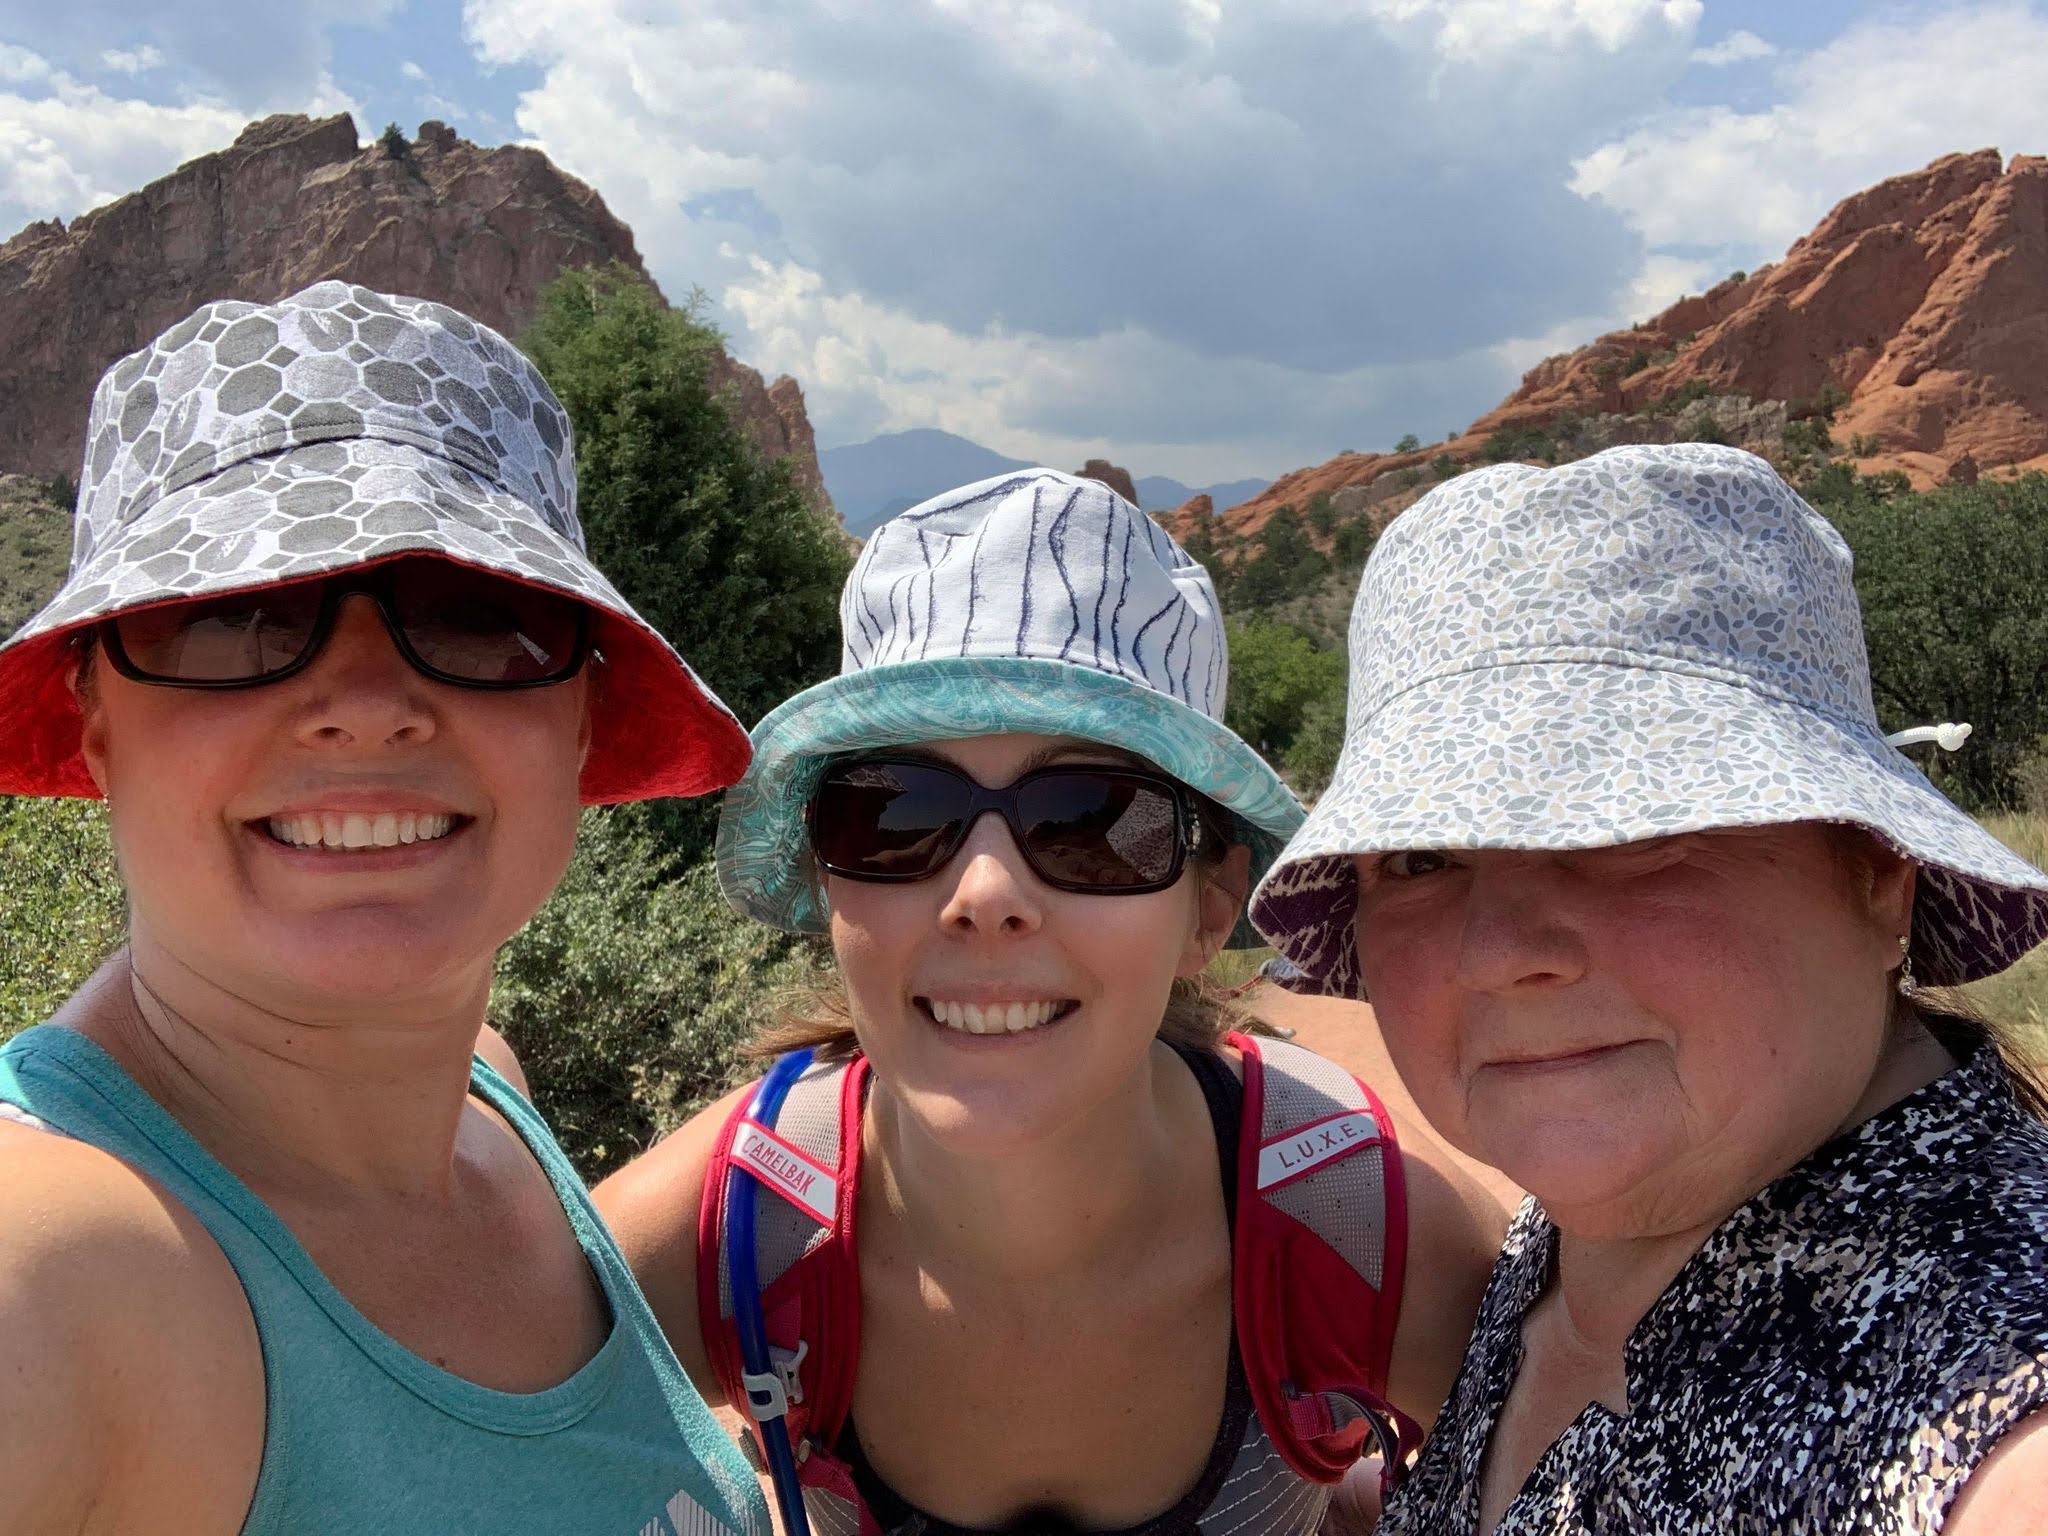
And here we all are, hattin’ it up at Garden of the Gods.
Project Notes
- Press often. Really helps to control the fabric and give a cleaner finished product.
- Definitely snip the seam allowances. This is VITAL for helping fit around the curve where the top attaches to the band. Also helps your seams lay nicely in the end.
- Use some quilting guide doo-hickey. I’m not a quilter, so I don’t know what that metal doo-dad is that sticks into the presser foot and helps you space your stitching. (It’s probably something obvious like stitch guide… Yep, quilting guide (bar).) Anyway, use that thing to evenly space the topstitching around the brim.
Project Settings
Presser Foot |
Stitch# |
Width |
Length |
Needle |
Top Thread Tension |
Application |
|---|---|---|---|---|---|---|
standard zig-zag (A) |
1 |
3.5 |
2.4 |
100/16 sharp |
4 |
seams and brim topstitch |
1/4″ foot |
1 |
3.5 |
2.4 |
100/16 sharp |
4 |
topstitching @ bottom brim |
adjustable edge (SE) |
1 |
3.5 |
2.4 |
100/16 sharp |
4 |
all other topstitching |
Hello Deborah:
Thanks for a great review and your beautiful Sorrentos! your idea for using grommets for the ties is genius! I have a question on how you applied your grommets: when I have applied them (I use a table mounted snap press), the underside of the grommet is rough and sharp edged (the parts that splay out to hold the grommet in place). How did you solve this problem on your hats? Thanks so much!
Cynthia
Hi Cynthia! Thanks for the comment!
I use a hammer/anvil to apply my grommets, so I can’t speak from experience on a snap press. But if I had to guess, you may need to apply more pressure to get the shaft of the grommet to fold over a little further. It needs to roll enough to encase that rough/raw edge. If that doesn’t help, it could possibly be a quality issue (maybe the grommet isn’t rolling properly) or the grommet is too shallow for the thickness of the fabric.
I hope this gives you some ideas on fixing the issue!