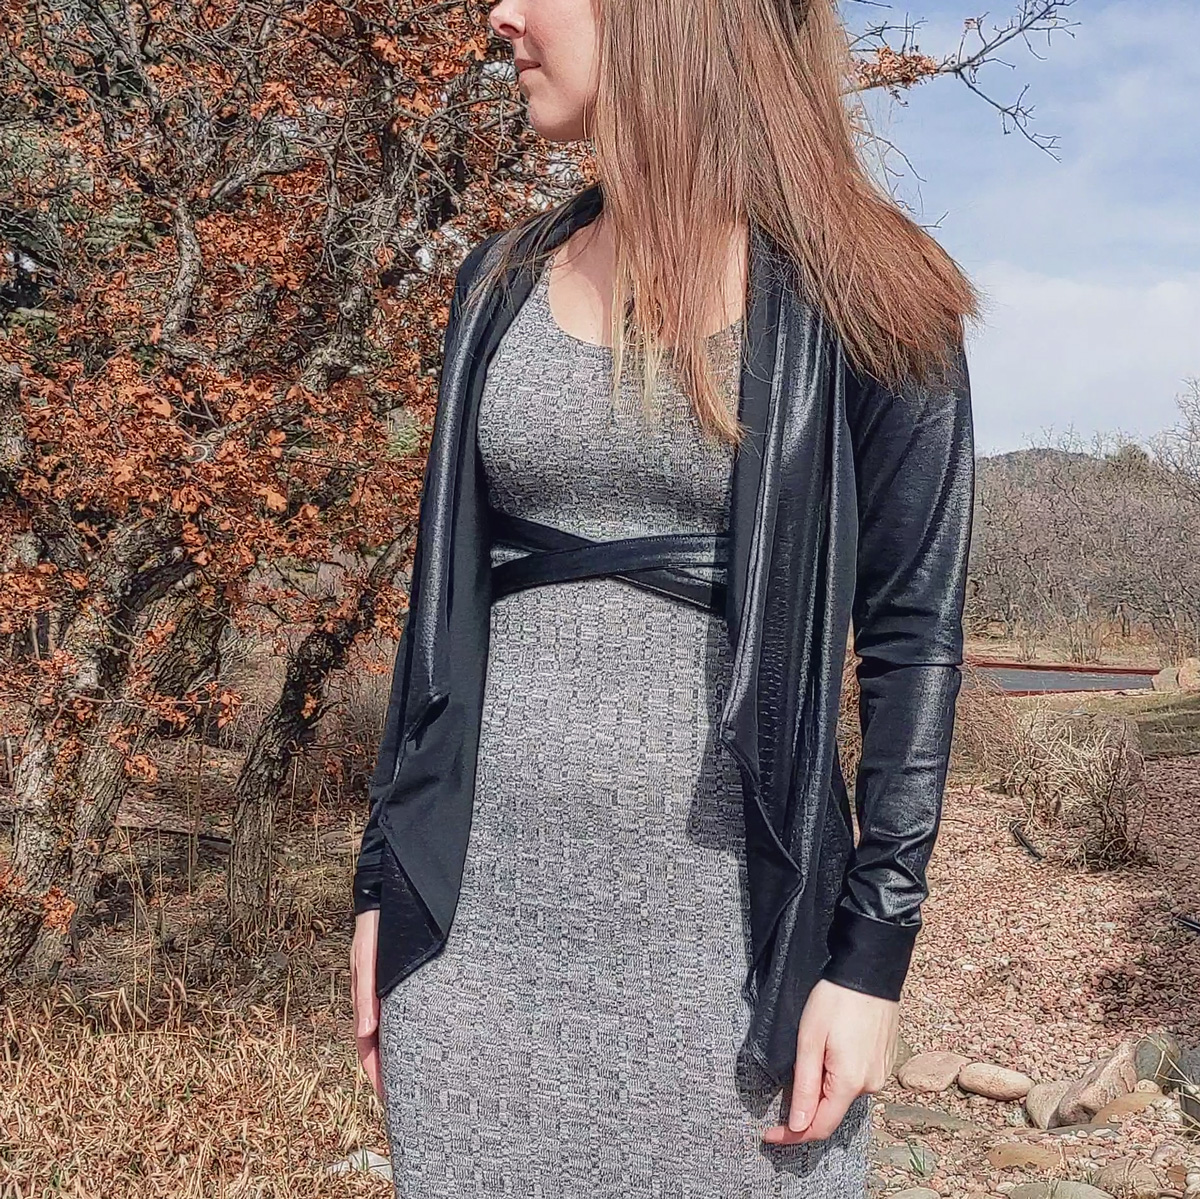
There are so many things wrong with this jacket. I’m surprised it translates to only a mild disaster when worn—a disaster in my eyes anyway. And I really only say that because it isn’t anything like what I envisioned. The kind strangers in the Made of Love facebook group like it well enough so I’ll tag it as a wearable muslin.
What Went Wrong?
I’ll start with the pattern.
This was my first Made for Mermaids pattern, and I could take it or leave it. I wasn’t impressed with the instructions, but few indie pattern designers impress me with their design and instructions. They’re at least readable and easy enough to follow. I had to fudge a few spots, though:
- When stitching the neckline closed on page 8, I had to stretch one of the layers so everything would line up. This whole step was actually pretty confusing.
- I did not sew the short horizontal seam on page 11 when “tacking” the facing in place. (I would describe it more like topstitching than “tacking”.)
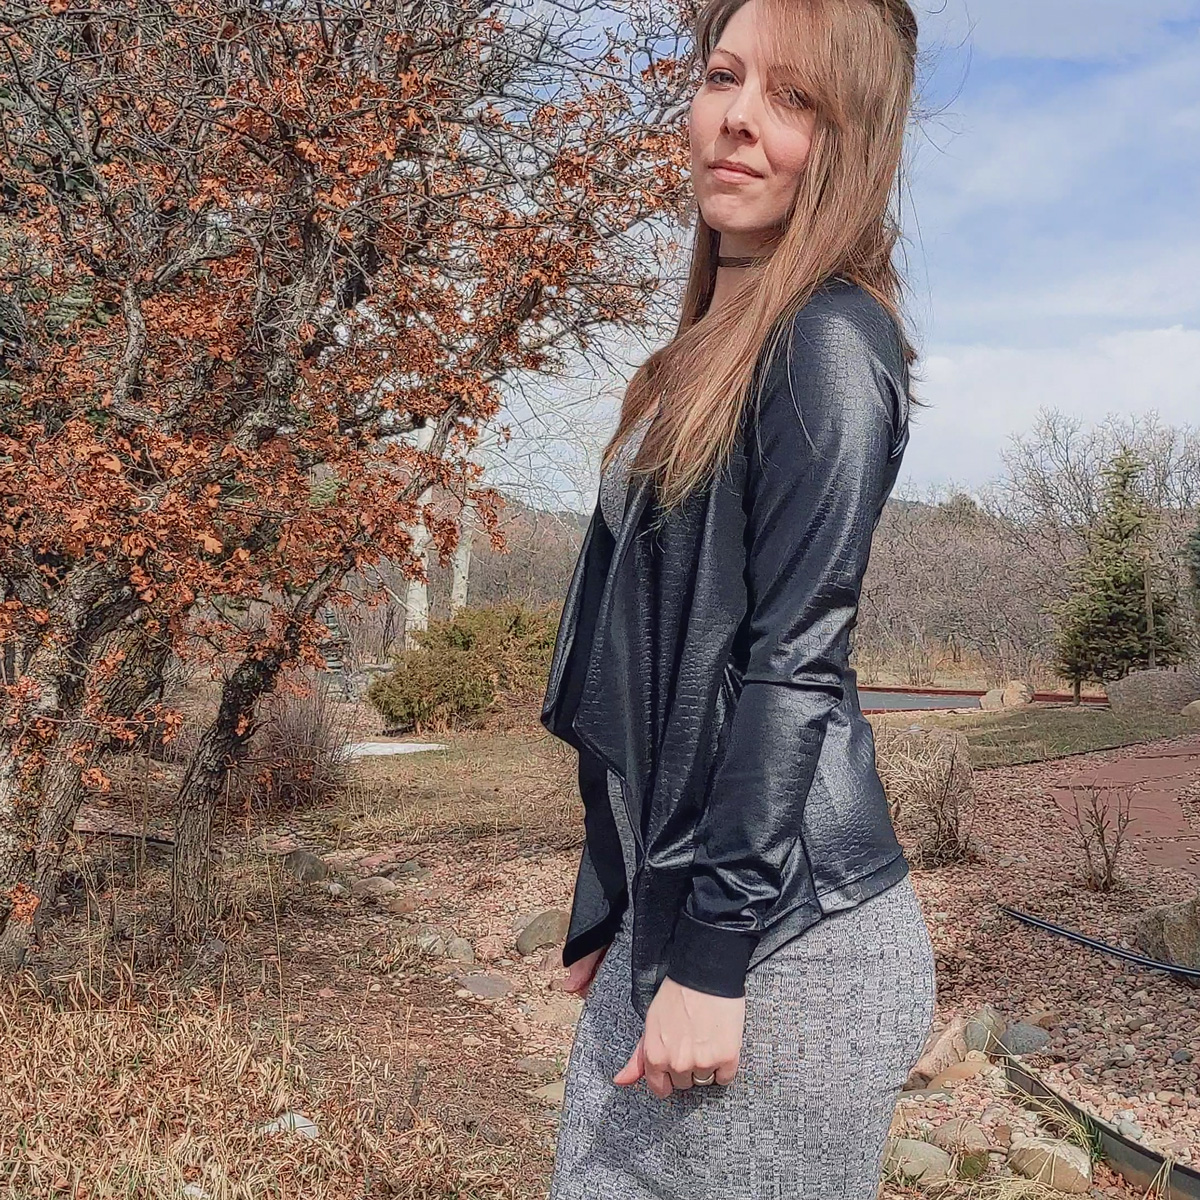
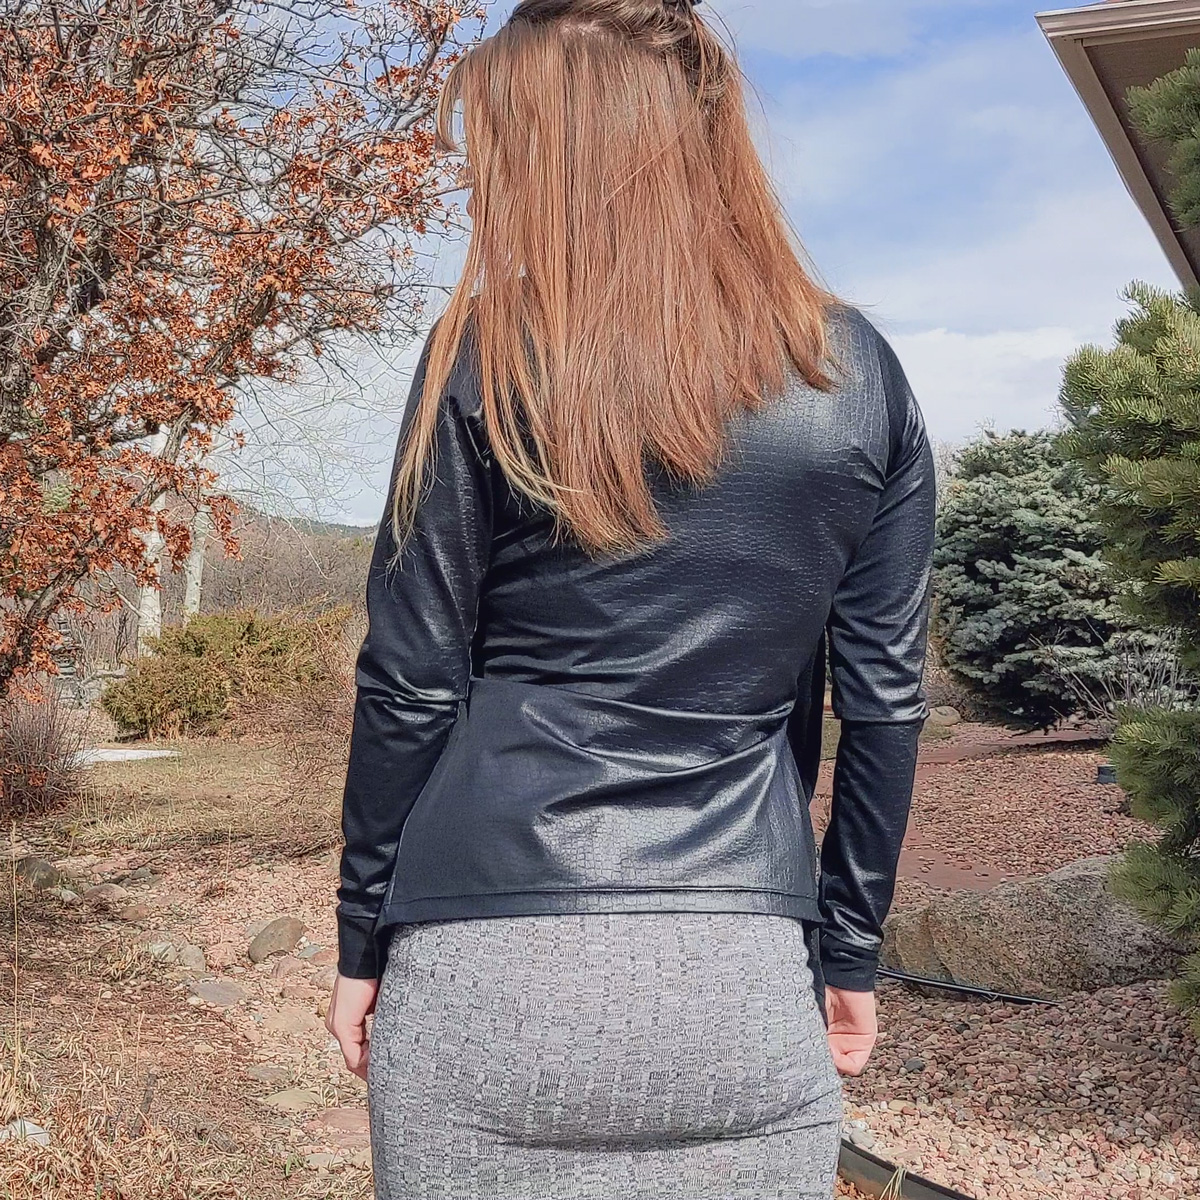
I’m not sure if the pattern is to blame, but nothing seemed to line up very well. The shoulder seams are definitely way too short, which tugs my armscyes toward my neck. That makes for an awkward-looking fit. You can see in the photo below how the armscye seam curves away from my shoulder bone and up toward my neck.
The fabric probably didn’t help, either.
- Performance Faux Leather
- Fiber Content: 92% Nylon, 8% Spandex
- Weight and Thickness: 190 gsm, 0.7mm
- Stretch: 100% horizontal, 125% vertical
- Softness: ★★★★☆
- Sheerness: ★☆☆☆☆
The pattern calls for a structured fabric, like a double knit, which this faux leather is not. But I wanted a black faux leather moto look, so I rebelled. Bottom line: I don’t think this fabric likes this pattern.
I was also stupid.
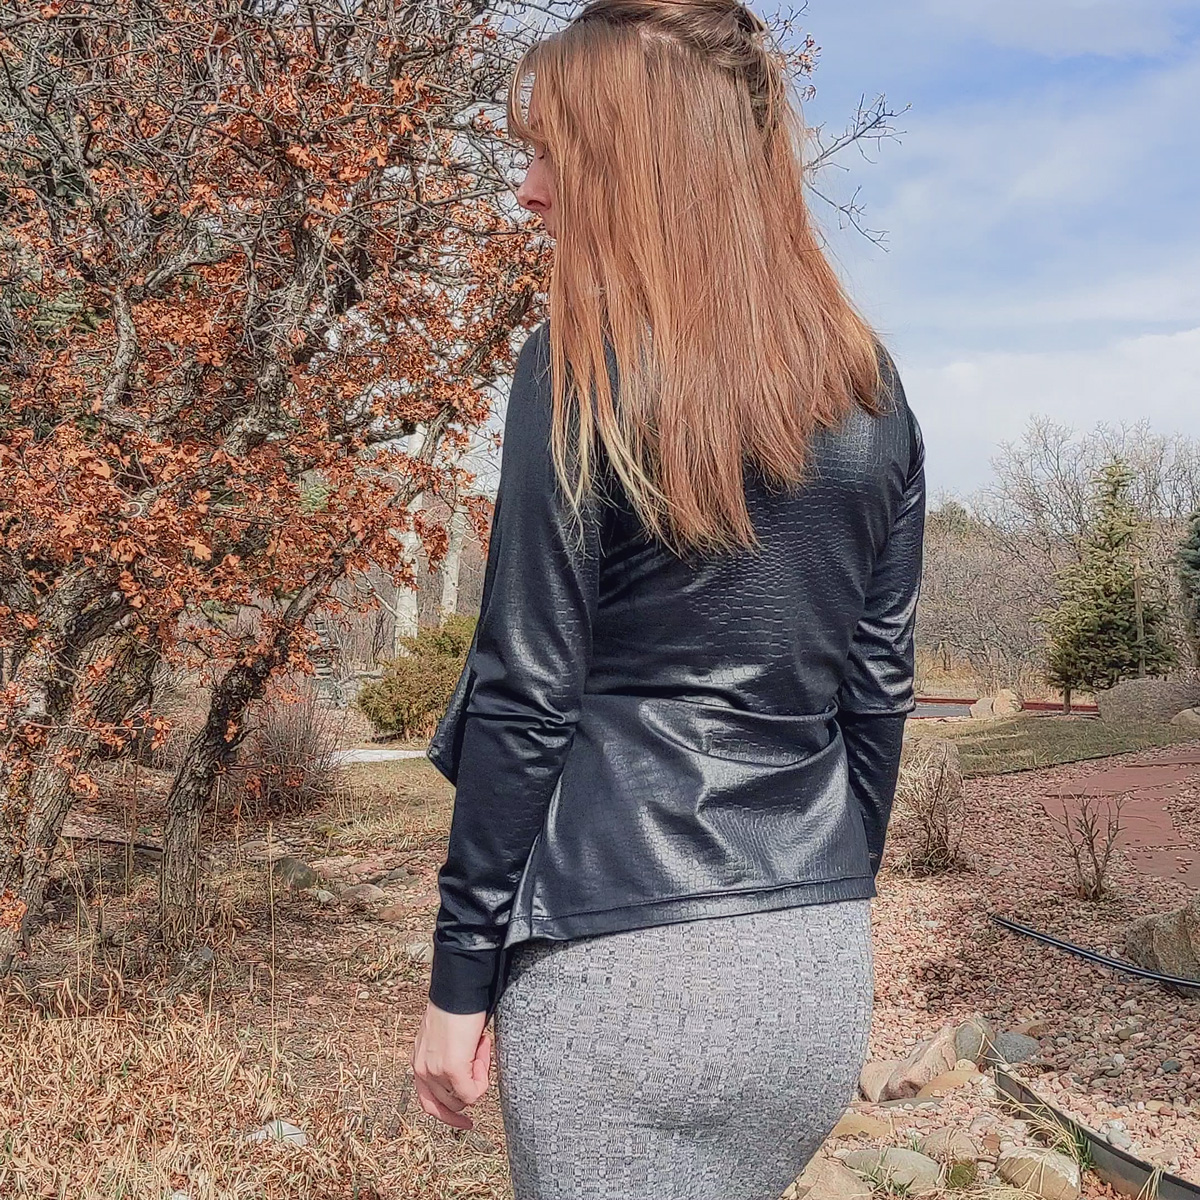
I accidentally cut my pieces along the cross-grain and I suspect that might have something to do with the weird way it’s draping. It didn’t really impact anything stretch-wise, though, since there’s ample stretch in all directions. But it just does not want to lay well; especially the collar/facing. It rolls inward hardcore even after topstitching the edges, and even up around the back of my neck. For the life of me, I can’t get it to flip outward and lay correctly.
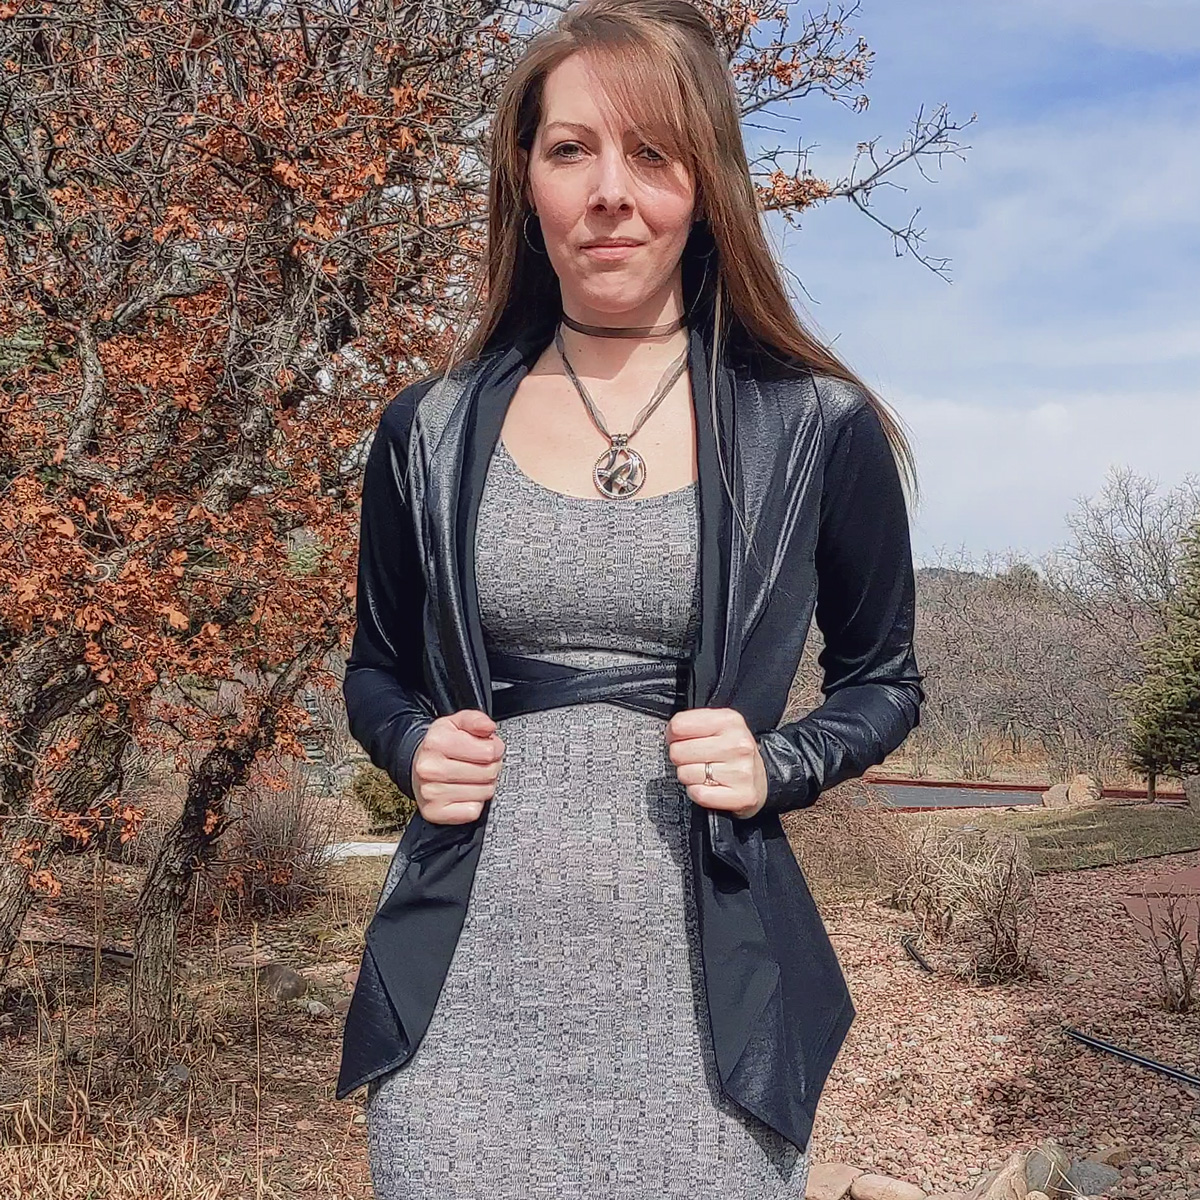
So I decided to play with it…
I didn’t love it when I threw it on before hemming, so it laid around for a few weeks until I worked up to hemming it. I figured I would also mess around with it to see if I could make it better.
- I trimmed 2″ off the sleeves and drafted a cuff instead. I hate hemmed sleeves.
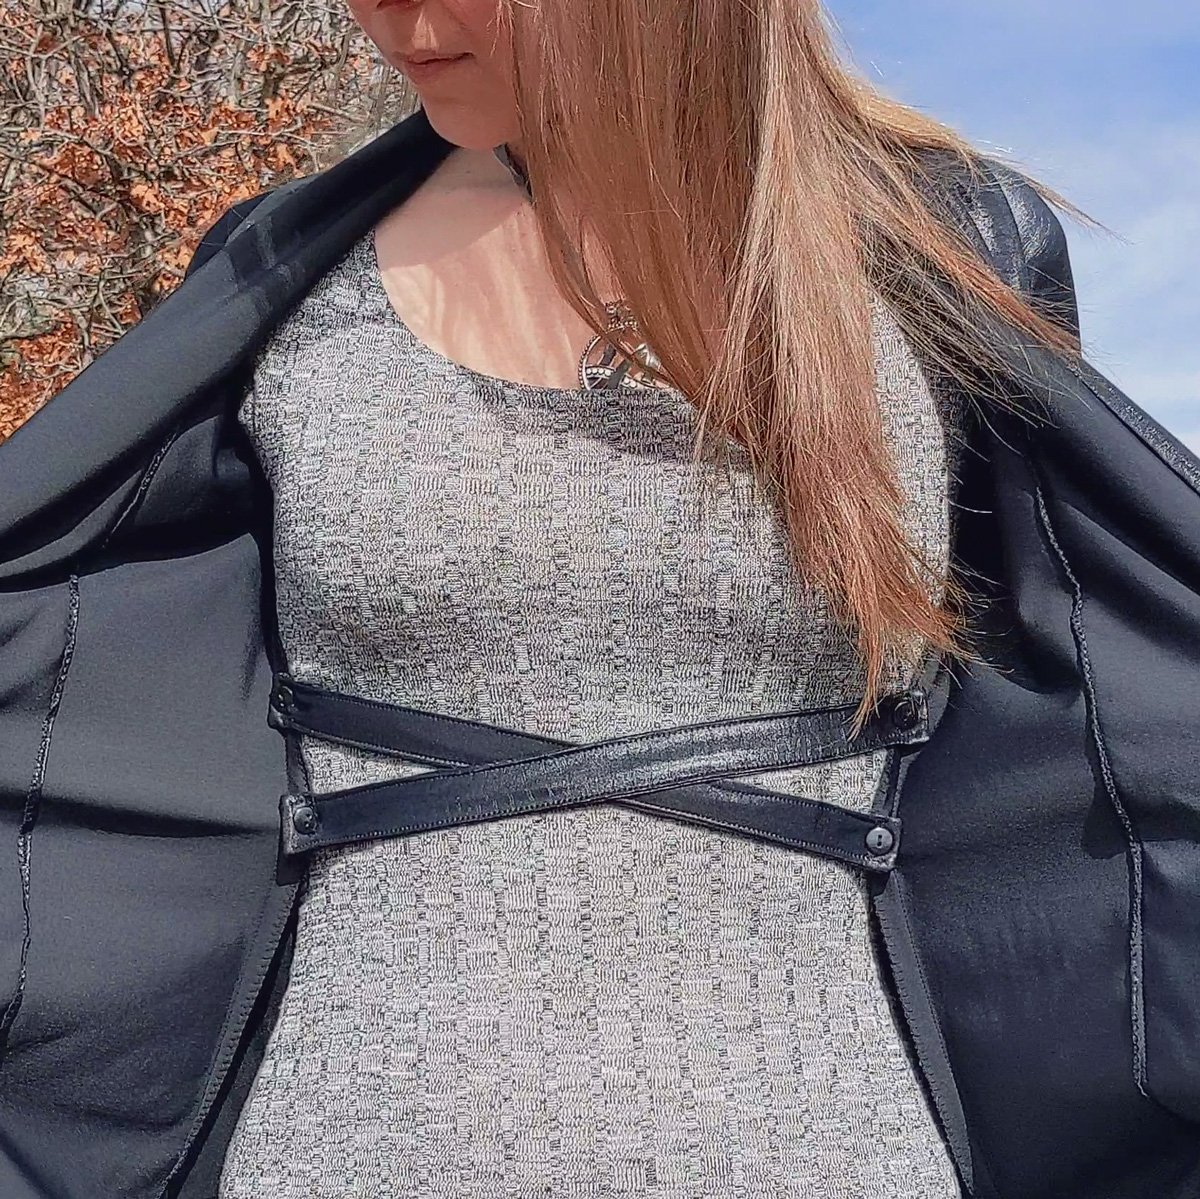
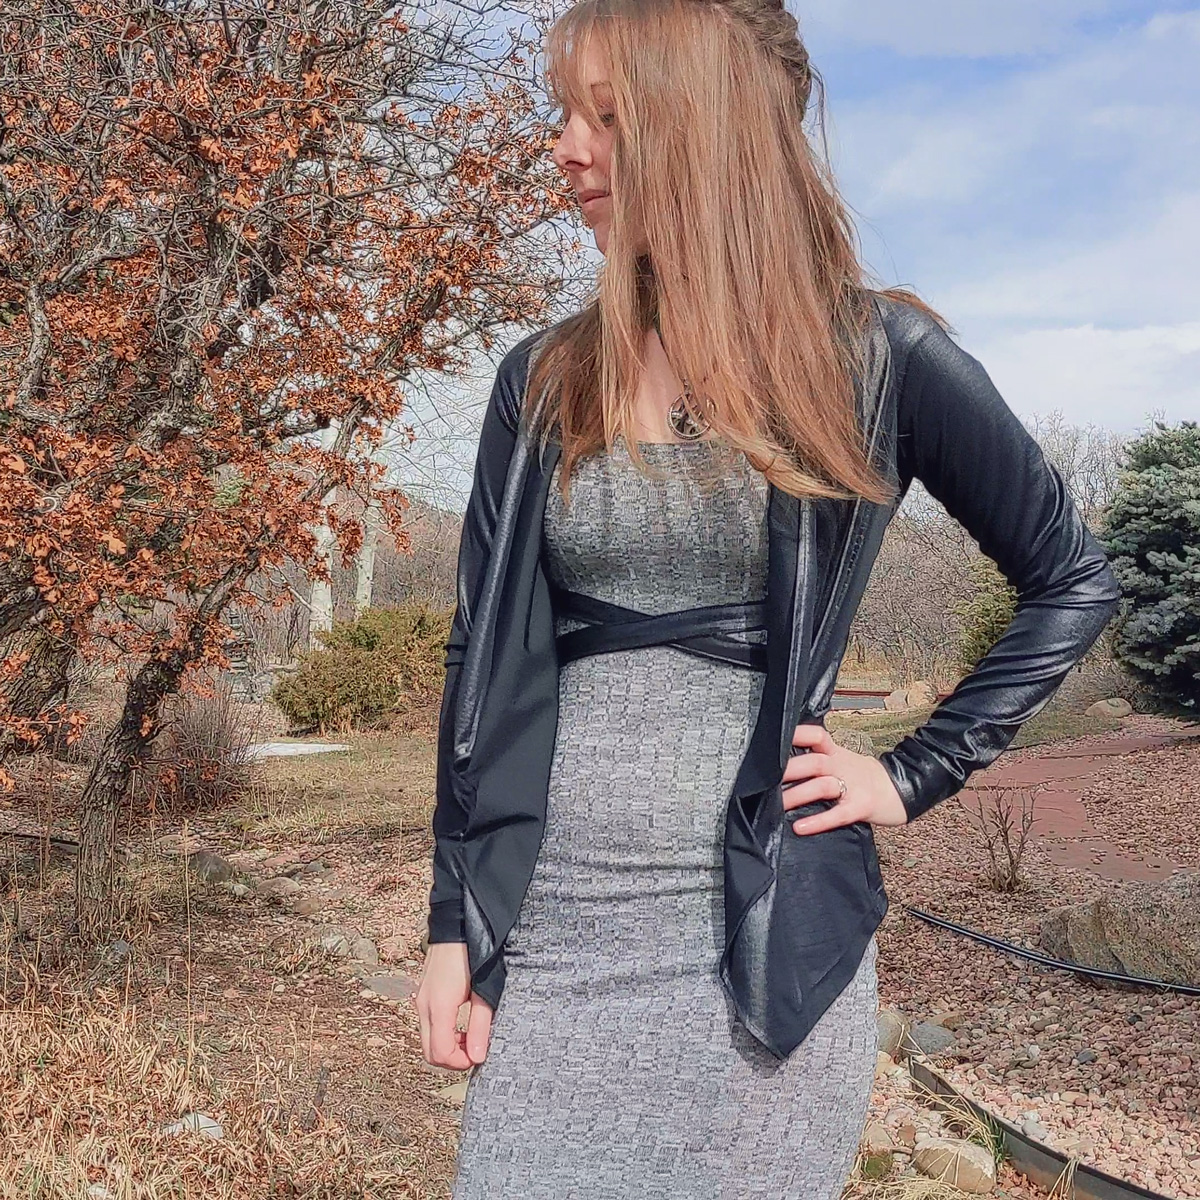
- I only tacked 2 of the 4 indicated spots along the bottom of the facing because I was hating how it looked when I pinned all 4. Nothing looked right.
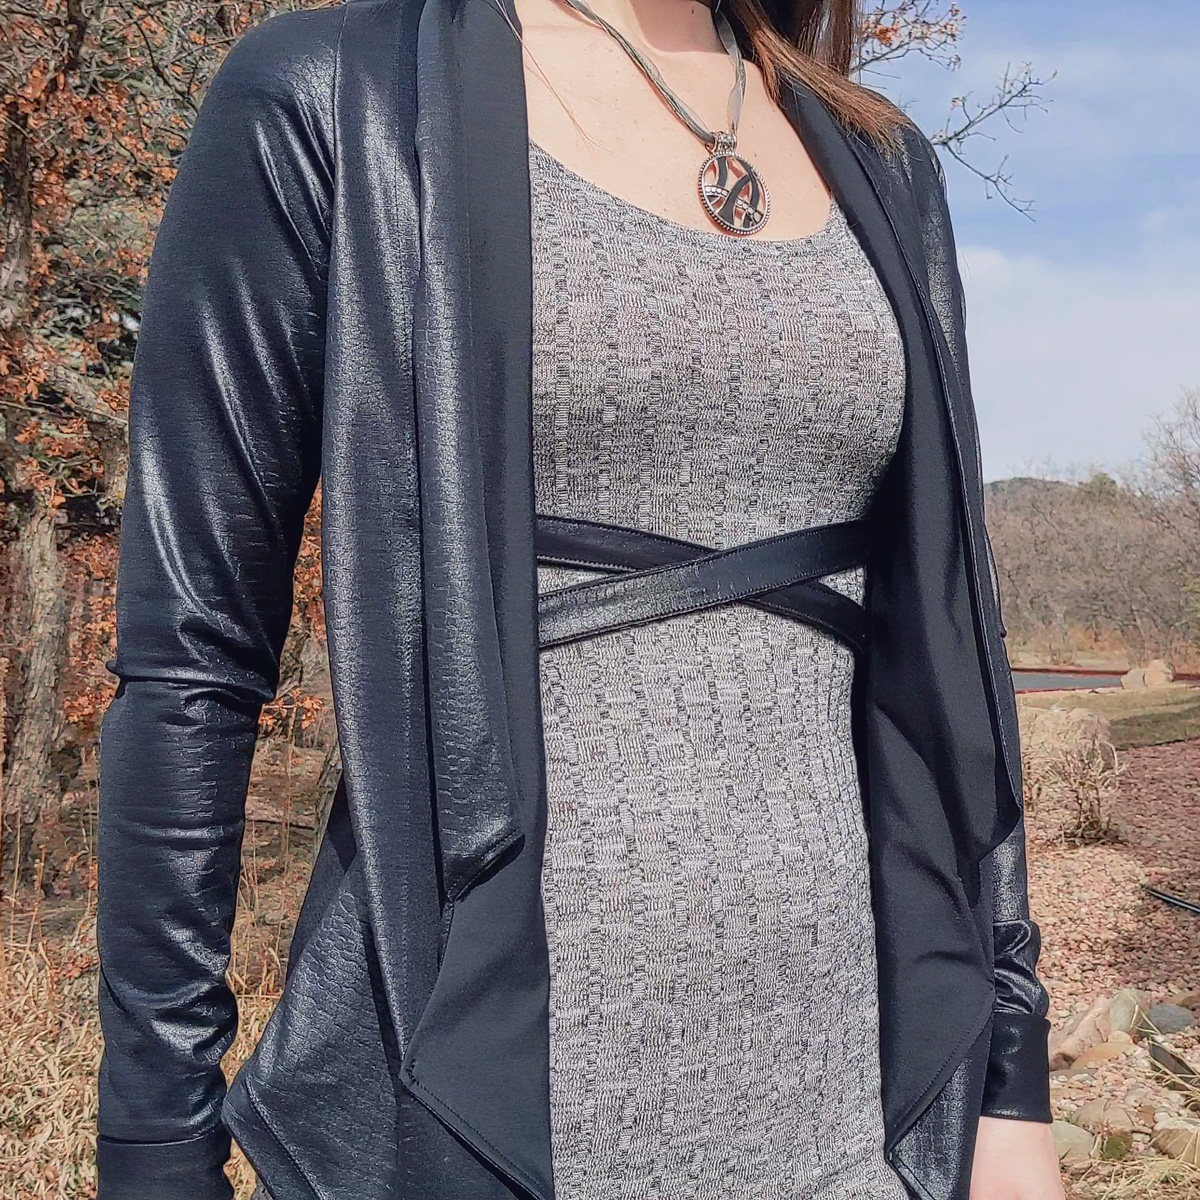
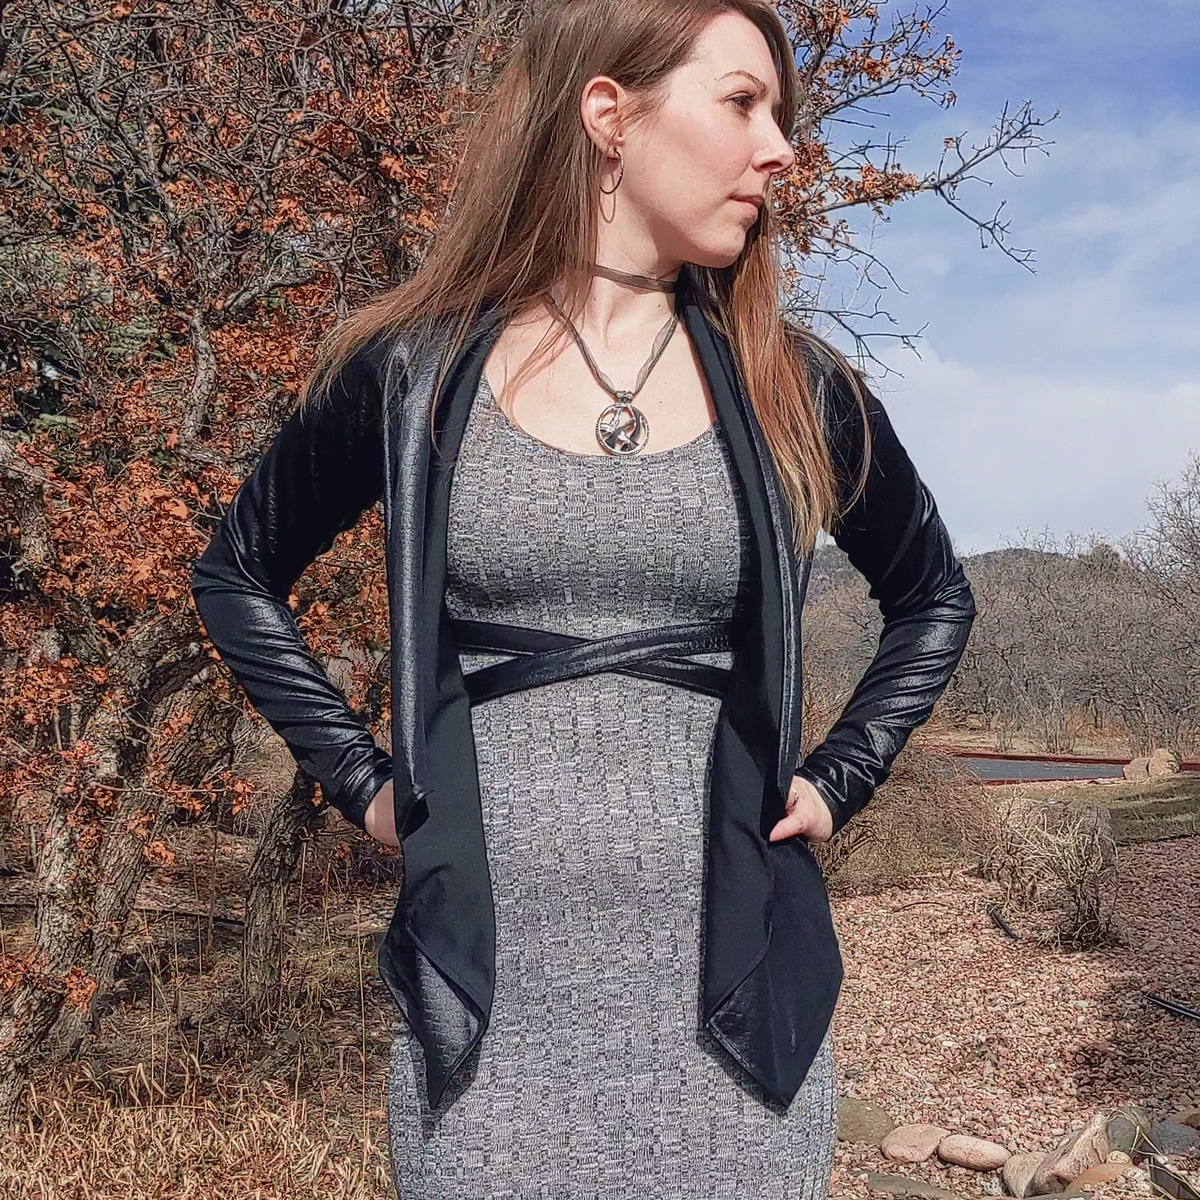
- I drafted 2 cross-straps with button holes on each end, and sewed 4 buttons onto the side seam allowance, 2 on each side. So now I have these removable cross straps that add some more interest and also help shape the jacket.
Drafting the Cross-Straps
- I cut a piece of elastic to help estimate how long I needed the straps to be. Stood in front of a mirror and finangled for a while until I felt happy:
- Final strap size: 11″ x 1″
- Button holes located within the last 0.5″ of each end.
- Used a 0.5″ seam allowance.
- Cut size: 4 pieces at 12″ x 2″
- + 4 pieces of interfacing at 1.5″ x 2″ (sewn in, NOT fused) added to each end of each strap to reinforce the button holes
- I also used stabilizer* when sewing the button holes rather than relying on the interfacing alone. Smart move.

Notes for Next Time
- I should give this pattern one more shot with a double-knit to see if it turns out any better.
- I lengthened the bodice and sleeves by 1″. I might be able to halve that.
- Double-check the shoulder seams are actually long enough. They are so awkward on this version.
Project Settings
Presser Foot |
Stitch# |
Width |
Length |
Needle |
Top Thread Tension |
Application |
|---|---|---|---|---|---|---|
standard zig-zag (A) |
5 |
1.0 |
4 |
blue tip |
4 |
seams |
overedge (C) |
6 |
5.5 |
3.5 |
blue tip |
4 |
edge finish |
standard zig-zag (A) |
2 |
3.5 |
3.5 |
twin stretch |
4 |
hem |
adjustable edge (SE) #4 |
5 |
1.0 |
4 |
blue tip |
4 |
cross-strap topstitch |
button |
6 |
4 |
— |
blue tip |
4 |
buttons |
button hole |
18 |
default |
default |
blue tip |
4 |
button holes* |
Leave a Reply